
Pikmin 3 Guide Walkthrough Day 4 - Distant Tundra
Day 4 - Distant Tundra
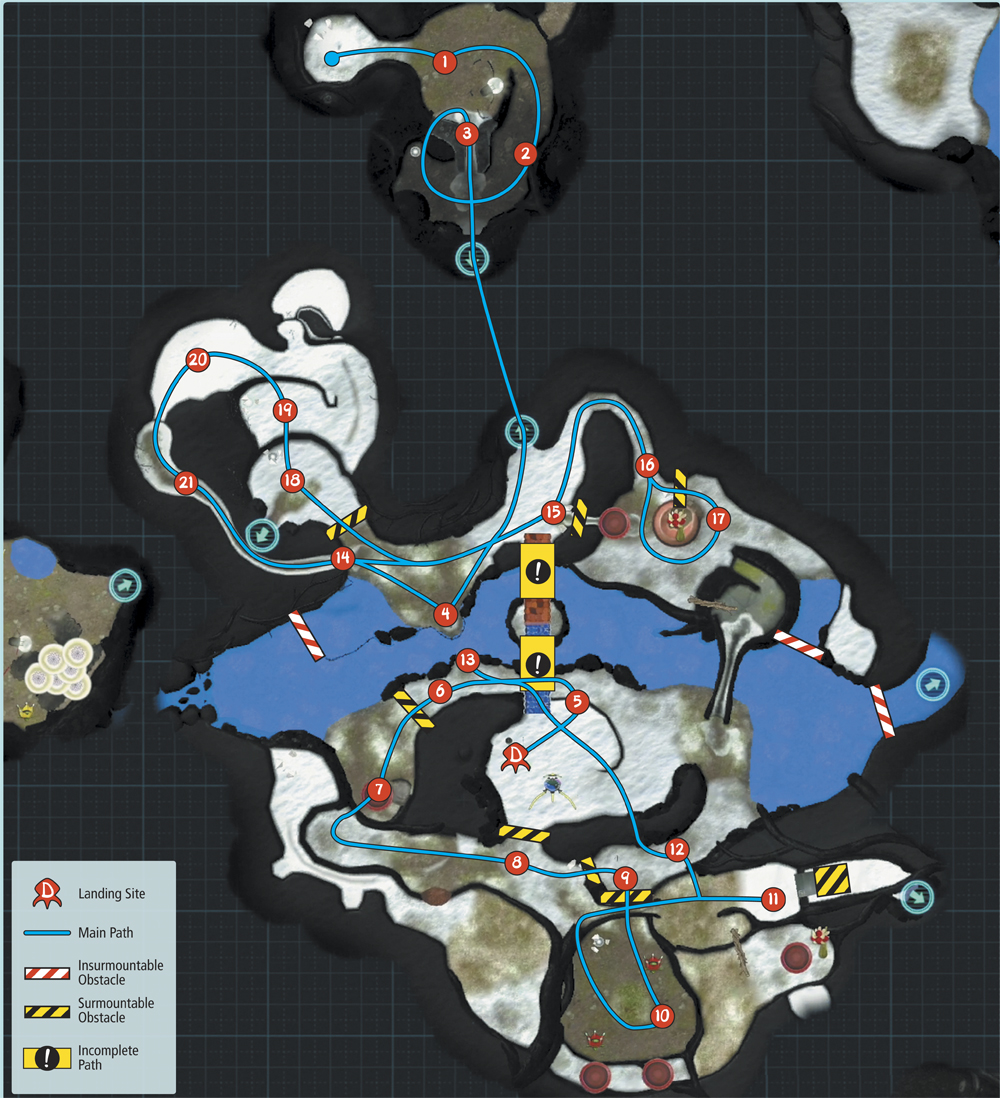
Map: Distant Tundra
Remaining Juice: 7 canisters
Objectives: Acquire the Yellow Pikmin, reunite Brittany and Alph, and search for fruit and special equipment.
During another rough landing, Brittany is thrown from the ship. With some help from the newly discovered Yellow Pikmin, you build a bridge to reunite the separated crew members.
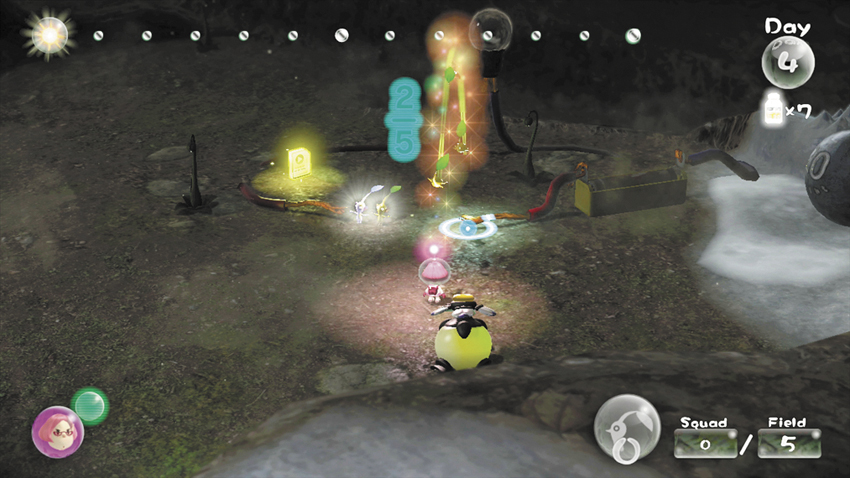
 When you gain control of Brittany, pluck the three sprouts near the Yellow Pikmin’s disabled Onion. Toss your new allies over to the Pikmin holding the Electrode. Working together, the five Yellow Pikmin complete the circuit, powering a large bulb and activating the Onion.
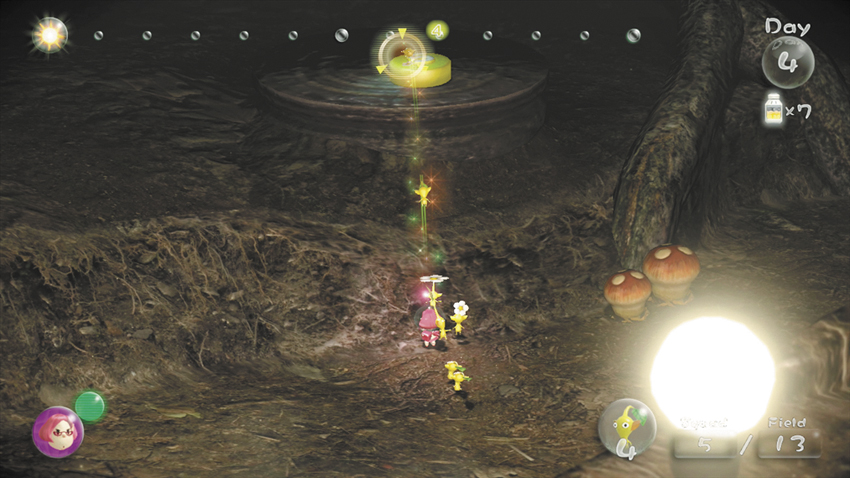
 Gather all five Yellow Pikmin and harvest the pellets scattered around the cave. Assign one Pikmin to each of the five smaller Pellet Poises in the area, then pluck the new sprouts and collect the two 5 Pellets in the area—the first 5 Pellet is located near Brittany’s starting position, while the second 5 Pellet is on a tall ledge along the cave’s east wall.
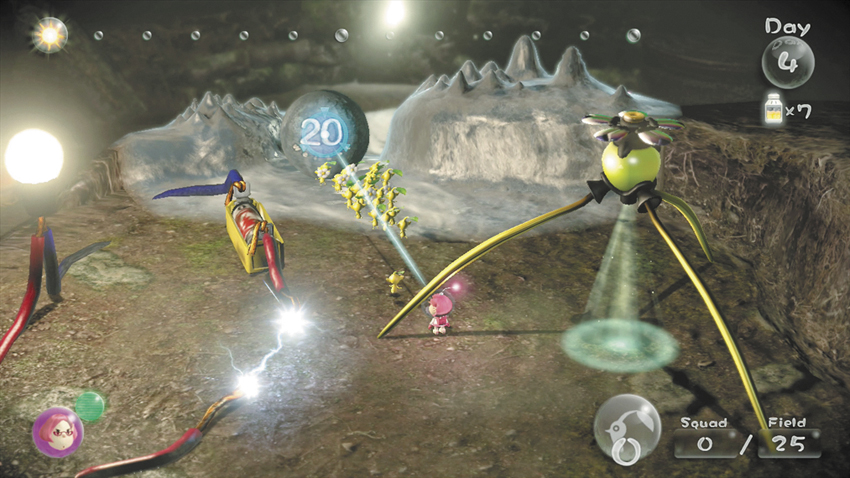
 Once you’ve gathered at least 20 Yellow Pikmin, use them to push the Iron Ball located near their Onion. When the Iron Ball rolls down the slope, it smashes through the cave’s south wall. When you’re ready, lead all of your Yellow Pikmin down the ice slide and head outside to trigger a cinematic.
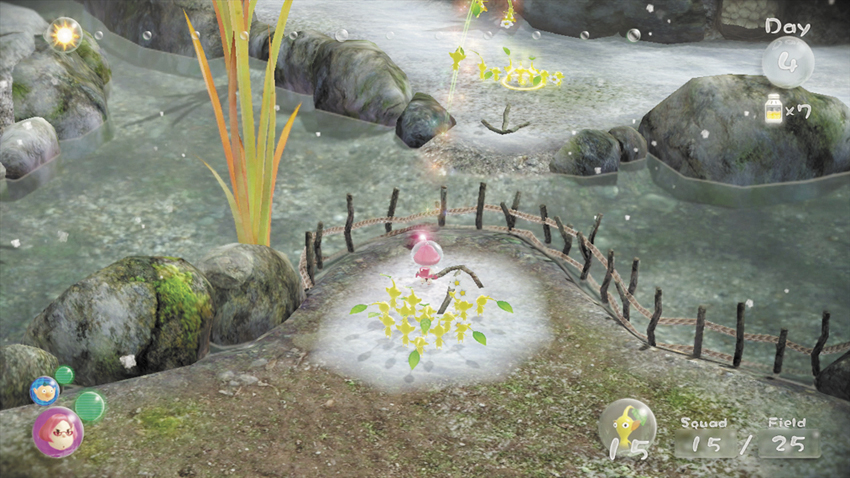
 When the cinematic ends, use your Yellow Pikmin to defeat the Swooping Snitchbug patrolling the area to the west. When the job is done, move to the nearby arrow and toss all of the Yellow Pikmin across the water.
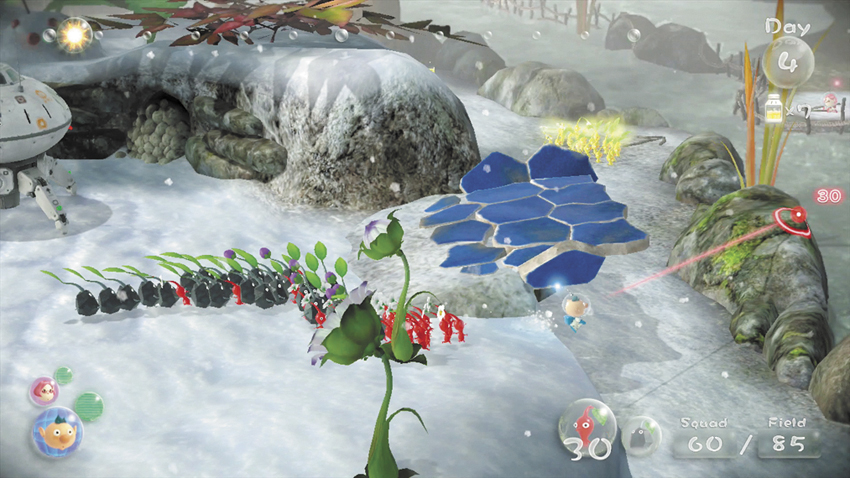
 Switch crew members to take control of Alph over at the landing site. Call at least 30 Red Pikmin and 30 Rock Pikmin out of the Onion, then lead them over the ledge and down to the Yellow Pikmin waiting at the water’s edge.
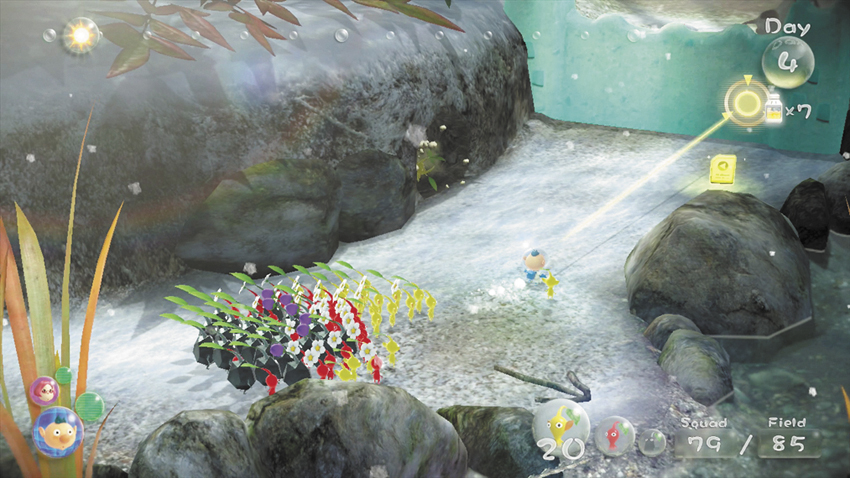
 When you reach the Yellow Pikmin, assign five of them to dig through the Tunnel in the rocks to the south. Put all of your remaining Pikmin to work on the nearby Dirt Wall.
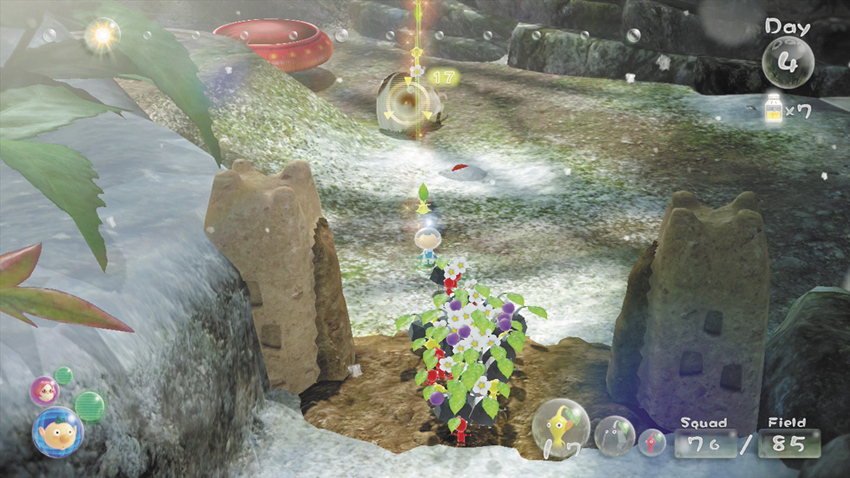
When the path is clear, use your Yellow Pikmin to attack the Bearded Amprat patrolling the area just past the Dirt Wall. Don’t collect the defeated enemy at this time, and ignore any half-buried pellets you spot in the snow. For now, gather your Pikmin and climb onto the nearby ridge.
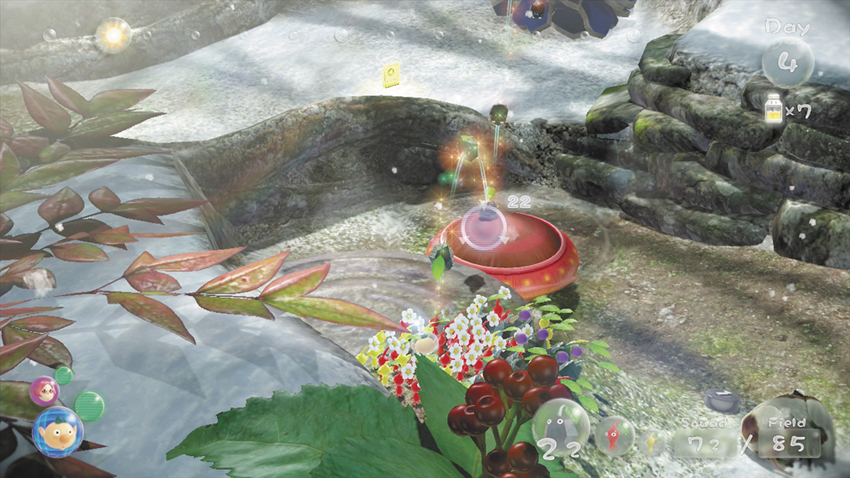
 From the top of the ridge, throw all 30 of your Rock Pikmin on to the nearby Bouncy Mushroom. These Pikmin land in the first Fragment pile and begin constructing the bridge between Alph and Brittany. The Rock Pikmin will clear out the pile in a single trip, but it will take some time. Lead your remaining Pikmin onto the Bouncy Mushroom, then leave the Rock Pikmin to work as you follow the path east.
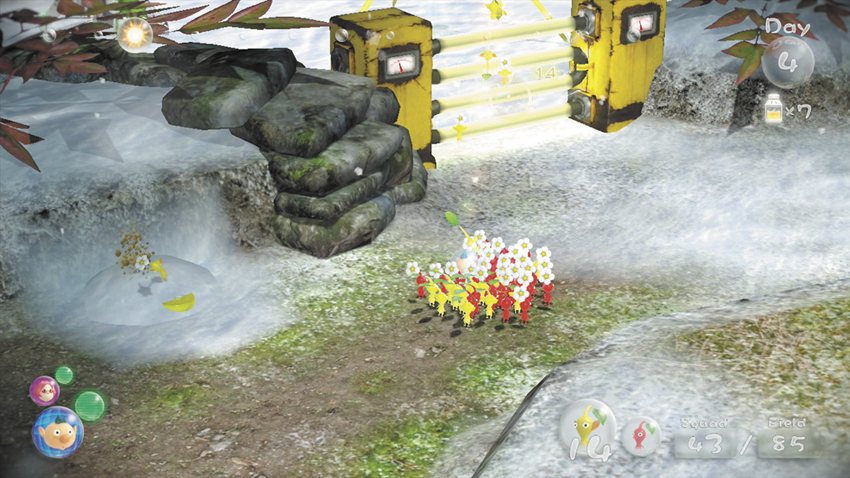
 Put your Yellow Pikmin to work tearing down the Electric Gate just south of the landing site. Continue along the path with only Red Pikmin in tow.
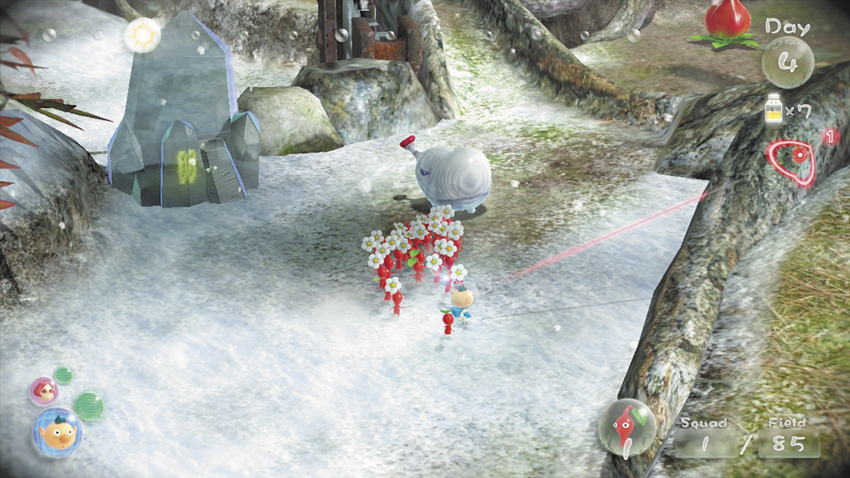
When you reach the Fiery Blowhog, send the Red Pikmin in to attack. You’ll need the Rock Pikmin to destroy the nearby crystal. Leave the defeated enemy for now, and swing back to the first Fragment pile. When all 30 Rock Pikmin are idle, call them back to you and return to the Large Crystal.
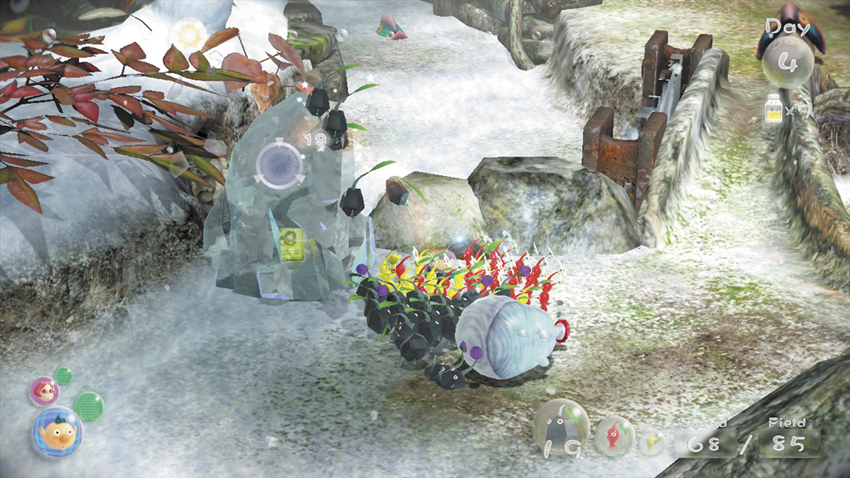
Use the Rock Pikmin to smash the Large Crystal and open up the lower path. The Yellow Pikmin should be just about finished with the Electric Gate. When they’re done, call them to you and lead the whole group off of the ledge and down to the lower path.
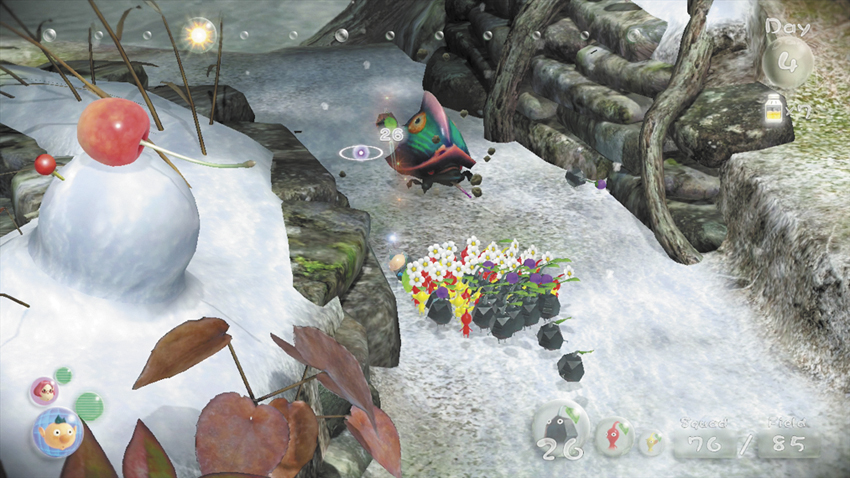
 You land between a Crystal Wall and another Tunnel. Assign a few Pikmin to clear the Tunnel, then deal with the burrowed Joustmite just up the path. Toss a Rock Pikmin near the creature to draw it out of the ground, then use the remaining Rock Pikmin to attack the vulnerable flesh protruding from the back of its shell. During the battle, stay far enough away to keep your less durable Pikmin safe.
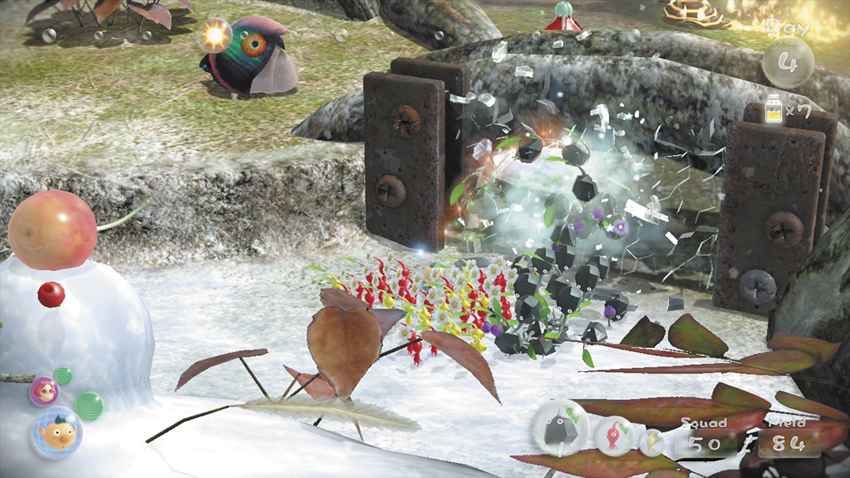
There’s another Joustmite on the ledge to the south. If you like, you can use the Rock Pikmin to take care of this enemy now. Use the map to scan the area for additional enemies on the path back to the landing site. When you’re ready, smash the Crystal Wall at Point 9 and enter the enclosure.
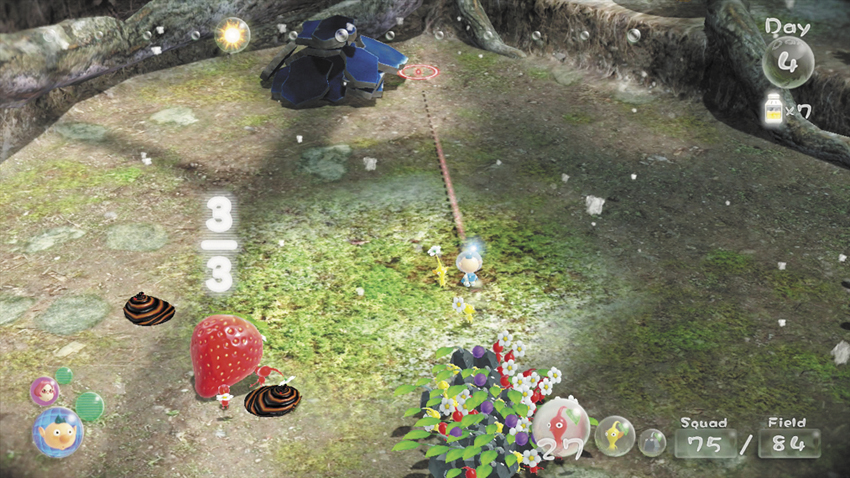
 Throw five to ten Red Pikmin on each of the Pyroclasmic Slooches patrolling the enclosure. Aim for the back half of each creature to avoid their mouths. When you defeat the creatures, one of them spits out a Sunseed Berry (strawberry). As the fire trails burn out, assign at least three Red Pikmin to carry the Sunseed Berry to the landing site. When it’s safe, move to the back of the enclosure and send your Pikmin charging into the Fragment pile.
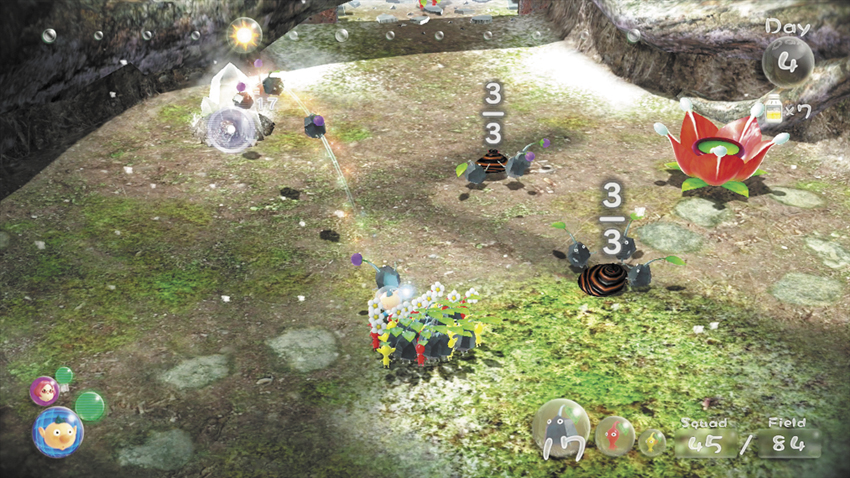
While all 20 Fragments are being carried out of the enclosure, round up your idle Pikmin. Destroy the Small Crystal to reveal a geyser. If you’re willing to risk possible Skeeterskate attacks, assign three Pikmin to each of the defeated Pyroclasmic Slooches. When you’re ready, use the geyser to launch yourself back to the upper path.
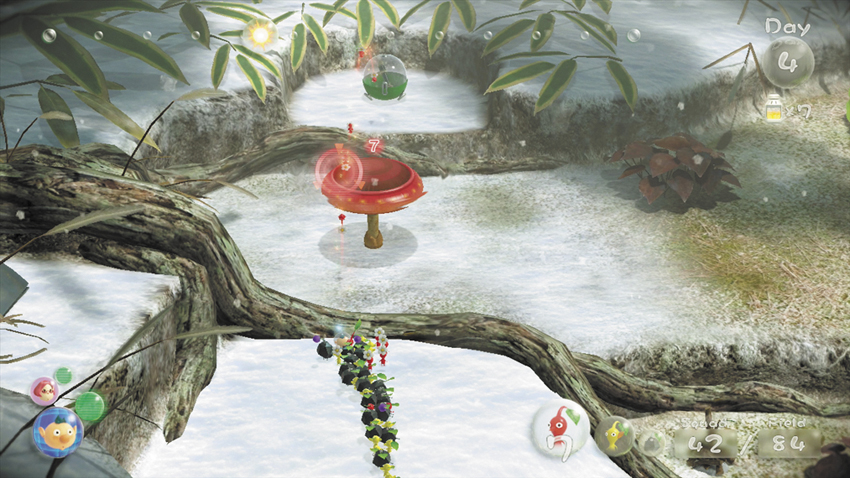
 Follow the upper path east. If you didn’t already defeat the Joustmite on the ledge, do so on your way to Point 11. When you arrive, look for the Dodge Whistle located on the ledge to the south. Throw 10 Pikmin onto the Bouncy Mushroom and over to this useful piece of equipment.
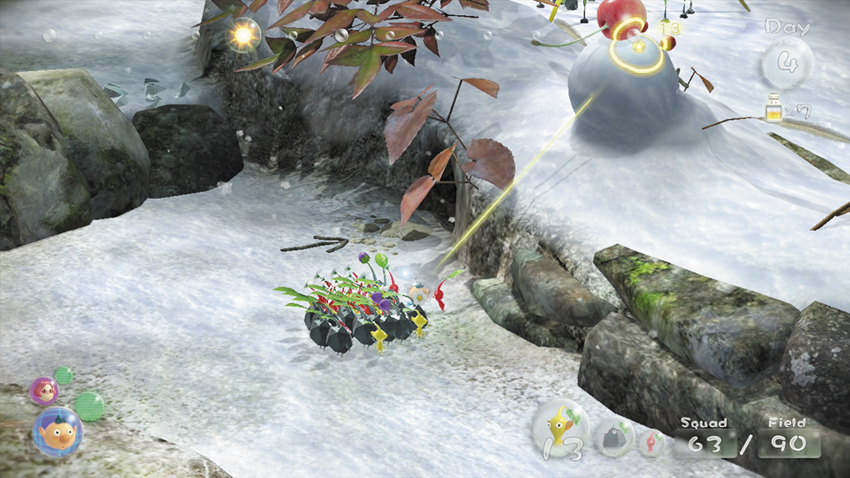
 As the Dodge Whistle is transported to the landing site, drop back down to the lower path and collect the Pikmin that cleared the second Tunnel. Look for the Cupid’s Grenade (cherry) high atop the snowman on the ledge above the Tunnel. Slip through the Tunnel and toss a Yellow Pikmin up to the Cupid’s Grenade. When the fruit is free, this Pikmin should automatically collect it.
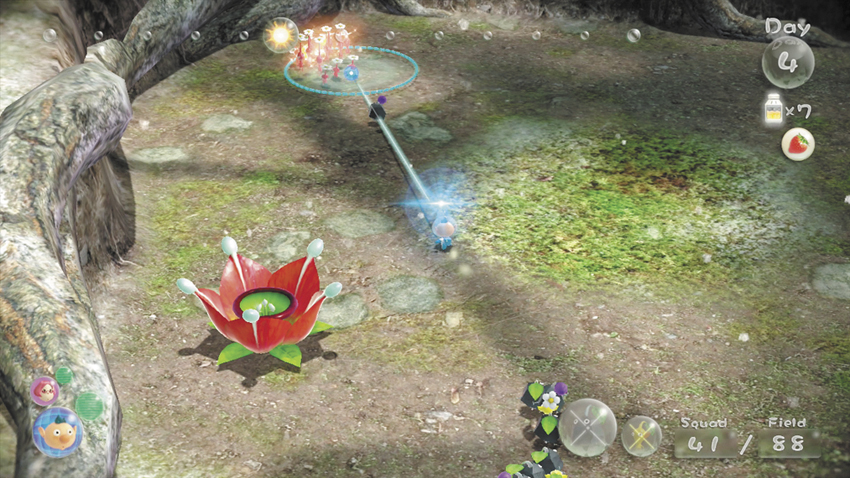
At this point, you should be less than halfway through Day 4. Round up the idle Pikmin that have returned to the second Fragment pile, and check the in-game map for any additional Pikmin you might have lost while exploring the area. If you like, you can assign Red Pikmin and/or Rock Pikmin to carry any of the defeated enemies left in the area—just make sure you’re ready to move on before midday.
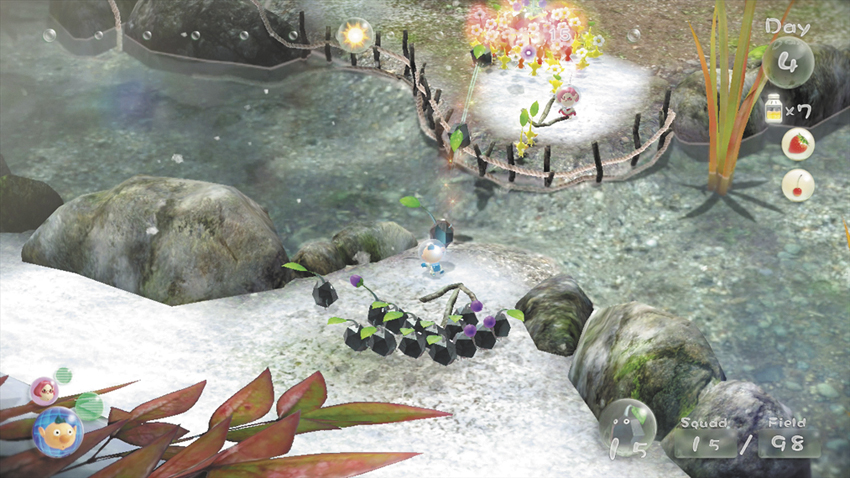
 Gather the idle Pikmin at the landing site and pluck any new sprouts that have appeared. If you like, call additional Pikmin down from the Onion to fill out your party. Return to the spot where you collected the Yellow Pikmin, then throw your entire army across the water to Brittany.
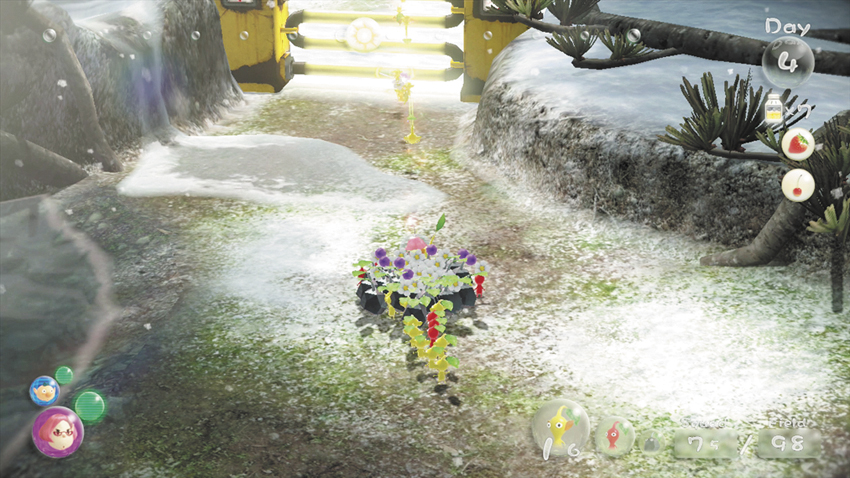
 Switch crew members and gather the idle Pikmin. Back away from the water and put the Yellow Pikmin to work on the Electric Gate. While they begin destroying the obstacle, head up the slope to the east.
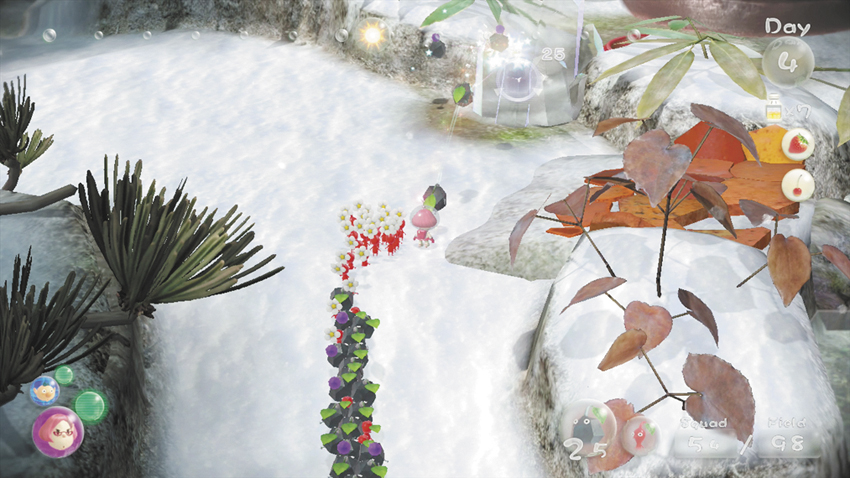
 Use the Rock Pikmin to destroy the Large Crystal at the top of the slope. This opens a path to another Bouncy Mushroom. When the obstacle is destroyed, toss about half of your Rock Pikmin onto the Bouncy Mushroom and follow the curved path to the north.
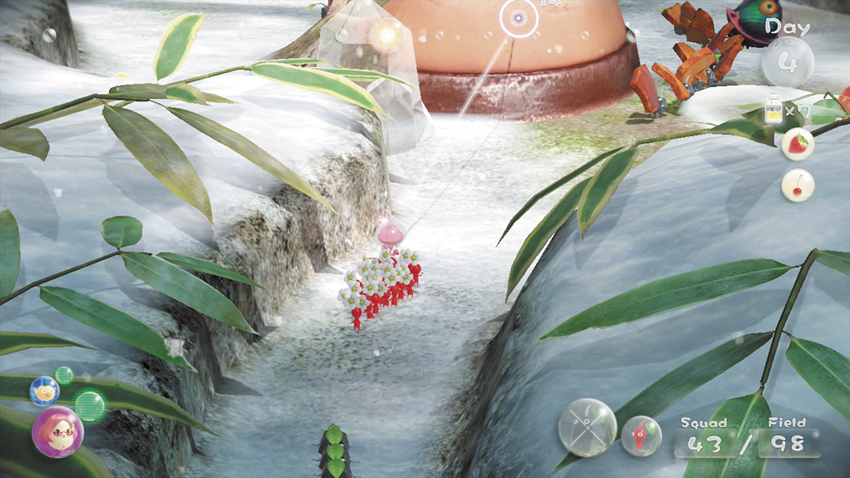
 As you head down the curved path, you should pass your Rock Pikmin carrying the first Fragments of Brittany’s half of the bridge. The two Joustmites in the area can’t harm these durable allies, but make sure you keep the rest of your Pikmin safe from their attacks. Smash the Large Crystal at the bottom of the curved path to create a shorter route, to Brittany’s first Fragment pile, then circle the flower pot and clear out the enemies.
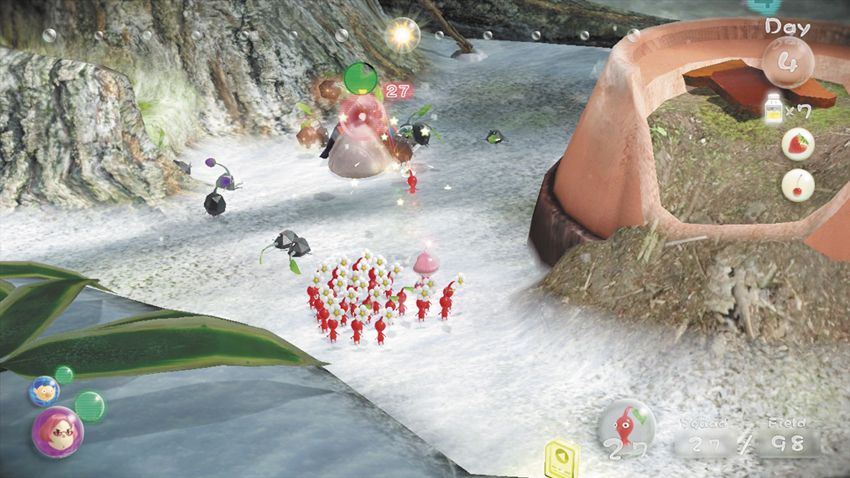
 As you deal with the Joustmites, your working Pikmin should finish off the Fragment pile. Feel free to destroy the nearby Pellet Posy, but don’t collect the 5 Pellet just yet. Leave the defeated Joustmites, gather your idle Pikmin from the Flower Pot, and head back up the curved path.
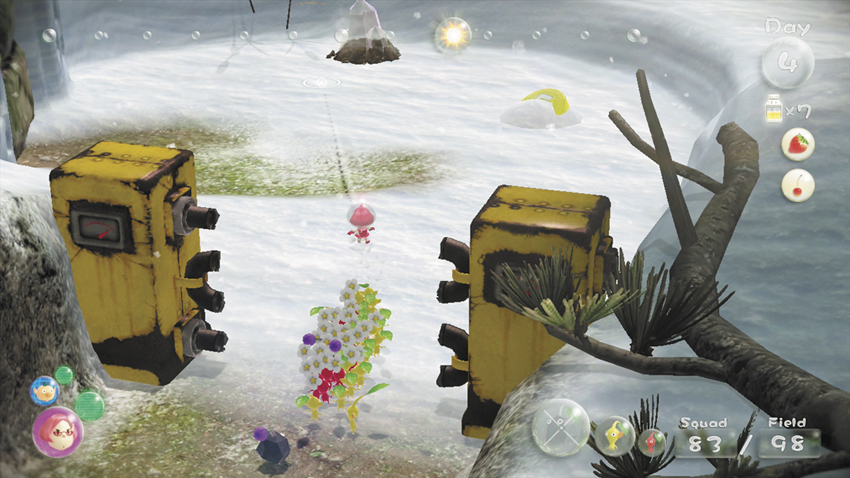
 By now, the Yellow Pikmin have finished destroying the Electric Gate. Return to their position and call them to your side. Head through the opening and use your Rock Pikmin to clear the Small Crystal from the geyser. There are two Arctic Cannon Larvas firing Snowballs from the nearby ledges. Any Pikmin caught in a Snowball’s path won’t be harmed, but they will be temporarily incapacitated. Use the geyser to launch yourself to the first ledge.
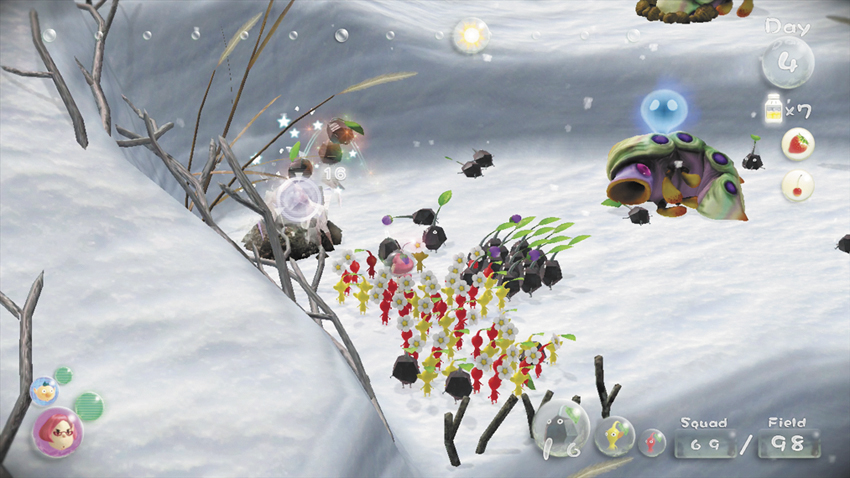
 When you land, take care of the first Arctic Cannon Larva and clear the small crystal from the nearby geyser. Use the second geyser to reach the upper ledge. You land near a fresh pile of Fragments and a Whiptongue Bulborb.
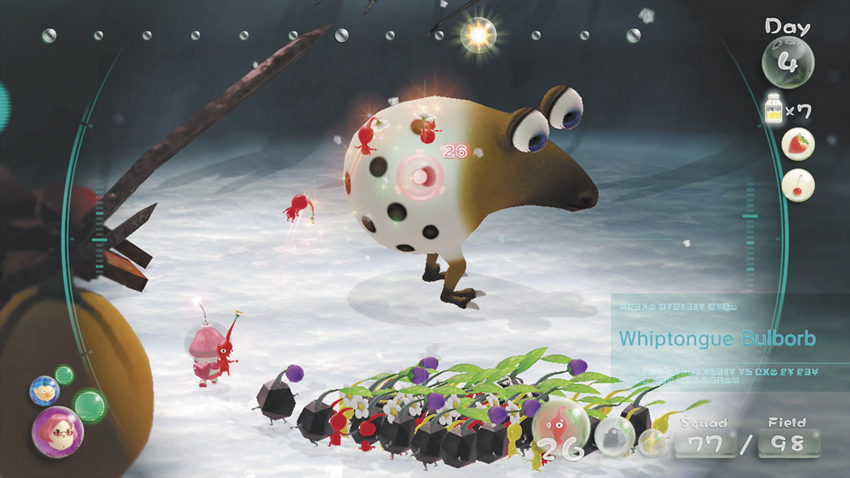
 A Whiptongue Bulborb can eat a lot of Pikmin very quickly. When you land, Lock onto the creature and try to slip behind it. As you move, throw Pikmin onto its back to help keep it from turning with you. Once you successfully flank the creature, send your Pikmin charging in to defeat it quickly.
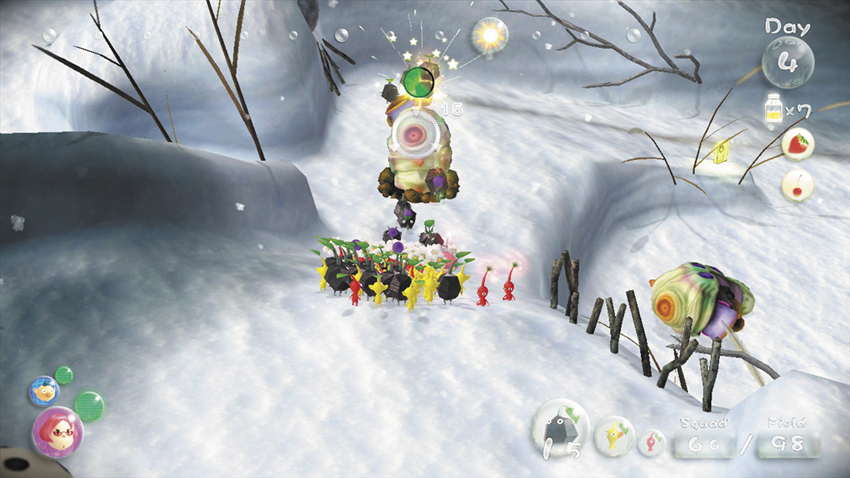
When the Whiptongue Bulborb is down, attack the Arctic Cannon Larva to the east.
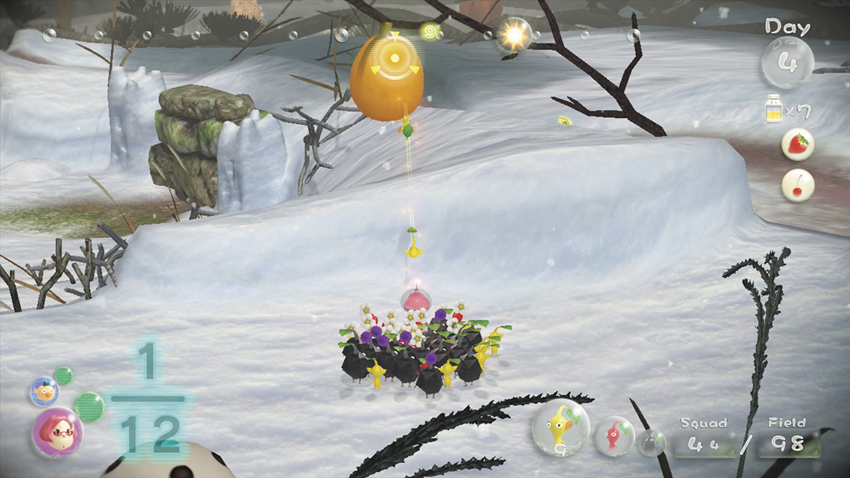
When the area is clear of enemies, gather your forces and toss five Yellow Pikmin to the side. Send the rest of your Pikmin charging into the Fragment pile. As long as the bulk of your Pikmin made it to the upper ledge, you should have more than enough to move all 30 Fragments in one trip. Gather all of the remaining Pikmin and throw the Yellow Pikmin up to the Velvety Dreamdrop (loquat) hanging from the nearby branch.
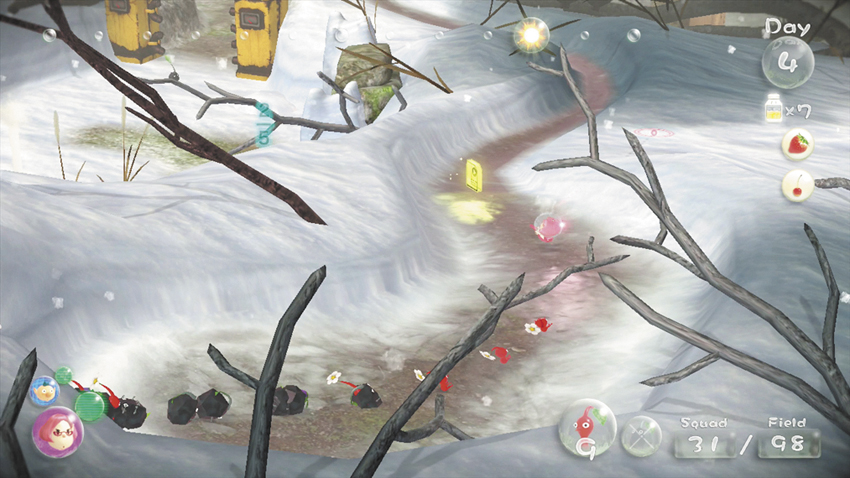
 The Yellow Pikmin are able to pull the Velvety Dreamdrop loose, but the landing generally knocks them away from the fruit, so it’s unlikely they’ll carry it back to the ship. Use the nearby winding path to slide down from the upper ledge. This not only provides a speedy shortcut, it allows you to collect an out-of-the-way Data File.
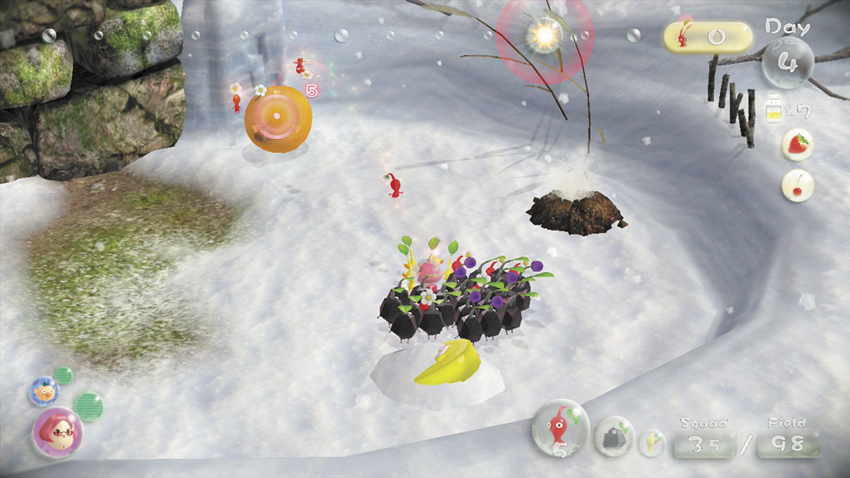
When you land, head back into the enclosure and round up any Pikmin that failed to reach the upper ledge. If needed, assign up to 10 new Pikmin to carry the Velvety Dreamdrop, then use the geysers to return to the upper ledge.
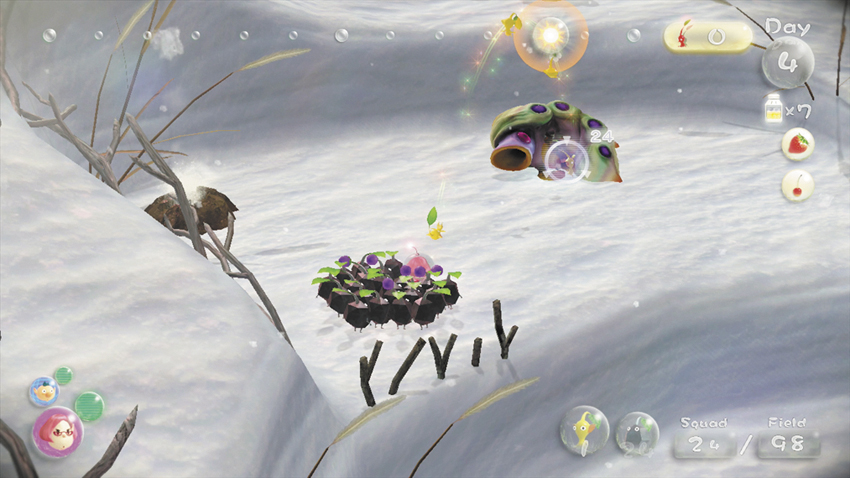
Gather the idle Pikmin from the Fragment pile and check the timer. If you’ve moved fairly quickly, you should have enough time to collect the fallen enemies and several pellets. If possible, assign enough Yellow Pikmin to each body to ensure it’s delivered to their Onion. Check the map for stray Pikmin and use one of the crew members to gather them. If possible, pluck any sprouts that appear at the Yellow Pikmin’s Onion before the day ends.