
Pikmin 3 Guide Walkthrough Day 14 - Garden of Hope
Day 14 - Garden of Hope
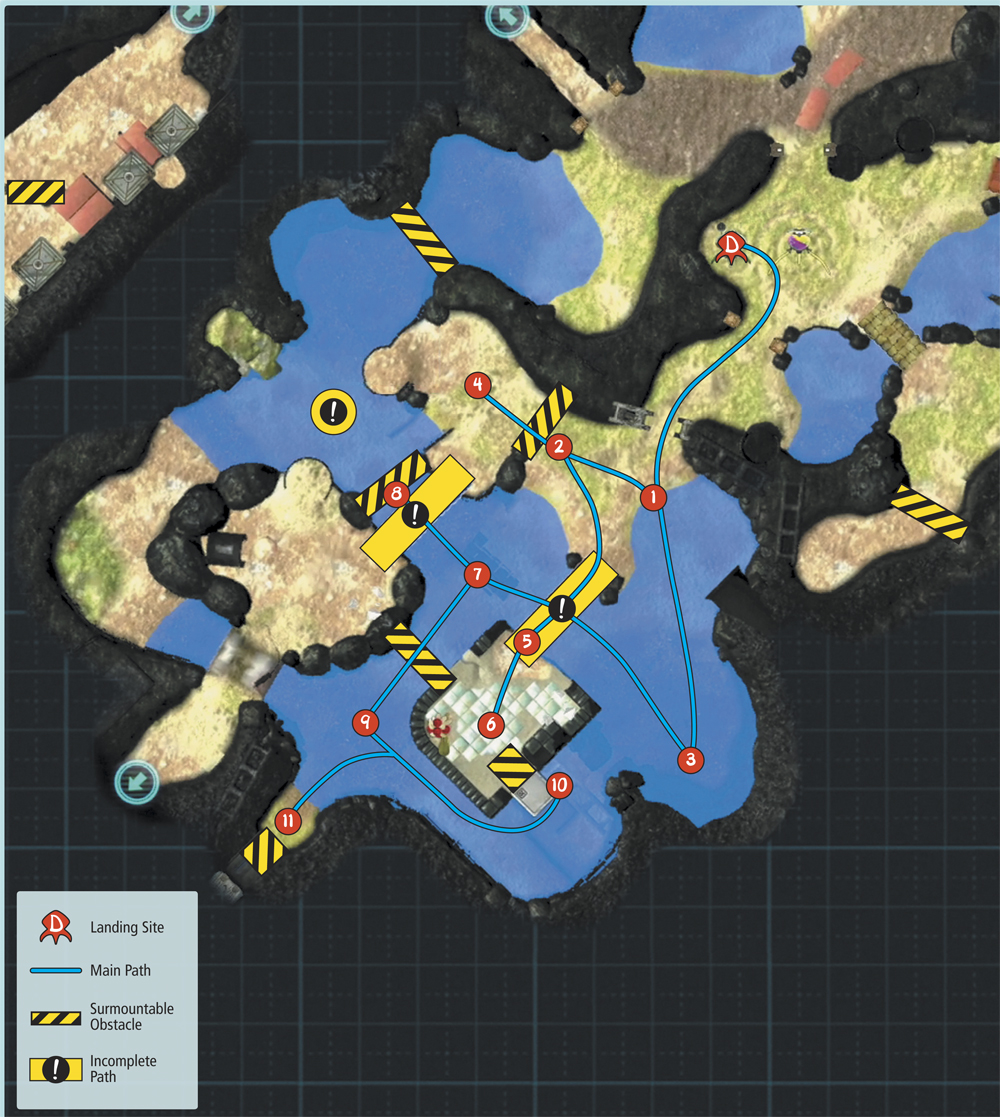
Map: Garden of Hope
Remaining Juice: 0 canisters
Objectives: Acquire the Blue Pikmin, expand their numbers, and collect fruit to begin rebuilding your juice supply.
While the crew was sleeping, Louie landed the ship in the Garden of Hope and absconded with the entire juice supply. Head into the newly accessible area, acquire the Blue Pikmin, and bolster their numbers as quickly as possible. You’ll need to find more fruit if you hope to survive the night, so make sure you grab any fruit you find.
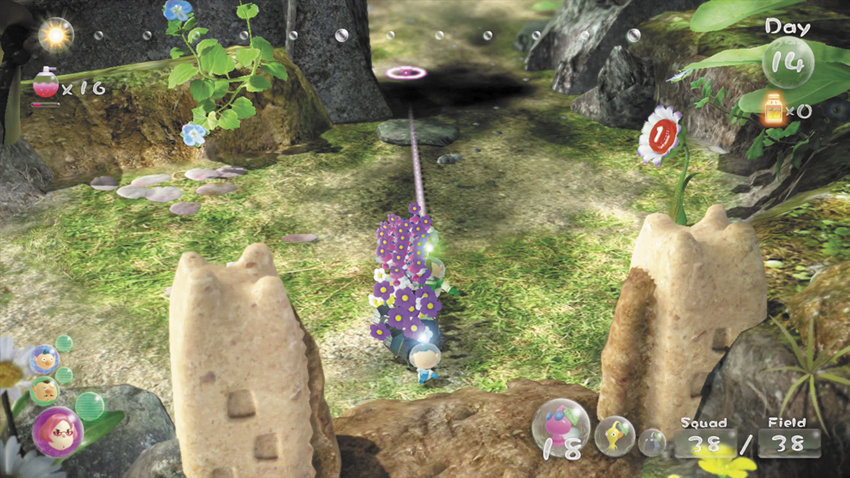
 When the day starts, form a squad consisting of all three crew members, 10 Rock Pikmin, 10 Yellow Pikmin, and 18 Winged Pikmin. Lead this streamlined squad to the southwest, through the opening Louie created during his escape.
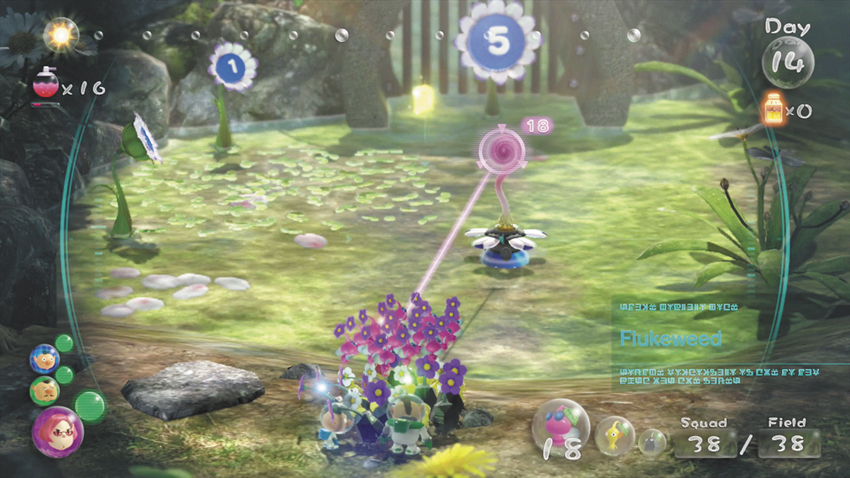
 As you step through the opening, turn toward the water to the south. Throw three Winged Pikmin onto the Flukeweed attached to the partially buried Onion. As they work, send the rest of your squad charging into the Dirt Wall to the west.
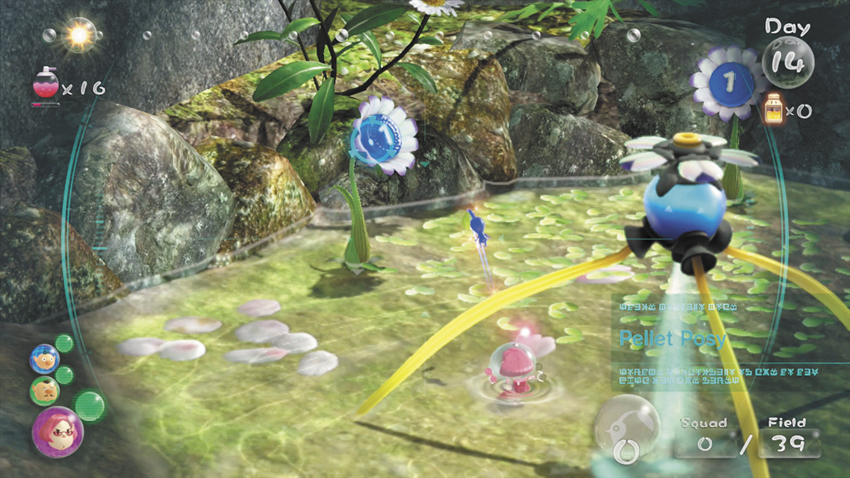
When the three Winged Pikmin free the new Onion, have them help destroy the Dirt Wall. While your starting squad is completing that task, pluck the sprout that dropped from the Onion. Begin harvesting the surrounding pellets and pluck the new sprouts as they become available.
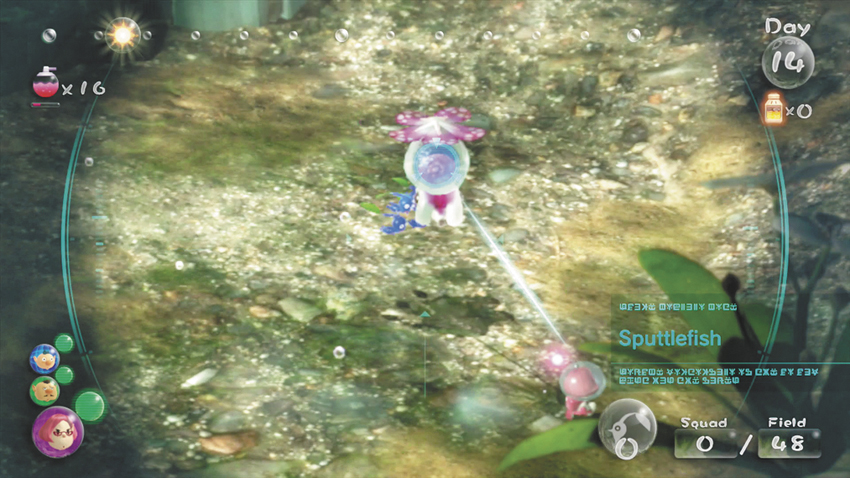
 After you gather the nearby pellets, lead all 10 of your Blue Pikmin south to find a Sputtlefish swimming near a submerged Fragment pile. Send your squad charging into Sputtlefish. If the Sputtlefish releases a cloud of ink, simply gather your scattered Pikmin and send them charging back in. After the battle, assign five Blue Pikmin to transport the defeated enemy, then assign the rest of the squad to the nearby Fragment pile.
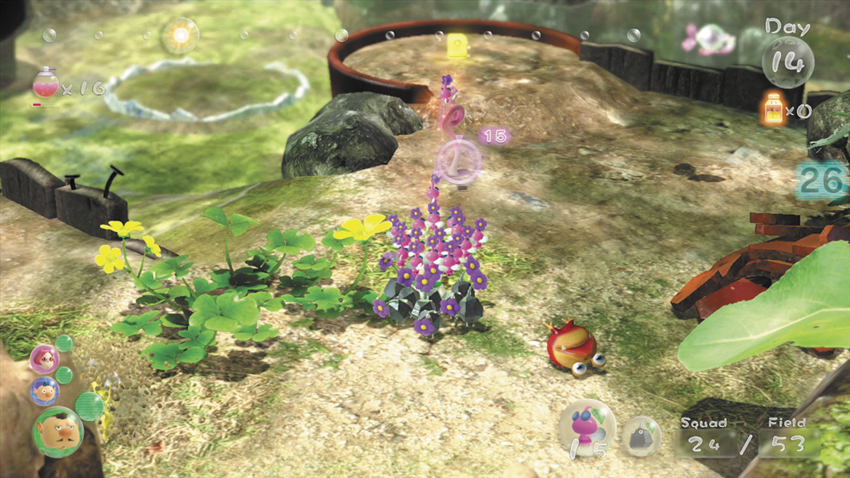
 By now, the Dirt Wall should be destroyed. Switch crew members and round up the idle Pikmin to reform your main squad. Toss one crew member toward the Blue Pikmin’s Onion, then step through the remains of the Dirt Wall. Defeat the Dwarf Bulborb, but recall your Pikmin before they carry it off. Assign all of your Yellow Pikmin to unearth the half-buried pellet just inside the enclosure, then throw five Winged Pikmin onto the nearby Flukeweed. Send the rest of your squad charging into the nearby Fragment pile.
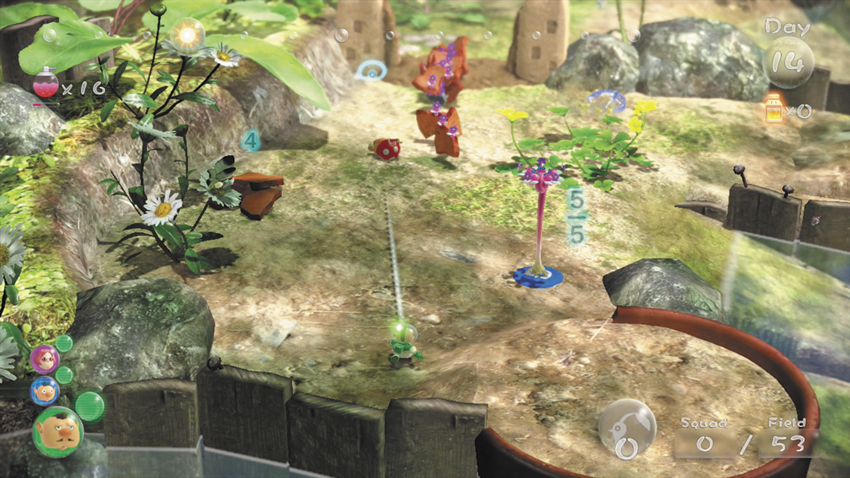
Stay in the area and wait for your Pikmin to complete their tasks. Recall your Yellow Pikmin and Winged Pikmin once they’ve freed their respective pellets and have them transport any remaining Fragments. Gather your Pikmin as they return from delivering the Fragments—it’s important that the defeated enemy and both pellets stay in the area until your Blue Pikmin have a chance to collect them. As you wait, use a Winged Pikmin to attack the White Spectralids fluttering around the nearby flowers.
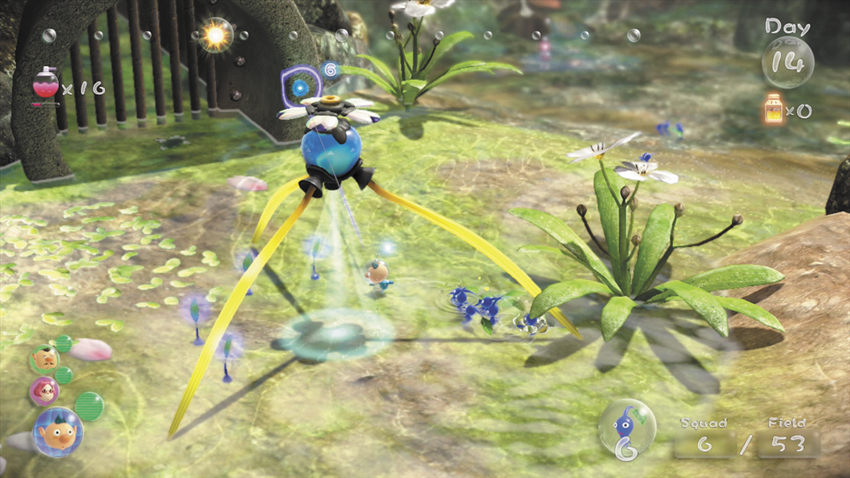
After the main squad finishes transporting their Fragments, switch to the crew member you threw near the Blue Pikmin’s Onion. Pluck the new sprouts and gather the Blue Pikmin that transported the Sputtlefish. When you finish, you should have a squad of 10 Blue Pikmin.
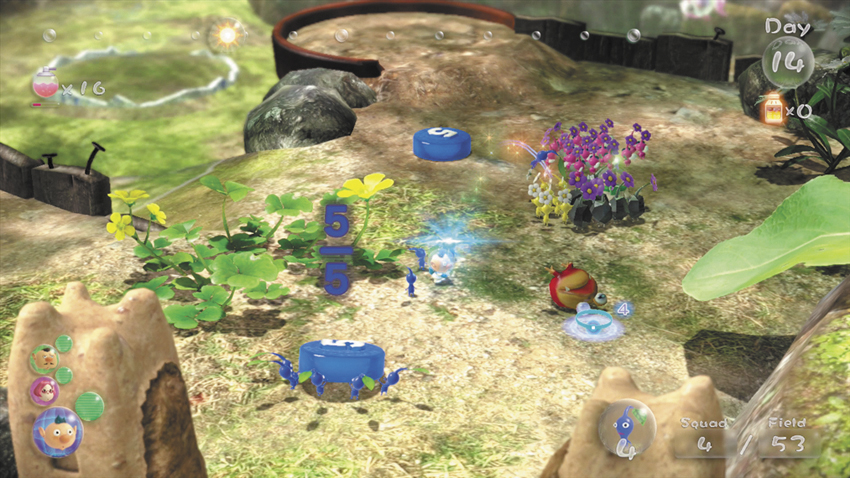
Lead your squad through the remains of the Dirt Wall to collect the pellets and defeated enemies. It takes multiple trips to transport the objects, so stay with your Blue Pikmin to keep them working.
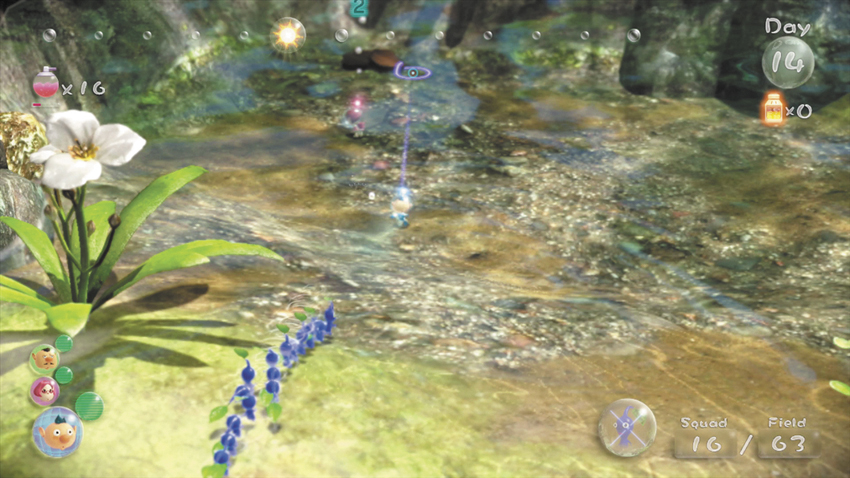
When the Blue Pikmin have transported all of the objects, call them back to your side and pluck the new sprouts. Move south and use this squad to help carry any Fragments still remaining in the first pile.
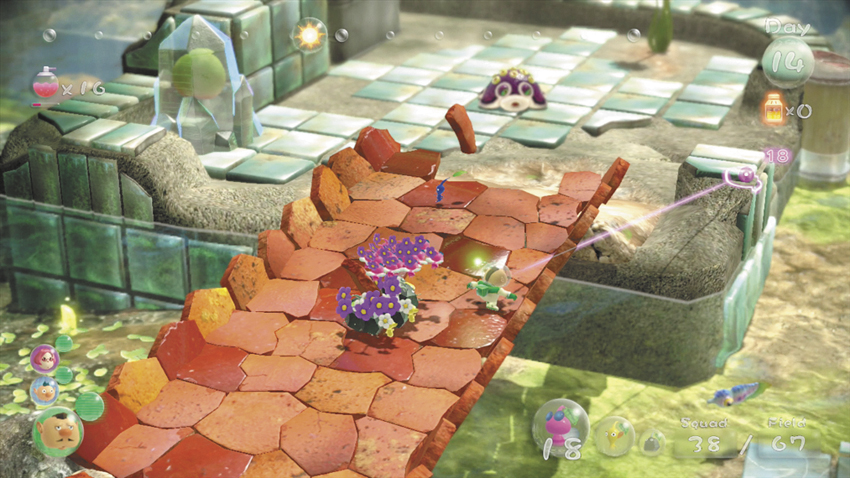
 Switch back to your main squad and move onto the bridge your Pikmin have been building. When the last Fragment is delivered, cross the bridge and lock onto the waiting Waddlepus. Move quickly to flank the creature and send your squad charging in.
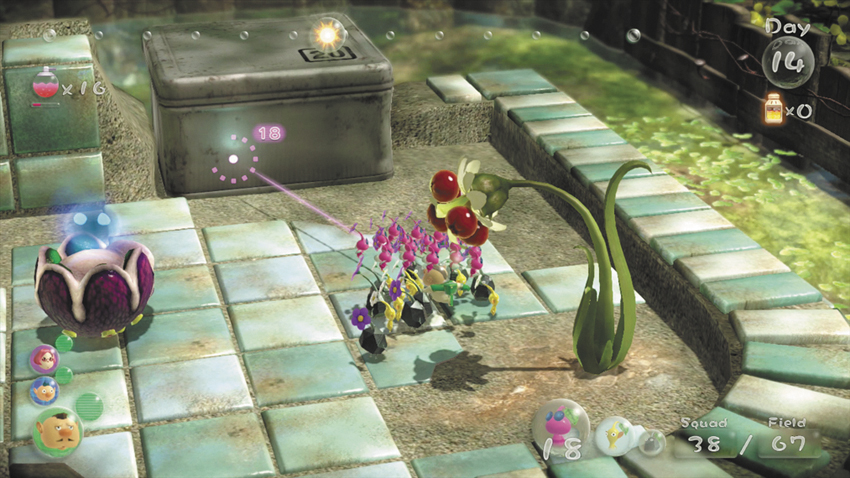
 After you defeat the Waddlepus, gather your Pikmin and charge the nearby Tin Box. After a moment, your Pikmin slide the Tin Box off of the platform and into the water, filling a gap in the ledge below.
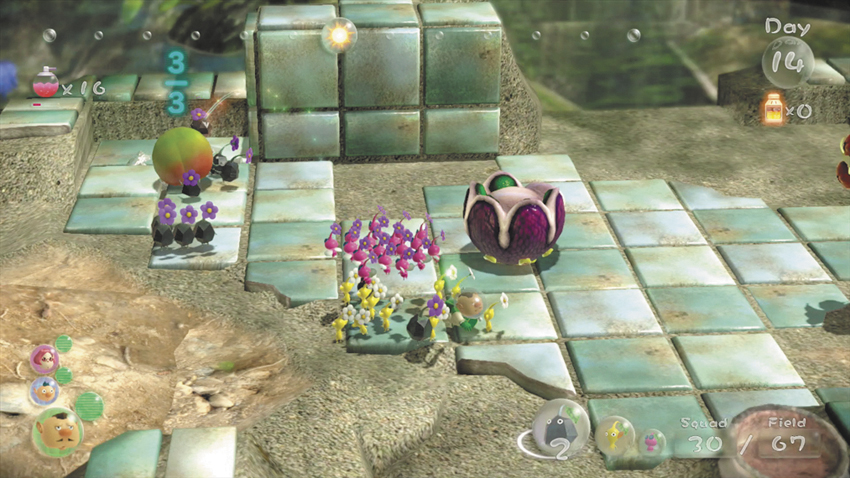
Use your Rock Pikmin to free the Searing Acidshock (green apricot) from the nearby Large Crystal. Assign at least three Rock Pikmin to transport the fruit, then have your Yellow Pikmin and all of your remaining Rock Pikmin gather the Ultra-Spicy Berries growing at the platform’s opposite corner.
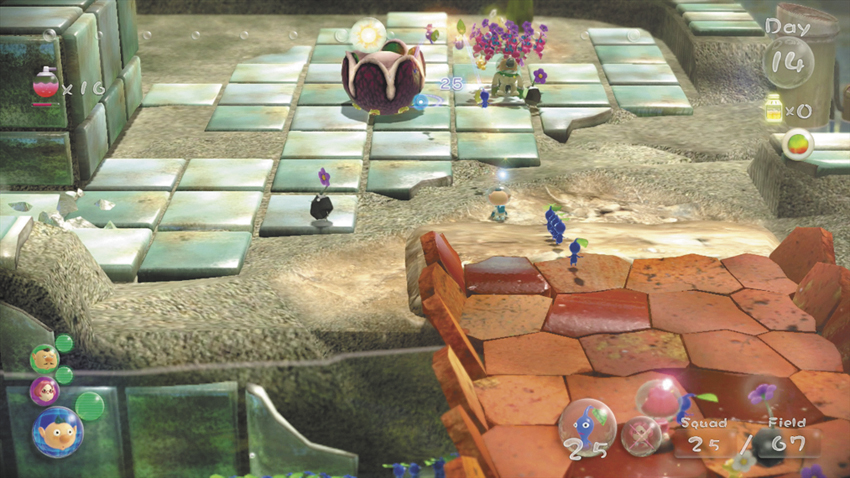
Switch to one of the crew members you left near the underwater Fragment pile. Form a squad consisting of two crew members and all of your Blue Pikmin, then head across the newly constructed bridge and assign seven Blue Pikmin to transport the defeated Waddlepus.
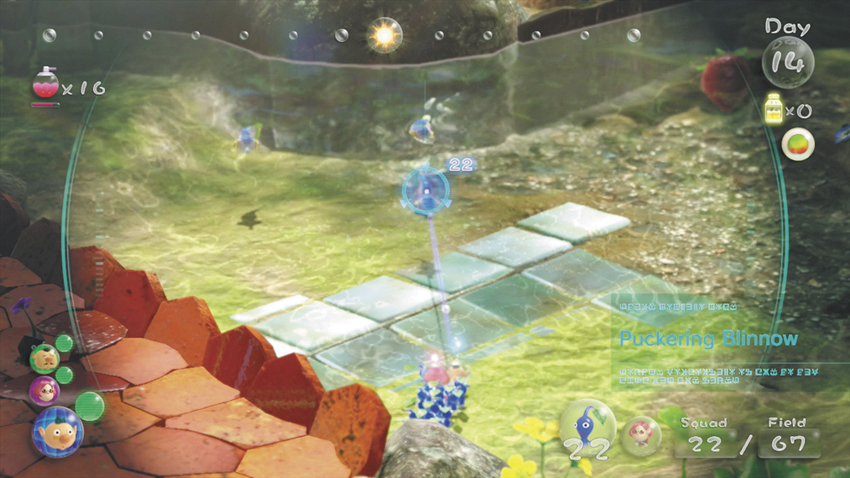
 Take your remaining Blue Pikmin and return to the water, then clear out the three Puckering Blinnows northwest of the newly constructed bridge. Start by charging the nearest enemy, then gather your Pikmin and repeat the process until the area is clear. If a Puckering Blinnow skewers one of your Blue Pikmin, make that target a priority. If you move quickly, you can rescue the Pikmin before it’s devoured.
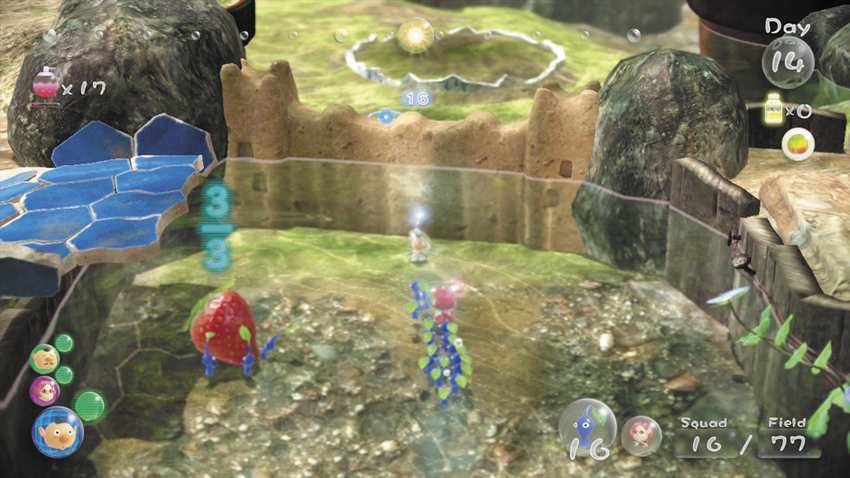
 Assign one Pikmin to transport each of the defeated enemies, then locate the Dirt Wall to the northwest. Assign three Pikmin to carry the nearby Sunseed Berry (strawberry), then toss one crew member and around half of your remaining squad over to the Dirt Wall. Turn around and follow the Pikmin you assigned to the Sunseed Berry.
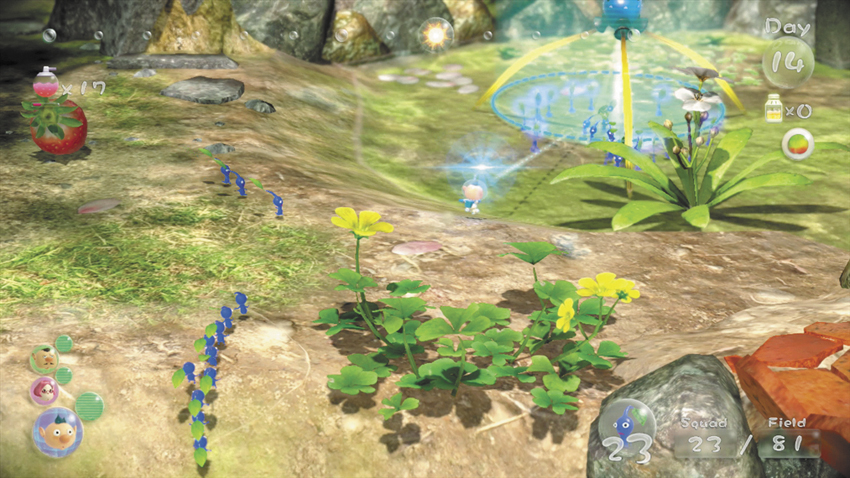
Once the Sunseed Berry is on dry ground, recall the Blue Pikmin that are carrying it. Round up the idle Blue Pikmin waiting at their Onion and begin plucking the new sprouts that have appeared.
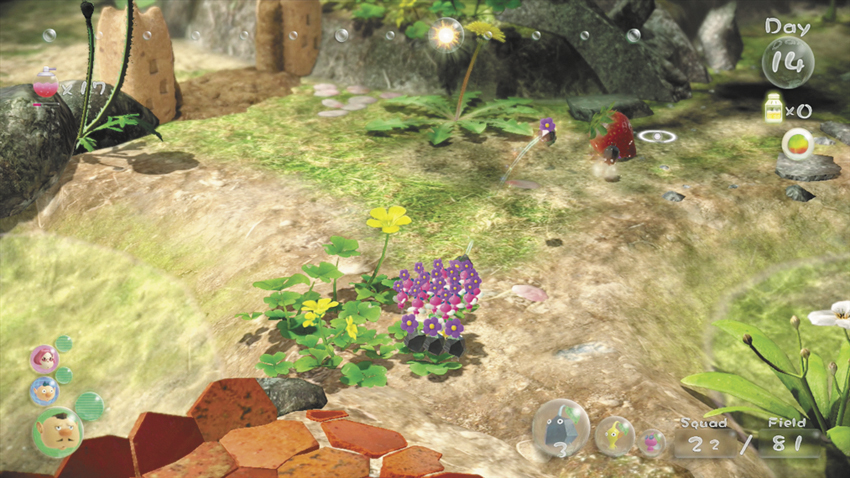
Switch to the crew member you left on the platform. Gather three of the Rock Pikmin or Yellow Pikmin assigned to collect Ultra-Spicy Berries, then lead them across the bridge and have them transport the abandoned Sunseed Berry back to the landing site. Once the strawberry is en route, turn around and head back across the bridge.
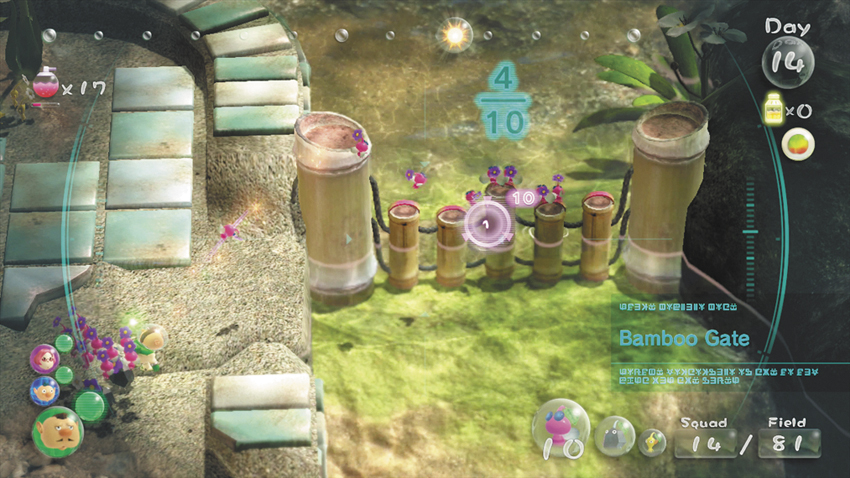
Switch back to the crew member near the Blue Pikmin’s Onion and lead your squad into the water. Stand just outside the Bamboo Gate north of the Ultra-Spicy Berries. When you’re ready, switch to the crew member on the nearby platform and assign 10 Winged Pikmin to lift the Bamboo Gate.
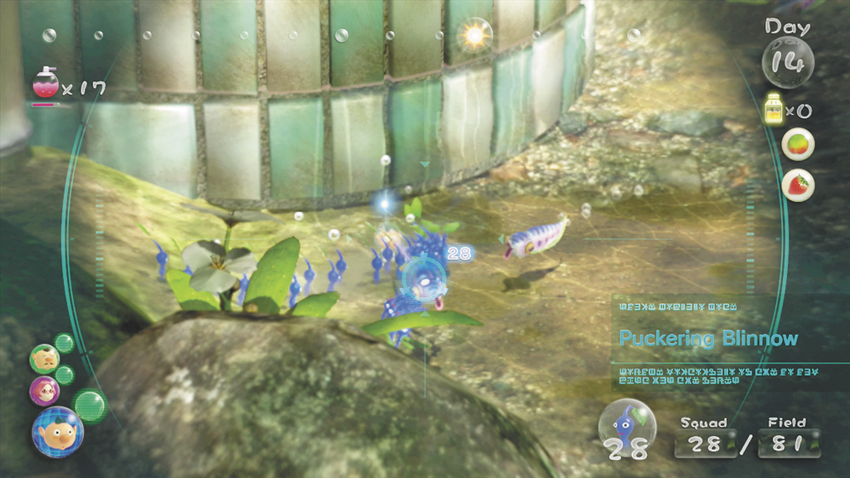
 Switch back to the crew member leading the large squad of Blue Pikmin and pass under the raised Bamboo Gate. Lock onto the nearest Puckering Blinnow you see, then have your entire squad charge the enemy. Clear out the remaining enemies and allow one Blue Pikmin to transport each Puckering Blinnow back to its Onion.
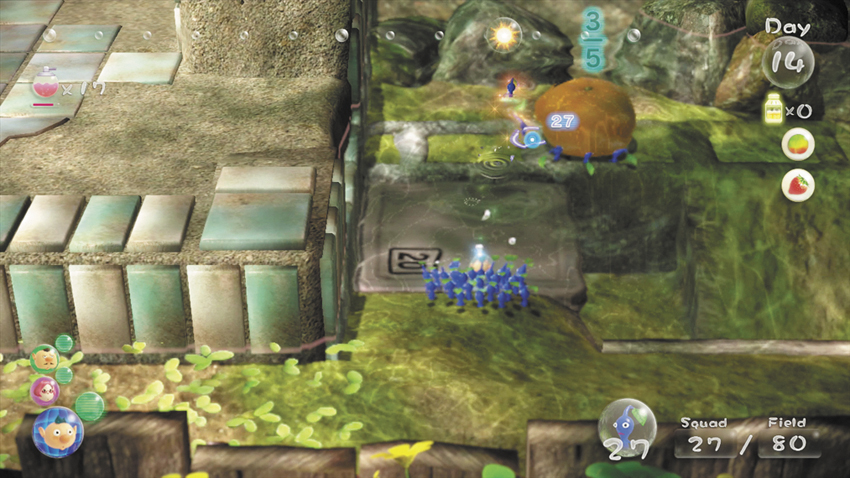
 Lead the rest of your squad down the path to the southeast to find a Citrus Lump (mikan) near the Tin Box you pushed off of the platform earlier in the day. Assign at least five Pikmin to carry the fruit, then drop down and collect the Data File in the nearby pit. When you’re ready, climb out of the pit and return to the water near the raised Bamboo Gate.
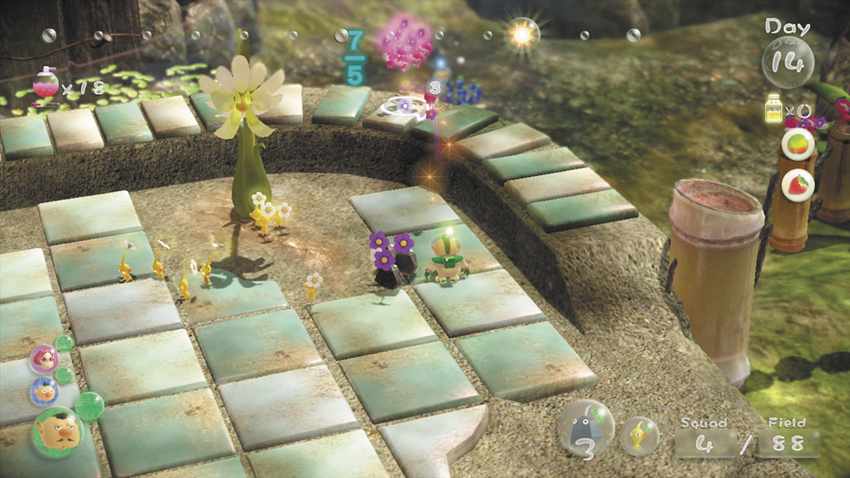
Switch to the crew member on the platform, then throw the eight remaining Winged Pikmin onto the ledge. Switch back and call the group of Winged Pikmin into your squad.
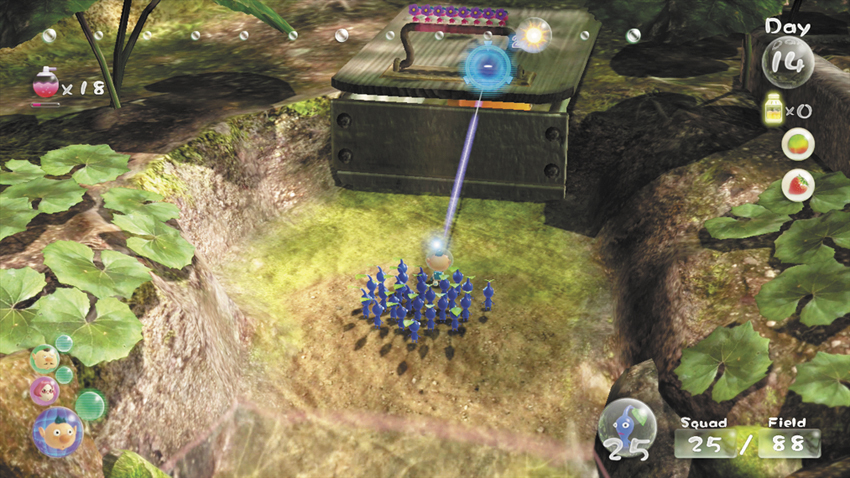
 Locate the box on the small patch of dry ground to the southwest, then use the eight Winged Pikmin to raise the Clipboard acting as a makeshift lid. When the box is open, toss up to 10 Blue Pikmin onto the revealed Velvety Dreamdrop (loquat). While the fruit is transported back to the landing site, gather the Winged Pikmin you used to lift the Clipboard.
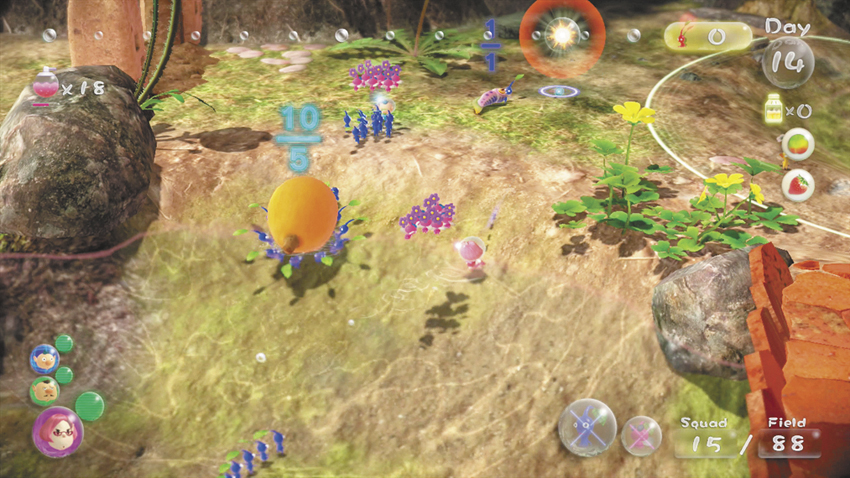
At this point, there probably isn’t much time left in the day. Switch between crew members and collect your idle Pikmin. Once the Velvety Dreamdrop has passed under the Bamboo Gate, recall the Winged Pikmin that have been keeping the path open. Before the day ends, remember to pluck the new sprouts at the Blue Pikmin’s Onions and grab any Pikmin still collecting Ultra-Spicy Berries.