
Pikmin 3 Guide Walkthrough Day 23 - Formidable Oak
Day 23 - Formidable Oak
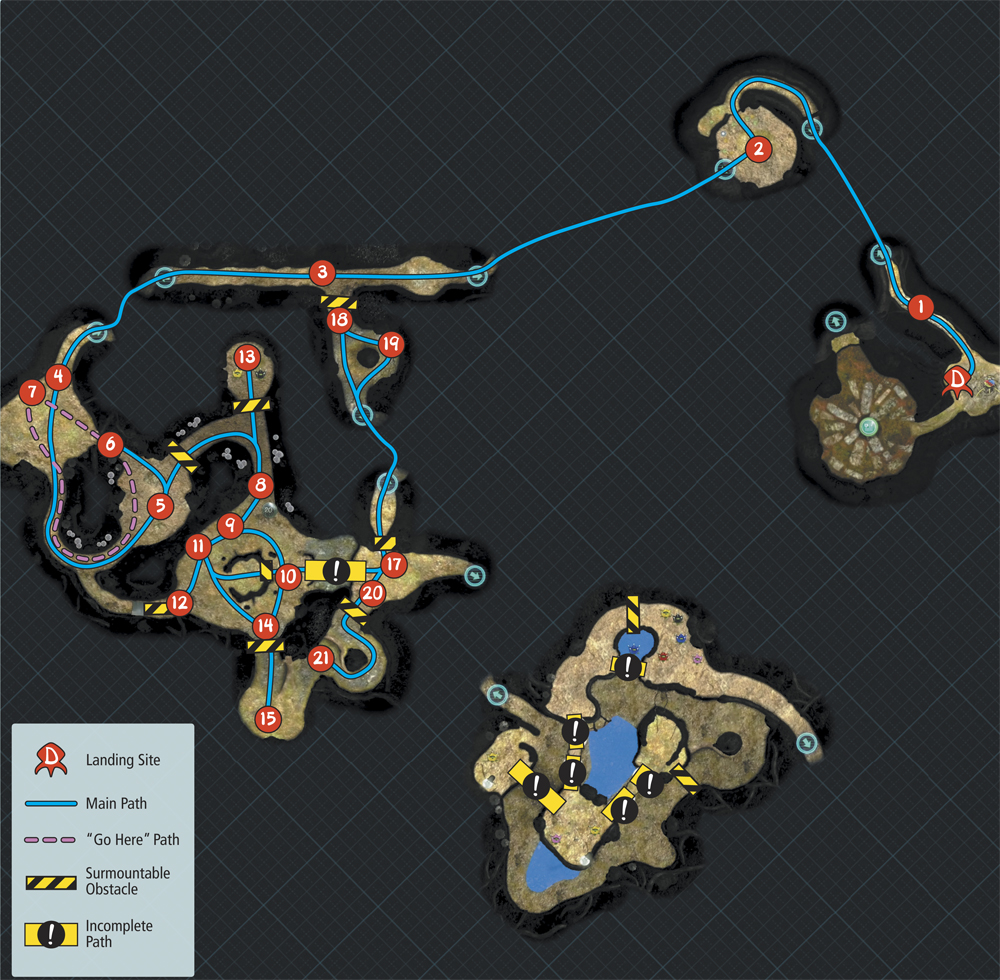
Map: Formidable Oak
Remaining Juice: 76 canisters
Objectives: Keep Captain Olimar safe as you search for a route back to the landing site.
Now that you’ve collected all of the fruit, it’s time to track down the cosmic-drive key. Search the Formidable Oak for the source of the signal and see if you can find this crucial piece of equipment.
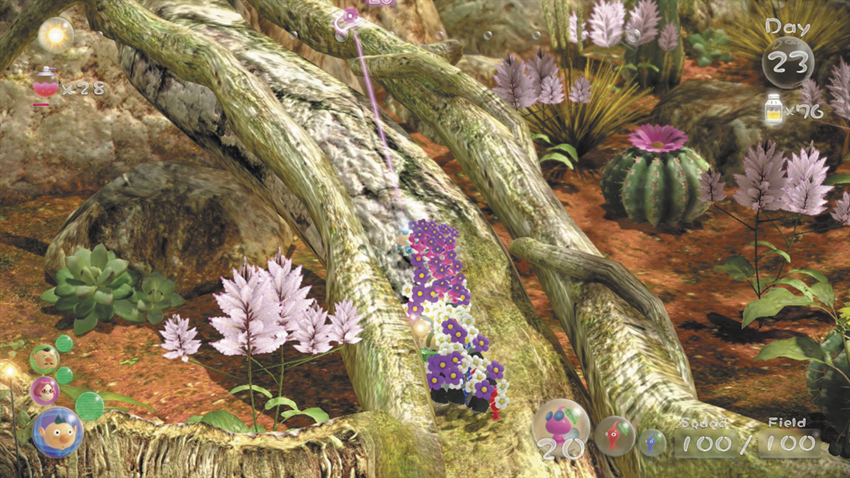
 When the day starts, create a squad consisting of three crew members and 20 of each Pikmin type. A well-balanced squad is essential for tackling the tasks ahead, and you’ll want to fill every available spot. Once you’ve assembled your squad, climb the large root north of the landing site and follow the path to the next area.
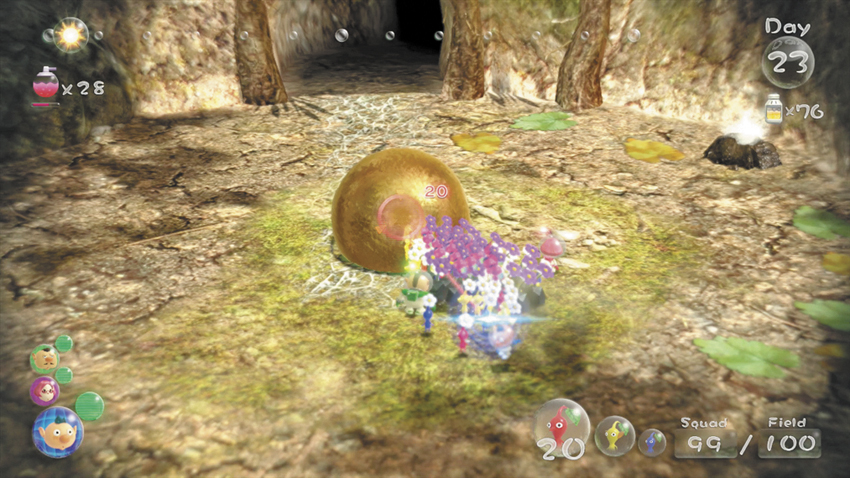
 When you reach the end of the path, you discover a Mysterious Life-Form standing over an unconscious Captain Olimar. Drop down from the ledge and investigate. As you approach, the Mysterious Life-Form absorbs Olimar and transforms into a sphere. Send your squad charging in to attack the Mysterious Life-Form until Olimar is free.
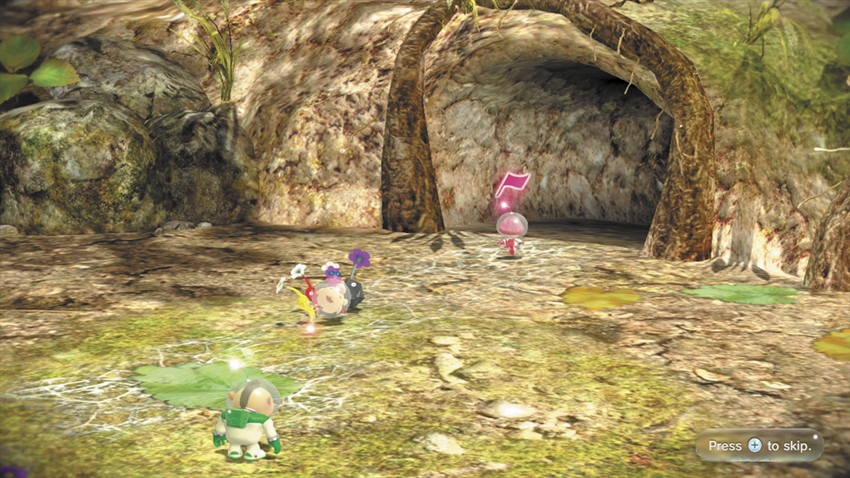
Once Olimar is free, assign five Pikmin to carry him—choose one member of each Pikmin type to ensure your main squad remains balanced. When all five Pikmin are in place, the crew realizes they must find an alternate route back to the ship. Brittany volunteers to lead the Pikmin transporting Olimar while the main squad searches for a new path.
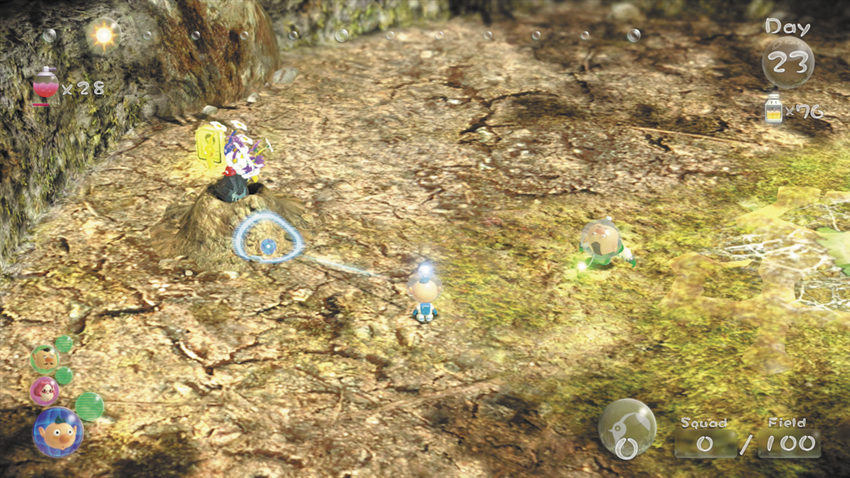
After Brittany heads into the nearby passage, send your squad charging into the nearby Dirt Mound. Collect the resulting Data File, gather your squad, then follow Brittany into the passage.
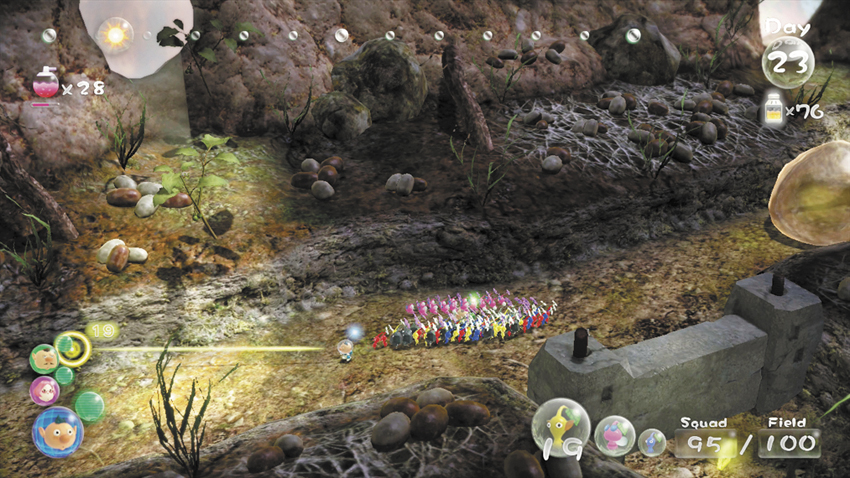
 When you land, the Mysterious Life-Form appears behind your main squad. Move quickly to keep your Pikmin safely ahead of the enemy. Follow the path to find Brittany in the next area.
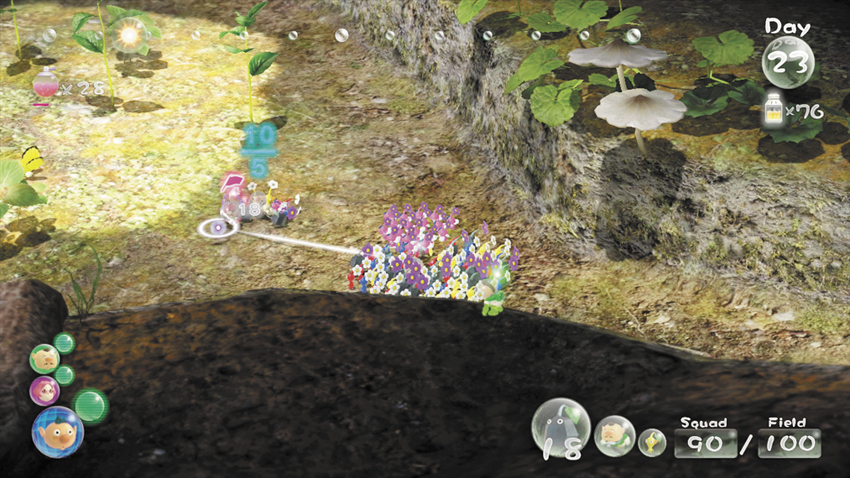
 When you reach Brittany, assign five more Pikmin to carry Olimar—again, select one Pikmin from each type to keep your main squad balanced. With a total of 10 Pikmin carrying Olimar, it’s much easier to move him out of dangerous situations. Call Brittany back into your squad without disturbing the Pikmin assigned to Olimar. Cross the enclosure and follow the path to the south. As you do, the Pikmin carrying Olimar follow your squad.
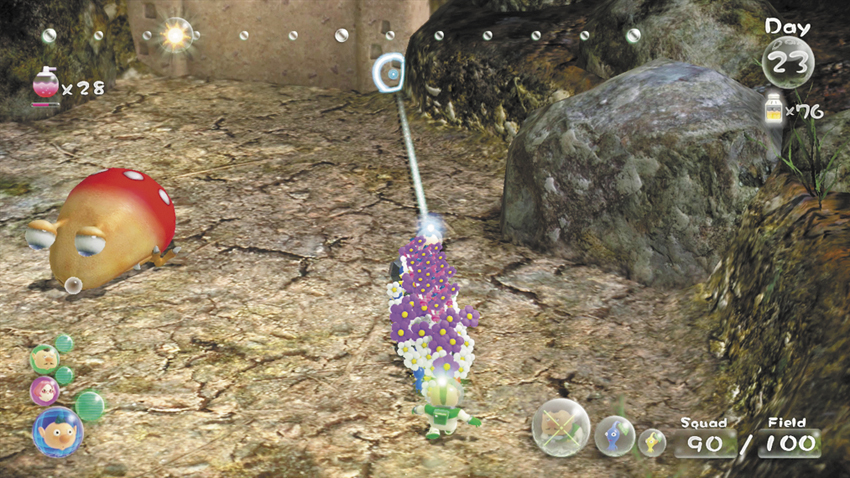
 When you reach the enemies in the next area, clear out the three nearest Dwarf Bulborbs. Toss Brittany out of the squad, then sneak past the sleeping Bulborb and have your Pikmin attack the Dirt Wall to the north.
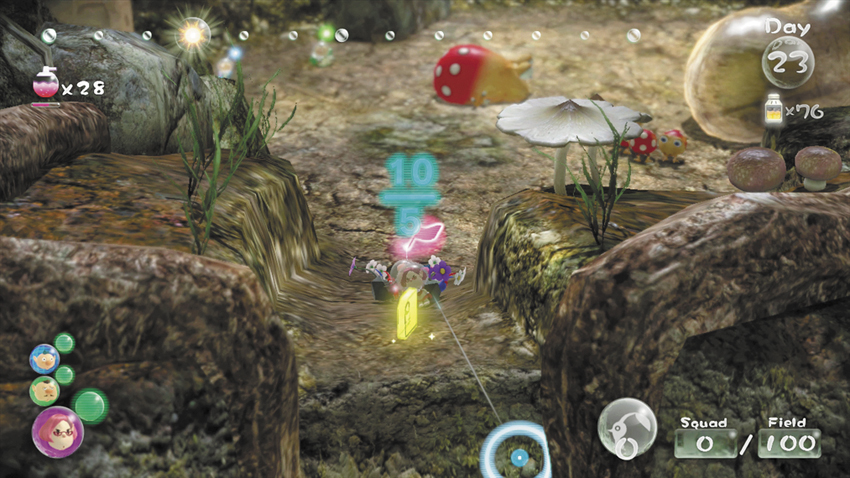
 Switch to Brittany and sneak around the sleeping Bulborb to keep the smaller enemies from noticing you. When you reach the Dirt Wall, move west to find a Data File at the end of a short path. Wait here until you see the Mysterious Life-Form enter the area.
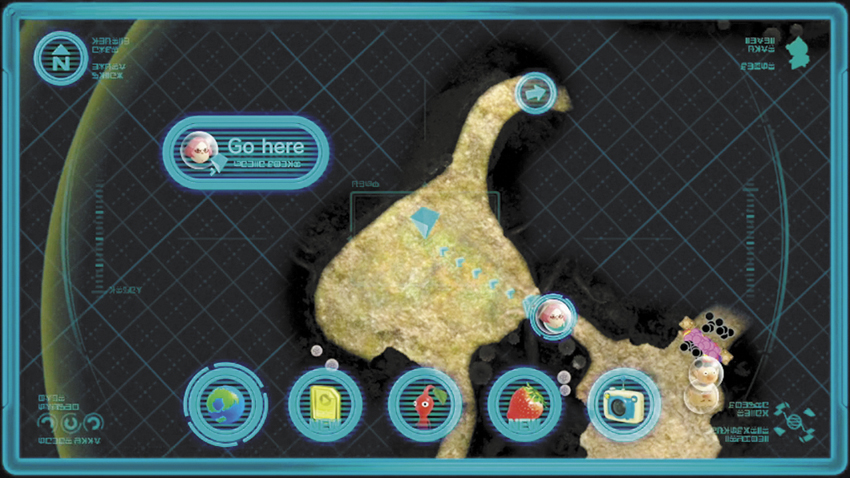
 Use the “Go Here” command to send Brittany over the ledge and back to the previous area. Choose a spot that will move Olimar away from the Mysterious Life-Form while ensuring the enemy will follow the same route. The creature will generally follow the shortest possible route to its target—it’s essential that the Mysterious Life-Form follows Olimar over the ledge, rather than doubling back along its original path.
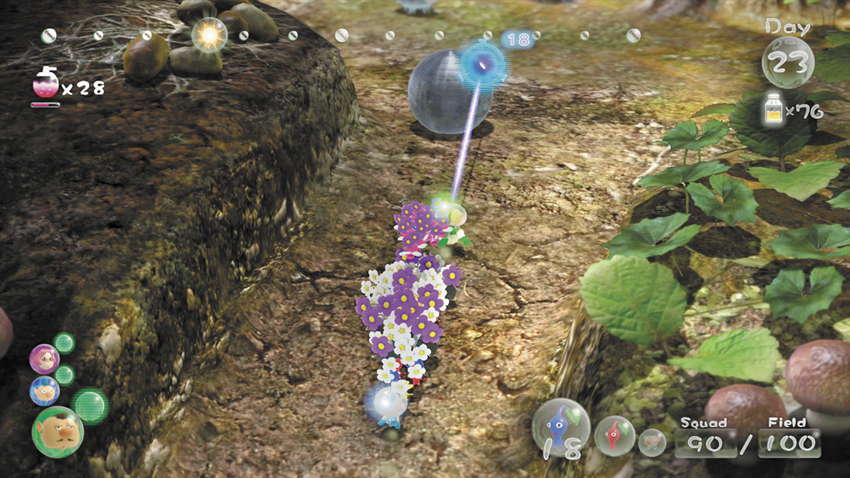
 As Brittany leads the Mysterious Life-Form out of the area, switch back to the main squad. When the Dirt Wall is destroyed, gather your Pikmin and finish off any nearby enemies the Mysterious Life-Form left intact. When you’re ready, head through the remains of the Dirt Wall. Follow the path as it curves south. Ignore the Crystal Wall you pass along the way—stop near the Iron Ball at the end of the path.
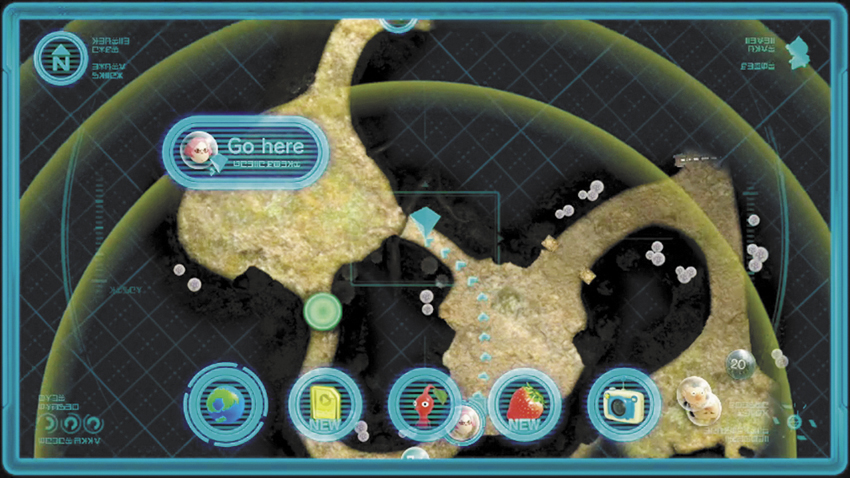
As the Mysterious Life-Form closes in on Olimar, issue “Go Here” commands to keep Brittany moving, eventually looping back to the ledge overlooking the area. Use the in-game map to keep tabs on the Mysterious Life-Form, and have Brittany repeat this loop throughout the day.
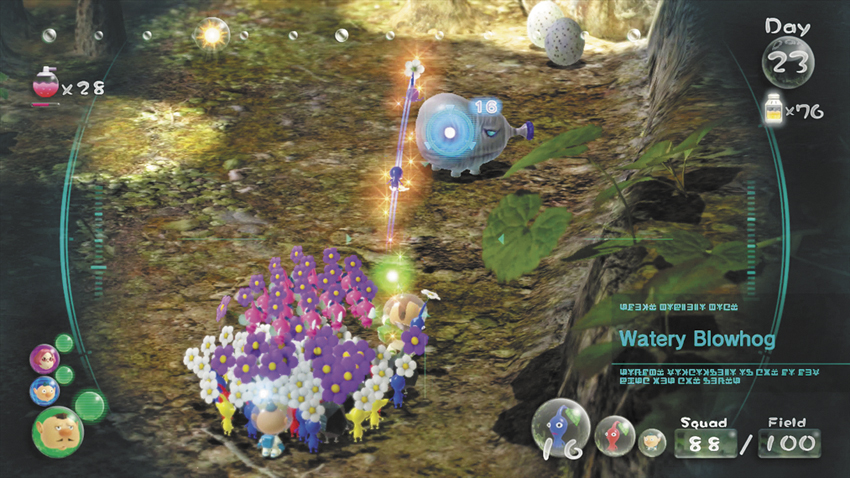
 As Brittany distracts the Mysterious Life-Form, use the main squad to clear out the enemies beyond the Iron Ball. The area contains a Fiery Blowhog, a Watery Blowhog, a Bearded Amprat, and two Swooping Snitchbugs. Since your main squad contains all Pikmin types, you’re well equipped to handle these creatures. Circle the area and clear out the enemies. As you do, remember to issue new “Go Here” commands whenever the Mysterious Life-Form approaches Olimar.
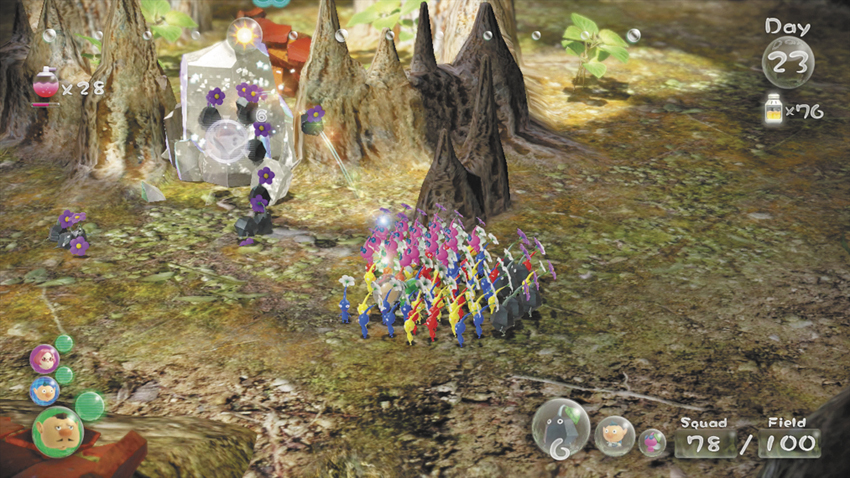
 After you deal with the enemies, use your Rock Pikmin to destroy the Large Crystal near the center of the area. Once the obstacle is out of the way, assign half of your Yellow Pikmin to the nearby Fragment pile.
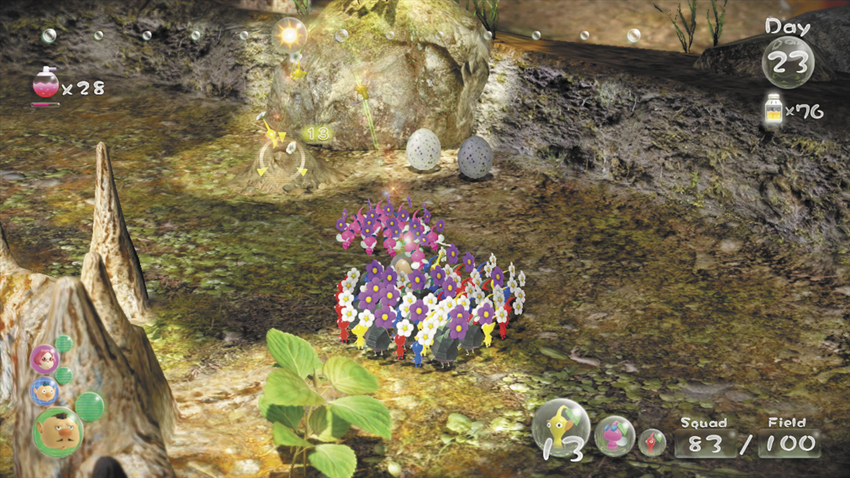
 While your Pikmin are transporting the Fragments at the center of the area, toss the remaining Yellow Pikmin into the Dirt Mound to the west. While they unearth the buried Fragments, locate the Paper Bag southwest of the Dirt Mound.
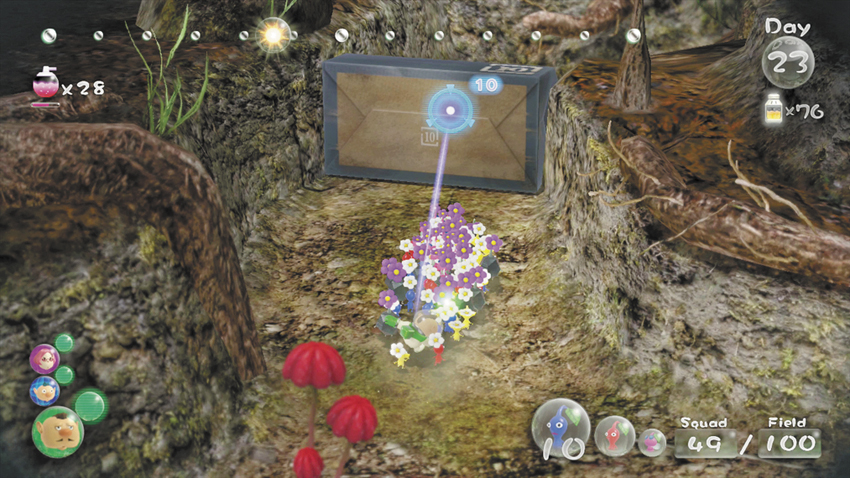
 When you find the Paper Bag, have your Pikmin push it off the ledge. This makeshift ramp creates a new path for Brittany to follow once your main squad is safely out of the area.
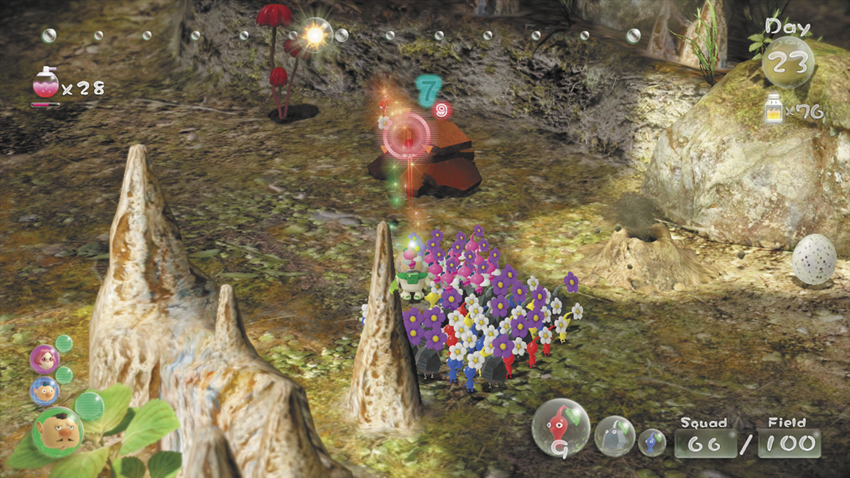
After the Paper Bag is in place, return to the Dirt Mound and have a few of your Red Pikmin start transporting the unearthed Fragments.
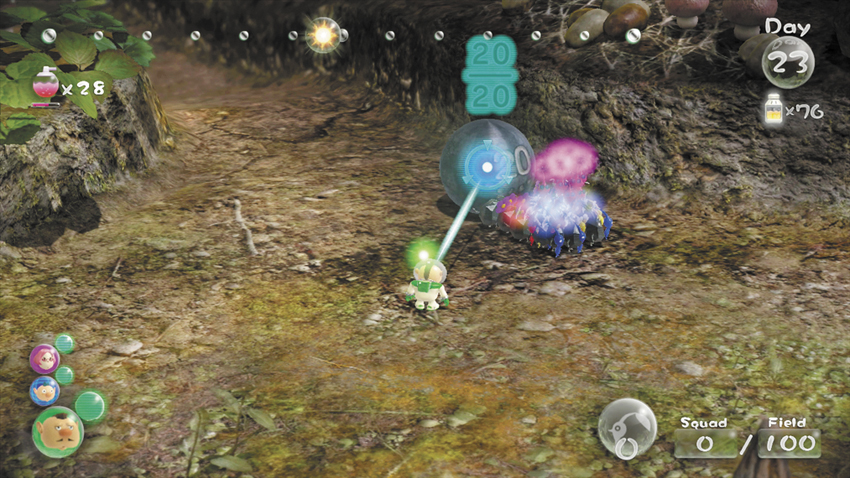
As your Pikmin work to construct the nearby bridge, return to the Iron Ball you passed as you entered the area. Have your Pikmin push the Iron Ball to send it crashing through the Crystal Wall at the bottom of the slope.
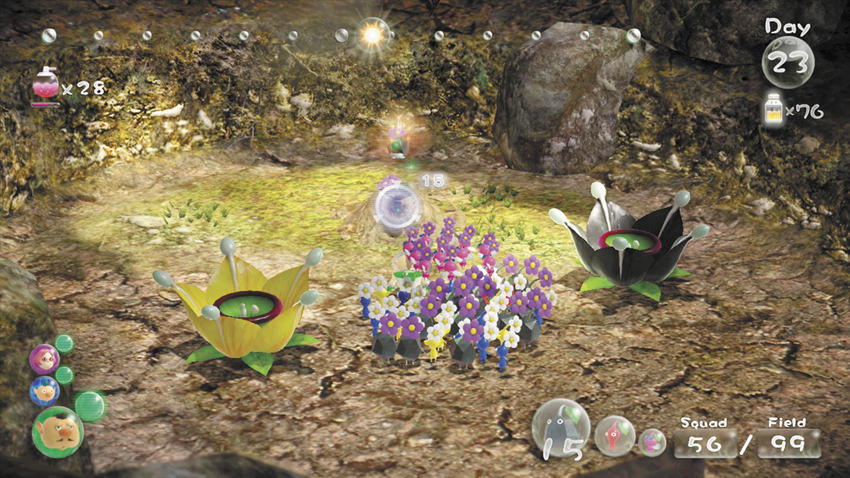
 Follow the Iron Ball down the slope and step through the remains of the Crystal Wall. As you do, use your Winged Pikmin to clear out the Shearwigs that emerge from the ground. After you defeat the enemies, toss three of your Rock Pikmin into the nearby Dirt Mound. Throw one crew member out of the squad to wait in the area, then turn around and head back up the slope.
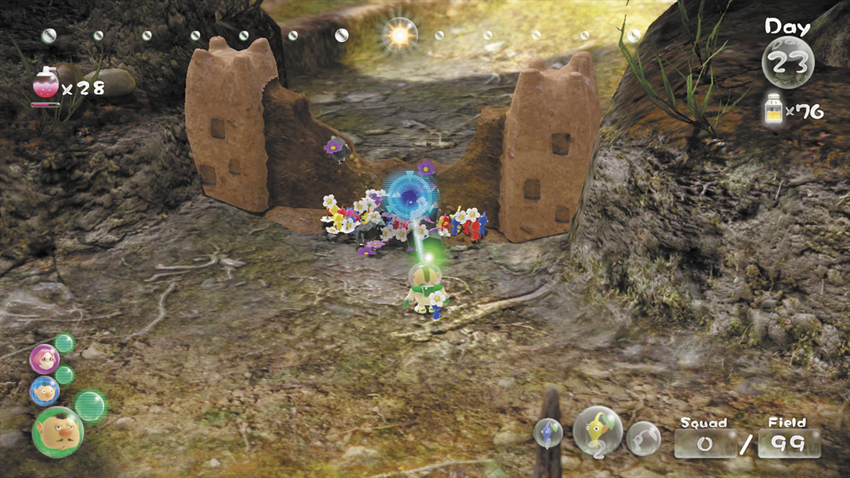
 By the time you return, your Pikmin should have finished constructing the bridge. Gather the idle Pikmin, then have your squad destroy the Dirt Wall to the south.
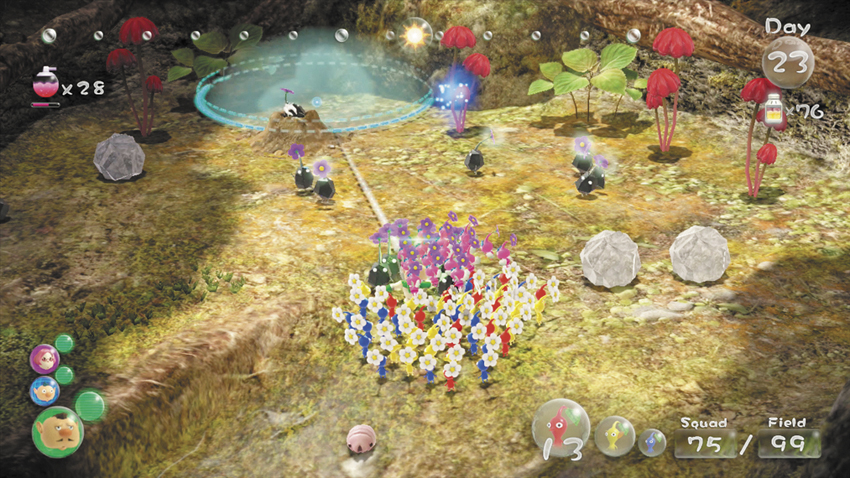
 When the Dirt Wall is destroyed, step through the opening and clear out the Female Sheargrubs that emerge from the ground. Continue south and use your Rock Pikmin to defeat the Skutterchucks patrolling the area. When it’s safe, toss your Rock Pikmin into the nearby Dirt Mound.
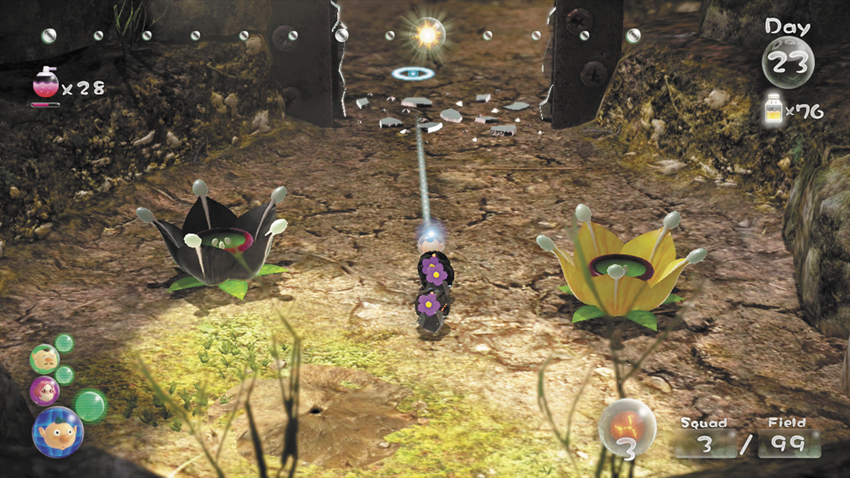
Switch to the crew member you left at the bottom of the slope. By now, the Rock Pikmin assigned to the nearby Dirt Mound should have unearthed three Bomb Rocks. Gather the Bomb Rock-carrying Pikmin and lead them back up the slope. Move to a point near the recently build bridge.
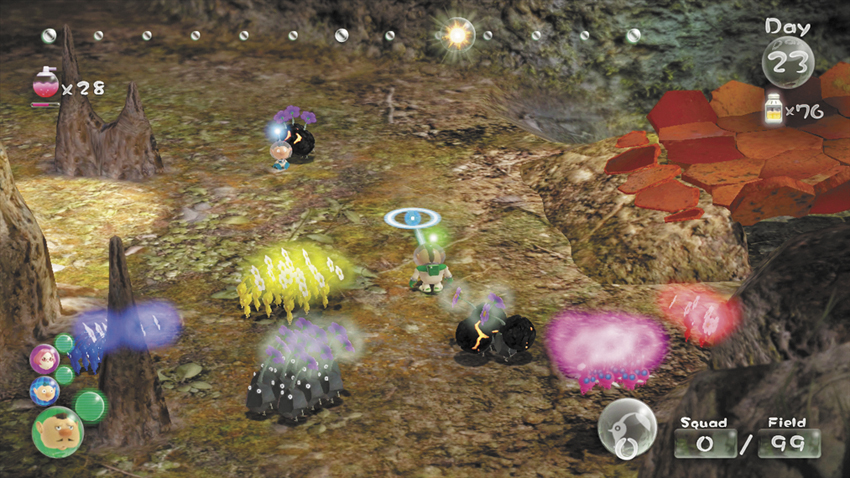
Switch back to the main squad. By now, the Rock Pikmin you sent into the nearby Dirt Mound should have unearthed another three Bomb Rocks. Gather your Pikmin, then back out of the area and meet up with the Bomb Rock-carrying Pikmin by the bridge. Dismiss your squad to separate the Pikmin, then gather all of the Pikmin that aren’t holding Bomb Rocks.
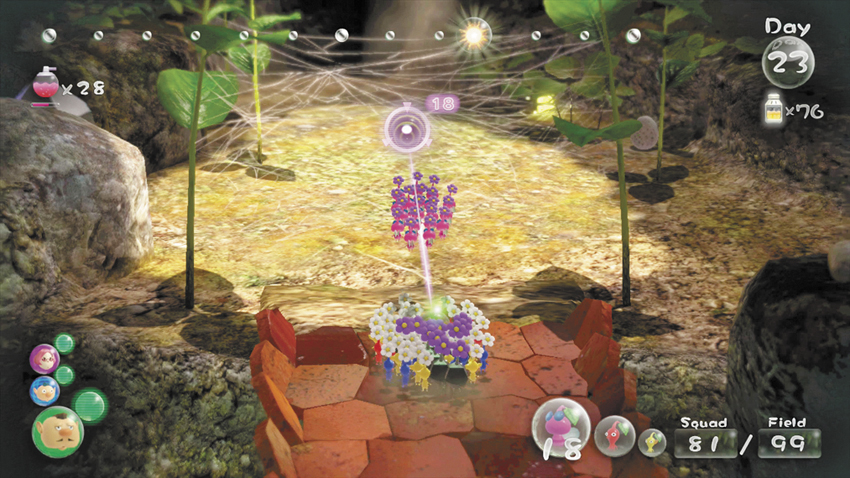
 Lead the main squad onto the bridge and have your Winged Pikmin attack the Arachnode on the web in front of you.
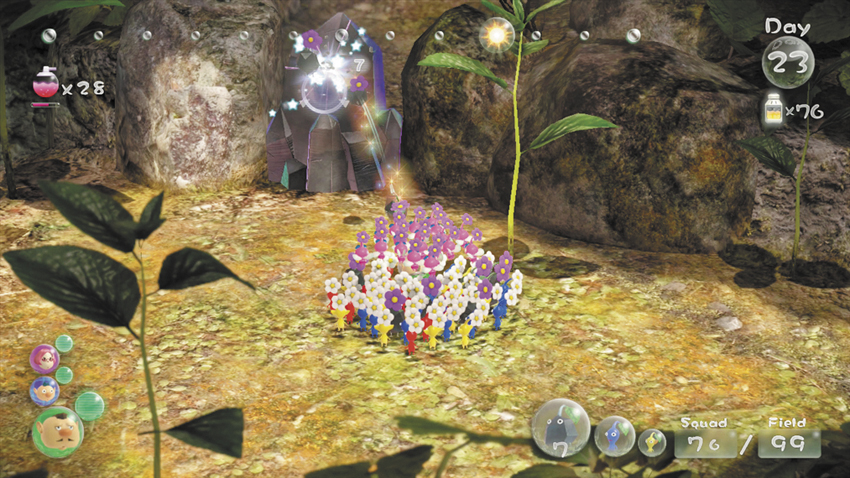
 After you destroy the web, cross the bridge and use your remaining Rock Pikmin to destroy the Large Crystal to the north.
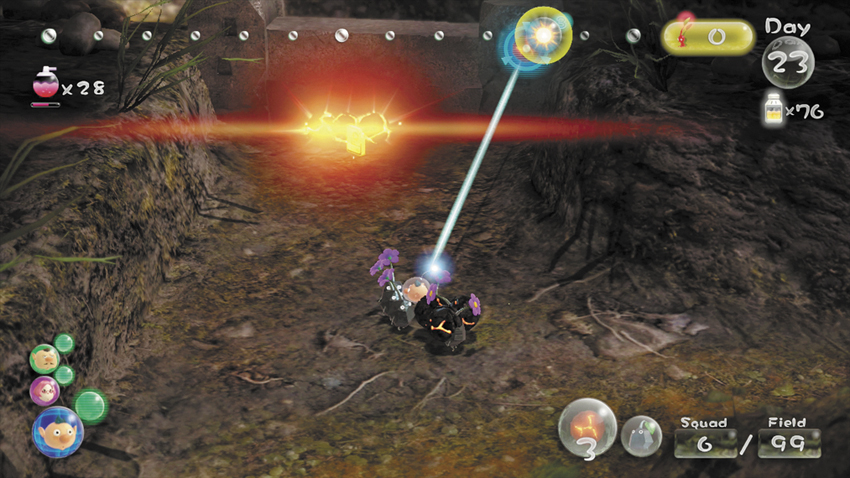
 Switch to the crew member waiting across the bridge. Gather the remaining Bomb Rock-carrying Pikmin and lead your small squad across the bridge. Move through the opening created when you destroyed the Large Crystal and move north. Use three of your Bomb Rocks to destroy the Reinforced Wall at the end of the path.
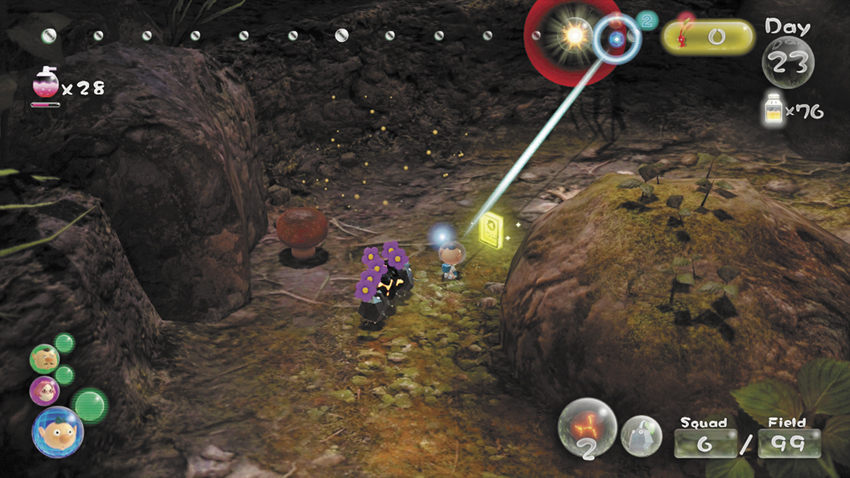
 After the explosion, collect the Data File near the remains of the Reinforced Wall. Turn back and destroy the mushrooms to the southwest to uncover a hidden Data File.
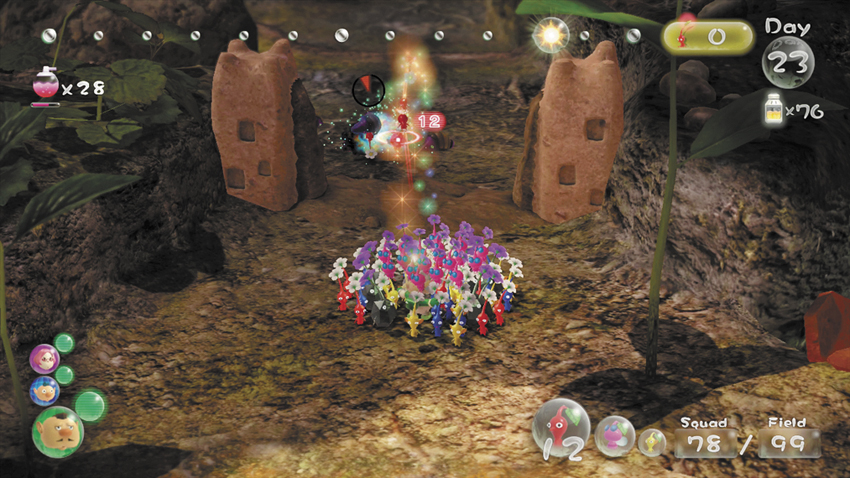
 Switch back to the main squad and destroy the Dirt Wall to the south. Use your Pikmin to clear out the Male Sheargrubs that emerge from the ground, or use one of your remaining Bomb Rocks to clear the pests with a single attack.
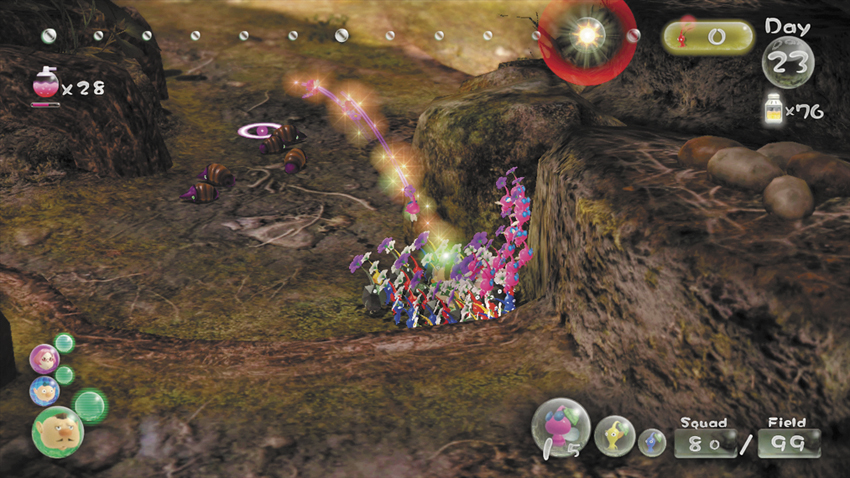
 Follow the path as it winds back to the area you’ve already explored. Clear out the Male Sheargrubs that appear along the way.
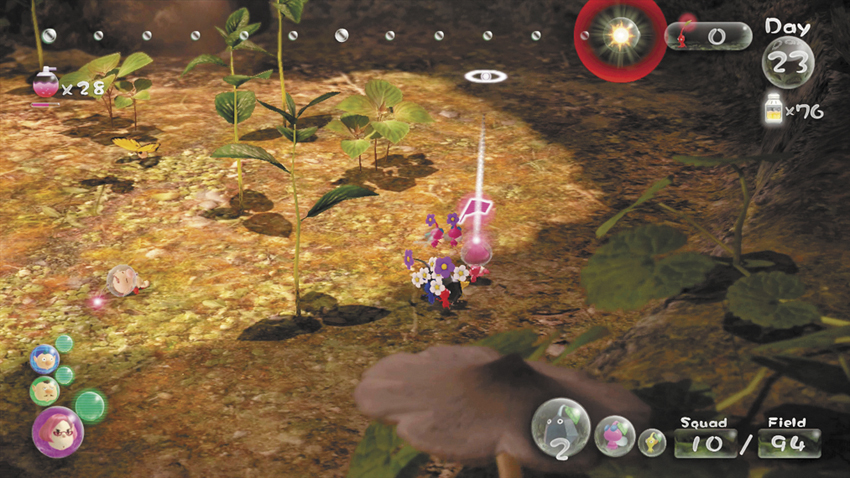
At this point, there isn’t likely to be much daylight left. You’re free to keep exploring, but it’s best to save new tasks for the following day. Gather your idle Pikmin, then switch to Brittany and gather the Pikmin assigned to Olimar. End the day to resume the chase in the morning.