
Pikmin 3 Guide Walkthrough Day 15 - Garden of Hope
Day 15 - Garden of Hope
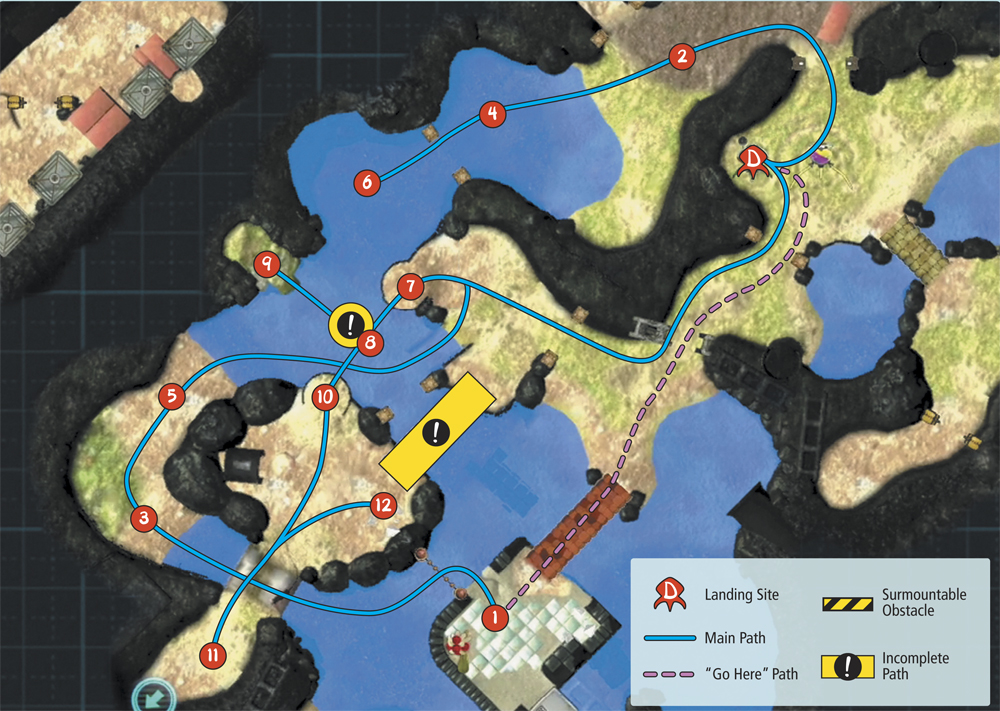
Map: Garden of Hope
Remaining Juice: 3 canisters
Objectives: Cultivate more Blue Pikmin, collect more fruit, and assemble a bridge leading toward Louie’s signal.
The juice supply is still dangerously low, and the crew is anxious to track down the thief. Create a path to reach Louie’s signal—now that you’ve discovered the Blue Pikmin, you have everything you need to overcome any obstacles you encounter.
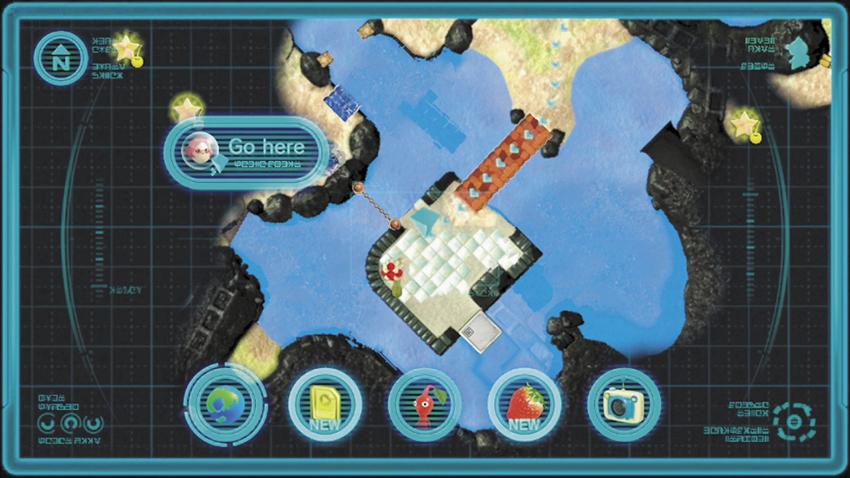
 When the day starts, dismiss your squad to separate the crew members. Move one crew member under the Onion and call 20 Winged Pikmin and 30 Blue Pikmin. Use the “Go Here” command to send this squad to a point near the Ultra-Spicy Berries you discovered on the previous day.
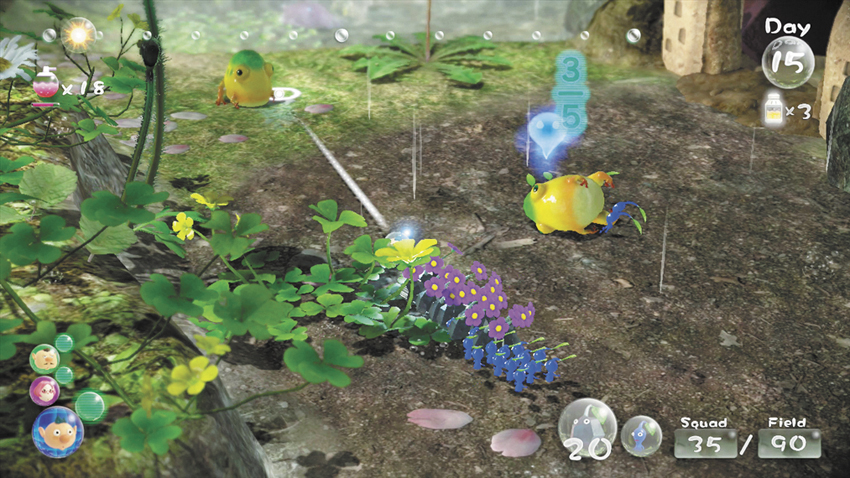
 While the main squad heads out, switch crew members and create a secondary squad. Select 20 Rock Pikmin and at least 20 Blue Pikmin from the Onion. Leave the remaining crew member under the Onion and clear out the Yellow Wollywogs northwest of the landing site. Use the Rock Pikmin to defeat the enemies, then have the Blue Pikmin carry them back to the Onion.
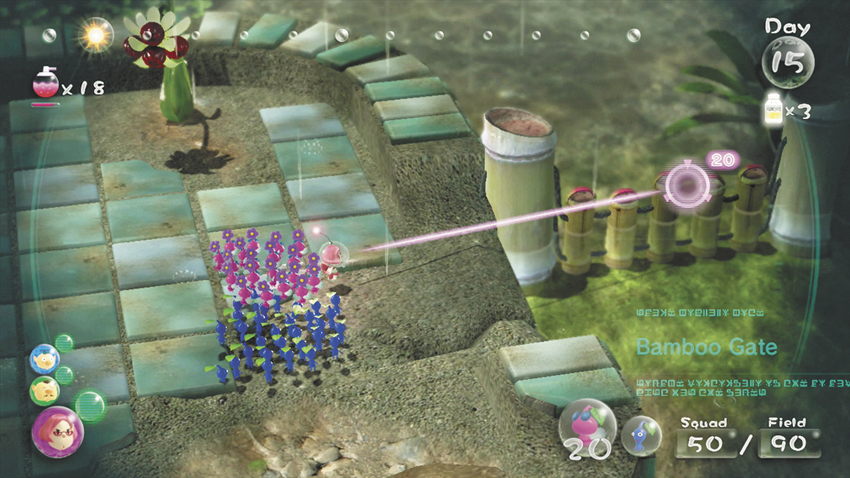
By now, the main squad should have reached its destination. Switch crew members and use 10 of the Winged Pikmin to lift the nearby Bamboo Gate.
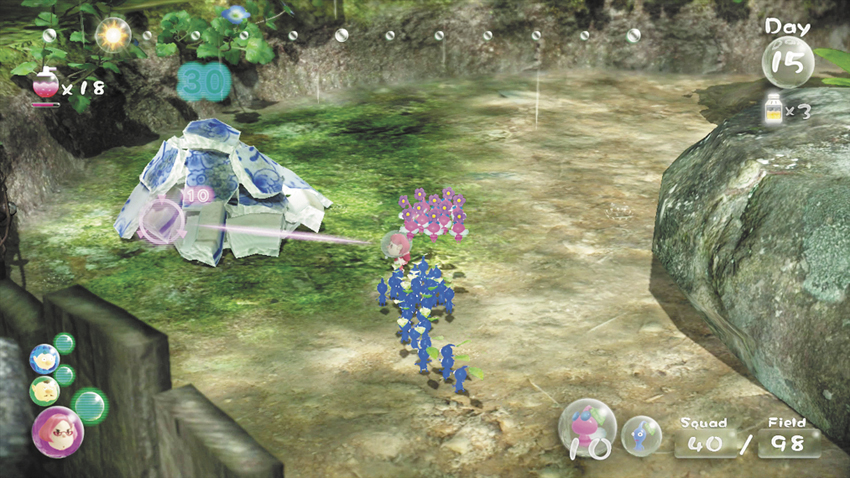
 Drop down from the platform and pass under the Bamboo Gate. Follow the path to the northwest to find a pile of Fragments on a patch of dry ground. Send your squad charging into the Fragments, but make sure you don’t venture any farther beyond
the pile—there’s a large creature hiding in the
nearby patch of dark mud.
Drop down from the platform and pass under the Bamboo Gate. Follow the path to the northwest to find a pile of Fragments on a patch of dry ground. Send your squad charging into the Fragments, but make sure you don’t venture any farther beyond
the pile—there’s a large creature hiding in the
nearby patch of dark mud.
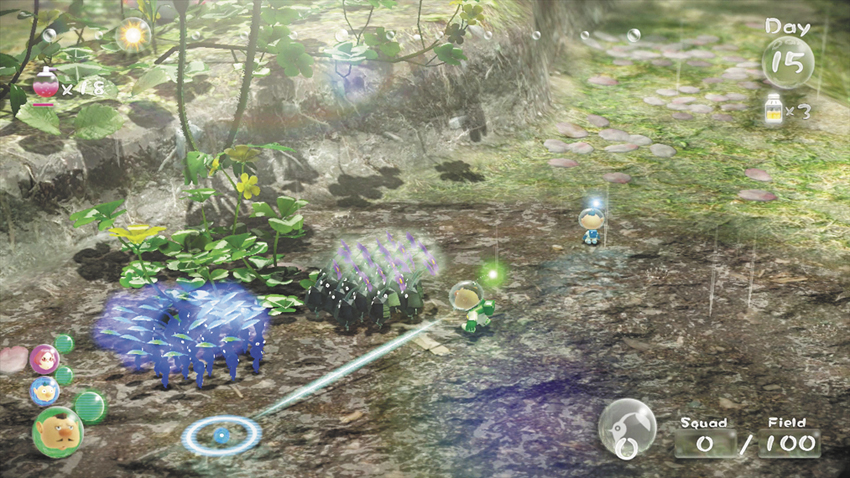
Switch to the crew member waiting at the landing site. Gather the nearby Pikmin and head to the area north of the landing site to rendezvous with the secondary squad. Merge the squads, then dismiss the Pikmin to separate the Blue Pikmin from the Rock Pikmin. Call the Rock Pikmin to your side, then switch crew members and gather the Blue Pikmin.
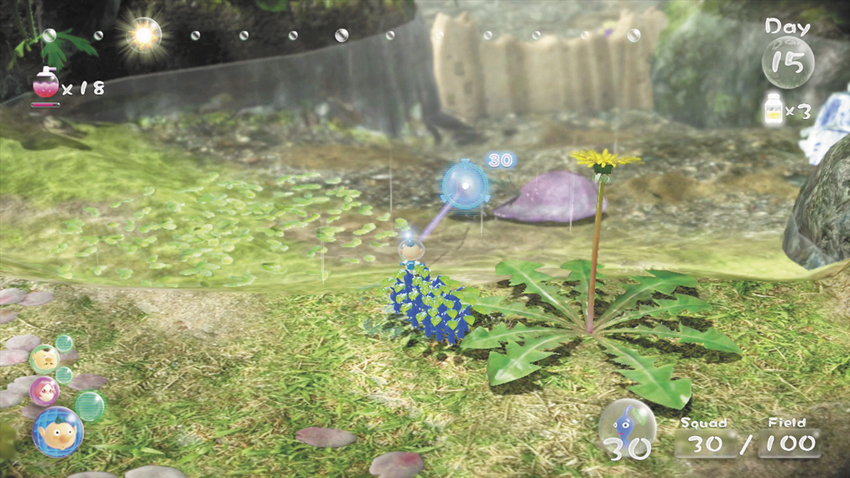
 Lead the Blue Pikmin west to find a Toady Bloyster in a pool of water. Lock onto the creature’s bulbous tail, then flank it to keep your Pikmin clear of its mouth. Have your squad charge the Toady Bloyster’s tail. Like the Sputtlefish, the Toady Bloyster releases ink when it’s attacked. If any of your Pikmin are affected, round them up and send them back into the fight.
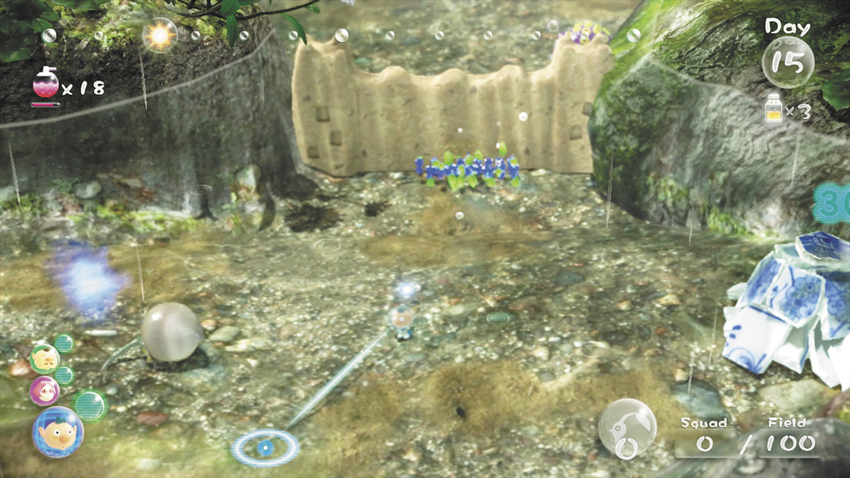
After you defeat the Toady Bloyster, recall your Blue Pikmin and have them attack the nearby Dirt Wall.
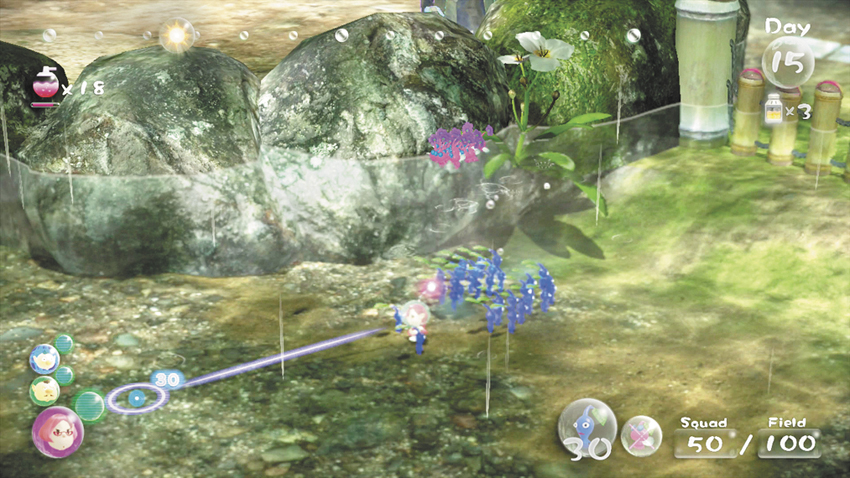
Switch back to the main squad and reassemble your Pikmin. Grab any Pikmin that have finished moving the Fragments, then head back to the raised Bamboo Gate. Check the in-game map to make sure all of your Pikmin have returned from their deliveries, then call the Winged Pikmin down from the Bamboo Gate.
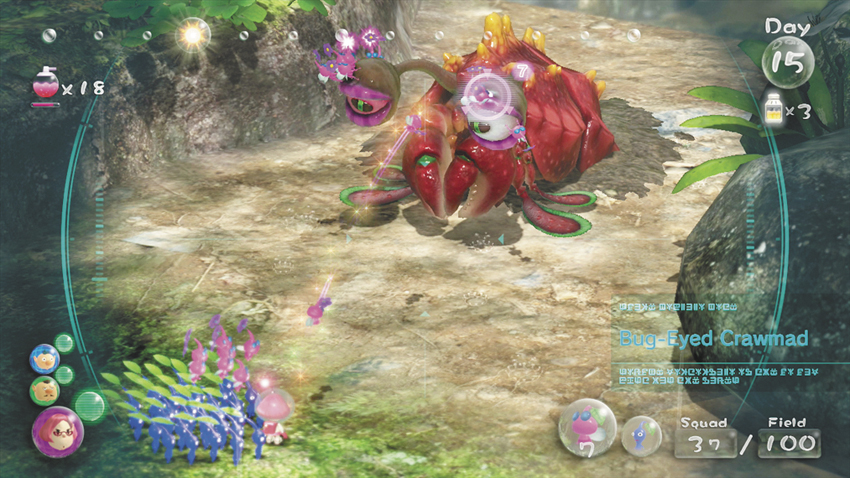
 Once your main squad is back to full strength, move to the patch of mud near the first Fragment pile’s original location. As you approach, a Bug-Eyed Crawmad emerges from the mud. Throw 5 to 10 Winged Pikmin onto each of the creature’s eyes. The creature attacks by lunging straight ahead. When you see Bug-Eyed Crawmad lean back, get your squad out of its path as quickly as possible.
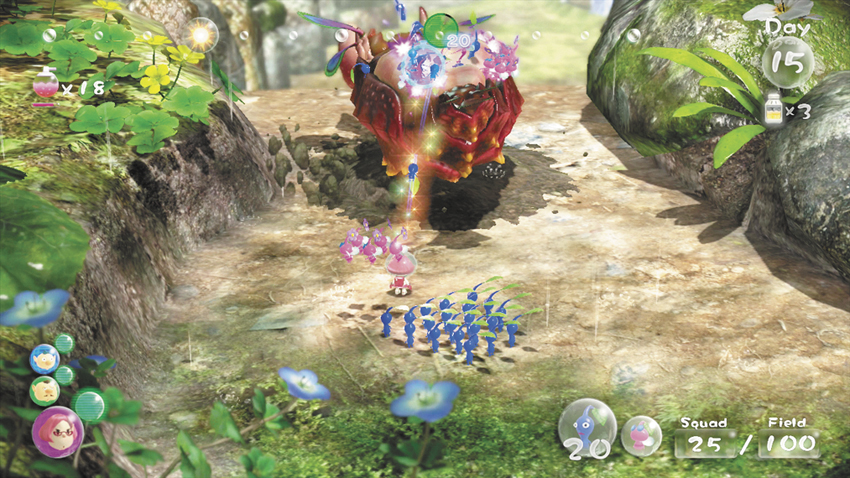
When the Winged Pikmin do enough damage, the Bug-Eyed Crawmad retracts its eyes and flips onto its back. Throw your Blue Pikmin onto its fleshy underbelly until the creature retreats into the ground. Wait for the creature to reemerge, then repeat the process.
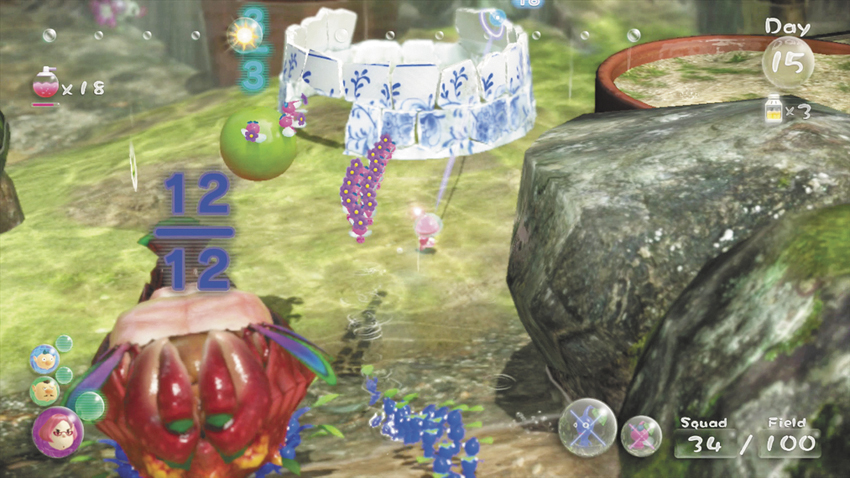
When you defeat the Bug-Eyed Crawmad, it drops a Searing Acidshock (green apricot). Assign 3 Winged Pikmin to transport the fruit, then have 12 Blue Pikmin transport the fallen enemy. Lead the rest of your squad northeast. Move into the water, pass the half-built pot, then head up the nearby ramp and return to dry ground.
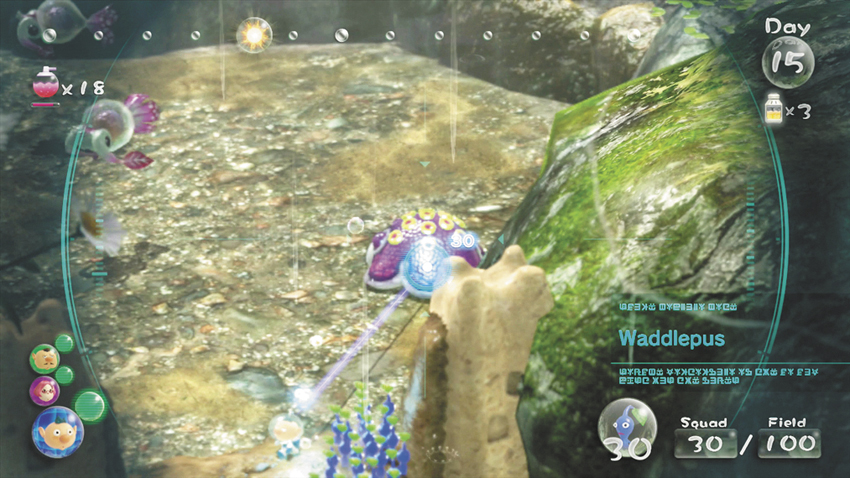
 Switch to the crew member you left near the Dirt Wall. The secondary squad should have finished destroying the obstacle, so round them up and step through the opening. Clear out the Waddlepus and the two Sputtlefish swimming nearby, but gather your Pikmin before they attempt to transport the defeated enemies.
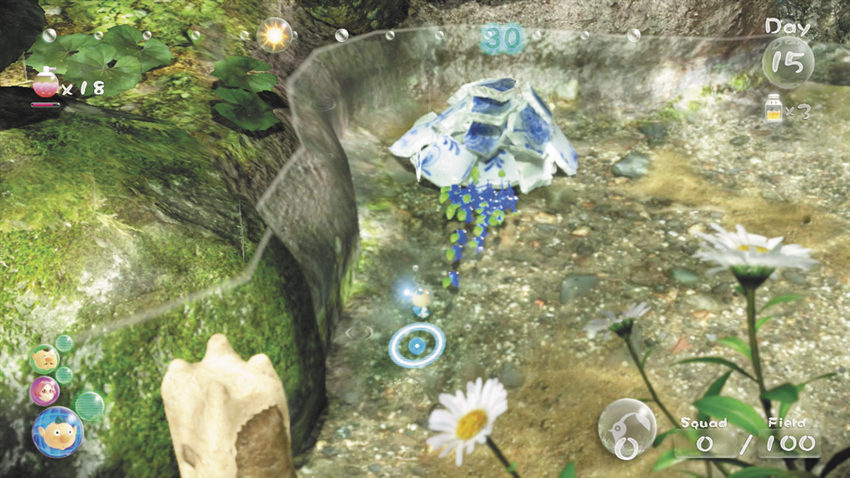
Head back through the remains of the Dirt Wall, then send your squad charging into the nearby Fragment pile.
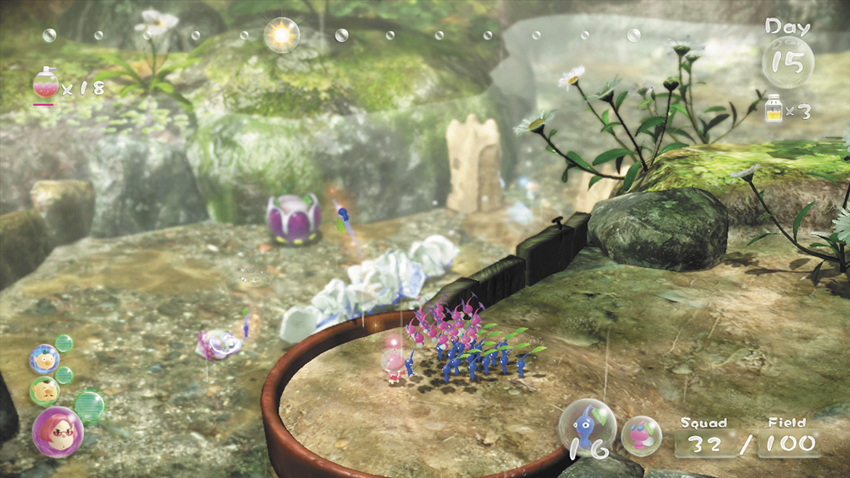
 Switch back to the main squad and move onto the flower pot overlooking the water. Toss all of your Blue Pikmin near the defeated enemies below you.
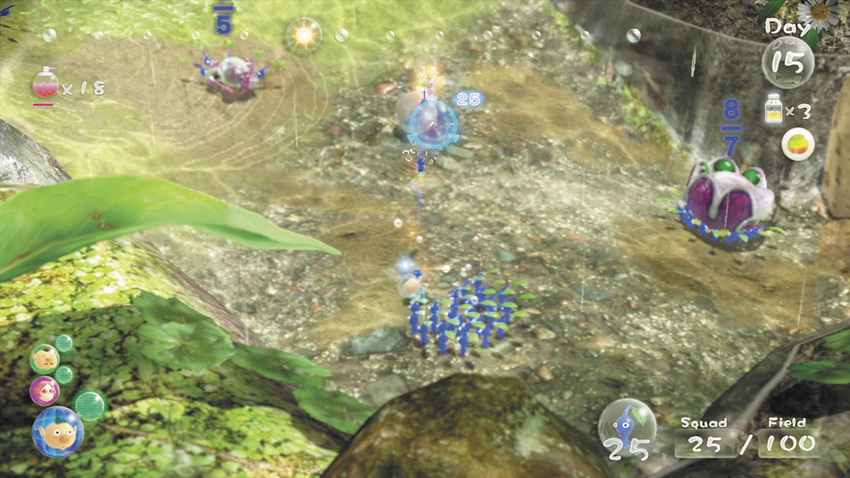
Switch to the crew member you left in the water, then round up any idle Blue Pikmin. Assign Pikmin to any defeated enemy that isn’t already being transported. When all of the Fragments have been delivered, grab the Pikmin assigned to the task and move back toward the landing site.
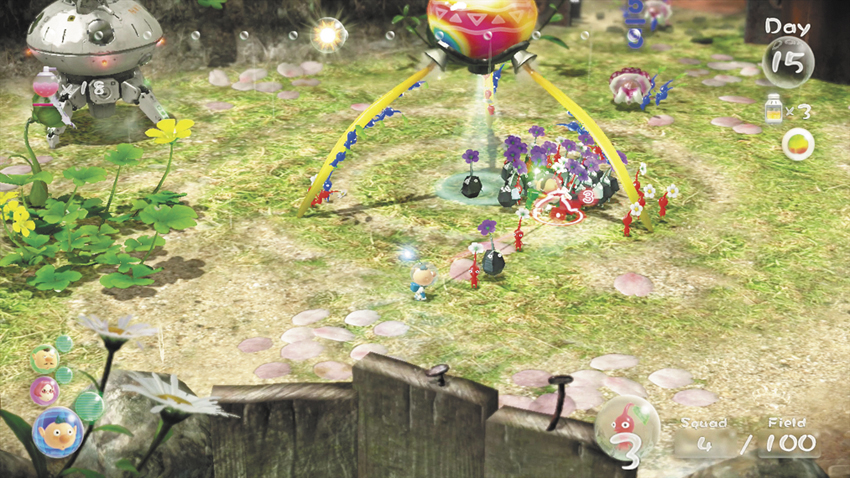
On your way to the landing site, merge with the squad of Rock Pikmin you left near the water. Return to the Onion and gather the waiting Pikmin. Return all of your Blue Pikmin to the Onion, then fill the available slots with Red Pikmin.
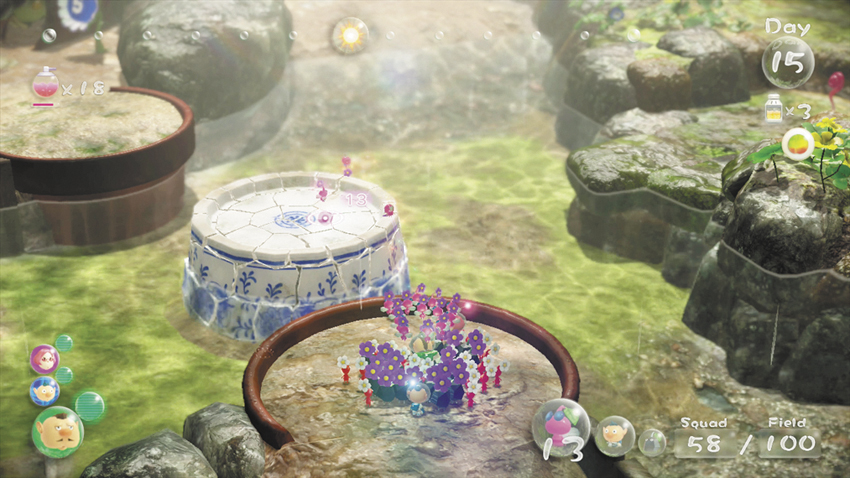
Leave any Blue Pikmin that are transporting objects to complete their work. Follow the path to the southwest, then rendezvous with the squad waiting on the flower pot. From this location, toss two crew members and three Winged Pikmin onto the reassembled pot to the southwest.
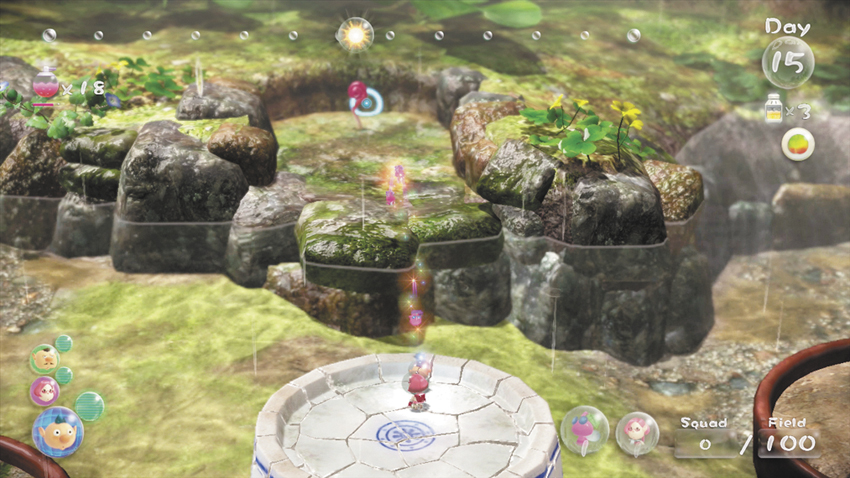
 Switch crew members, and gather the small squad. Throw one crew member and the three Winged Pikmin onto the ledge to the northwest.
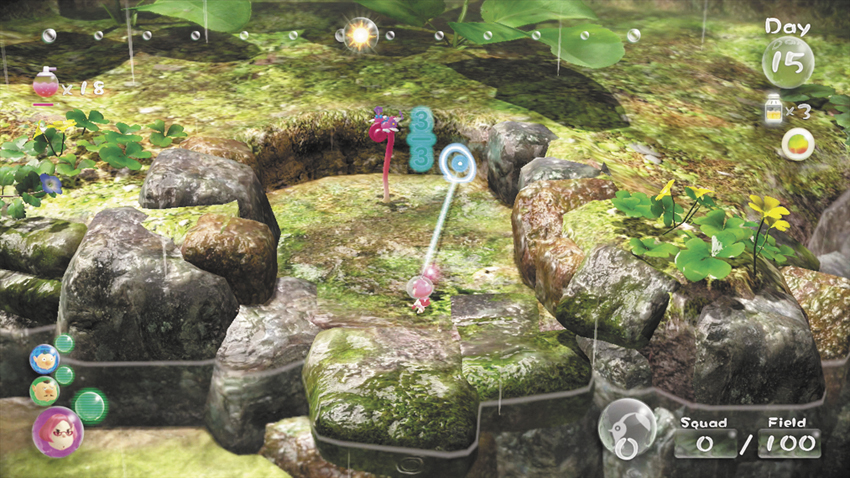
 Switch to the crew member on the ledge, gather the Winged Pikmin, then have them pull the nearby Flukeweed. When the Pikmin finish, they’ll automatically transport the attached Lesser Mock Bottom (plum) back to the landing site. As they work, drop down from the ledge and rejoin the main squad.
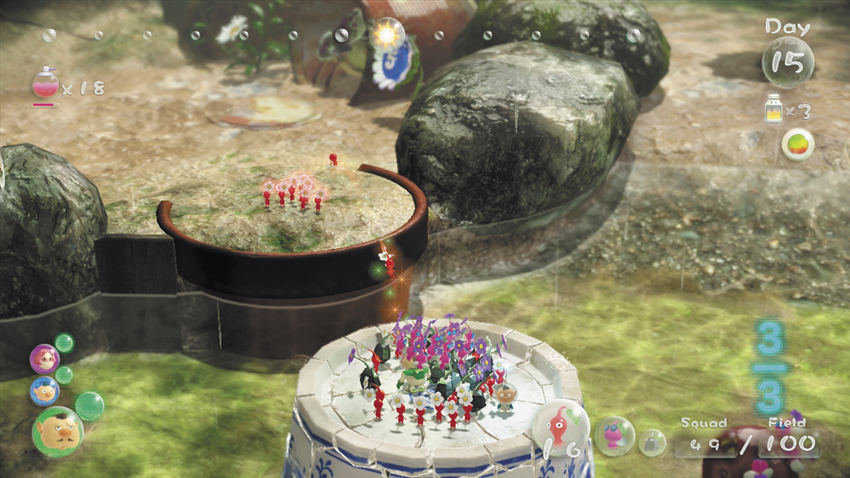
 Throw one crew member and all of your Pikmin onto the reassembled pot. Switch crew members and reform the squad. Face south, then throw one crew member and all of your Pikmin to the next flower pot. As you do, look for the Peckish Aristocrab in the nearby tin can. Make sure that your squad lands a safe distance away from the enemy.
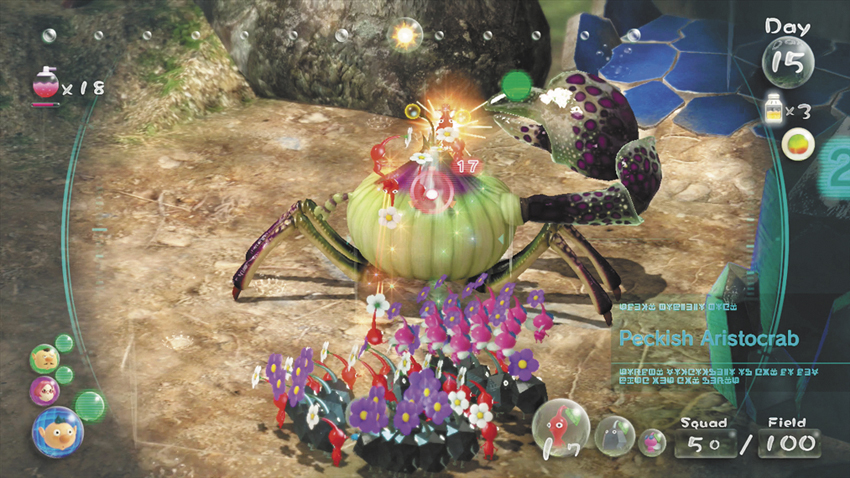
Switch crew members and gather the main squad. Approach the Peckish Aristocrab to coax it out of the can. Once the creature is out in the open, use your Rock Pikmin to destroy the Peckish Aristocrab’s massive claw, or simply flank the creature and attack from the rear.
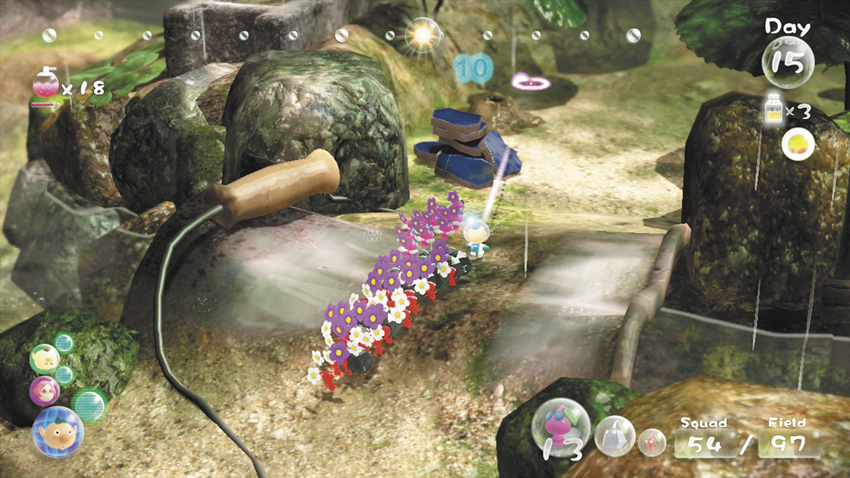
 When you defeat the Peckish Aristocrab, it drops an Scaly Custard (avocado). Gather all of your Pikmin, then turn around and head over the large pail to the southwest. Toss 10 Pikmin onto the small Fragment pile, then send the rest of the squad into the nearby Dirt Mound. As the remaining Fragments are unearthed, they’re automatically carried to the construction site.
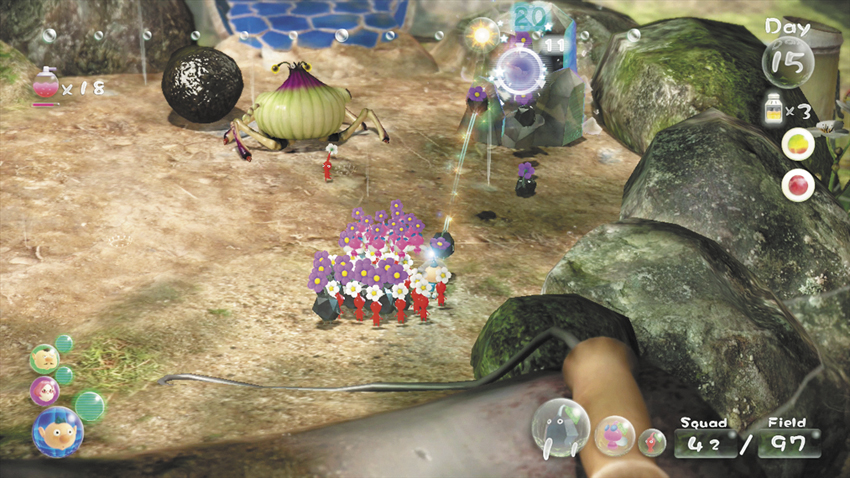
 When your Pikmin finish transporting all of the buried Fragments, gather your squad and move back across the pail. Use your Rock Pikmin to free the Fragments trapped in the Large Crystal, then charge the pile and wait for your squad to finish building the nearby bridge.
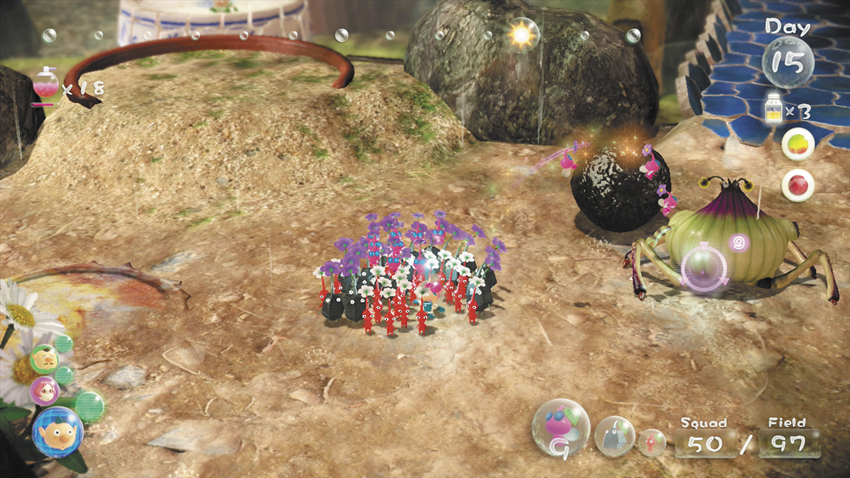
Once the bridge is in place, assign Pikmin to transport the Scaly Custard and the defeated Peckish Aristocrab. Each object requires a minimum of eight Pikmin. If you’re running low on daylight, however, make sure you assign extra Pikmin to each task. Spend your remaining time gathering idle Pikmin and searching for Data Files. You’ll return to this location on the following day, so leave any new sprouts to mature overnight.