
Pikmin 3 Guide Walkthrough Day 5 - Distant Tundra
Day 5 - Distant Tundra
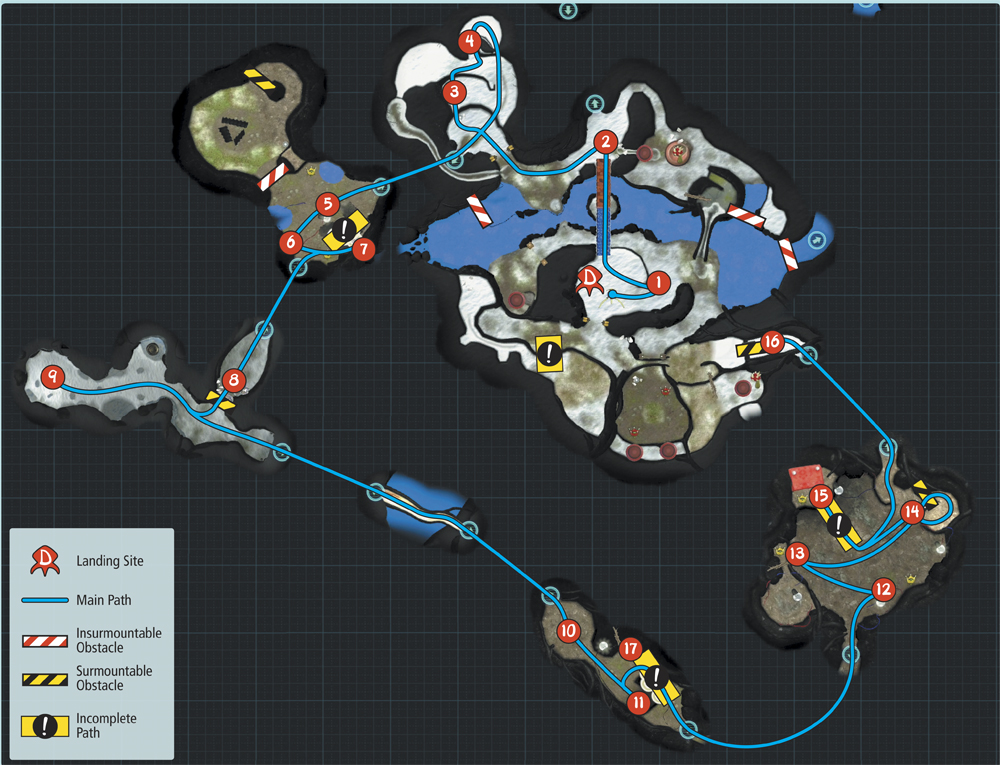
Map: Distant Tundra
Remaining Juice: 9 canisters
Objectives: Continue the search for Captain Charlie and collect any fruit and equipment you find along the way.
Brittany has safely returned to the S.S. Drake, but Captain Charlie is still missing. If the last unknown signal is any indication, you’re sure to encounter heavy resistance during your search. Take a full complement of Pikmin to overcome any challenges you might face as you track down the latest signal.
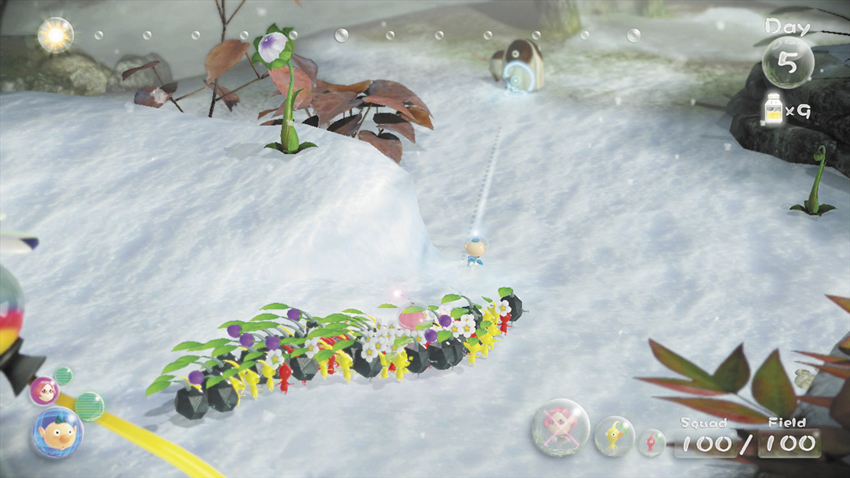
 When the day starts, take both crew members and retrieve a full party of Pikmin from the Onion. If you cultivated enough Yellow Pikmin on Day 4, put about 40 of them in your squad. Fill the rest of the squad with an even amount of Red Pikmin and Rock Pikmin. Head down the slope to the east and use the Yellow Pikmin to clear out the newly arrived Bearded Amprat.
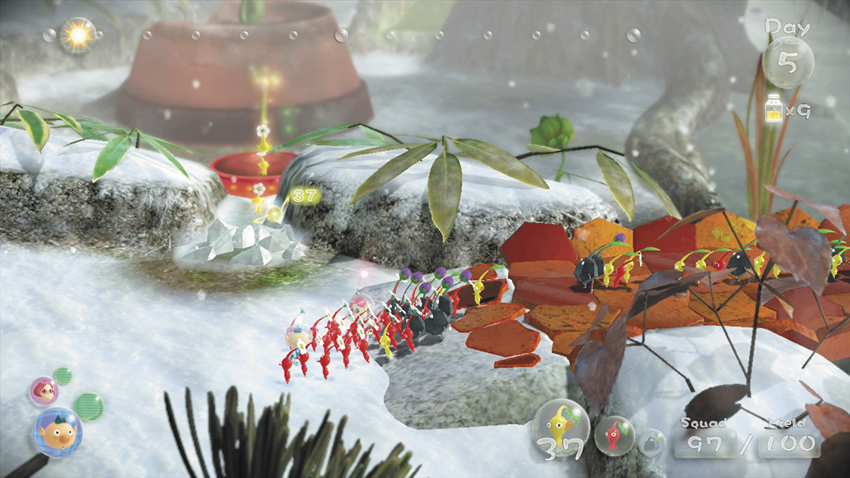
 Cut back through the landing site and use the bridge to cross the water. When you step off the bridge, toss a few Pikmin onto the Bouncy Mushroom to the east. These Pikmin will spend the day collecting Ultra-Spicy Berries. When enough of these berries are delivered to the ship, they’ll be processed into Ultra-Spicy Spray.
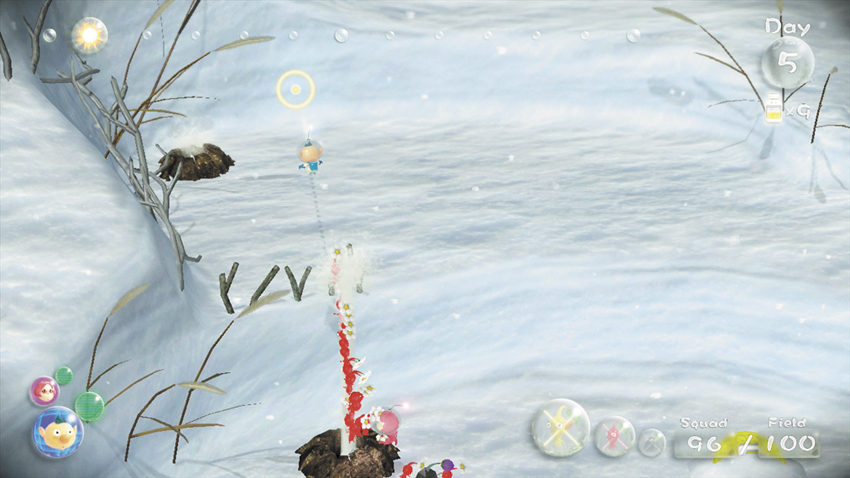
 Lead your squad to the west and enter the enclosure. Use the geysers to quickly reach the upper ledge.
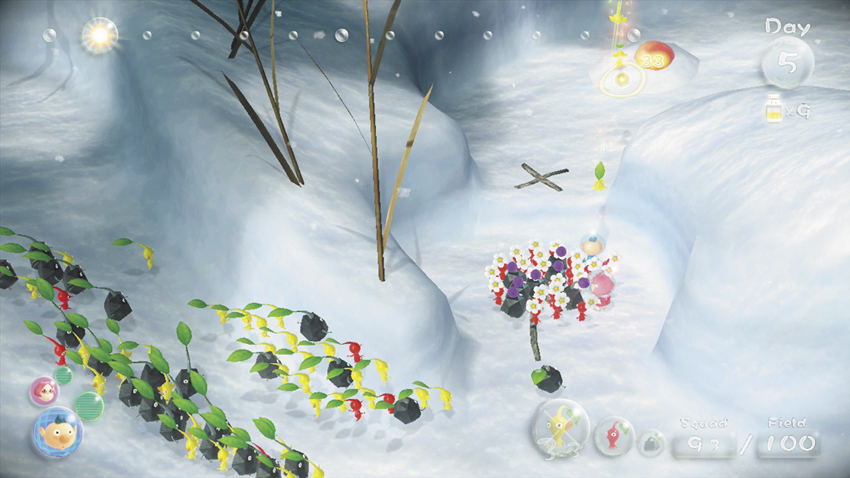
 Move to the small nook along the east side of the enclosure to find another small ledge. Stand on the arrow and toss a large group of Yellow Pikmin up to the half-buried Cupid’s Grenade (cherry). When the Cupid’s Grenade is free, allow your Pikmin to carry it off of the ledge, but call them back before they move out of range.
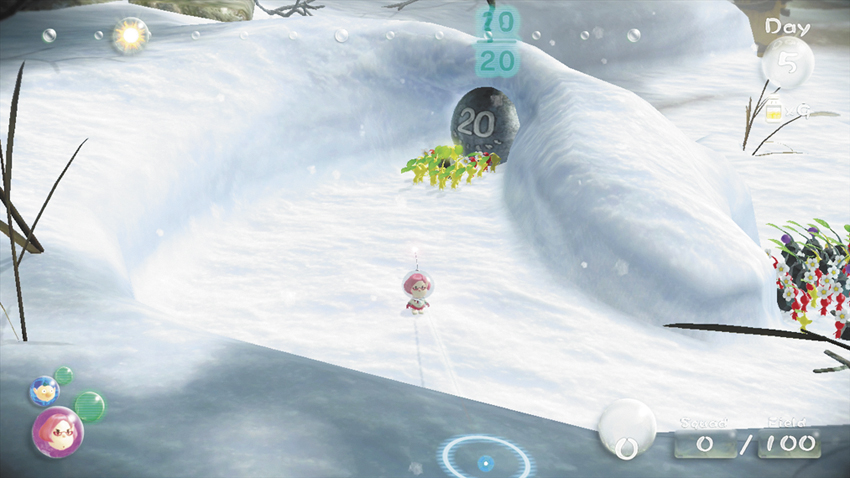
Throw a crew member and a squad of 20 Pikmin up to the small ledge. Switch crew members and use the smaller squad to free the nearby Iron Ball from the snow. The Iron Ball rolls through the enclosure and smashes through the rocks, creating an entrance to the neighboring cave. Now that there’s no danger of smashing your allies, assign one Pikmin to carry the Cupid’s Grenade back to the landing site.
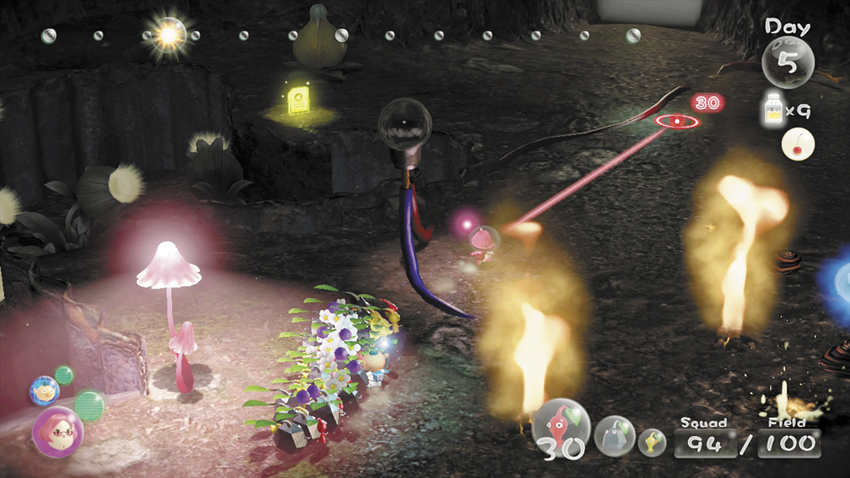
 Regroup into a single squad and head through the opening created by the Iron Ball. Use your Red Pikmin to clear out the Pyroclasmic Slooches, and make sure you keep your other Pikmin away from the flaming geysers on the cave floor. Carefully lead your squad around the hazards to find the Electrode on the south wall.
If needed, use the yellow Candypop Buds to convert some of your Red Pikmin or Rock Pikmin into Yellow Pikmin.
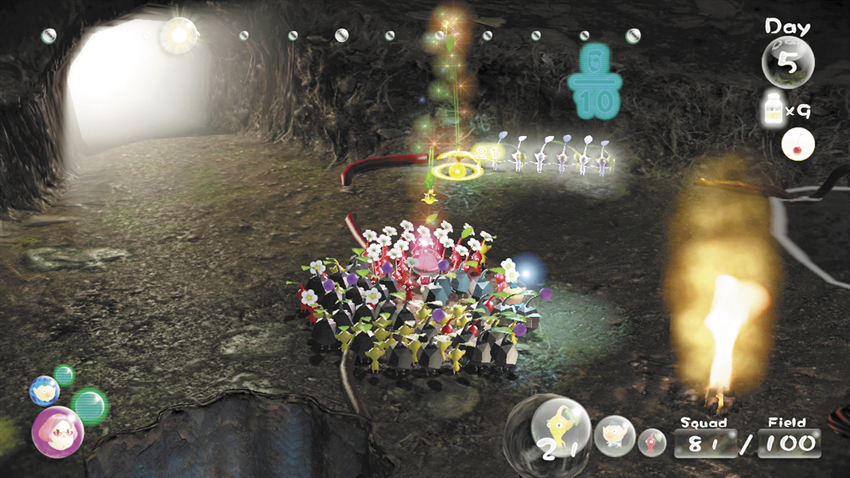
 Toss 10 Yellow Pikmin onto the Electrode to power the nearby bulb. The resulting light causes a row of Bloominous Stemples to create a safe path through the cave.
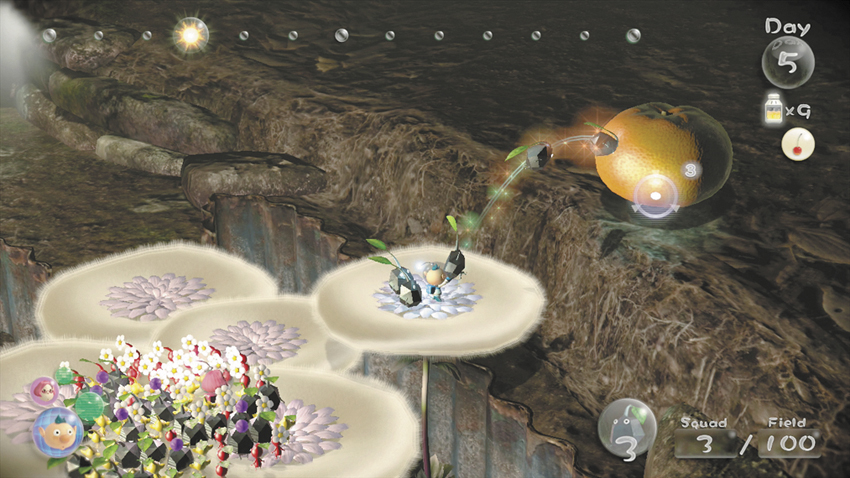
 Move onto the Bloominous Stemples and toss a crew member and five Pikmin onto the highest flower. Switch crew members, then toss the small squad of Pikmin up to the Citrus Lump (mikan) on the ledge to the east. Once the Citrus Lump is en route, rejoin the main squad and leave through the opening in the cave’s south wall.
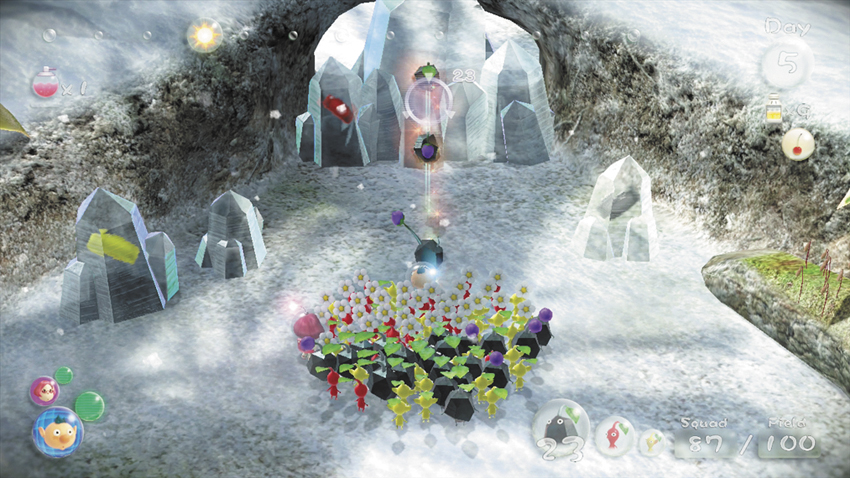
 After you exit the cave, use your Rock Pikmin to destroy the Large Crystal blocking your path. You need to conserve your remaining Pikmin, so it’s best to leave the pellets encased in the Small Crystals. When the path is clear, cautiously step out of the enclosure.
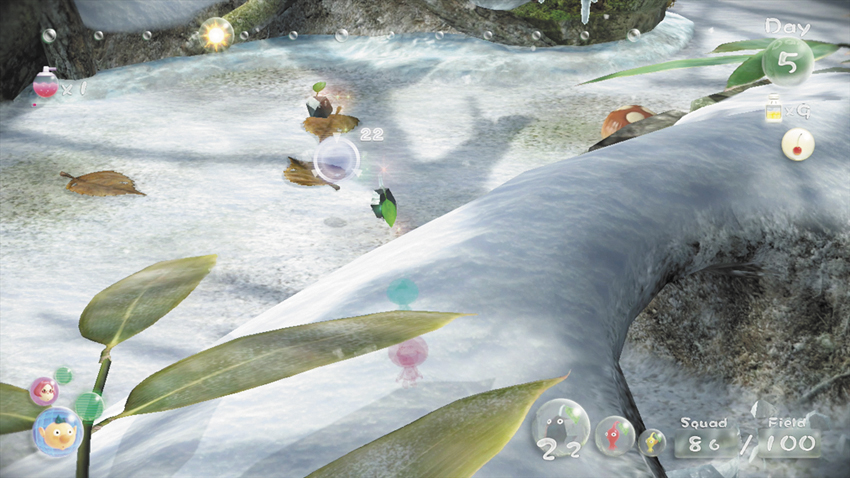
Just outside the enclosure, you’ll find what appear to be three dried leaves. Each leaf is actually a Desiccated Skitter Leaf. Throw one Pikmin on each of these enemies to clear them out before they spot you. Leave the defeated enemies where they fall and follow the path to the northwest.
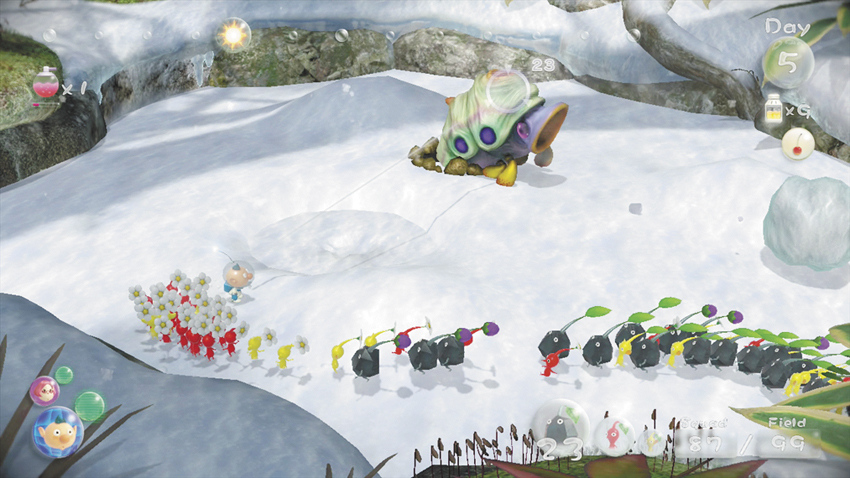
 Keep moving until you find the Arctic Cannon Larva hiding at the end of the path. Flank the enemy to avoid its attacks and send all of your Pikmin in for a charge attack.
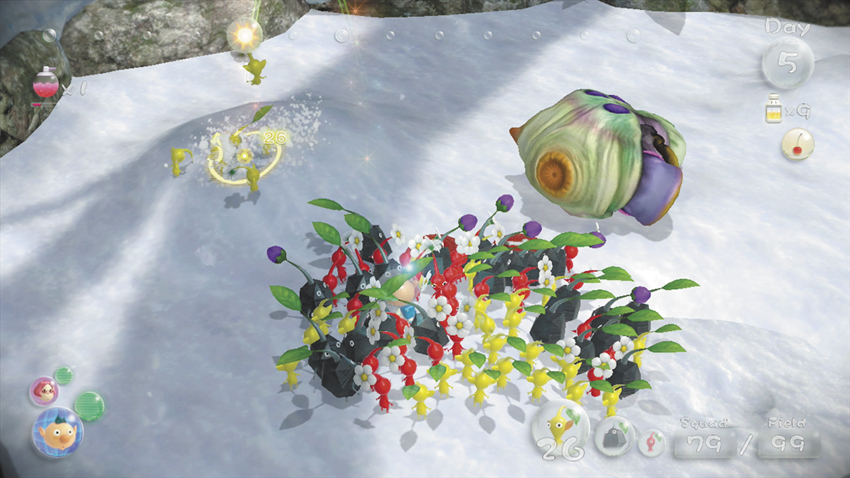
After you defeat the Arctic Cannon Larva, move to the snow mound just behind the creature. The Anti-Electrifier suit upgrade is buried in this spot. Yellow Pikmin can dig very quickly, so if you have at least 30 of them in your squad, assign 10 Yellow Pikmin to recover the Anti-Electrifier. Otherwise, assign as many Yellow Pikmin as you can spare, then fill out the group with any other Pikmin in your squad.
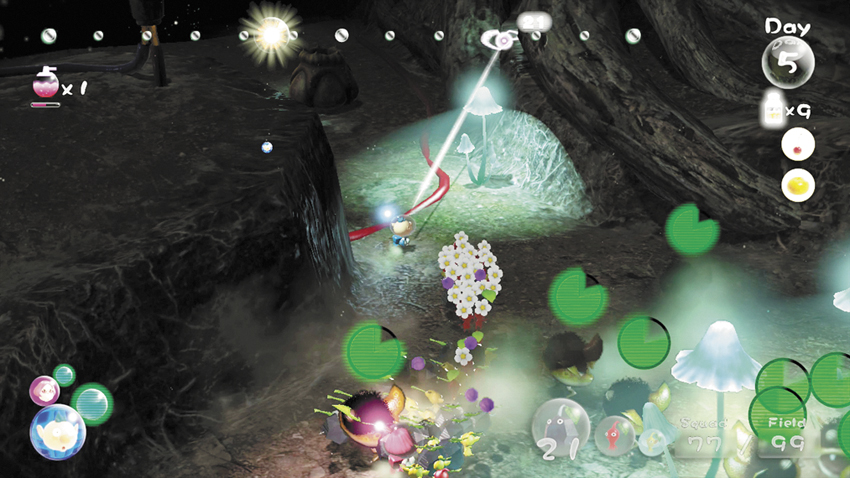
 Turn back and follow the path until you reach the Phosbat cave Captain Charlie discovered at the beginning of the game. Don’t waste time dealing with the Phosbats, just run over the Glowcap Mushrooms to scatter the pests.
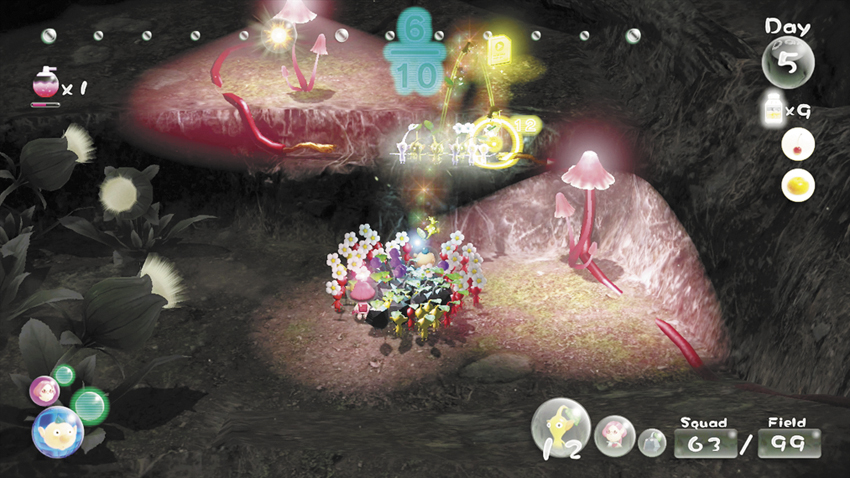
 Head down the slope to find a ledge blocking your path. Toss 10 Yellow Pikmin up to the Electrode to trigger a cinematic. When the nearby bulb lights up, the Vehemoth Phosbat flees the area.
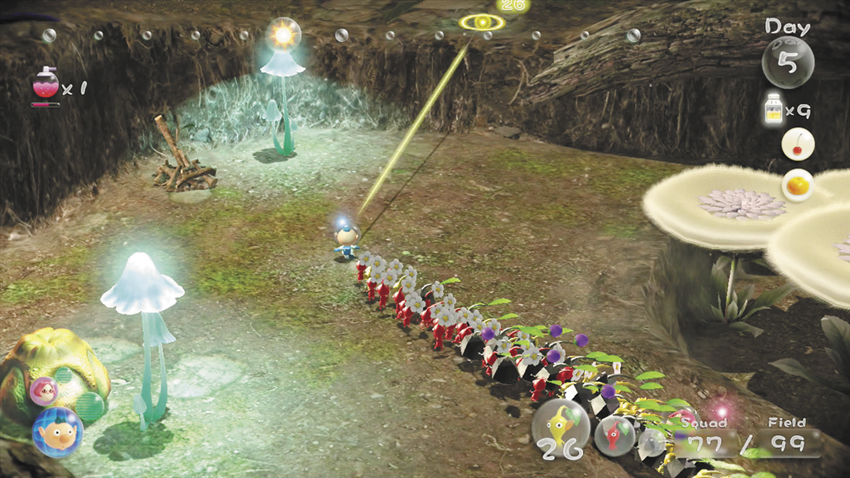
The light also destroys all of the Phosbats and activates the nearby Bloominous Stemples. Head back up the slope and approach the newly opened flowers. As you do, look for the Climbing Stick along the north wall. After you deal with the Vehemoth Phosbat, you’ll want to use this object to reach some nearby fruit. For now, cross the Bloominous Stemples, collect the Data File from the ledge, and follow the Vehemoth Phosbat into the next cave.
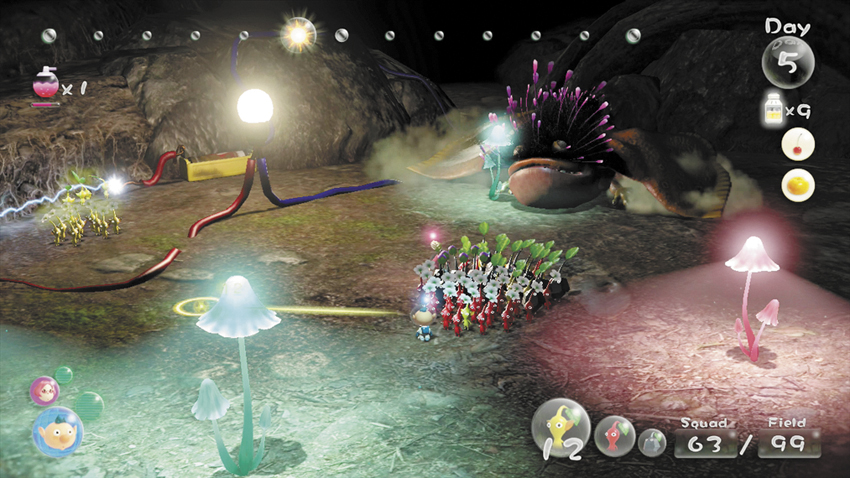
 The Vehemoth Phosbat is most likely waiting just inside the next cave, so it’s important to move quickly. As you step into the area, find the Electrode to the east and use 10 Yellow Pikmin to complete the circuit. When the small bulb lights up, it temporarily incapacitates the Vehemoth Phosbat. You can attack the creature now, but consider using the time to make some important preparations.
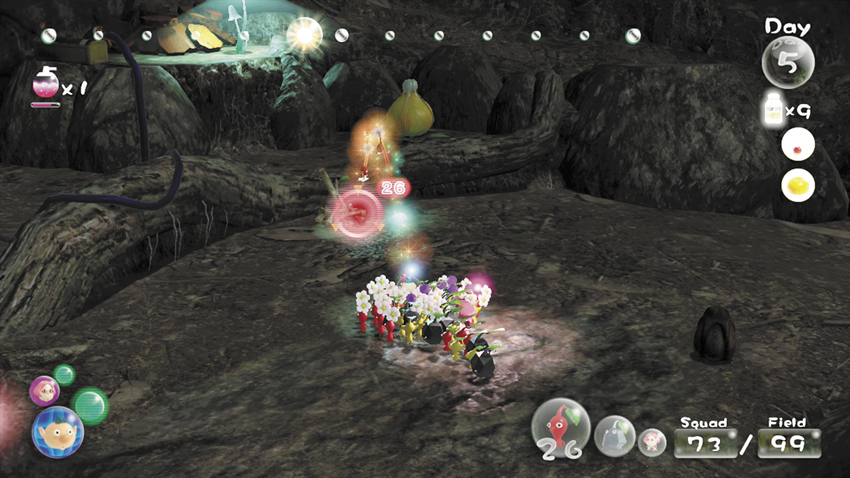
 There are several small bulbs scattered around the area, but the large bulb hanging from the ceiling is a much more effective tool. Before you can light the bulb, you must build a bridge to the corresponding Electrode. Assign all of your Pikmin to the Climbing Stick along the cave’s west wall, then stand guard as they make their way up to the ledge and transport the nearby Fragments.
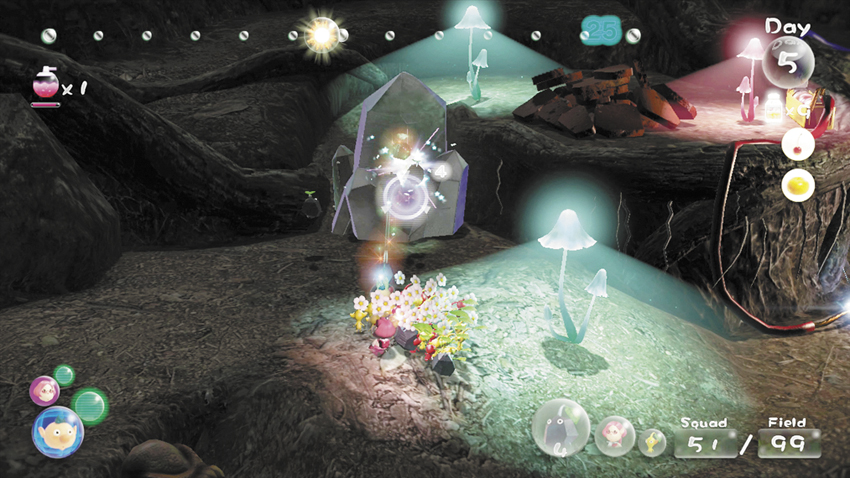
 When all of the Fragments are in place, gather your squad and head over to the Fragments on the east side of the cave. As you move, run over any dormant Glowcaps you encounter. Smash the Large Crystal blocking the path up to the ledge, then climb up to the second Fragment pile.
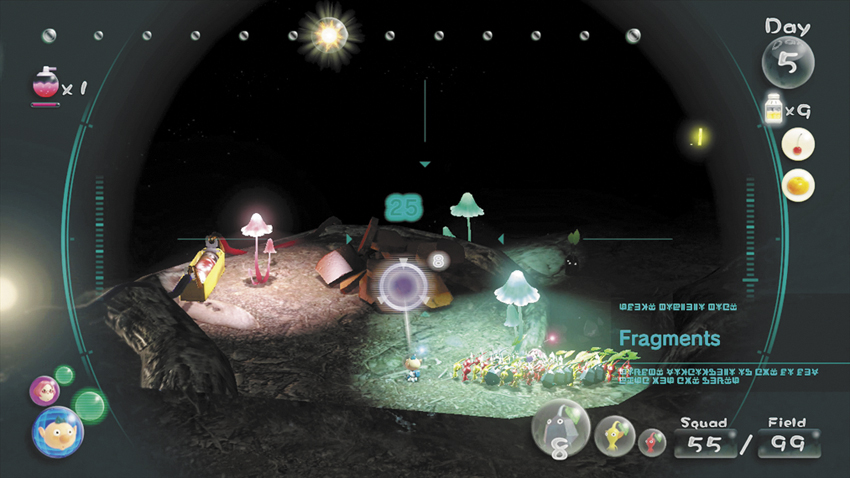
Send the squad charging into the second Fragment pile, call the extra Pikmin back to your side, then protect the workers as they transport the Fragments. By now, the Vehemoth Phosbat should have activated the Phosbat Pods scattered around the cave.
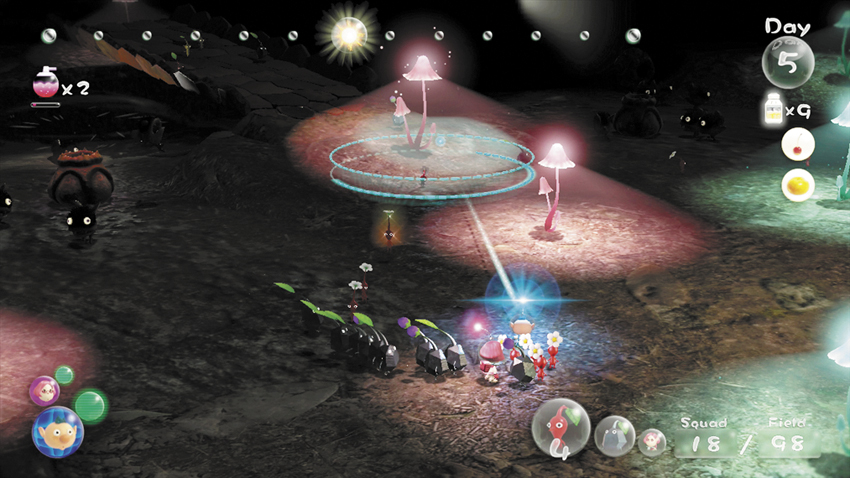
Ignore the smaller enemies and use your whistle to rescue any working Pikmin the Vehemoth Phosbat might attack. Try to catch the bulk of your Pikmin as they return from placing their Fragments, but take care not to disturb Pikmin that are still working.
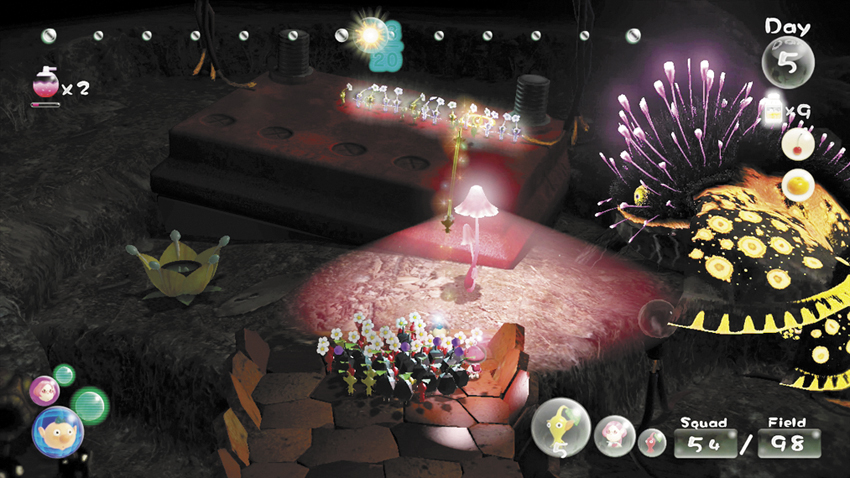
 After you gather your squad, head across the completed bridge to find a half-buried car battery. Toss 20 Yellow Pikmin up to the Electrode to complete the circuit and activate the Light Bulb hanging from the cave’s ceiling. The light stuns the Vehemoth Phosbat and instantly eliminates the smaller enemies. You’re now ready to attack the beast head-on.
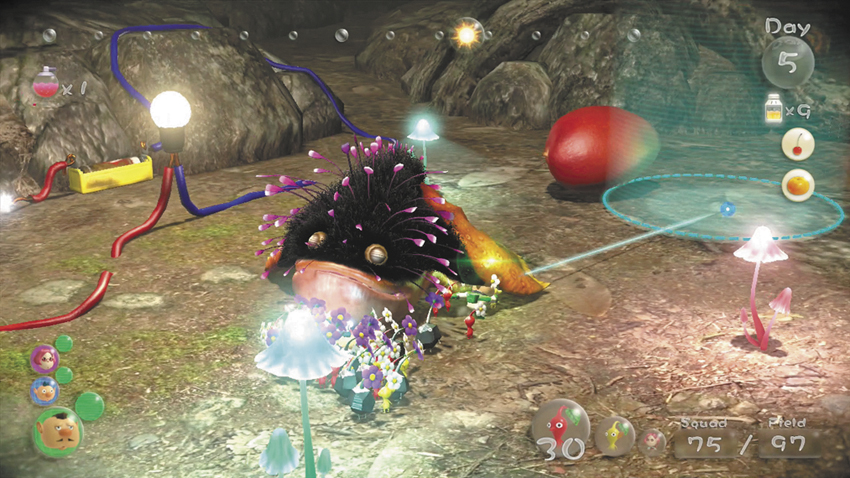
When its health is depleted, the Vehemoth Phosbat crashes into the hanging Light Bulb, causing a Heroine’s Tear (mango) to fall from the ceiling. The beast collapses, and Captain Charlie emerges from its jaws. Before you attempt to collect the fruit or the defeated enemy, throw one crew member and at least 10 Pikmin away from the group to form a second squad.
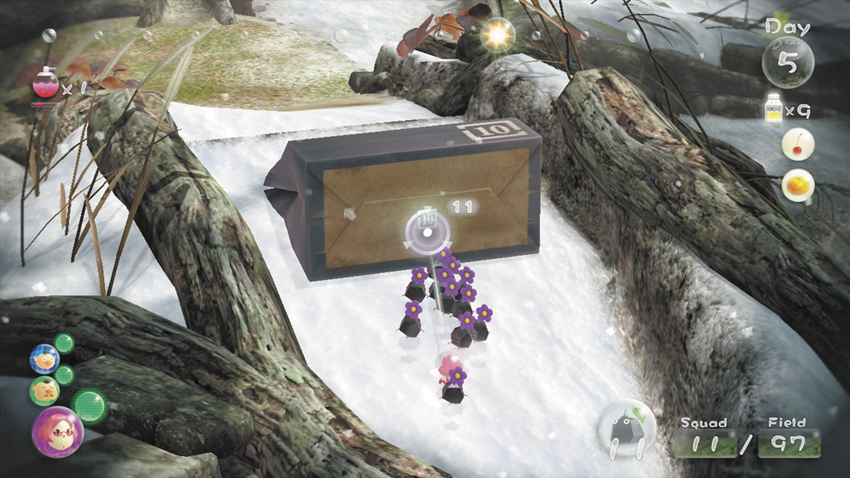
 Switch crew members and lead the smaller squad through the opening in the cave’s north wall. When you reach the Paper Bag, use your Pikmin to push it off the ledge. This creates a shortcut back to the landing site.
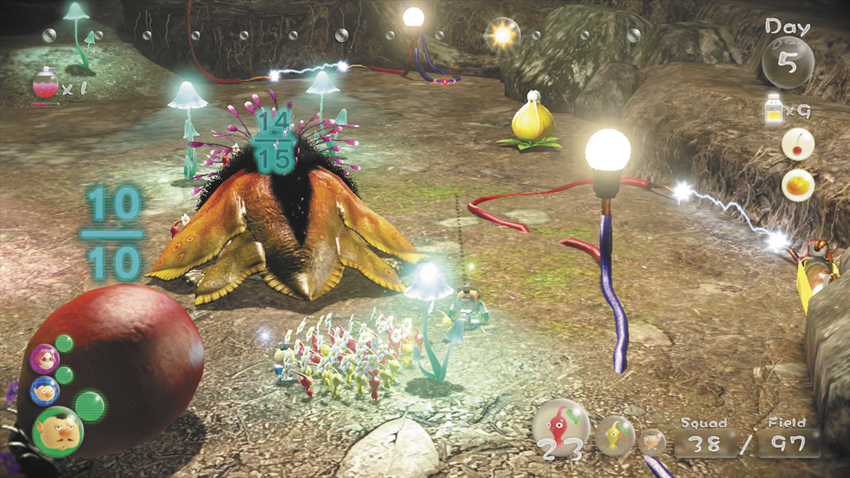
Switch crew members and assign Pikmin to carry the Vehemoth Phosbat and the Heroine’s Tear back to the landing site. The main squad should now consist of two crew members and a decent amount of Pikmin. As the objects are carried back to the landing site, lead the main squad through the passage to the south.
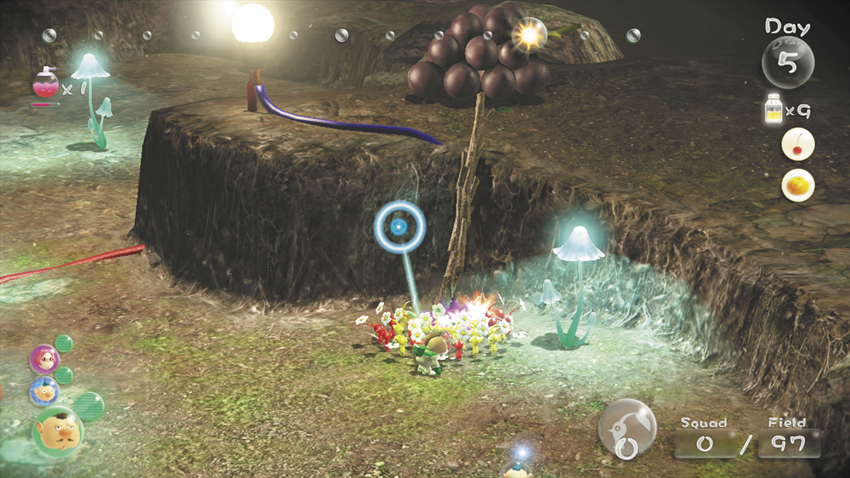
 Cross the Bloominous Stemples and send all of your Pikmin charging into the Climbing Stick. When the stick is fully extended, the Pikmin will harvest the Dusk Pustules (purple grapes) on the ledge. Leave one crew member here to gather the Pikmin when they return, then look for any tasks you can complete before the day ends.
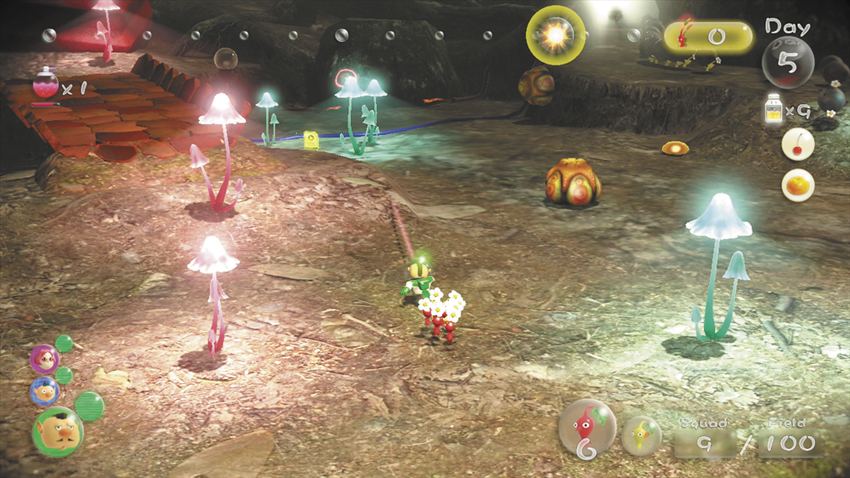
Make a final sweep of the Vehemoth Phosbat’s cave to collect Data Files or smash Phosbat Pods for Nectar. Switch crew members and use the remaining time to collect defeated enemies or reveal unexplored sections of the map. Whatever you choose to do, remember to gather the Pikmin assigned to collect grapes and Ultra-Spicy Berries before the day ends.