
Medal of Honor: Warfighter Guide Walkthrough Single Player Walkthrough
Shut It Down
Briefing
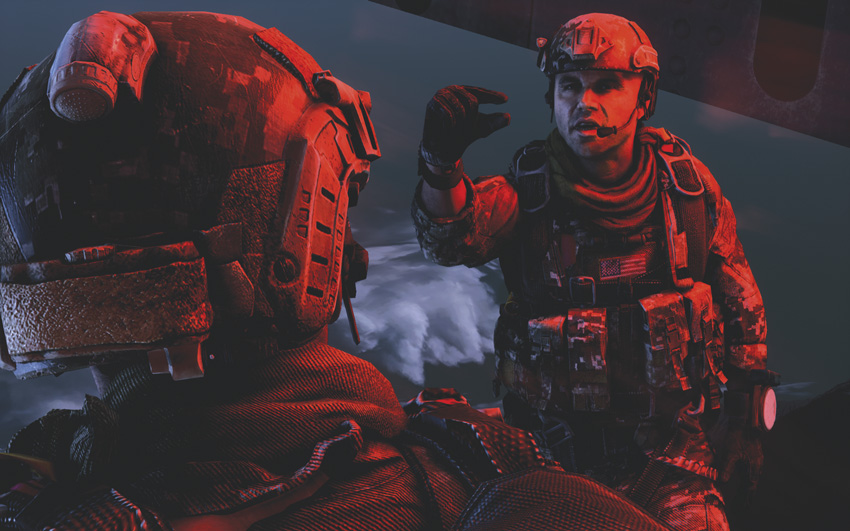
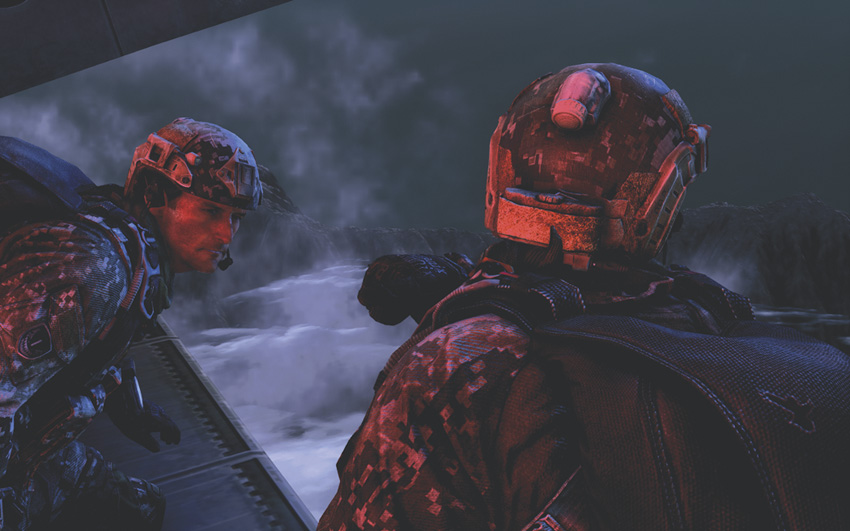
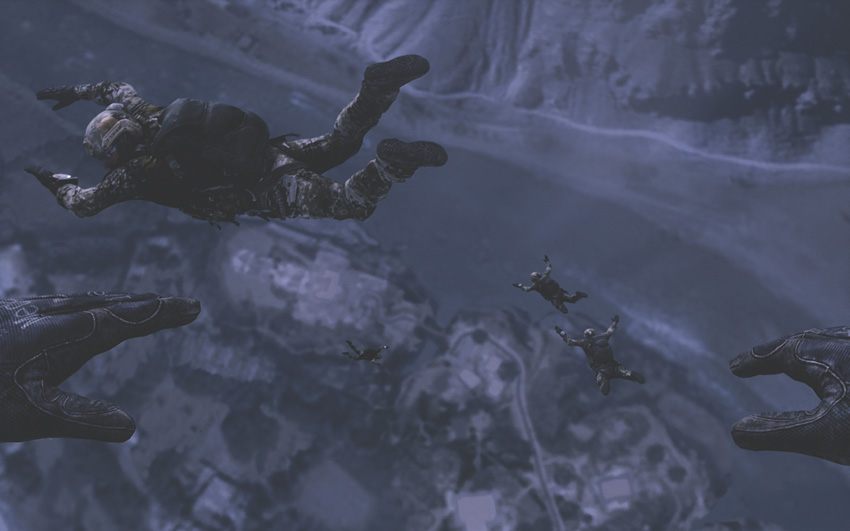
- Joint Task Force Blackbird/Mako—“Preacher”
- Chitral Region, Pakistan
- 35°50’ N 71°47’ E
- Objectives: With all of the pieces of the puzzle in place, it’s a race against the clock to raid the Cleric’s compound deep in the Chitral region of Pakistan. This operation combines several task forces, and even “Dusty”, the man who has been behind the scenes in supporting and organizing the task forces, is coming along. One of his men was executed and he is going to set it right.
Load-Out
Primary - Daniel Defense Mk18
Secondary - P226 with supressor
Frag Grenades - x6
Story
The final piece of the puzzle in place, TF Blackbird and TF Mako team up for a final raid on a command and control site in Pakistan where the P.E.T.N. attacks are planned and the rumored HVT is hiding. The window is closing fast as the Pakistani government has closed all airspace to foreign aircraft, ordered NATO supply lines closed and all drone operations halted.
Funeral/Dedication/ Coda
Preacher and Lena attend Mother’s funeral and realize they need each other. They know it won’t be easy, but Lena realizes it’s better to have Preacher happy, then to have him safe.
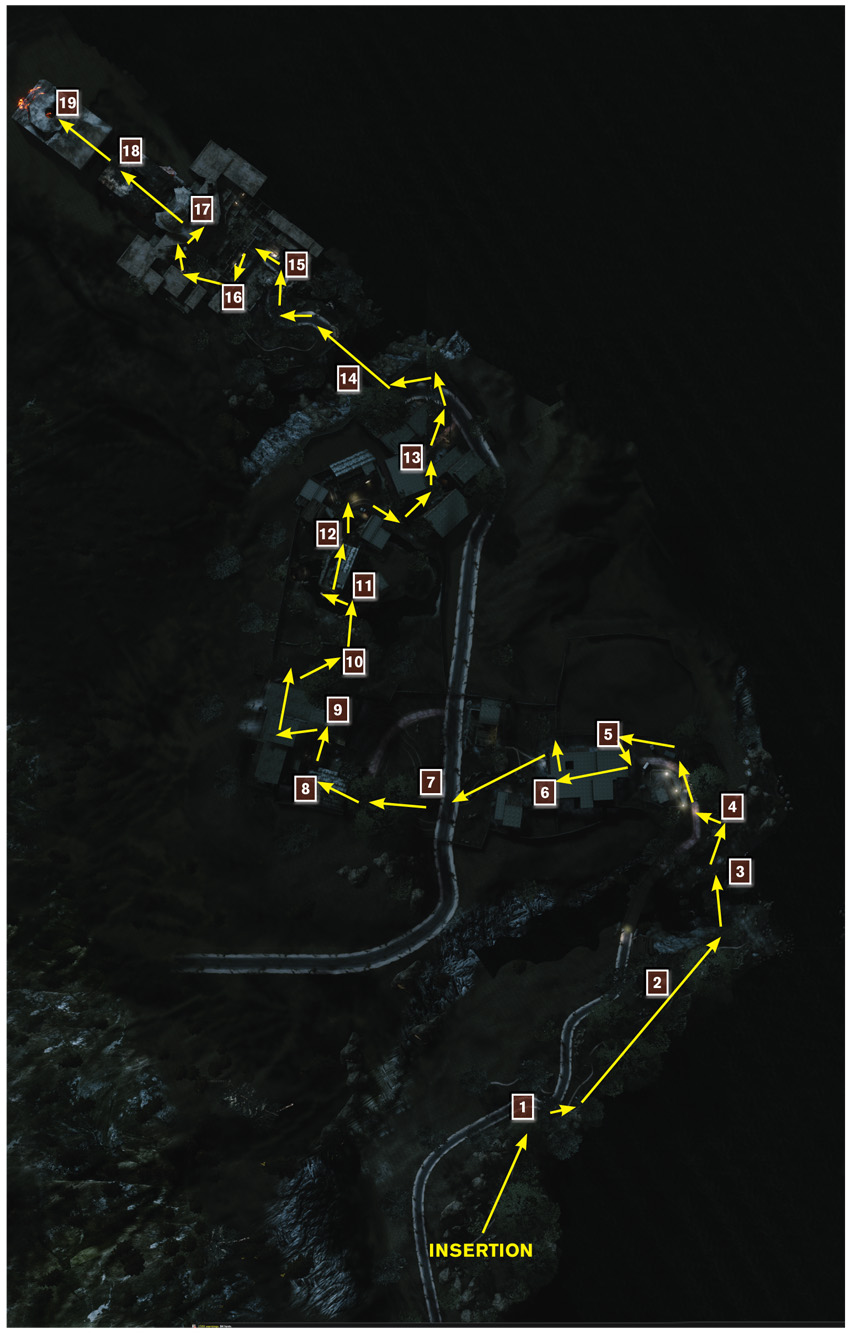
Mission Map
Infiltrate Compound
Avoid Detection
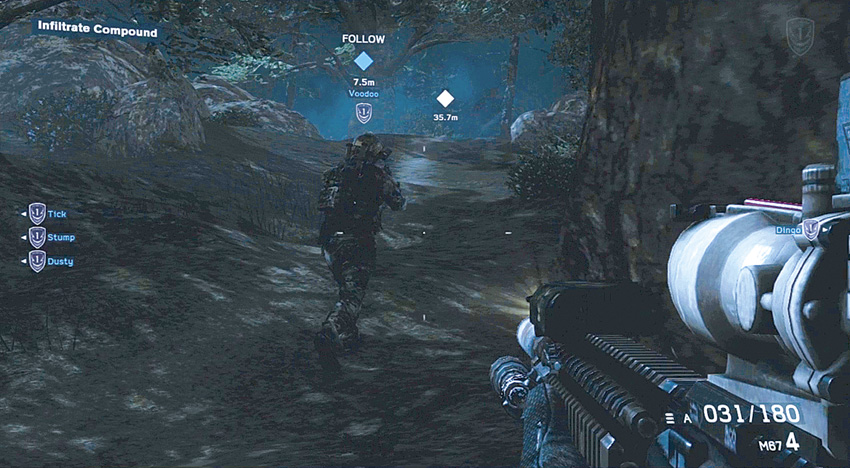
Your team makes an airborne insertion in the area around the Cleric’s compound. The key to success for this mission is to stay stealthy. The closer you can get to the Cleric before he knows you are there, the better. Once on the ground, follow “Voodoo” as he takes the lead.
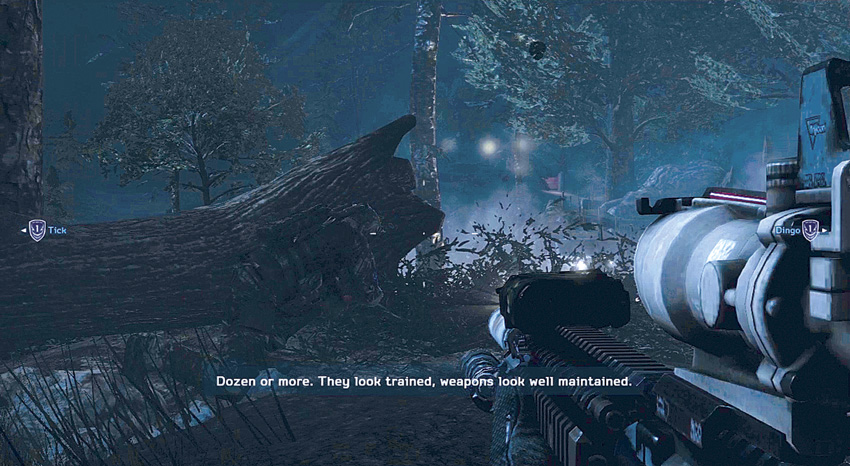
As your team approaches a road, crouch down and take cover behind a fallen tree as some vehicles and terrorists pass by. You don’t want to alert them to your presence just yet.
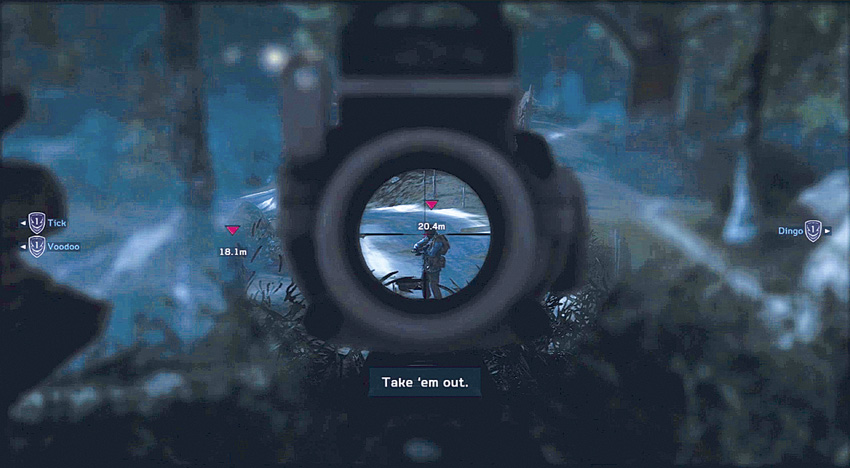
As the column passes, two men stay behind to answer nature’s call. “Voodoo” will take care of one while you kill the other. Pick the target on the right, take aim through your scope, and squeeze the trigger to eliminate the hostile.
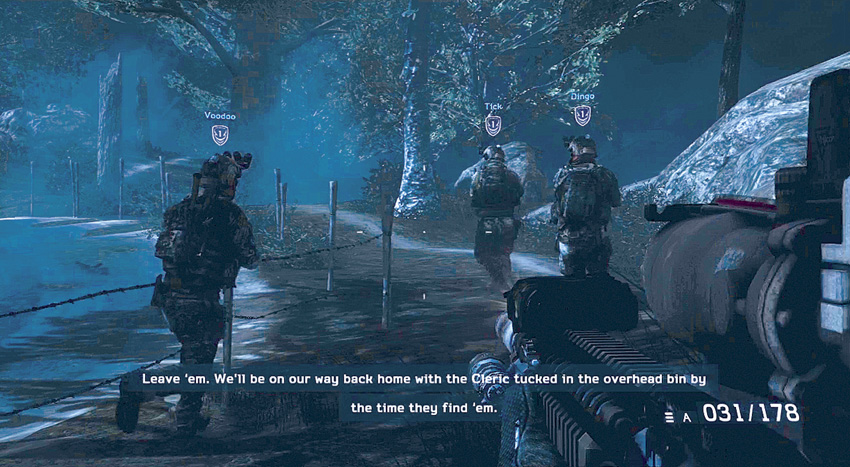
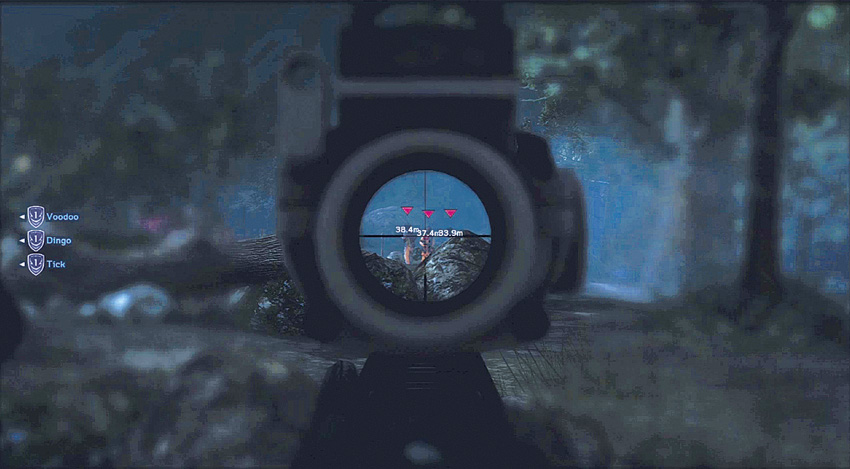
Advance along with your team down a path to the side of the road. As you veer away from the road, you come across three enemies around a campfire. Wait until your team is set and open fire. As you shoot, so do other members of your team to ensure not one of the terrorists gets off a shout or a shot. Now that these sentries are neutralized, continue along with your team towards the wall surrounding the compound.
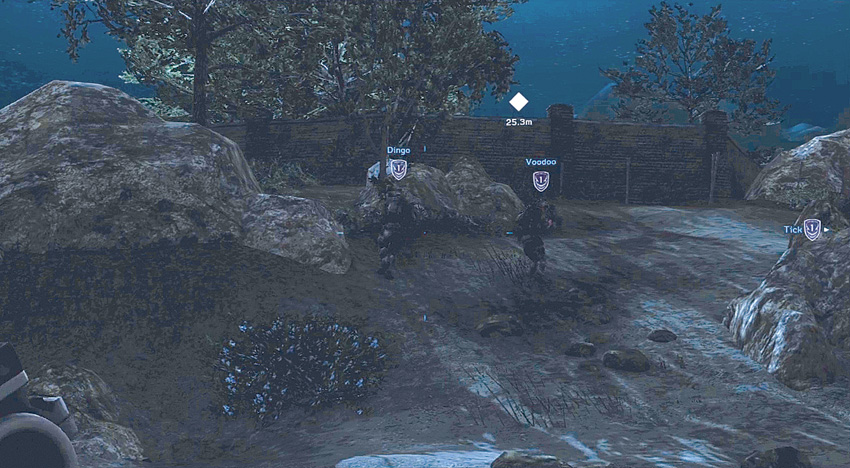
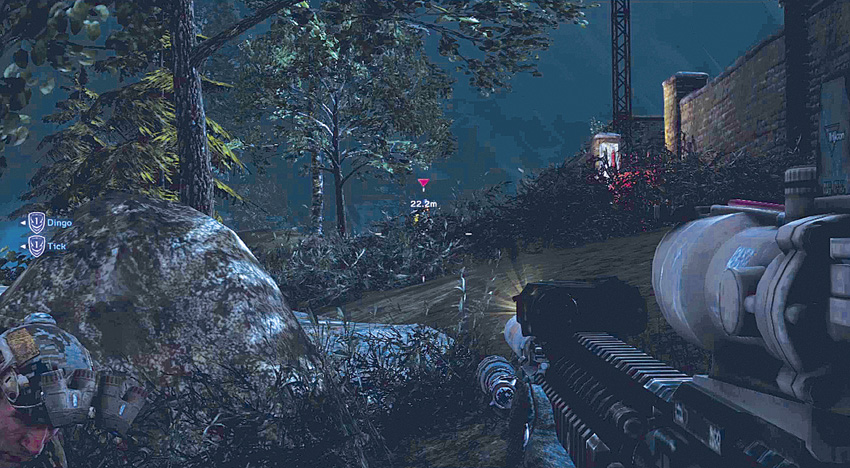
Make your way across a small stream and then take cover behind some rocks right next to the wall. The gates open and a truck drives out from the compound. A single hostile stands sentry by the gate. As soon as the truck drives away, kill the sentry before he goes back into the compound and closes the gates. You have completed the first objective and reached the compound without being detected by the enemy.
Shoot the Fuse Box
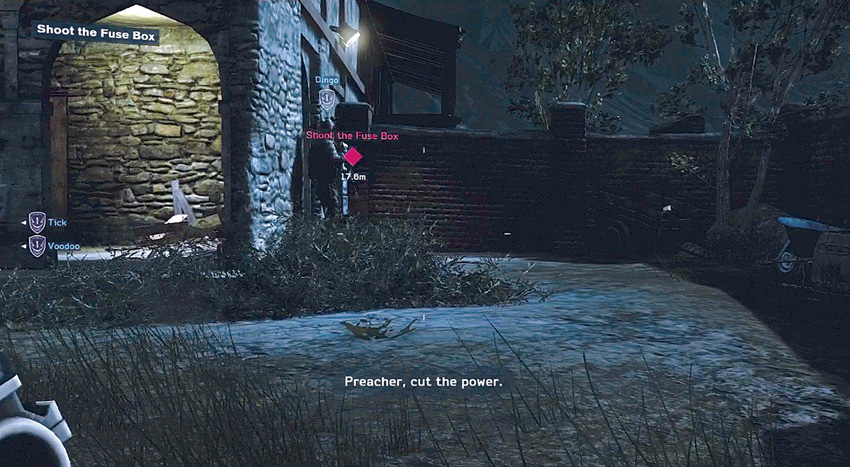
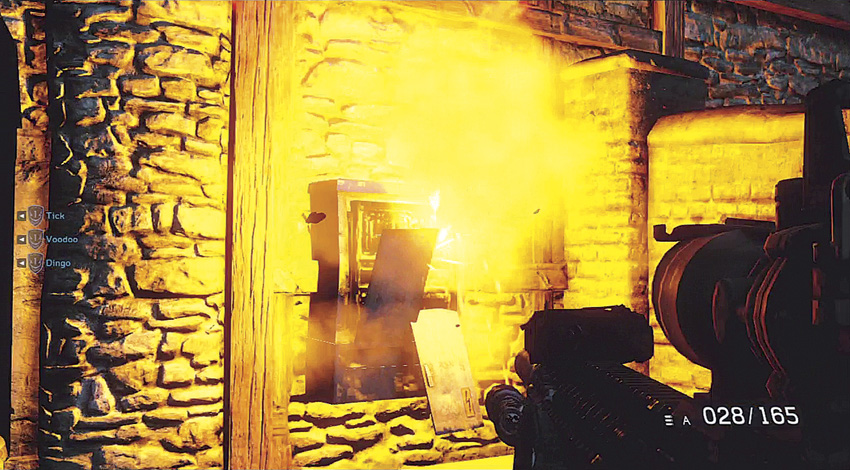
Follow your team through the open gate and into the compound. Stay quiet for now. Move along the right side of the compound, hiding behind crates and vehicles to get to the right side of the building. Locate the fuse box on the side of the building and fire a couple of rounds into it to knock out the power and leave all of the enemies in the dark.
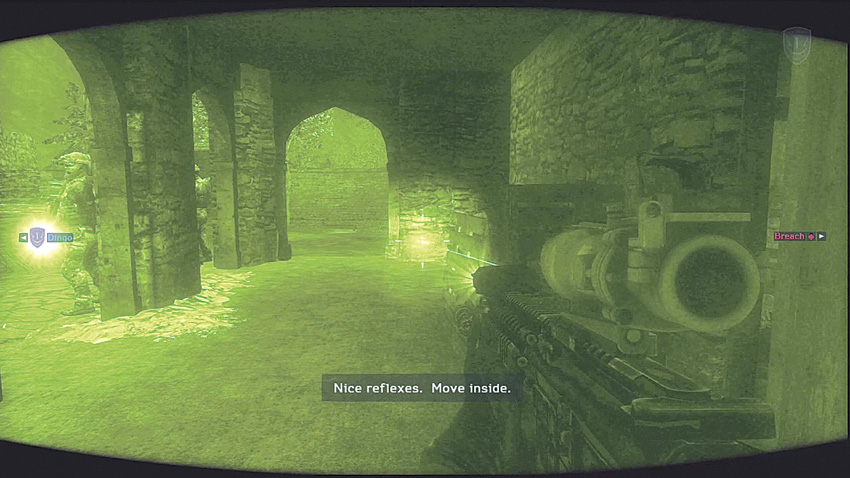
As the lights go out, you automatically activate your NODS so you can see in the dark. This gives you a major advantage over the enemy. Watch for a hostile that runs out the door to see why the lights went out. Kill him before he even realizes you are there, then advance into the building.
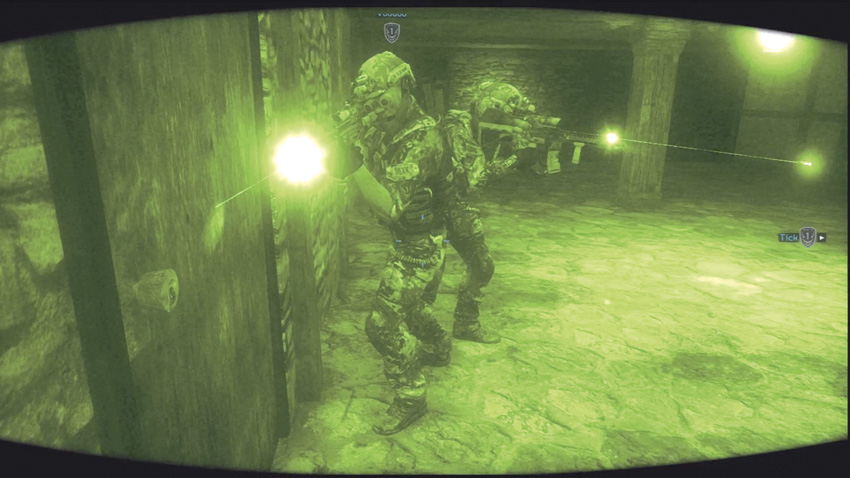
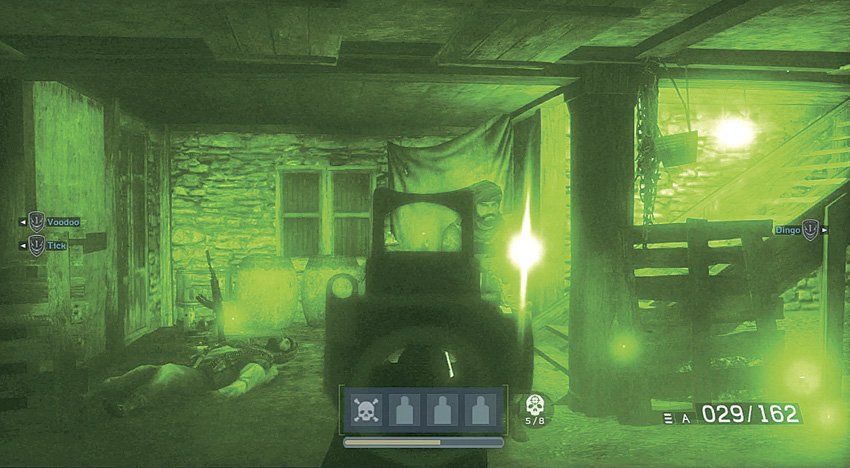
The rooms through which you move are empty, so continue to a locked door. Stack up and then select a breach tactic. After rushing into the room, quickly take out the four hostiles inside. Since it is still dark, this is an easier breach than you are used to. However, you can’t waste time or they will start shooting at your muzzle flashes once they recover from the flashbang.
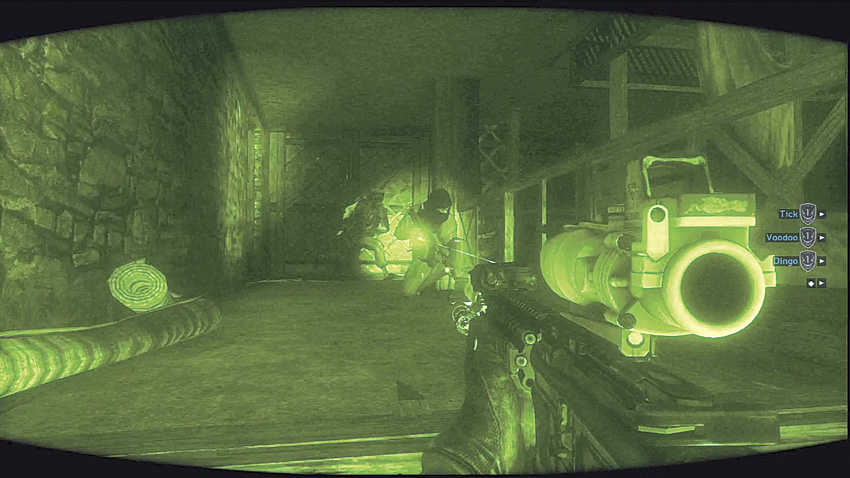
After you clear the room, a hostile runs down the stairs in the middle of the room. Kill him and then move up the stairs, eliminating any hostiles located near the top of the stairs. Continue to the top of the stairs and clear this room of any remaining enemies.
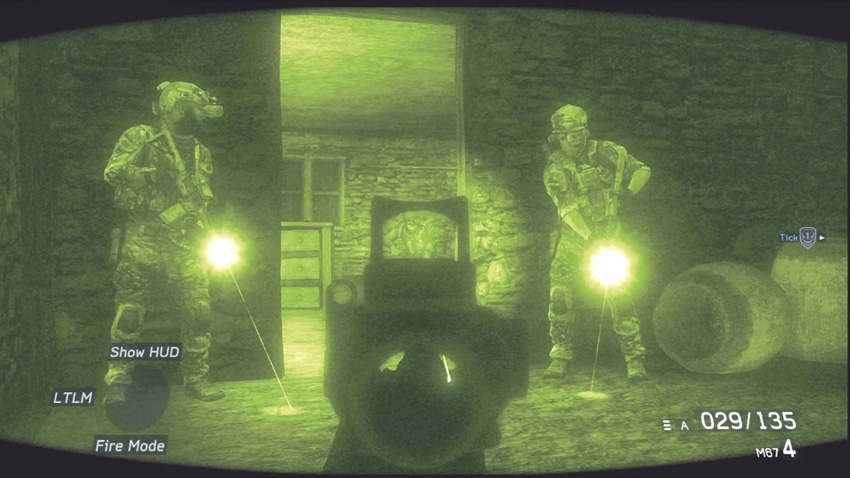
As the rest of your team follows you up the stairs, take aim at the open door on the right side of the room. There are more hostiles in the next room on the other side of the door. They have flashlights, so they can now see in the dark—though not as effectively as you. Kill as many of these enemies as possible as they appear near the doorway. Once you have cleared the room, your teammates enter to secure it.
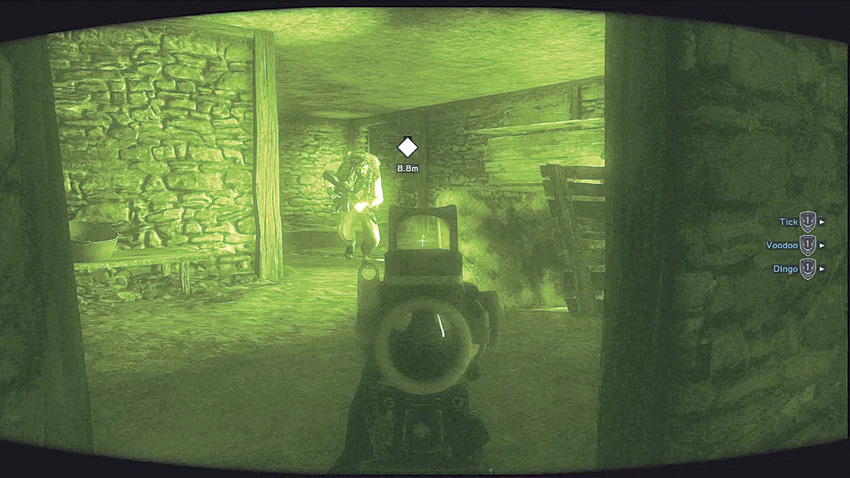
Advance through the room and into the next room through a door on the right. Neutralize the hostile inside before he sees you in the dark. As you continue through this room and on into the next, the lights come back on. The enemy has restored power and now you have lost your night fighting advantage.
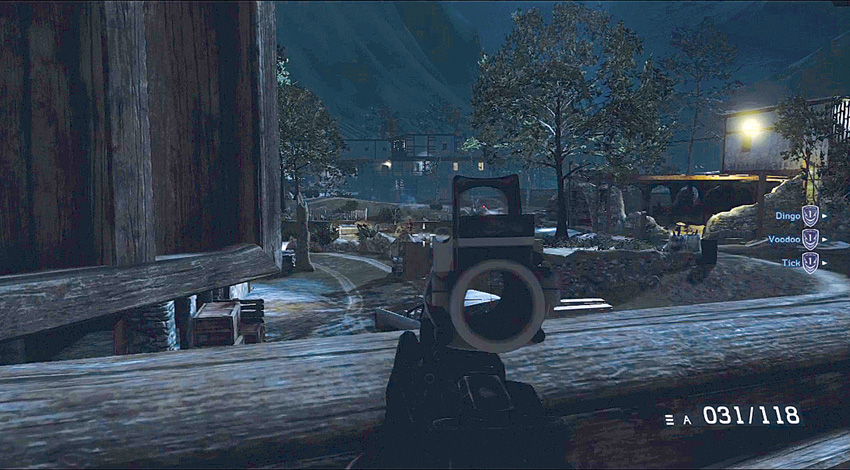
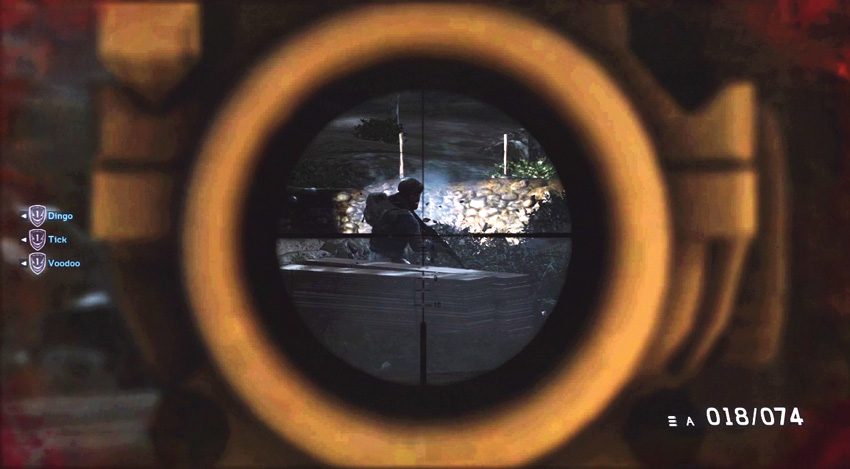
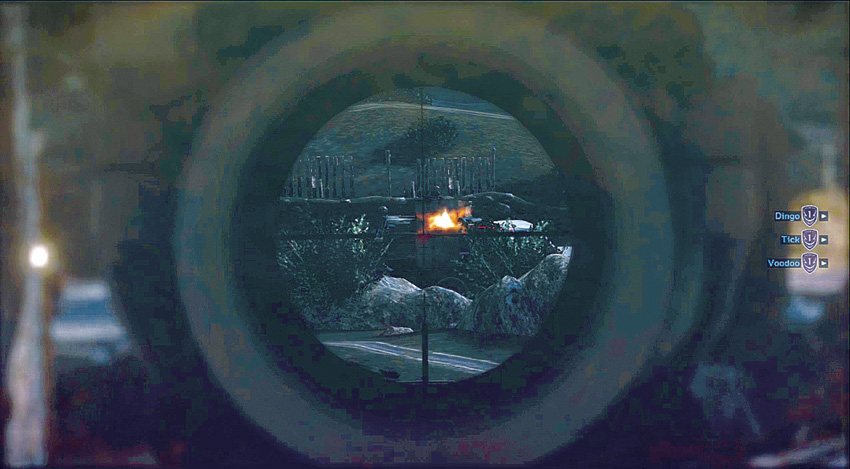
Clear out the last room of the building and then move towards the window. From this position, you need to eliminate the hostiles outside. Get behind cover and then peek or lean to make your shots. There are plenty of targets at which you can fire. However, the main threat is a technical pick-up with a machine gun in the back. The gunner is protected by an armored shield. All that is exposed is his head. Take careful aim and kill him with a headshot, otherwise that machine gun keeps firing. With the machine gun silenced, just scan back and forth and shoot anything that moves or shoots at you.
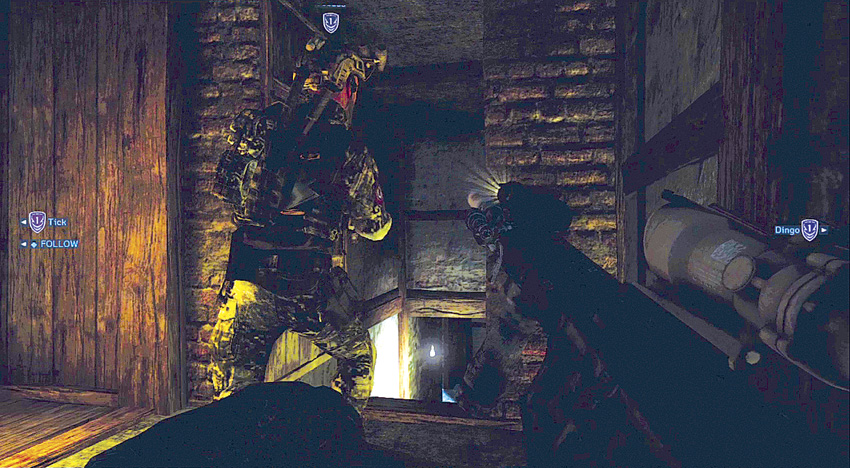
Once it quiets down outside, take a look at the terrain. You can also see another technical pull up and stop in the distance. It is too far away for you to engage and it is not shooting at you. Therefore, follow “Voodoo” through a door on the right side of the room, down some stairs, and then out of the building.
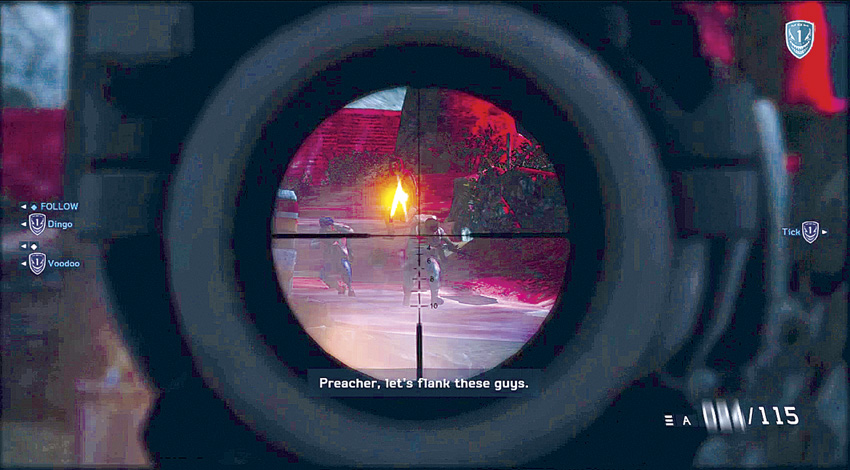
Head towards the left side of the area and take cover as enemies approach. Open fire and take them out before they can get behind cover of their own.
Flank House through Barn
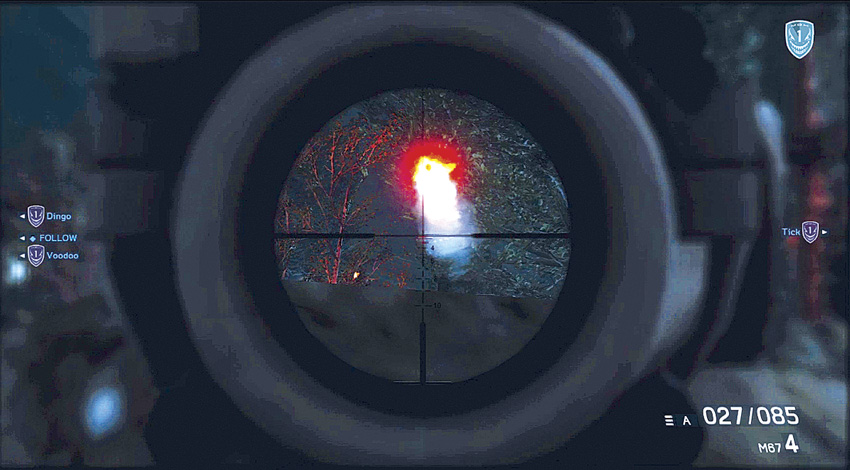
As you are engaging the enemies coming towards your position, you start taking RPG fire from a gunner on the roof of a building at the opposite end of the area. Locate him and take him out with a carefully aimed shot using your scope. Now get ready to move. If you stay put, more hostiles take the places of those you kill at the building. Therefore, you need to perform a flanking maneuver.
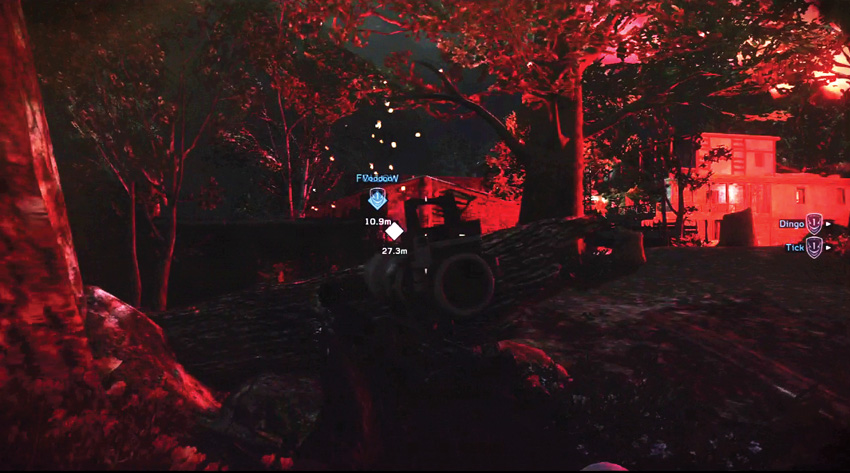
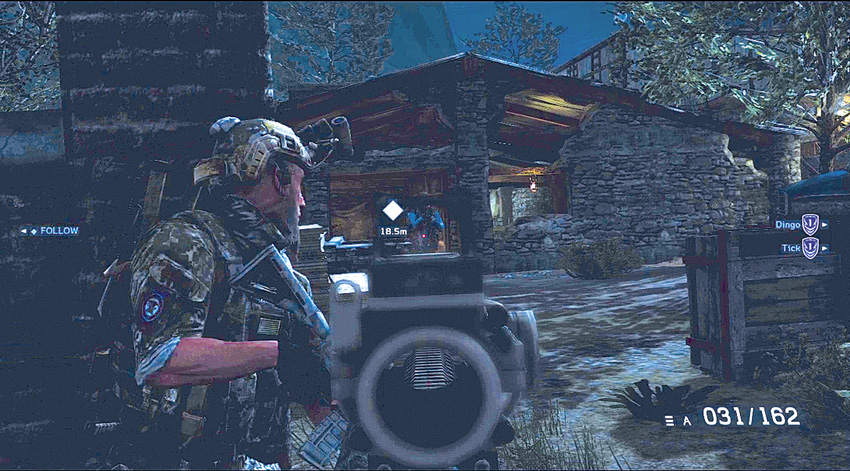
Follow “Voodoo” along the left wall of the compound, killing any enemies you encounter along the way. As you approach a barn, take cover and neutralize enemies inside that are firing at you. Once it looks clear, rush into the barn with your teammate. Be alert for any hostiles you might have missed.
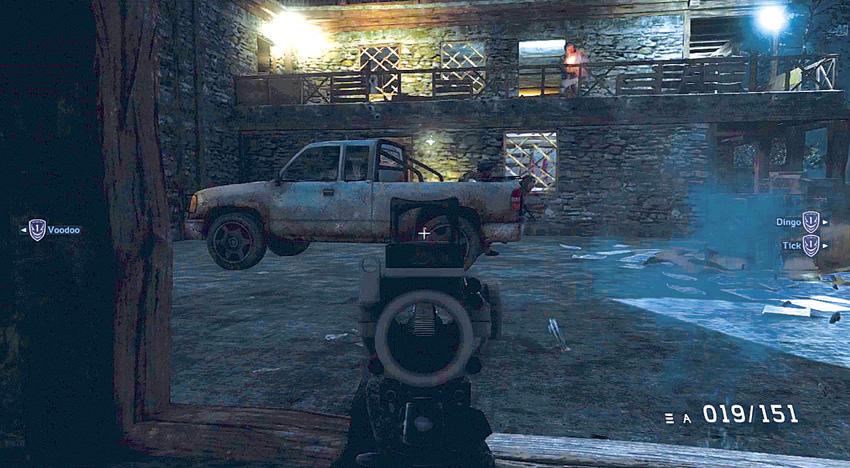
The barn is located to the side of the large building. Move to the windows facing the building and clear away the hostiles on the ground as well as on the balcony of the building. Watch for grenades that they throw at you.
Search the Farmhouse
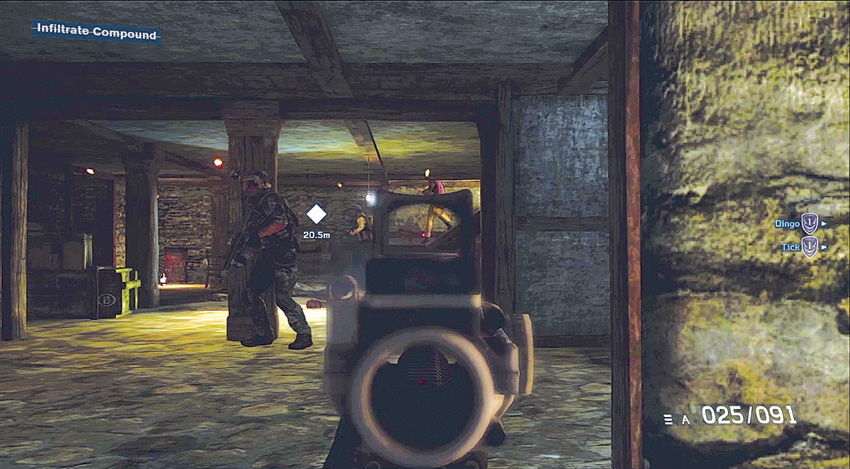
After killing the hostiles by the building, follow “Voodoo” through the barn door and into the side door of the building. As you walk in, drop to a crouch and engage hostiles rushing down the stairs directly ahead of you.
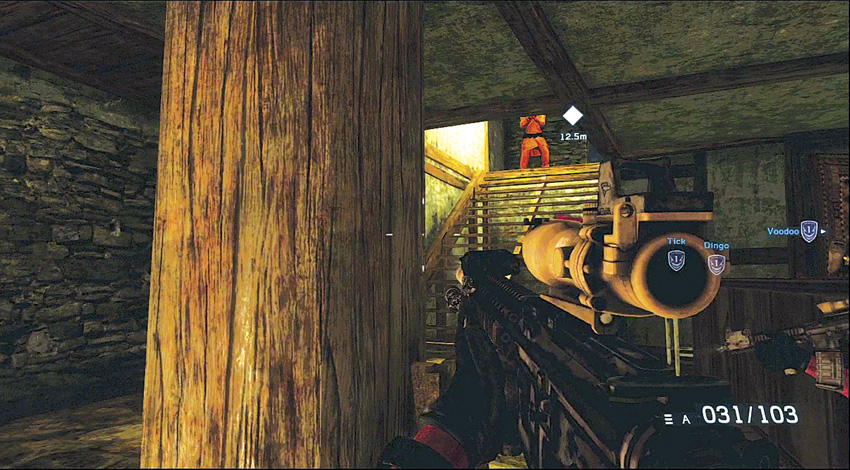
Once enemies stop coming down the stairs, move to the foot of the staircase and kill any hostiles you can see at the top. Then rush to the top of the stairs.
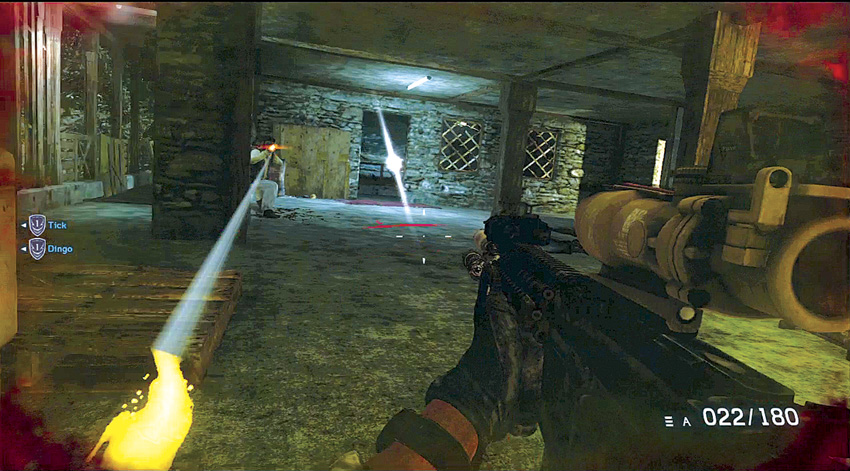
As you get to the top of the stairs, don’t stop until you are behind some crates near the wall. There are several hostiles to the right of the stairs. Lean around the crates and engage them. One of the enemies is an armored machine gunner. Take a few shots, then duck back behind cover. Repeat this a few times to finally kill him. If you stay exposed and try to kill him with sustained fire, he will more than likely kill you instead.
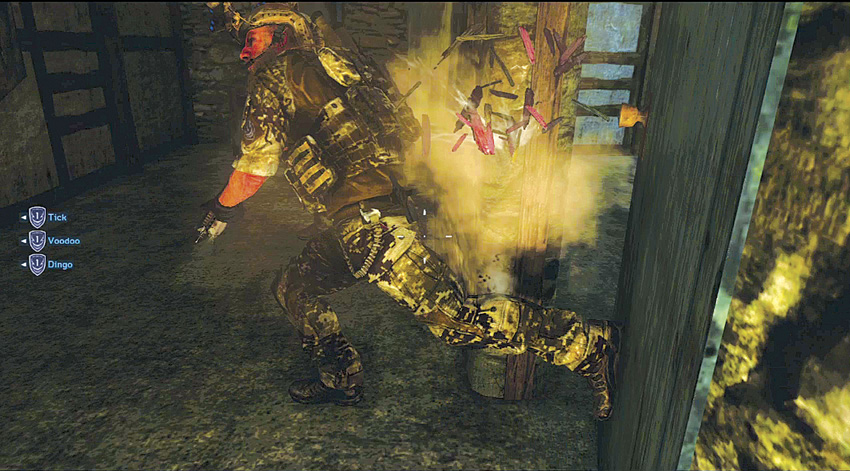
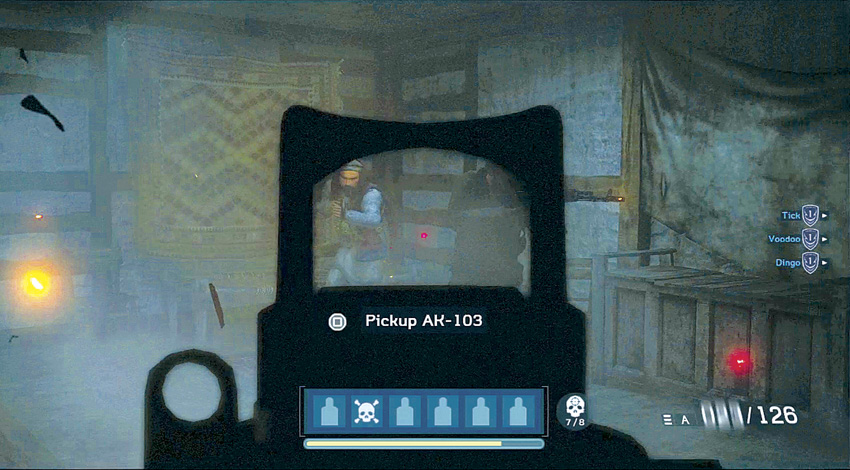
After this area is clear, move through the next few rooms along with your teammates until you come to a locked door along the side of a hallway. Stack up and give a breach order. As you enter the room, move quickly to take down the six hostiles inside.
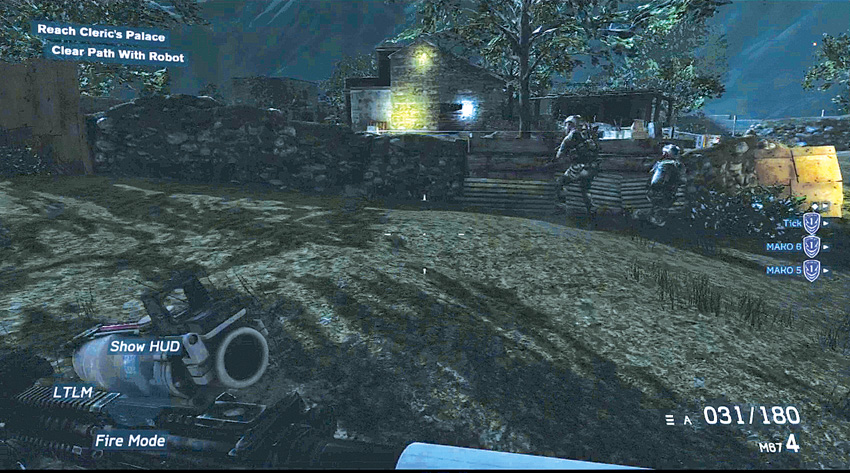
Clear the room and then follow “Voodoo” and your team through a door that leads outside. Continue around the side of the farmhouse and across a yard to where the rest of the task force is waiting.
Reach Cleric’s Palace
Clear Path with Robot
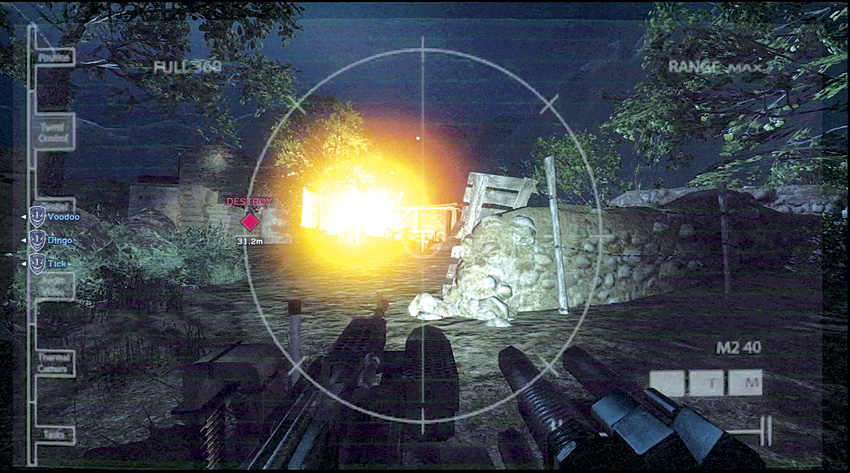
Move over to the combat robot and take control of it. Start off by switching to the grenade launcher and firing at enemies directly ahead who are shooting at your robot. Then fire at the door of the building where a targeting icon is positioned. Since the robot does not have a hand to open doors, you just blast your way in.
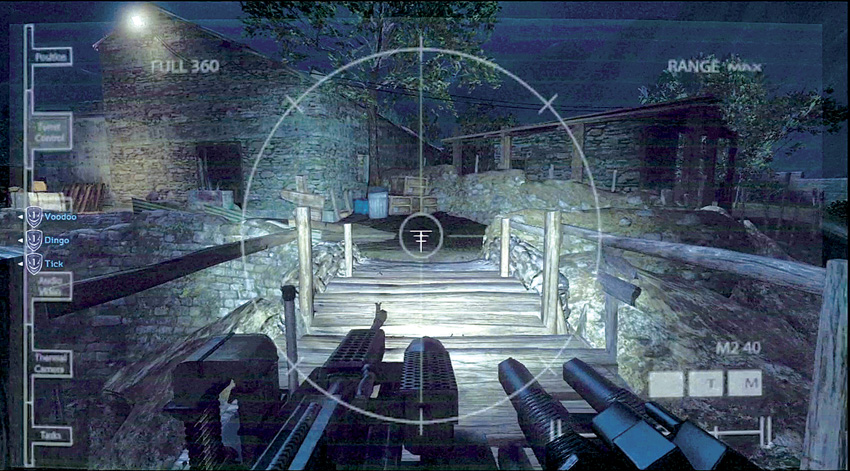
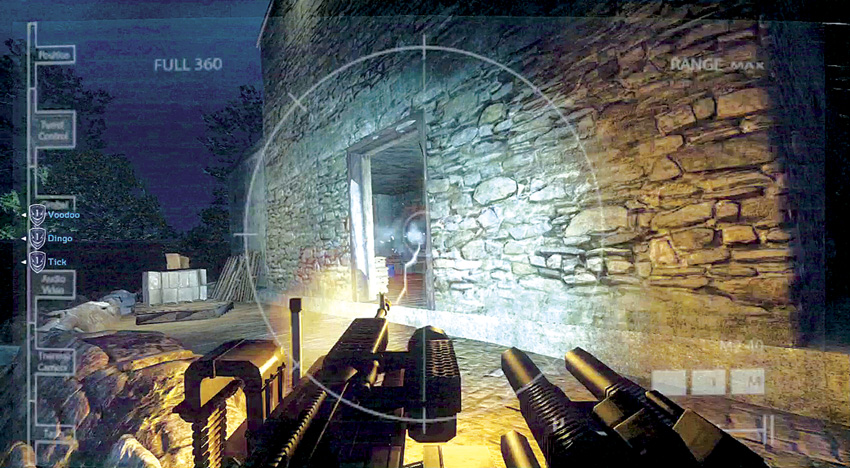
Drive the robot across the wooden foot bridge and then launch some grenades through the open doorway to kill some of the hostiles inside the building. Strafe past the door, using the machine gun to clear out any remaining enemies before driving into the building. As soon as you are inside, launch grenades through another doorway into the next room.
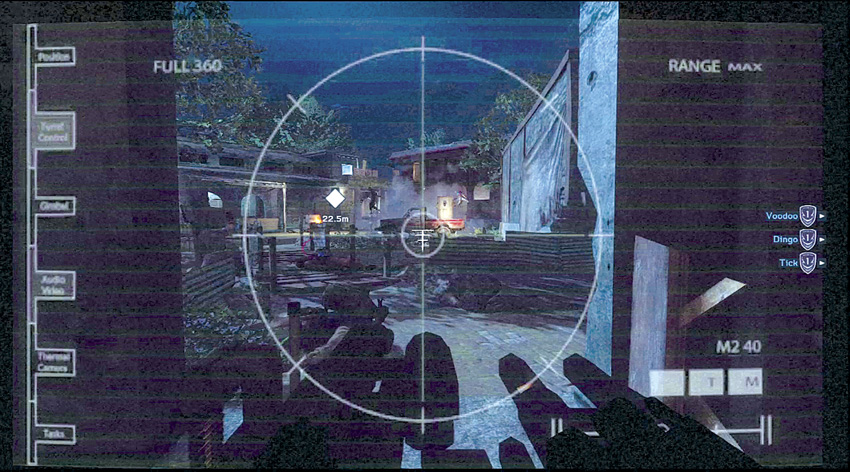
Keep driving through a doorway and along an outside corridor. Fire at enemies at the far end of the corridor with both machine gun and grenade fire as you drive forward. As you get to the end of the corridor, launch grenades at a technical to kill both the driver and the gunner. Then neutralize an armored machine gunner who appears and opens fire at the robot.
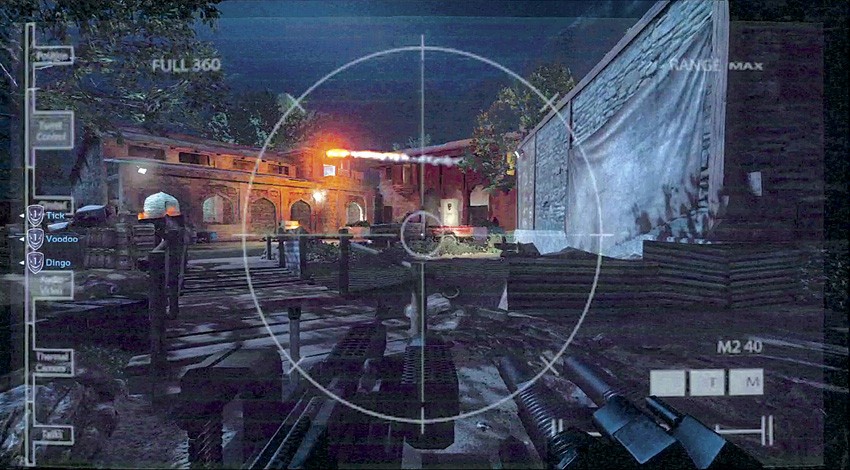
As you clear out the courtyard ahead, your teammates begin advancing on your left side. Start driving across the foot bridge and engage the terrorist with an RPG in an upstairs window to the right. Kill him before he can hurt your teammates. Keep providing covering fire until “Voodoo” declares the area clear. Then drive the robot over towards the gate where your team is waiting.
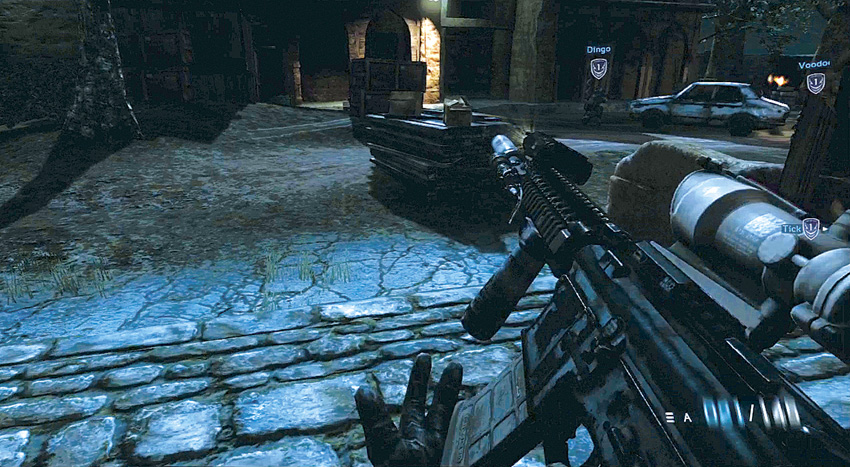
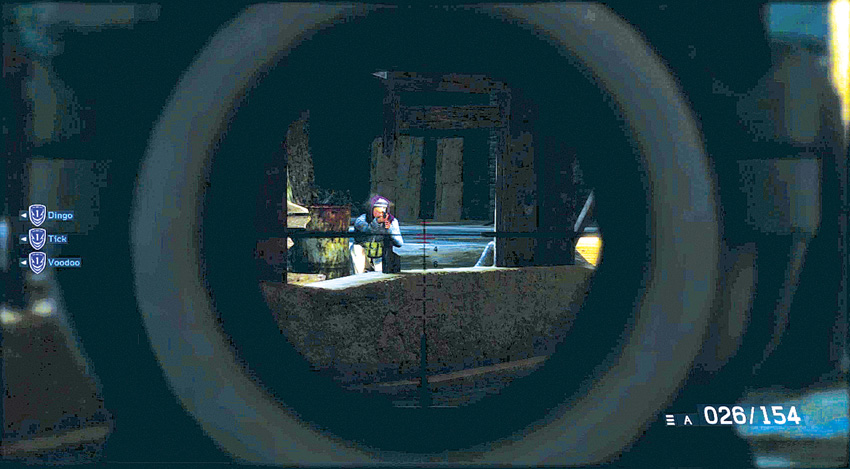
Now that the robot has done its job, it is time to get personal. Back on your feet, follow your team through the gate and along a walkway to another open space between buildings. Rush to take cover behind a stack of lumber and then start firing at enemies who arrive to try to stop you from reaching the Cleric’s palace.
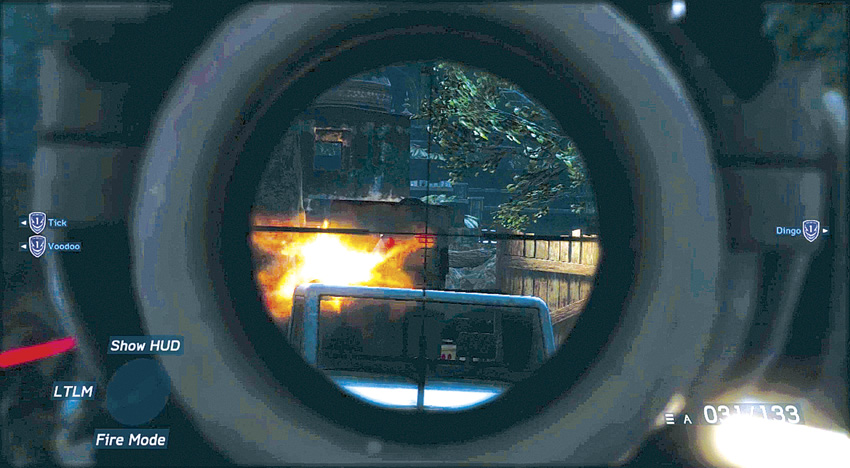
After this area is clear, advance around the buildings to the left and follow your team towards a bridge leading to the palace. Quickly take cover. A technical drives out onto the bridge. Take careful aim and hit the gunner with a headshot to kill him.
Use MMG to Clear Enemies
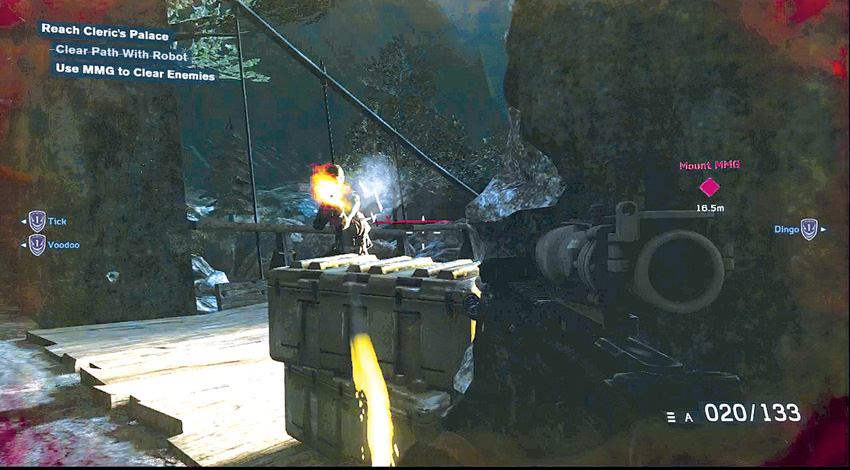
After you kill the gunner on the technical, drop back behind cover and then engage the hostiles rushing across the bridge towards your position.
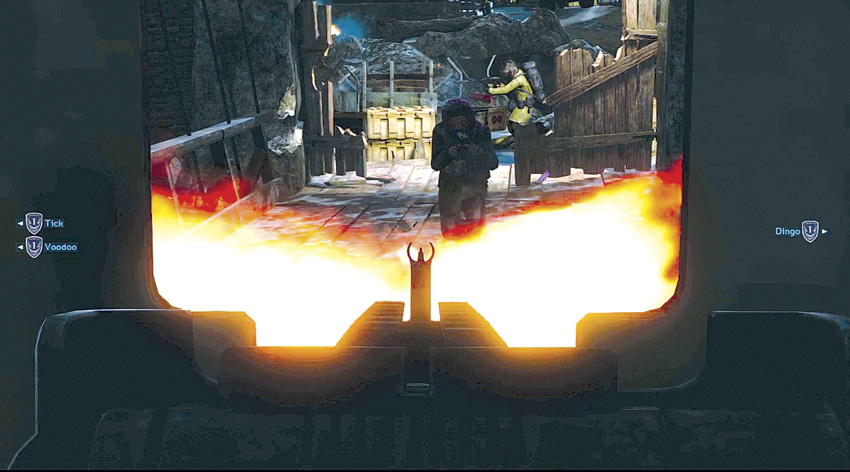
Sprint out onto the bridge, killing any hostiles in your way, and climb onto the technical to man the medium machine gun. Blast away at the wooden gate at the far side of the bridge and then mow down all enemies that try to rush across the bridge.
Kill the Cleric
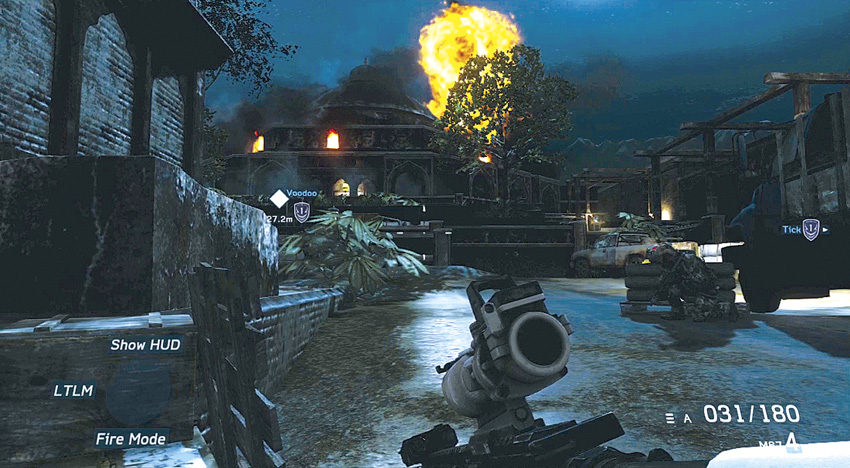
Once the bridge is clear, hop down from the technical and follow your team across the bridge and through the driveway that leads to the palace. As you near the palace, you see flames and explosions coming from it. However, there is no resistance in this area at all. Keep moving.
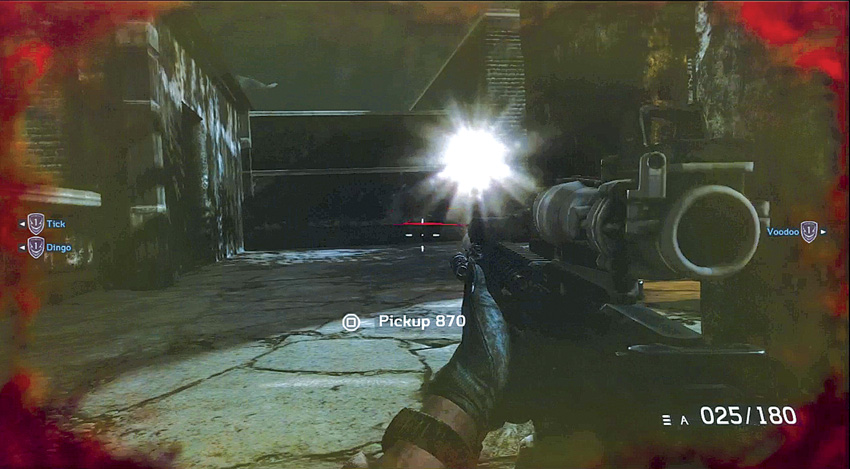
After climbing some steps leading to the palace yard, turn to the left and be ready to engage some hostiles. Kill them both before they can get you. Then advance and be ready to kill more as you round a corner to the right. The terrorists can be difficult to see in the dark, so look for flashlights. Shoot at the light and you usually hit the person holding the weapon with the flashlight attached.
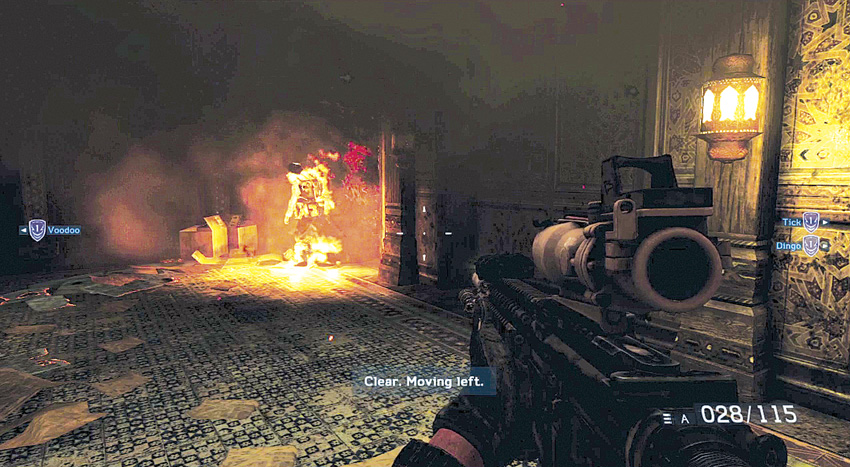
As you approach the palace doors, they blow outward with an explosion. Wait for the smoke to clear and then enter the palace. As you do, there are flames up ahead and burning terrorists. Put them out of their misery and then follow a corridor to the left that is not yet on fire.
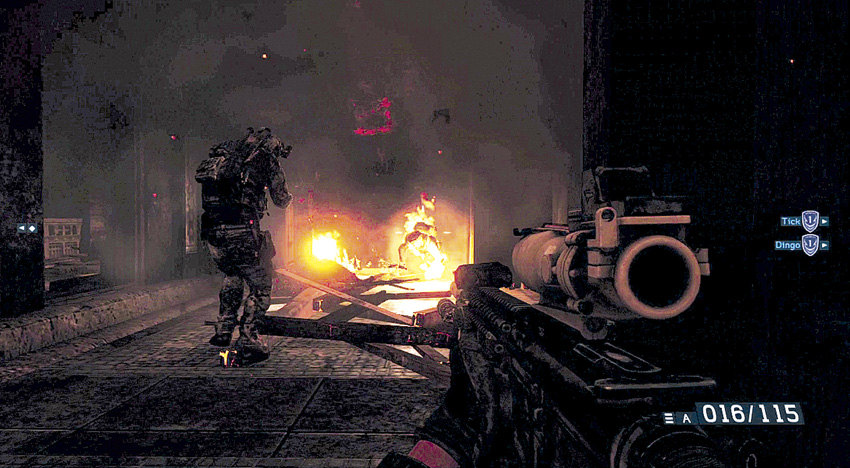
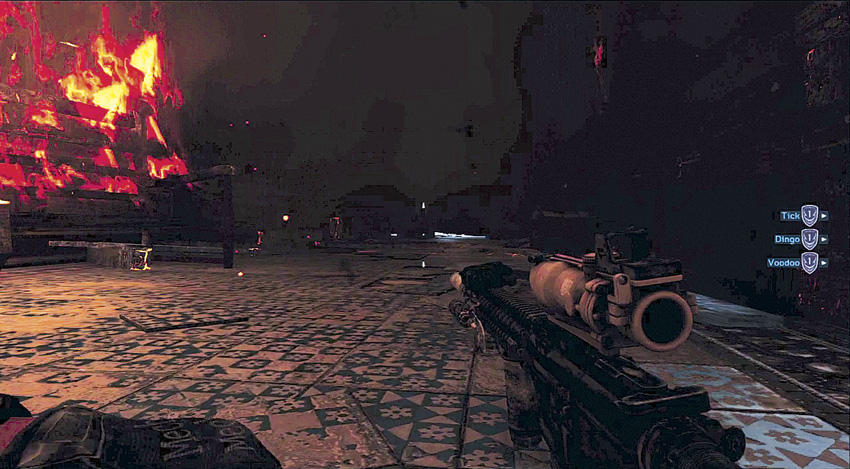
Follow “Voodoo” as he continues to advance through the burning palace. As the smoke gets thick, drop prone and crawl so you can stay low where there is still oxygen to breathe. Shoot any hostiles you come across—though they are not likely to put up much of a fight.
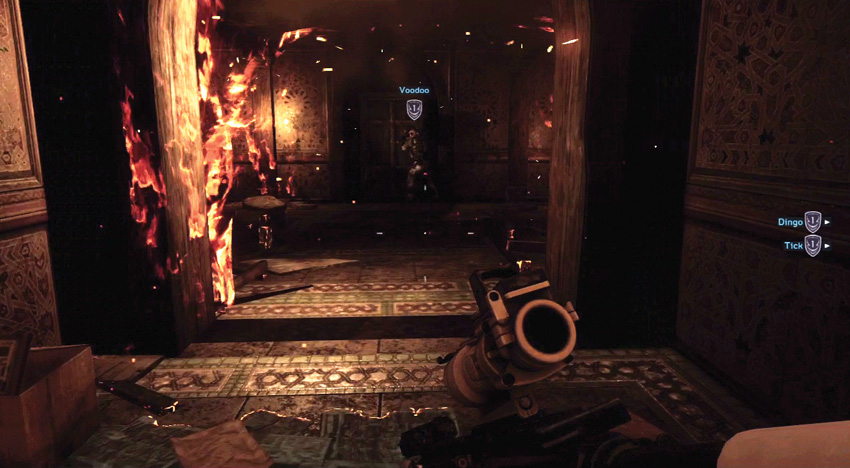
As “Voodoo” stands up, get up from prone and continue to a locked door. This is it. The Cleric is on the other side.
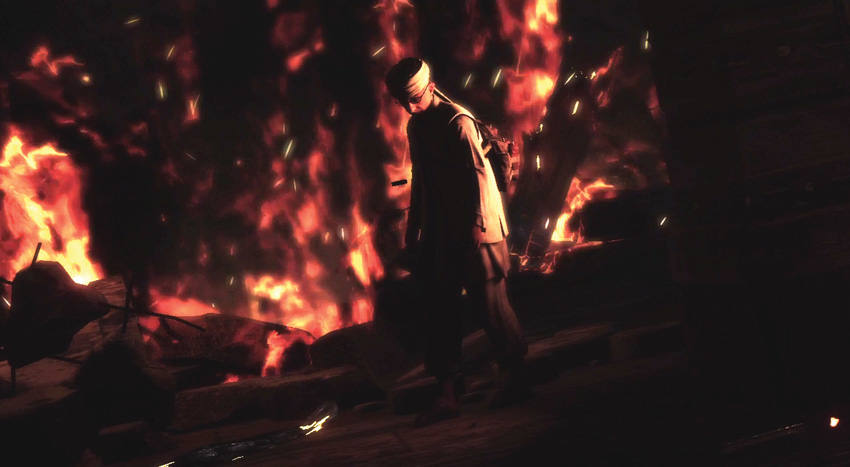
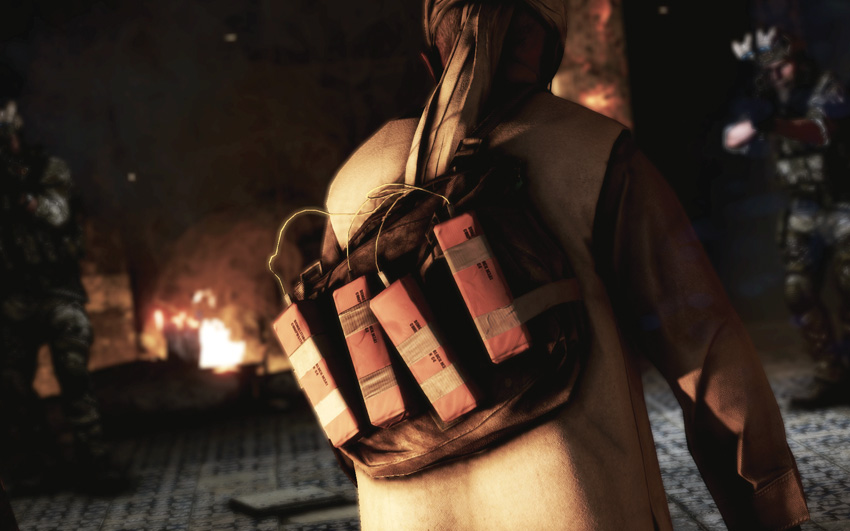
After kicking in the door, you enter the room. The Cleric is standing there, partially stunned. He has a bomb strapped to his back. As you look around the room, you see that the Cleric had planned terrorist attacks against many different targets.
.jpg)
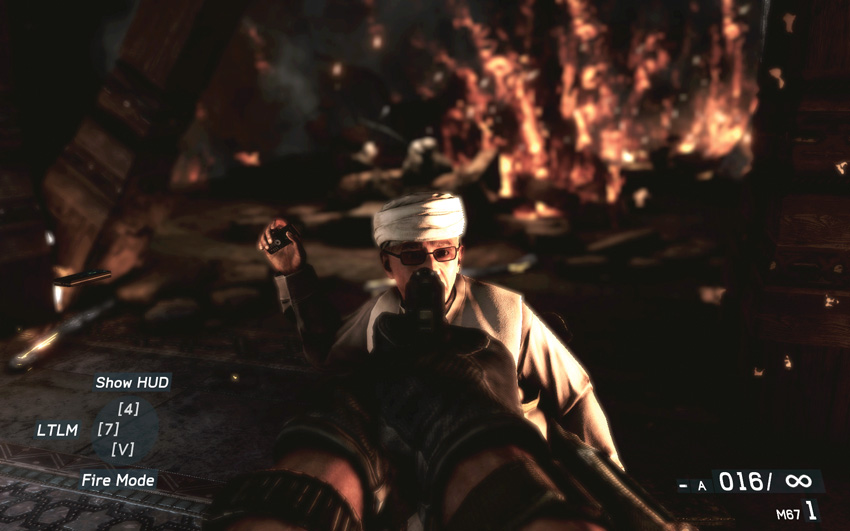
As the Cleric brings up his hand, you see a detonator in it. Quickly take aim with your pistol and kill him with a headshot before he can blow up “Voodoo” and you. “Mother” has been avenged.
.jpg)