
Medal of Honor: Warfighter Guide Multiplayer Multiplayer Maps
Shorgore Valley
Shogore Valley
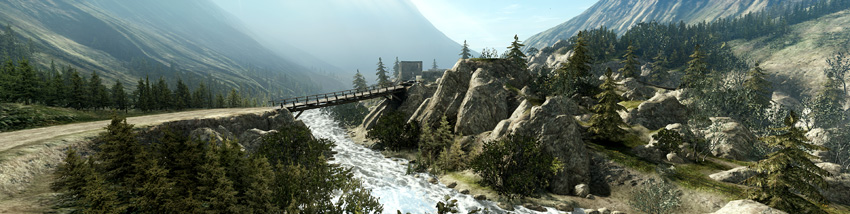
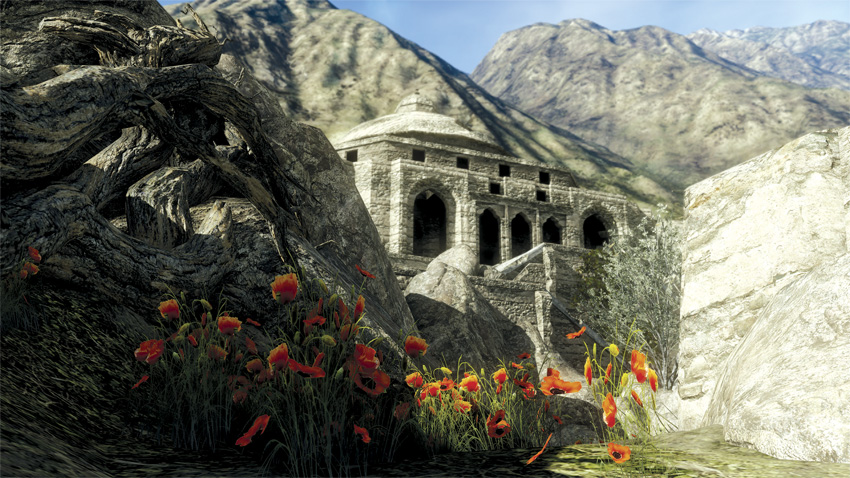
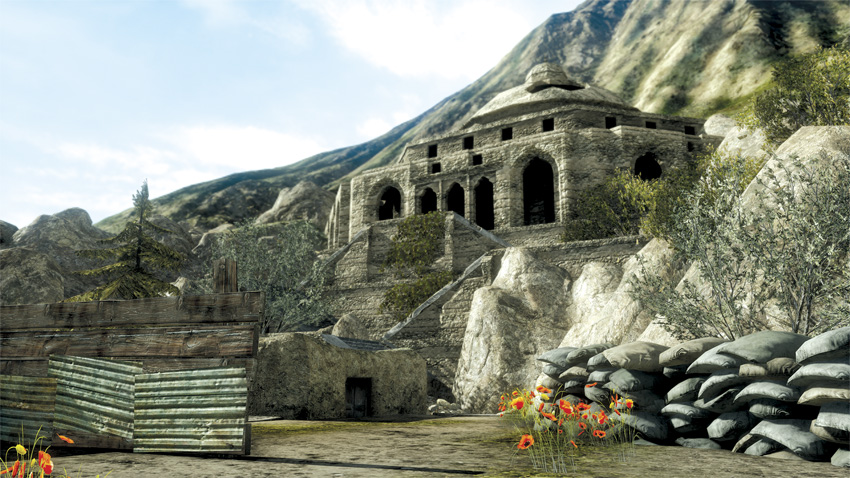
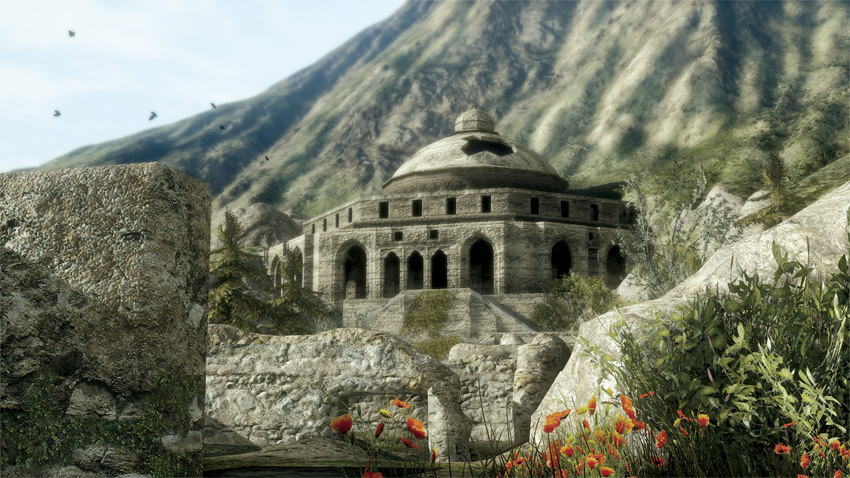
Eclipsed between the towering mountain ranges of the Chitral region is a deserted hillside village. Perched on a steep hill covered in thick woods with a river at its base, the ruins have a commanding view of the valley. A new outpost is being erected over the old town in an attempt to monitor the area and provide security for this isolated region.
Tactical Overview
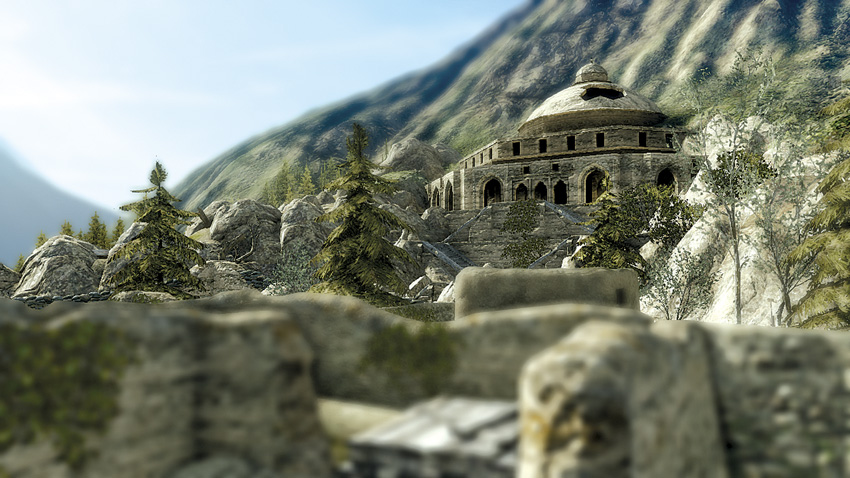
The stone structures of this hillside village offer a commanding view of the surrounding mountains. The map is divided into three distinct areas, some of which are only accessible in specific game modes. For instance, the rocky hillside in the southeast corner serves as the attacking team’s spawn point in both Combat Mission and Hotspot. Climbing this rocky incline puts soldiers spawning here at a significant disadvantage, especially when taking fire from the high ground to the west. At the center of the map is a more modern area of the village, as evident by cars and trucks parked along the central dirt road. The village’s ancient ruins are located on the north side of the map. Most of the buildings here have crumbled over time, leaving a maze of stone walls as well as the remains of an old cistern. An ancient domed temple overlooks this side of the map, carved out of the nearby mountain. This impressive structure cannot be accessed, so don’t waste your time trying to climb the out-of-reach staircase on the map’s northern edge.
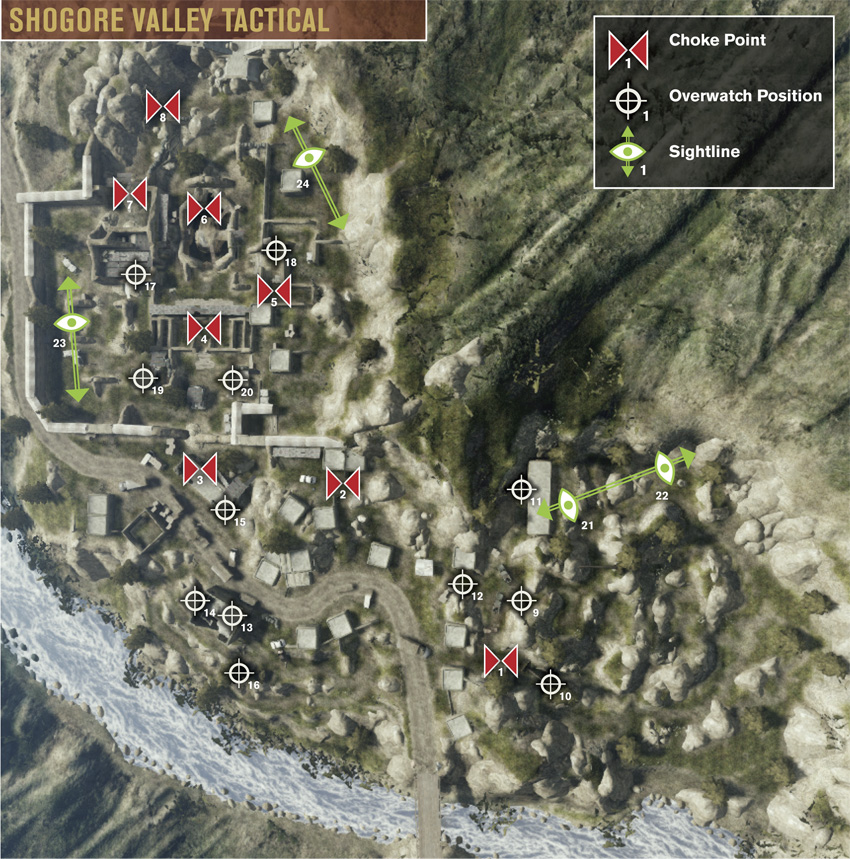
Choke Points
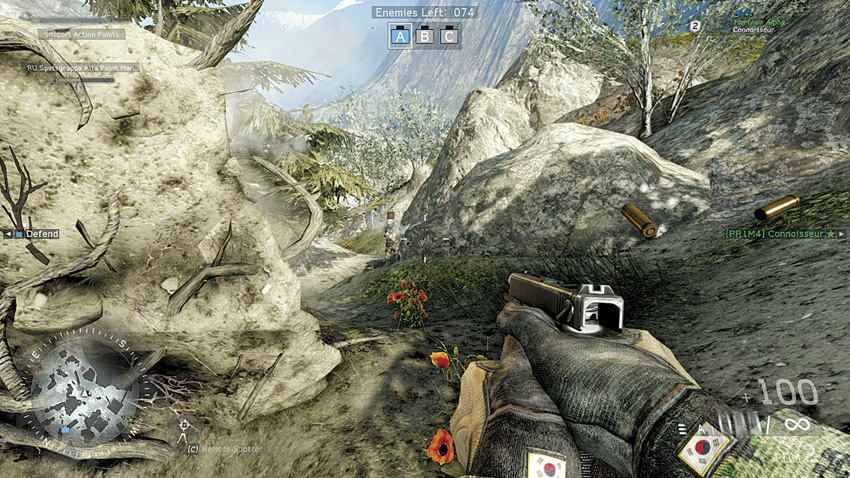

Recommended Weapons: Explosives, Assault Rifle, Shotgun, SMG, LMG
The rock-covered hillside during Combat Mission easily becomes a cover-filled choke point. Defenders of bomb site A will have the elevated advantage while the attackers will need to push with plenty of grenades. This path can be used to hold cut off attackers from the bomb site, however if attackers have made it up the left path, then this defensive position can be flanked from the rear. Use short- to mid-range weapons to take care of enemies as engagements within the rocks can be up close and personal.
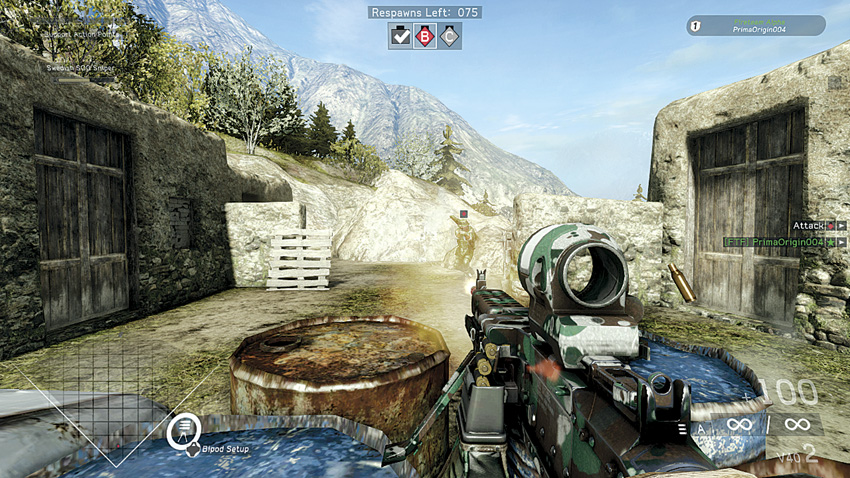

Recommended Weapons: Assault Rifle, SMG, Shotgun, LMG (supported)
During Sector Control and Combat Mission, attackers will use this path to flank the Center Base or bomb site B from higher ground. While defending from attackers or enemies coming from the South Base, push forward up to this truck and mount an LMG with a bipod on the barrels. Wait in ambush as enemies come around the wall. Have your fireteam buddy cover you with short- to mid-range weapons. It’s possible to be flanked from the rear during Sector Control, but it’s not as likely during Combat Mission.
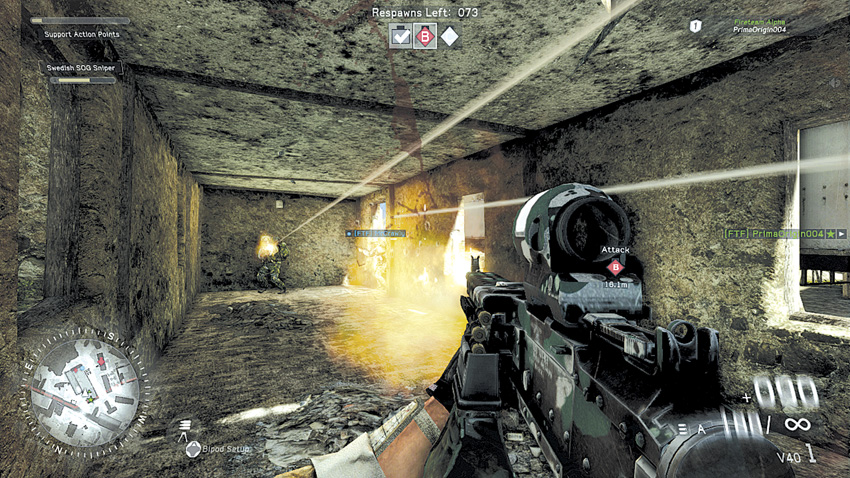

Recommended Weapons: Explosives, SMG, Shotgun, LMG
While playing Combat Mission, Sector Control, and Hotspot, this building becomes a major path between objectives or leading to bomb sites/bases. Someone will always be in here, so throw down proximity mines. The mines will be more of a warning as flankers try to pass through. The windows can be used to flank enemies from or to flank enemies passing through the building. Try to keep a low profile while in here. Use short-range weapons while engaging within.
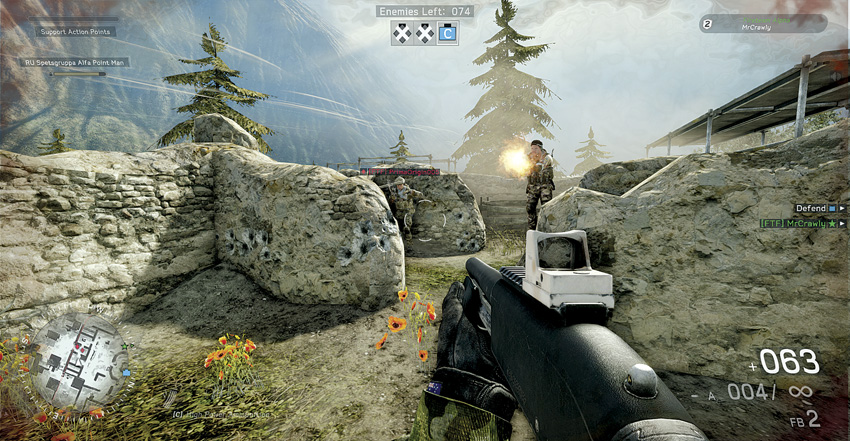

Recommended Weapons: Explosives, Shotgun, SMG, LMG
During Sector Control and Combat Mission, enemies will be trapped within the ruins if they meet any opposition directly outside. Check your corners while moving through. Have a teammate draw enemies in with fire to give away his position, stay low, and ambush the enemies from behind as they pass by. Don’t get caught in the ruins, as enemies will throw grenades over the low walls and will often ambush you while exiting them. If you can, do your best to go around this area, unless it’s unguarded.
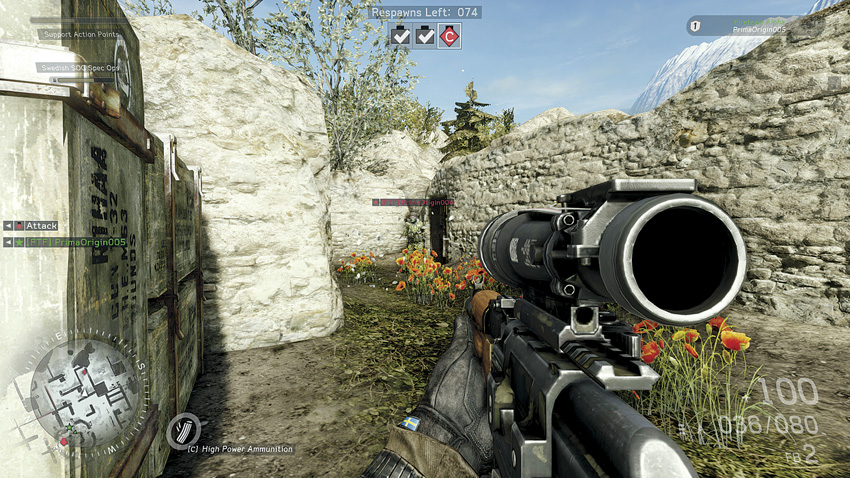

Recommended Weapons: Explosives, Assault Rifle, SMG, Shotgun
During Combat Mission, Home run, and Team Deathmatch, the tighter paths to the east will see plenty of movement. As a defender, it’s good to cover this entrance and the western open area. While operating in this area, keep moving to avoid being flanked. If an enemy knows you’re within this area, watch out for grenades coming over the low walls. Use close-quarters weapons while covering these tight paths, and assault rifles while covering the more open western area near bomb site C.
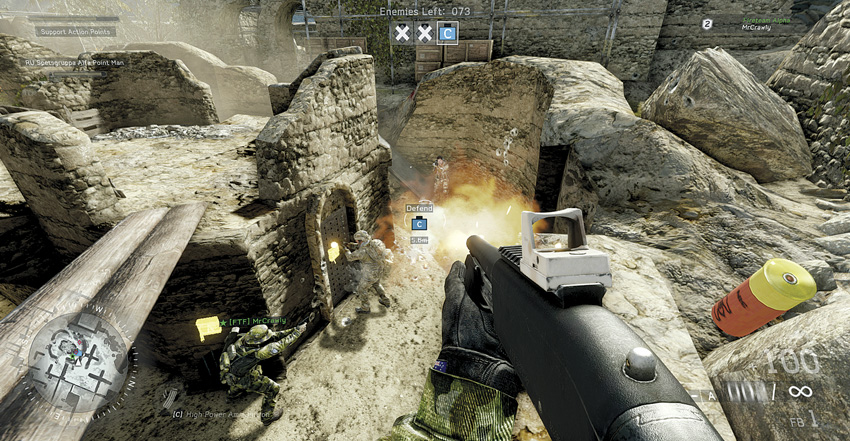

Recommended Weapons: Explosives, Assault Rifle, Shotgun, SMG, LMG
Bomb site C in Combat Mission is going to be rough. Attackers will have to jump down into the cistern where defenders will be able to ambush them with short- to mid-range weapons. Anyone in the pit-like cistern is going to receive a heavy amount of grenades. The upper area must be secure to either plant or disarm the charge. Make sure your fireteam buddy is with you for cover fire as you move down here.
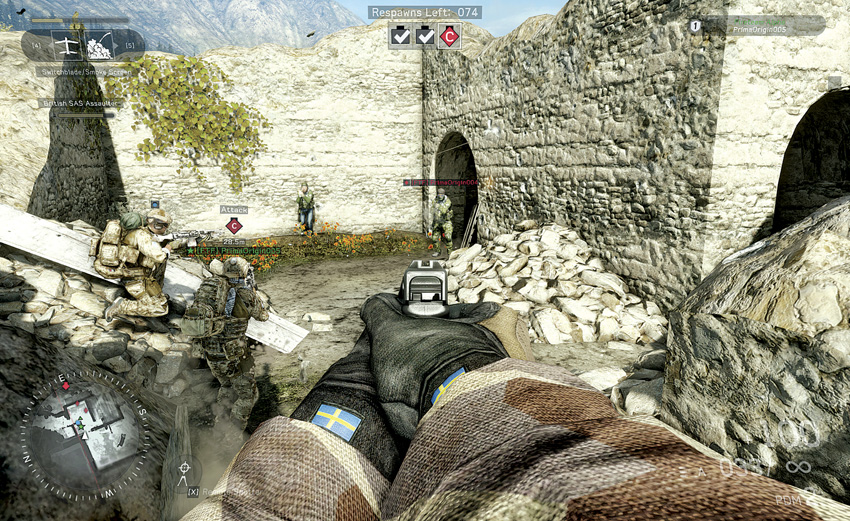

Recommended Weapons: Explosives, SMG, Pistol
During Combat Mission, this alley of debris is often used to flank bomb site C. This spot can also be used to flank enemies posted up within the scaffolding that overlooks the attackers’ approach and bomb site. Enemies are likely to come from the stairs leading down from the scaffolding, from the doorway leading to bomb site C, or over the planks from their spawn point. Move through here quickly with your fireteam using SMGs or side arms. Heavy gunners can toss their mini frags to carpet the enemy if they are numerous.
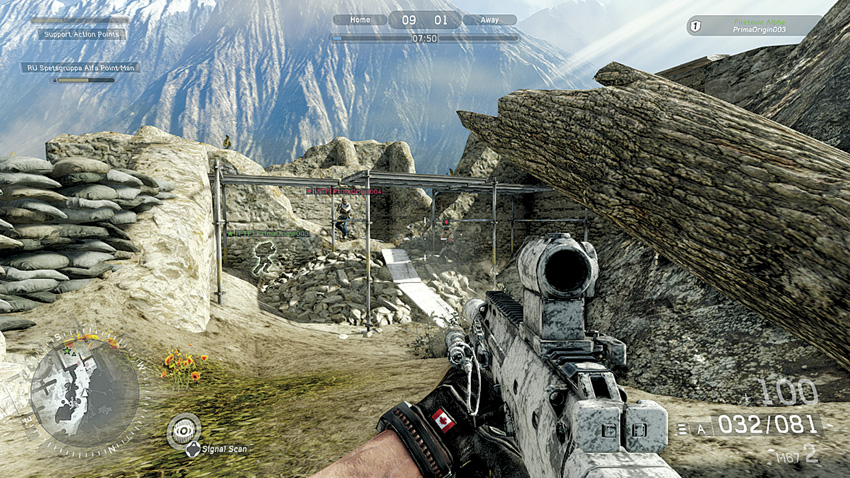

Recommended Weapons: Explosives, Assault Rifle, SMG, LMG
This area may become a choke point as enemies funnel over the planks. Once an enemy is out in the open area, there’s little cover for them. Hang back behind rocks for some cover or use an assault rifle to take them out from a distance. During Combat Mission, bomb site C attackers won’t likely come this way, but they may attempt to snipe defenders out of their spawn point. While defending, if you see opponents in that area, throw a few grenades just over the scaffolding.
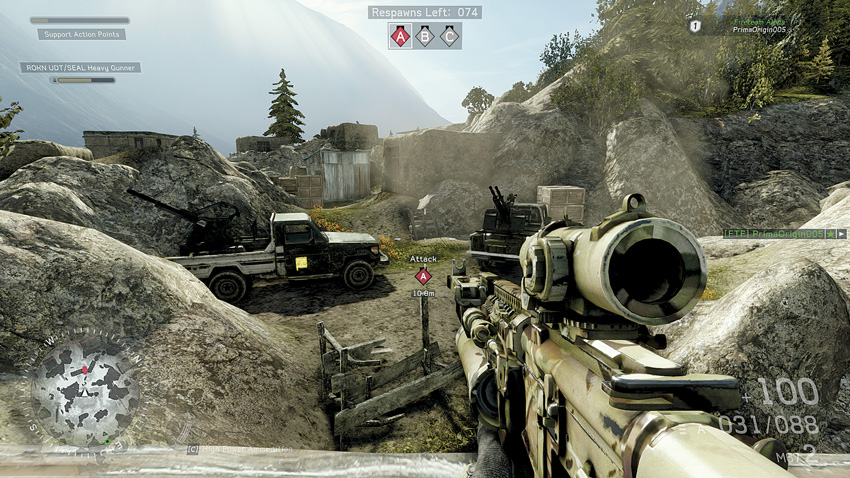

Recommended Weapons: Explosives, Assault Rifle, LMG
At Combat Mission’s bomb site A and Sector Control’s South Base, hide behind the wood debris to fire down toward the objective as teammates plant a charge or defend the flag. Lay down suppressive fire with an LMG or assault rifle. Monitor the path across the way for enemies rushing in.
Overwatch Positions
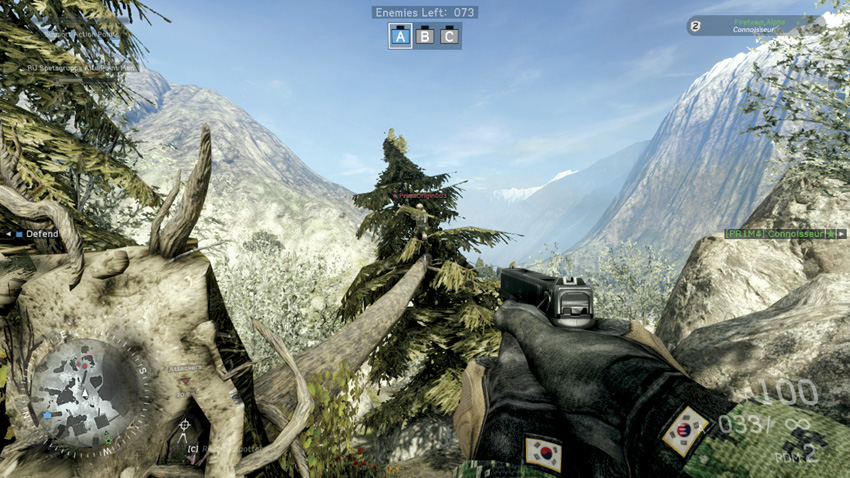

Recommended Weapons: Assault Rifle, LMG, Sniper Rifle
During Combat Mission or Sector Control, hop onto the fallen tree and move all the way out to the branches. As long as you’ve gone unnoticed while climbing out to the branches, you’ll be able to surprise one or two enemies from this perch. But be quick, because you won’t have much time to do this. Don’t take a shot unless you know you’ll make a clean kill. The major down side to this location is its little to no cover.
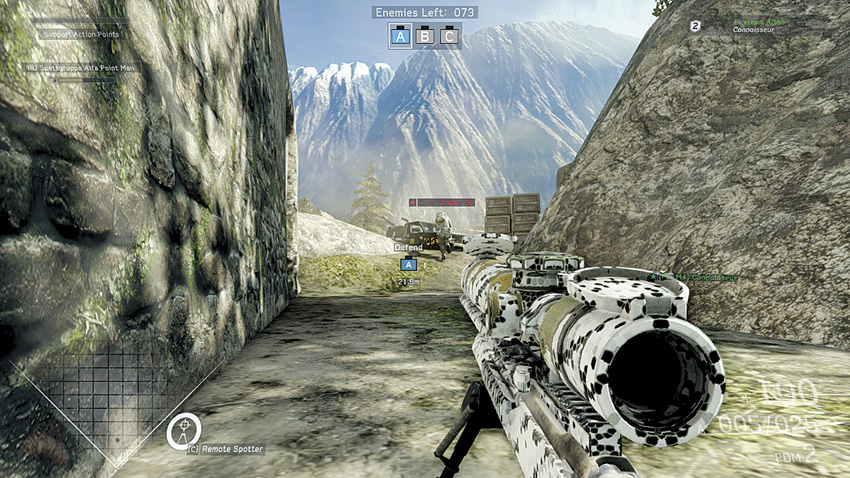

Recommended Weapons: LMG, Sniper Rifle (supported)
At bomb site A during Combat Mission, drop prone with a sniper rifle or LMG next to the stone building. Considering the window’s position, it would be best to remain prone to avoid being seen. Deploy here to either take out planting attackers or surprise a few defenders. Once you’ve given away your position, you’ll need to leave quickly because there’s no cover.
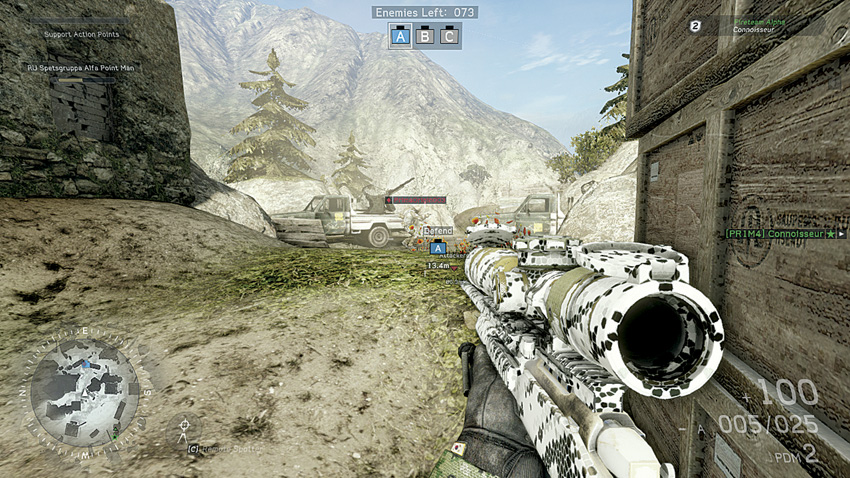

Recommended Weapons: Assault Rifle, LMG, Sniper Rifle
While defending bomb site A in Combat Mission, you’ll approach a tight path with a good view of the objective. There should be adequate cover here, but there may be grenades thrown in this tight spot, so be careful. Firing from this position is a good option for an LMG or sniper rifle to cover teammates defending the bomb site. Attackers have a good overwatch directly across from this position, so be sure to take anyone out who is about to use that cover. During Sector Control, use this spot while pushing the South Base team back to their spawn point, but be careful of the flank on the right.
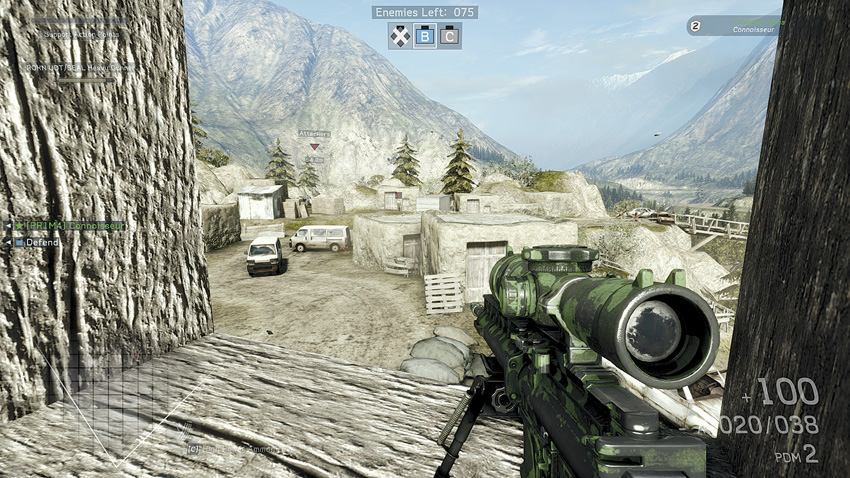

Recommended Weapons: Assault Rifle, LMG, Sniper Rifle (supported)
During Combat Mission bomb site B, Sector Control, or Hotspot, deploy your bipod in the second-story window to cover the east side of the village. The elevation and cover will be good for supported sniping against incoming attackers. Slow down enemy movement using an LMG to give your teammates enough time to flank enemy positions. The windows are easy to throw grenades through and stairs are easily flanked by enemies, so pay close attention.
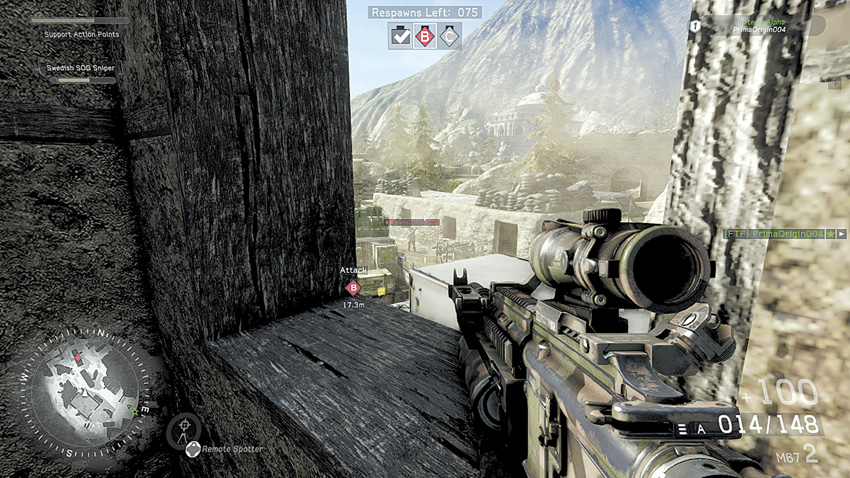

Recommended Weapons: Assault Rifle, LMG, Sniper Rifle
This spot is useful in Combat Mission, Sector Control, or Hotspot. While attacking bomb site B in Combat Mission, attackers can take the second-story building for their own in order to hold down the area as teammates move in to arm a charge. It’s best to pop smoke in the area to give teammates further cover against defenders. Any sniper up here would also be good for taking out any enemy planting or disarming the bomb. During Sector Control, use this window to fire on enemies coming from the North Base. During Hotspot, use the window to cover potential targets in the area. Be careful of enemy snipers on the roof or in the windows of the building across the way.
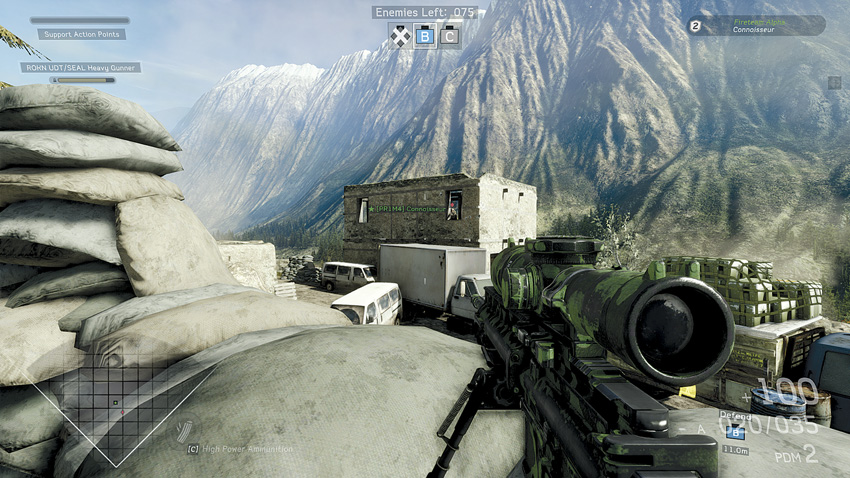

Recommended Weapons: Explosives, Assault Rifle, LMG, Sniper Rifle (supported)
While playing Combat Mission, Sector Control, or Hotspot, use the sandbags on the building’s roof for cover. Deploy a bipod with an LMG while defending bomb site B, the Center Base in front, the North Base behind, or while assaulting or defending Hotspot targets. Snipers can run up here quickly enough to take out enemies in the building across the way. Enemies can flank from behind or throw grenades on the position easily.
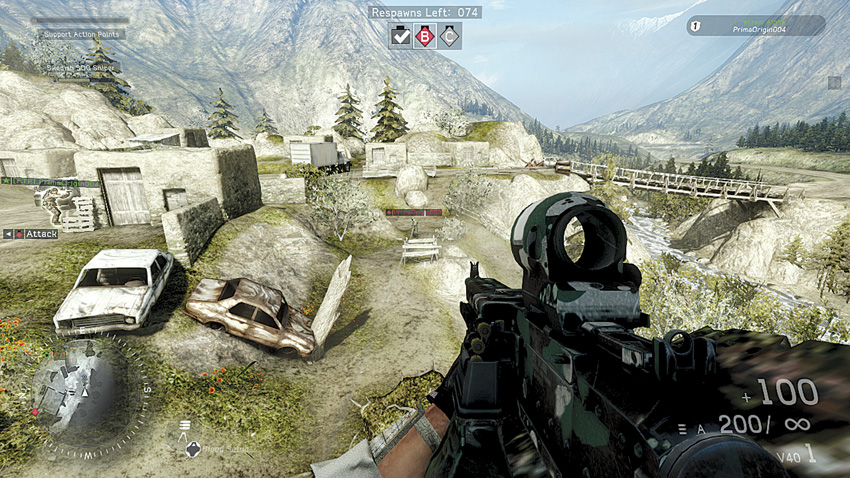

Recommended Weapons: Assault Rifle, Sniper Rifle
During Combat Mission, Sector Control, and Hotspot, jump on this fallen tree. Climb out to the end of the tree to hide among the branches. You’ll be able to climb out far enough to shoot down at enemies unaware of your position, but make it count, because there’s no cover up here. The position provides a good sight line of nearly the entire village. Use it to quickly flank an enemy from above or for a single sniper rifle round.
.jpg)
.jpg)
.jpg)

Recommended Weapons: Explosives, Sniper Rifle, LMG, Mk19
At Combat Mission’s bomb site C, post up in the scaffolding within the ruins for an overwatch of the area. Move between the eastern overwatch and the southern overwatch covering the flanking approach. Go prone and deploy the bipod with a sniper rifle or LMG to cover the southern approach with deadly accuracy. During Team Deathmatch, the overwatches provide good positions to maintain map superiority. Have your fireteam buddy close by to cover the ramp behind you. Use the perch during Home run to cover teammates bringing the flag back.
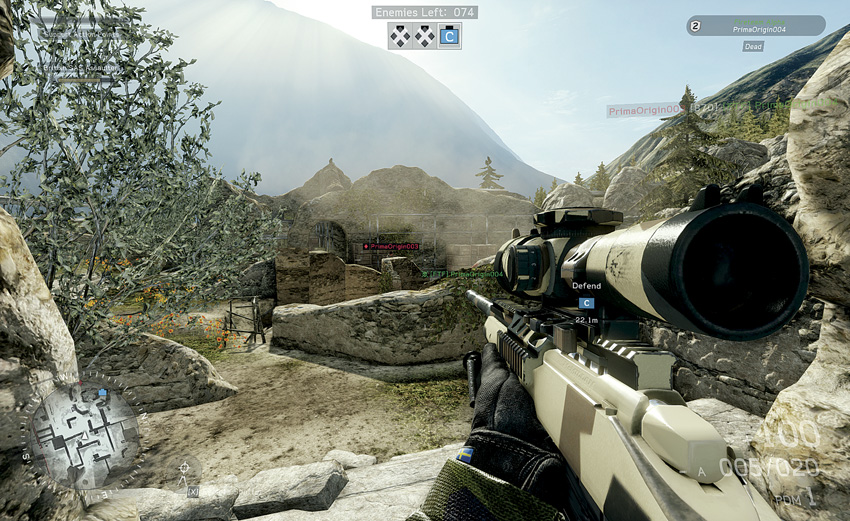

Recommended Weapons: Explosives, Assault Rifle, Sniper Rifle
While playing Combat Mission, Team Deathmatch, or Hotspot, use this point to cover the contestable area and to snipe enemies that take the scaffolding overwatches. While covering bomb site C in Combat Mission, use the top of these stairs to quickly move into the bomb site in case anyone is arming or disarming the charge. Remain mobile, stay behind cover, and watch the left and right flanking paths. Use the grenade launcher for crowd control or the sniper rifle for taking out enemies at the bomb site.
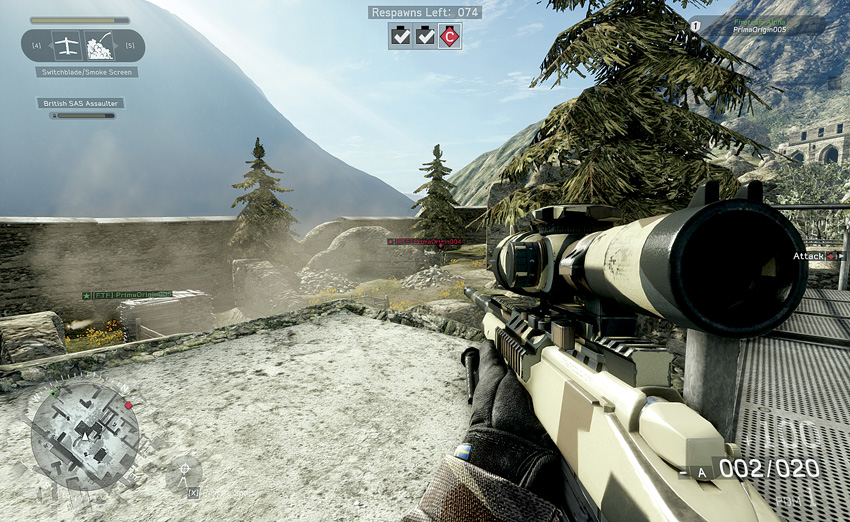

Recommended Weapons: Explosives, Assault Rifle, LMG, Sniper Rifle
During all modes except Hotspot, access this slightly elevated point simply for pot shots. Hop into the crumbling building covered in scaffolding near the maze-like walls and climb along the wall. You can get a small elevated advantage to take out opponents engaging your teammates. However, you are fully exposed on all sides, so get down quickly. These ruins are also great for ambushing people coming out of the nearby maze-like alley.
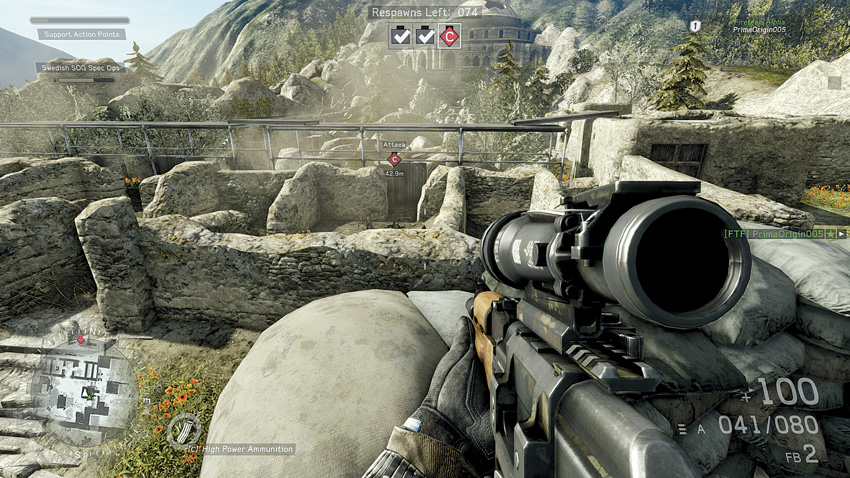

Recommended Weapons: Explosives, Assault Rifle, LMG, Sniper Rifle
While attacking in Combat Mission at bomb site C, set up on these sandbags to spot enemies and cover teammates as they approach the bomb site. Keep enemies from moving past the walls with grenades and suppressive fire. Snipers can easily pick off opponents coming out of their spawn point. Firing from here will leave you exposed, and snipers will take you out. Use mid-range weapons to take out enemies behind the walls, and long-range weapons for enemies near bomb site C.
Sight Lines
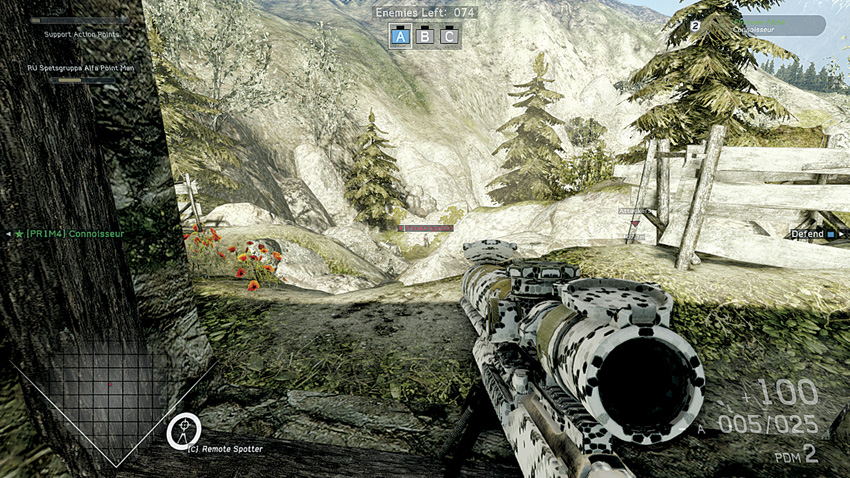

Recommended Weapons: LMG, Sniper Rifle (supported)
During Combat Mission, attackers will likely push toward this building in order to flank bomb site A. Defenders should take up a supported stance with a sniper rifle or LMG to keep enemies at bay. This high-traffic tight trail lines up enemies easily, making it a walk in the park for LMGs.
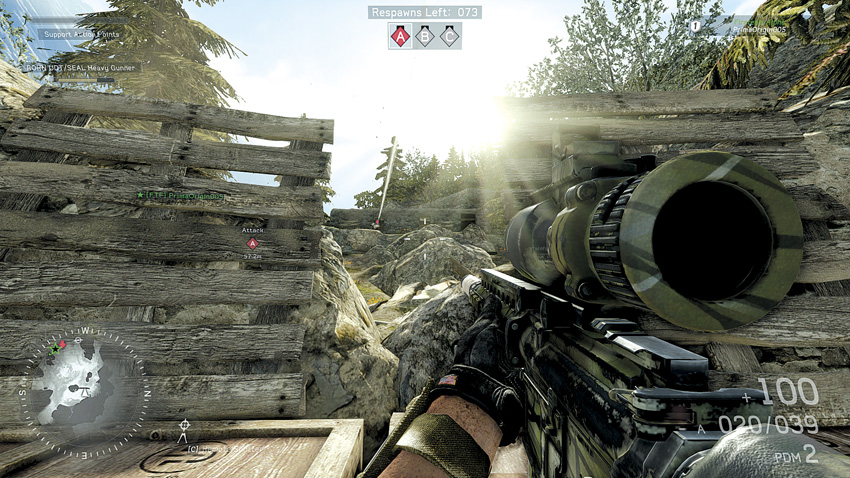

Recommended Weapons: LMG, Sniper Rifle
The rock-covered mountainside is treacherous for attackers approaching bomb site A in Combat Mission. Make things easier for teammates by providing sniper fire as they attempt to storm the house at the top of the hill. LMGs might work, but won’t be as effective as sniping enemies out of windows.


Recommended Weapons: LMG, Sniper Rifle (supported)
This sight line, along the western wall, is useful in Combat Mission (bomb site C) and Team Deathmatch, where enemies are visible enough for long-distance engagements. Attacking enemies may often try to approach the scaffolding via this clearing by moving cover to cover. Go prone with a supported LMG or sniper rifle to take care of anyone moving within this sight line.
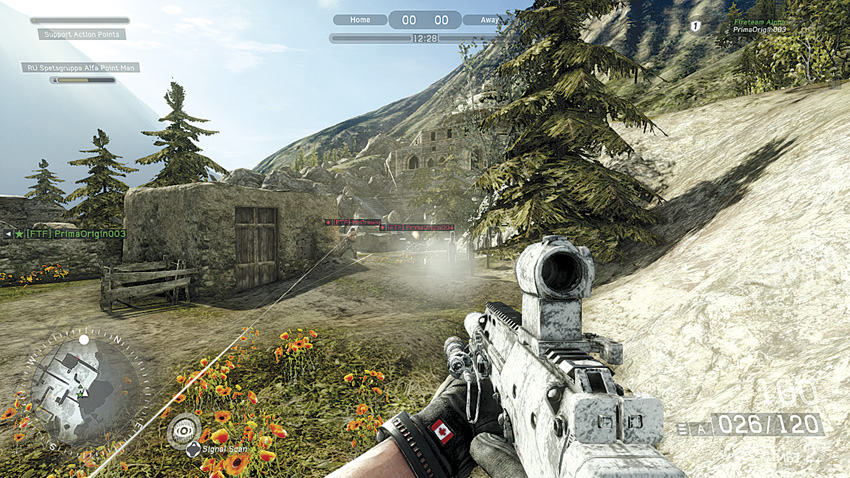

Recommended Weapons: Assault Rifle, LMG, Sniper Rifle
At bomb site C during Combat Mission, this eastern flank is a popular approach for the attackers. The space is fairly open with mostly low walls and short buildings for cover. This sight line looks toward the defenders’ spawn point, so pick off opponents from this position while your teammates flank from the south. As you fire on enemies, have your fireteam buddy lob grenades and flank enemies from the other side of the buildings.
Combat Mission
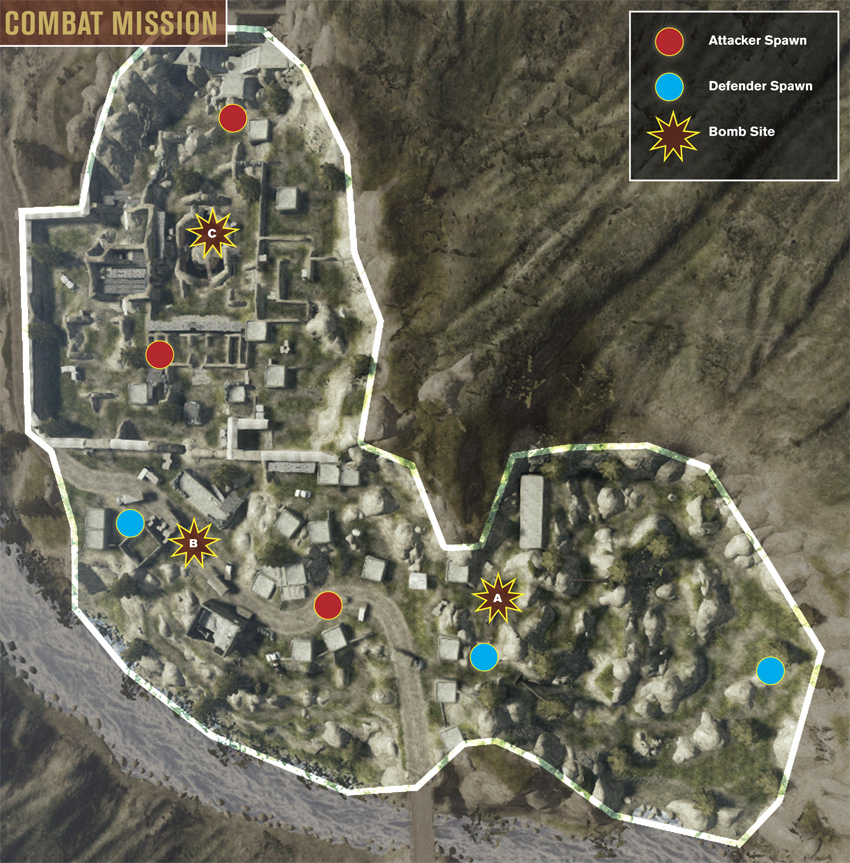
At the start of Combat Mission, the attacking team is tasked with charging up the rocky hillside in an effort to reach bomb site A. The climb alone is challenging enough, but the difficulty only intensifies once the defenders take up positions at the top of the hill. As a result, the attackers should rush bomb site A as soon as the match begins in an effort to gain a foothold on top of the hill before the defending team can get situated. Defenders, on the other hand, should do their best to keep the attackers pinned at the bottom of the hill. If the attackers succeed in detonating bomb site A, the action shifts to the nearby village where bomb site B is located. This is a more even fight, featuring plenty of house-to-house engagements as both teams attempt to secure the bomb site. The long sight lines offered by the dirt road often push most movement to the periphery, with attackers flanking from the north or south. In the final phase of the battle, the action shifts to the ancient ruins, where bomb site C is located within the central cistern. This compact hole in the ground is an absolute deathtrap, likely booby trapped by the defenders. Attackers must approach cautiously and secure the cistern’s perimeter before dropping down in the hole to arm a charge.
Hotspot
The action in Hotspot is restricted to the modern section of the village, with the five potential targets scattered about the various structures. The attackers approach from the east side and must work quickly to establish a presence within the village. Consider taking up positions within the buildings on the east side of the map while waiting for the first target to be declared–by watching the defenders’ movements its possible to predict what the first target will be. Both teams should avoid the dirt road running through the center of the village. Despite the long sight lines and numerous overwatch positions covering this road, it remains a dangerous high-traffic area and the site of many deaths. It’s much safer to travel along the northern and southern flanking paths. Of the two, the northern path, set along the hillside, offers the most cover in the form of large boulders. The southern path running parallel to the river is a bit more dangerous given the long sight lines—expect plenty of sniper duels here. Overall, the plentiful cover and accessible buildings give both teams a fair chance of securing a win on this map.
Sector Control
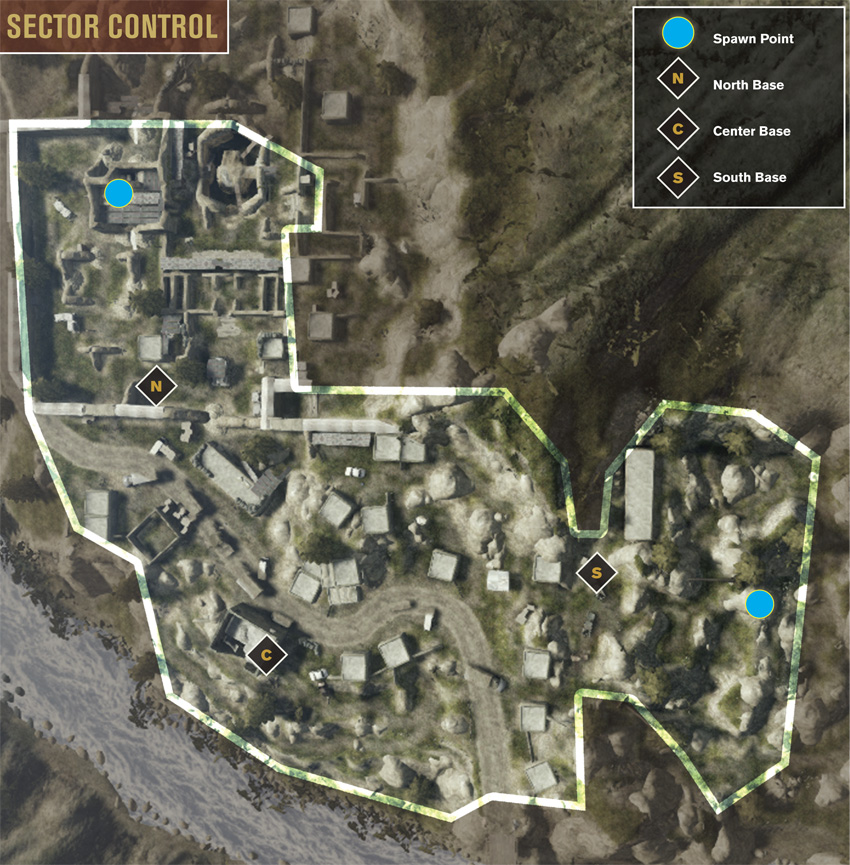
Similar to Hotspot, Sector Control is focused mostly within the modern part of the village. The North Base is located on the southern edge of the ancient ruins—the surrounding walls and narrow choke points make this a relatively easy base to defend, assuming anyone bothers. The South Base is located on the east edge of the village, not far from the rocky hillside. This base can be watched from several angles, including from within the nearby buildings. Given their close proximity to the team spawn points, the North Base and South Base usually don’t change hands very often, especially if they’re defended. Like most Sector Control matches, the bulk of the fighting occurs around the Center Base. The flag here is positioned next to the two-story house on the south side of the road. The eastern and western avenues of attack are the most common here, as both teams rush in a straight line from their team’s spawn point toward the Center Base. As a result, traffic along the northern and southern flanking paths is sparse, making them ideal for bypassing the fight in the center of the map and making a move for the North or South Base. These flanking paths can also be utilized to defend or reinforce the Center Base. In particular, the hillside positions to the north have a good view of the Center Base.
Home run
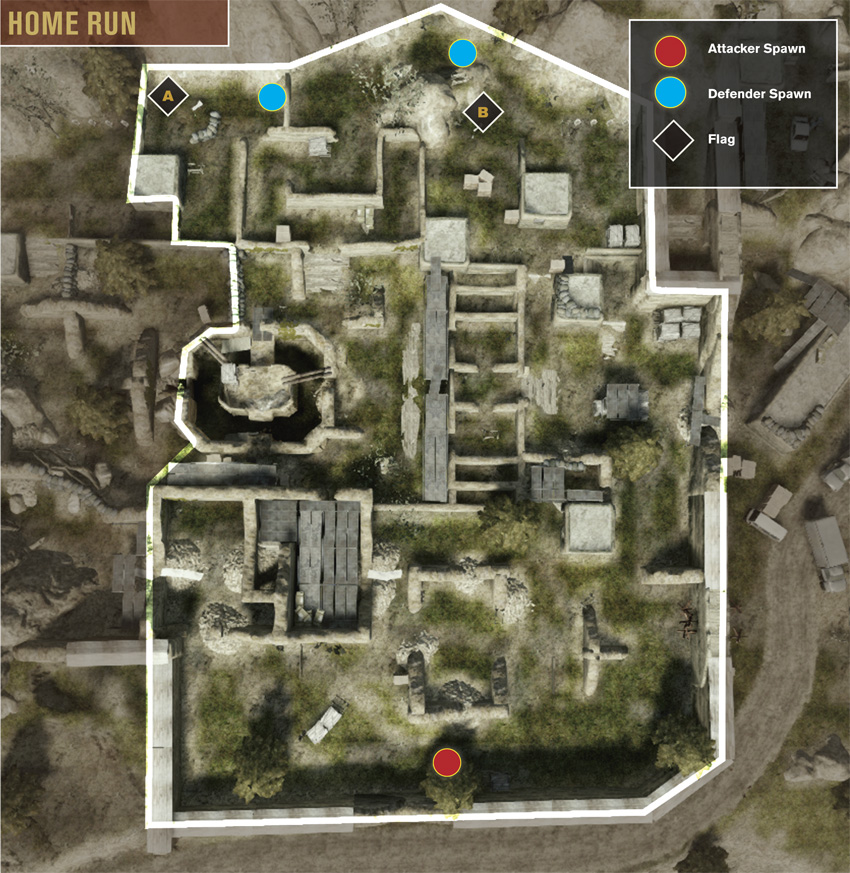
Home run takes place entirely within the confines of the ancient ruins, requiring both teams to become familiar with the maze-like layout of this archeological site. The attacking team starts out on the west side, with Flag A and Flag B both located along the hillside to the east. Regardless of which flag they go for, the attackers should always hook around the northern and southern sides of the map. It’s important to avoid the low ground around the cistern at all costs. The attackers can also make use of the structure near their spawn point to gain overwatch. Get at least one soldier on the rooftop of this building to provide covering fire while the rest of the team advances on the flags. The defending team should never wander far from the flags, as it’s difficult to predict which direction the attackers will approach from—unless using the spec ops signal scan ability. When the two teams eventually encounter each other, fighting usually occurs at close range, so choose your class and weapon accordingly.
Team Deathmatch
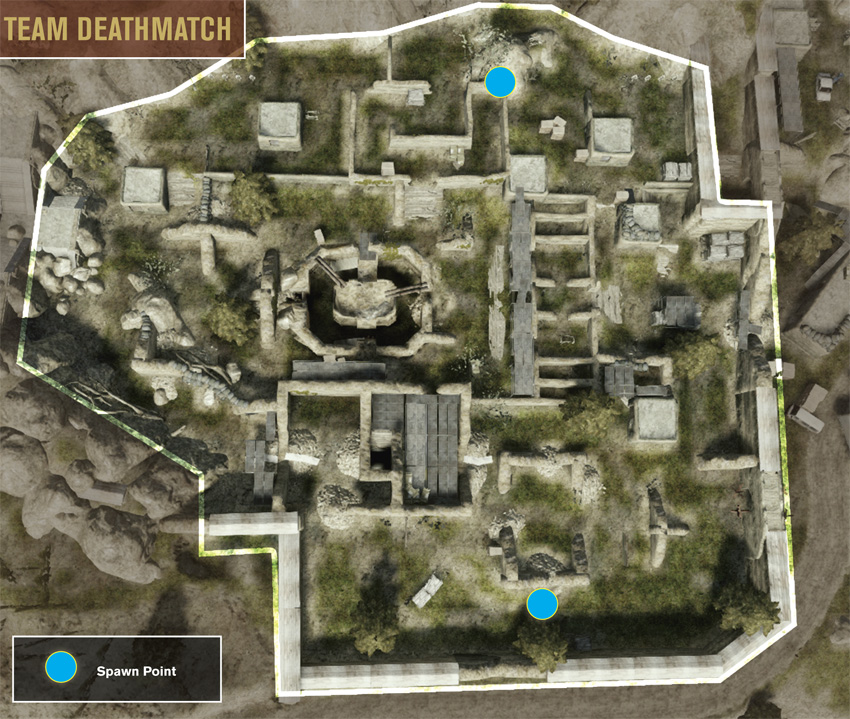
Like Home run, Team Deathmatch also takes place among the ancient ruins. This is a very small area when playing on a full server with 20 players. Expect movement to gravitate toward the west side of the map as both teams fight for control of the rooftop position. While this rooftop offers an excellent view of the map, it is not a very good defensive position. The lack of overhead cover makes players posted here vulnerable to incoming grenades as well as offensive support actions. Instead of camping any one position on the map, it’s best to stay on the move. Traffic usually flows in both directions along the perimeter of the map. Always stay within close range of your fireteam buddy so you can support, resupply, and heal each other. In many instances you’ll round a corner and come face-to-face with an opponent. In these common situations, it’s best to have a buddy to help you eliminate the threat and assist in your recovery immediately following the engagement. Stick to the perimeter of the map, avoiding the center (and cistern) at all costs.