
Medal of Honor: Warfighter Guide Walkthrough Single Player Walkthrough
Shore Leave
Briefing
- Task Force Mako—”Stump”
- Mogadishu, Somalia
- 2°1’N 45°21’E
- Objectives: During this mission, you play as “Stump”. You are part of a four-man team tasked with landing on the coast at the outskirts of Mogadishu and advancing into the city to the U.S. Marines of Task Force Grizzly. “Voodoo” is the other operator on your team and Sgt. Wright and Sgt. Zaysana round out the team. Together you are assaulting the camp of the heavily armed and highly trained Al-Shabaab pirates.
Loadout
Primary - HK416
Optics/Accessories - Aimpoint Micro T-1; Aimpoint 3x Magnifier; Magpul MBUS; HK Veritcal Foregrip
Sidearm - HK45 Compact
Special - McMillan TAC-300
Optica/Accessories - Bi-pod; US Optics ST-10
Story
“One Week Ago” A splintered TF Mako is needed in “pirate town.” Mako will be assisted by the US Marines’ Task Force Grizzly to bring down the hammer with a full assault on the whole pirate stronghold to put them permanently out of business.
Phone Call Part 2
We cut back to Preacher and his wife, Lena on the phone. They are apart and agree to meet to talk. She is at her parents place in Madrid with Bella, their daughter.
Madrid Train Station
We fade out and next see Preacher walking through a Madrid train station. As he waits for his wife and daughter, he recognizes a face in the window of their arriving train. He races towards the train. A large explosion rocks the station, as we flash to white.
Mission Map
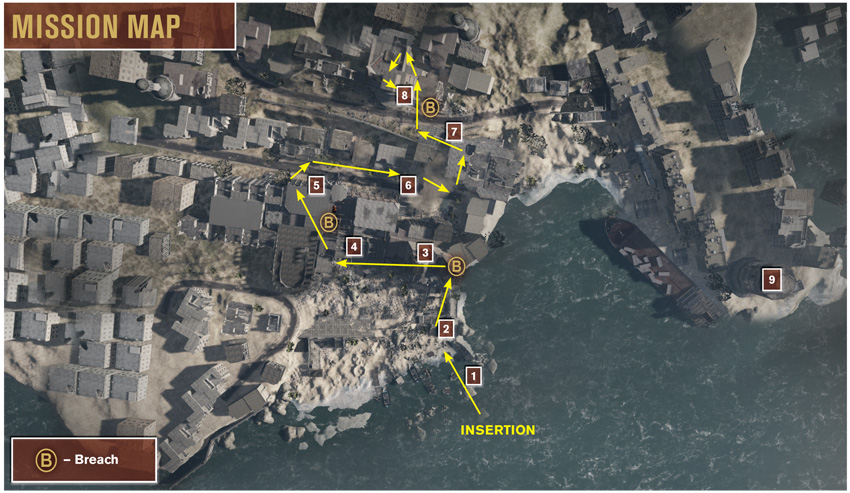
Clear the Beach
Find Cover at the Sea Wall
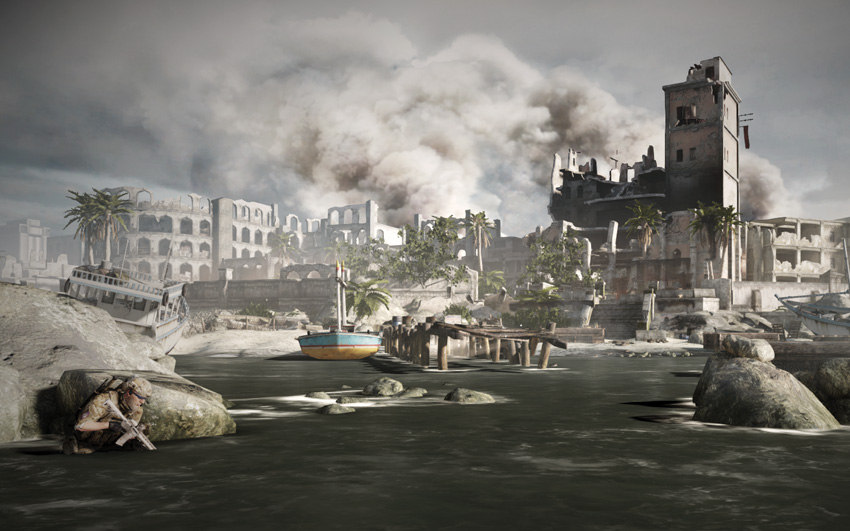
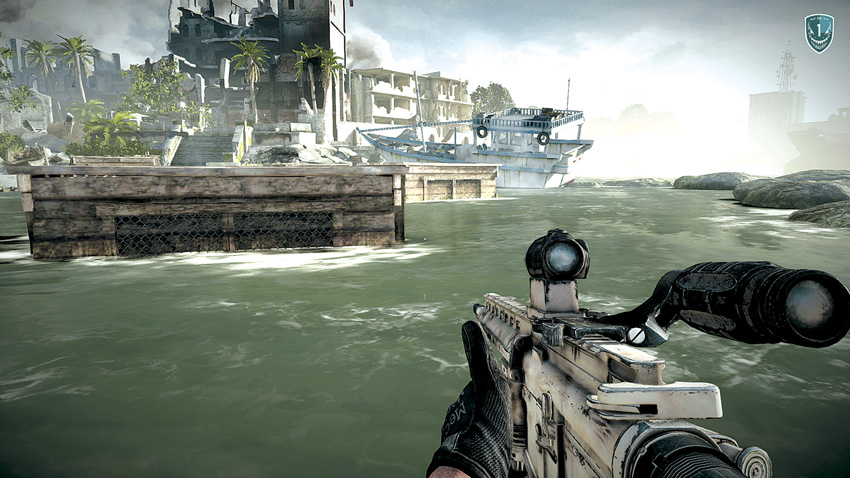
Your team is dropped off in shallow water a distance from the beach. While there are some rocks near your drop-off point, rush forward ahead of your team and take cover behind the first wooden crate. Drop down to a crouch so you have protection against fire coming from the building on the beach.
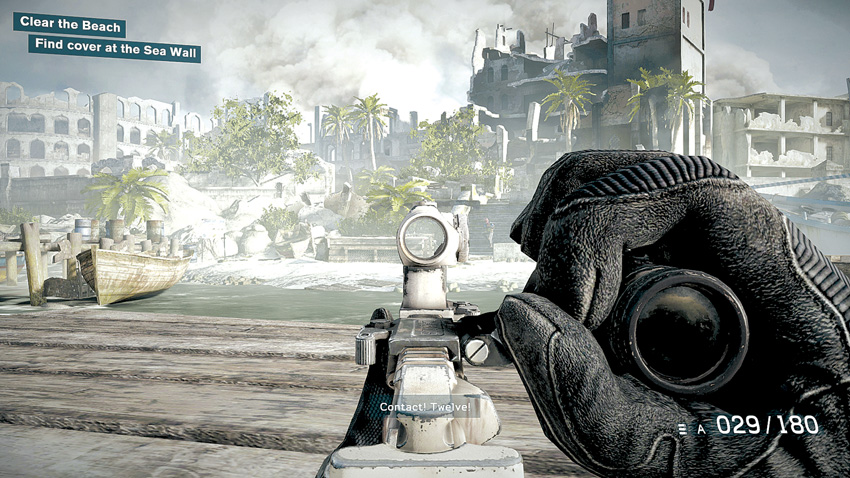
In addition to the red dot sight, your M4 is also equipped with a scope that magnifies the image of the red dot sight. Your first task is to provide covering fire for your team and clear out the enemy between you and the building. Hold down the aim button and then press the switch sights button to move the scope into position so you can engage enemies at long range.
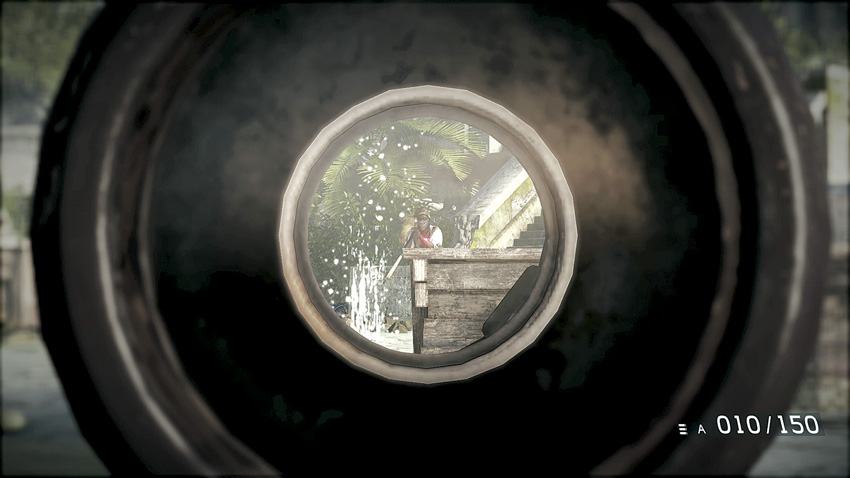
Now either lean around the side of the crate or peek over it and begin engaging hostiles. There are some behind crates near the beach, so focus on them first. They often fire and then duck behind their crates. Wait for them to pop back up to fire and neutralize them. Clear out all of the hostiles on the beach. You can even begin firing at enemies up by the building.
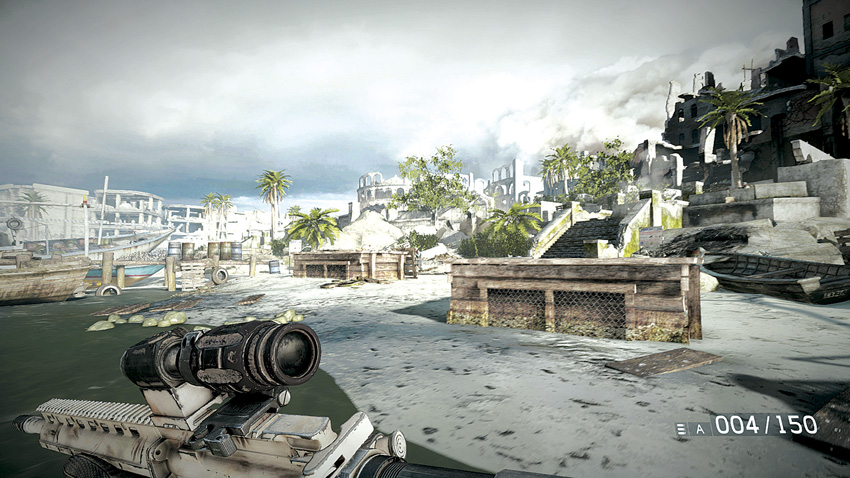
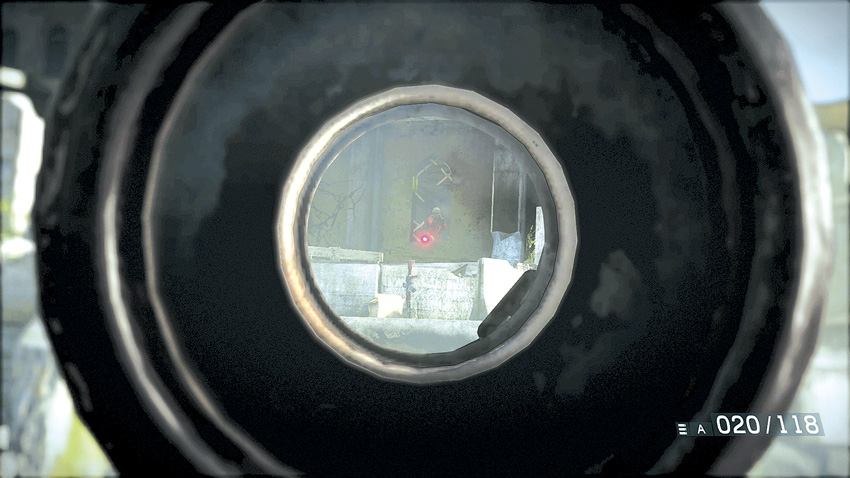
After you have taken out most of the enemies from your first cover spot, it is time to advance. Sprint to the next wooden crate and crouch down behind it. Continue picking off enemies while leaning around or peeking over the crate. Watch for a machine gunner in the window above the door to the building. Neutralize him before he can inflict a lot of damage on you.
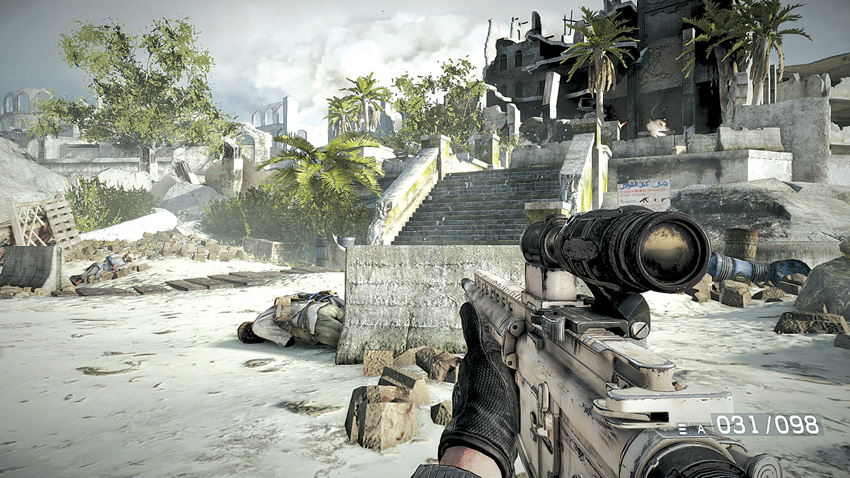
After you have cleared out most of the hostiles around the building, sprint forward to the concrete sea wall at the edge of the beach. Since you are closer to the enemy, you may want to switch your sights again so you are just using the red dot sight and not the scope as well. Be sure to stay low behind the sea wall and peek or lean to fire. Pull back behind cover when you need to reload or start taking enemy fire.
Get to Cover Inside the Building
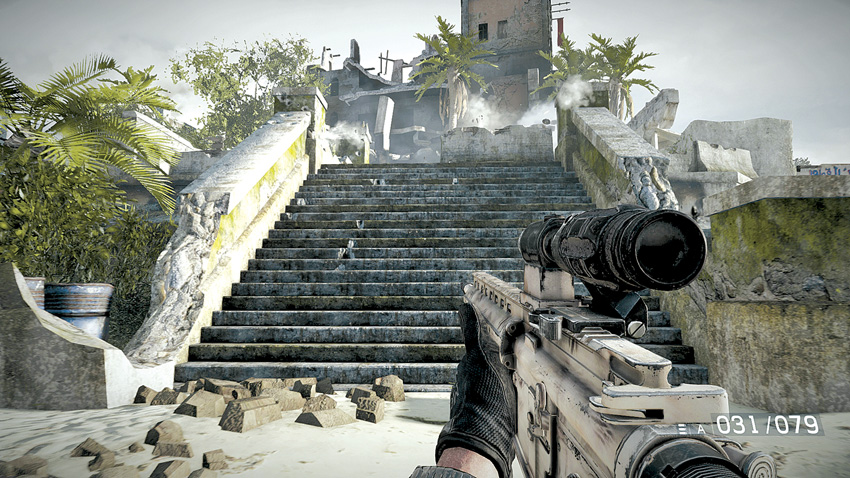
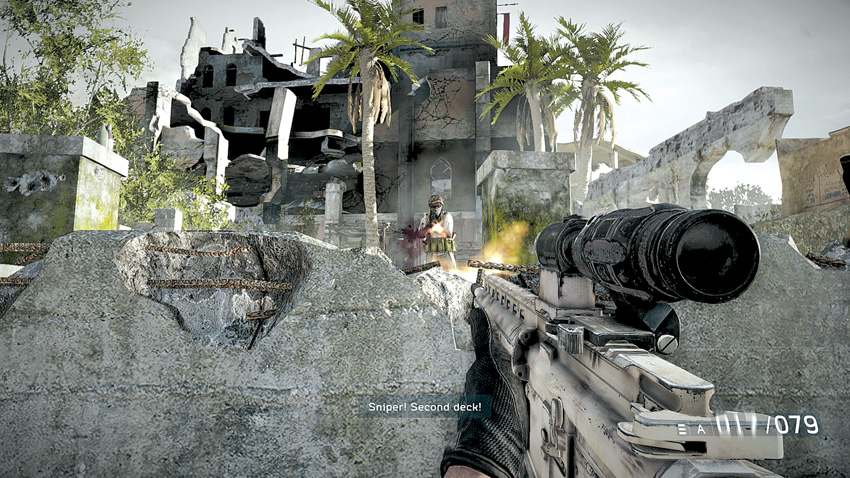
Neutralize as many hostiles as possible, then sprint up the stairs leading to the building and drop behind the concrete wall at the top of the stairs. Some terrorists charge you while others fire at you from the second floor of the building. Eliminate them all as your team catches up to you.
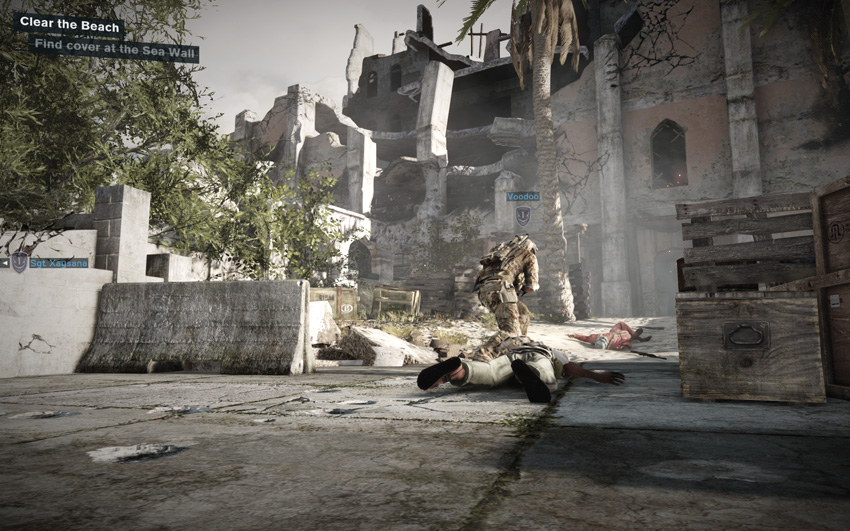
As your team gets to the area in front of the building, you come under fire from a sniper in a building somewhere to your left. He is too far away to engage, so quickly clear out the remaining enemies between you and the building, and then rush into the building for cover from the sniper fire.
Breach and Clear
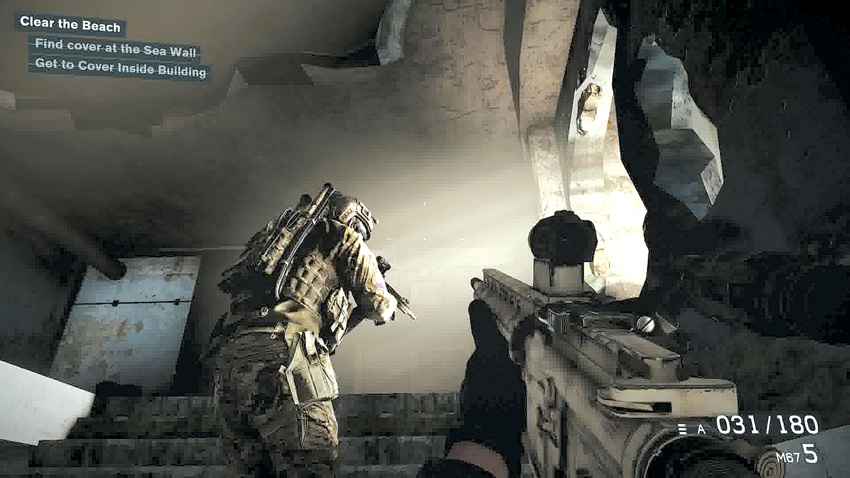
Once inside the building, head up the stairs along with your team. This is a good time to get some ammo from a teammate so you are ready for the next series of engagements.
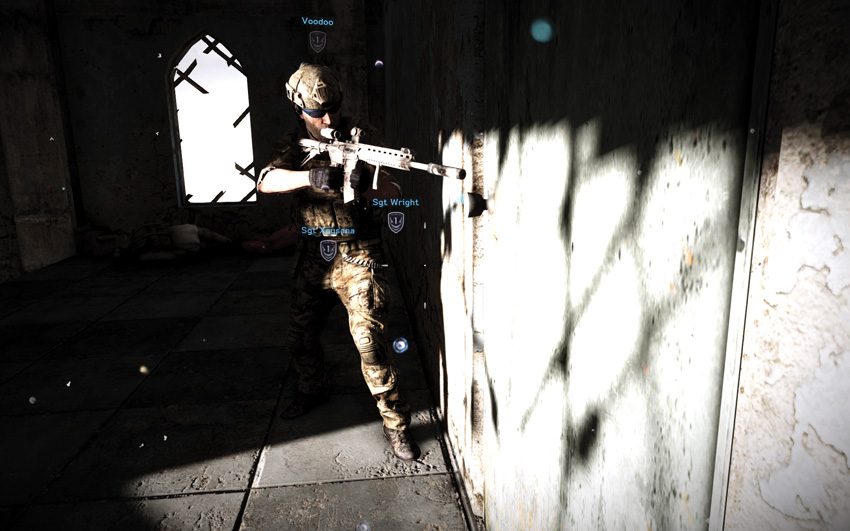
At the top of the stairs, stack up on the door with “Voodoo”. Order him to breach the door using any of the techniques that you may have unlocked. Make sure your weapon is fully loaded and that the red dot sight is selected rather than the scope.
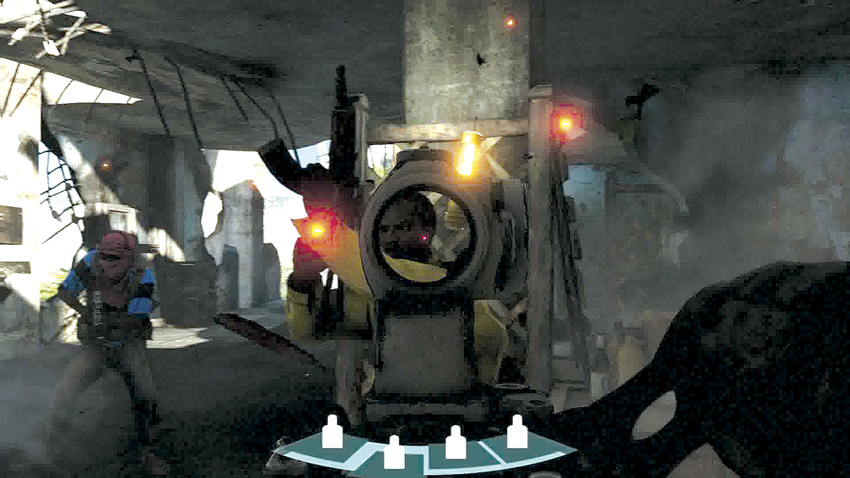
As soon as “Voodoo” throws in the flashbang and it detonates, rush into the room. There are four hostiles inside and you have a few seconds to take them all out while they are still stunned. The meter at the bottom of the screen keeps track of each enemy. Your goal is to kill as many of them as possible with headshots so you can unlock new breaching techniques. Take out the terrorist right in the middle as you enter, then the terrorist to his left. Two more enter the room—one at the center rear and one to the right. Quickly dispatch them to finish clearing the room.
Use the LTLM
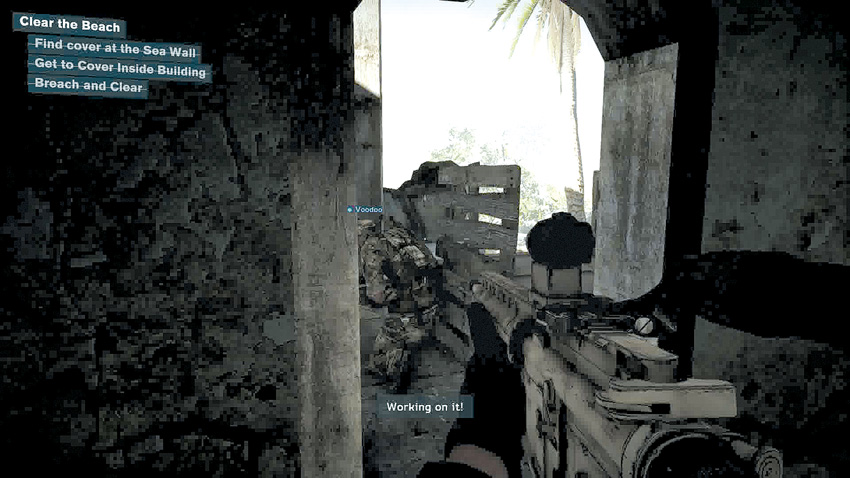
Don’t hang out in this room or you’ll get hit by the sniper who fires through the openings. Instead, follow “Voodoo” into the next room where there is some cover.
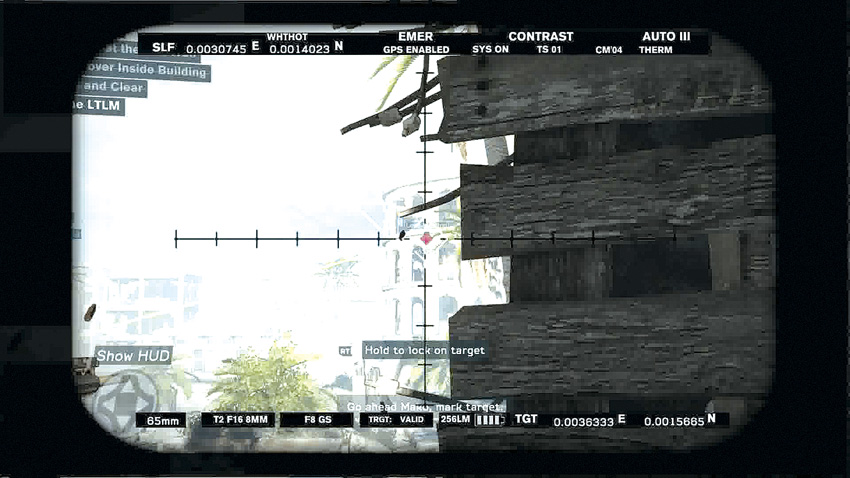
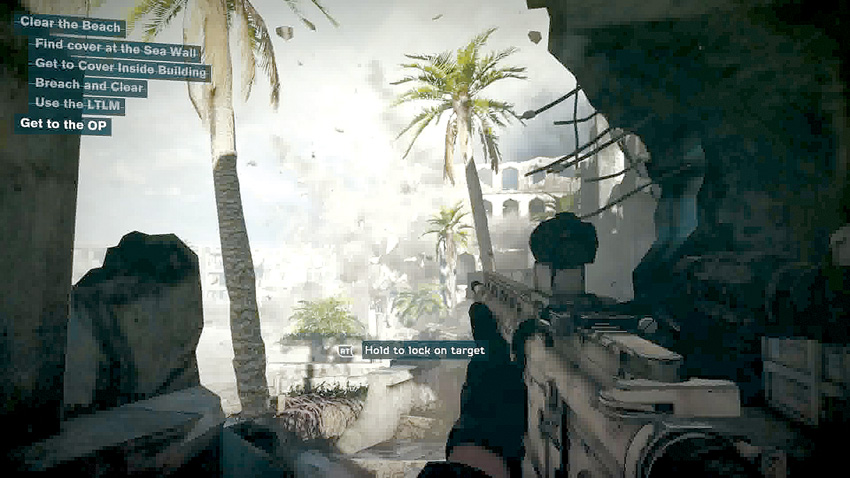
It is time to take out that sniper. Since he is in good cover, the best way to do the job is to take down the building in which he is hiding. Press the LTLM button to use your Laser Target Locator Module. This consists of a pair of high-tech binoculars with a laser designator built in. Aim at the sniper’s position in the building and hold the trigger to lock on to the target. This lets your air support know where to attack. In a matter of seconds, the building is a big pile of rubble.
Get to the OP
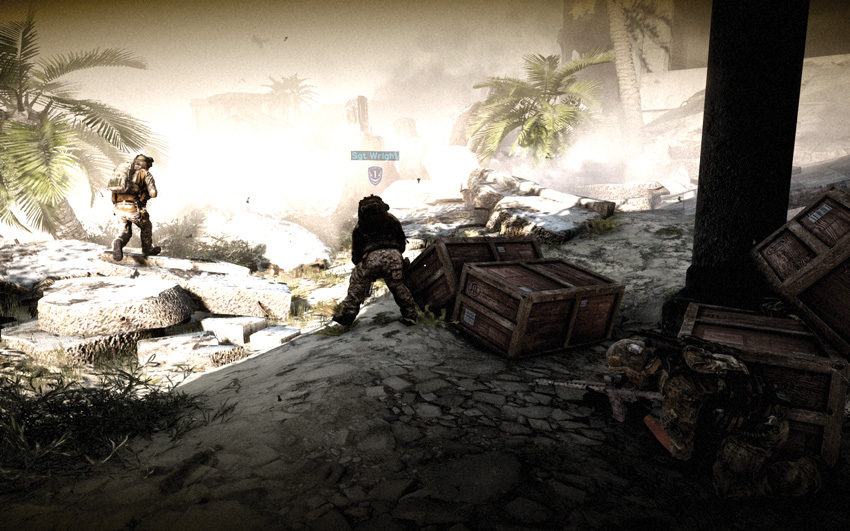
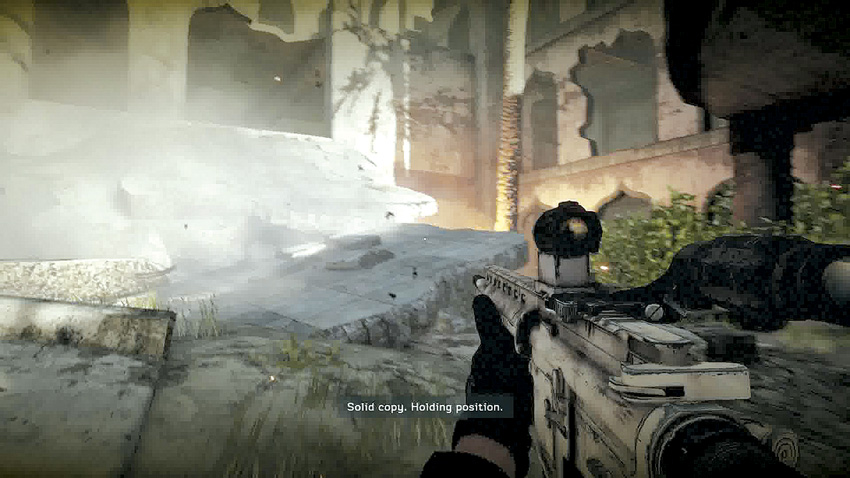
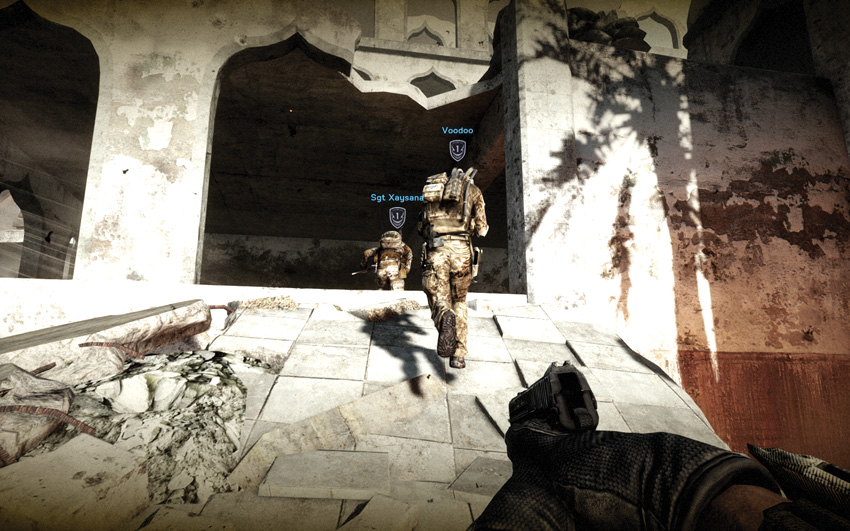
As soon as the dust settles, move out along with your team. Move across the rubble towards the building the air support just attacked. Make your way up a ramp created by a fallen wall and enter the building.
Explore the Building
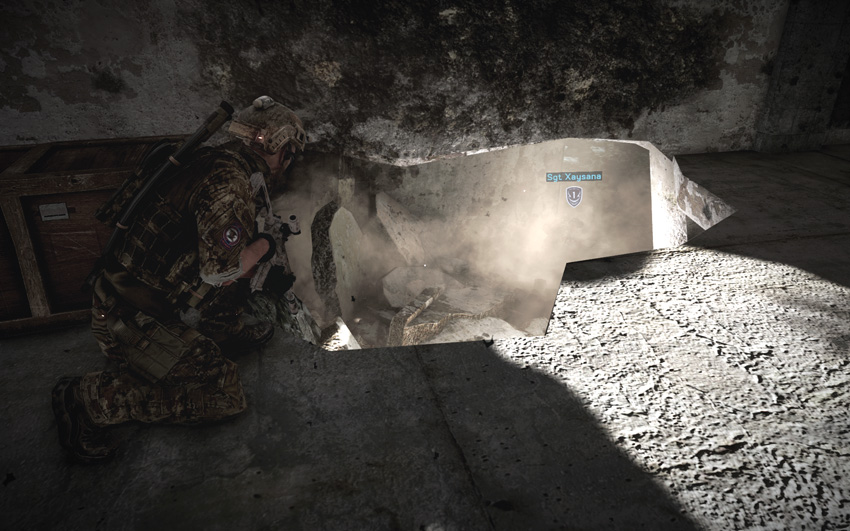
As your team arrives at the building, drop down through a hole in the floor in order to continue exploring.
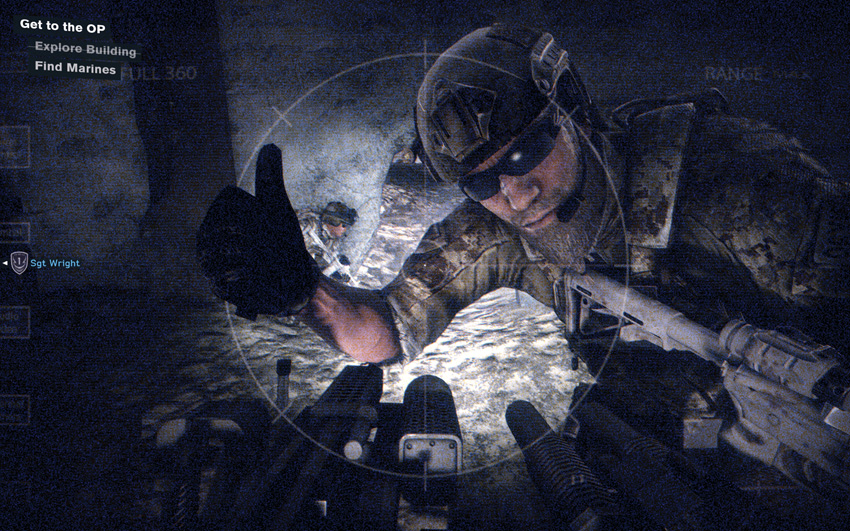
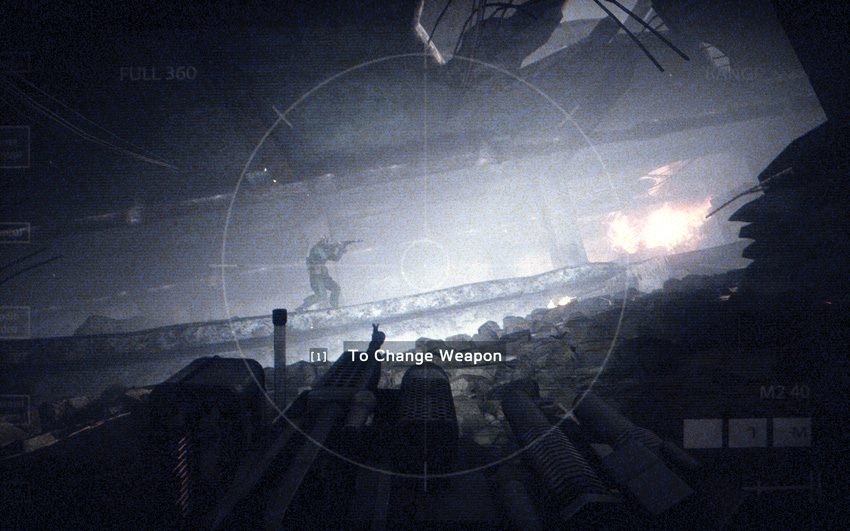
Due to the fact that the building is unstable following the air attack, your team is going to send a remotely operated vehicle through the rubble. You are tasked with controlling the vehicle. This “bot” has a flashlight as well as both a machine gun and grenade launcher. Not only can you use the bot to find the enemy, you can also engage and neutralize them as well. Drive through the hole in the wall and look for terrorists. They are all carrying flashlights so they can see in the dark. Keep your light off for now so they don’t detect the bot. Zoom in the view and kill the first tango who walks by from left to right. Another appears from the right. Now that they know the bot is in the building, they try to destroy it by throwing grenades at it. Shoot first before they can attack.
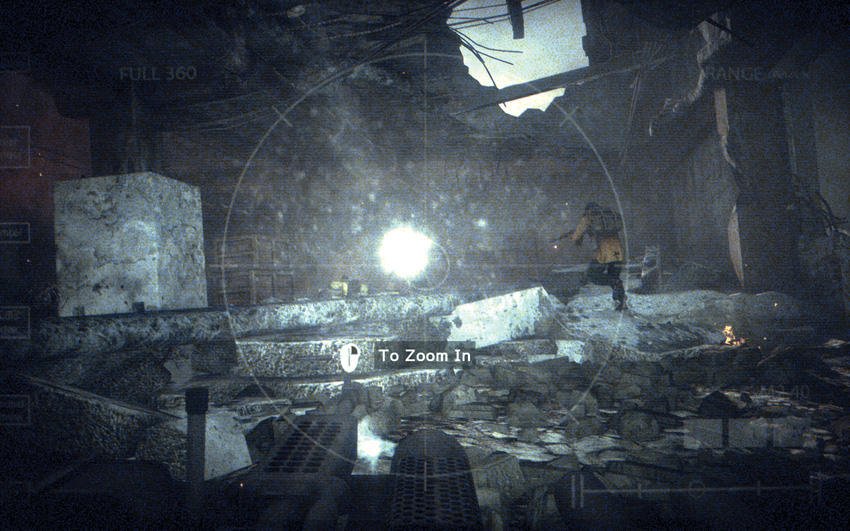
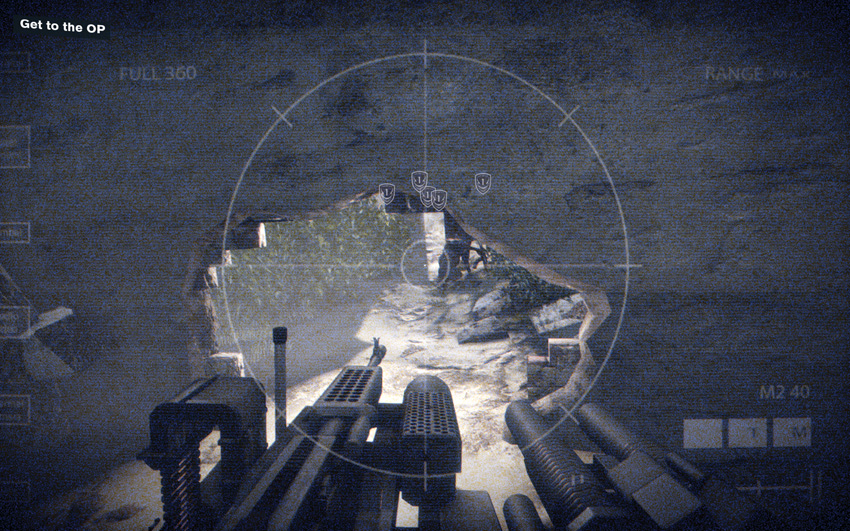
Turn the bot to the right and continue driving through the rubble. Watch out for more hostiles moving in the area. Once they are cleared out, it appears that rubble blocks your path. Activate the flashlight and find a hole in the wall to the right. It is just large enough for you to drive the bot through to the other side.
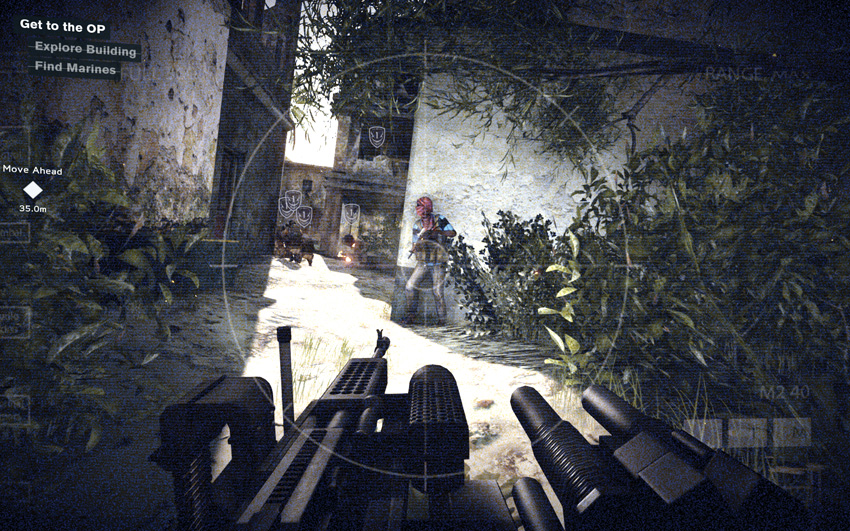
Drive down a ramp of rubble into another area. Use the flashlight to find a way through the rubble and continue to a hole in the wall that leads outside of the building. Gun down the terrorist running ahead of you towards a group of American soldiers, then continue driving towards the soldiers.
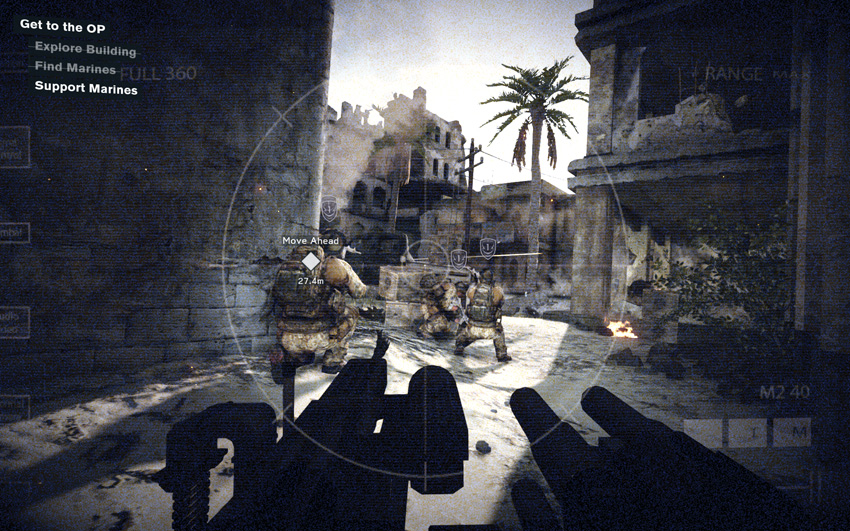
The soldiers are coming under enemy fire from the building across the plaza from them. Switch to the grenade launcher and start firing at the enemy positions in the building. Your job is to provide fire support for the soldiers.
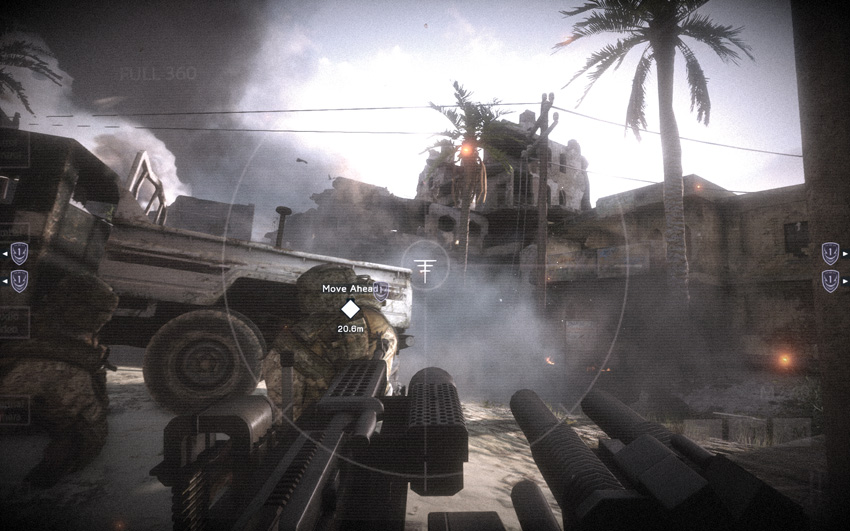
Drive around the vehicle that the soldiers are using for cover and start firing away. Eliminate any hostiles on the ground and then continue hammering the building. Not only are you providing fire support, you are also drawing the enemy fire away from the soldiers. Keep shooting until the bot is finally destroyed.
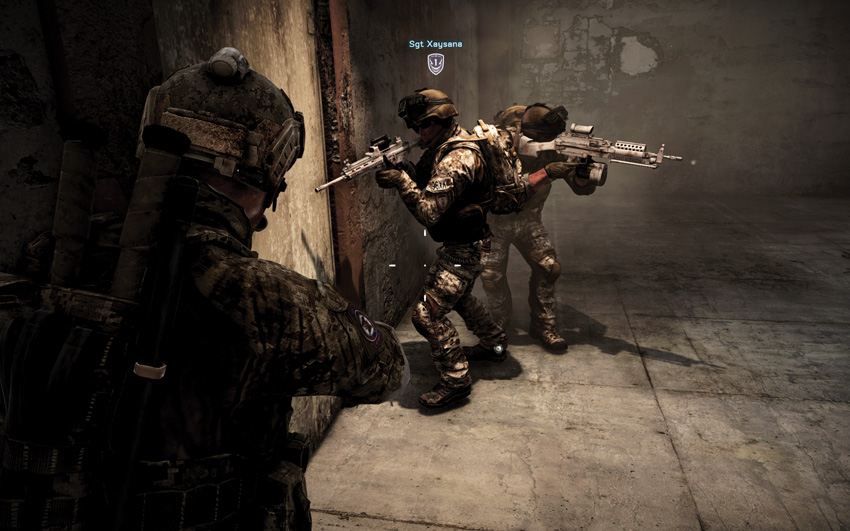
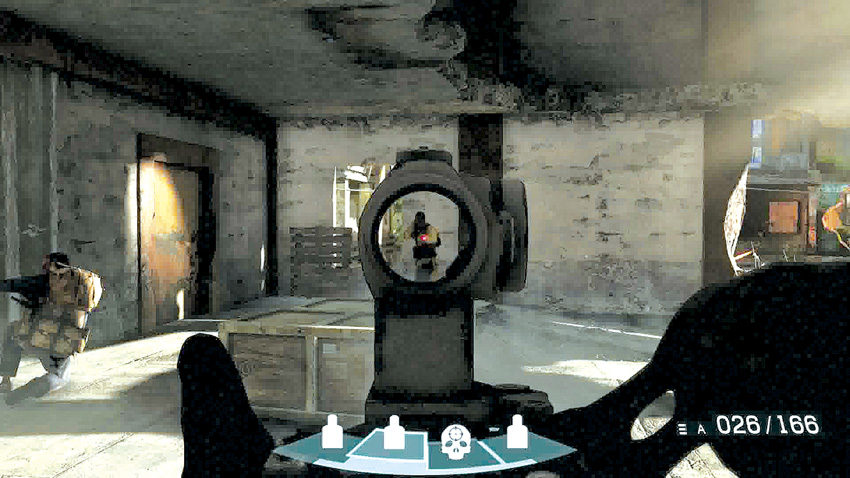
The bot has done its job, so now follow your team through the rubble of the building that the bot has already cleared. Keep an eye open for hostiles who might still be in the building. Continue to a locked door and stack up on it with your team. Select a breach tactic and then get ready. There are four enemies inside the room. Try for four headshots to unlock some more breaching tactics. Use the interface at the bottom of the screen to help you locate where the hostiles are located in the room. The icon for the currently selected target highlights, letting you know the position of that target in relation to the other three.
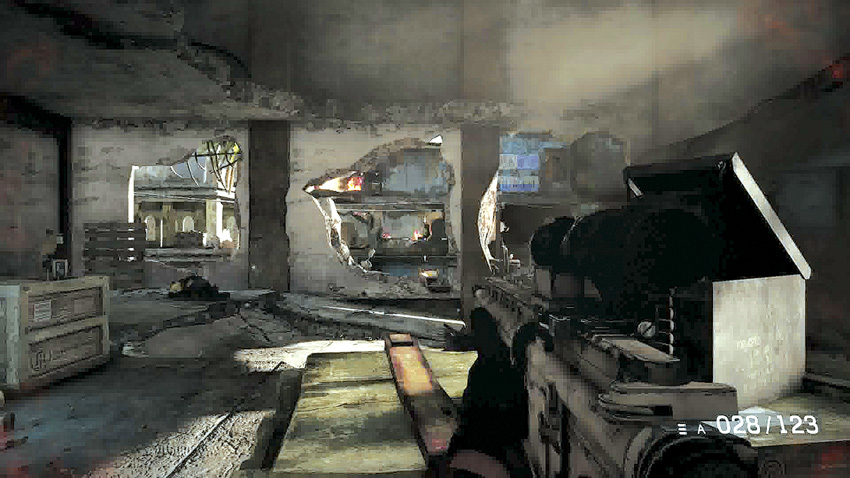
As you are clearing out the room, you begin taking fire from the building across the street. Some of the hostiles have RPGs, so don’t stand too close to the wall. Instead, take cover behind wooden crates located away from the windows.
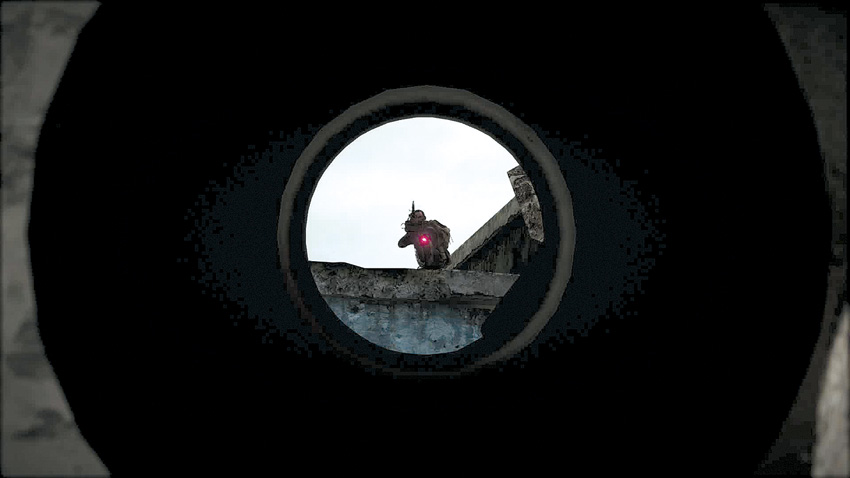
Use the scope on your rifle and start picking off terrorists as they appear and shoot at you. Try to prioritize your targets, focusing on RPG and machine gun enemies first since they present the biggest threat to you and your team. Keep up the firing until no more hostiles are firing at you.
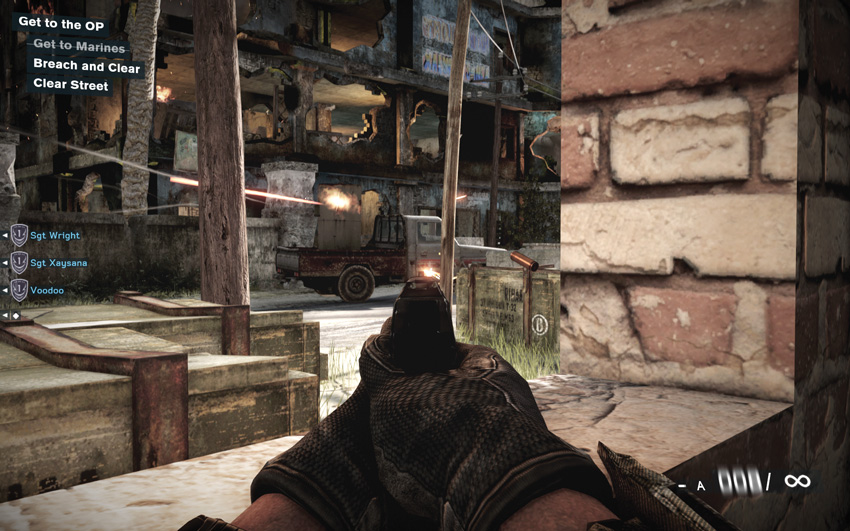
“Voodoo” knocks open a door when the firefight is done. Head through the door and drop down to the ground level. Quickly take cover behind a wall inside the building. A terrorist technical, a pick-up truck with a machine gun mounted in the bed, drives by and opens fire. If you are not careful, it can easily kill you.
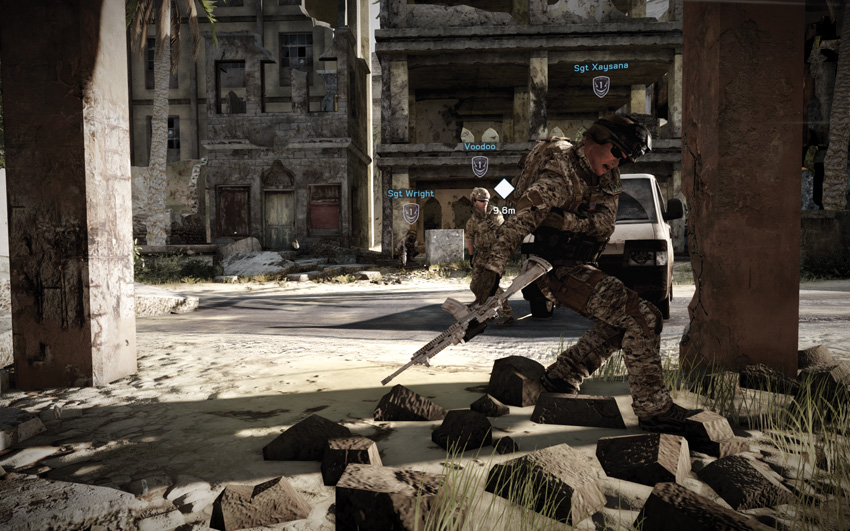
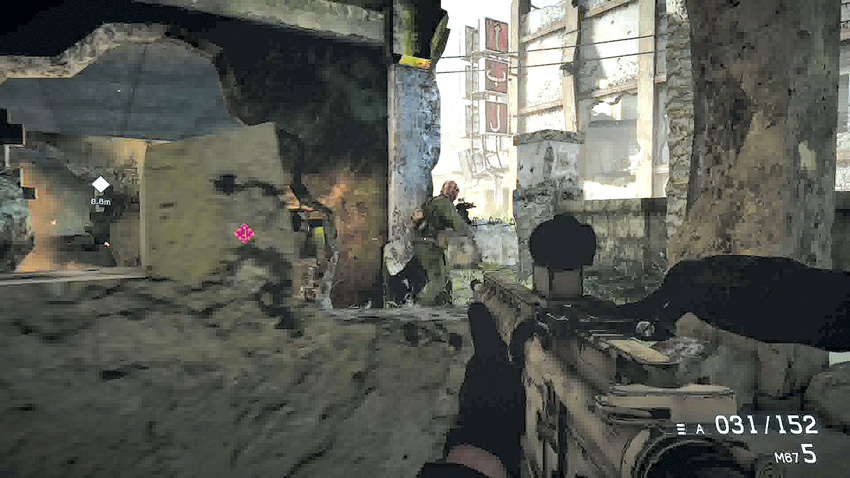
You can’t take out the technical from your position without getting killed. Instead, you need to flank it while your team keeps it occupied. Start off by rushing across the street and taking cover behind a concrete block. Then jump over the rubble to get off of the street and into the building. Advance carefully through the building, neutralizing enemies as you go. If they are hiding behind cover, throw a grenade and then be ready to shoot at them as they move to avoid the grenade blast.
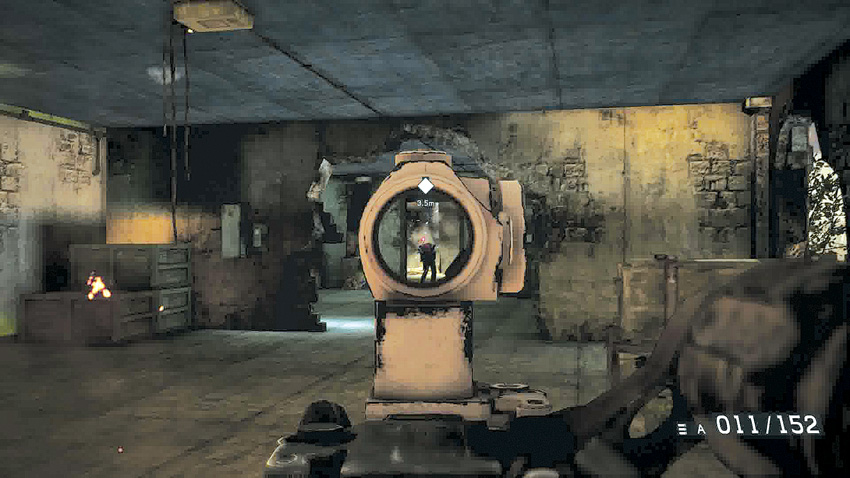
Advance through the building, killing hostiles as they pop out at you to attack. Also fire through the windows to pick off targets out in the street. If you don’t they will fire at you from your flank—which can be a bad thing when you are fighting against enemies directly ahead of you.
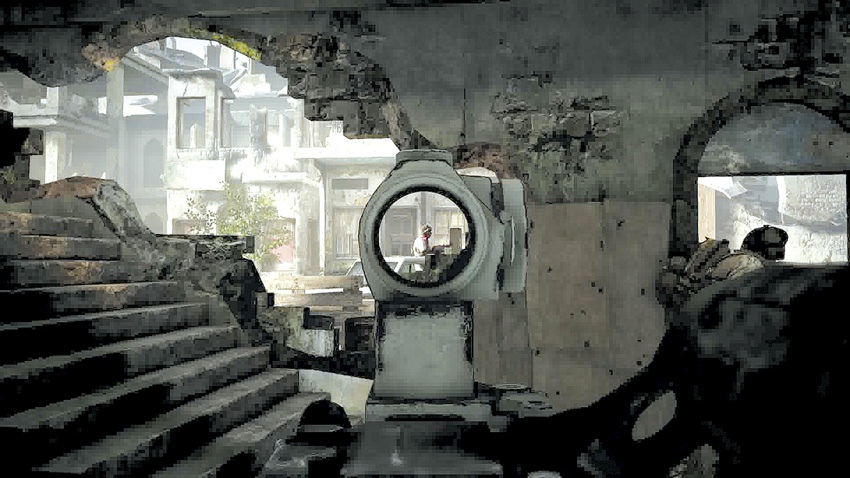
Get to the end of the building and you have a perfect view of the technical machine gunner. While he is focused on part of your team down the street, you can take a flanking shot and kill him, allowing the rest of your team to advance up the street. Watch out for other enemies out in the street. Kill them as well.
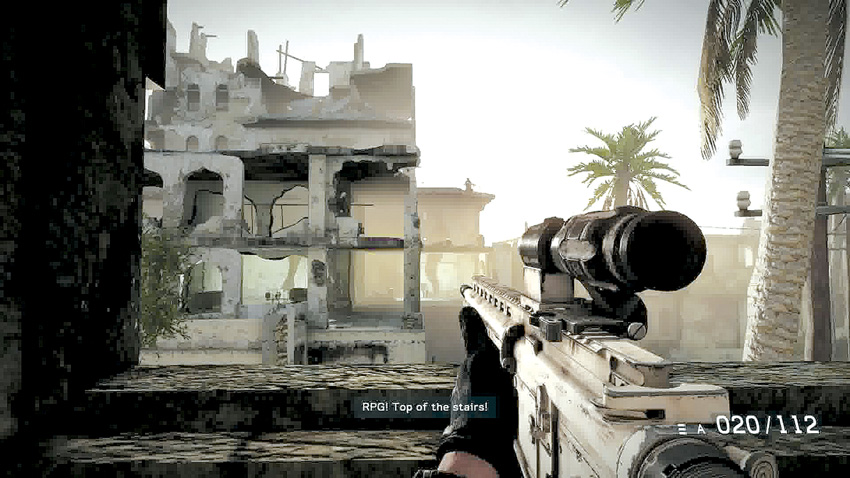
Head up the nearby stairs to the top so you can provide fire support for your team. Take cover near the window and pick off enemies on the upper floors of the building across the street. Listen to your team. They call out targets to you. Listen for them to tell you about an RPG soldier. He appears on the rooftop above the stairs. Kill him quickly before he can fire his RPG at you or the team. Continue firing at the hostiles on the buildings until they move away from the fight.
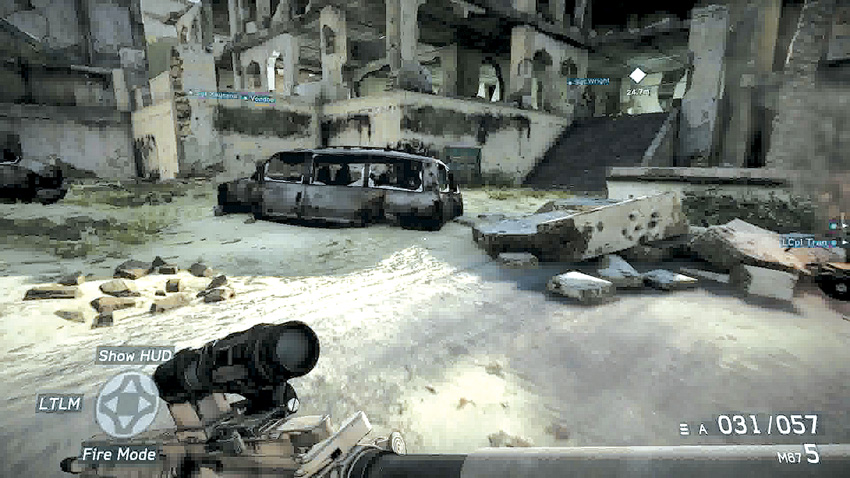
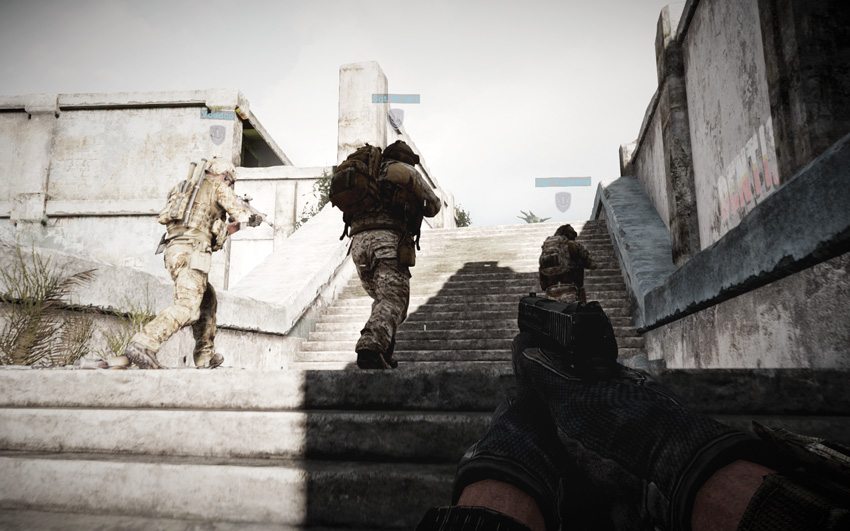
Head back down the stairs and follow your team across the street. This is a great time to get some more ammo from a teammate. By now, you are probably getting low and still have more fighting ahead. Follow the team through a building and then up a flight of stairs up to a road.
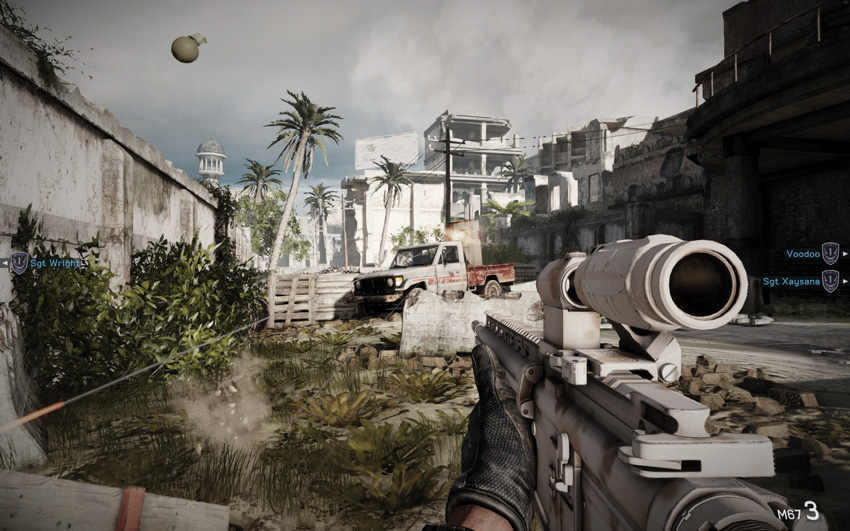
When you reach the top of the stairs, another technical comes racing down the street. Don’t waste time trying to shoot the gunner. He is protected by armor plating. Instead, rush forward and take cover behind the concrete barricade. Then throw a grenade at the technical to silence that machine gun.
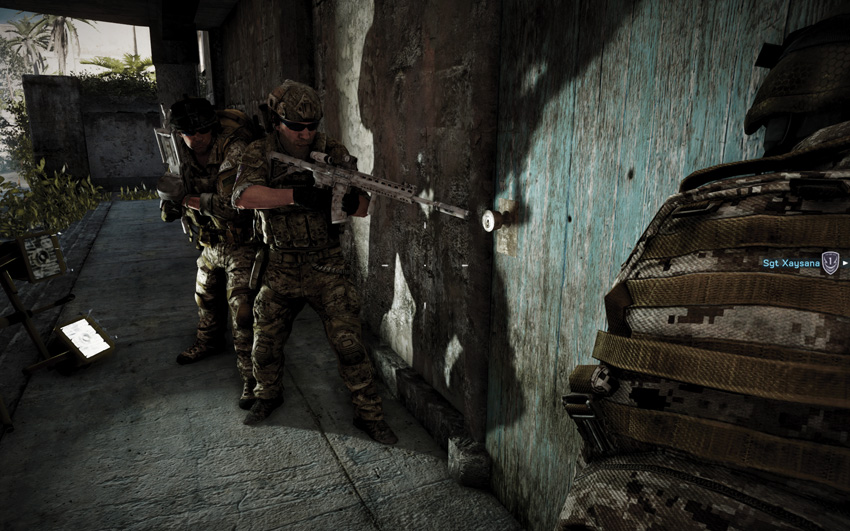
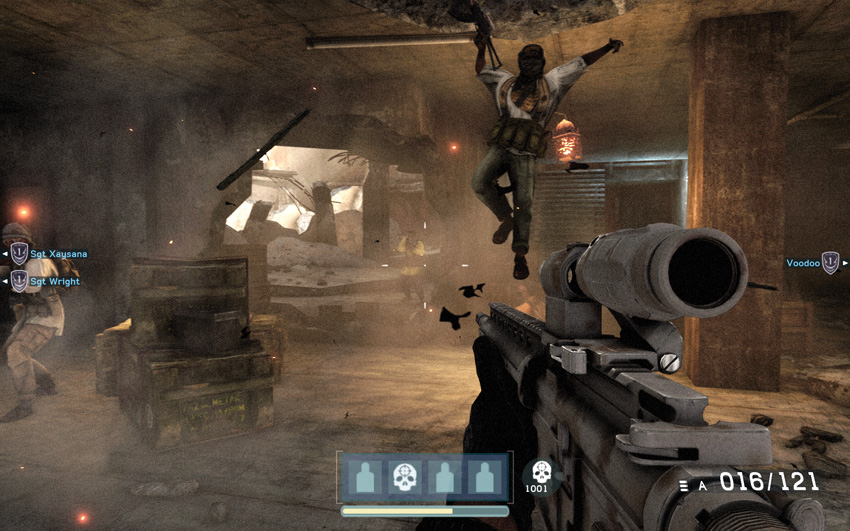
Cross the street and stack up with your team on the door. Select a breach tactic and then rush inside as soon as the door is opened. Watch for a hostile to drop down right in front of you from an upper floor. Wait until his feet hit the ground to ensure you get a headshot rather than hitting his body. After all four enemies are dead, follow “Voodoo” up the stairs to the rooftop. Continue across to another room and then climb some more stairs to an upper room.
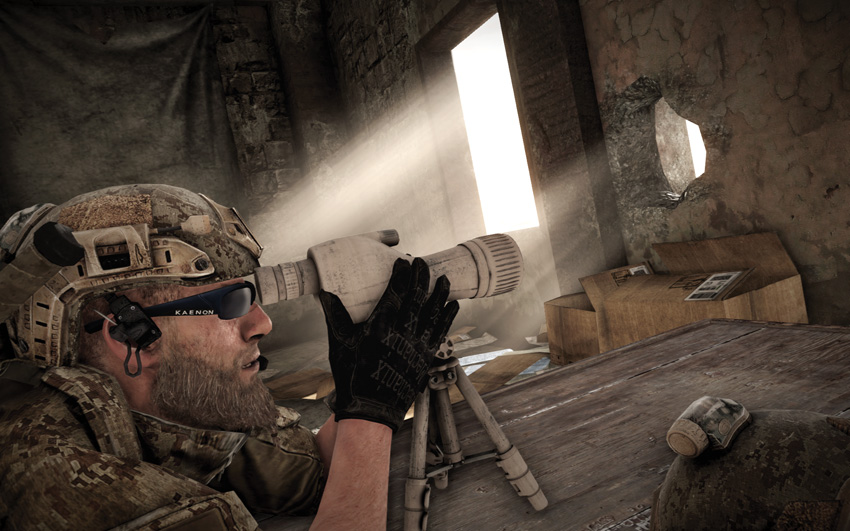
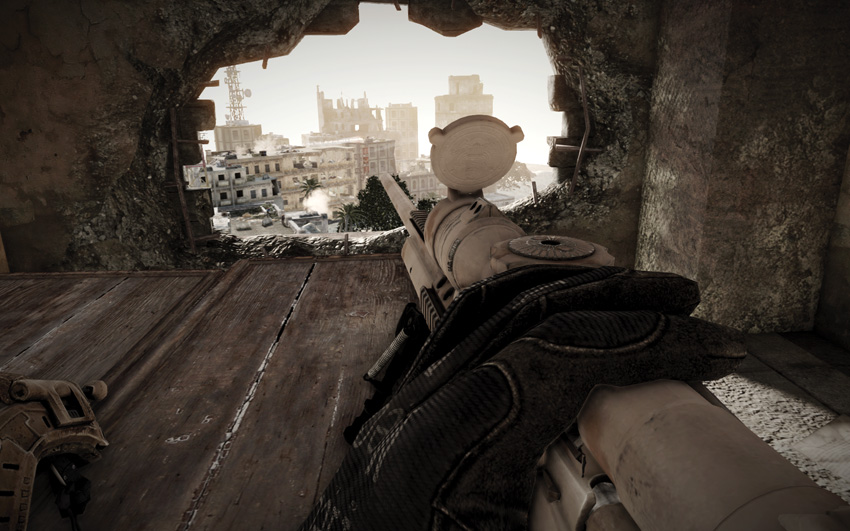
The buildings across the street from your position are crawling with hostiles. It is going to take air support to clear those buildings. However, several of the enemies are armed with RPGs or machine guns, which represent a threat to your helicopter gunships. It is up to you to clear the way for the choppers. “Voodoo” sets up a table and acts as a spotter while you get ready with your sniper rifle.
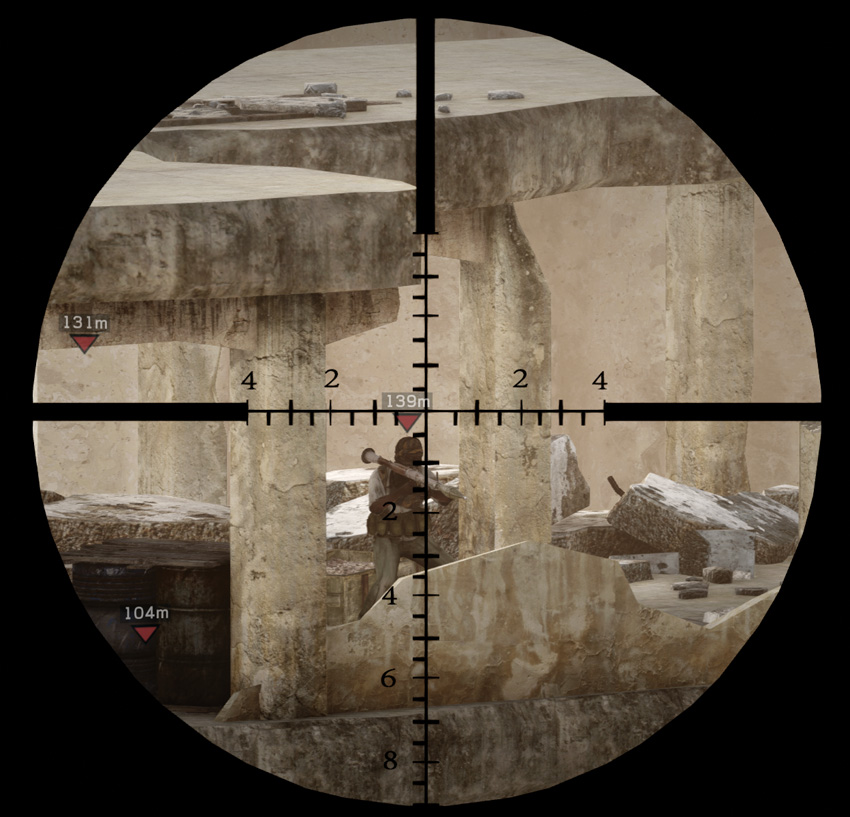
The hostiles you must neutralize have targeting arrows over them. Zoom in with the rifle’s scope and start picking them off. Go for the RPG soldiers first. Since you are firing at long range, aim a notch or two above the target to take into account the drop of your bullet as it travels the distance from your rifle to the target.
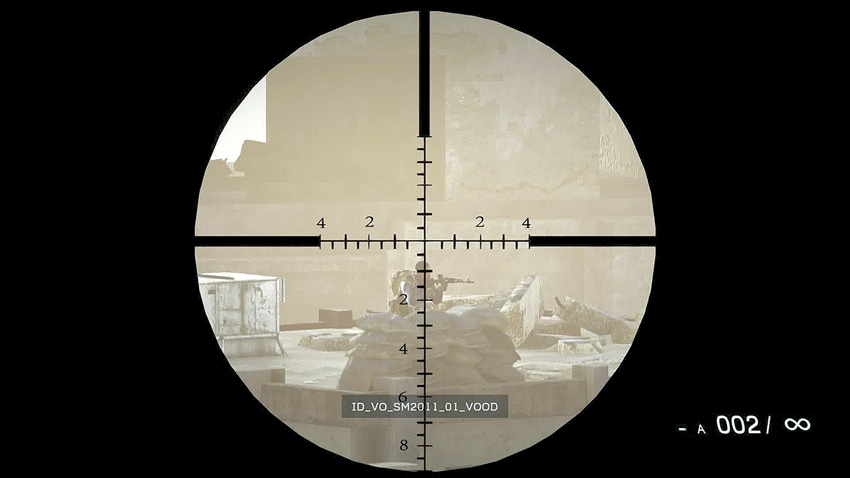
Get all of the RPGs before they start shooting at you. Then, once you have all the assigned targets neutralized, start picking off any other hostiles on the buildings.
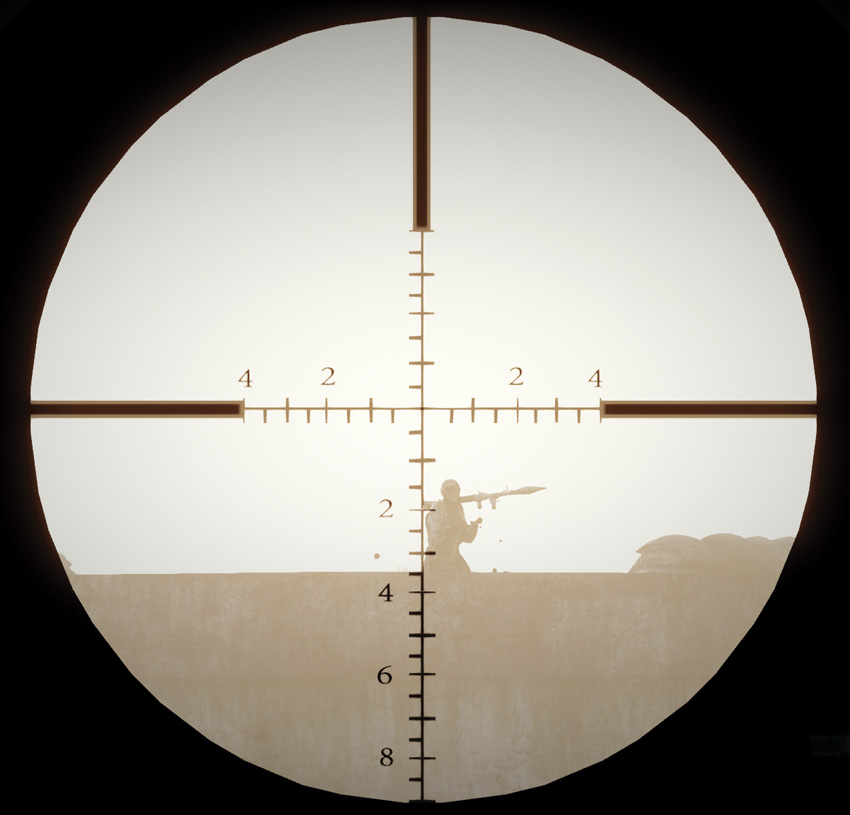
“Voodoo” gives the gunships the all clear after you kill the RPG soldiers. However, after the first choppers arrive on the scene, a couple more RPG soldiers appear on the tower on the right side of the building. Quickly target and neutralize both before they can shoot down your air support.
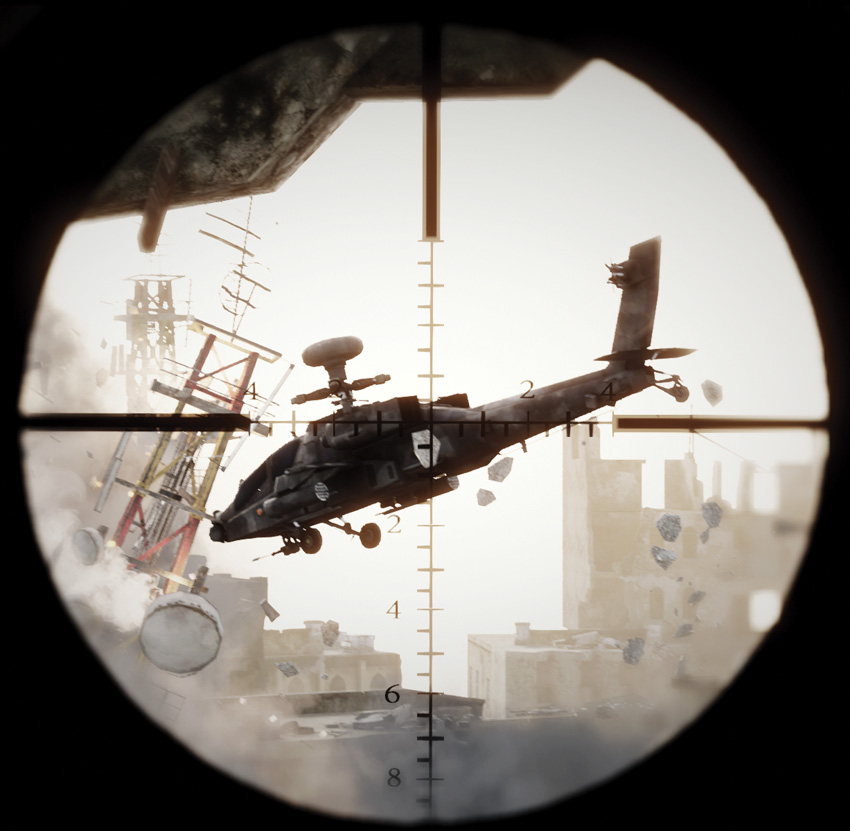
After the final RPG soldiers are eliminated, just sit back and watch the gunships come in and wipe out the rest of the hostiles for a satisfying end to the mission.