Medal of Honor: Warfighter Guide Walkthrough Single Player Walkthrough
Old Friends
Briefing
.jpg)
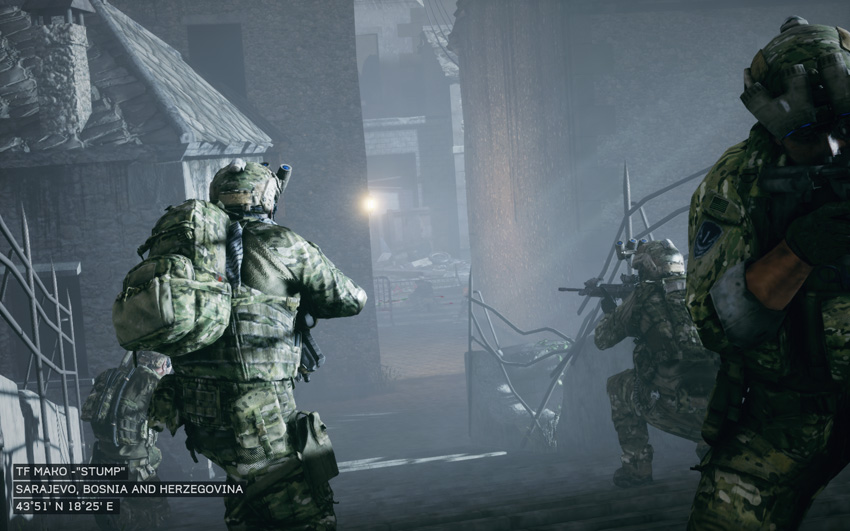
- Task Force Mako—“Stump”
- Sarajevo, Bosnia and Herzegovina
- 23°2’ N 65°12’ E
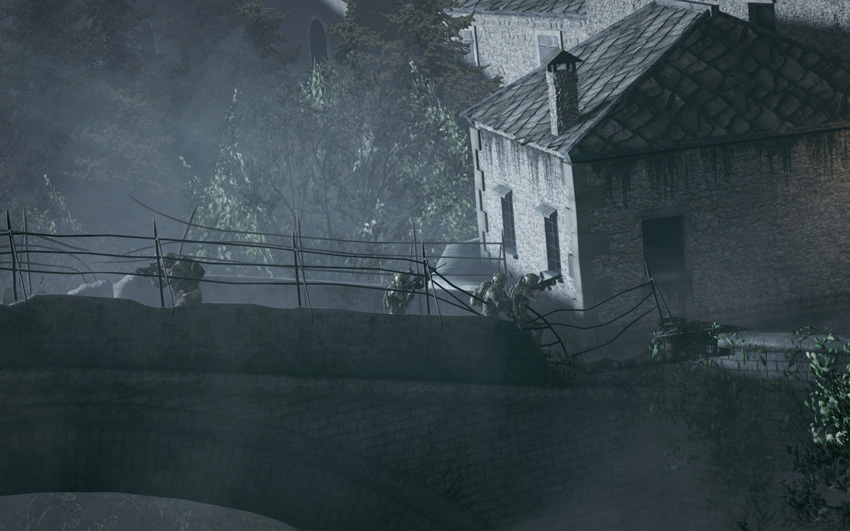
- Objectives: The P.E.T.N.’s source has been located and Task Force Mako is sent to Sarajevo to look up a few old friends who may be of help. You are playing as “Stump” in this mission and are paired up with “Voodoo” again. Upon arriving in Sarajevo, you meet up with Greko and his team of Polish soldiers that belong to one of their nation’s special forces units, GROM.
Load-Out
Primary - Mk 16 PDW
Secondary - HK45 Compact
Special - McMillan CS5
Frag Grenades - x6
Story
The discovery of P.E.T.N.in the Somali fort takes Task Force Mako deep into Yemen’s hinterland to raid a supposed terrorist training facility. Hidden high in the Haraz mountains, they must infil via little bird helicopters, and secure the facility and report back to command on their findings.
Toc 5
With the Yemen training camp taken out of the picture, Blackbird has to “follow the money.” They arrive in Dubai with one goal: “roll up” Hassan and get out of the country. The U.A.E. doesn’t like spies carrying out operations in their country. So Dusty repeats this is a low signature operation. In and out.
Mission Map
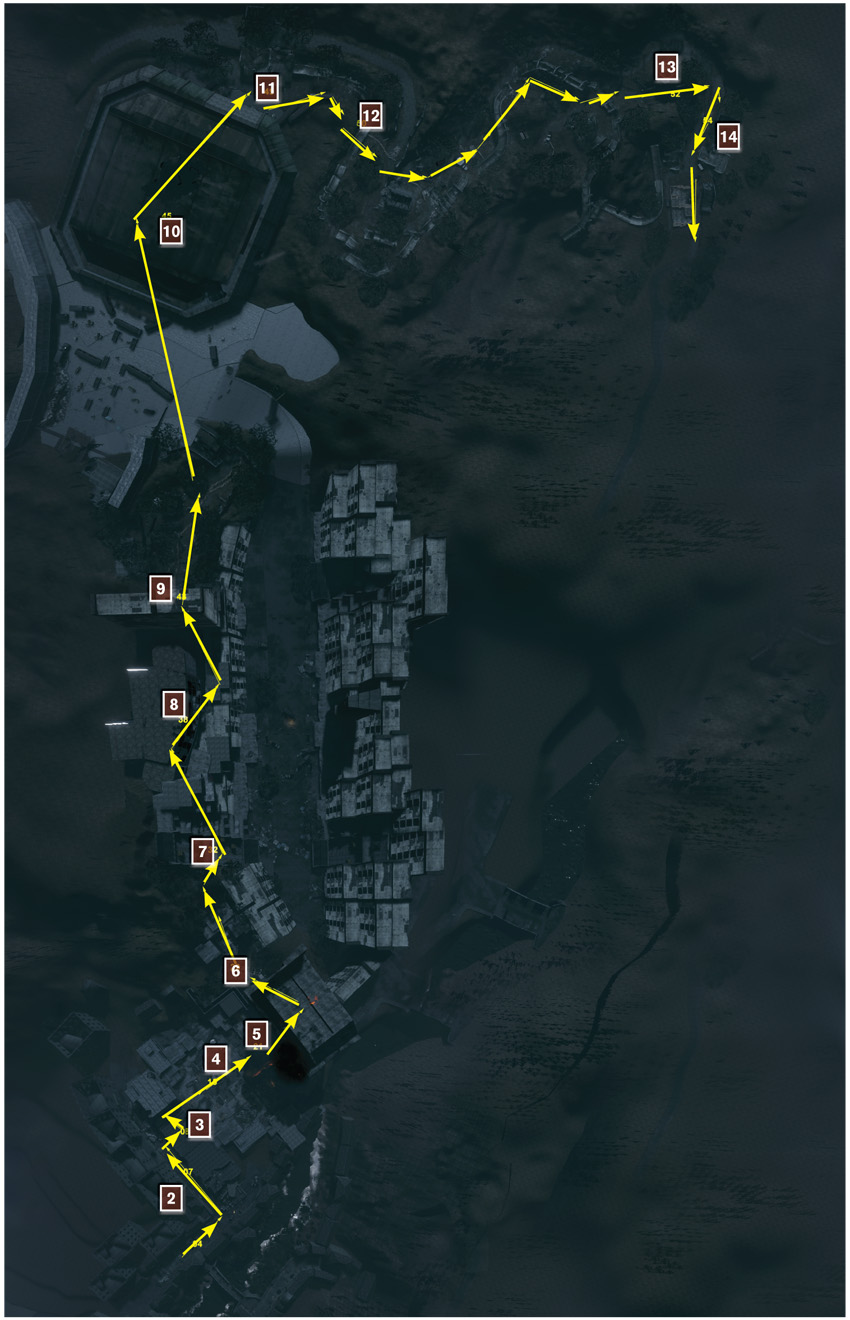
Search the UN Building
Accompany the GROM
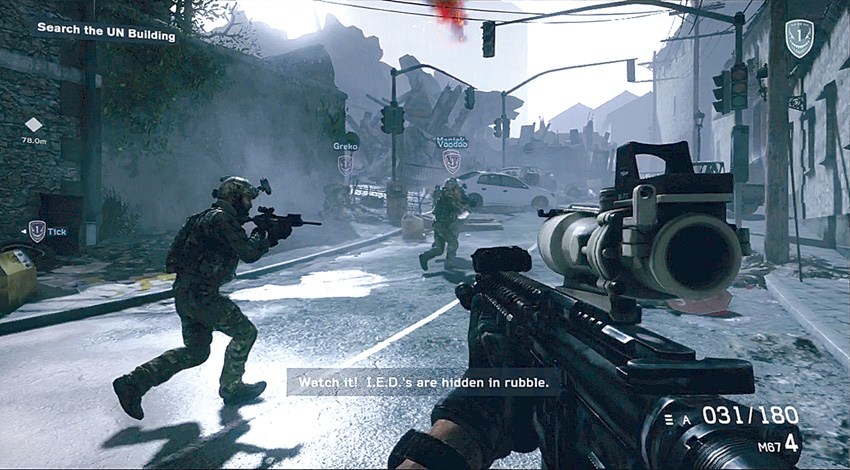
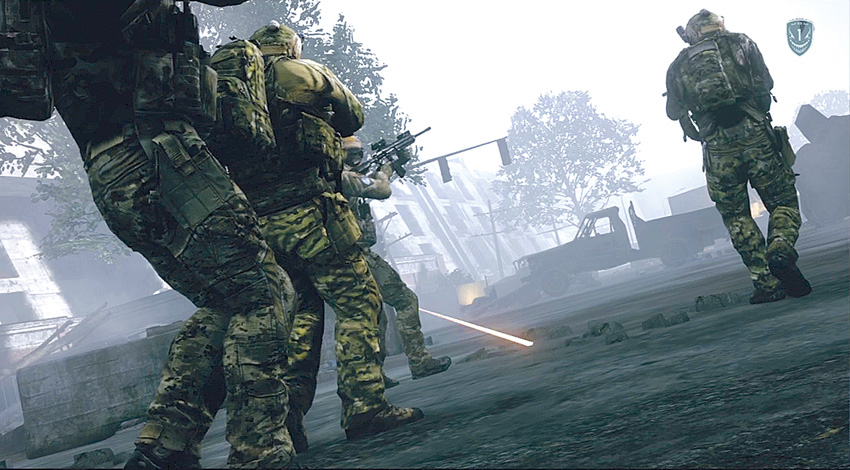
Soon after meeting up with the GROM operatives, there is an explosion. Move out with “Voodoo” and your new allies to investigate.
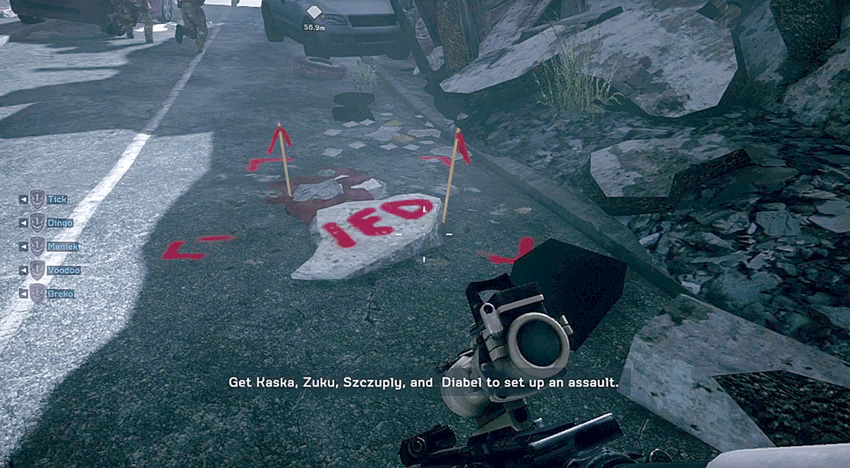
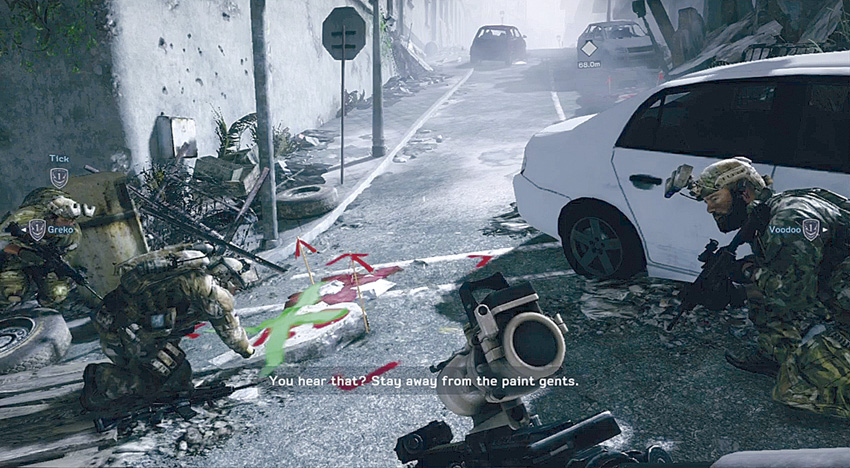
The area has lots of Improvised Explosive Devices (IEDs). The GROM have marked them with red spray paint. Stay away from them. If you step on one, it blows up and kills you: Mission over. After the GROM have disabled one of these, they spray a green “X” over the red paint.
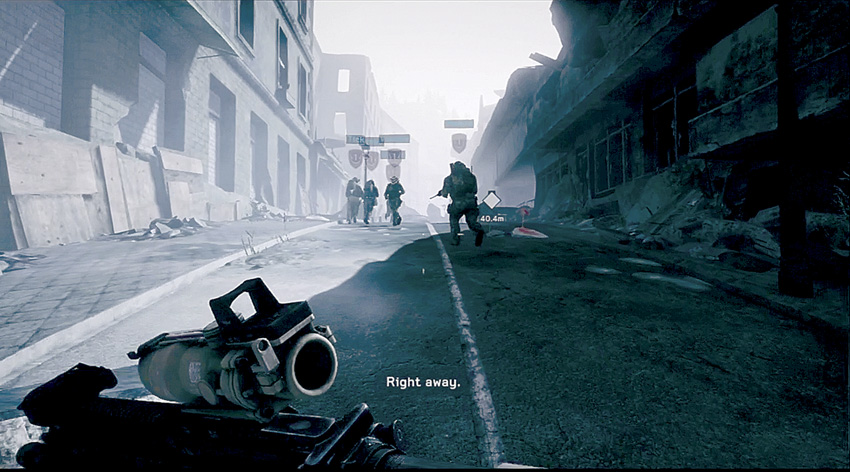
Follow your allies up the street, careful to avoid the IEDs along the way. When you get to the point where the street is blocked by rubble, move into a building on the right.
Clear Courtyard of Enemies
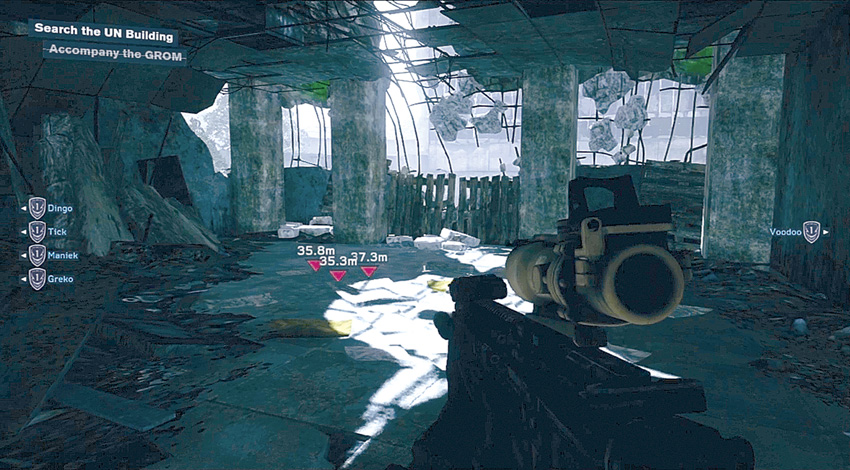
Head up the stairs along with “Voodoo” and continue through the door on the left. There are lots of hostiles down in the courtyard below and your new objective is to clear them out.
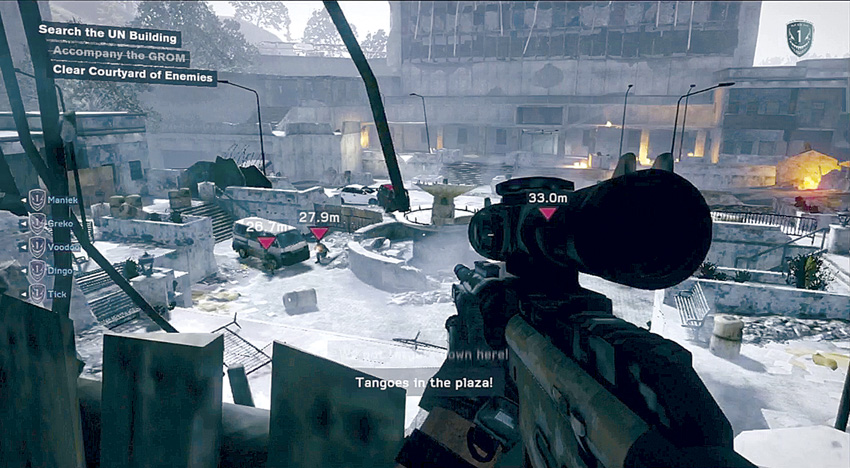
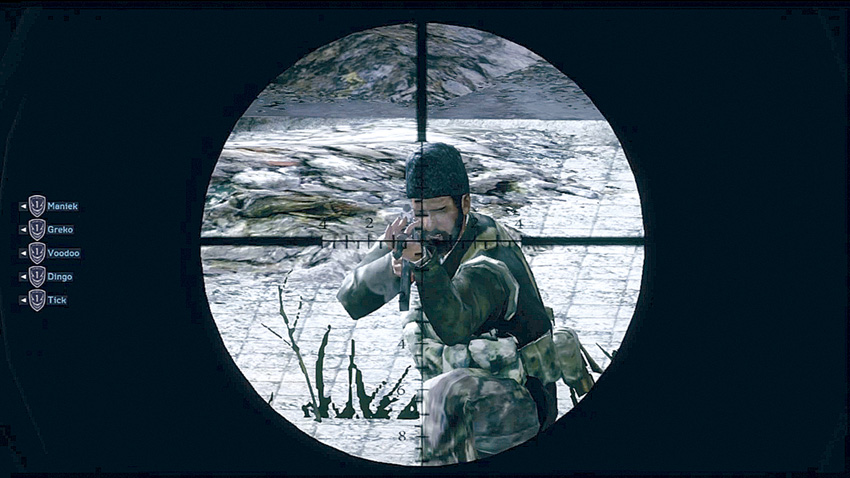
Take cover behind some of the rubble and crouch down. You now are armed with a sniper rifle. Peek up over your cover. The hostiles down below are marked with icons. Take aim, zoom in with your scope, place the crosshairs over the head of your target, hold your breath, and squeeze the trigger. You have to work the bolt after each shot to load another round. This slows down your shots and you temporarily lose sight of your target. Therefore, it is best to take careful aim and make sure each shot hits its target.
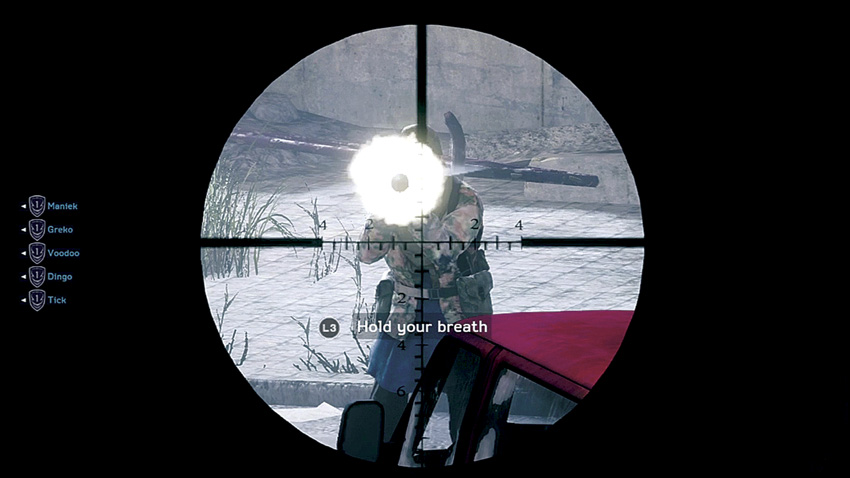
Keep firing at the many enemies in the courtyard. When you have to reload, duck back down behind cover. While you are sniping, listen for the sound of an RPG. When you hear it, move back away from the wall and wait for the rocket to hit. Then quickly take up your position and look for the terrorist with the RPG. Also be sure to duck down if you start taking hits from enemy fire and zoom the scope out to make it easier to locate targets.
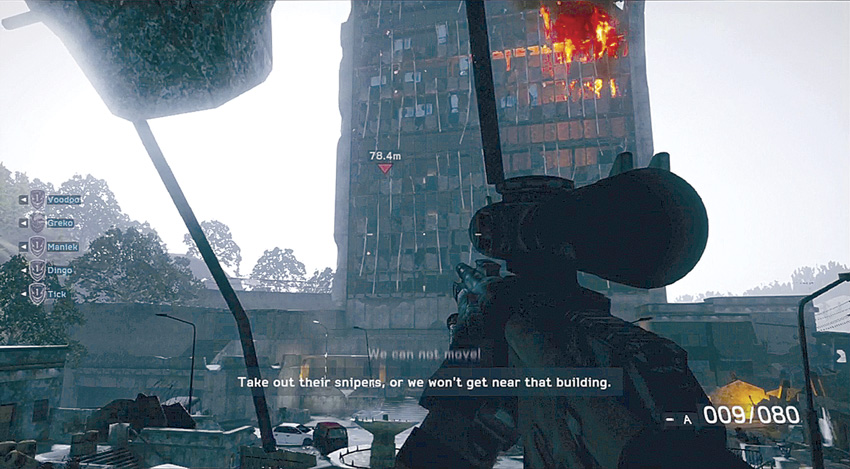
After you have cleared out most of the enemies down in the courtyard, “Voodoo” orders you to begin neutralizing the enemy snipers in the top floors of the building on the other side of the courtyard. They are marked with icons.
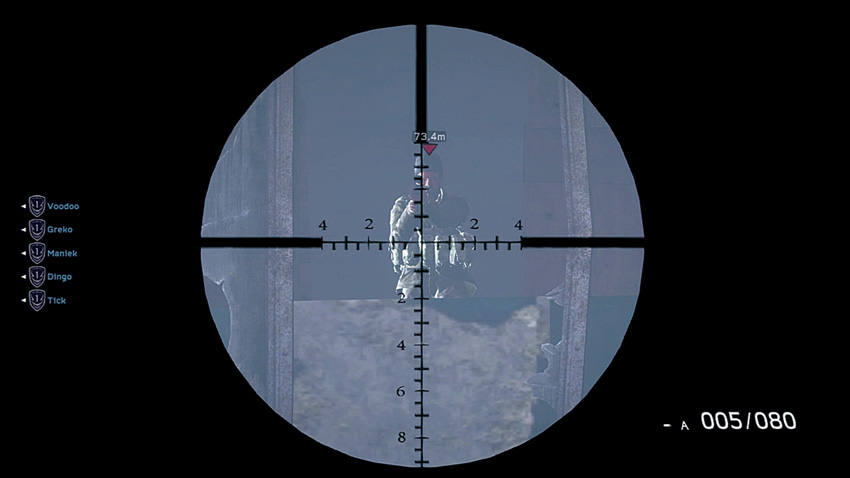
The snipers can be tough to hit. They often hide behind cover and move to the windows to fire—often at you. Aim at the window where they are located, and as soon as they appear, fire before they can shoot at you.
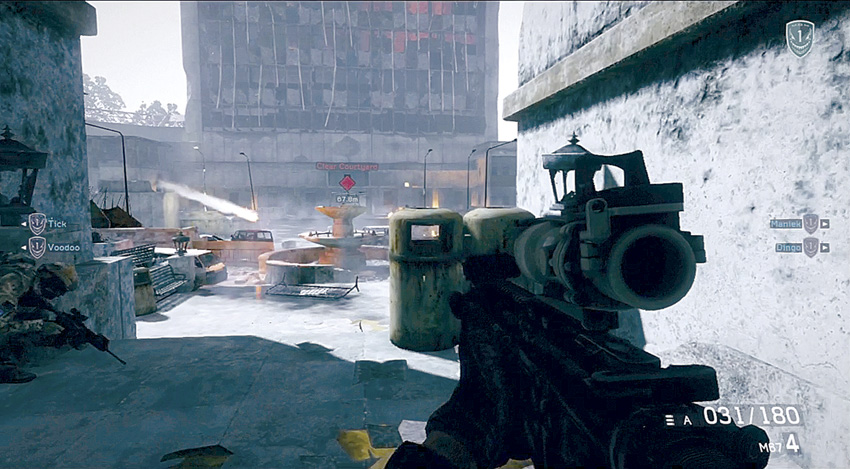
Once all the snipers are eliminated, you automatically switch back to your assault rifle. Now exit the room and head down the stairs to join up with your team. There are still hostiles in the courtyard, so now you have to move out into the courtyard and finish clearing them out.
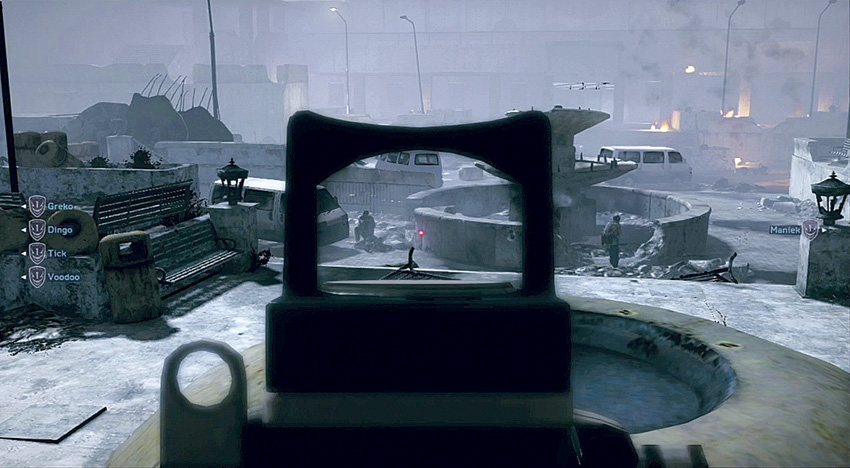
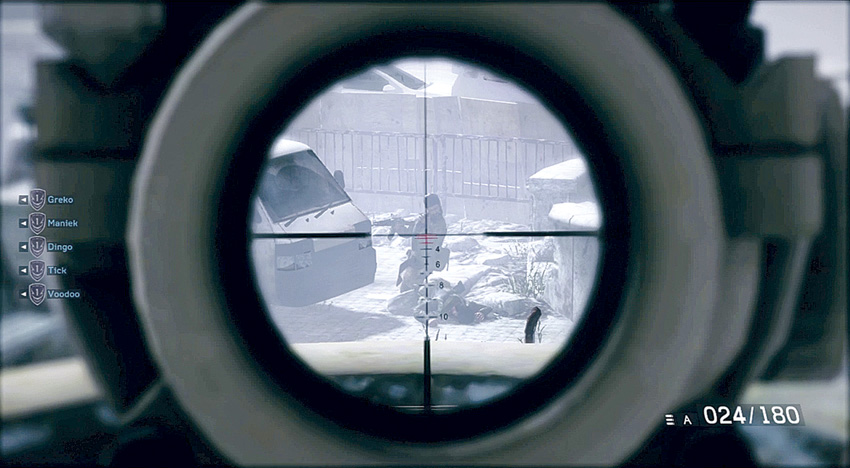
Take cover immediately after you exit the building and before you descend down into the courtyard. Use your red dot sight to locate enemies, then switch to the scope to increase the accuracy of your shots. Clear out the hostiles in the area around the central fountain, since they are your main threat at first.
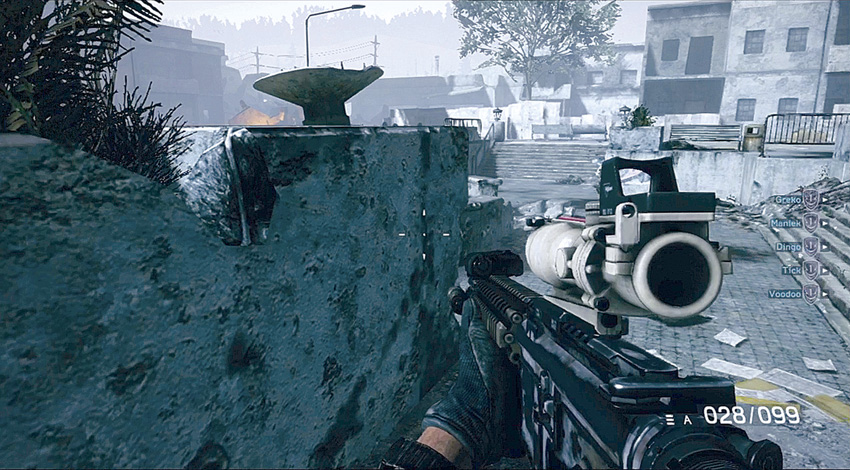
After clearing out several of the hostiles in the center, move down the stairs and then go left. Take cover behind the concrete planters and work your way around to the left side. From there you can engage enemies in the middle and far right from a flanking position. Just make sure you yourself are not flanked by enemies.
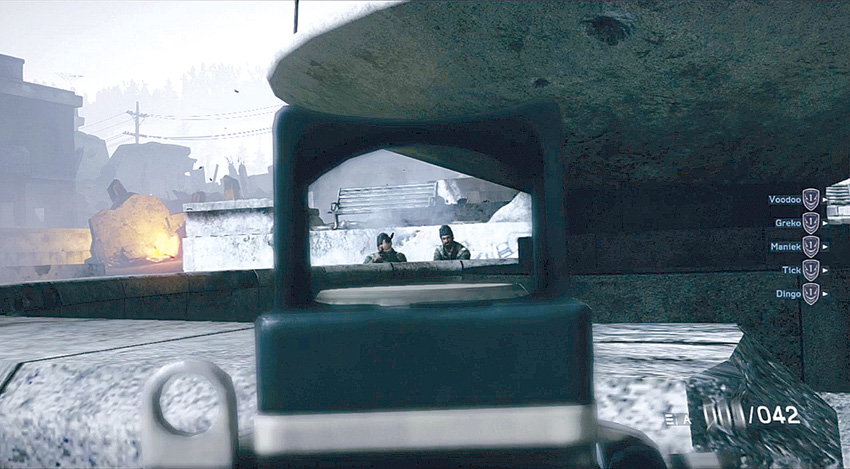
Advance towards the central fountain and use it for cover. From this position, you can attack enemies as they approach the fountain and catch them in a crossfire between you and your allies. Slowly work your way around to the other side of the fountain, clearing hostiles as you go.
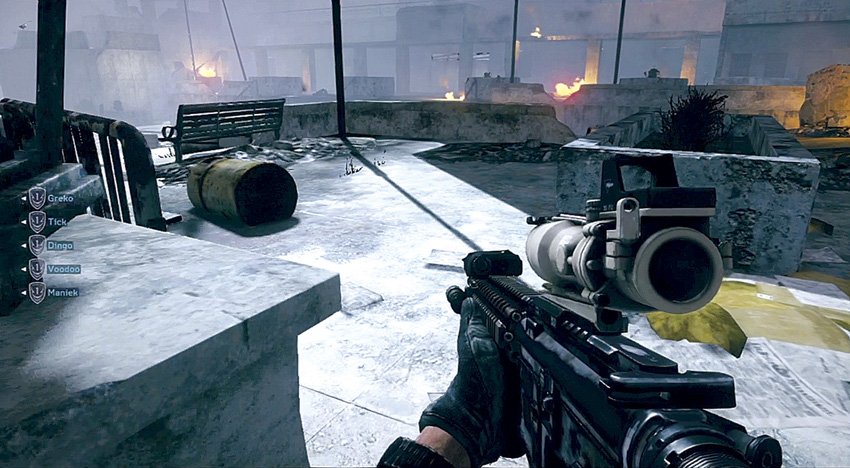
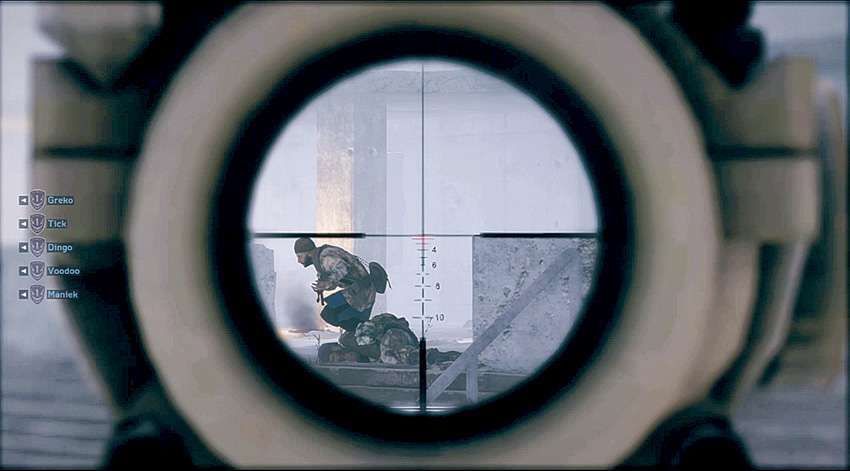
Now sprint up the stairs to the right of the fountain and take up a position behind a short concrete wall on the far right side of the courtyard. This new perspective also provides a different field of fire and allows you to engage enemies as they try to make their way to the courtyard. Remain in this spot until the courtyard has been completely cleared.
Breach and Clear
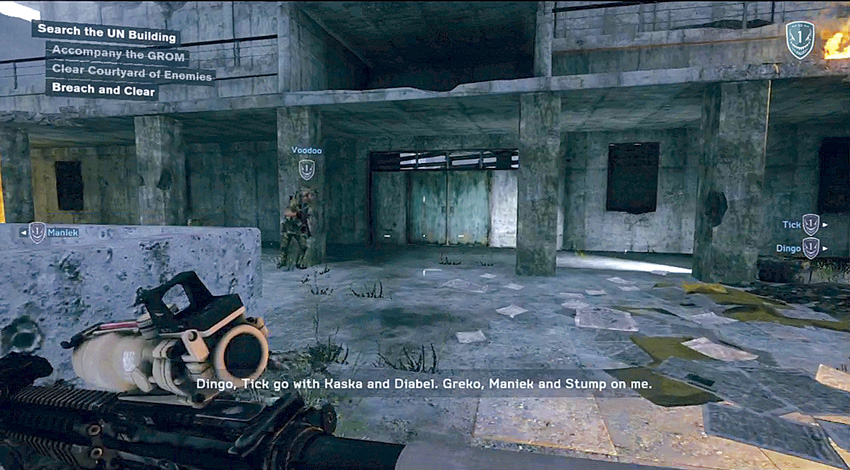
Once your team begins moving, follow them to the UN building. The front door is locked, so you need to breach it.
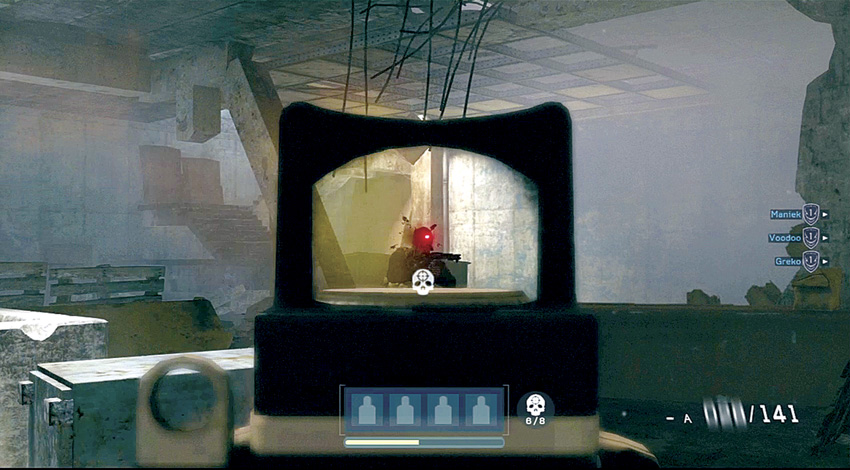
Stack up on the door with your team and select a breach tactic. As soon as the door is breached, rush in and clear out the four hostiles inside. They are scattered throughout the room, so start on one side and work your way across the room.
Clear the UN Building
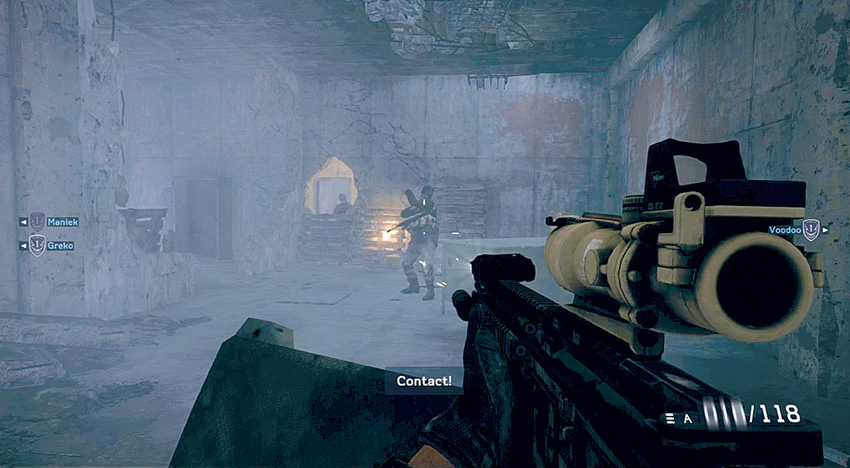
Now that all of your team is in the building, follow “Voodoo” up the stairs. As soon as you get to the top, terrorists drop down from the ceiling and pop up through holes in the walls. Take cover and then open fire.
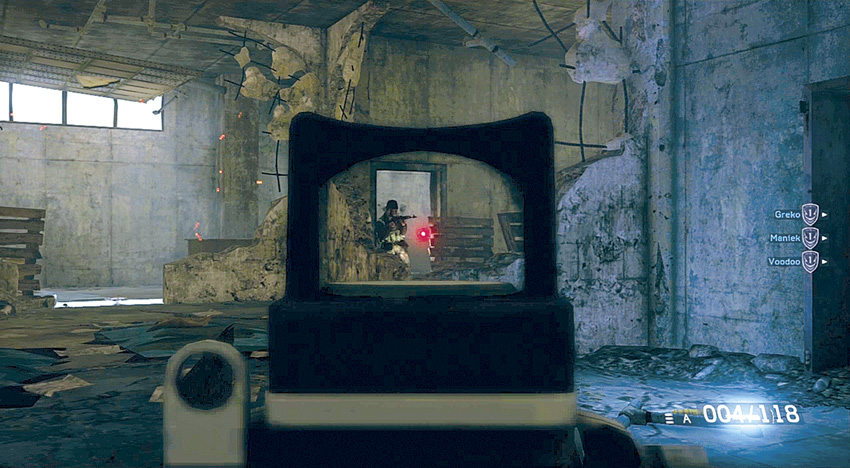
After neutralizing the first few hostiles, advance into the room and then turn left and take cover before engaging more hostiles in this area. Work your way around this area, looking for cover as enemies pop up on your flanks.
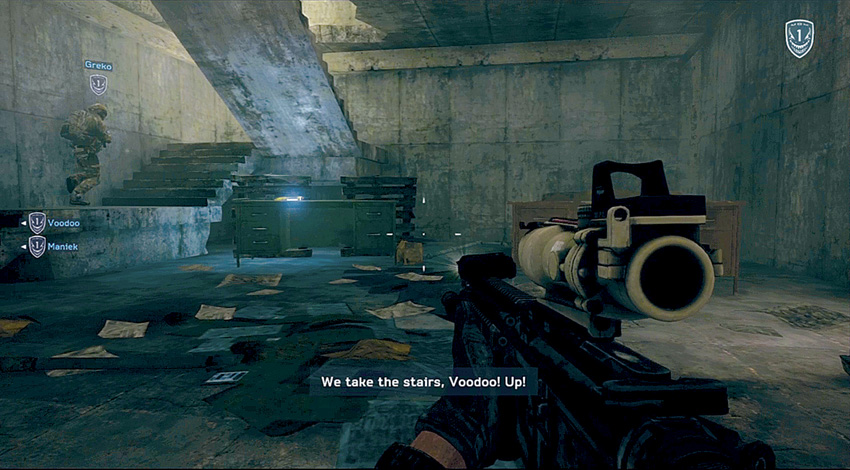
Clear out this floor entirely, then follow your team up the stairs to the next floor. Be sure to get some ammo from a teammate if you are running low. There is still a lot of fighting ahead.
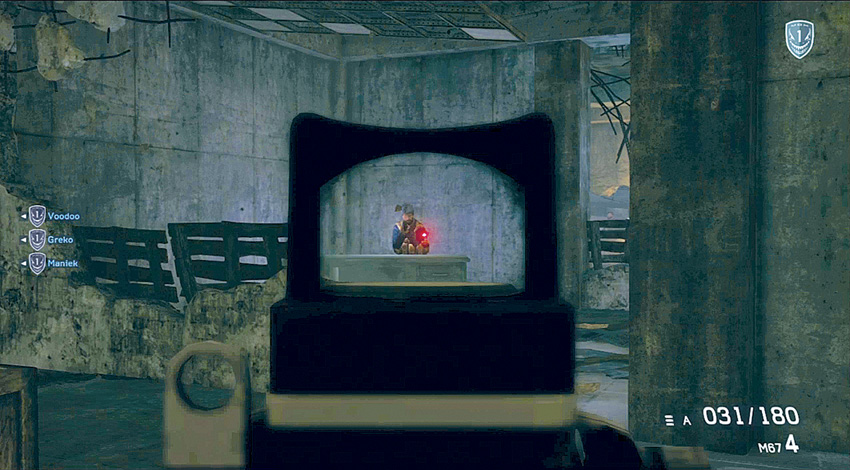
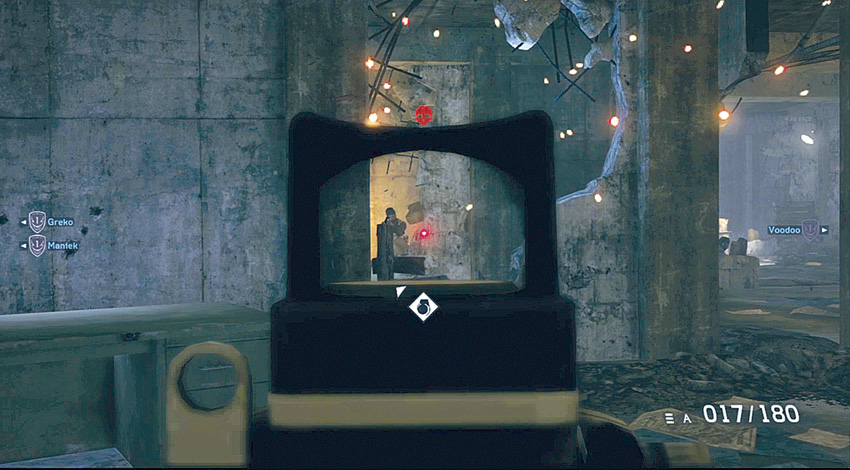
As soon as you get to the top, turn left and engage the terrorist waiting to ambush you. Kill him and then take cover. There are lots more hostiles in the rubble-filled area. Watch out for grenades that they throw towards you. If possible, try to shoot them before they release the grenade. As it falls near their body, it may kill nearby enemies as well.
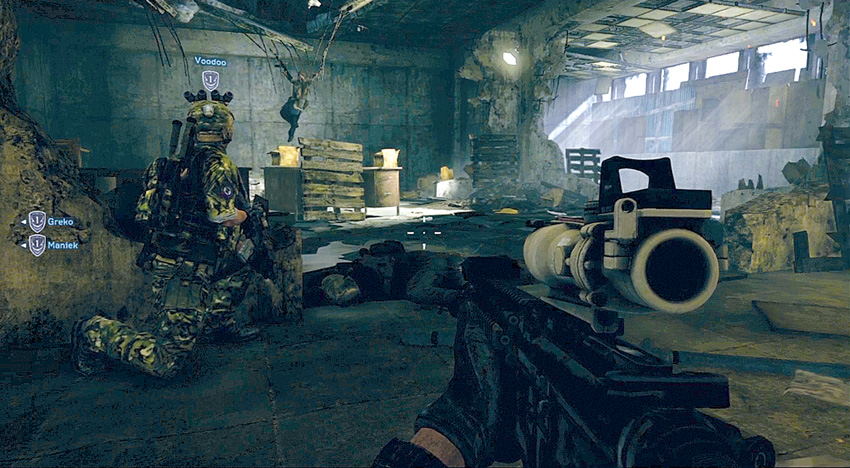
Follow your team members as they advance away from the stairs after killing the first group of enemies. However, as you move further into this area, more hostiles drop down from an upper floor and begin their attack. As they all drop into one area, this is a good time to toss a grenade into their midst. You can kill two or three with a single blast.
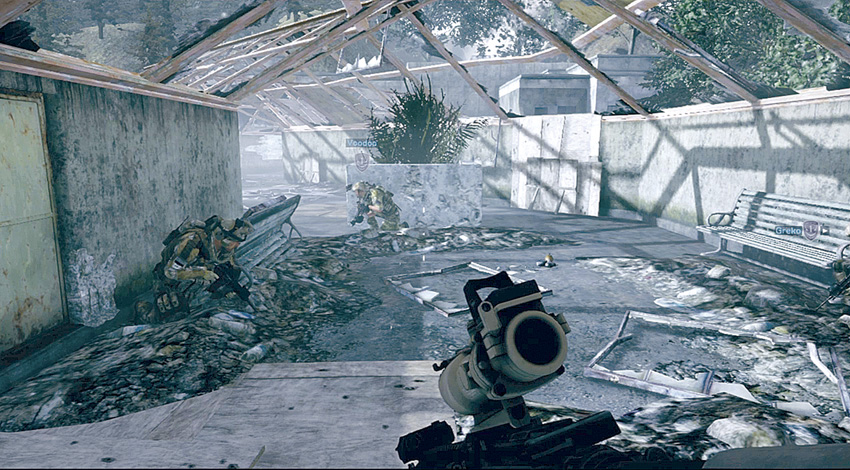
Once you have finished clearing the hostiles away, your team completes their search and don’t find what they’re looking for. Follow them out of the UN building and onto a walkway leading to the next building.
Search the Hotel
Breach and Clear
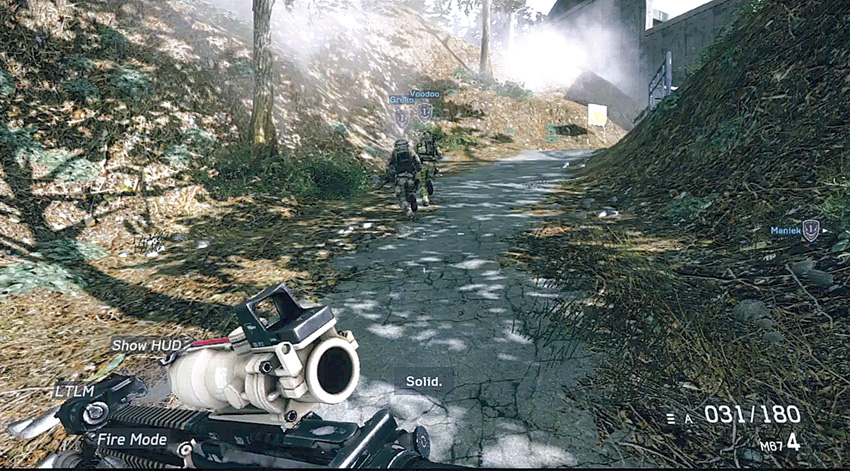
Move across the walkway and continue through a doorway. After climbing a flight of stairs, follow a path that leads to the hotel. There are no hostiles here, so sprint as you move with your team.
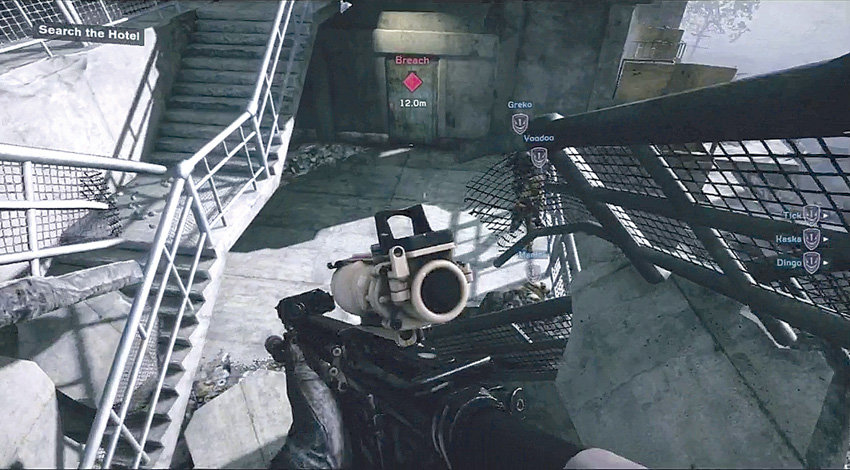
Half of your team is advancing down the street below your position when they come under sniper fire. The snipers are in the hotel. While the team in the street takes cover, your team is going to clear out the snipers. Move to the door and select a breach tactic.
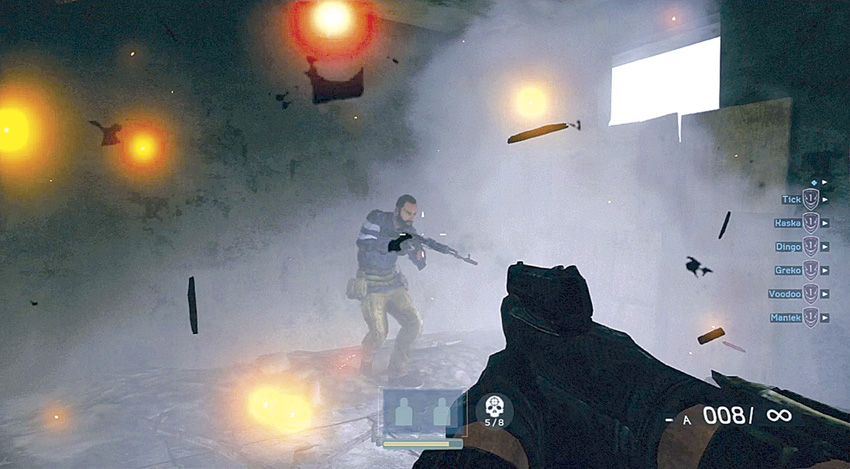
Rush into the room and kill the two enemies inside with headshots to clear the area, then advance into the next room where a window allows you to look down on the street below.
Provide Overwatch for GROM
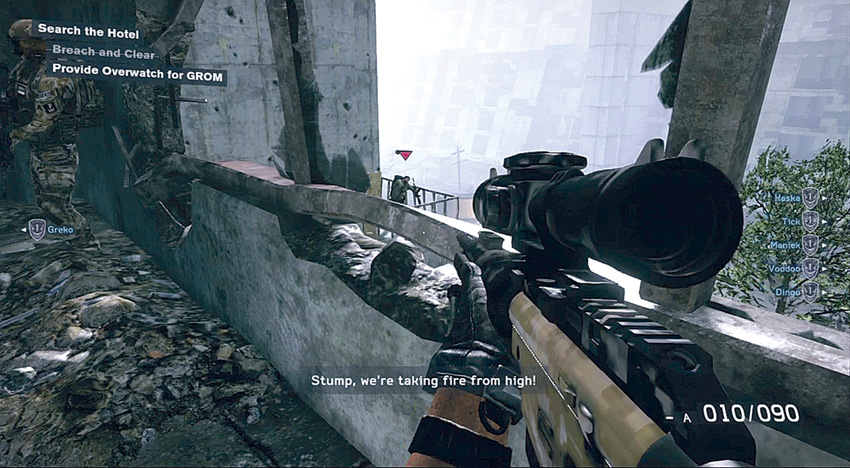
As you approach the window, look for a hostile out on a balcony. Quickly neutralize him before he can throw a grenade at you. Then begin providing covering fire for your team below.
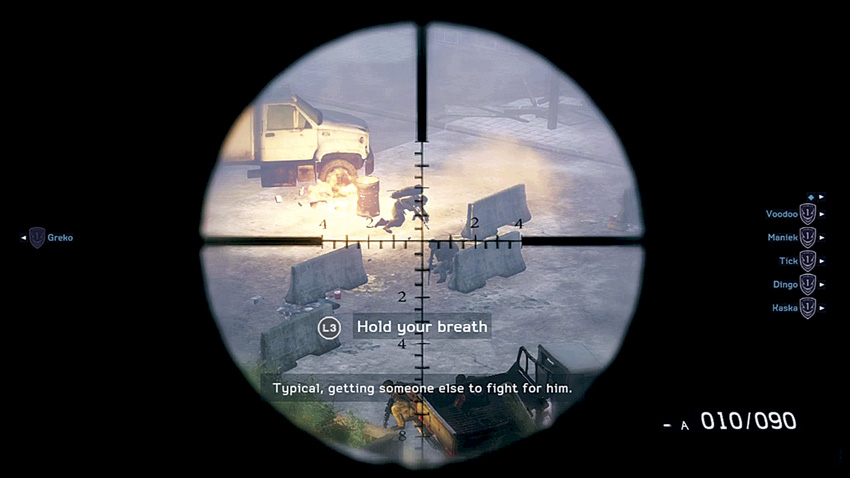
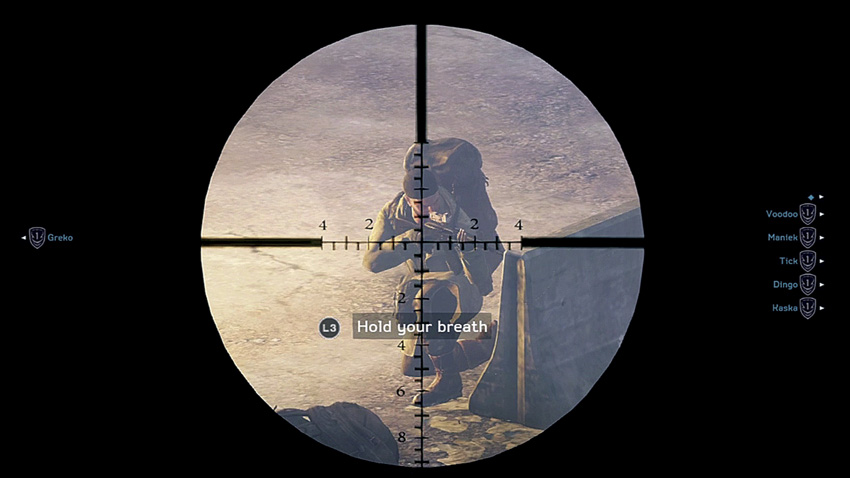
You switch to a sniper rifle once again. There are several hostiles in the street blocking the progress of your team. Start picking them off one at a time. Keep this up until all enemies in the street have been neutralized.
Clear the Hotel
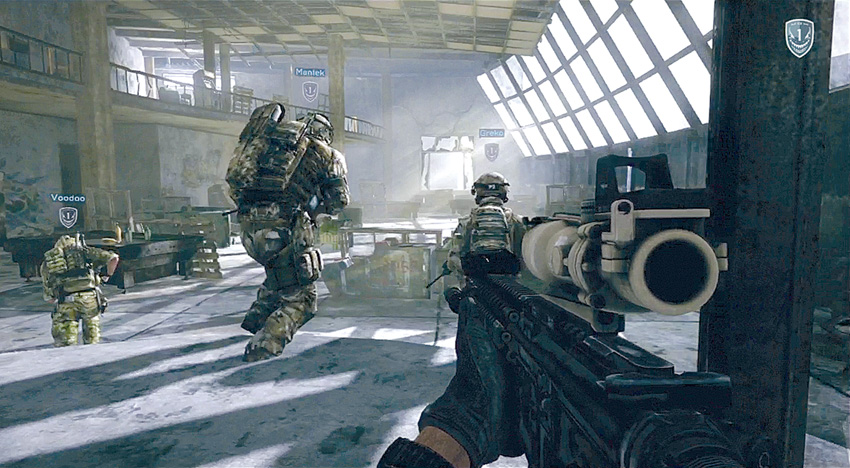
Follow your team through a door and continue across a hallway to the hotel lobby. You are back to using your assault rifle again. Once in the lobby, hostiles enter through the other side. Quickly take cover and open fire.
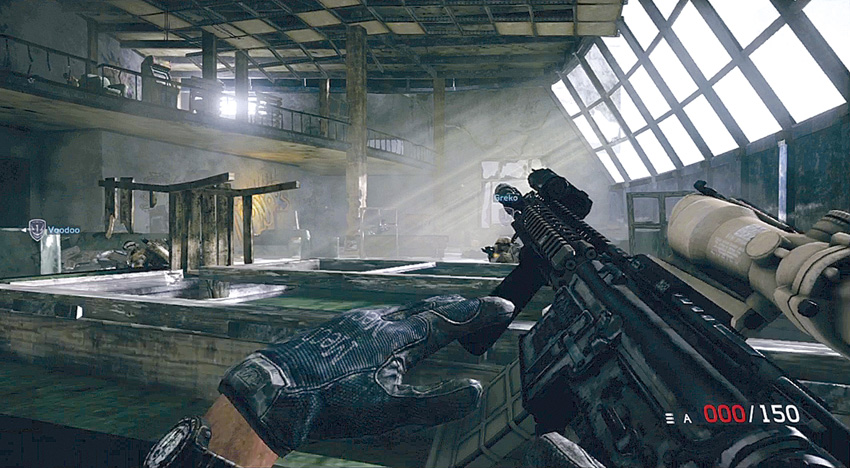
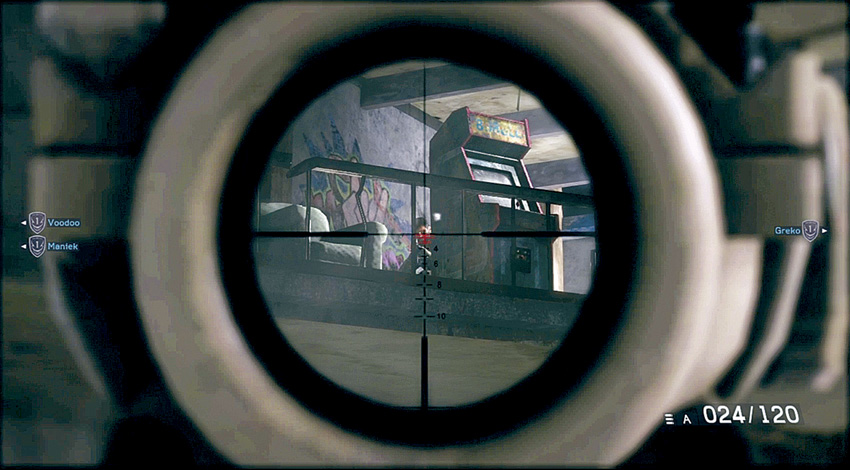
In addition to the enemies on the other side of the lobby, several also attack you from the upper walkway along the left side of the area. They are a major threat, so begin firing at them before they can advance to your flank and start throwing grenades down on you.
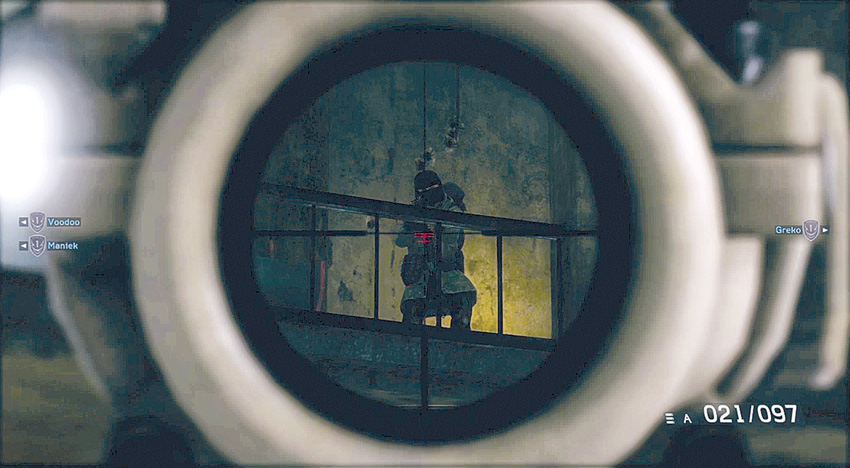
Watch for a heavy gunner. As soon as you see him, engage him with long-range fire. If you can’t take him down shortly after he arrives, he climbs up some stairs and advances along the upper walkway. Kill him as quickly as possible or he can decimate your team if he can flank them.
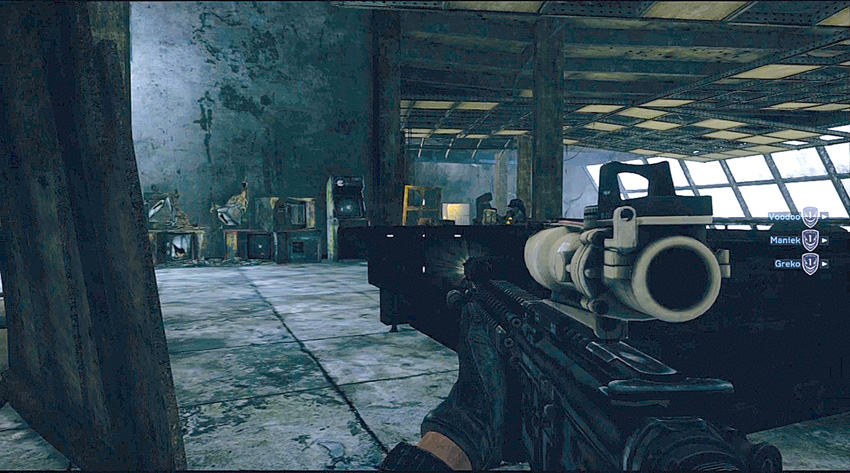
Since the upper walkway offers a major threat to your team, rush up the stairs to the left of where you entered the lobby. Take cover behind a billiards table and open fire on the enemy on the walkway. Since they are firing down on your team below, they often won’t see you and you can attack from their flank.
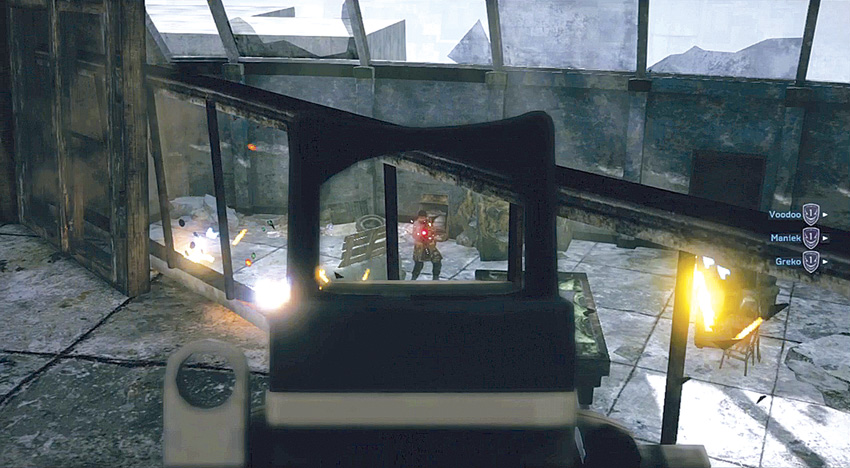
After clearing off the walkway, turn the tables on the enemy and fire down on them from above. You have some great lines of fire that hit them from directions for which they do not have cover. Then head down the stairs at the far end of the walkway to come up behind the remaining hostiles in the lobby to finish them off.
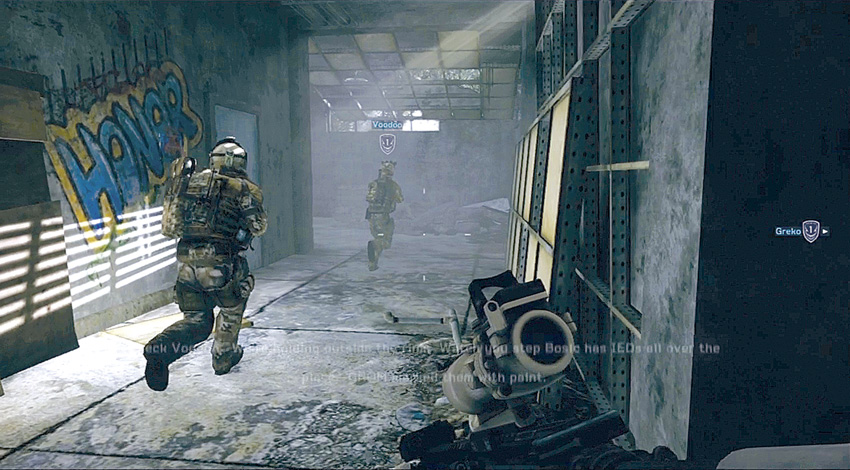
Once the lobby is clear, follow “Voodoo” and the team through a smaller room at the far end of the lobby. Continue through a door and then down a long hallway and across an outdoor path that leads to the ice rink. That is probably where your target, Bosic, is located.
Search the Ice Rink
Get to the Rink
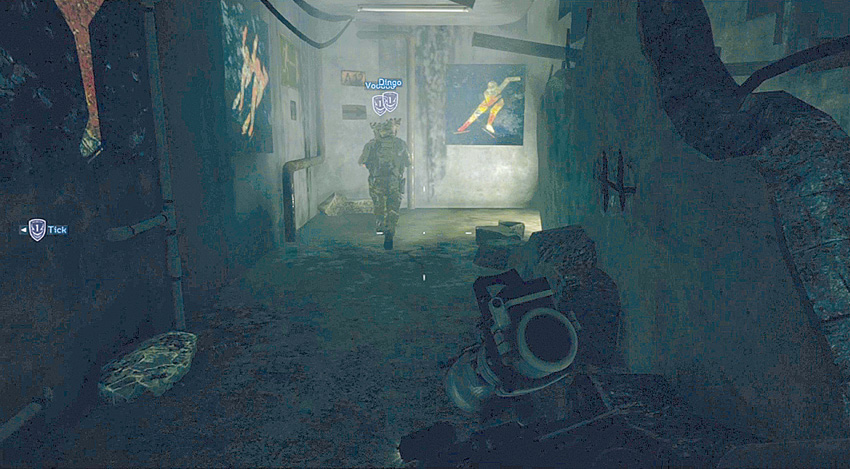
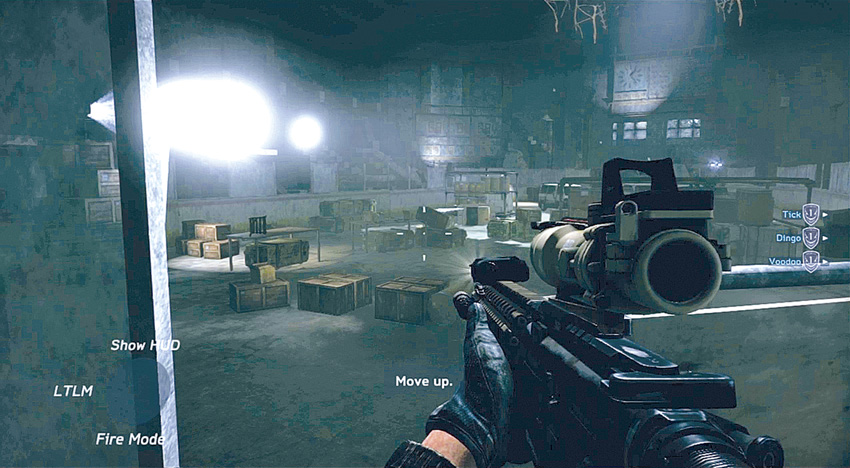
Once you enter the building where the ice rink is located, follow your team around through a series of corridors until you reach the rink. Bingo! You have found the P.E.T.N. In fact, the old Olympic ice rink looks like an arms warehouse.
Survive
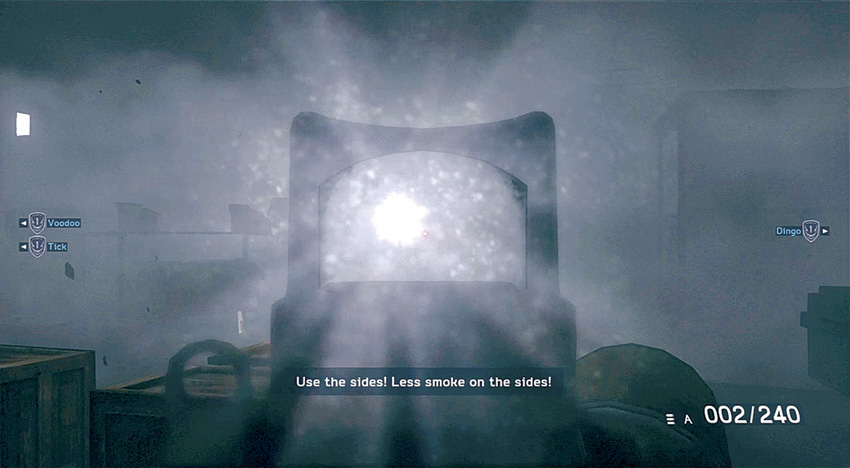
Bosic’s men throw smoke grenades out onto the rink after your team moves in. Quickly take cover and watch for enemies trying to sneak up on you through the smoke. Pull back and be ready to engage enemies directly ahead as well as those trying to flank you from either the left or right. Some of the hostiles have flashlights, so fire at the lights to take them out.
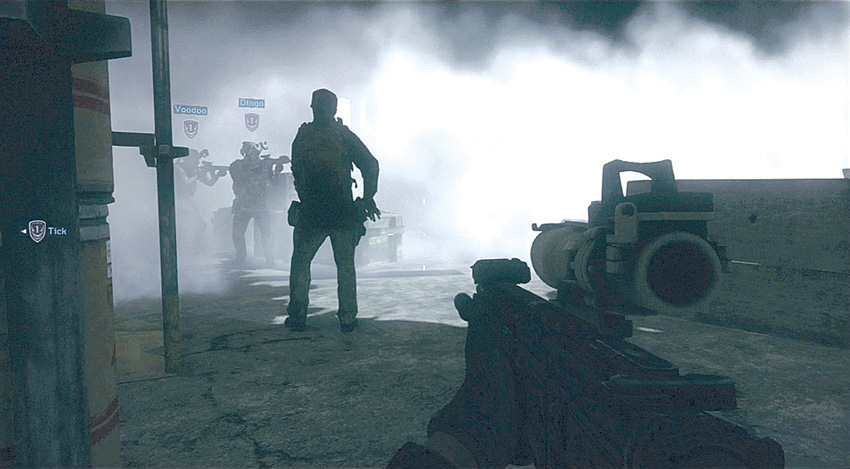
When your team begins advancing down the middle of the rink, move along the right side to help cover them against flank attacks. Be ready with a melee attack if an enemy rushes in close to you.
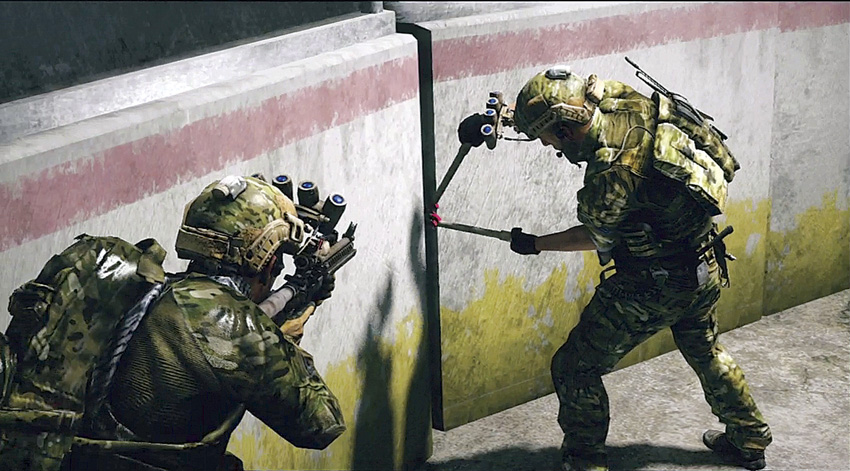
After clearing the rink, advance to the end of it. Bosic and his men try to attack you from an upper level; however, when you return fire, they flee. Cover “Voodoo” while he opens up an exit from the rink so you can pursue Bosic.
Capture the Engineer
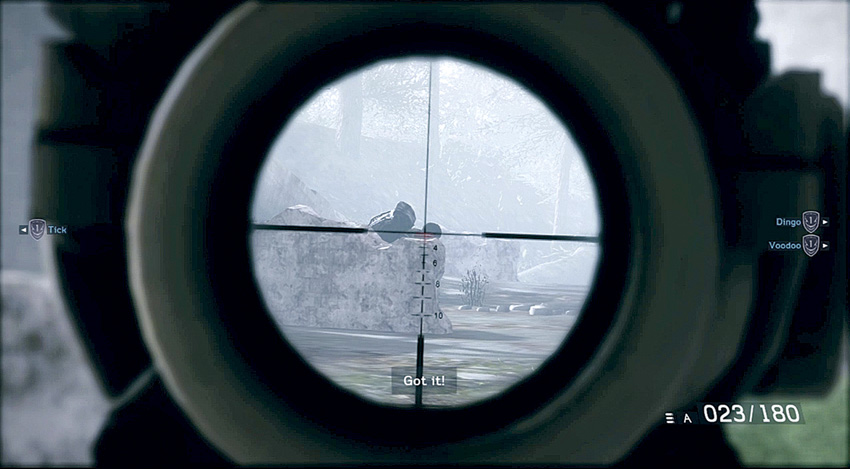
Follow your team as they chase after Bosic. When you get to a doorway leading outside, take up a position on the right side. Lean around and engage the hostiles to the right to clear your exit from the building.
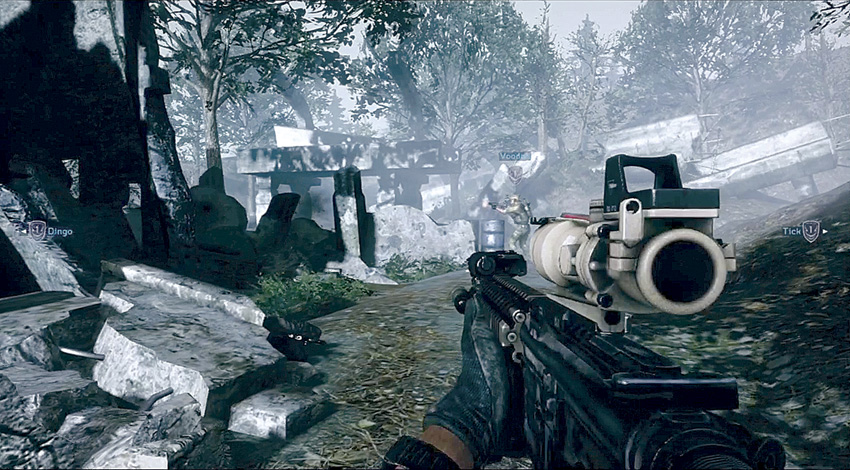
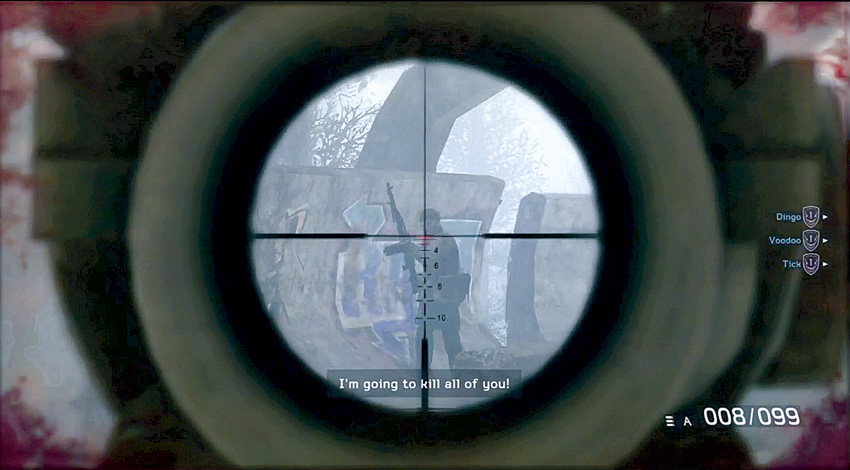
Along with your team, advance along a path that follows the Olympic bobsled track, which is now in ruins as a result of the decades of war in this once great city. There are several hostiles that try to ambush you along the way. Drop behind cover, kill them, and then continue on. After passing some vehicles, walk inside a section of track that provides some cover from the sides. As you get to the spot where it is damaged, watch for hostiles in the section of track ahead who can fire down on your position. Neutralize them and any others that follow.
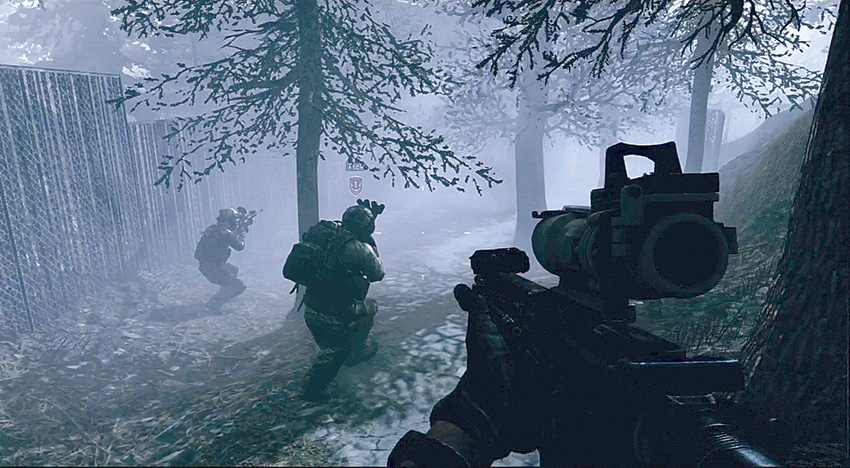
Fight your way through the bobsled area, then follow your team along a tree-lined path. Smoke fills the air, reducing your vision to tens of meters. Watch out for enemies that rush from the smoke to attack you. Fire from the hip or be ready with a melee attack. When you get to a fence, move forward and grab onto the fence, holding open some of the chain link so the rest of your team can pass through.
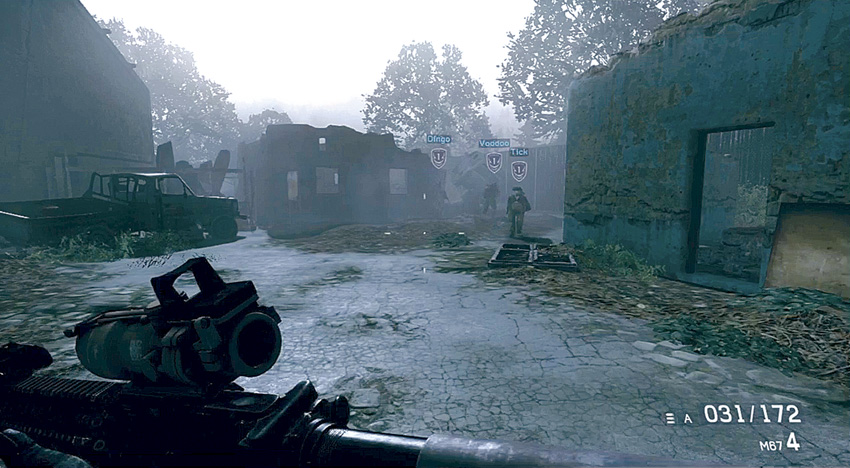
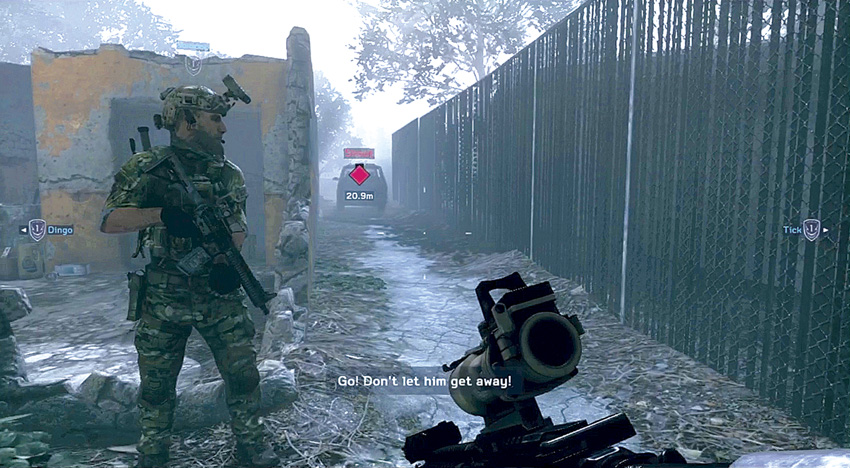
One through the fence, sprint after Bosic to try to capture him. He gets into a car and begins to drive away. Fire at the car to disable it and bring it to a stop. Then rush forward to capture Bosic.