Medal of Honor: Warfighter Guide Multiplayer Multiplayer Maps
Al Fara Cliffside
Al Fara Cliffside
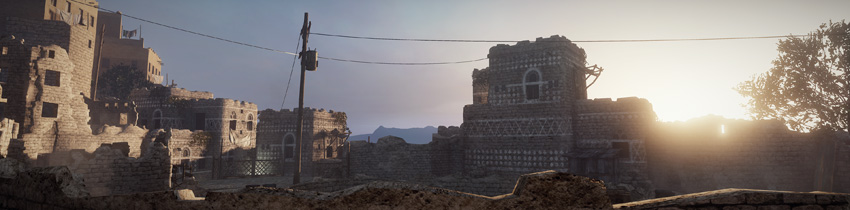
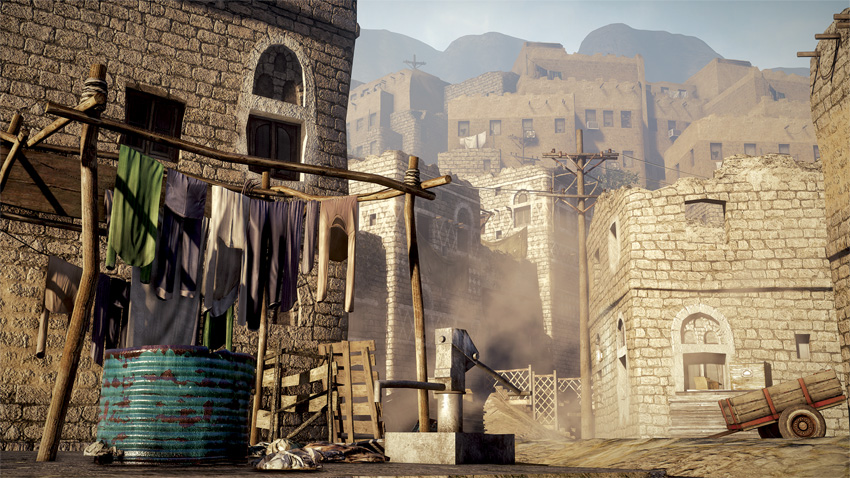
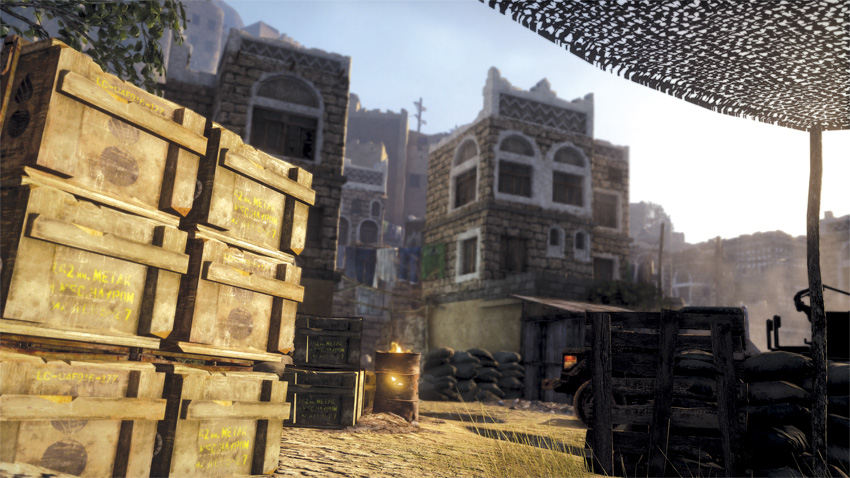
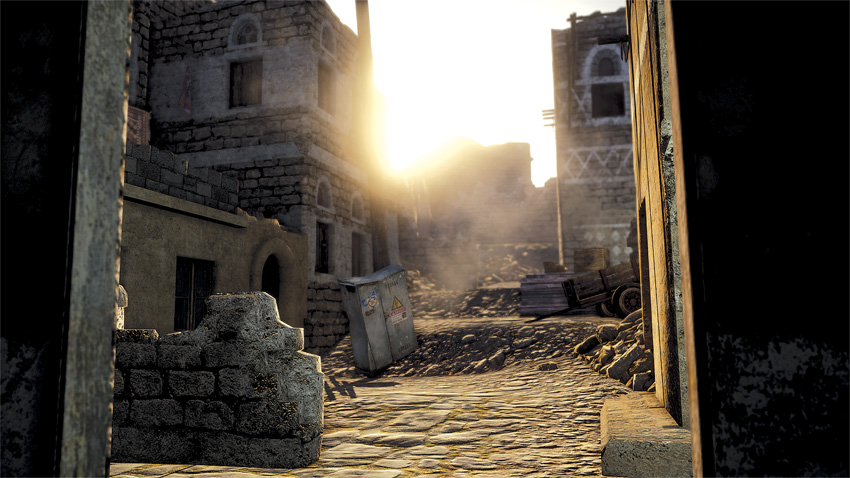
Located in the perilous mountains of northern Yemen, this cliffside village is known as Al Fara. Many conquerors have come and gone in its long history, but the village remains where is has been perched for centuries. Rumors state that every army that passed through its valley never suffered a defeat if their cause was honorable and just.
Tactical Overview
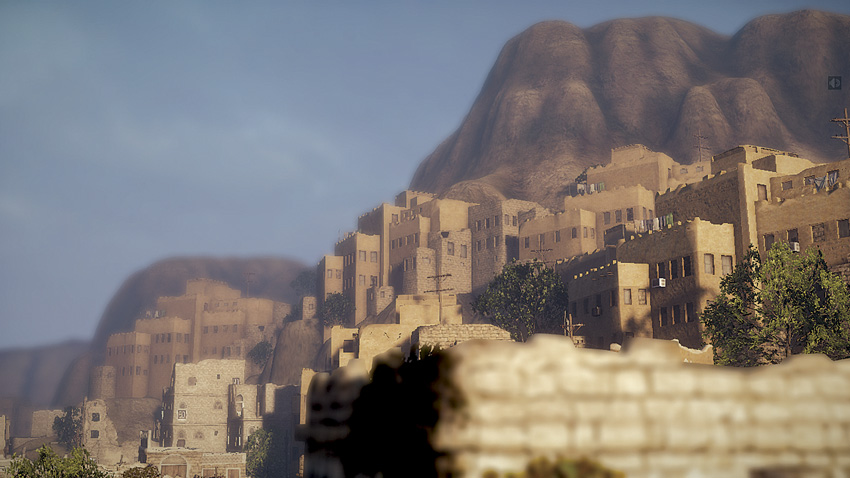
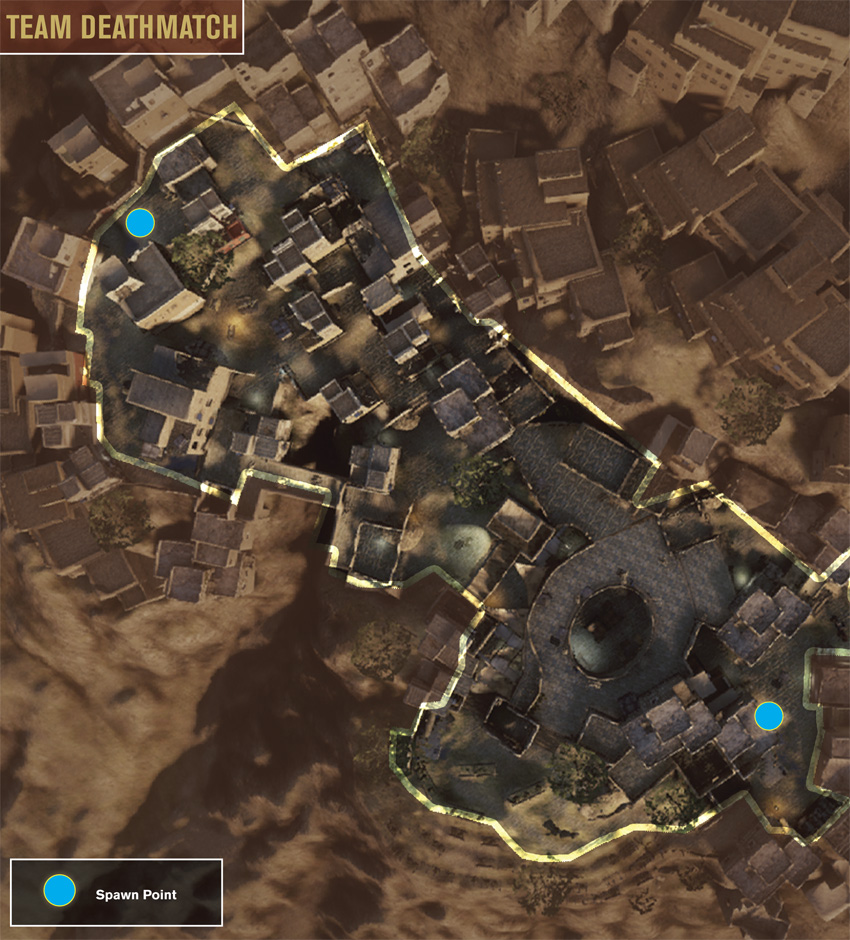
This ancient village is dominated by a massive cistern near the middle of the map, offering plenty of subterranean pathways ideal for flanking opponents or simply avoiding conflict on the upper level. The cistern has a large opening near the center of the village, allowing players to drop down to the lower level—but expect to take fall damage. This skylight-like feature is also a good way for players to monitor movement on the map’s lower level, particularly during Hotspot and Combat Mission matches. The paths and alleys flanking the cistern are quite cramped, leading to intense point-blank firefights—choose your class and weapons accordingly.
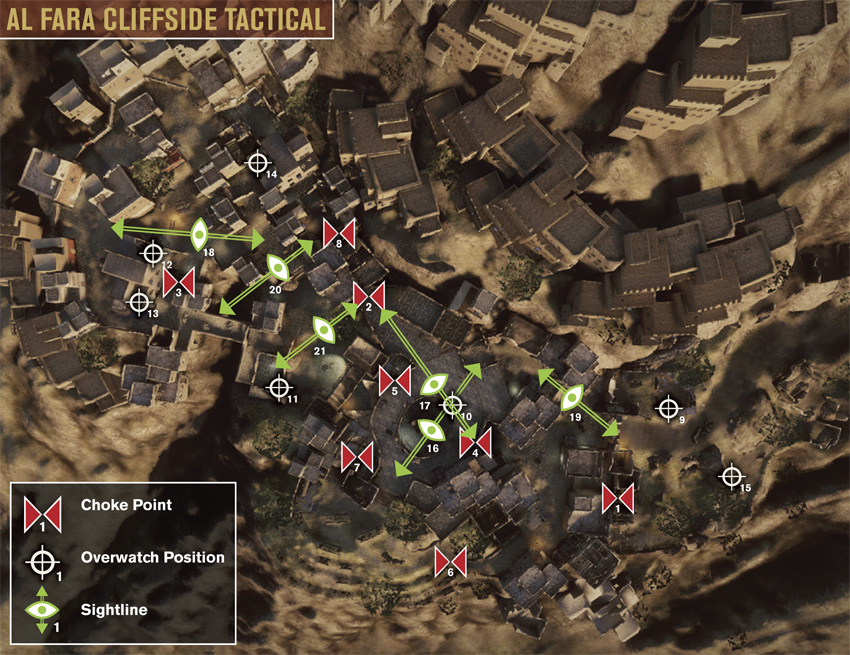
Choke Points
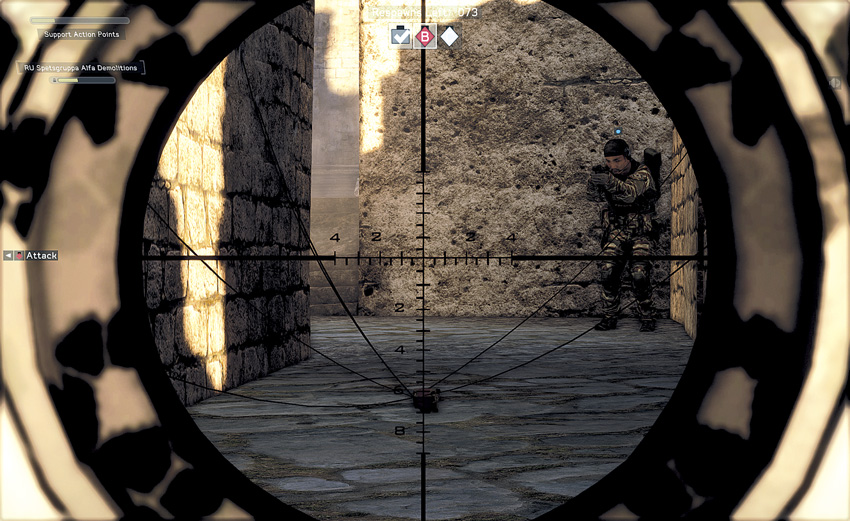

Recommended Weapons: Proximity Mines, Shotgun, SMG, LMG
Only during Combat Mission is this choke point viable. Its tight space and darkness are ideal for a proximity mine. Attackers rushing bomb site A via the southern flank might be too hasty to notice any mines. Defenders will be more occupied with a full-frontal assault, so having this path flanked is a good idea. The hallway also makes for some close-quarters combat with only corners to hide behind for cover. However, if you are at the right position, you can stand farther back to put some suppressive fire down the hall. But there are also quite a few long sight lines here that snipers and heavy gunners can utilize to lock down key areas of the map.
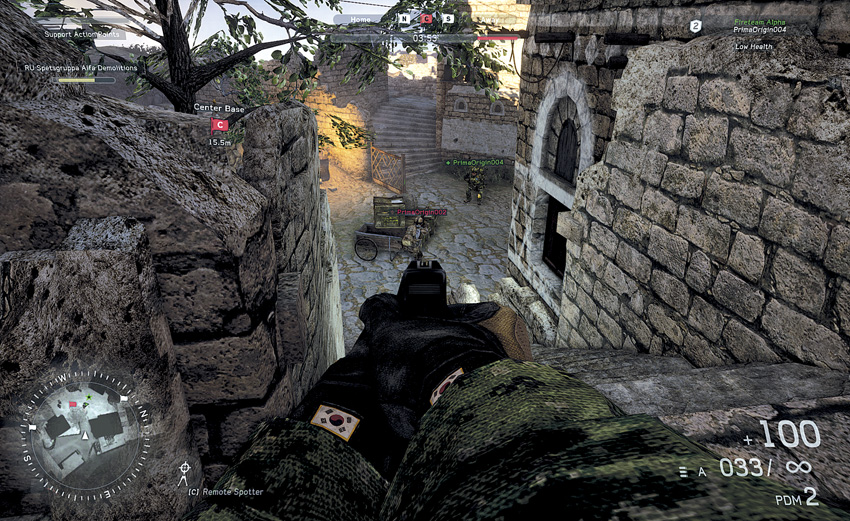

Recommended Weapons: Explosives, Assault Rifle, LMG, Sniper Rifle
This choke point, available in all modes, overlooks an objective area/high-traffic path. This becomes a choke point due to the cover the wall provides from incoming enemy fire. It’s also a tight space, so any cooked grenades that land at the top of the stairs will most definitely kill you. The top of the staircase is also a three-way intersection, with one path having a long line of sight, causing the position to receive a good deal of crossfire from behind and below. Use mid- to long-range weapons to fire up into or down from this position. The best method of getting below would be to use an alternate path.
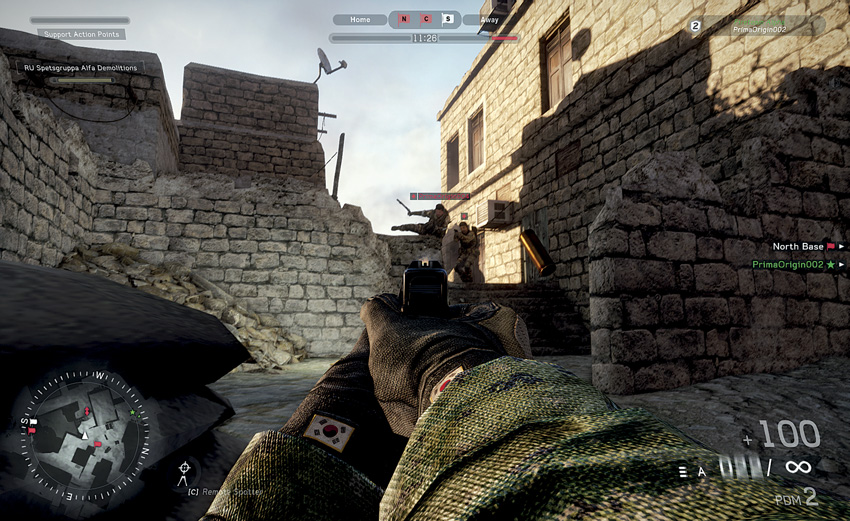

Recommended Weapons: Explosives, Assault Rifle, Shotgun, SMG, LMG
While defending the objective in Combat Mission, Sector Control, Hotspot, or perhaps at some point in Team Deathmatch, enemies are going to come from the bridge and use this alley to flank would-be defenders of the North Base area. Put some proximity mines along that alley, find some cover, and get ready. Once enemies have made it to this alley they’ll move in quickly if defenders aren’t paying attention. Defending here can also be dangerous if flanked from the rear. Throw in grenades, and push enemies back with short- to mid-range weapons.
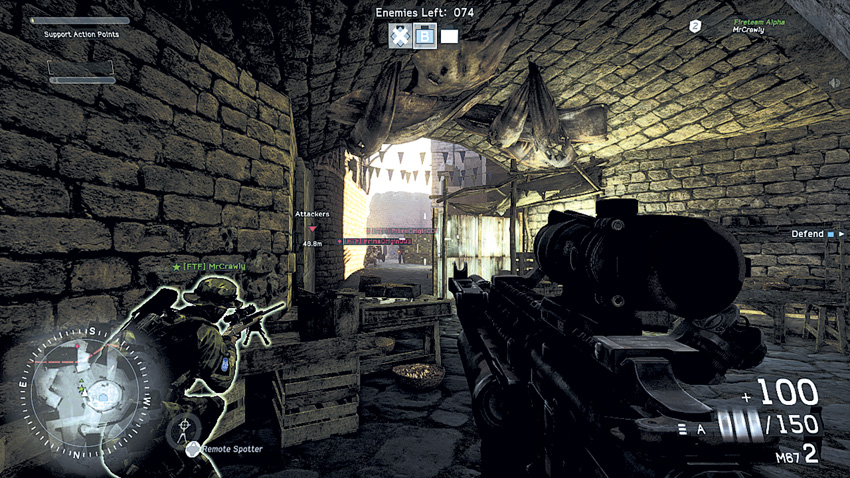

Recommended Weapons: Explosives, Assault Rifle, LMG, SMG, Sniper Rifle
This pathway is the lower path headed toward bomb site B in Combat Mission. Snipers will likely fire into combat as others push toward the point to arm the charge. Defensive snipers should plant proximity mines in as many of these lower paths as possible or directly on the objective. Mines will likely go unnoticed given the urgency required just to get to the objective. Lean from the side of walls or use wooden crates for cover. While defending this point, be aware of the firefight on the upper level, because you may be flanked from above if enemies jump down. Attackers will also flank from the tunnel to the right.
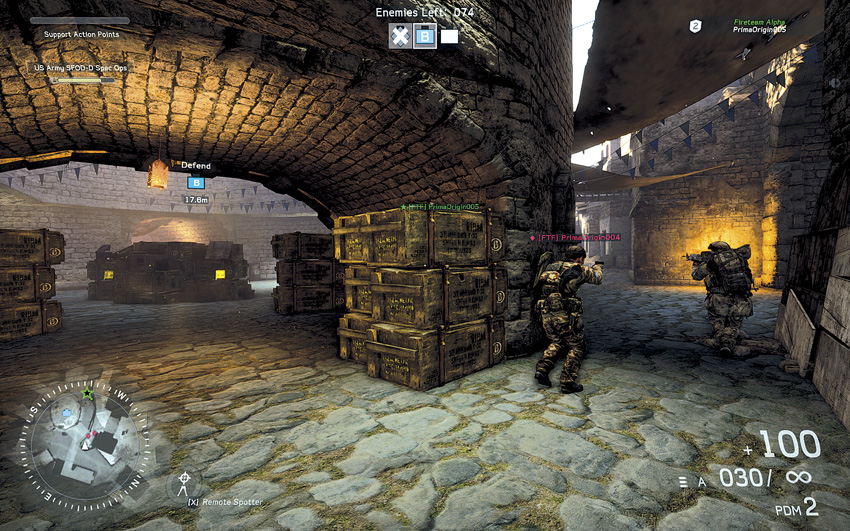

Recommended Weapons: Explosives, SMG, Shotgun, Assault Rifle, LMG
During Team Deathmatch, Hotspot, and Home run, this alley is often a high-traffic path between objectives where you’ll likely meet enemies, so use short- to mid-range weapons coming through here. This path mainly becomes a choke point during Sector Control when enemies come from South Base upstairs, or south spawn to capture Center Base. Center Base defenders are often too preoccupied with people on the upper stairway choke point to notice anyone coming through the alleys. As defenders at Center Base, throw cooked grenades into this lower alley to keep people off of Center Base coming from this direction.
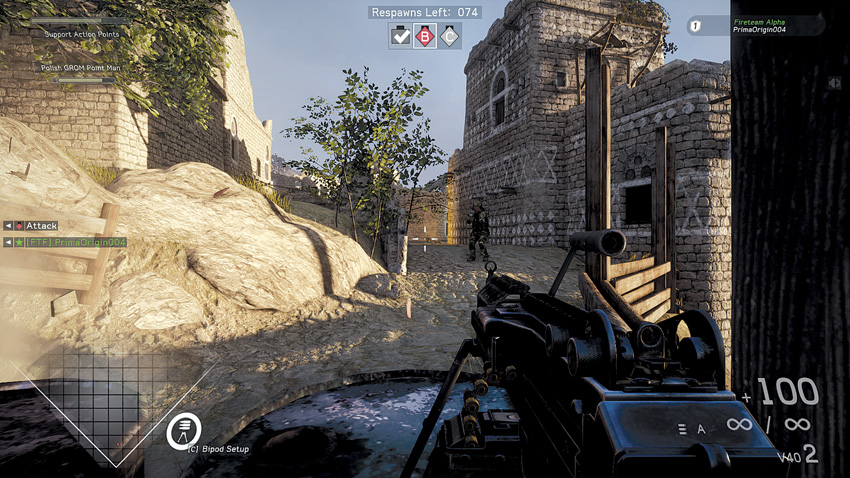

Recommended Weapons: Explosives, LMG, Assault Rifle
At bomb site B in Combat Mission, enemies will come along this path to flank the objective from the alleyway or by way of the upper area. Taking up a more forward position as a defender here will choke attackers off from those two paths. This position is fairly close to the enemy spawn point, so know when to fall back to the bomb site. During Hotspot, this position is near a bomb site so the paths around this cliffside will become congested quickly. Use mid- to long-range weapons in the area.
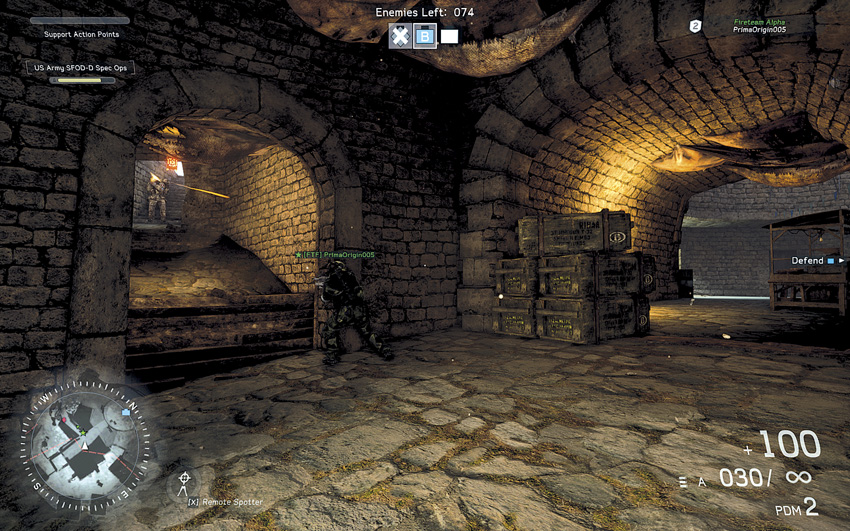

Recommended Weapons: Explosives, Assault Rifle, Shotgun, SMG, LMG
During Combat Mission and Hotspot, these passages may see heavy traffic due to the nearby objectives. Litter these pathways with proximity mines or other explosives. Lean around corners during engagements and use short- to mid-range weapons while snipers should hang back to take pot shots down the passages.
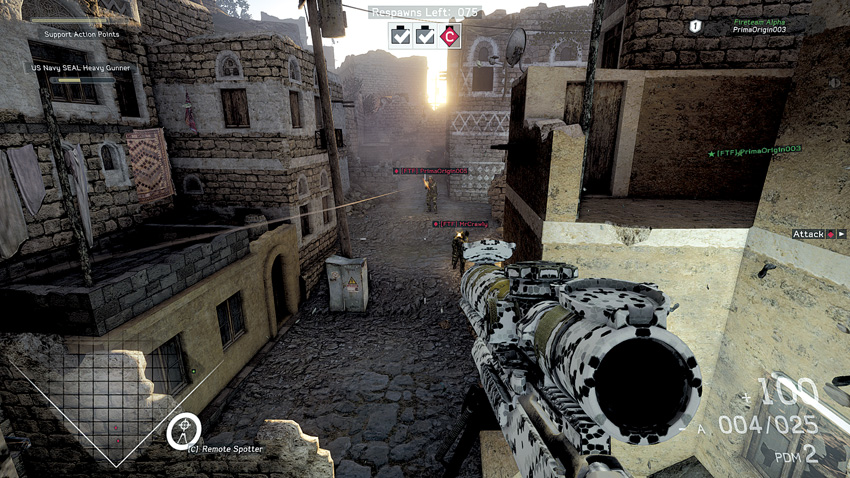

Recommended Weapons: Explosives, Assault Rifle, LMG, Sniper Rifle (supported)
This lesser-travelled choke point, or flanking path, is found in all modes. The northern end of the path has a great second-story window for any sniper or deployed LMG to fire from. The southern end of the path meets with the upper level staircase choke point thereby creating a good deal of enemy movement. This pathway offers little in the way of cover, so make sure your gun is fully loaded before making use of it.
Overwatch Positions
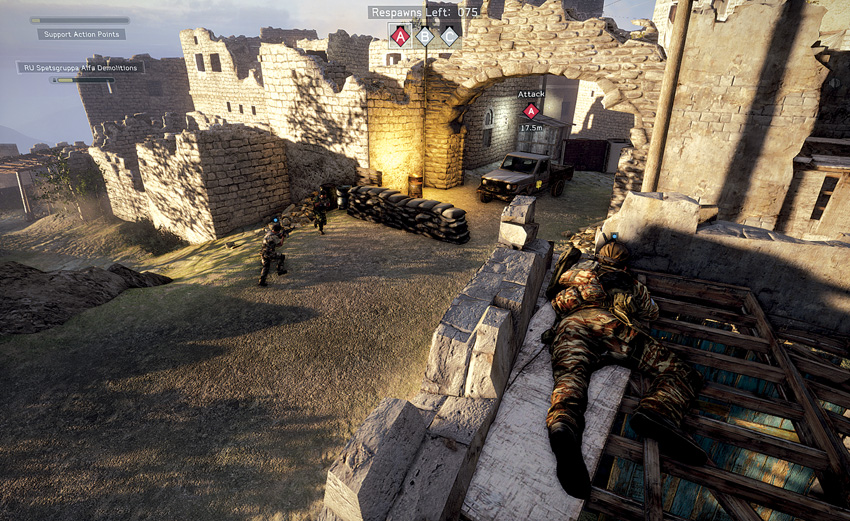

Recommended Weapons: Explosives, Smoke Screen, Assault Rifle, LMG, SMG, Sniper Rifle
At bomb site A during Combat Mission, the attacking team face an uphill battle to secure a foothold here, only to face a volley of grenades and bullets as they attempt to arm the first charge. Have a sniper post up on this building, going prone, while a fireteam buddy protects the sniper from anyone flanking on the right. Drop smoke and lay down cover fire to arm the point. Spare no grenade, even if you don’t see anyone, because there’s probably someone behind every wall.
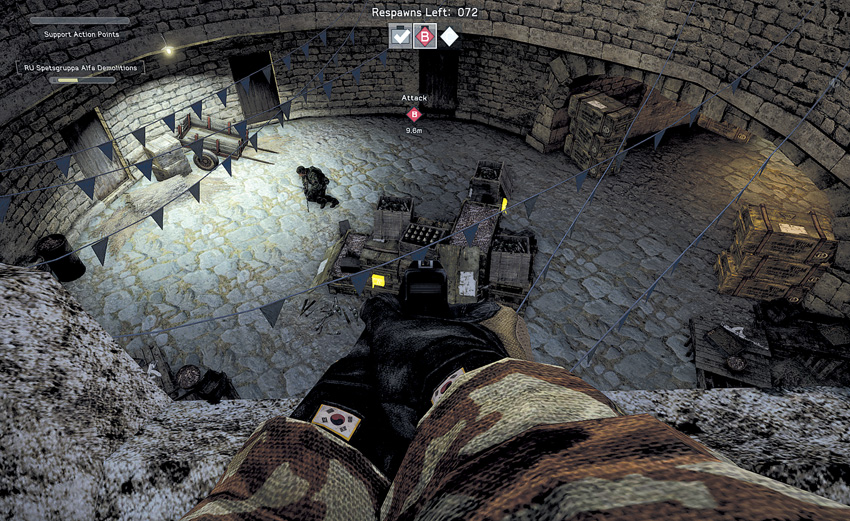

Recommended Weapons: Explosives, Assault Rifle, SMG, LMG
During Combat Mission, whichever team has secured the upper area overlooking bomb site B will be able to take out anyone attempting to arm the point very quickly. Throw down grenades and shoot the proverbial fish in a barrel. It is essential for attackers to occupy the upper area if they are to have any hope of arming the bomb. The major down side of shooting over this ledge would be that you’ve now left yourself entirely open to any enemies in the above area.
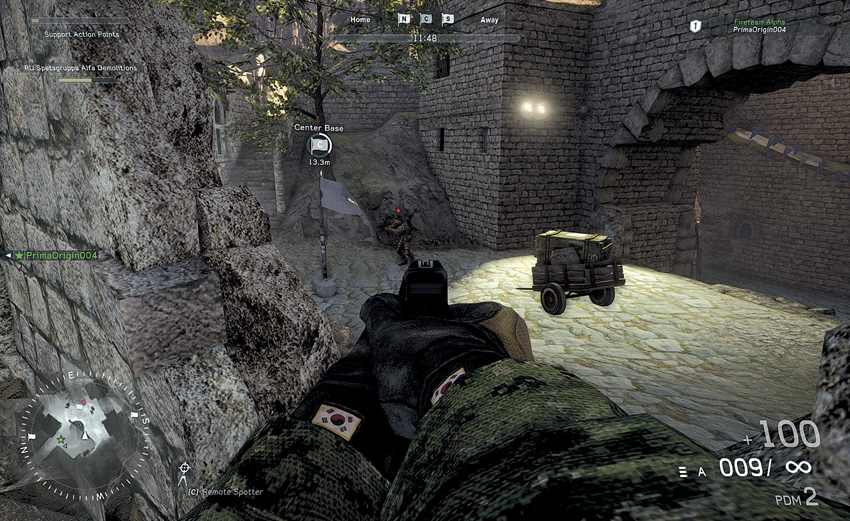

Recommended Weapons: Grenades, Assault Rifle, LMG, SMG
In every mode besides Combat Mission, this area becomes hotly contested while defending an objective or simply passing through. These ruins are your best bit of cover. Use cooked grenades and mid- to long-range weapons to take care of anyone on the upper staircase and anyone in the lower passages. You’re likely to receive a fair amount of damage, so resupply your buddy often.
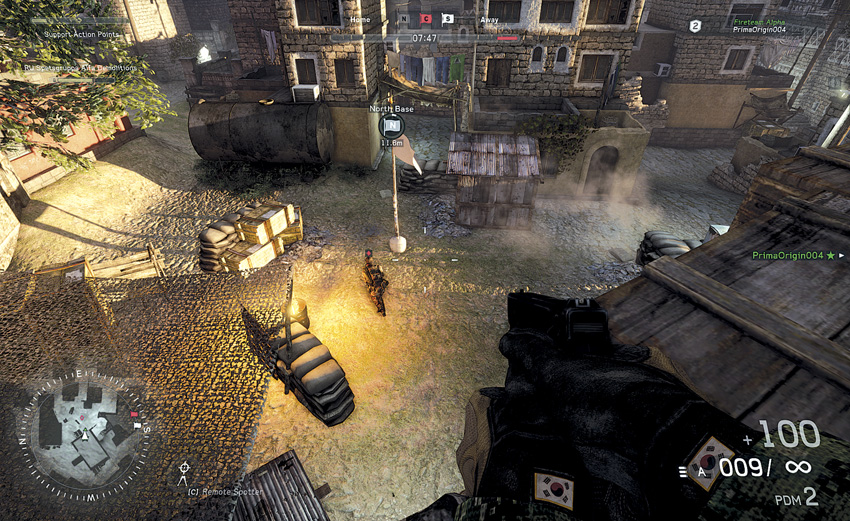

Recommended Weapons: Grenades, LMG, Sniper Rifle (supported)
During all game modes besides Home run, this point offers a good elevated viewpoint looking directly over the appropriate objective. It also benefits from the advantage, or disadvantage, of being directly across from another window in the alley, thereby creating excellent friendly crossfire (or possible enemy fire). This window is great for mounting the LMG or for posting snipers, but be sure to take care of any enemies coming up the staircase from behind.
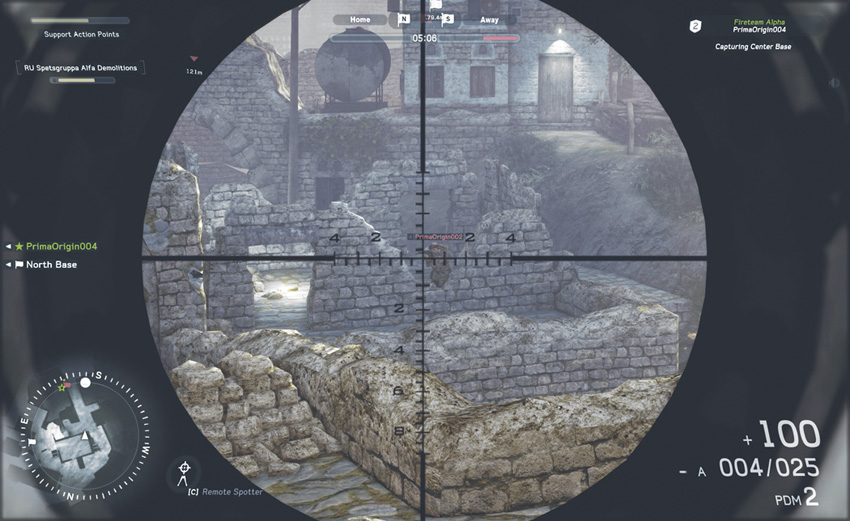

Recommended Weapons: Assault Rifle, LMG, Sniper Rifle (supported)
This second-story window is available in all modes besides Home run. This window looks out over the bridge leading toward the ruins of Sector Control’s Center Base area. Anyone using these ruins for cover or hoping to cross the bridge will be sorely disappointed. Put the hurt down with a mounted LMG or sniper rifle. When crossing the bridge, be sure no one is posted up in the building’s window.
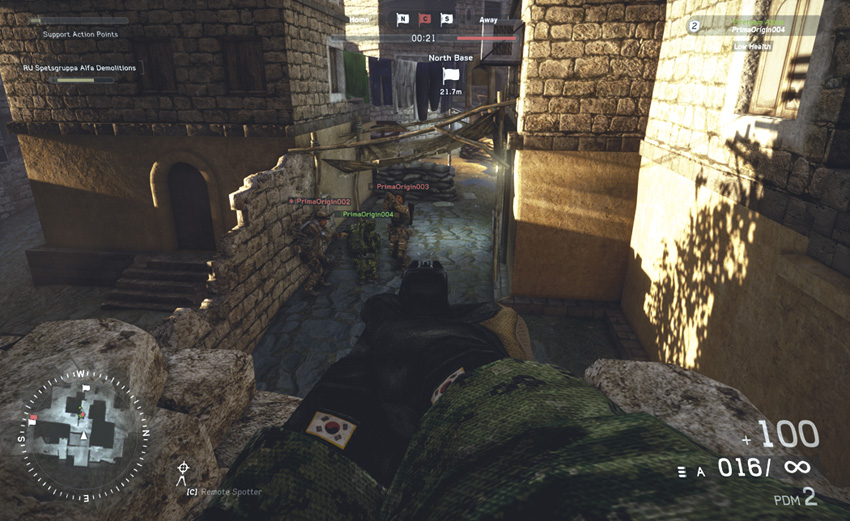

Recommended Weapons: Explosives, Assault Rifle, LMG, Sniper Rifle (supported)
While playing any game mode besides Home run, a wise flanker or defender would post up in this window for taking out enemies near the objective or passing through the alley. If a teammate takes position in the window across the way from the objective, then a good crossfire can be achieved. Cover is fairly slim and the window is rather open, so be careful about staying in one spot. Shut enemies down using mid- to long-range weapons.
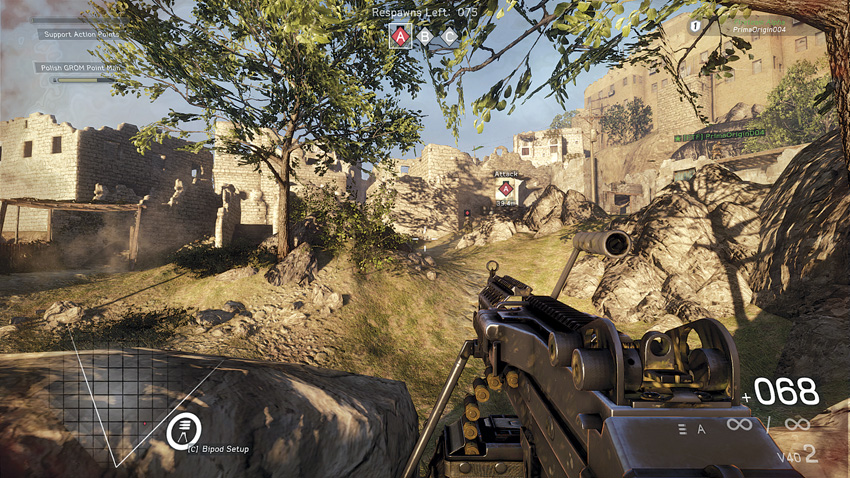

Recommended Weapons: LMG, Sniper Rifle (supported)
Combat Mission’s bomb site A is a very exposed approach for attackers. Do your best to cover teammates as they assault the objective. If the broken building to the right is crawling with enemies, this position should be good enough to post up on to lay down some suppressive fire. Move up more toward the objective once it’s clear enough.
Sight Lines
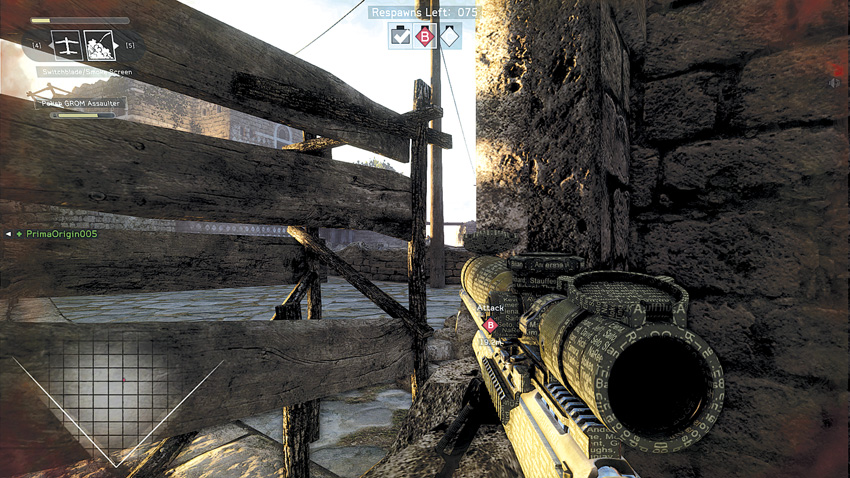

Recommended Weapons: Sniper Rifle
During Combat Mission, Team Deathmatch, and Sector Control, this sight line, within a ruined structure on the upper level, offers a sweeping view across the entire area. During Combat Mission, while defending the path looking toward the attacker’s spawn point, enemies may also come from the flank across the terrace. Fall back into the ruins to look through the rubble to view any attacker attempting to flank. During Sector Control, this position will look directly at South Base.
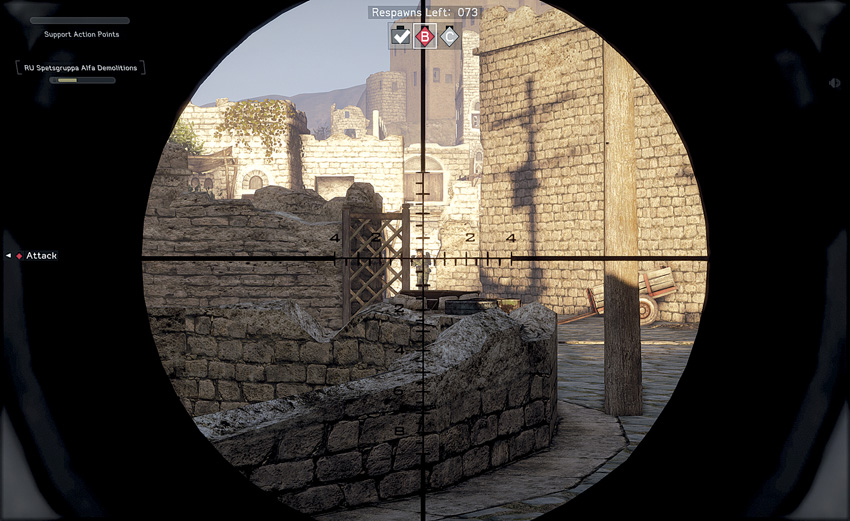

Recommended Weapon: Sniper Rifle
This line of sight is available in all game modes and should be used when your position goes unnoticed. There is a nook on the terrace large enough to hide in. Pull out a sniper rifle and aim all the way down the passage toward the stairway choke point. It may be an easy kill or two, but once you’re noticed, move on.
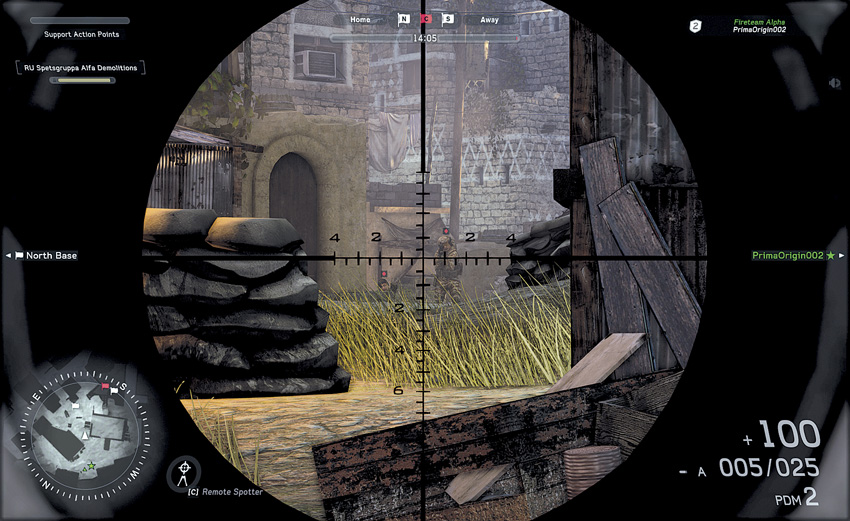

Recommended Weapon: Sniper Rifle
This sight line is available for all modes except Home run. While aiming past the courtyard of what would be the North Base, potential target, or bomb site C, a sniper will have a clear path of enemies funneling through a choke point. While teammates handle them at closer range, take your time and pick them off.
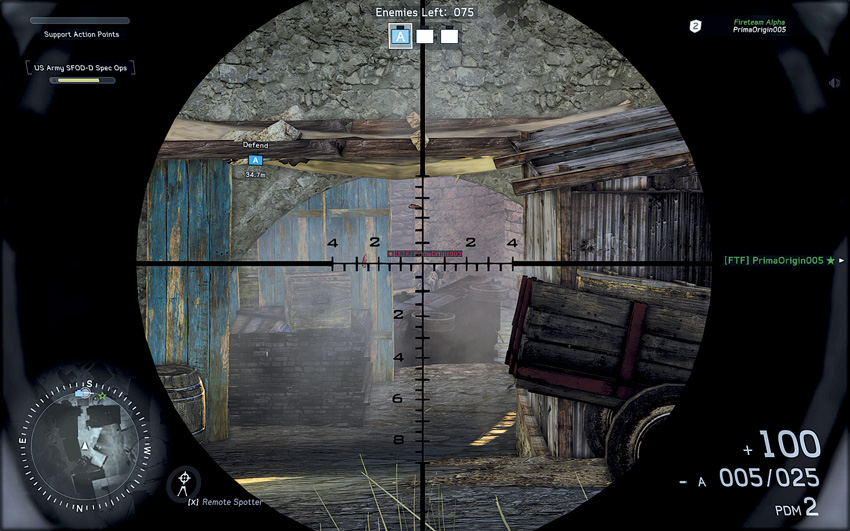

Recommended Weapon: Sniper Rifle
During the first phase of Combat Mission, this sight line, from the defenders’ point of view, looks down the upper-level alley directly toward the truck at bomb site B. Enemies arming the truck with a charge will post up within the area in an effort to secure the bomb site. From this point a sniper is given free rein to take out anyone extending too far forward from the truck.
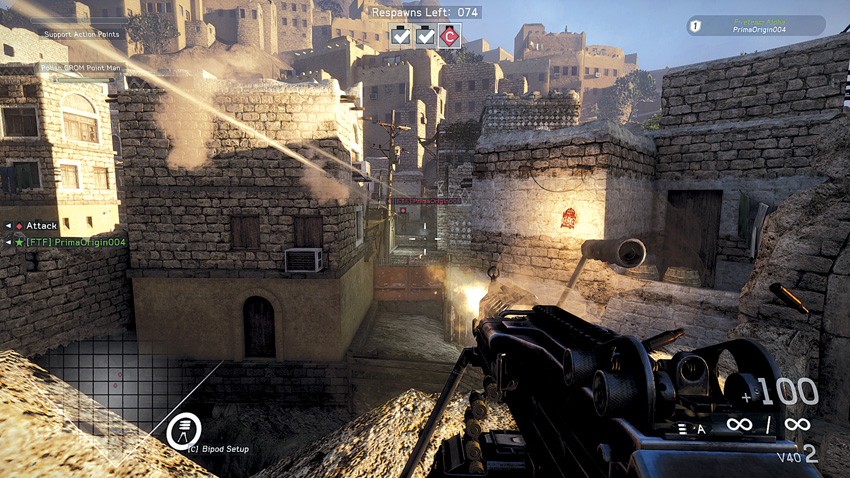

Recommended Weapons: Sniper Rifle, LMG (supported)
During all game modes besides Home run, if you’re along the middle of the bridge or along the alley parallel to the bridge, you’ll be given a clear view of either position. While running through these areas, take a moment to look across the divide. If an enemy is in view, set up shop and let him know you’re open for business.
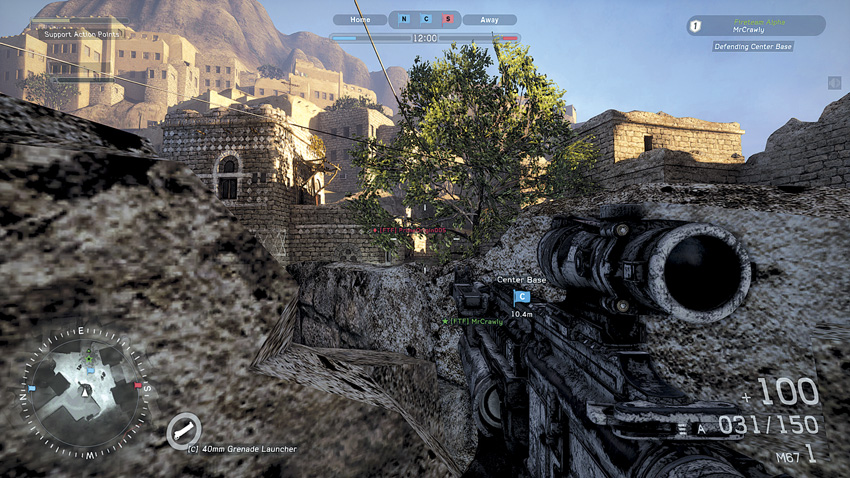

Recommended Weapons: Assault Rifle, LMG, Sniper Rifle
During all game modes besides Home run, there is a bit of rock to peer over within the ruins between Sector Control’s Center Base and the bridge. This sight line, with plenty of cover, is hardly noticeable while firing on anyone at the top of the stairway choke point.
Combat Mission
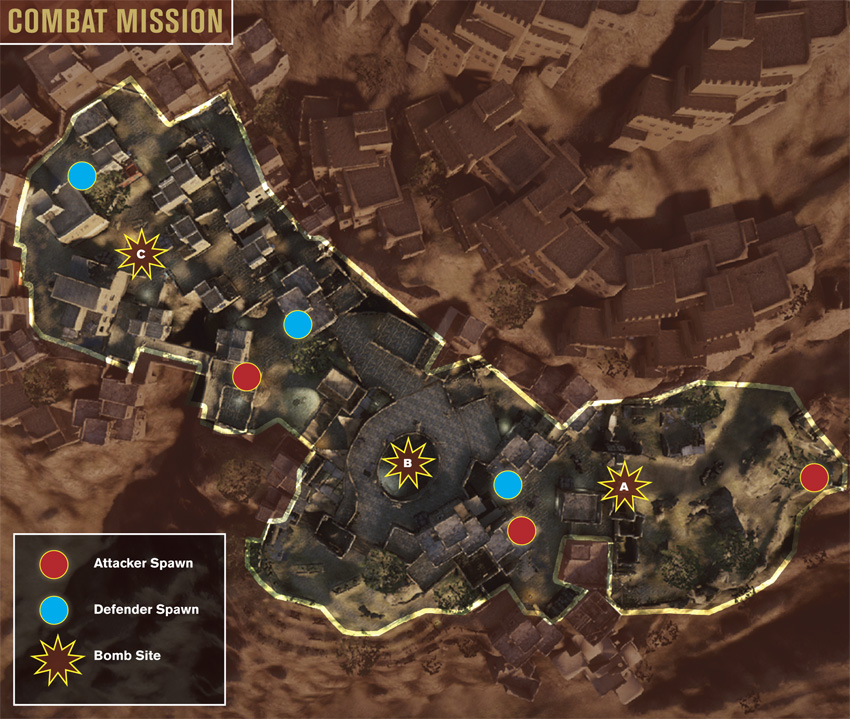
At the start of this battle, the attackers are at a distinct disadvantage as they attempt to gain entry into the village. The first bomb site (A) is located at the main gate. Instead of staging a frontal assault, the attackers should attempt to flank from the west and sneak up on the defenders from behind. The second bomb site (B) is positioned at the bottom of the cistern in the center of the map. Both teams should attempt to control the underground tunnels as well as the large skylight-like opening above the bomb site. With so many possible paths and approaches, this can be a tough bomb site for the defenders to lock down. They’ll have a much better time guarding the third and final bomb site (C) by taking up positions in the surrounding buildings. As a result, the attackers need to approach this area cautiously. If the area can’t be secured, always utilize a Smoke Screen support action before attempting to plant a charge.
Hotspot
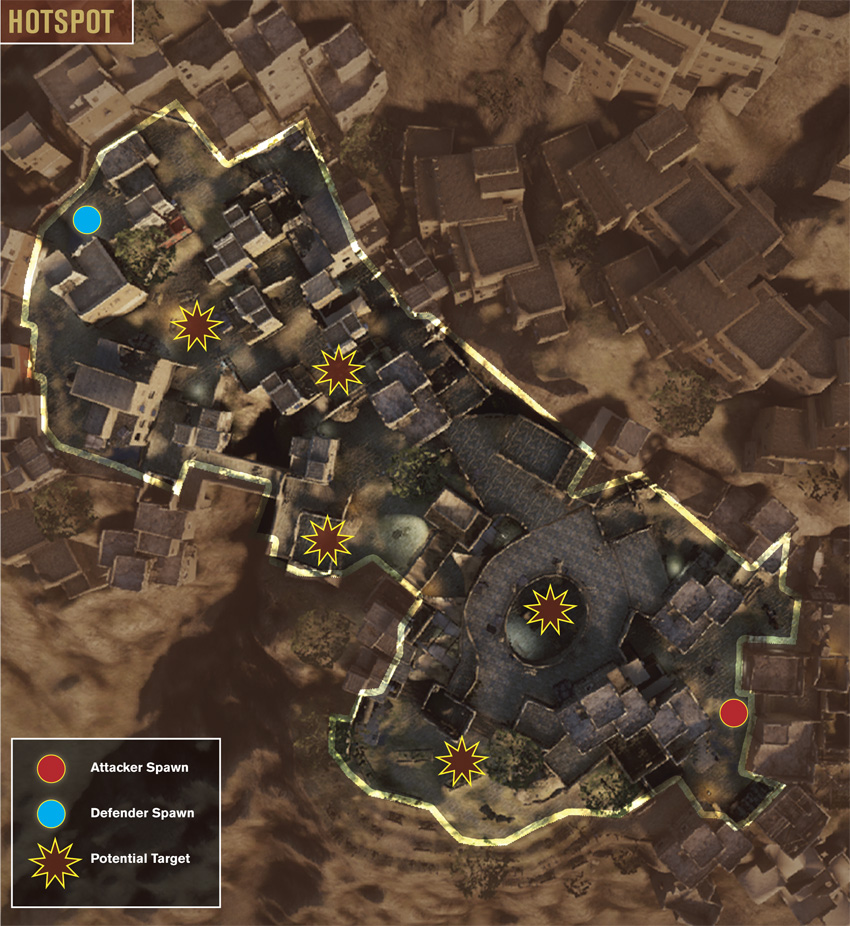
In Hotspot, the attackers start to the south and the defenders spawn on the north side, with the five potential targets spread out across the center of the map. As in all Hotspot matches, the defenders know ahead of time which potential target will be chosen. This gives them the chance to establish a perimeter around each target and dig in before the attackers even know where to go. However, the attackers have plenty of paths available to choose from when it comes to approaching each target. Instead of locking down each target area, the defenders should consider defending the nearby choke points. Cramped paths and blind corners offer great opportunities for staging ambushes or setting booby traps, like proximity mines. As a result, the attackers must move in cautiously. In most cases, the most direct path to a target is not the safest. So take your time inching in toward the target until your team can safely plant a charge and prevent it from being disarmed.
Sector Control
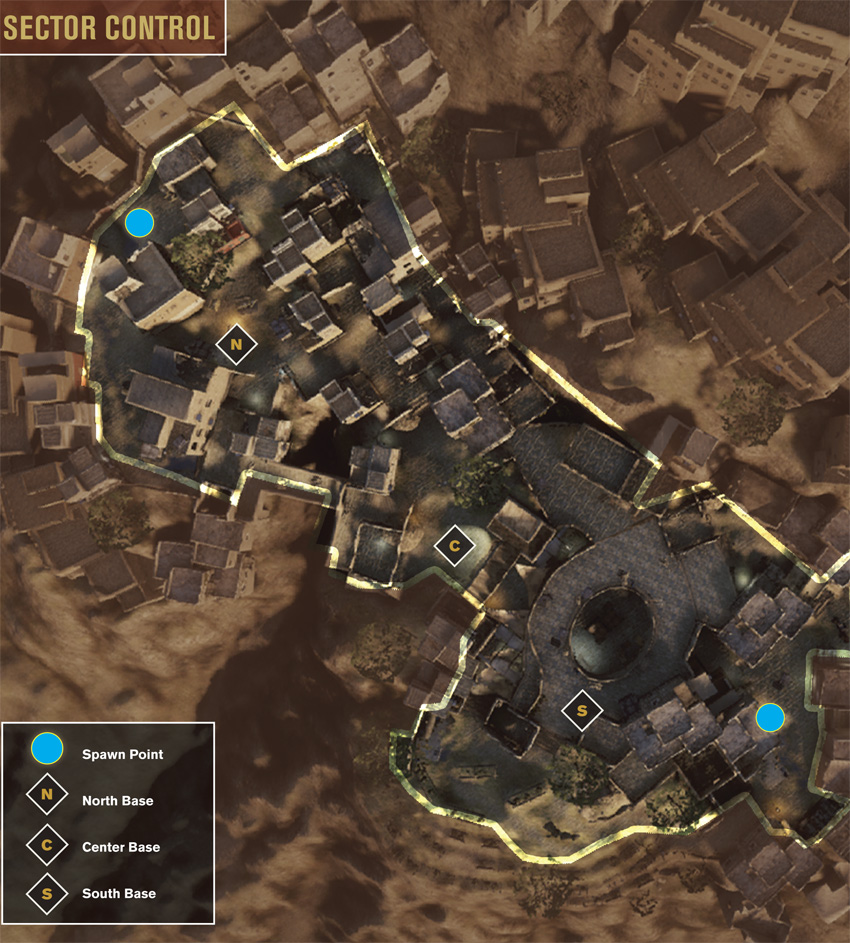
Regardless of which side of the map you find yourself on during Sector Control, make an effort to capture and control a minimum of two bases. As usual the Center Base is the most hotly contested area of the map. This is located in a cramped courtyard in the center. At the start of the match, most of your team should rush for the Center Base and try to capture it before the opposing team can—a single fireteam will have no problem capturing the base closest to your team’s starting spawn point, so don’t waste too many resources on this location. But don’t get greedy. If your team establishes a perimeter around the Center Base, it’s possible to cut off all traffic in this area, preventing the opposing team from reaching the base closest to your starting spawn point. Instead of trying to capture and defend all bases, settle on holding the Center Base and the one closest to your team’s starting position. Hunker down at these two bases until you have a significant score advantage. Then (and only then) make a move for the third base.
Home run
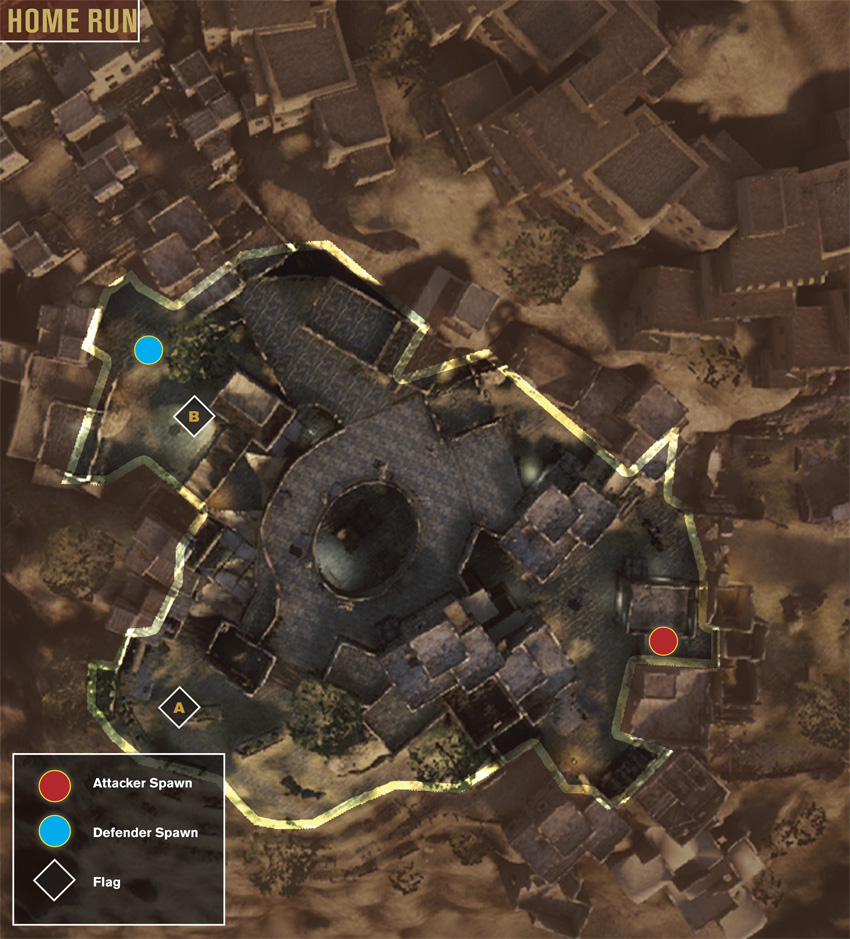
Much of the fighting in Home run is centered around the large cistern in the center of the map. While neither flag is present in this subterranean passage, it’s a popular path for the attacking team whether heading for Flag A or Flag B. As a result, the defending team should consider deploying some forward skirmishers to deal with the attackers in these tunnels—SMGs and proximity mines are very effective down here. But it’s equally important for the defenders to stay posted near the two flags, as it’s impossible to tell which one the attackers will go after. If the attackers manage to capture one of the flags, they usually race through the underground cistern passage as it’s the most direct route to their home base. Defenders should prepare for this possibility, keeping troops posted in this oft-traveled passage. But if you’re carrying the flag and most of your team is dead, take your time getting back to your base. Consider taking the high ground, moving across the upper level instead of running the risk of getting ambushed in the dark tunnels below.
Team Deathmatch