Medal of Honor: Warfighter Guide Multiplayer Multiplayer Maps
Basilan Aftermath
Basilan Aftermath
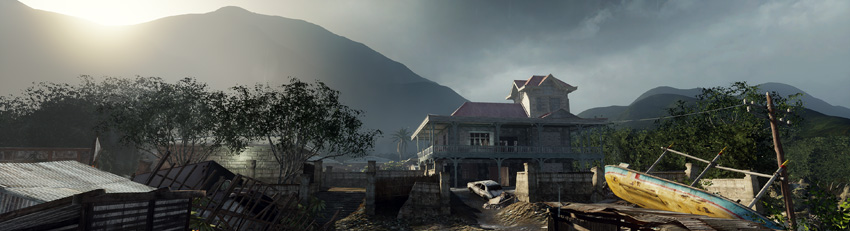
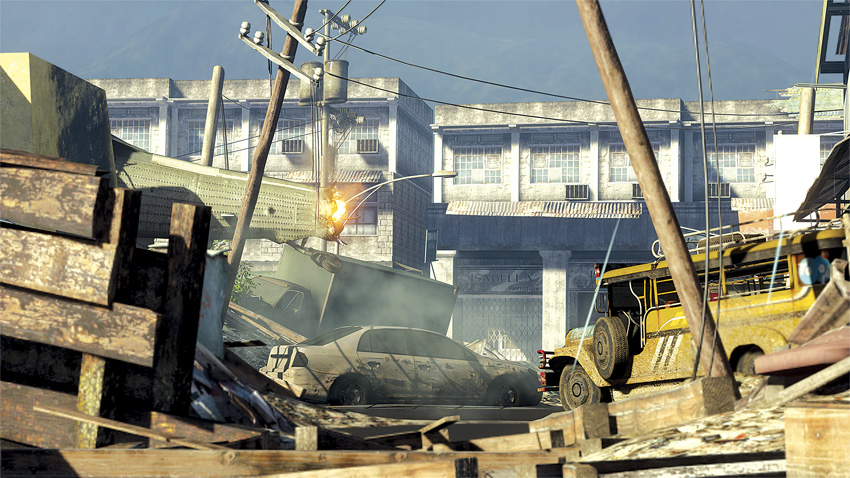
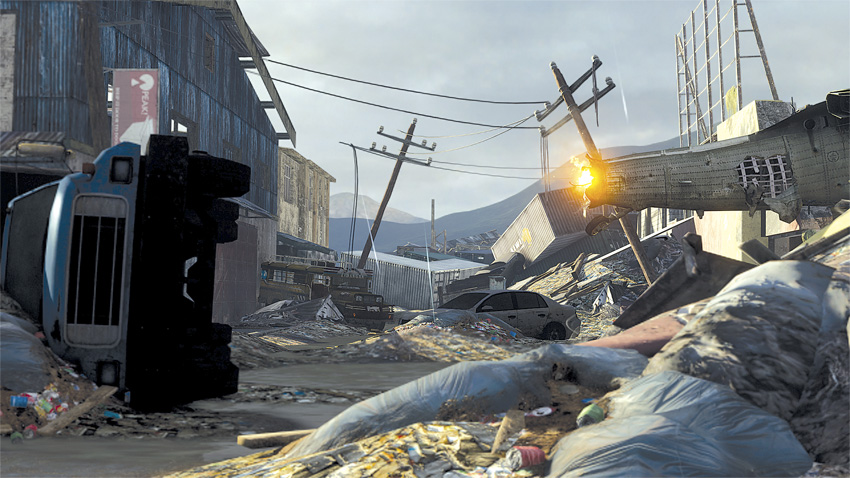
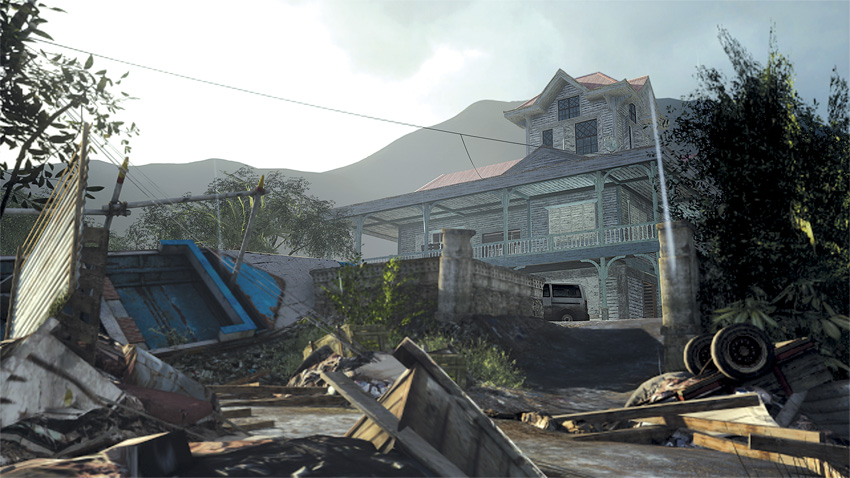
Basilan is the largest southern island of the Philippines. Having been a magnet for tourists, this idyllic location was recently devastated by a tsunami. Its once pristine beaches are covered in debris and its world-famous hotels cater to nothing but rats. Peace and beauty may yet return to this region, but only if victory can.
Tactical Overview
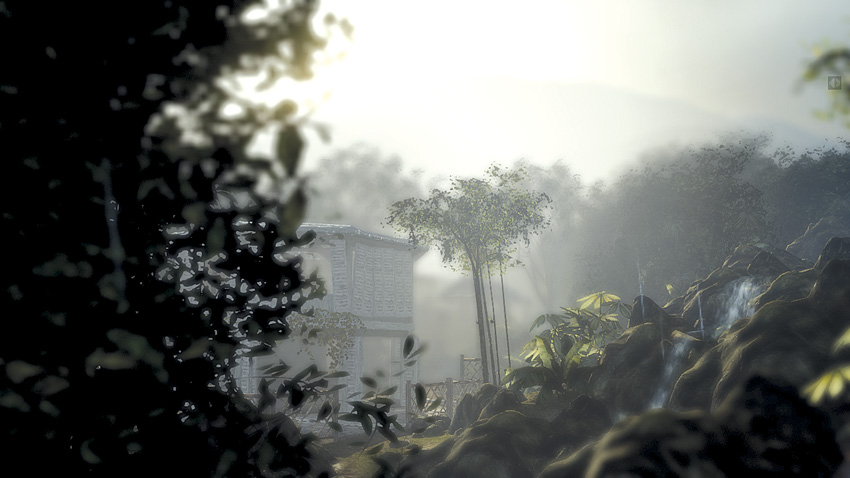
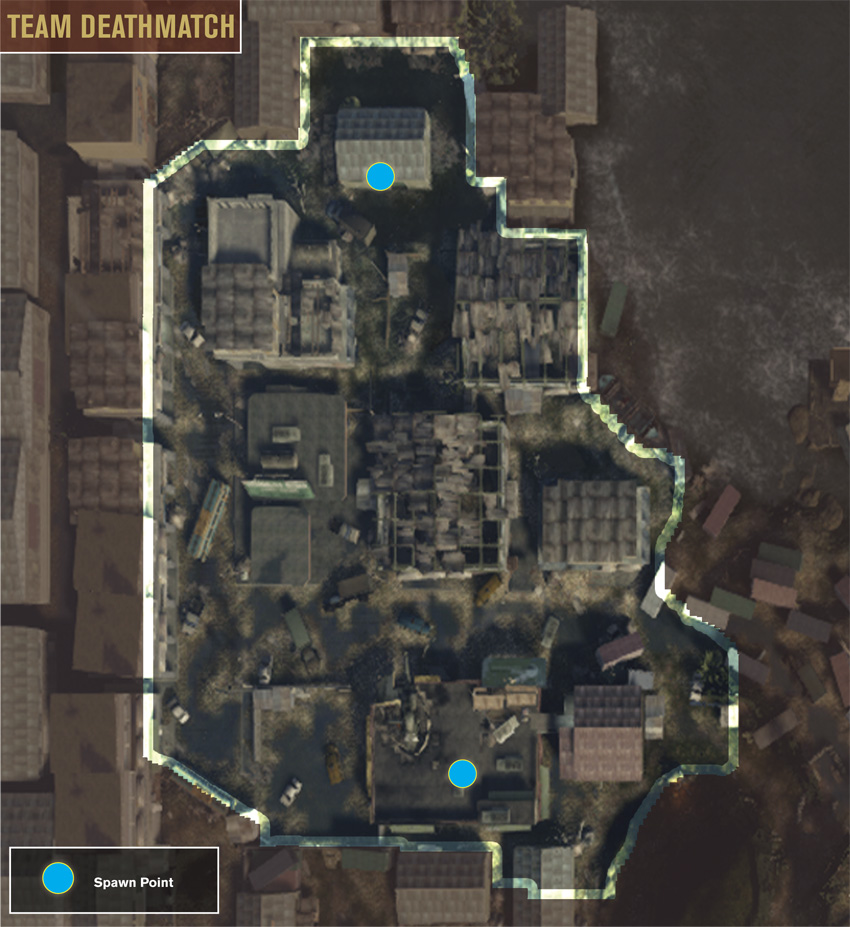
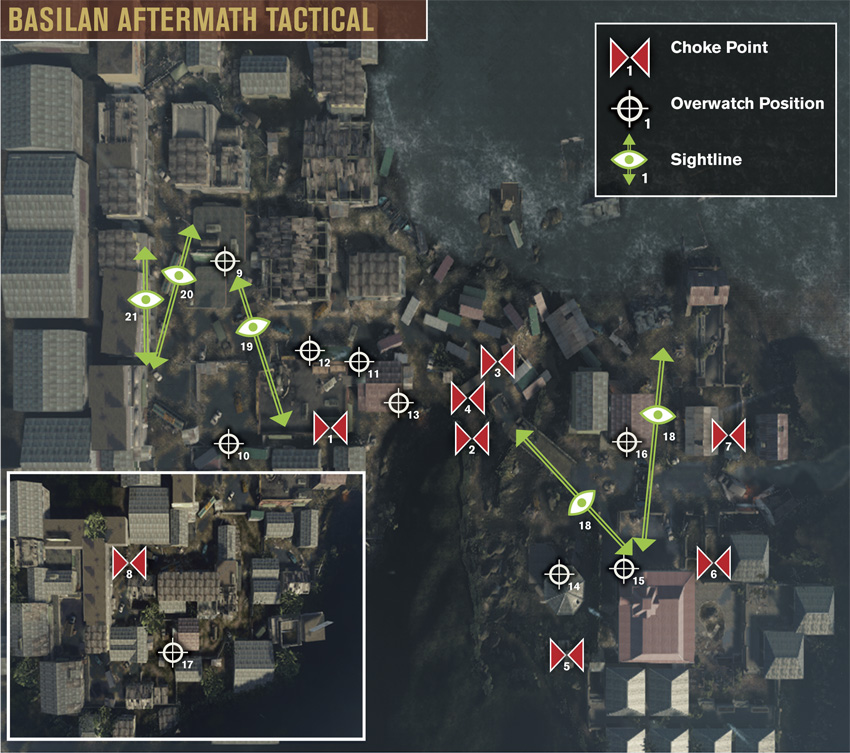
It’ll be a while before any tourists send home a postcard from this once popular resort destination. The powerful tsunami has transformed this once bustling section of the city into a debris-filled ghost town. Abandoned cars and buses fill the streets near the western gas station, offering decent cover while limiting sight lines. At the center of the map are a jumble of shipping containers, tossed into precarious piles by the now receded waters, forming a tight maze of debris where deadly close-quarters engagements are common. The hotel and gazebo on the east side of the map are two of the few structures that escaped with minimal damage. The upper floors of these structures are popular sniper perches, so be careful when moving about this part of town. Expect heavy fighting here during Sector Control and the last phase of Combat Mission matches.
Choke Points

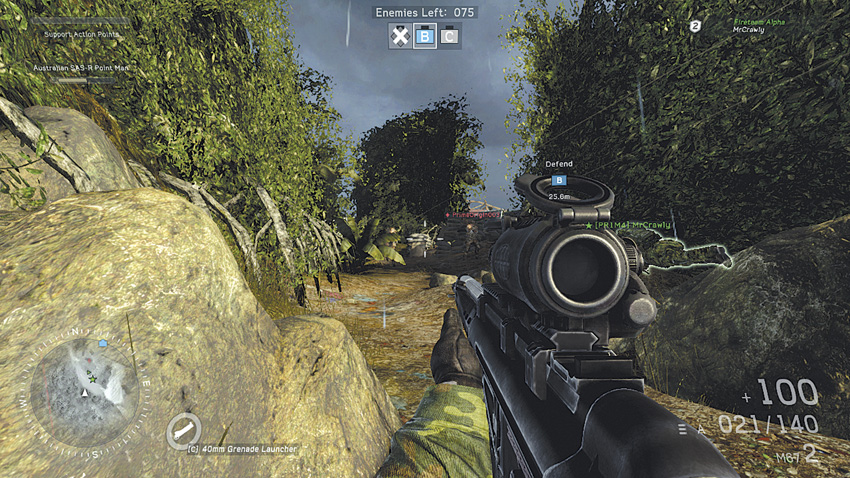
Recommended Weapons: Assault Rifle, LMG, Proximity Mines
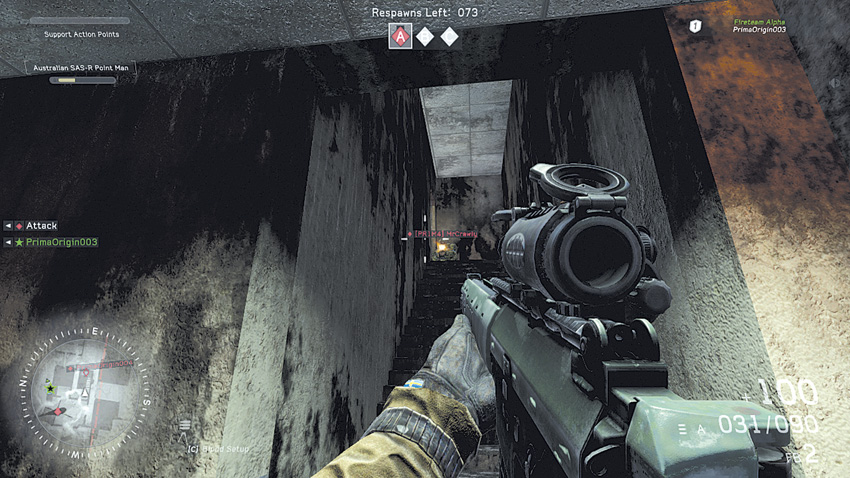
In Combat Mission, this stairway is an excellent flank for attackers leading upstairs toward the helicopter at bomb site A. Attackers will often catch defenders off guard if they approach from these stairs, so as a defender it’s important to have the stairs covered as much as possible. Use close-quarters firearms or proximity mines to handle any attackers approaching from this staircase.

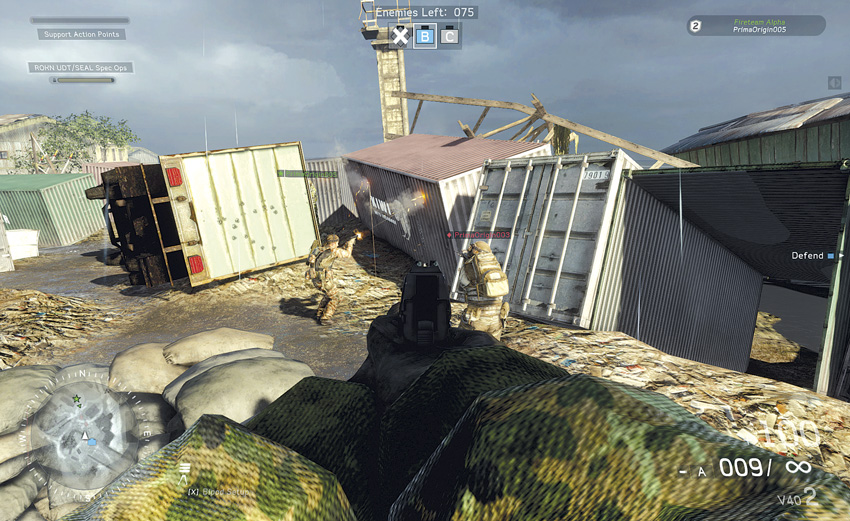
Recommended Weapons: LMG, Assault Rifle, SMG
During Combat Mission, this choke point looking toward the approaching attackers is perfect for catching a lot of people within the blast radius of explosive weapons like grenades, proximity mines, and offensive support actions. Do not stay within the field of view of the attacker’s overwatch position. While covering this route, use LMGs and assault rifles to push up through the path. Do not stay within this path for any longer than necessary as it’s a complete meat grinder.

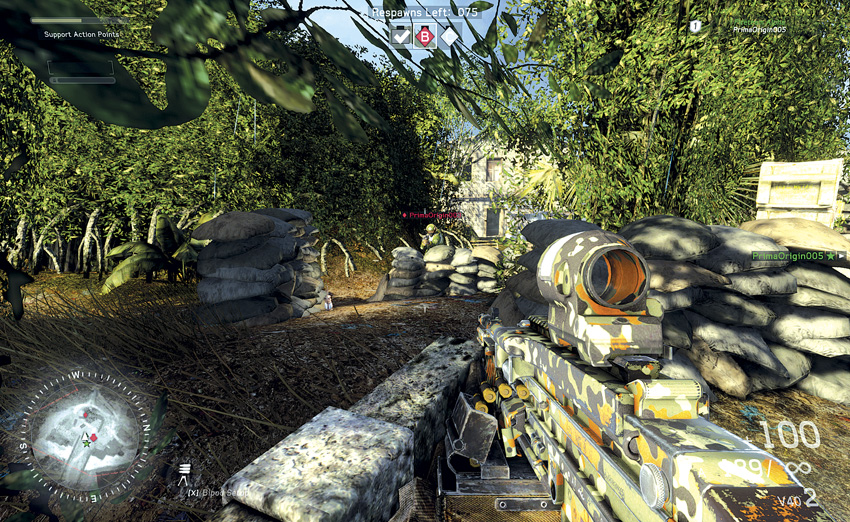
Recommended Weapons: Grenades, Proximity Mines, Shotgun, SMG, LMG
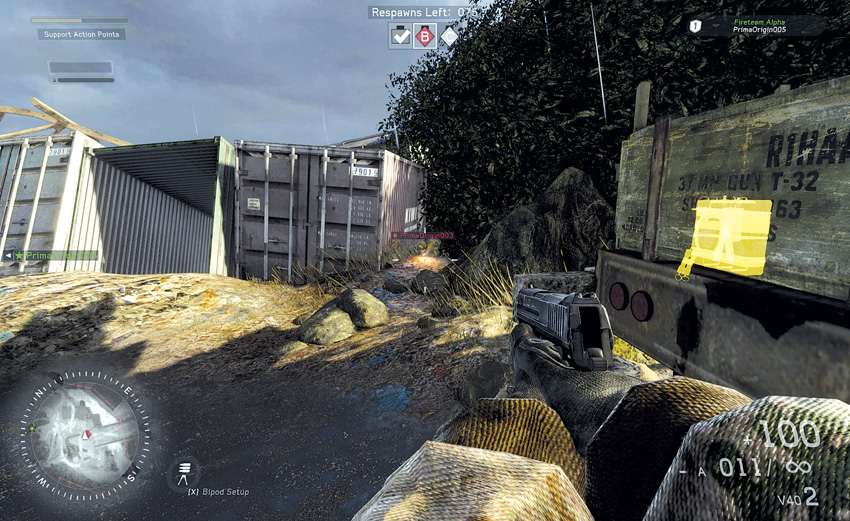
As a defender and attacker during Combat Mission, cover as many of these choke points in between the shipping crates as much as possible with proximity mines, grenades, offensive support actions, and cover fire. Be prepared for close-quarters encounters when moving in between the crates. Moving through the crates is a dangerous but necessary proposition to reach the objective or to simply defend it.

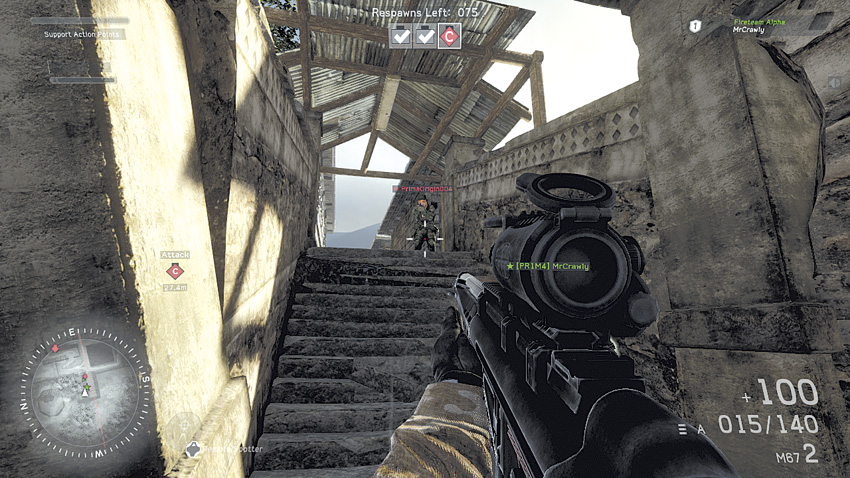
Recommended Weapons: Proximity Mines, Grenades, Assault Rifle, LMG, Sniper Rifle
In Combat Mission matches, this intersection is high traffic and high maintenance. As a defender, ensure this flank is being covered, perhaps from the sandbags or farther back along the bridge out of view from the attackers’ window perch overlooking this path. Attackers won’t have enough time to notice any proximity mines placed along the path entering into the truck site as they’ll be too busy handling incoming fire.

Recommended Weapons: Explosives, SMG, LMG, Assault Rifle, Shotgun
During Combat Mission and Sector Control, the stairway from the gazebo leading up toward the hotel will often be a choke point with a moderate amount of traffic, since it’s the only way from that direction leading up to the South Base or bomb site C. During Sector Control, if the northern team possess the Center Base, then this staircase will be hotly contested. Close-quarters to mid-range classes are advised to take point upon passing through the staircase.
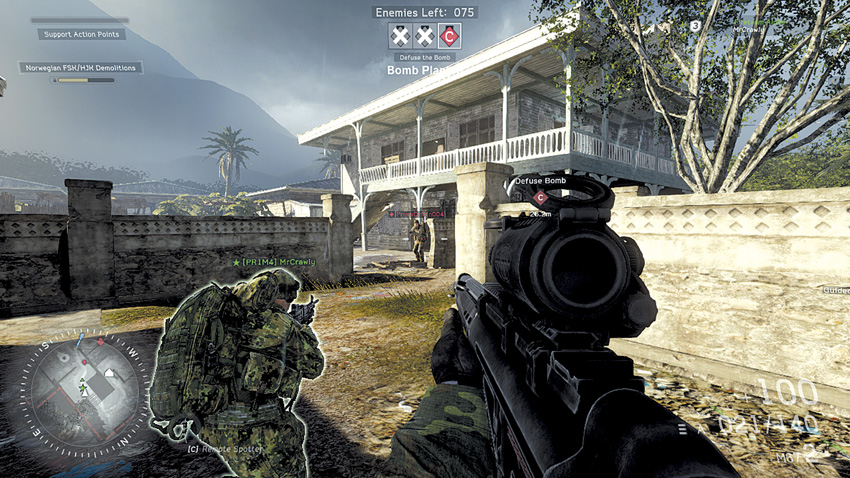

Recommended Weapons: Explosives, SMG, LMG, Assault Rifle, Shotgun
During Combat Mission and Sector Control, defenders will have to watch this point well, as enemies will start to pile through to get to the final objective or South Base. North Base attackers will find stiff resistance as defenders in the hotel will be often be firing upon this location from above. Defenders should keep pressure on this point with plenty of proximity mines and other explosives. Toss a remote charge over the wall in either direction for what is often an easy kill.
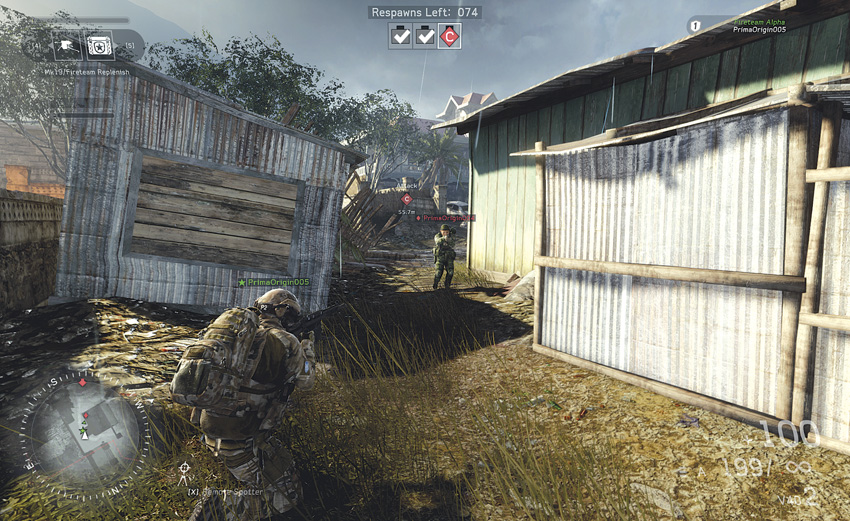

Recommended Weapons: Assault Rifle, LMG, SMG, Sniper Rifle
During Sector Control, enemies will often rush this choke point near the North Base. Throw down explosives if you can while attacking or defending in this area. The southern team should move in with assault rifles or LMGs, providing cover fire for close-range classes to move in. Defenders of North Base have fair warning of anyone approaching, so any long-range classes should have a good chance to wound or kill anyone advancing from the south, using sheds for cover. Also watch the northeast entrance for anyone trying to flank.
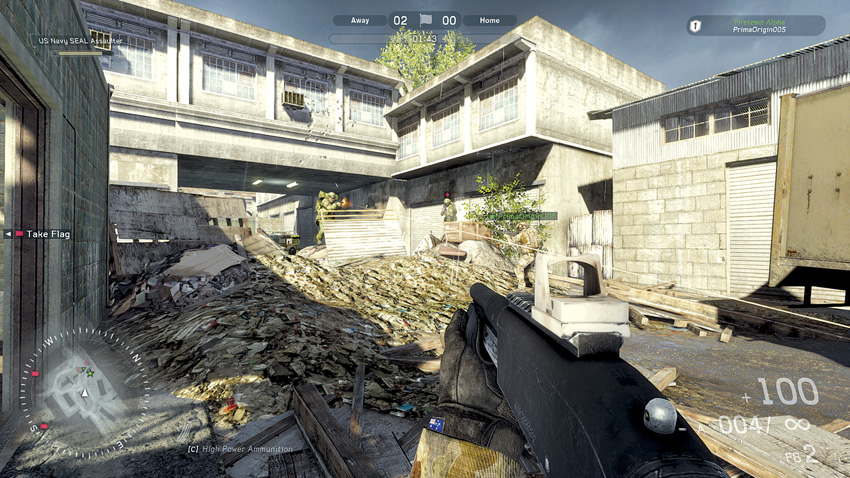

Recommended Weapons: Assault Rifle, LMG, SMG, Semi-Auto Sniper Rifle
During Home Run, this choke point provides adequate cover among the rubble. Use short- to mid-range weaponry to push through. Flag defenders will have a bit of elevated advantage. Attackers can counter this with the use of explosives.
Overwatch Positions
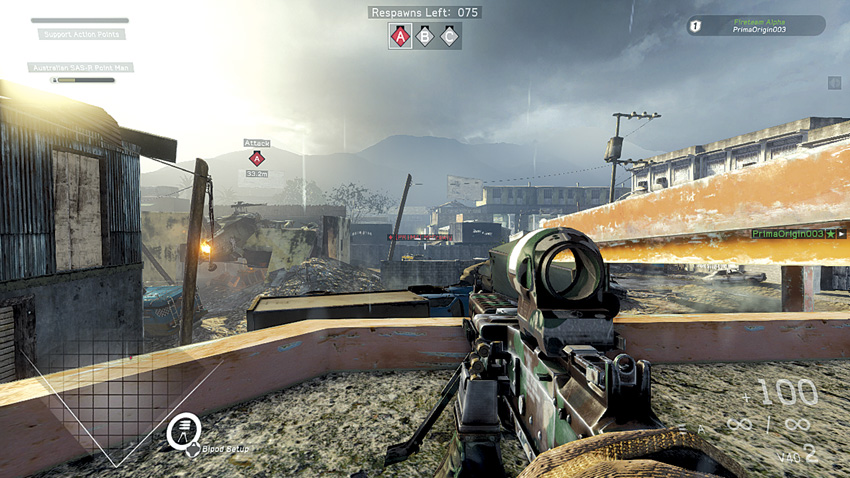

Recommended Weapon: LMG (supported)
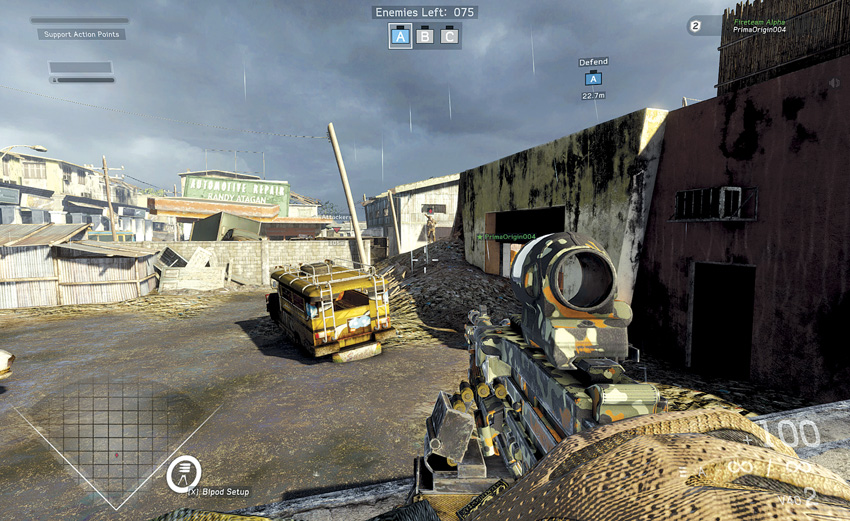
This position on top of the gas station provides excellent field of fire overlooking a high-traffic area. In Combat Mission, it also provides overwatch of the bomb site for the attackers. Hold here to prevent any defenders from disarming the bomb. Set up your LMG with your bipod to provide covering fire for your team. There’s only one way up on your six, so be aware of any advancing footsteps.

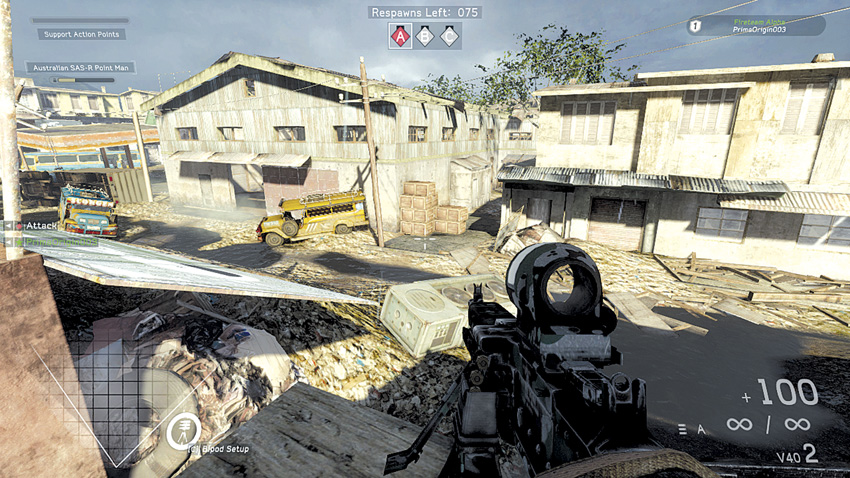
Recommended Weapon: LMG (supported)
In Combat Mission, this position is found close to the defenders’ spawn point. Set up the LMG’s bipod on the wall for greater control to take out advancing enemies heading to bomb site A. Be aware of enemy snipers positioned on the gas station’s rooftop across the street, and use this position to countersnipe them, along with any other snipers you find.

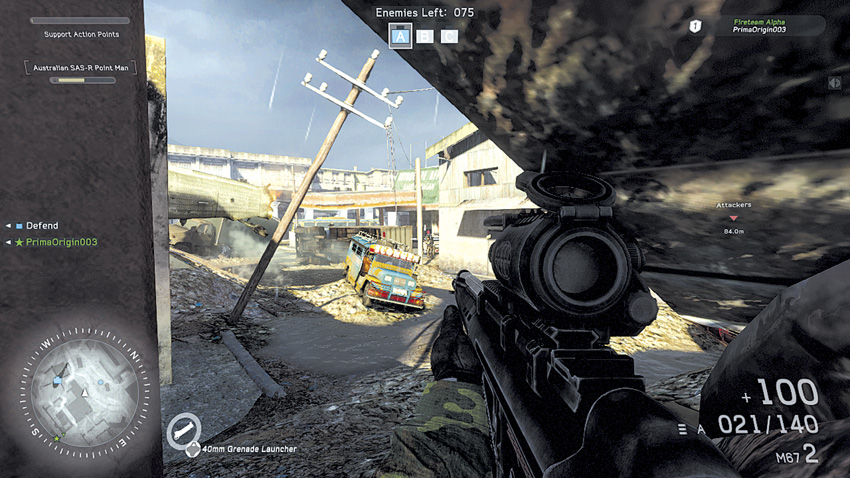
Recommended Weapons: LMG, Assault Rifle
This overwatch position covers most of the approaching area leading up to the bomb site A during Combat Mission matches. This position is best for unsupported LMGs and assault rifles for mid-range engagements. Since enemies often approach your six using the stairs behind you, use of proximity mines or grenades to cover the stairway is also recommended.

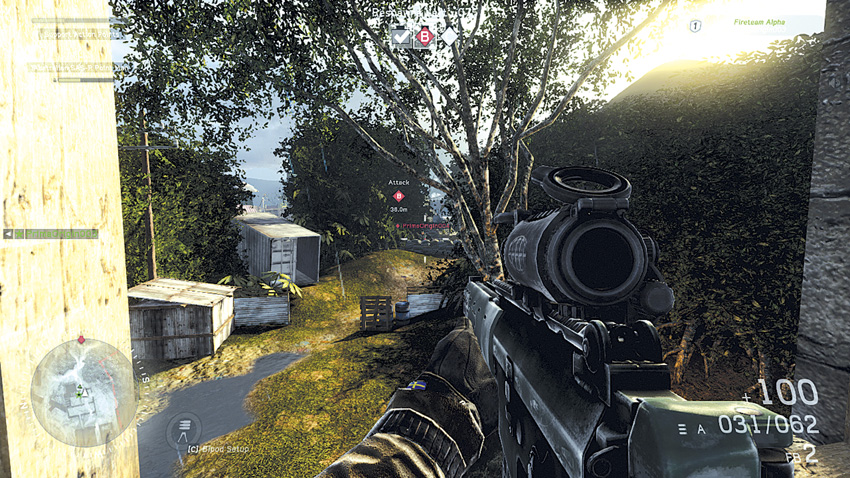
Recommended Weapons: Shotgun, SMG, LMG, Assault Rifle
Lean out from beneath the fallen billboard for a good view of the street. There’s a good amount of cover and you’re largely cloaked in darkness until you fire on your target. Drop prone to maintain less visibility, but be wary of the warehouse flanking your right as enemies will push that flank aggressively as well. In Combat Mission, use close- to mid-range weapons when covering this first floor below bomb site A as enemies will be running through here often.

Recommended Weapons: LMG (supported), Sniper Rifle (supported)
Once bomb site A blows up in Combat Mission and the attackers are advancing, this position inside the building overlooking bomb site B becomes an excellent spot to deploy the LMG or sniper rifle to provide covering fire. Defenders are sure to use this path in an attempt to defend, but your cover fire will make them think twice. You might have a relatively far back position, but if your teammates aren’t filling up that choke point, you will be drawing attention to yourself.
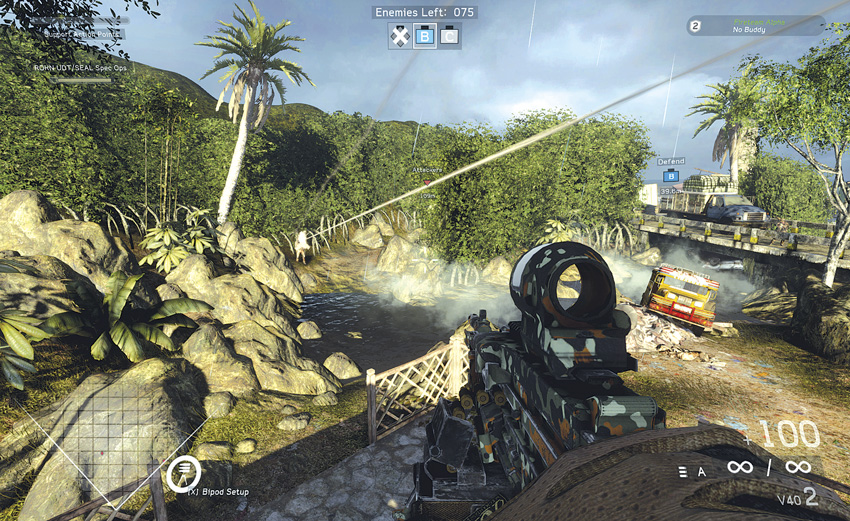

Recommended Weapons: LMG, Sniper Rifle (supported)
In Combat Mission, set up shop using the bipod of the LMG or sniper rifle on the second level of the gazebo to fire on anyone attempting to plant the charge on the truck at bomb site B. The gazebo is made of wood and painted white so you’re fairly open, but you may be far back enough from bomb site B to take out anyone trying to venture near your position through the path on left, the bridge, the water beneath the bridge, or the far right flanking path. In Sector Control, this position overlooks the Center Base and the approach from the North Base. Cover the water under the bridge and the far right path from the bridge.
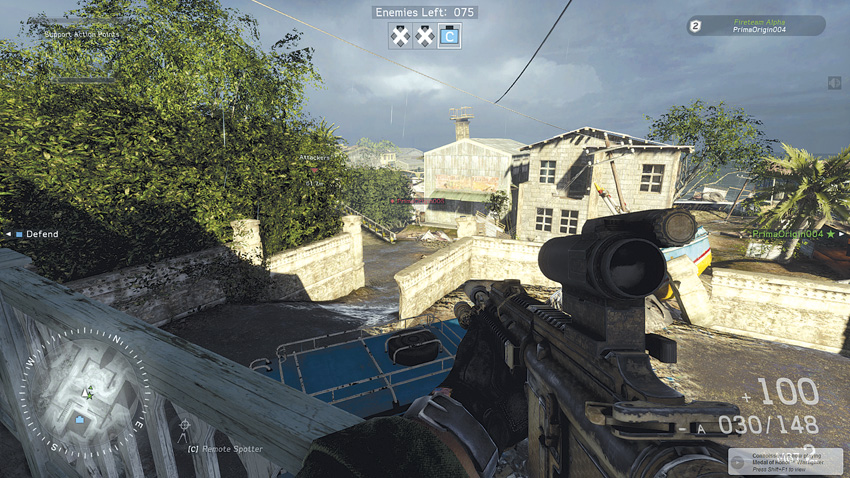

Recommended Weapons: LMG, Assault Rifle, Sniper Rifle
During Combat Mission and Sector Control, the hotel balcony is a good overwatch position for LMGs, assault rifles, and sniper rifles. However, enemies will be expecting you to be there, so keep your fireteam buddy close for support. If things get dicey, run inside for cover and resupply. Enemies will be constantly funneling in through the hotel, so keep on the move to check your flanks, and place proximity mines if you’re a sniper.
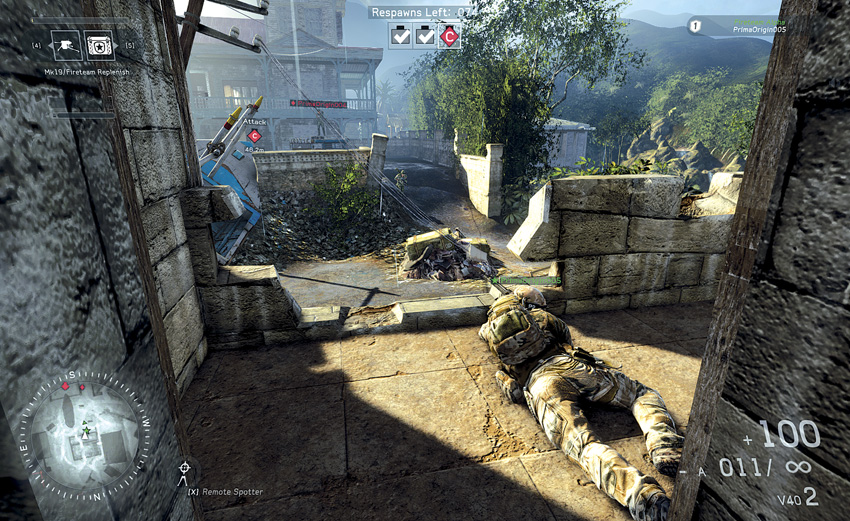

Recommended Weapons: LMG, Sniper Rifle (supported)
During Combat Mission and Sector Control, this position is a great overwatch spot to counter anyone taking up position on the hotel’s balcony or to simply cover any teammates planting the final charge during Combat Mission. If you have the opportunity, deploy your bipod while prone to take full advantage of the provided cover. During Sector Control, peek over the wall, mount your rifle, and use it to fire on anyone at the Center Base.
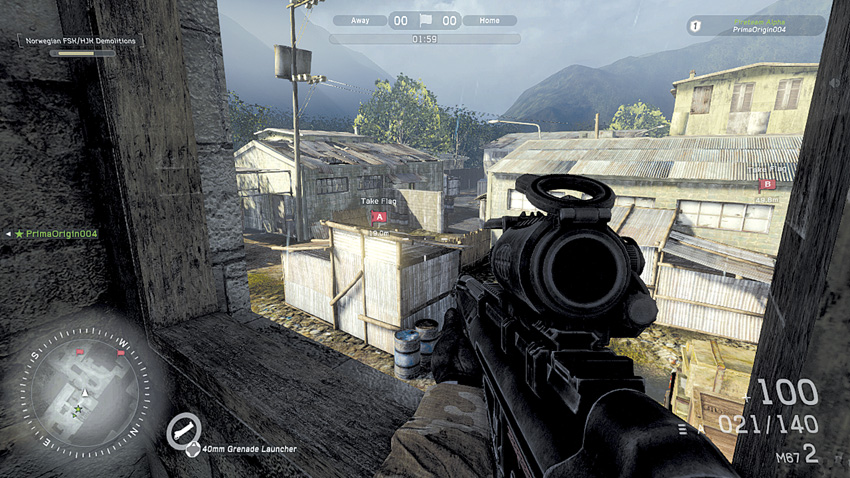

Recommended Weapons: LMG, Sniper Rifle, Assault Rifle, Proximity Mines
During Home Run, this fantastic overwatch position can be used to either attack or defend Flag A. Easily take out enemies from this perch. Do not lock yourself down with a bipod as anyone seeking to flank you will approach your rear quickly. Booby trap possible approaches with proximity mines or monitor footsteps and your minimap carefully for anyone approaching.
Sight Lines
.jpg)
.jpg)

Recommended Weapon: Sniper Rifle (supported)
During Sector Control, this sniper position from the balcony of the large white hotel is a great line of sight directly toward the attackers’ spawn point near the North Base. Defensively, this position leaves you fairly exposed. Have a squad mate nearby providing support. During Combat Mission, a clear view of attackers can be had covering the truck bomb site (B). At this distance the bipod is recommended for better accuracy.
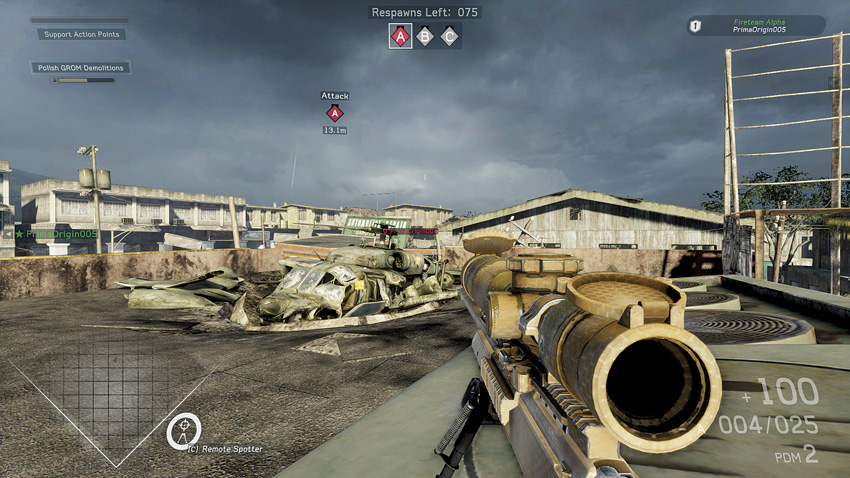

Recommended Weapons: LMG, Assault Rifle, SMG
This defensive position is primarily for keeping enemy snipers off the gas station and covering the left of bomb site A during Combat Mission. Always be on the move and aware of your right flank where enemies will approach from the downed billboard. Use this position sparingly as it will often get you pinned between two flanks.
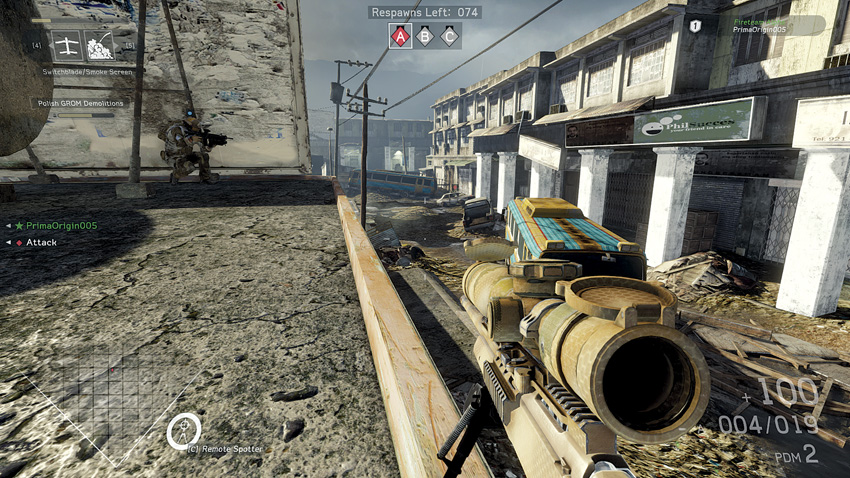

Recommended Weapons: Sniper Rifle, Assault Rifle, LMG
This sight line provides an elevated sniping advantage over anyone attempting to take cover behind cars or pillars, however it does leave you exposed. Plant proximity mines on the scaffolding leading up to the gas station to thwart any would-be assailants. When using this position, ensure your fireteam buddy is laying down covering fire so you aren’t completely open. Use the billboard as well for additional cover.


Recommended Weapons: LMG, Sniper Rifle, Assault Rifle, Grenades
Use this position to take out any defenders hoping to surprise attackers with sniper fire along the sidewalk. This sight line also provides exceptional crossfire to take out any defenders attempting to take cover behind cars and pillars during Combat Mission matches. If you have teammates covering the nearby sight lines, the enemy is not going to last long. This position is better for clearing out defenders and moving on than setting up shop. Use your leaning keys to stay behind cover as much as possible as you’re highly visible.
Combat Mission
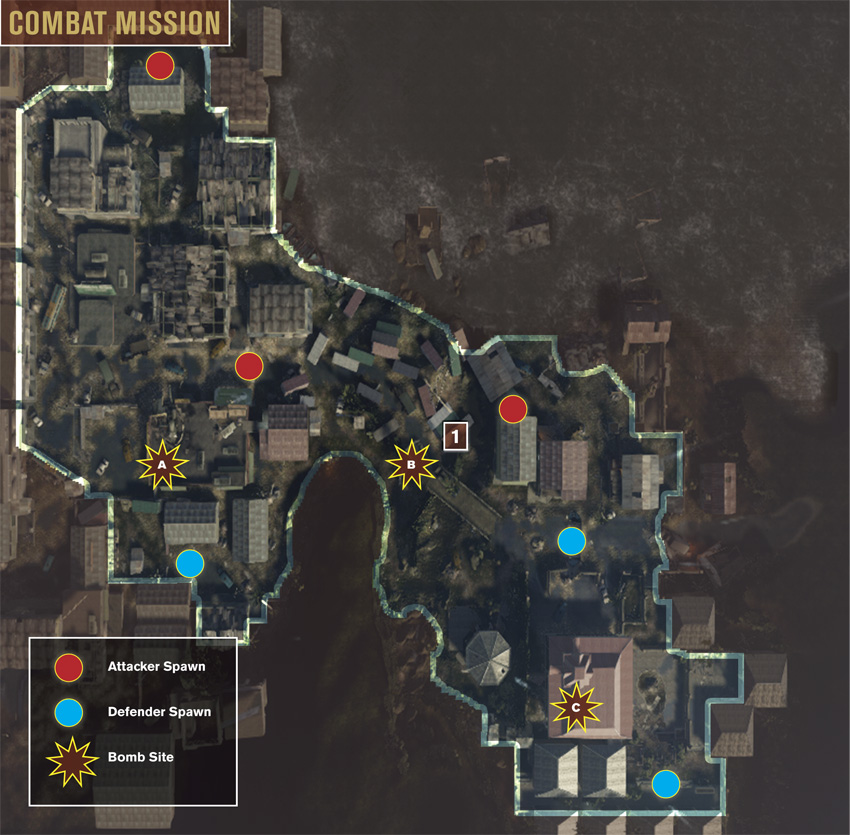
During the first phase of Combat Mission, the action centers around the helicopter crash site near the gas station on the west side of the map. Since bomb site A is located on a rooftop, the defending team should cover all access points to the roof in an effort to prevent the attackers from setting a charge. Expect rooftop-to-rooftop fighting between the gas station and bomb site, but don’t let these duels make you lose sight of the objective. In the second phase of the battle, the bomb site (B) is located on a truck near the center of the map. The fighting here often takes place at point-blank range as attackers funnel in among the maze of shipping containers—choose your weapons accordingly. The final bomb site (C) is located within the hotel on the east side of the map. The defenders have the upper hand here since all they have to do is control entry into the hotel. As a result, the attackers should be prepared to bring in heavy firepower to help push the defenders away from their strong defensive positions near the hotel’s courtyard and nearby gazebo.
Sector Control
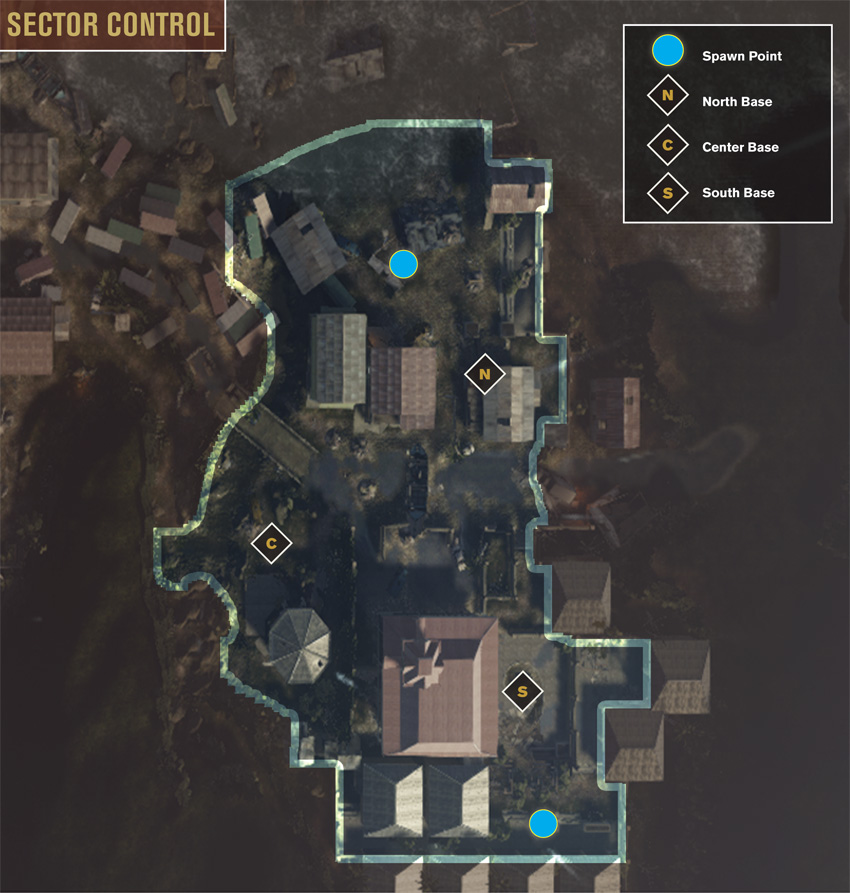
For a Sector Control map, the boundaries here are very tight, with fighting mostly centered around the hotel and gazebo on the east side. The team spawning near the South Base has a slight advantage as they can cut through the nearby hotel to reach the gazebo, not far from the Center Base flag. The narrow stairway between the hotel and gazebo is an absolute meat grinder during this game mode as it’s the quickest path between the South Base and Center Base. It’s much safer to find another path. The South Base flag is positioned in a courtyard outside the hotel. There is very little cover near the flag and it can easily be defended from the hotel balcony. So when attacking here, make an effort to clear the second floor of the hotel before approaching the flag. The North Base is relatively isolated and usually controlled by the team attacking from the north side. Still, any team that holds the North Base should make an effort to defend it, otherwise it’s an easy capture for the opposing team as the majority of the fighting rages to the south.
Home run
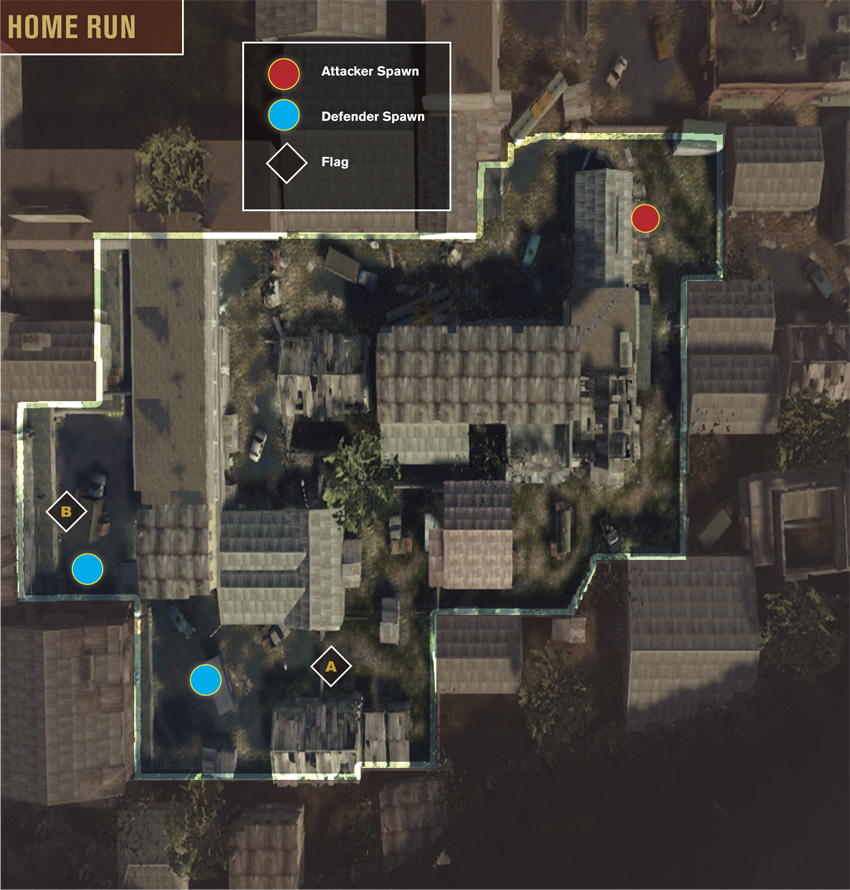
The map area in Home run is entirely unique to this game mode, giving players the chance to explore an industrial area of the island which is off-limits in all other modes. But the environment still feels like Basilan Aftermath, complete with debris-filled streets and other tsunami-related damage. The attacking team deploys from the east, moving toward the flags on the west. The long street leading to Flag B is often the site of some long-range engagements—bring along an assault or sniper rifle to deal with threats here. The direct path leading to Flag B is more broken up, with blind corners as well as a two-story building that can be used as an overwatch position by either team when securing the area around the flag. Choose your class and weapons carefully based on which flag you’re planning to attack or defend. Given the long sight lines afforded here, you can never go wrong with the always versatile assaulter class. Still, the signal scan of the spec ops class can make a huge difference here whether attacking or defending.

Team Deathmatch