Medal of Honor: Warfighter Guide Walkthrough Single Player Walkthrough
Bump in the Night
Briefing
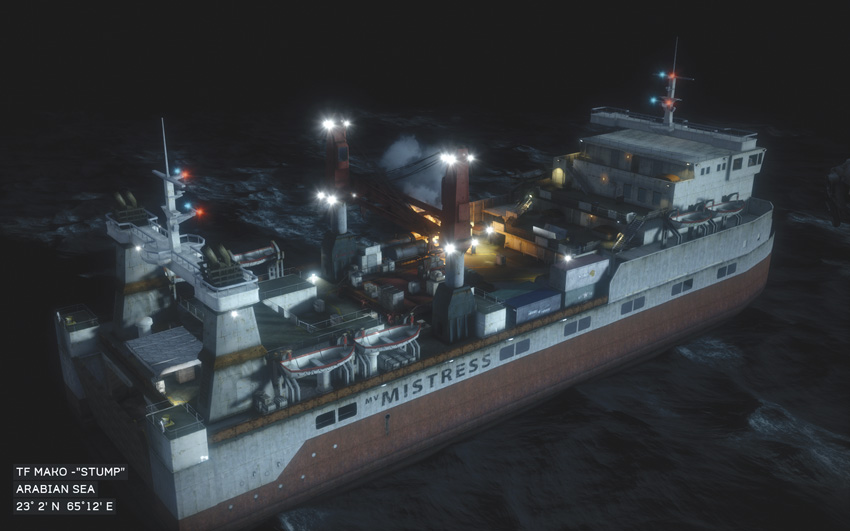
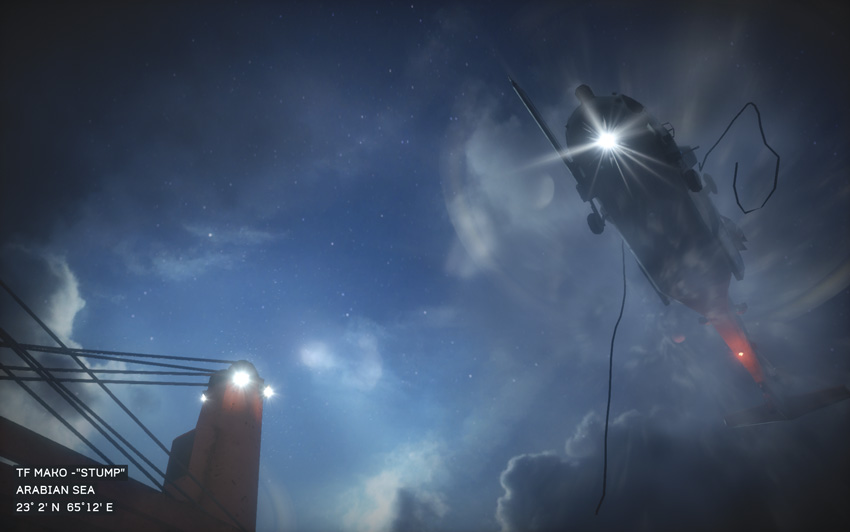
- Task Force Mako—“Stump”
- Arabian Sea
- 23°2’ N 65°12’ E
- Objectives: One shipment of P.E.T.N. is currently en route to Pakistan. Task Force Mako must board, search, and seize the crew and cargo before the ship reaches port. You play as “Stump” and are working with other members of your team including “Mother”. As your helicopters approach the ship, you notice that the ship seems to be adrift and not under power. That seems odd…
Load-Out
Primary - HK MP7
Secondary - HK45 Compact
Frag Grenades - x6
Story
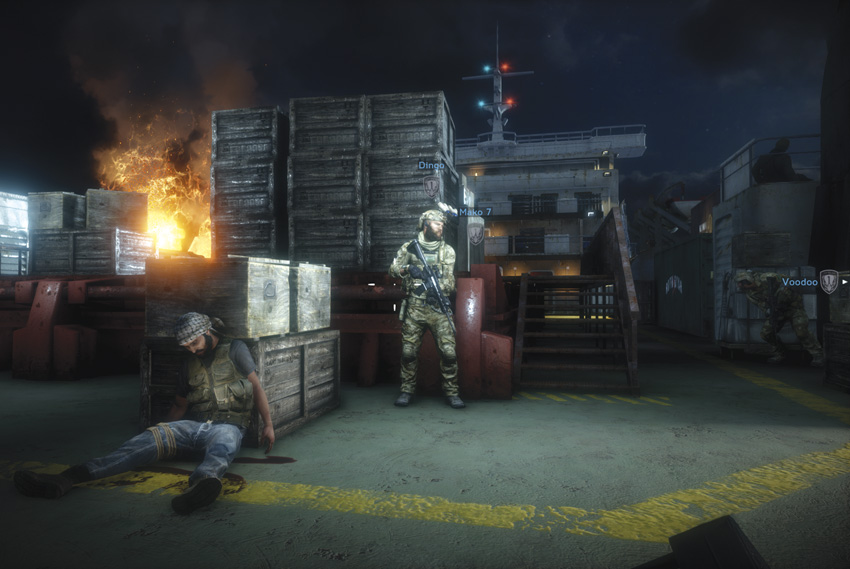
Mako fast ropes from SOAR Blackhawks onto the pitching deck of the MV Mistress. They encounter little resistance on board. What they do find is lots of bodies. Bodies of The Cleric’s men. They fight to the bridge to gain command of the ship and this brings them to a startling discovery—one that leads them back to TF Blackbird.
Toc 9
The fate of Blackbird is now known; and now Preacher must team up with Mako and hit the Cleric’s compound deep in the mountainous Chitral region of Pakistan. This is the last chance they will have, as actionable intel rarely lasts more than 24 hours.
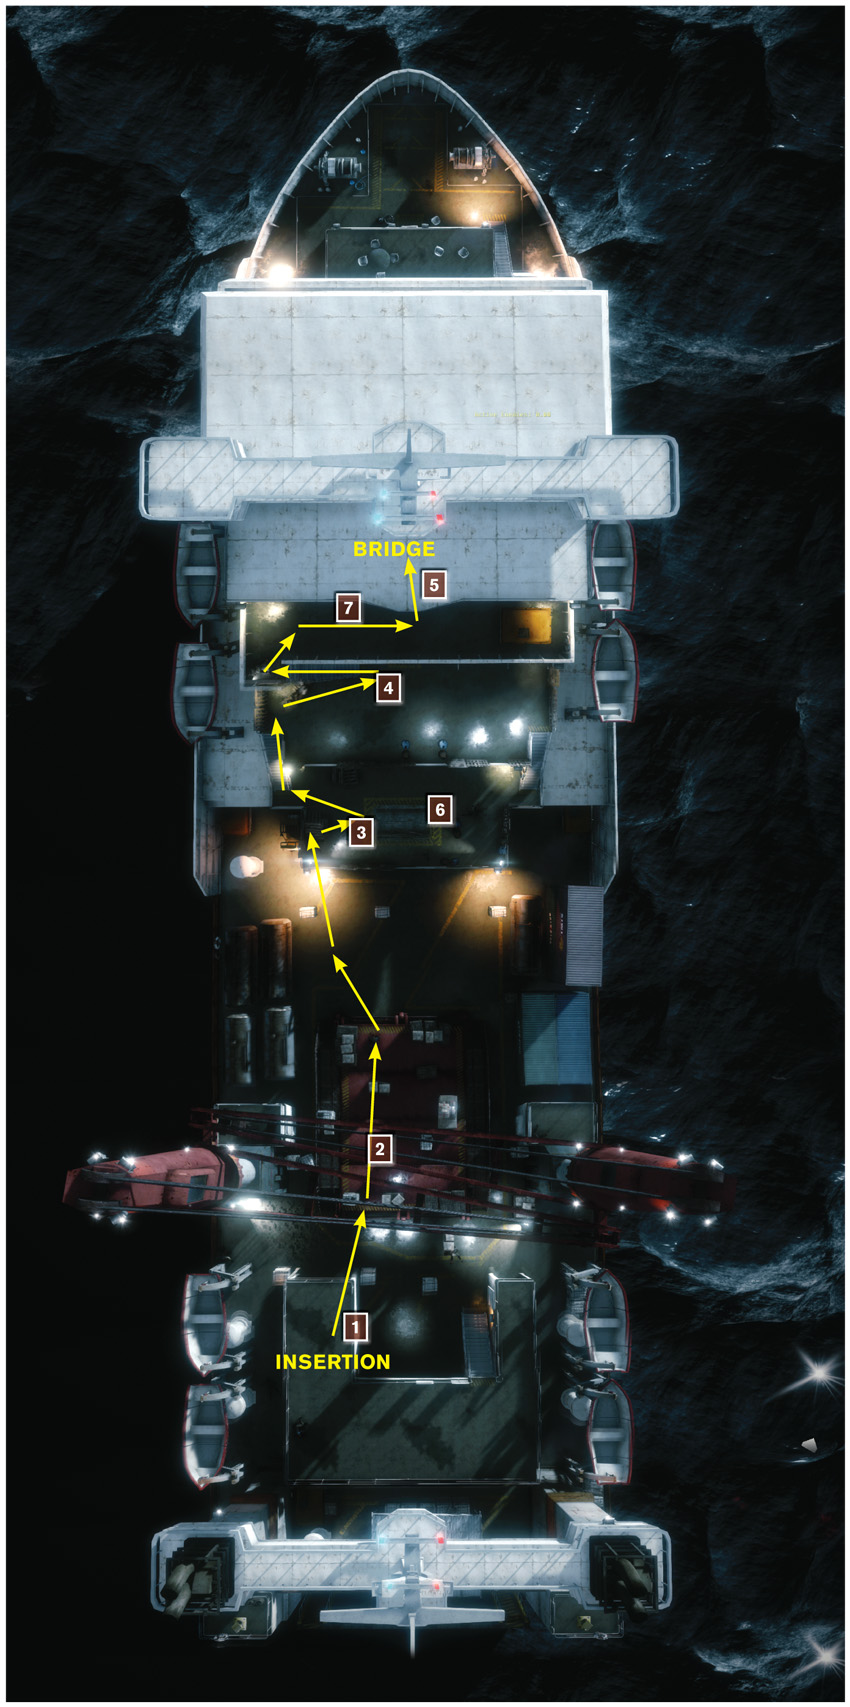
Mission Map
Get to the Bridge
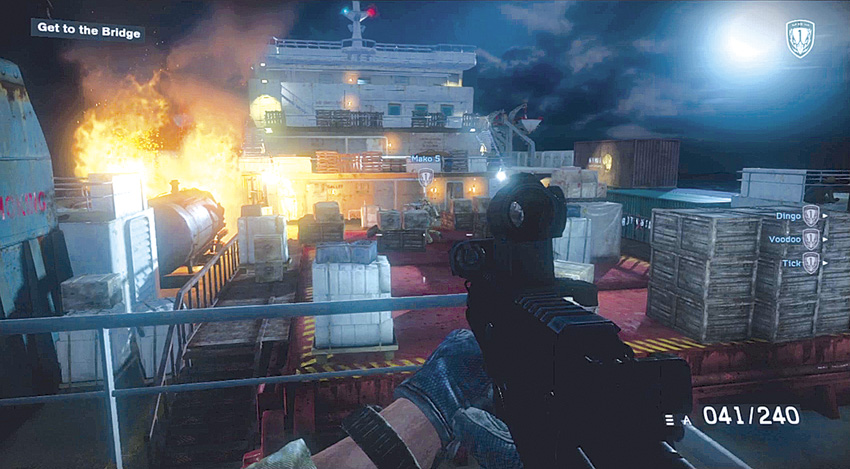
As soon as you rappel down to the deck of the ship near the bow, get your rifle up and ready for action.
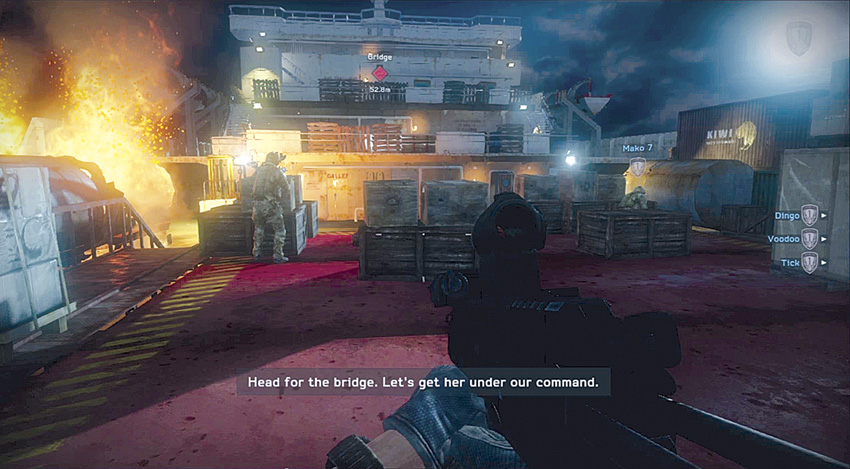
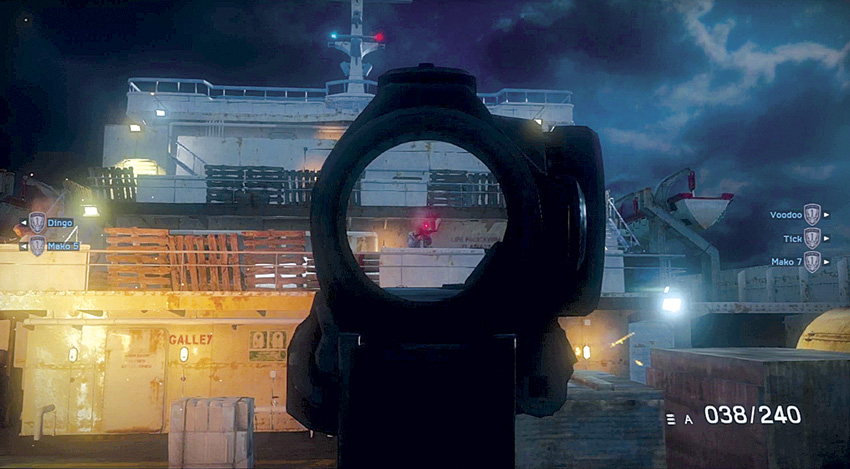
Jump over the railing and rush forward onto the cargo platform where other members of your team are located. Take cover behind some of the crates and then start picking off enemies that appear along the railings near the bridge as well as in the doorways at deck level.
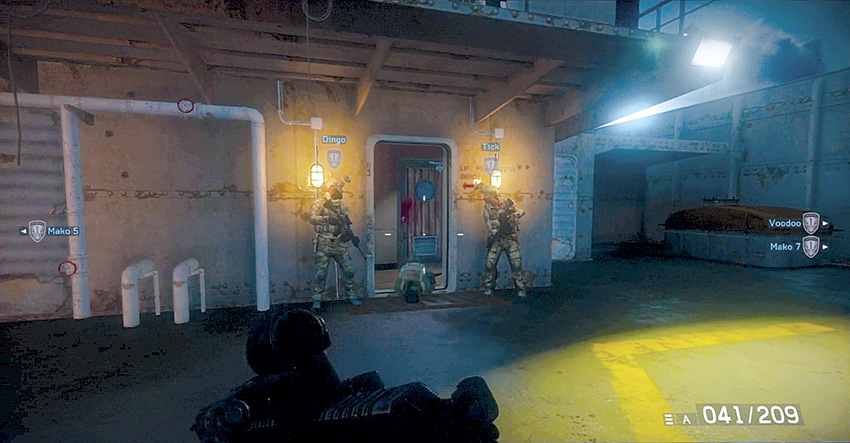
When your teammates move forward after all of the hostiles in this area have been neutralized, follow them and head through the doorway that leads from the deck into the superstructure.
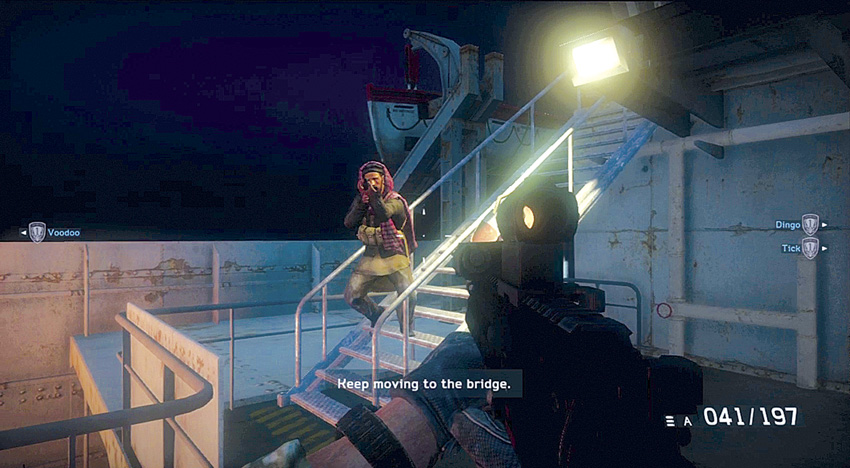
Once through the doorway, head up the stairs. At the top, pause and watch the stairs directly in front of you that lead up to the next level. Wait to see if any hostiles come down to attack you and kill any that come down the stairs before they can shoot you. Then turn around and deal with any hostiles that come down the stairs on the right side.
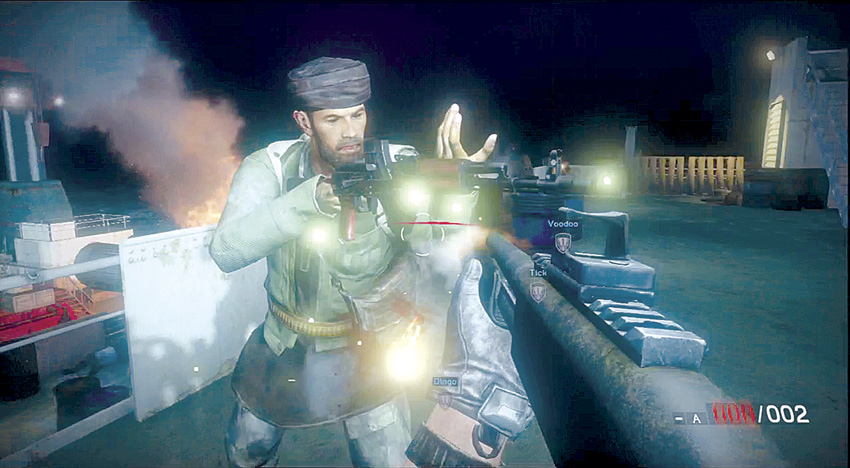
Quickly rush up the stairs on the right and clear out any remaining hostiles on this deck. If you don’t, these terrorists fire over the railing at you and your team on the lower level.
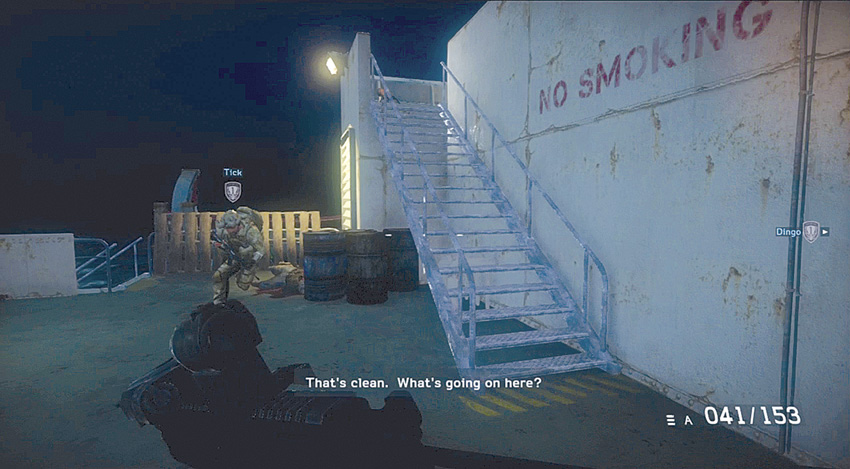
As you advance across the third level toward the stairs leading to the bridge level, you notice there are bodies on the stairs. These were some clean kills and your team did not make them. What is going on here?
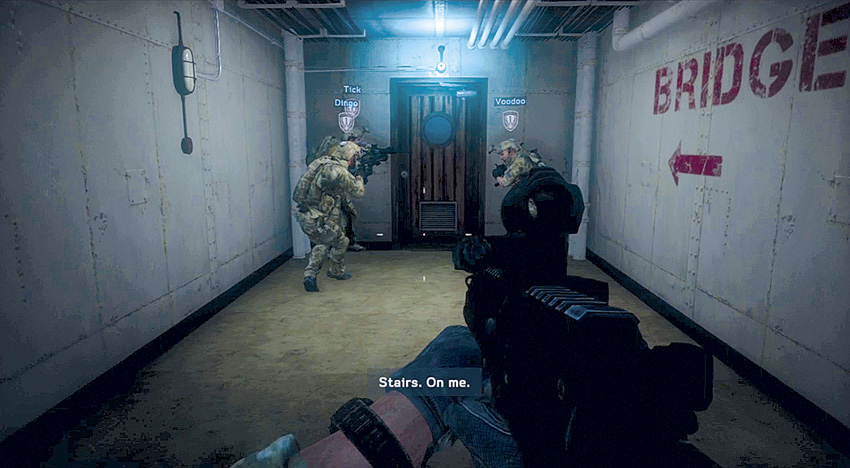
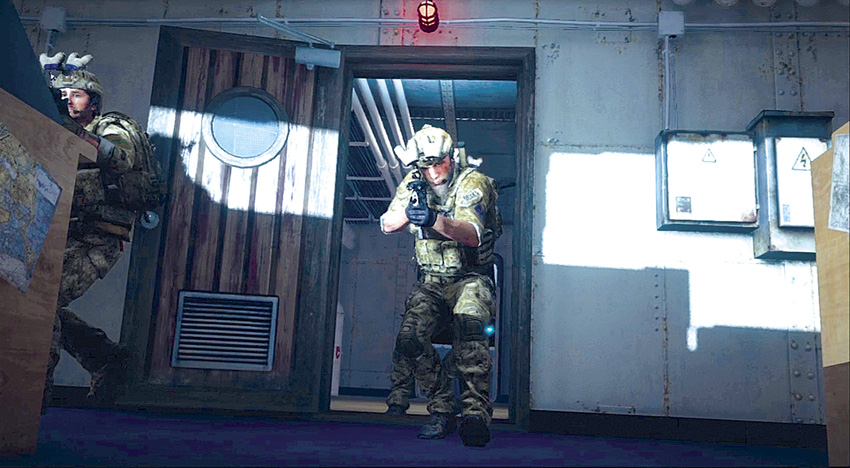
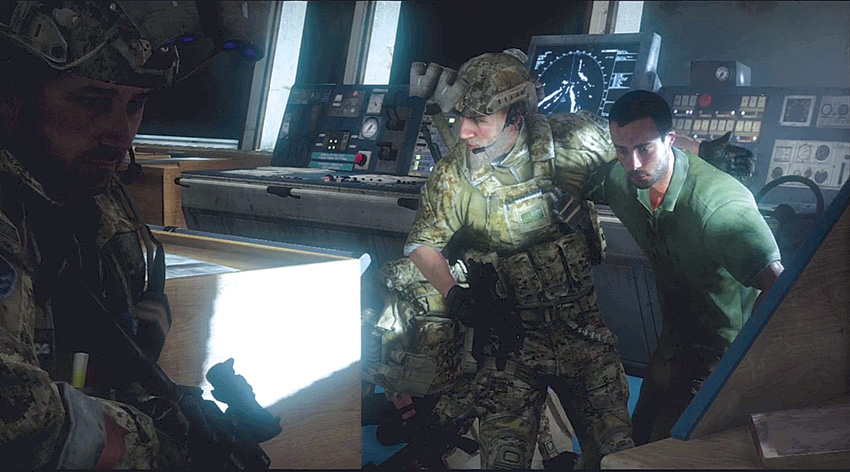
Advance up the last flight of stairs and stack up with your team. As you go through the door, there are no hostiles on the bridge. However, you won’t believe who you do find there.
Get to the Bridge
Find a Weapon
One Hour Earlier
- “Preacher”
- Arabian Sea
- 23°2’ N 65°12’ E
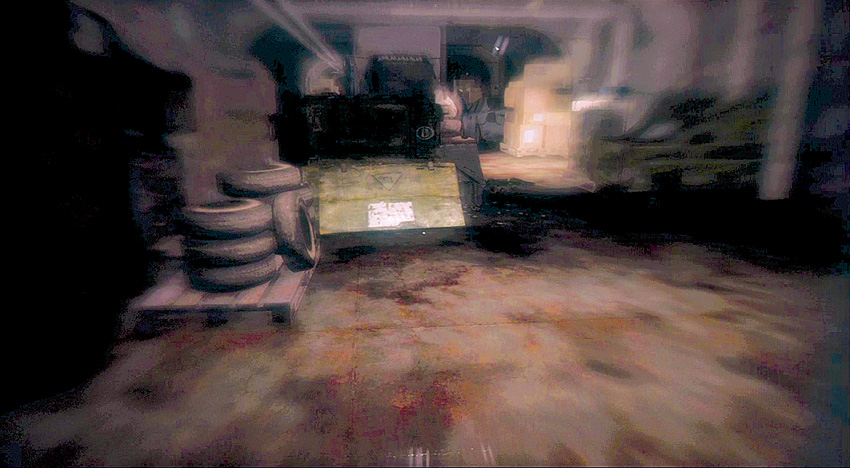
This mission now switches perspective
to “Preacher” an hour before Task Force Mako rappelled onto the ship. Sid Al Din executed “Mother” after capturing him and you (as “Preacher”) in Dubai after “Mother” refused to talk and in order to threaten you into providing information. However, you are not going to give in—you are going to get revenge. Sid Al Din must pay for his actions. When your guard turns his back, you go into action and kill him. While you are no longer guarded, you are not free. You are still stuck on a ship filled with enemies somewhere in the Arabian Sea. They don’t stand a chance. At the start, you are still a little dazed from the beatings. However, now that you can move about the ship, you need to find a weapon. Your guard did not have one on him.
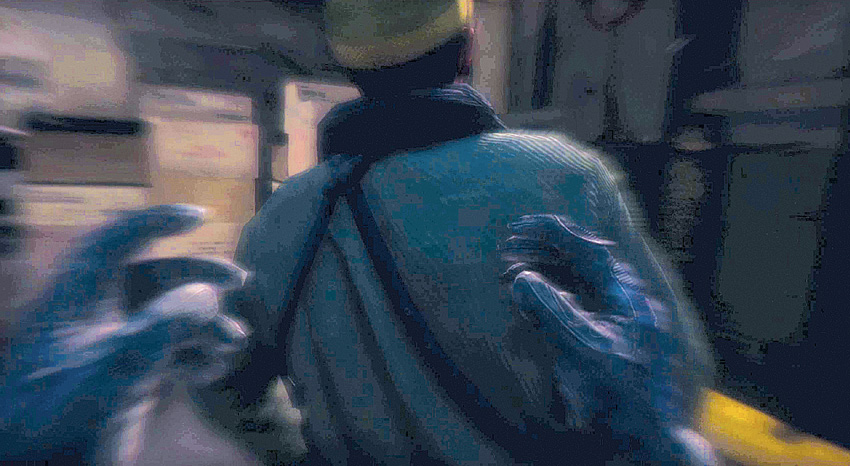
Crouch down and move cautiously through the ship. Sneak up behind an enemy with his back to you and use a melee attack to kill him.
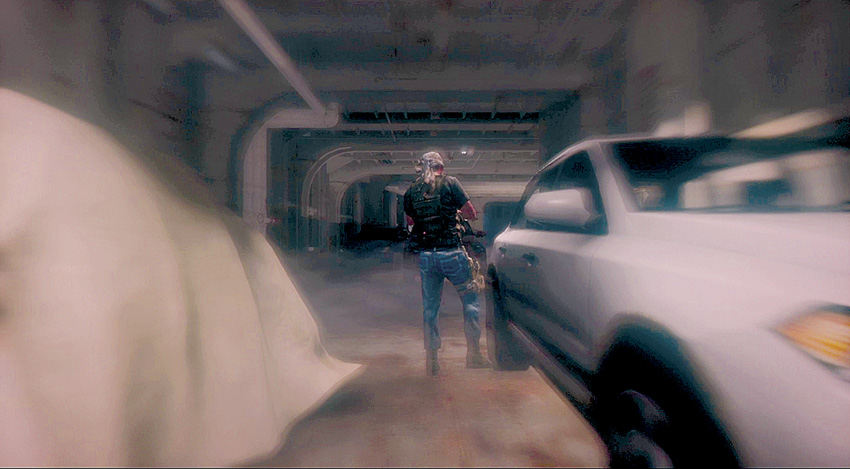
Unfortunately, he did not have a weapon on him either. Continue advancing through the ship and melee attack the next hostile. Once again, no luck on getting a weapon.
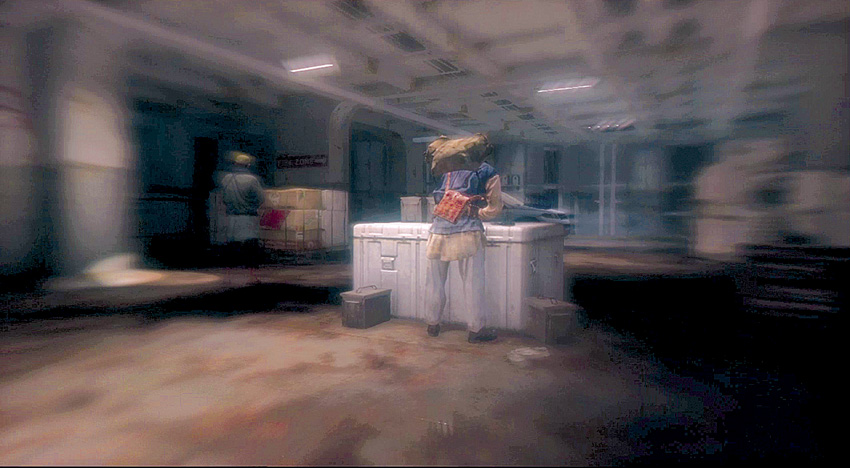
Keeping moving forward. Eventually you come across two hostiles. One has his pistol set down in front of him. Move in behind for a melee attack and you automatically kill him, grab the weapon, and kill the second enemy without alerting anyone else on board the ship. You now have a silenced pistol to help you get to Sad al Din.
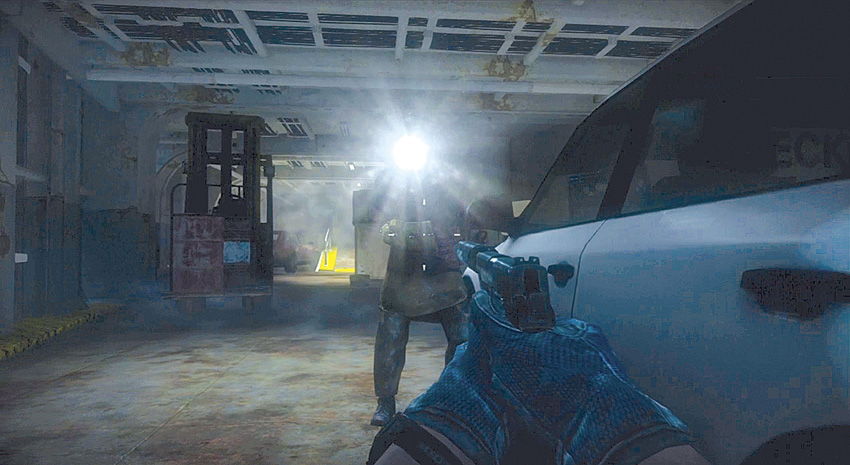
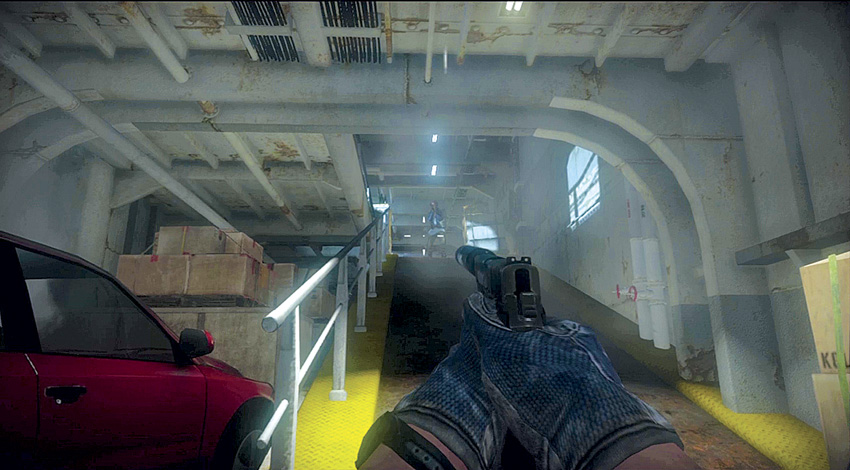
Start moving towards the cargo bay. A terrorist is patrolling nearby. Aim for his flashlight to kill him before he sees you and opens fire. Then have your pistol ready as you begin walking up a ramp to the cargo bay. A hostile comes down the ramp and you need to try to kill him before he has a chance to see you and react. Be ready for a second hostile to jump out as you approach the top of the ramp. Pick up the shotgun dropped by one of these two. It only has a few shells in it, but it gives you greater firepower at close range than just your pistol.
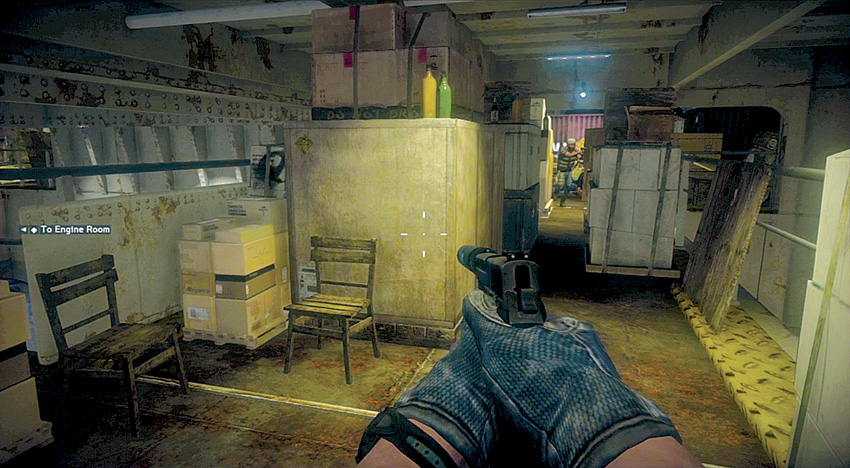
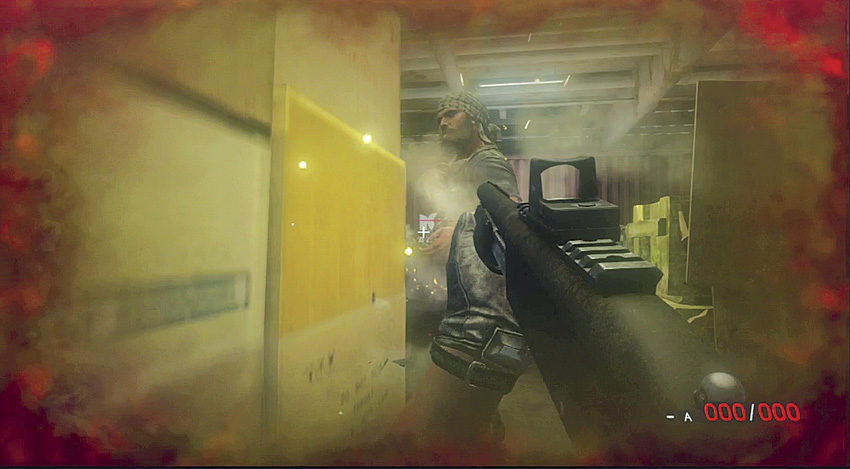
As you begin making your way towards the control room, more hostiles move into the area. Take cover behind some crates and then lean around the corner to shoot and kill them. Watch for more hostiles to show up. They are often armed with either shotguns or assault rifles, so shoot fast to take them out before they can get in a shot.
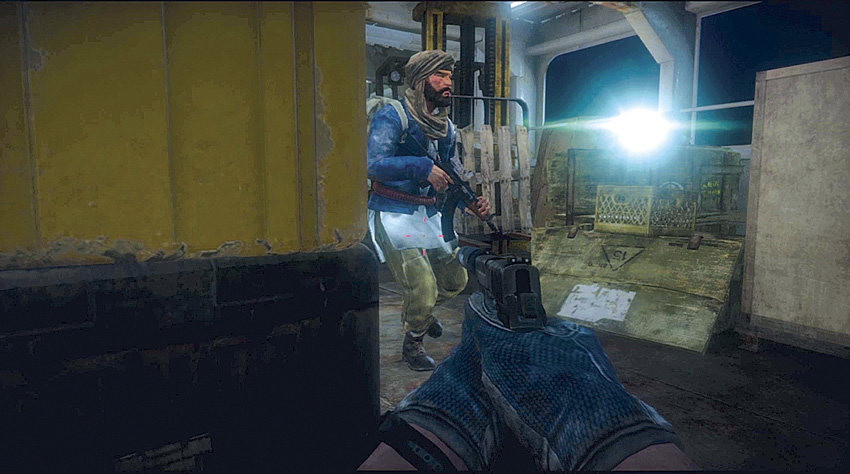
Advance cautiously and duck behind crates whenever you see enemies. A good tactic is to hide in ambush. As they walk past your crate while patrolling, shoot them as soon as they come into view and kill them before they even have a chance to react.
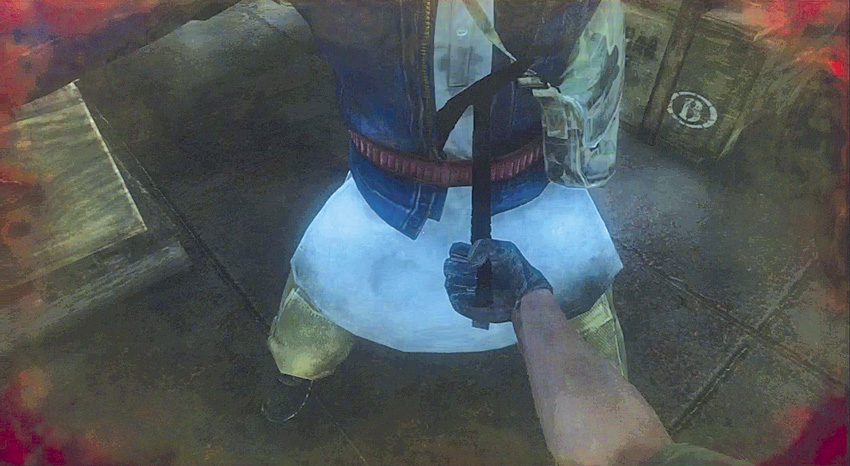
At times, it is better to rush an enemy before he can react and kill him with a melee attack—especially if that enemy has you outgunned. However, you need to wait until he is close before you leave your cover for the attack. Finish off all the hostiles in the area filled with crates and you can acquire an assault rifle. You may not have a lot of ammo for it to begin with, but you can get more ammo from other hostiles armed with assault rifles.
Get to the Engine Room
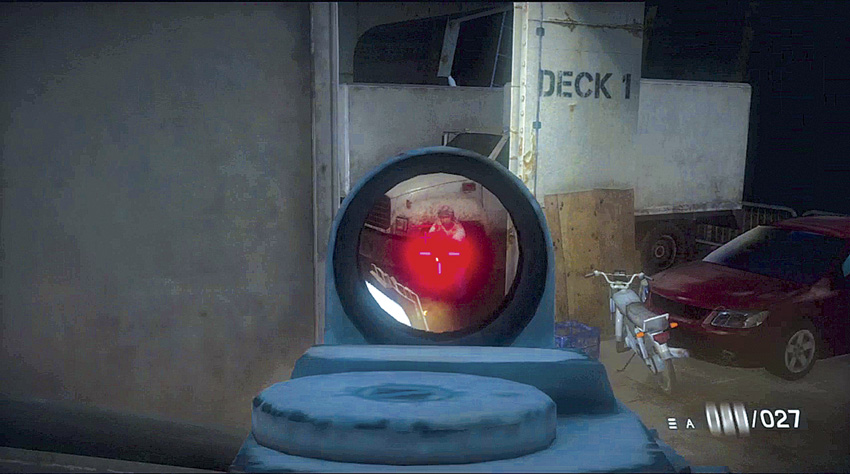
Head down the ramp that leads to an area with lots of parked cars. As you get near the bottom of the ramp, look out over the railing to the left and watch for a patrolling enemy. Kill him before he can kill you. Rush down the rest of way to the bottom and take cover behind a car. From there engage the other enemies in this area. Fire in short bursts to conserve ammo.
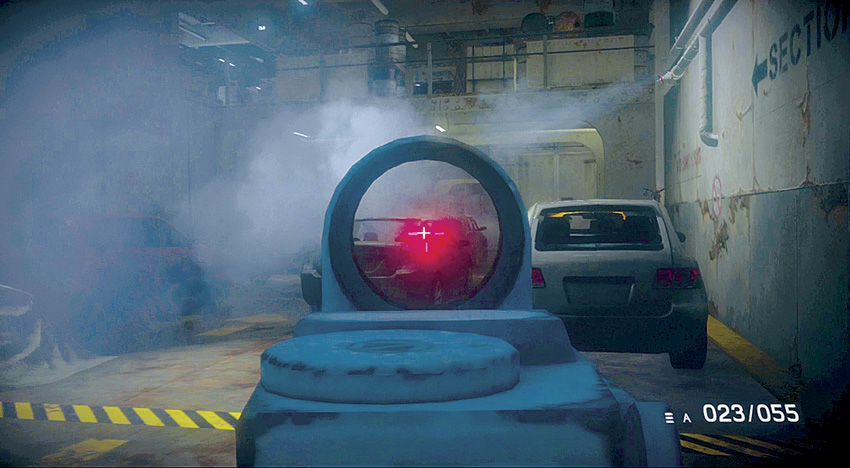
After they are dead, move over to their bodies and pick up any ammo they are carrying. Then begin moving through the area where a number of vehicles are parked. Use the vehicles for cover. The hostiles also use them for cover, so try shooting through the glass to kill enemies if they are not moving out into the open.
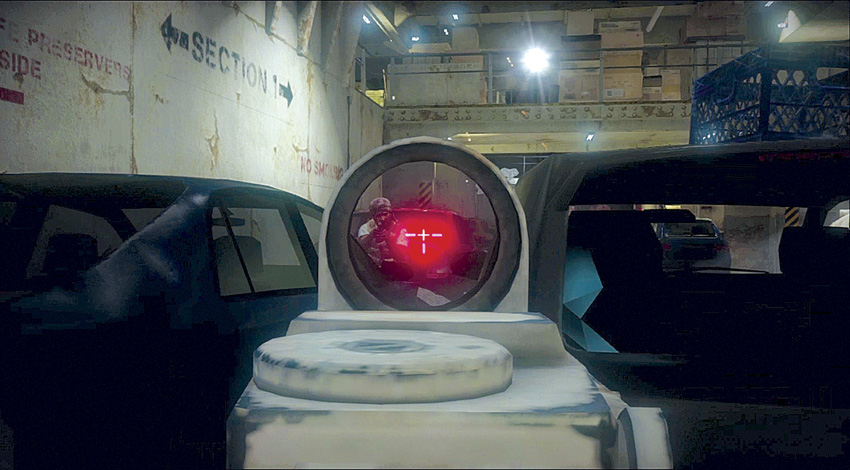
As you are clearing out enemies on your level, watch for others on upper levels as well who want to shoot down on you. Try to expose yourself to only one enemy at a time so that you are not overwhelmed. The steam leaking from the pipes in the cargo bay can make it difficult to see very far ahead of you, so look for flashlights, which give away the location of hostiles before you can actually see the silhouette of the person.
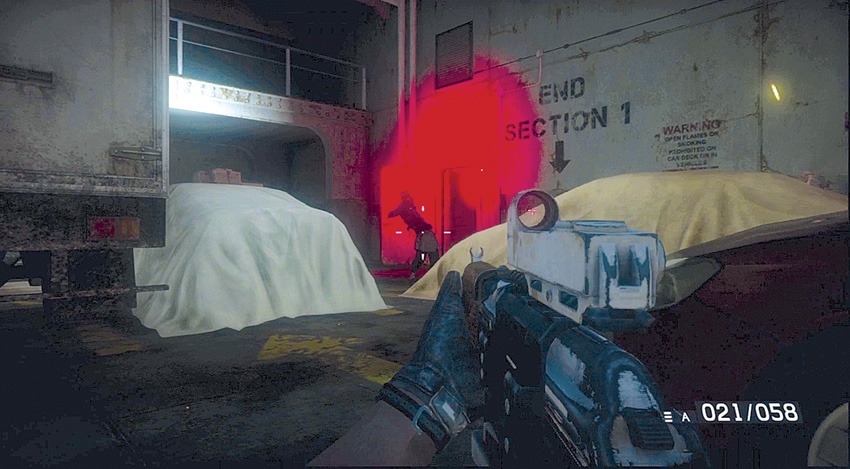
Advance from car to car, clearing as you go, and then neutralize any enemies near the door at the end of the cargo bay. Watch for one or two to try to ambush you as you move to the door. Once they are eliminated, move through the doorway.
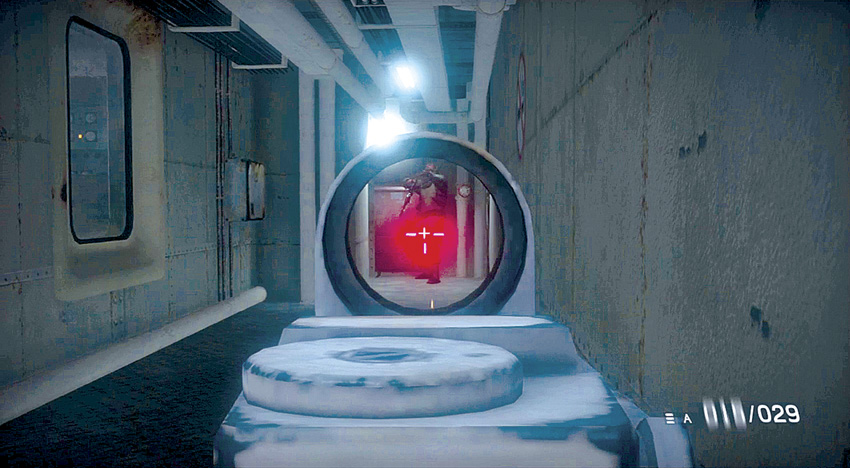
Continue down a ramp leading to the engine room. There are terrorists that can be seen through the windows. However, the glass is bulletproof. Instead, watch for an enemy at the end of the corridor waiting to attack you.
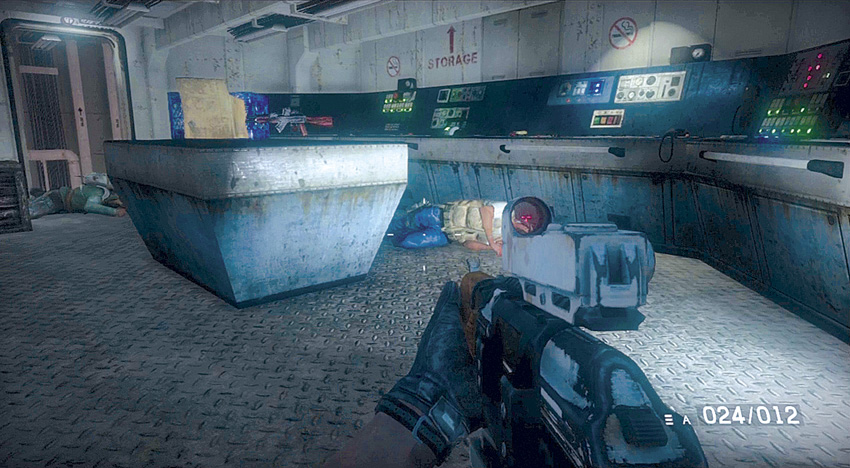
Lean around the corner of the doorway leading into a control room and clear out the hostiles inside. Switch to an AKM assault rifle, since you will find more ammo for this in the next areas.
Disable the Ship
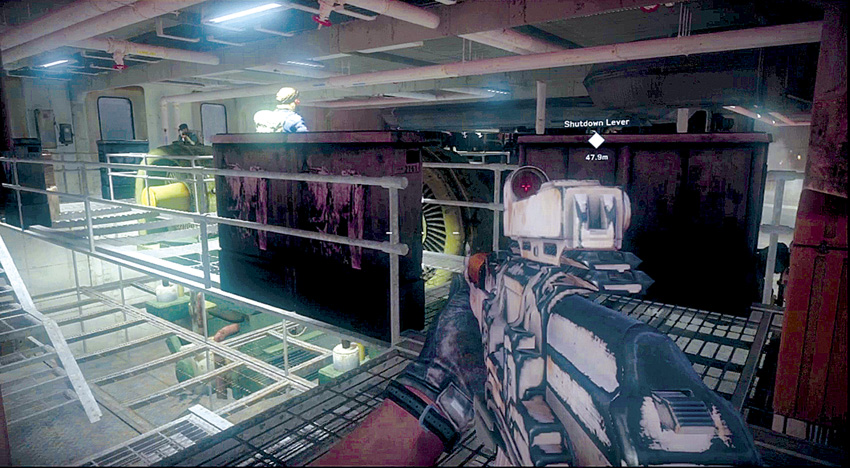
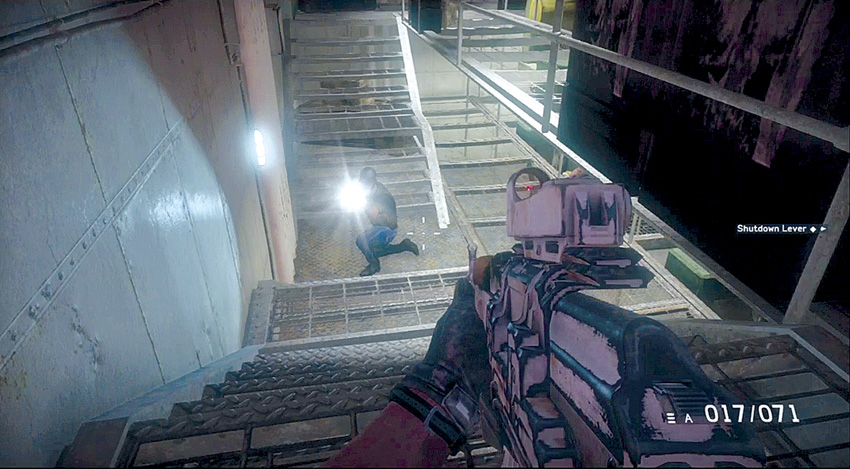
Since the ship is probably carrying P.E.T.N., you need to disable the ship so that it never reaches its destination. The engine room is a good place to do this. As you move through the doorway, watch for hostiles on your level as well as the level below. Clear as many as you can from the doorway before entering the room.
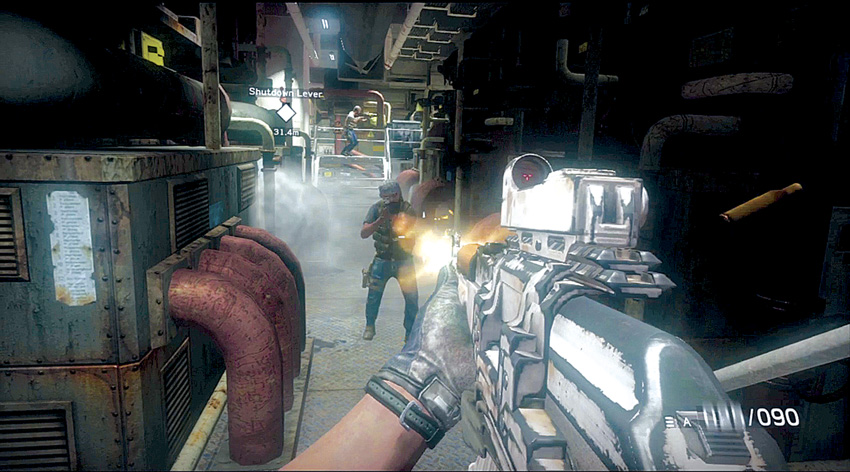
Advance along the top level and then descend a short flight of stairs to the lower level. Clear out hostiles here while taking cover behind the engines. There are lots of enemies down here, and be ready with a melee attack to deal with enemies as you turn a corner.
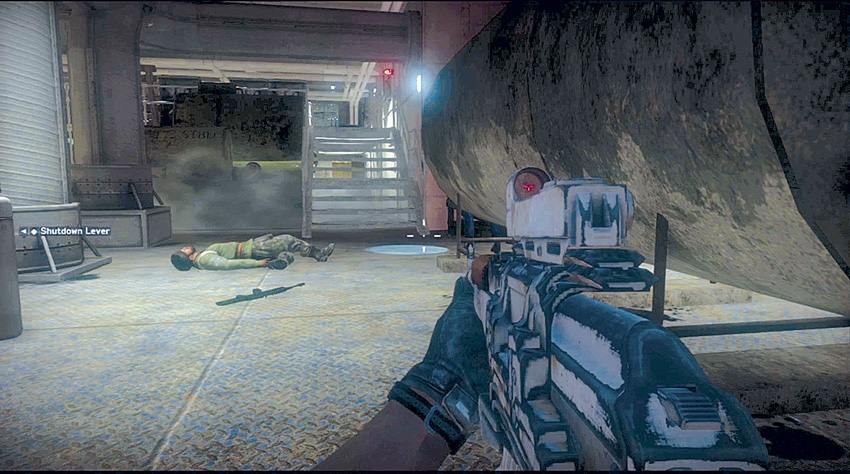
Keep moving towards the far end of the engine room. The hostiles like to hide and then pop out at you. Look for clues to their location, such as flashlight beams shining on the floor, and then aim in advance so you can kill them just as they pop out to attack.
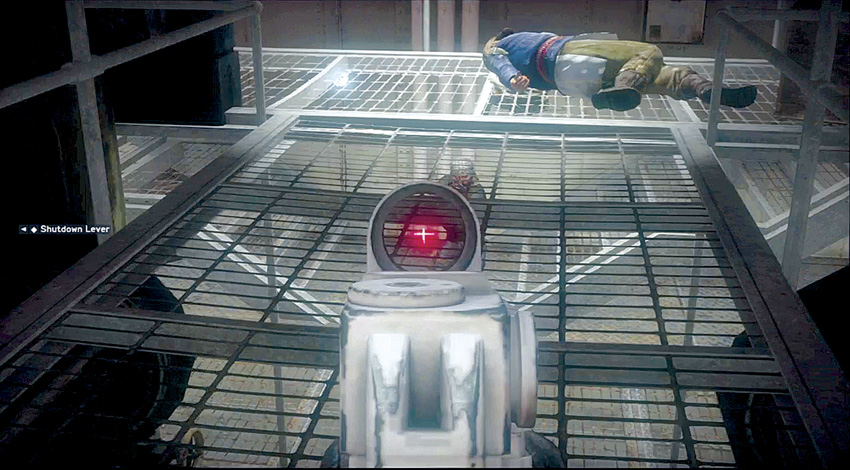
Move across to the other side of the engine room and climb up the stairs to the upper level. Kill all of the hostiles on this level and watch for others in the level below. Fire right through the floor grates to kill the lower enemies. Then go down the stairs at the far end to return to the lower level.
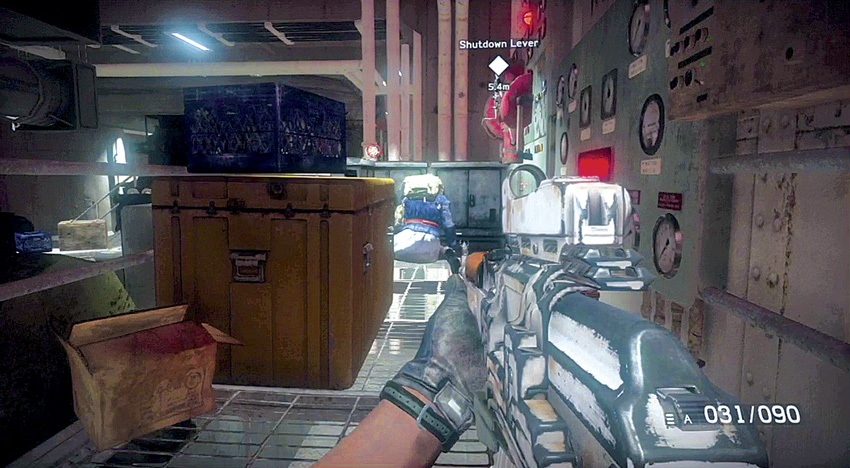
Finish clearing out any remaining hostiles in the room on the lower level, then head up the stairs to the shutdown lever.
Get to the Top Deck
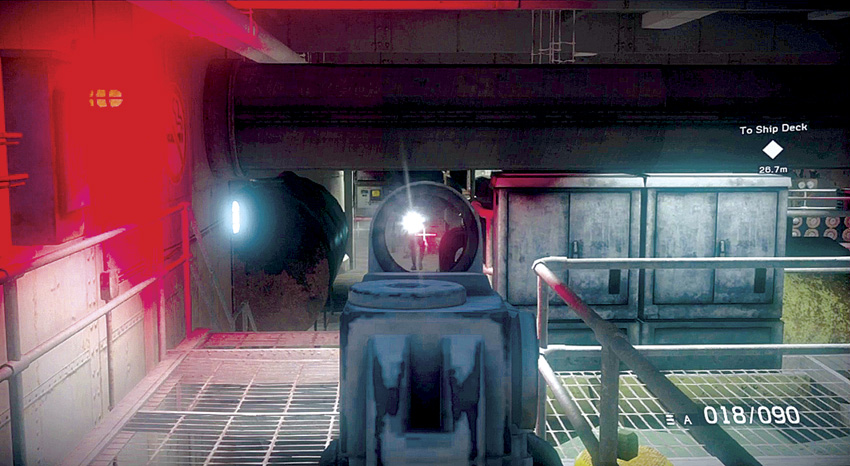
Now that the ship is dead in the water, it is time to get to the top deck. However, while the engine room was all clear, as soon as you disabled the ship, alarms started going off and terrorists are rushing down to your location. You need to advance back across the engine room; however, there will be resistance. Find a good spot of cover and hold there while enemies come to you. Then, when it seems quiet, start advancing and clearing the room as you go.
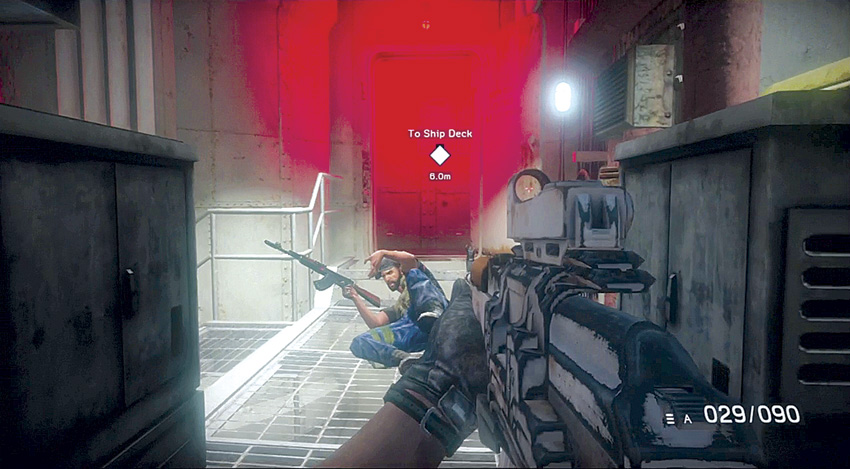
Move across the center of the room, then head up the stairs, killing any enemies between you and the door on the side of the room. Continue through the door and then climb the stairs to the next area.
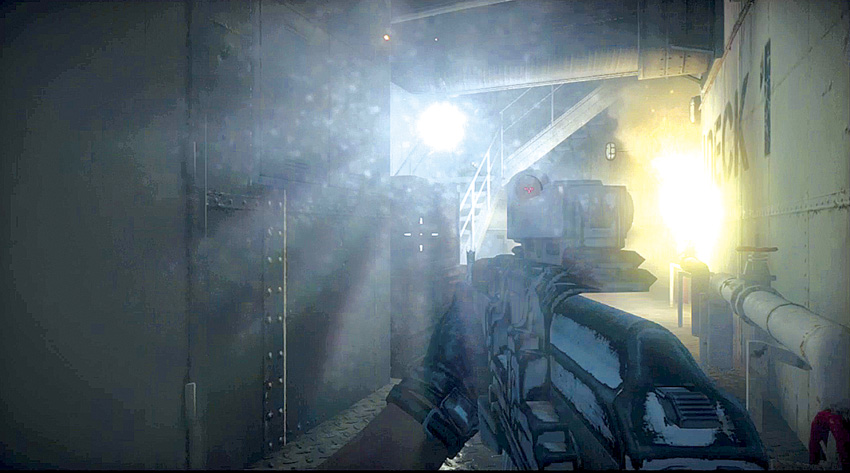
At the top of the stairs, walk through a doorway and along a corridor. Watch for a terrorist coming down another flight of stairs. Hug the left wall of the corridor and then lean to the right to pick off this threat, otherwise you are a sitting duck in the corridor. Now climb that flight of stairs to reach another corridor.
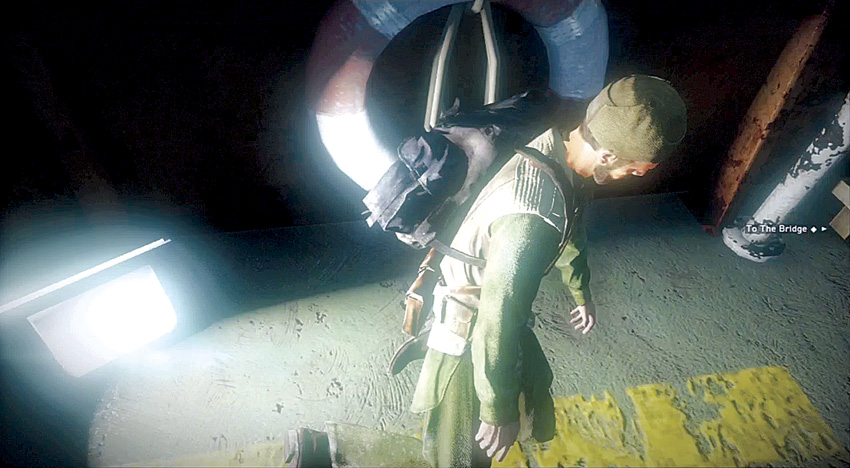
Walk to the end of the corridor and then take some stairs leading up to yet another level. Exit through a doorway out onto the deck of the ship. There is an enemy directly ahead of you with his back to you. Sneak up behind him and kill the hostile with a silent melee attack.
Get to the Bridge
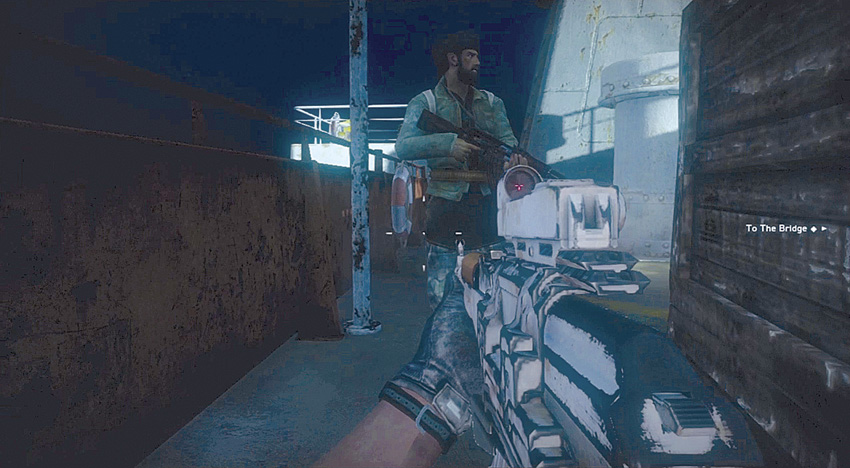
Turn to the right and take cover behind some crates. Lean around the side and watch for another terrorist. Wait until he gets close or turns his back, then rush and kill him with another melee attack. The quieter you can stay, the longer you can delay a firefight with the enemy and the less hostiles you need to engage at one time.
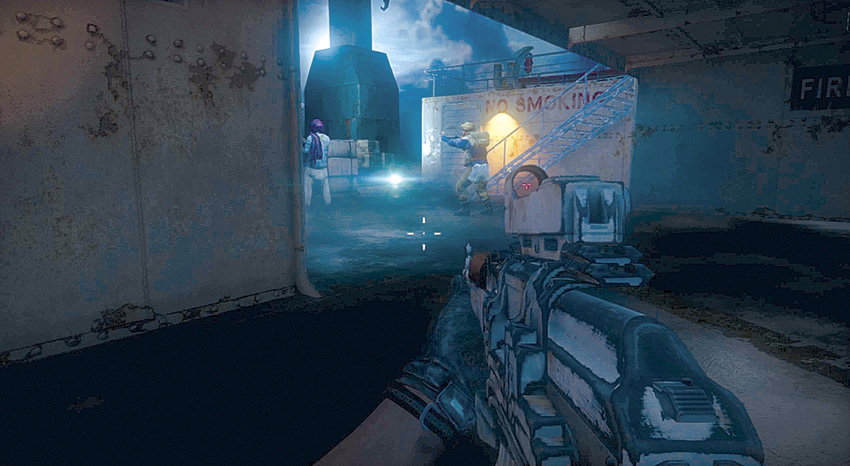
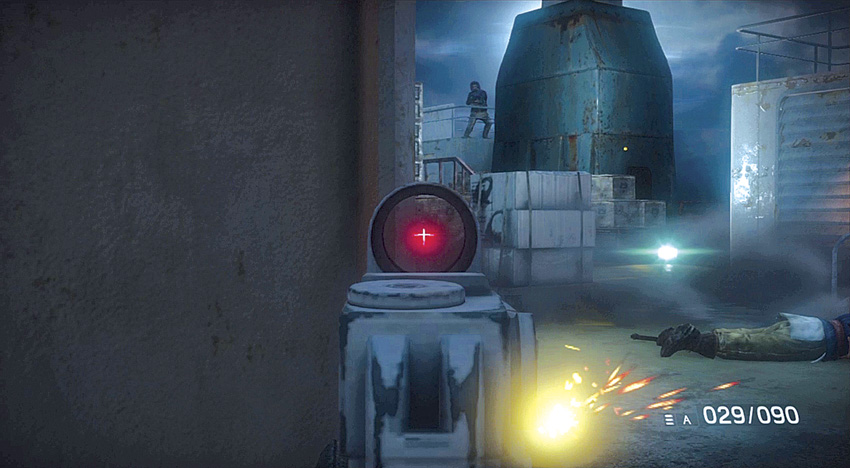
Make your way towards the main part of the deck. If you have avoided making any noise, there should be a couple hostiles there. If not, they are already coming after you. Take careful aim and try to kill both of these enemies before they can turn and shoot at you or run away. Then duck behind the wall for cover. Lean around the corner of the wall and pick off other enemies in the cargo area of the deck. Kill as many as you can from this position.
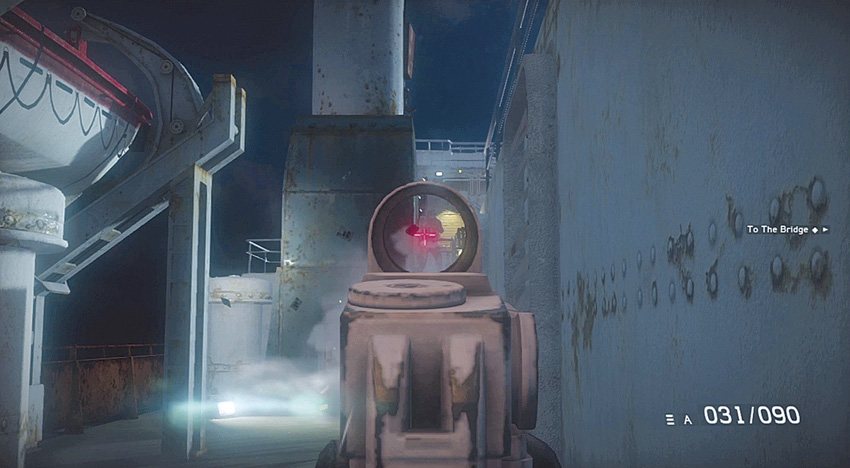
Now move around to the left, using the wall for cover. Advance towards the bridge along the left side of the ship. Take out the terrorists on the upper walkways of the superstructure of the ship. It is important to clear out as many threats as possible before rushing across the deck.
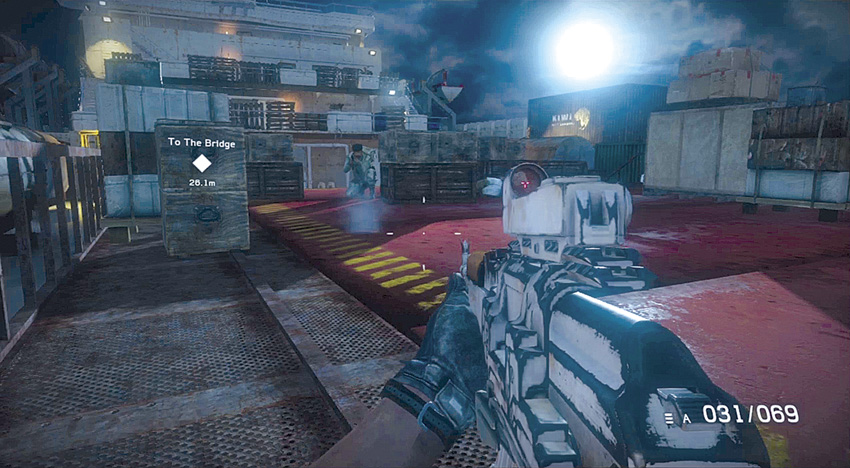
Once you have done all you can, move towards the center of the deck where some cargo is stored. As you climb the stairs, be ready for hostiles to jump out at you. Kill them and then sprint to cover. Fire at the hostiles on the superstructure walkways.
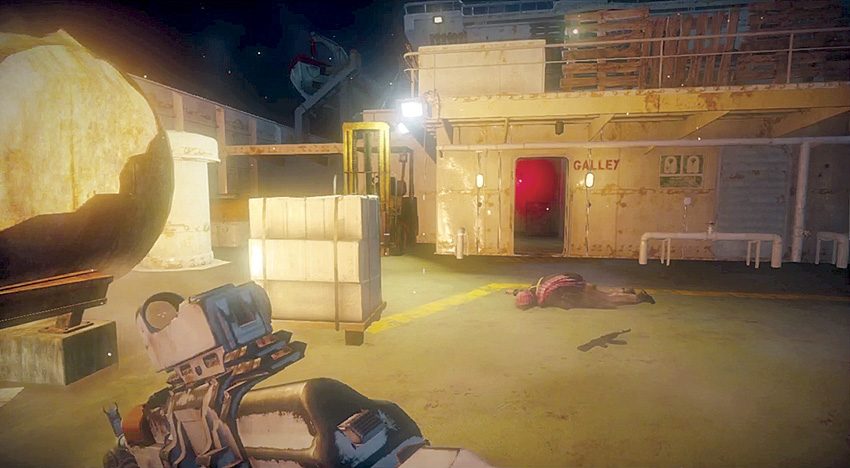
After it looks clear, sprint the across the open space to the door in the superstructure that leads to the galley. If you get attacked, keep running and use the doorway for cover.
Find Sad al Din
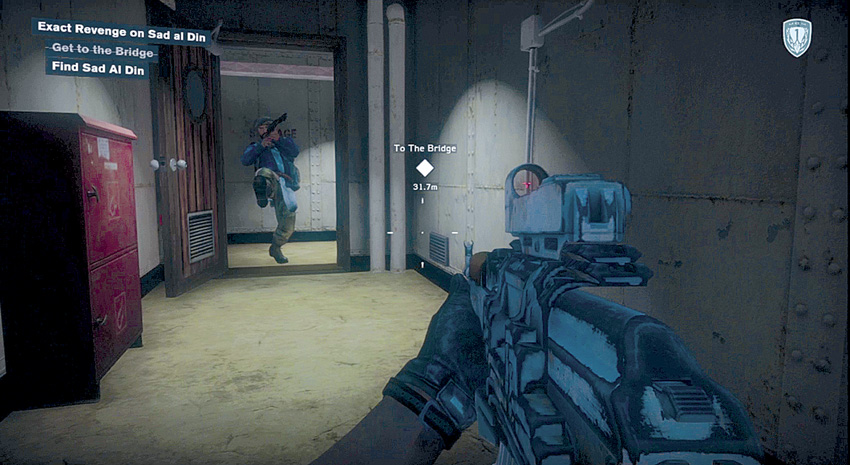
As you enter the superstructure and walk along a corridor, watch the door at the end. A terrorist may burst through to stop you. Kill him and then move to the doorway.
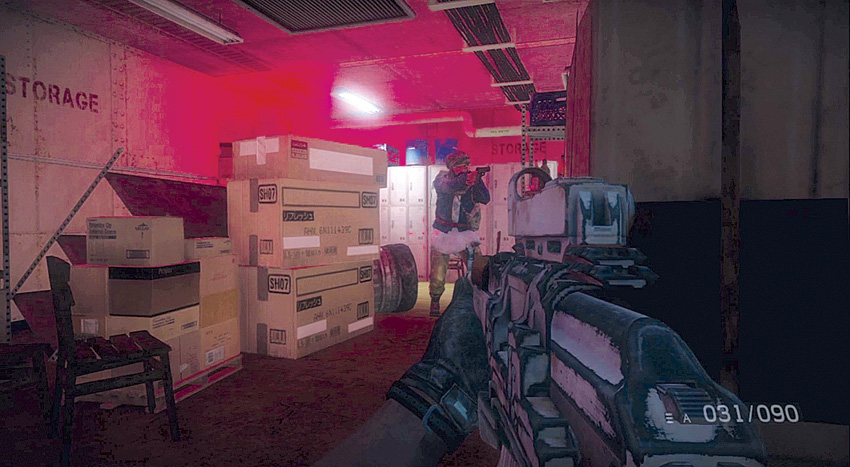
Continue to the galley storage room. Watch for an enemy to charge you. Kill him with a melee attack, then lean around the corner of the wall at the edge of the storage room and kill the enemies inside. As you advance through this area, jumping over a fallen refrigerator that blocks your way, watch for enemies that tend to jump out and open fire at you. Keep a full clip in your rifle as you never know when you will need to let loose with a long burst from the hip.
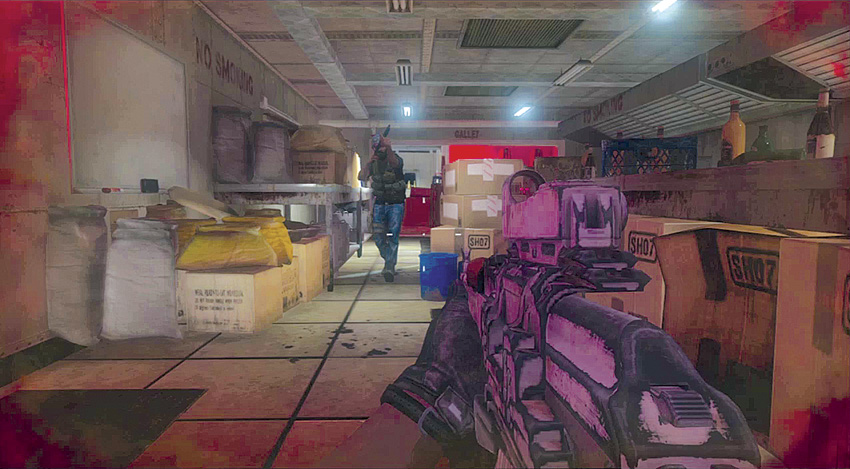
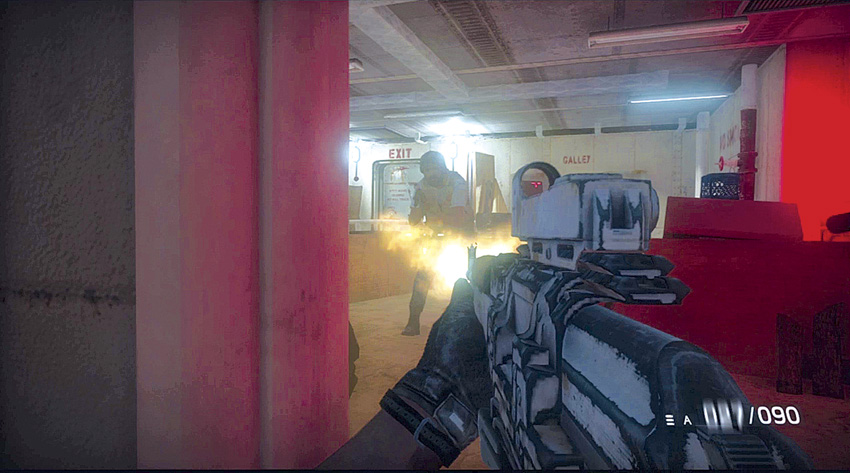
As you approach the galley, be ready. There are several hostiles inside. Kill anyone near the entrance, then take cover behind the end of the long work counter. From here you can lean left or right to clear the two aisles in the galley. Eliminate as many hostiles as you can here, then move down an aisle and start clearing out the eating area. There are several more enemies here. One even throws grenades, so be ready to withdraw into the galley to avoid being hurt by the grenades. Once it is clear, exit through the door at the far side of the eating area.
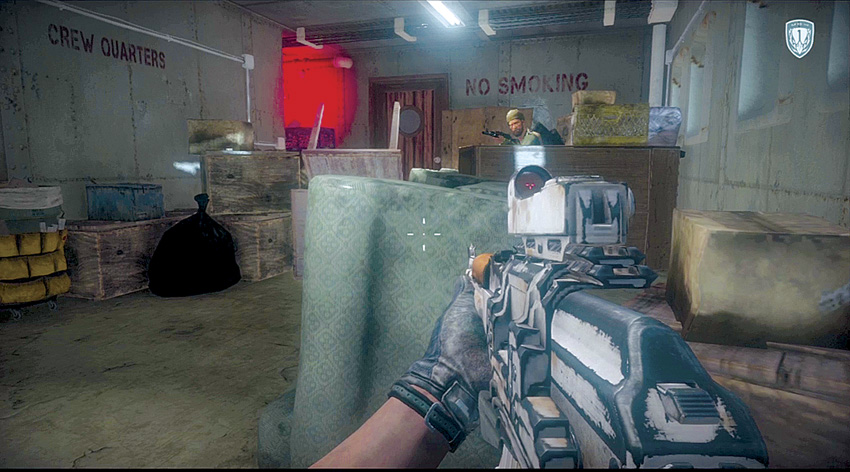
Sad al Din is on the run. Follow him up a flight of stairs and into the crew quarters. Take cover and kill the hostile inside who thinks he can get the jump on you. Neutralize all of the other enemies that come in and take cover behind the furniture barricades. Next, go through the wooden door on the left, ready to kill another enemy on the other side.
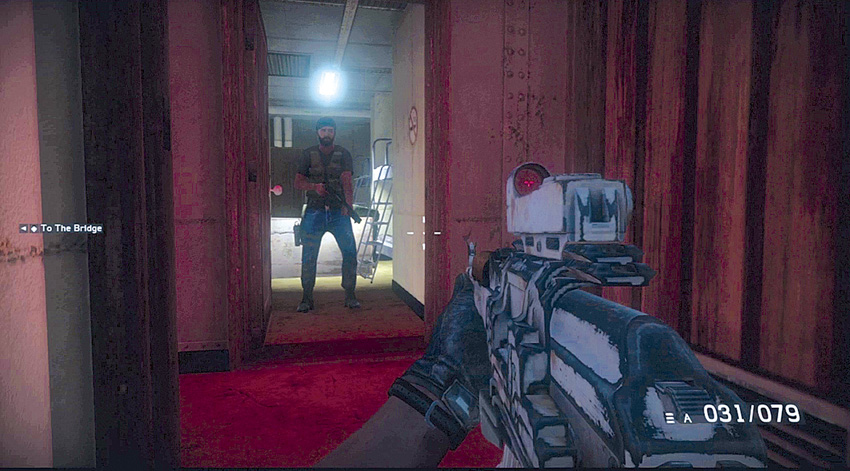
As you move through one of the crew quarters, a door across the hall opens. Fire at the hostiles in another room of crew quarters before moving into the hallway between the rooms and turning left and engaging more enemies that rush into the hallway.
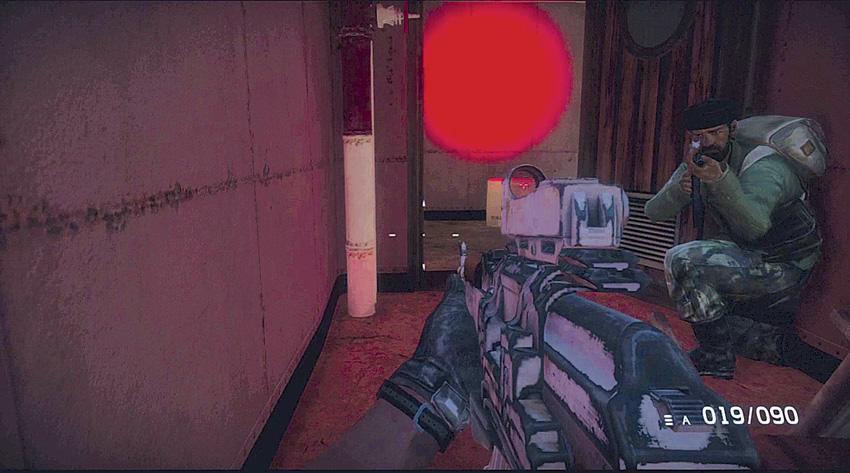
Continue around to the left and be ready to use a melee attack to kill a hostile hiding behind some crates who is waiting to ambush you. If you move fast, he won’t be able to get off a shot.
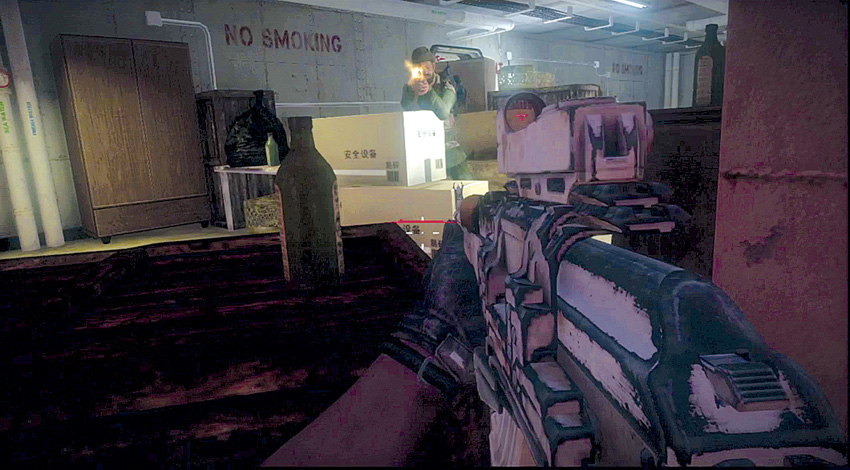
When you get to the end of the corridor, lean around the corner of the doorway and engage more hostiles in the next room. There are several in hiding. As they pop up, shoot them. Slowly strafe to the left to enter the room and take cover so you can clear out the rest of the room.
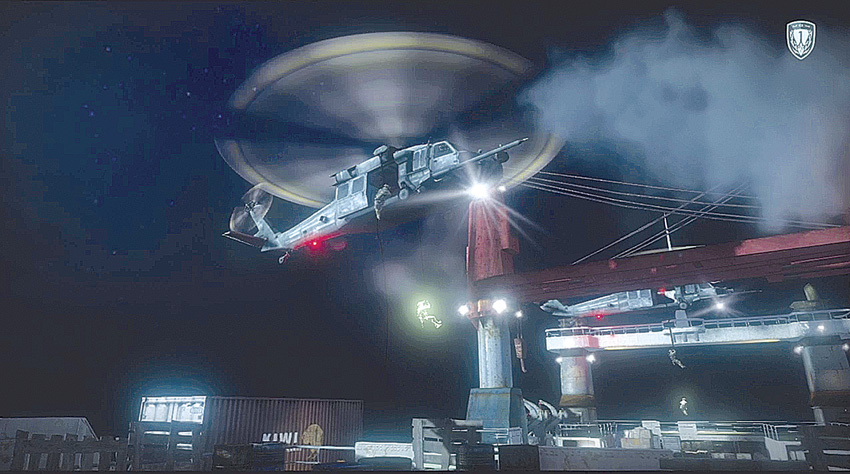
Advance through the room and exit through the door on the left side. As you do, you see Task Force Mako rappelling down onto the deck. They can provide a distraction while you complete your own personal objective.
Chase Sad al Din
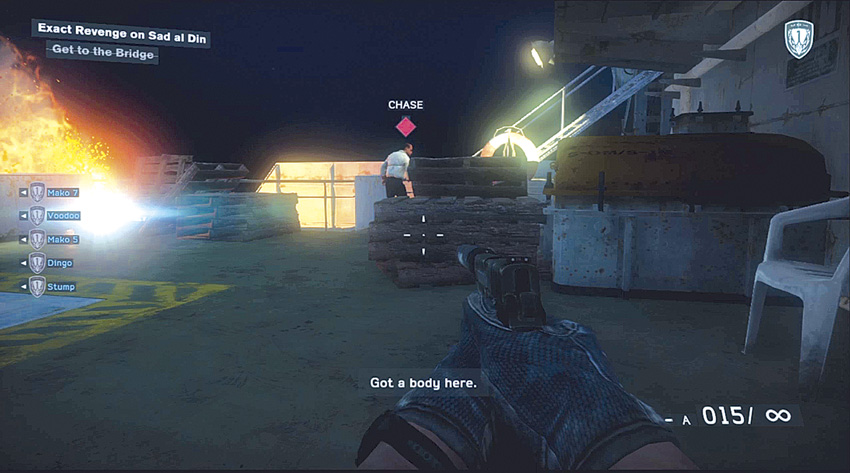
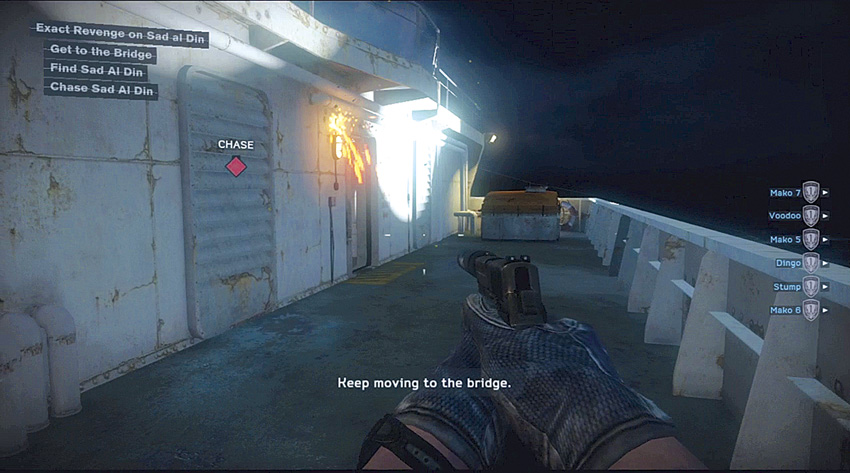
As you turn to the right, you see Sad al Din running up the stairs towards the bridge. Rush after him before he can get away from you. Follow him all the way to the bridge.
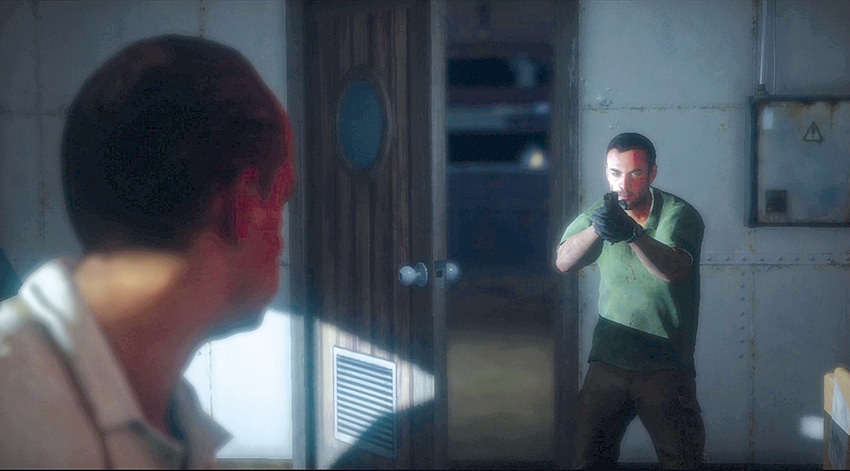
Breach a wooden door and then enter the bridge to finish your business with the man who killed your best friend and partner. “Voodoo” and the rest of TF Mako burst into the bridge and capture Sal al Din. The team then evacuates you and the captive away from the ship.