
Medal of Honor: Warfighter Guide Multiplayer Multiplayer Maps
Hara Dunes
Hara Dunes
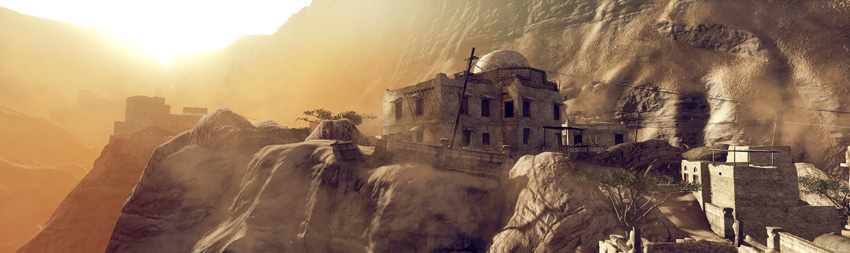
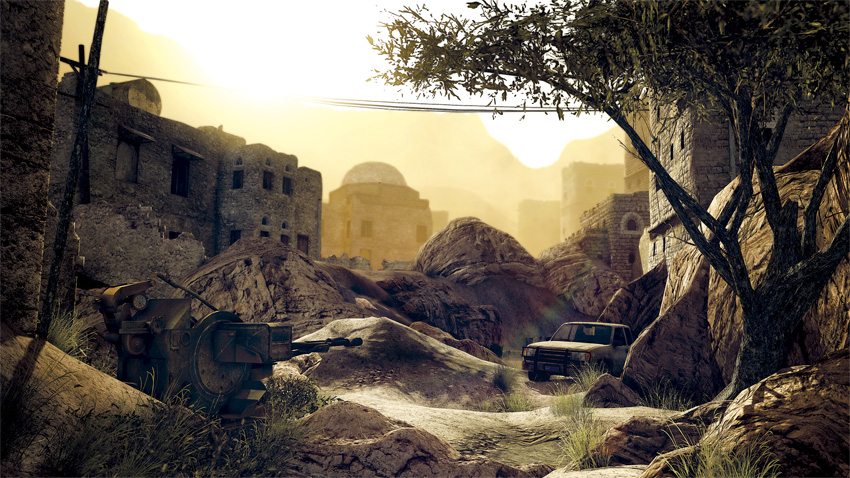
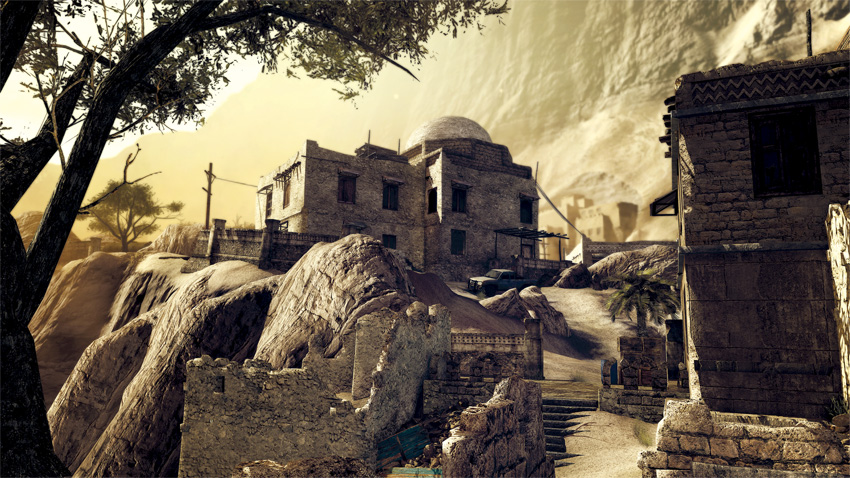
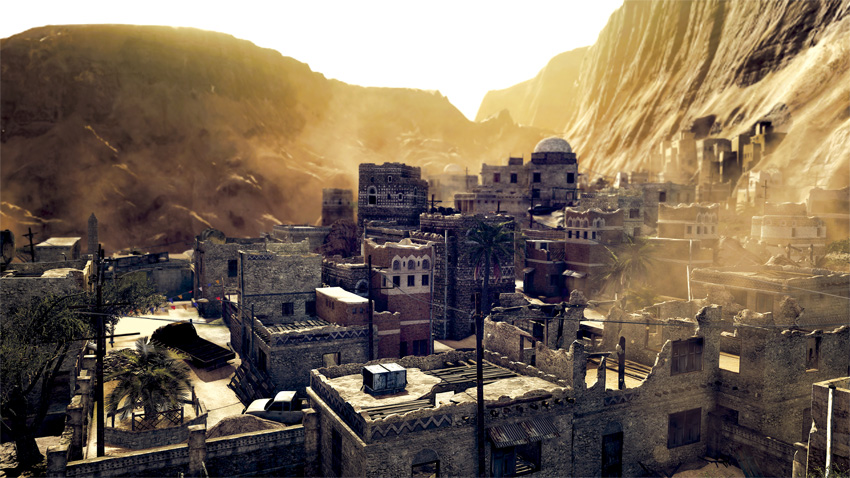
For centuries the cistern in Hara was a place of relief for pilgrims traveling across the scorching desert. But history and tradition has been lost to time as the waters ran dry and the desert reclaimed its prize. This cistern now offers little more than shelter, meaning only one side will drink from the chalice of victory.
Tactical Overview
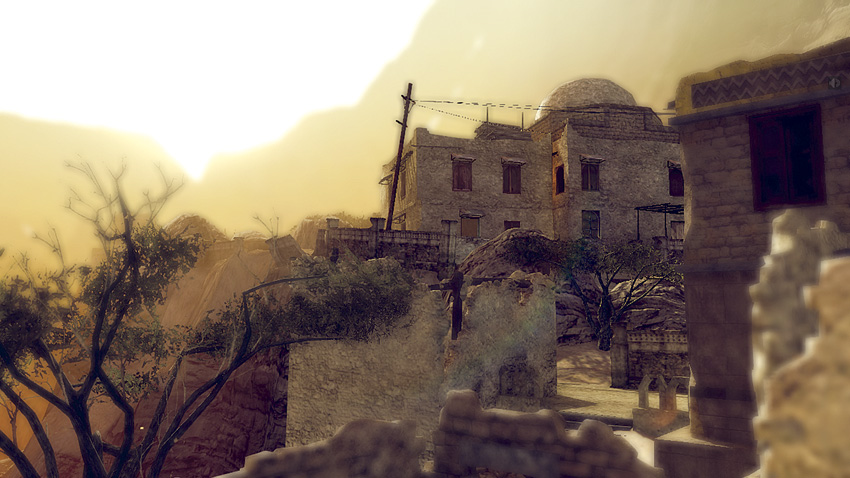
The sand from the nearby dunes isn’t the only thing that has invaded this ancient village. Establishing control on this map means securing cramped buildings and narrow alleyways. The terrain on the south and west sides of the map is fairly flat, offering relatively long sight lines down the various streets and alleys. House-to-house fighting is common here, so choose your class and weapons accordingly for better performance among the blind corners and narrow doorways—the spec ops class performs very well in this environment. The terrain on the northern and eastern sides of the map is much rockier and uneven as the structures adhere to the rise in elevation. While there’s fewer structures in this area, there are just as many choke points given the numerous paths cutting through the rocky terrain. During Hotspot, Sector Control, and Combat Mission, the fighting is often intense around the large supply cache on the north side of the map.
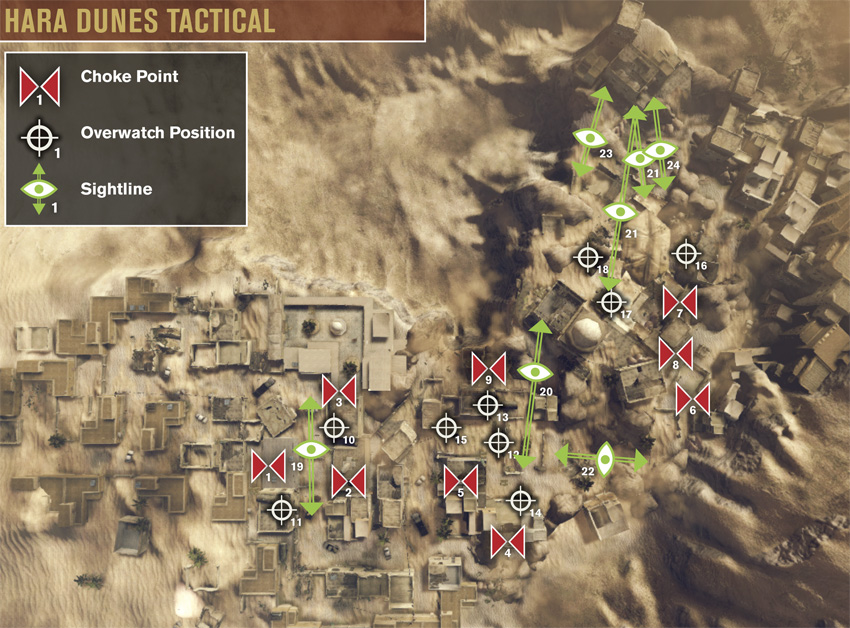
Choke Points
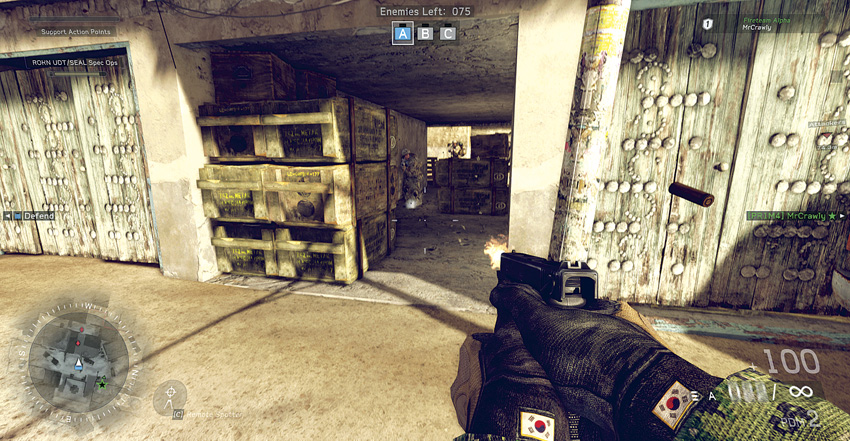

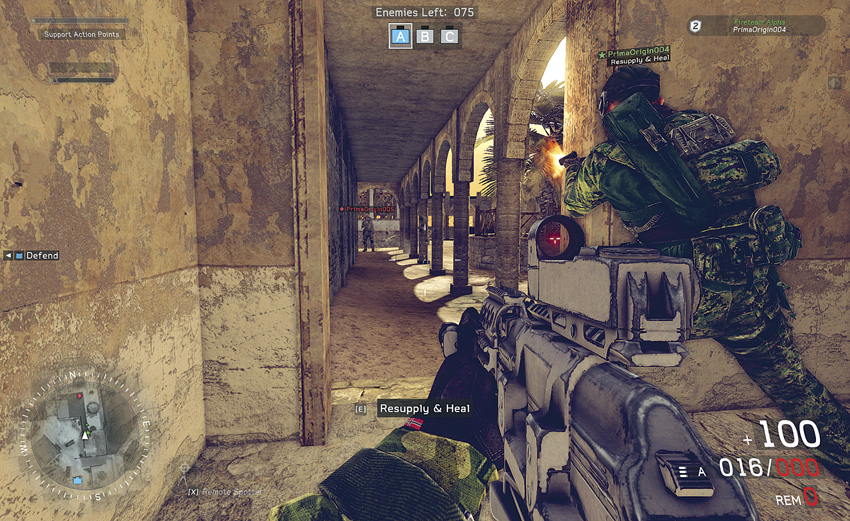
Recommended Weapons: Explosives, Shotgun, SMG
During Combat Mission and Team Deathmatch, this hallway becomes a great high-traffic close-quarters thoroughfare. Sufficient cover is provided while pushing through, but be careful of proximity mines as they may be hard to detect in such a confined space while in a firefight. Use of plenty of explosives is advised to take out any mines and enemies within this hall.
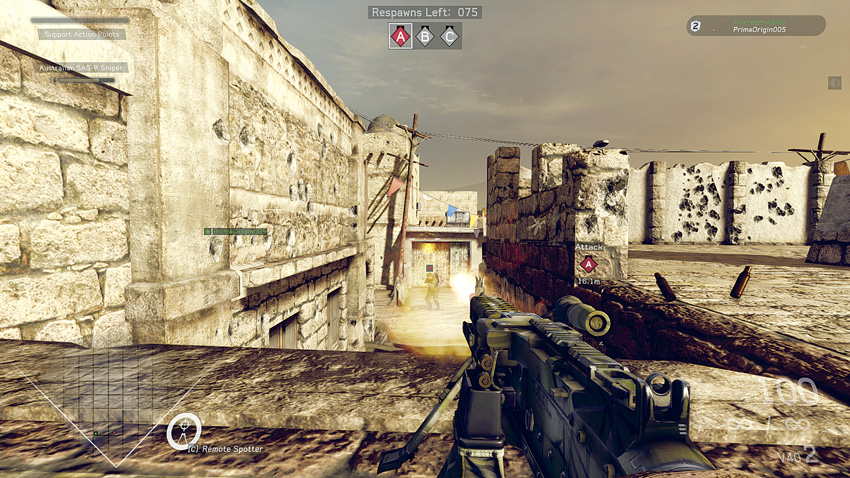

Recommended Weapons: Explosives, LMG (supported), Assault Rifle, SMG
During Combat Mission and Team Deathmatch, this stairway and the other one just like it provide a good place to lay down some heat on any unsuspecting enemies as they move through this contested street and head for the nearby bomb site. The element of surprise will quickly dissipate, and once your position is known it’s likely to receive one or two grenades. With this position’s usefulness spent, vacate the area ASAP, and find another point of ambush. Using either of these stairways can result in being flanked from the other.

Recommended Weapons: Explosives, LMG (supported), Assault Rifle, Sniper Rifle
During Combat Mission and Team Deathmatch, the team spawning from the east will use the southern flank to get into the house overlooking the street, so covering the halls leading to it is a necessity. If the enemy gets a foothold on the overwatch then it may be tough to take back. Defending the hall from anyone attempting to move through here is crucial, and shouldn’t take more than a couple people with the use of sufficient LMG suppressive fire and plenty of explosives. Use lean to engage from the doorway. Staying here can result in being flanked from the rear, so having someone cover your six is very important.
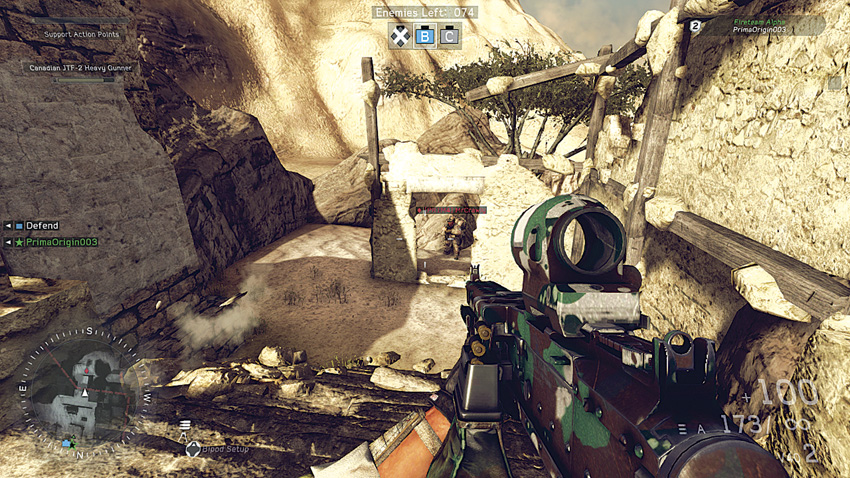

Recommended Weapons: Explosives, LMG (supported), Assault Rifle, SMG, Shotgun
During Combat Mission’s second phase, this path sees plenty of movement. Use the provided cover and elevated advantage to hold attackers at bay. Use of supported LMGs is possible, but it would be best to remain mobile. Hold it down with a fireteam buddy if you hope to keep the position. Place a proximity mine right next to the doorway. It’s important to cover this less likely flank if only for its proximity to the objective.
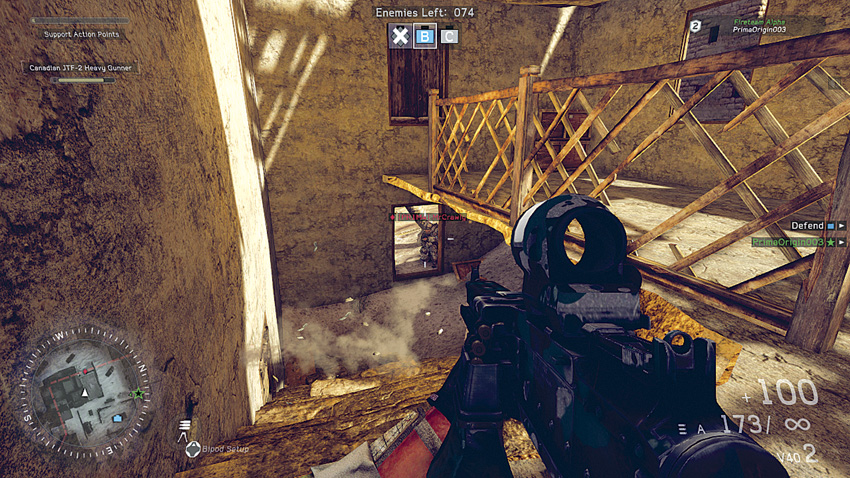

Recommended Weapons: Proximity Mines, Shotgun, LMG, SMG, Assault Rifle
During the Combat Mission (bomb site B) and Sector Control, this house becomes a great alternate path from the southern main street used in order to reach the South Base or bomb site B. This is ideal as a quick path if the building is secured by friendlies, but could prove difficult to pass through if proximity mines are located within. The team defending the objective should fire down from atop the staircase using the windowsill for cover. If attackers make it up this staircase, they can make this their stronghold and use it to lay down cover fire for their teammates planting on the point.
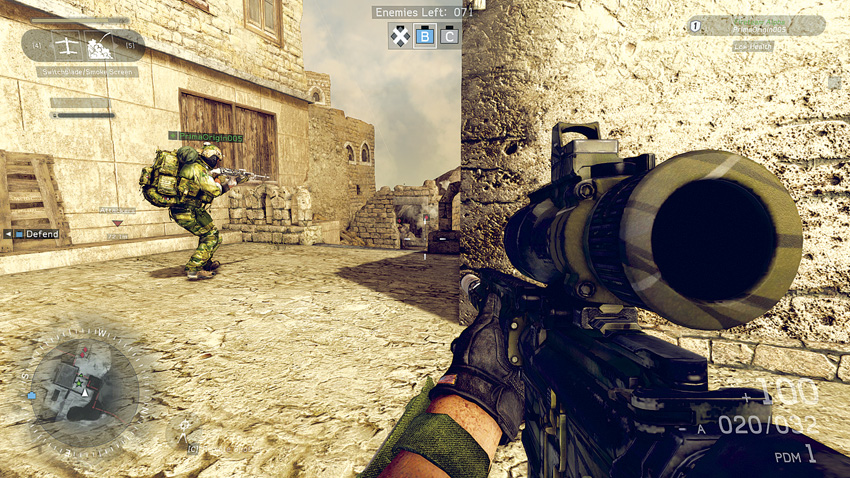

Recommend Weapons: Explosives, LMG, Assault Rifle, Sniper Rifle
During Combat Mission and Sector Control, this path might have light foot traffic, but teams will be vying for the overwatch building. During Combat Mission, this path should be used to flank bomb site B. The path is tight with plenty of cover, so lean around those corners. Throw grenades liberally along with heavy mid- to long-range weapon fire.
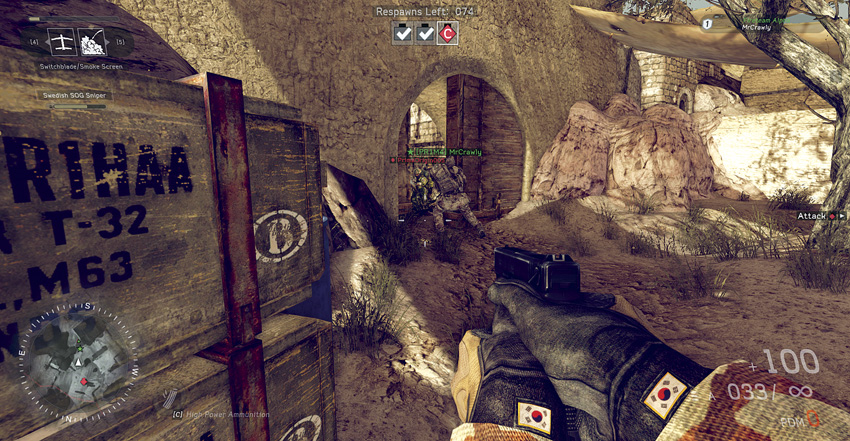

Recommended Weapons: Explosives, Shotgun, SMG, LMG, Assault Rifle
During Sector Control and Hotspot, this door will become congested with plenty of bodies. Bust through here, moving between objectives, using short- to mid-range weapons. This point is made for proximity mines to catch those foolish enough to move through this doorway quickly. Doors like this are grenade magnets, so do not attempt to use it if an enemy is aware of your intent to move through. Rather than fall prey, use this door to lie in wait for anyone blitzing through.
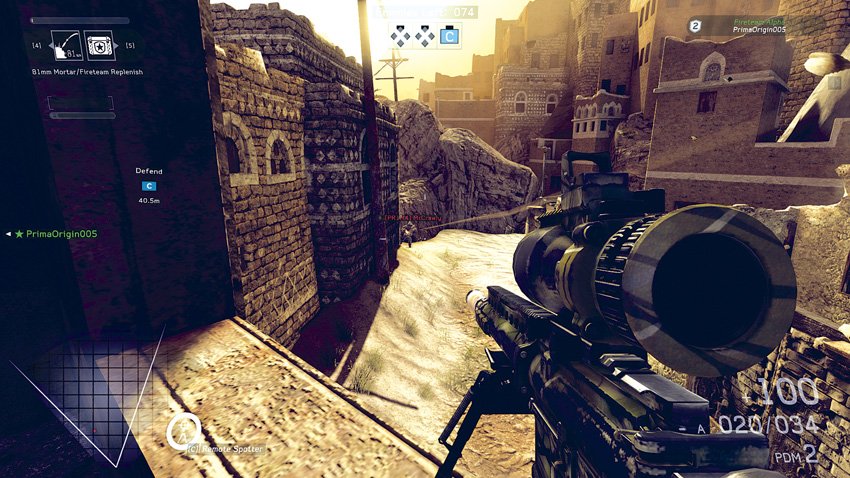

Recommended Weapons: Explosives, Assault Rifle, LMG, SMG, Sniper Rifle
During Sector Control and Hotspot, this is a high-traffic area as players transition between bases and potential targets. Enemies will come around the corner of the building coming from the large door. This spot also doubles as a decent overwatch position too, with clear views of the Center Base and the nearby potential target. The window is also ideal for a deployed LMG to lay waste to any enemies too preoccupied with engagements on the lower level. After taking down a couple tangos from this elevated perch it’s time to beware of revengers attempting to flank your six.
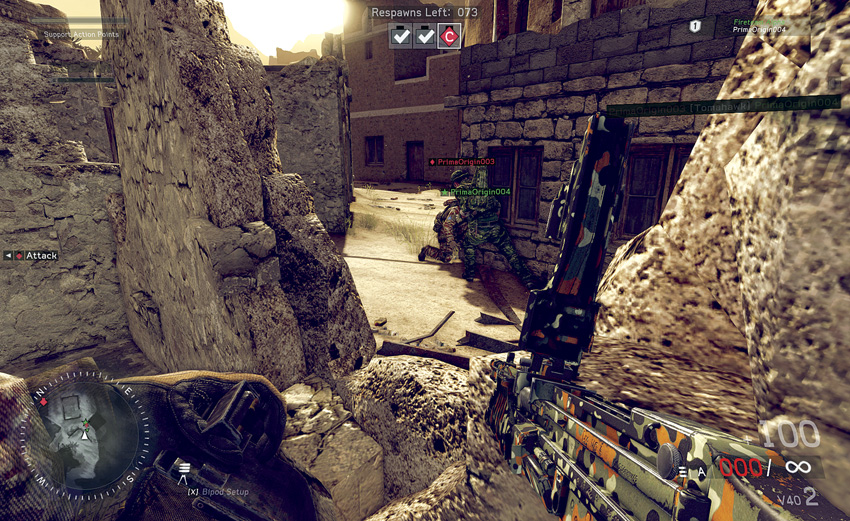

Recommend Weapons: Tomahawk, Explosives, Shotgun, SMG, LMG, Assault Rifle
This area covers the other side of the hotly contestable Center Base during Sector Control, or a potential target during Hotspot. Use the ruins for cover to fire on anyone in the open as they offer very little cover comparatively. Stay mobile as enemies can flank the left, right, or rear approaching from South Base. Stay mobile and maintain a line of sight with your fireteam buddy for resupply. Also watch out for incoming grenades. With its low walls and tight spaces, grenade usage is very common here.
Overwatch Positions
.jpg)
.jpg)
.jpg)

Recommended Weapons: Explosives, Assault Rifle, LMG, Shotgun, Sniper Rifle, SMG
During Combat Mission and Team Deathmatch, this second-story overwatch provides a crucial view of the entire street. During Combat Mission, the attackers will want this post in order to cover friendlies arming the first charge. Use all the windows to your advantage, but do not linger in one window for long or you may attract grenades. The staircase will be flanked hard and often. Keep an eye on your six and your radar to intercept any opponents hoping to take this point for their own.
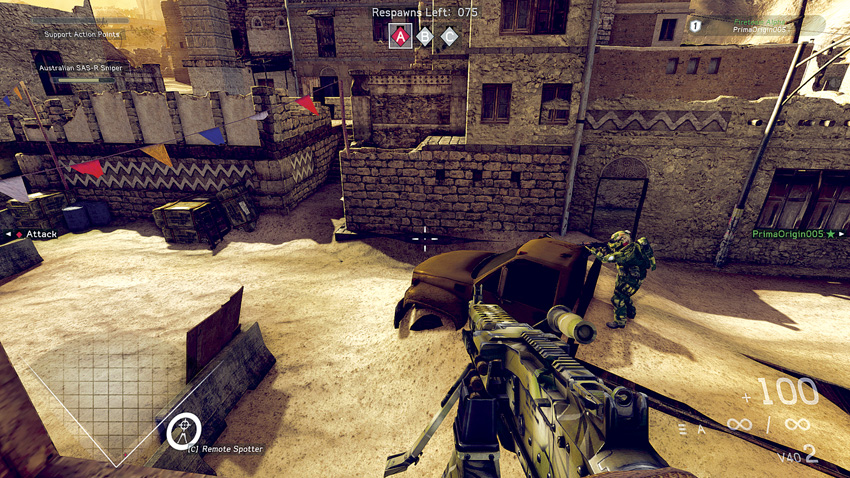

Recommended Weapons: Explosives, Assault Rifle, LMG, SMG, Sniper Rifle
During Combat Mission and Team Deathmatch, this overwatch is just as viable as the last. This is another window that attackers will use to cover anyone arming the first charge during Combat Mission. Drop that bipod and fire on anyone in the courtyard, ruins, or the other building’s windows. Enemies will have a clear view of you sitting in this window from a long distance, so try to remain clandestine prior to engaging the enemy. This position can be flanked from the rear, so consider this while your mind goes into adrenaline-induced slow motion.
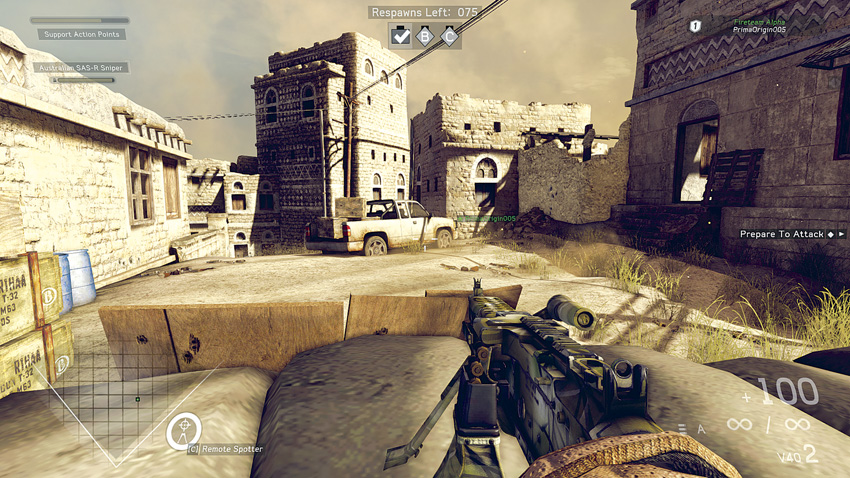

Recommended Weapons: Grenades, Assault Rifle, LMG, SMG
During Combat Mission, this road will see heavy traffic coming from the attackers’ spawn point. Take position behind the sandbags for some cover. Mounting the LMG is possible, but stay mobile. Once attackers see that the road is being covered they will try to flank from the house to the left and you will want to cover that building with plenty of grenades. Enemies can also flank from the building to the left, so watch that doorway.
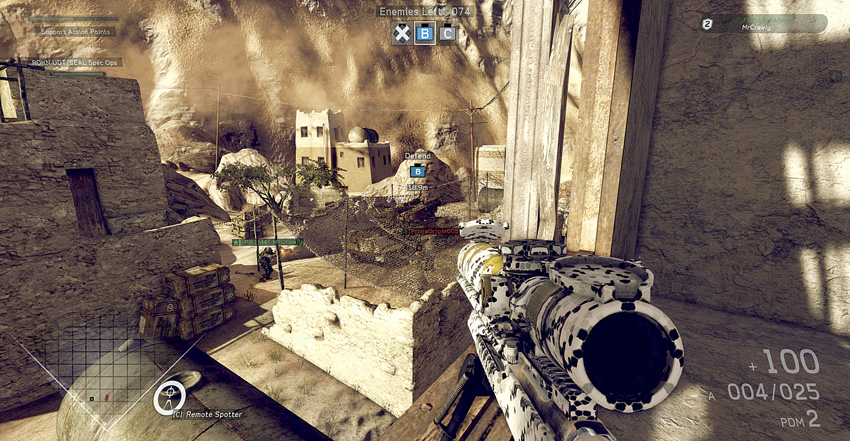

Recommended Weapons: LMG (supported), Sniper Rifle
During Combat Mission, Hotspot, and Sector Control, this overwatch covers bomb site B, a potential target, or South Base. Defenders might be spread thin during Combat Mission covering most of the other choke points, so it’s advantageous for attackers to get a sniper or LMG into the building to provide covering fire for anyone planting a charge on bomb site B. During Sector Control and Hotspot, this window has a clear view of the path between two key locations. This position is easily flanked from the staircase behind, so listen carefully.
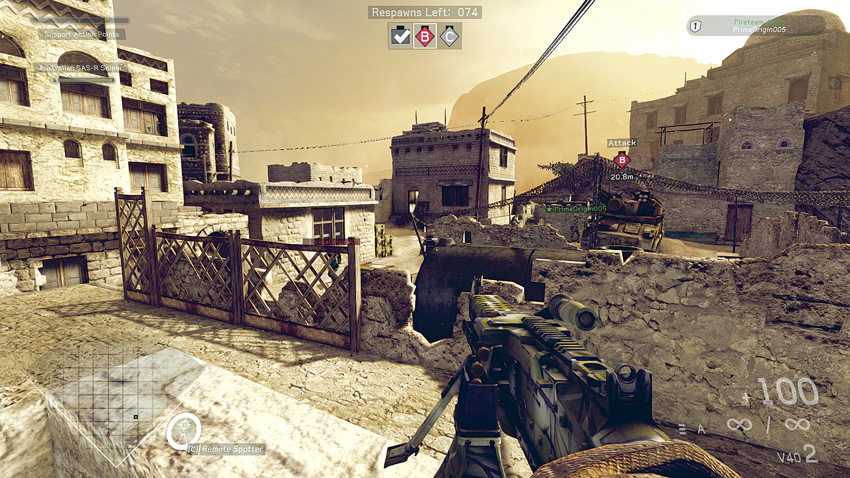

Recommended Weapons: Assault Rifle, LMG (supported), Sniper Rifle
During Combat Mission, this is a good post for the high-traffic road approaching bomb site B. Defenders are flanked from the staircase pathway, while attackers can use it for suppressive fire. Keep a fireteam buddy close by for support. While playing Sector Control, this position overlooks South Base. While playing Hotspot, it overlooks a potential target. This is ideal for the southern team to defend South Base, but watch out for snipers in the buildings or approaching paths from Center Base.
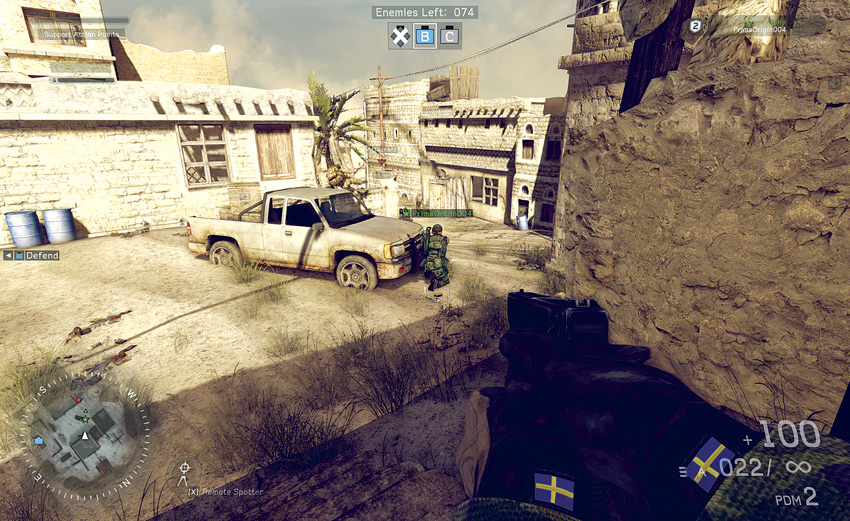

Recommended Weapons: Explosives, Assault Rifle, LMG, Sniper Rifle, SMG
During Combat Mission, this doorway overlooks a high-traffic path. Move back inside the building and through the other door to cover the other path. It’s important to cover these flanks fluidly as enemies are likely to move into this building to take hold of the upstairs overwatch. Using the doorway, or the more forward position near the truck, defend this pathway, but also pay attention to the window in the adjacent building. If attackers are coordinated enough to push at the same time into the house, this position could be flanked from both sides. Booby trap the doorways when possible.
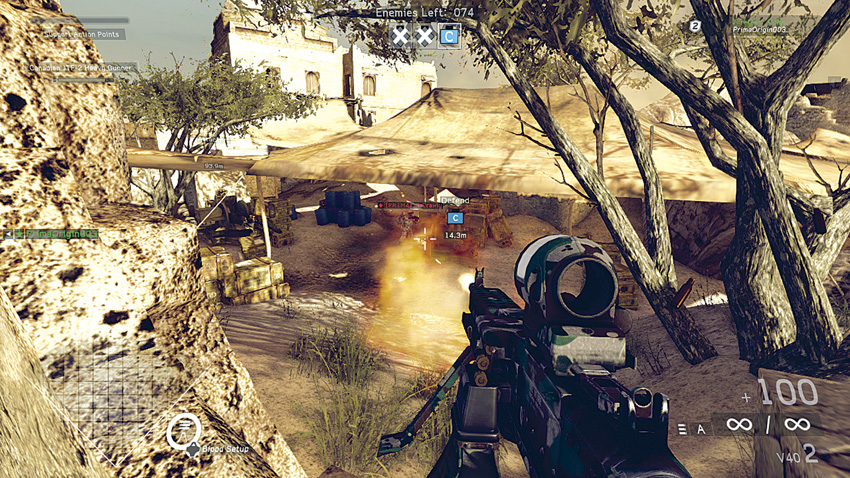

Recommended Weapons: Grenades, Assault Rifle, LMG (supported), Sniper Rifle
Consider this point predominately useful for those spawning at the northern spawn point. During Combat Mission, this position looks directly over bomb site C while also providing exceptional cover and superior elevation. Enemies will have trouble detecting your presence until they’re in the killbox at bomb site C, but a sniper in the building with the dome roof will have no trouble finding anyone camping here. During Sector Control, this point covers a high-traffic path between North Base and Center Base. An enemy would have to go out of the way to flank from the rear. During Hotspot, this point is located at a potential target, so use this overwatch loosely while defending other paths leading into the site.
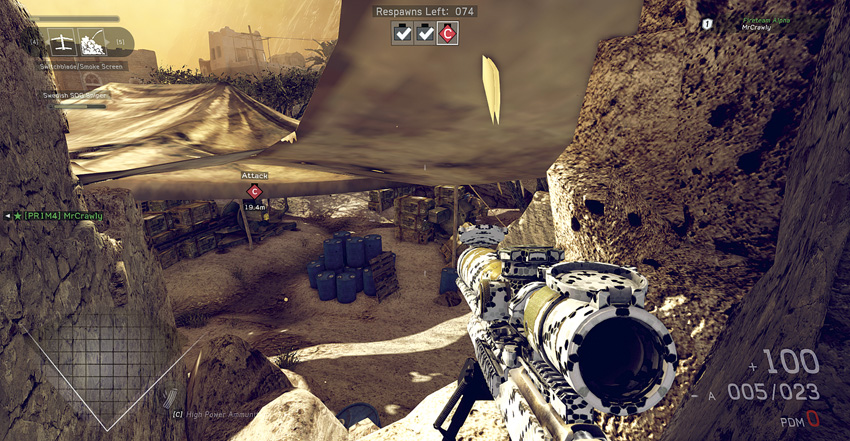

Recommended Weapons: Explosives, Assault Rifle, Sniper Rifle, LMG (supported)
This point will undoubtedly be used to assault bomb site C during Combat Mission, and perhaps even to get a couple kills while people use the area as a path between points in Sector Control or Hotspot. Snipe defenders without worries by dropping a proximity mine, since it’s a tight space dark enough to go unnoticed in a rush.
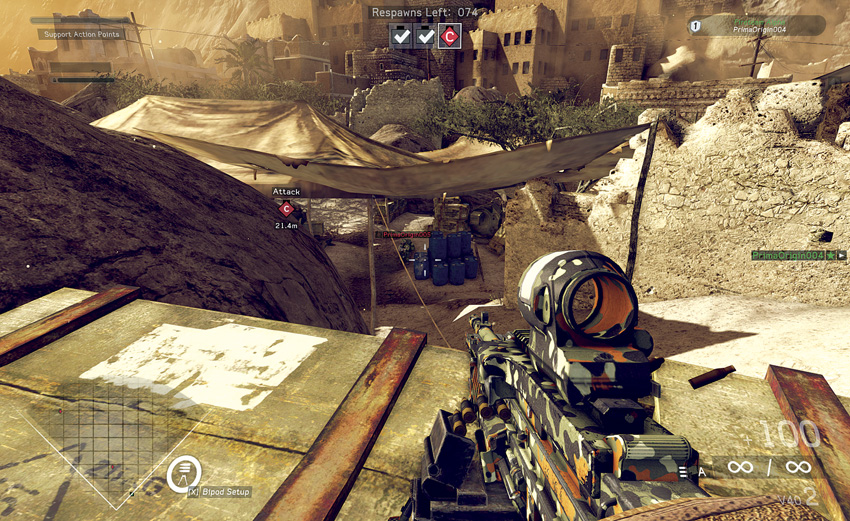

Recommended Weapons: Grenades, Assault Rifle, Sniper Rifle, LMG (supported)
During the assault on bomb site C in Combat Mission, this point should be used in tandem with the overwatch in the building to the immediate right. Defenders will be attempting to take out your teammate in the other building while this position will provide enough crossfire to push them back. These two overwatches should be enough to cover anyone planting a charge. This position can be flanked from the rear via a small path.
Sight Lines
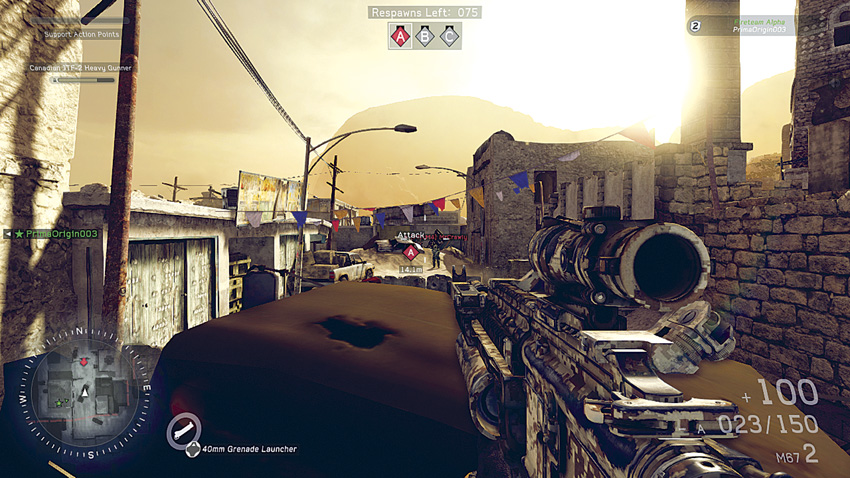

Recommended Weapons: Grenades, Assault Rifle, LMG, Sniper Rifle
During Combat Mission and Team Deathmatch, take cover behind the cab of the half-buried truck in order to gain adequate cover with a good perspective of the entire road. This position has a open view of bomb site A during Combat Mission, but should be considered tentative as it leaves you exposed to the various windows and alleys from all sides. The road is a high-traffic area good for a few kills, but bug out quickly to avoid a bullet to the head from the window on the left. Do not tie yourself down by using a bipod.
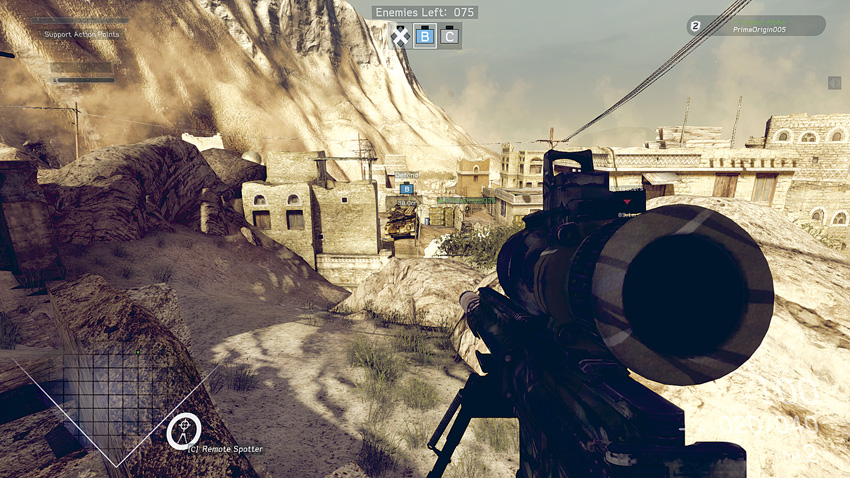

Recommended Weapon: Sniper Rifle (supported)
While playing Combat Mission, Hotspot, and Sector Control, this sight line looks directly into the respective objective points. Snipers are given a wide field of view of the area, covering plenty of points of interest. To further drive the point home, it’s nearly impossible to get flanked during Combat Mission. During Hotspot, this position is very near a potential target and overlooking another, so it would be good to use against any enemies out of range of the position.
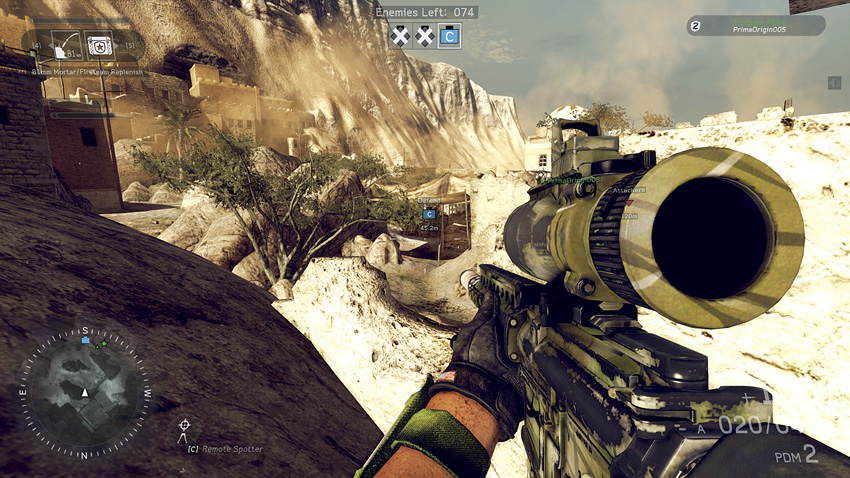

Recommended Weapons: Assault Rifle, Sniper Rifle
Considerably a great point for anyone protecting an objective in Combat Mission, Sector Control, and Hotspot. There’s some room for ground movement to get a clear shot of enemies in the area while maintaining a good deal of cover. Use of sniper rifles and assault rifles would be advised. However, it can be flanked from an elevated position on the right from a path leading to a ruined house. Enemy snipers will be searching this area as well, so be aware of enemy sight lines.
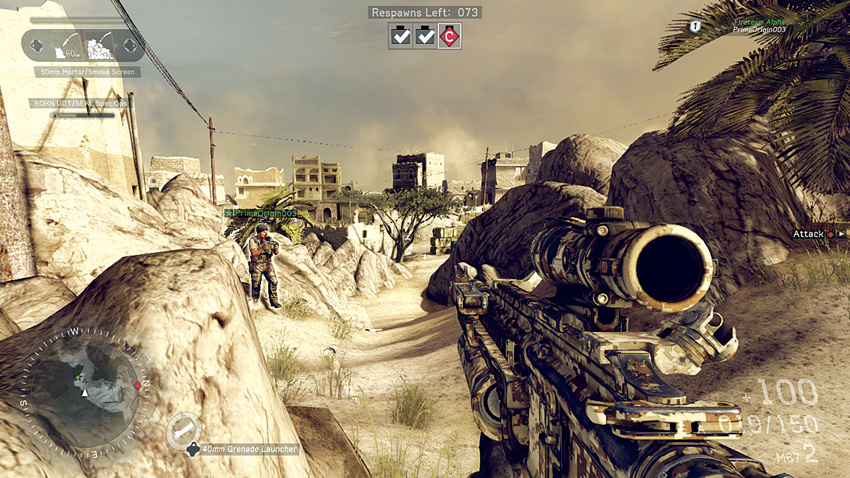

Recommended Weapons: Grenades, Sniper Rifle
During Combat Mission, this far back sight line can be used to cover bomb site B or to fire down while falling back to bomb site C. During Hotspot and Sector Control, a sniper can peer directly into a potential target or into South Base. While the position provides a good long-range advantage, it can be flanked easily by enemies on foot or by countersnipers.
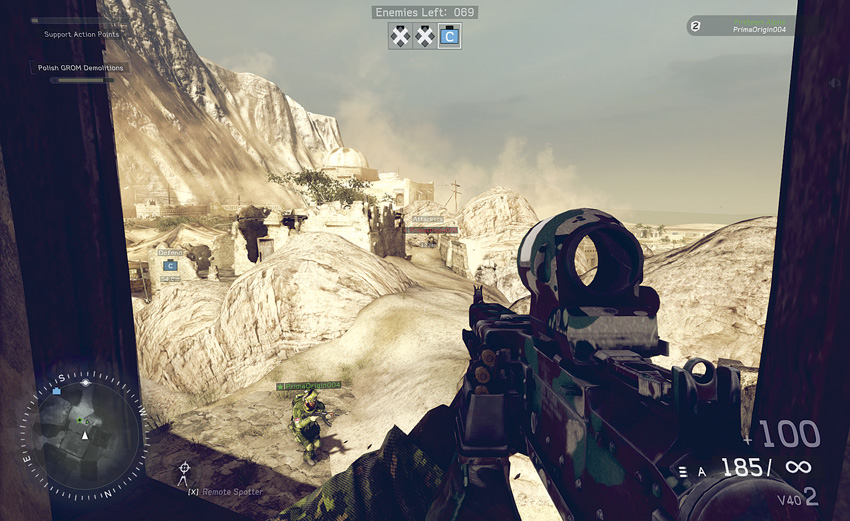

Recommended Weapon: Sniper Rifle
During Combat Mission, Sector Control, or Hotspot, this window provides a clear sight line of anyone taking the path on the right while also covering the ruined house enemies will attempt to fire from. During Hotspot and Sector Control, this path will have a good deal more foot traffic than in Combat Mission. The roof in this building has zero ceiling, so don’t think you’re protected from mortars, because you’re not.


Recommended Weapons: Assault Rifle, LMG (supported), Sniper Rifle
These second-story windows cover a good view of Combat Mission’s bomb site C, Sector Control’s North Base, and a potential target in Hotspot. When firing down from these sight lines it’s good to consider the sight lines other snipers might have, specifically the ruined house and the domed building. As soon as an enemy sniper makes an appearance, the sniper should take priority over other targets in the field.
Combat Mission
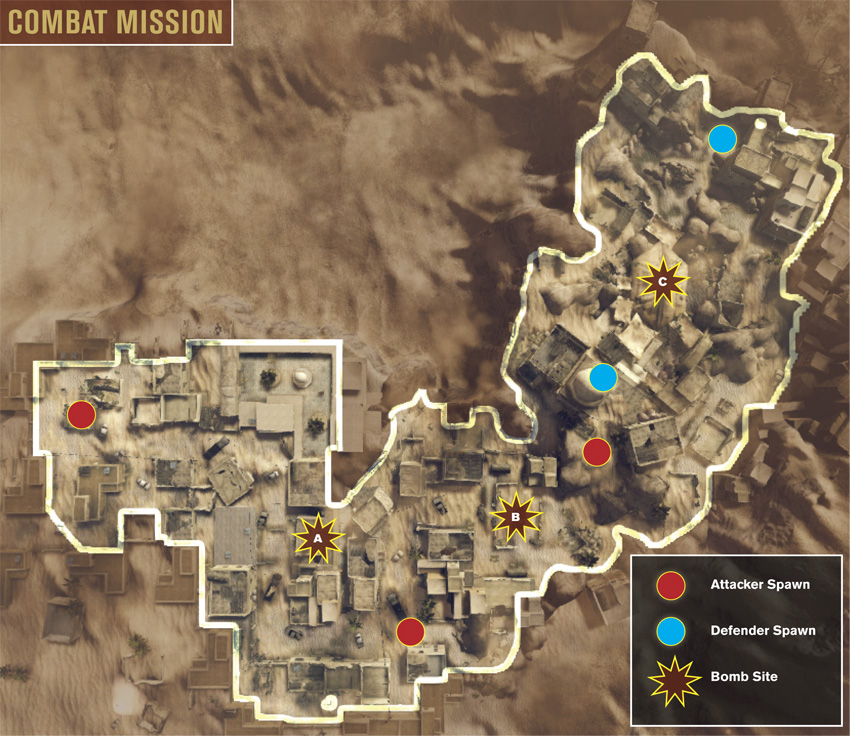
In Combat Mission, the battle starts out on the west side of the map as both teams struggle for control of bomb site A. When attacking here, always look for flanking paths to avoid getting killed in the narrow choke points between your team’s spawn point and the first bomb site. The defending team should prepare for such flanking attacks by moving some of their troops to monitor the street and buildings to the north. Securing the approaches is equally important when the battle moves on to bomb site B, near the center of the map. In addition to choke points, there are several useful overwatch positions both teams should attempt to leverage whether attempting to arm or disarm a charge. The final bomb site (C), is among the large ammo cache on the north side of the map. An array of suspended tarps shade this area, limiting sight lines—but you can still shoot through these overhead awnings. This often leads to intense firefights among the crates as both teams fight for control of this final bomb site.
Hotspot
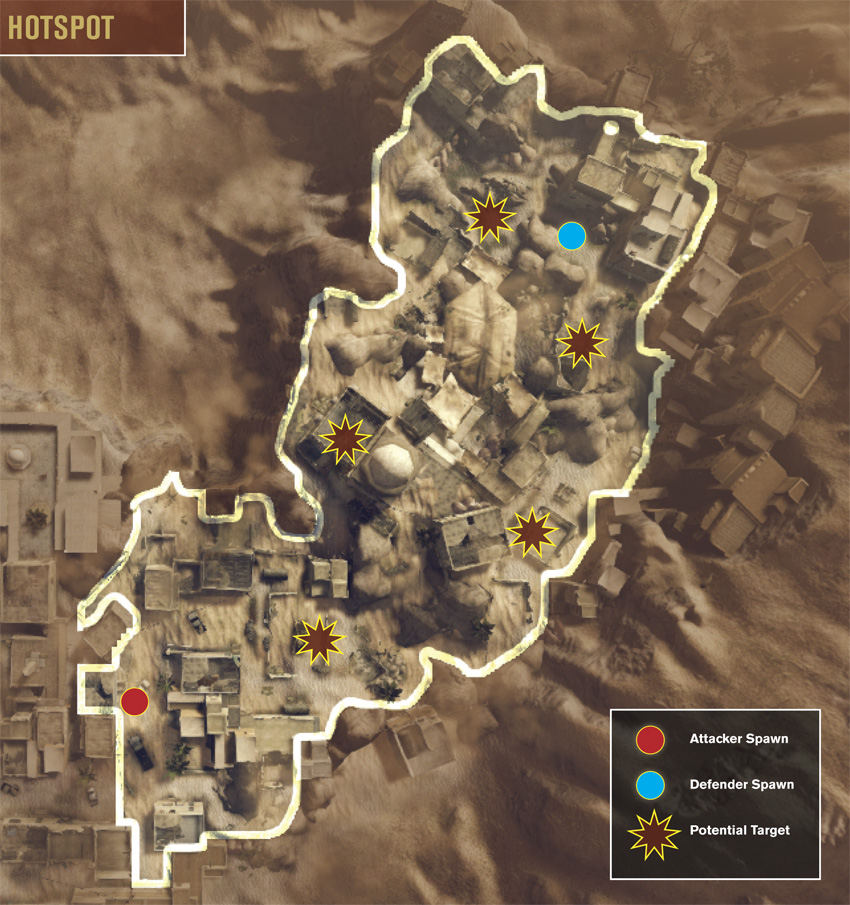
During Hotspot, the western side of the map is cordoned off, focusing the action on the eastern and northern areas of the village. The five potential targets are scattered across this rocky and uneven portion of the map, allowing the defenders to leverage the challenging terrain, choke points, and plentiful cover to their advantage. As usual, both teams should move toward the center of the map early during the round in an effort to establish a foothold near the potential targets. This is particularly important for the attackers. If the attackers loiter near their spawn point until the first target is revealed, the defending team will have an easy time locking down the target. It’s best to challenge the defenders early and often in the center of the map so they can’t establish a solid foothold near any of the targets. This is also the best way to prevent the defenders from laying siege to the attackers’ spawn area on the south side of the map. So spread out and take the fight to the enemy, even when there is no target declared.
Sector Control
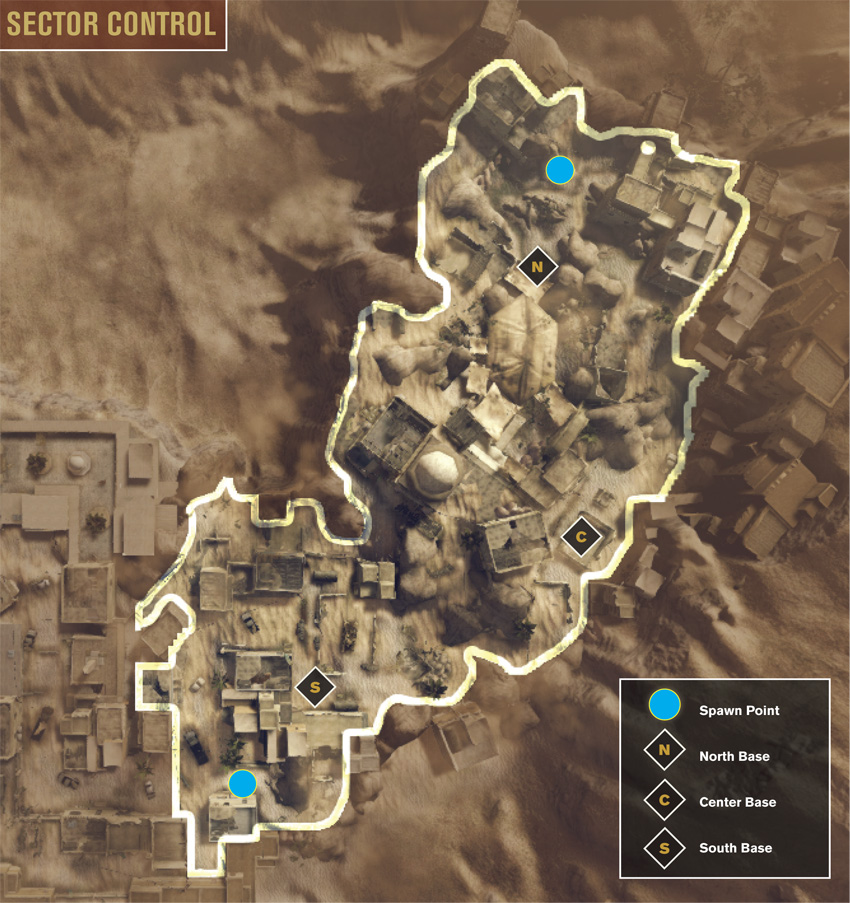
As in Hotspot, the action in Sector Control is restricted to the east side of the map. But this time the objective areas are far more focused. In most matches, the North and South Bases are controlled by the teams who spawn nearby. That leaves the contentious Center Base up for grabs. The flag for the Center Base is situated within the ruins of a small structure along the eastern edge. To capture the Center Base you must enter through one of four narrow doorways and hold near the flag pole. Converting this flag is one of the most nerve-racking experiences during this game mode as you can’t spot nearby enemies until they come barging through one of the doors. As a result, consider using proximity mines or remote charges to help defend this location against attack. While most fighting occurs near the Center Base, there’s plenty of space to slip past this area and capture the North or South Bases. These bases are rarely defended, making them easy to capture—just be ready for the inevitable counterattack approaching from the opposing team’s nearby spawn point.
Team Deathmatch
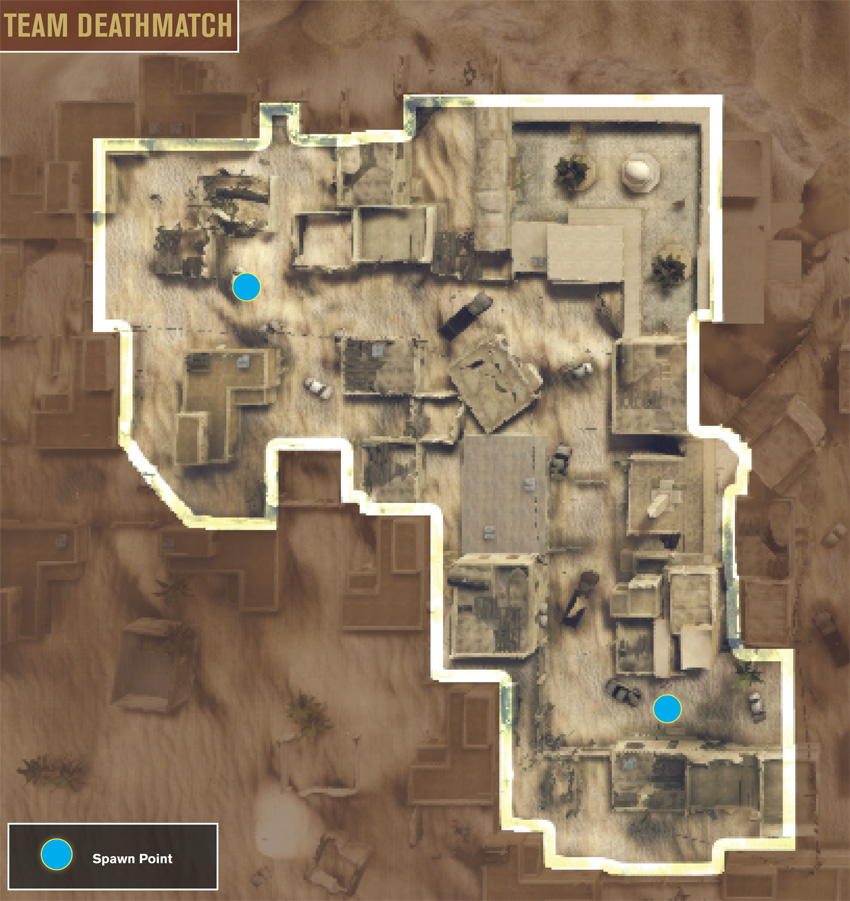
Like Home run, Team Deathmatch takes place on the west side of the map, among the cramped buildings, dusty streets, and narrow alleyways. If playing on a full server with 20 players, this map feels very, very small. Upon spawning into the match, you’re likely to come face-to-face with your first opponent in a few seconds. While close-quarters weapons like SMGs and shotguns work well for these point-blank encounters, you’ll want something more versatile when it comes to engaging opponents in the streets. The assault rifles provided by the assaulter or point man classes are good choices for a variety of tactical situations. However, think twice before choosing the sniper class unless you plan on using the G18 automatic pistol and proximity mines for the duration of the match. The map is too small and the pace is way too fast to set up an effective sniping position. In fact, there aren’t too many safe locations to hold out at. Instead, stay close to your fireteam buddy and keep moving, sticking to the buildings and alleyways to boost your team’s score.