Medal of Honor: Warfighter Guide Walkthrough Single Player Walkthrough
Unintended Consequences
Briefing
- Task Force Mako—”Preacher”
- Karachi, Pakistan
- 24°50’N 66°58’E
- Objectives: You begin the mission teamed up with “Mother”. The two of you must infiltrate a terrorist-held port facility and destroy a shipping container with terrorist supplies and weapons inside. Once this is accomplished, advance to the extraction point and egress from the area.
Loadout
Primary - M4 with red dot scope/iron sights
Secondary - Silenced Pistol
Frag Grenades - x6
Story
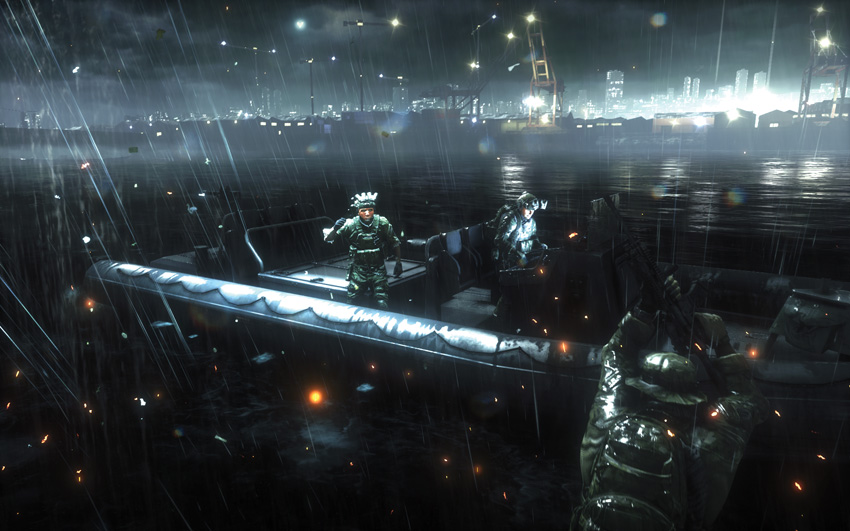
“Eight Weeks Ago” Mako is on a mission to destroy a specific cargo container about to be loaded on a merchant vessel. Their goal is to enter by stealth plant and detonate the explosives and get out without ever being there. That’s the plan. Plans rarely survive first contact with the enemy.
Phone Call Part 1
Our protagonist, Preacher talks with his wife on the phone. Things are not going well in the relation- ship. But we get a hint that things aren’t going well professionally either. There is turmoil in and out of the relationship.
Blow Up Truck
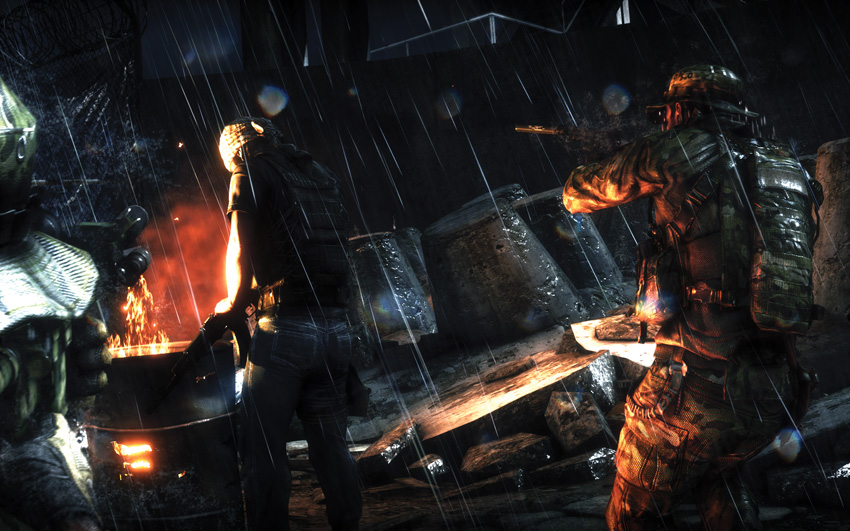
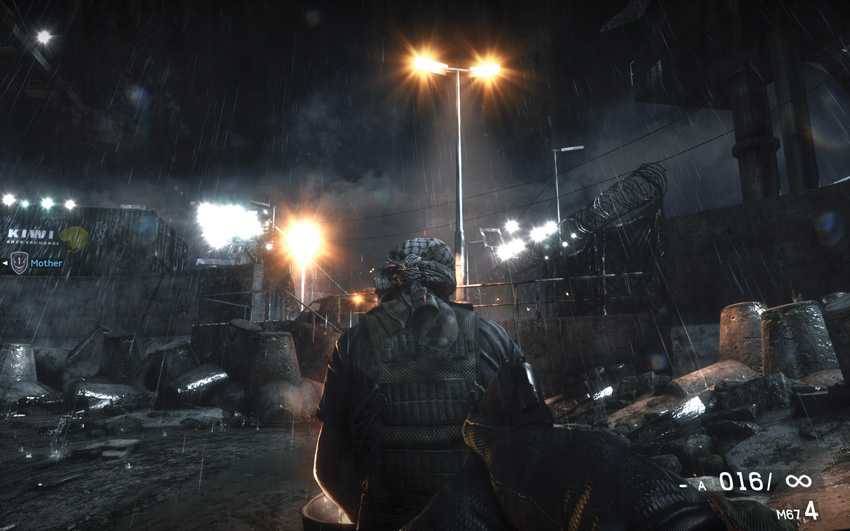
“Mother” and you silently emerge from the water near the port facility. The first part of this mission requires absolute stealth. You are the lead for this first part of the mission with “Mother” there to provide support and help guide you along as needed. As you don’t want the terrorists to know you are in the area, you must use your pistol, which has already been fitted with a silencer on the end of the barrel. This is perfect for now because all of your engagements are at very close range. Once you gain control of “Preacher”, your character for this mission, move quietly up behind the terrorist sentry. Take aim at the back of the target’s head and then squeeze the trigger to take him out with a single, suppressed round. He drops to the ground and no one is the wiser.
Locate Target Vehicle
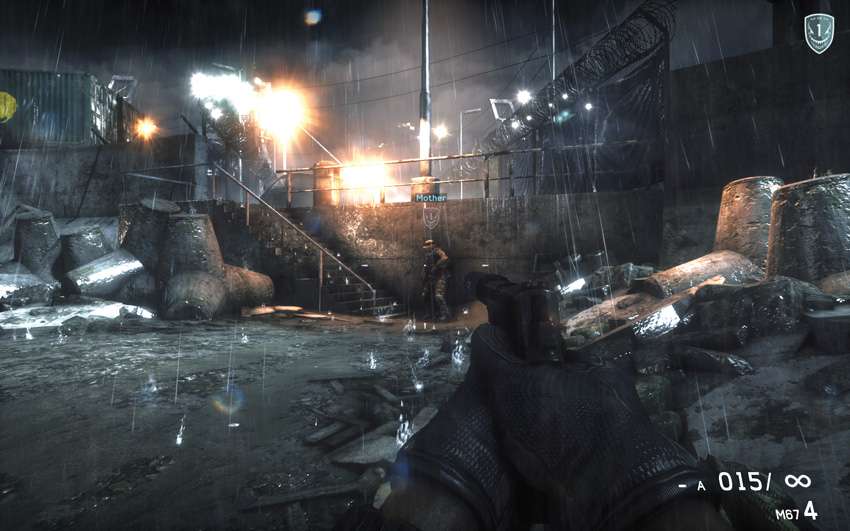
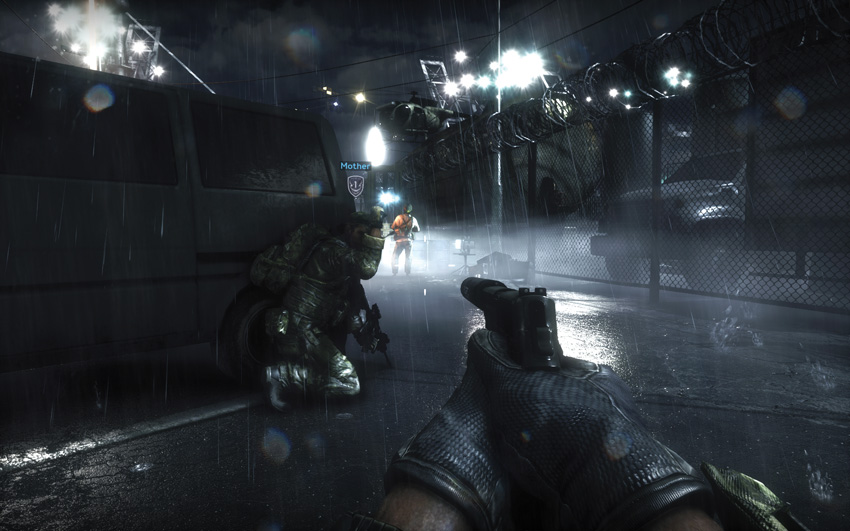
“Mother” advances ahead of you and toward some stairs. As you follow “Mother” to the stairs, reload your weapon so it is fully loaded before your next engagement. Continue following “Mother” to a van and take cover. An enemy helicopter is patrolling around. Stay behind the van until the chopper flies past and “Mother” gives you the signal to continue.
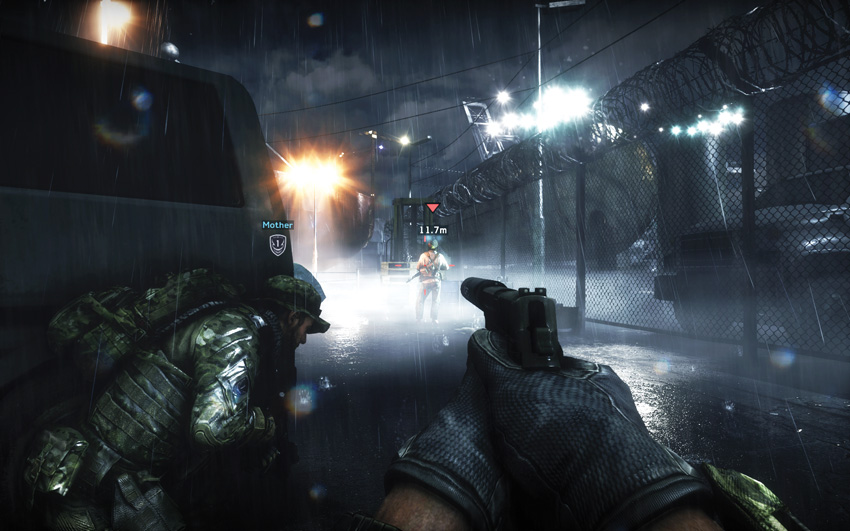
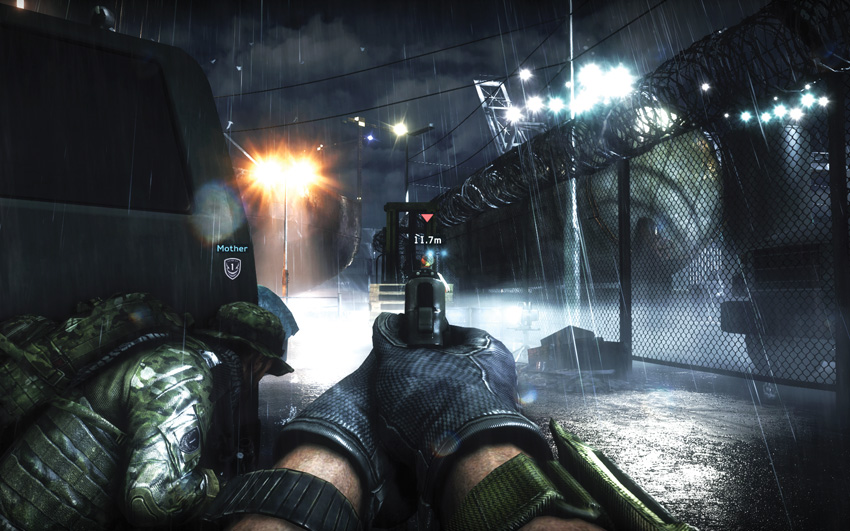
Move out from behind the van and slowly approach the next terrorist sentry. Don’t get too close or you may alert him. Take aim at the back of the terrorist’s head and pull the trigger. Another shot, another terrorist down—and still the enemy does not know you are in the port facility.
Plant Charge
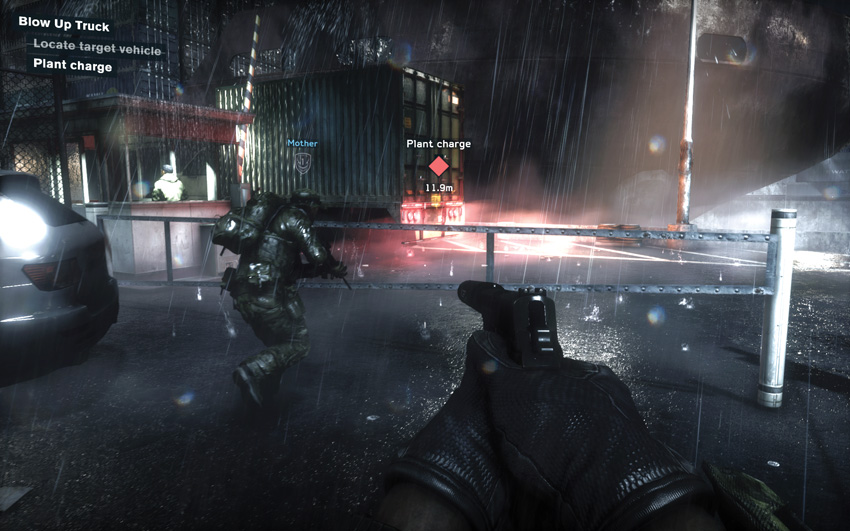
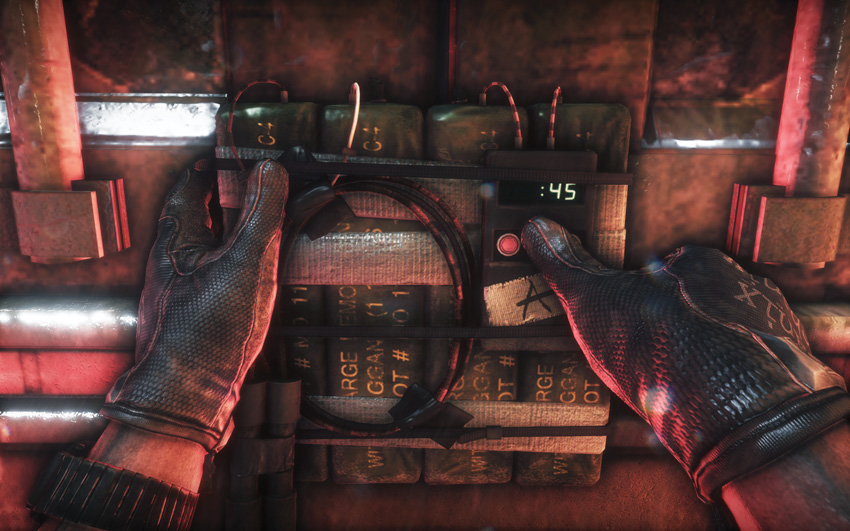
It is time to move out. A truck is approaching the checkpoint at the entrance to the port area. Move quickly, jumping over a short gate and get in behind the truck. You are carrying the explosives, so plant them on the back of the truck following the on-screen instructions. “Mother” continues to cover you while you complete this task.
Eliminate Gatehouse Guard
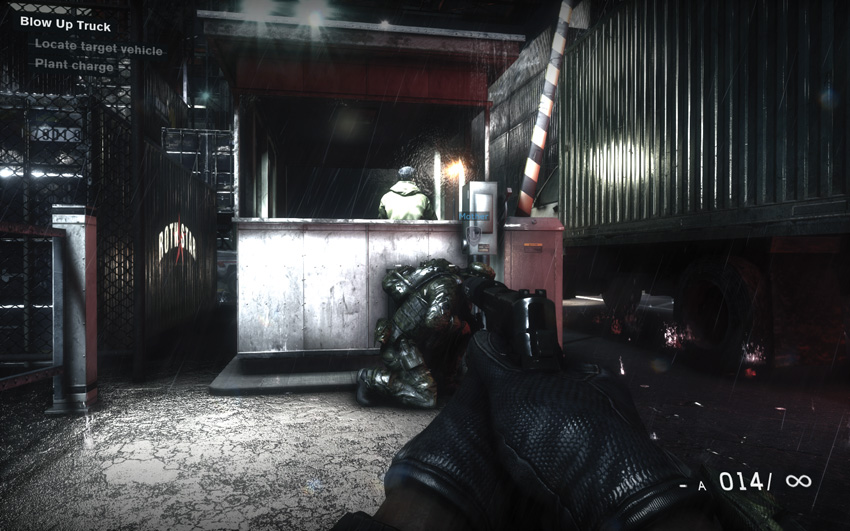
Once the explosives are set, quickly move to the left and take cover behind the checkpoint structure. A single terrorist sentry is inside. However, don’t kill him just yet. He has to open the gate to let the truck through. Wait until the truck is driving past the checkpoint, then take aim at the back of the terrorist’s head. Take him out with a single, silenced shot before he can turn around and notice “Mother” and you right next to his structure.
Detonate Charge
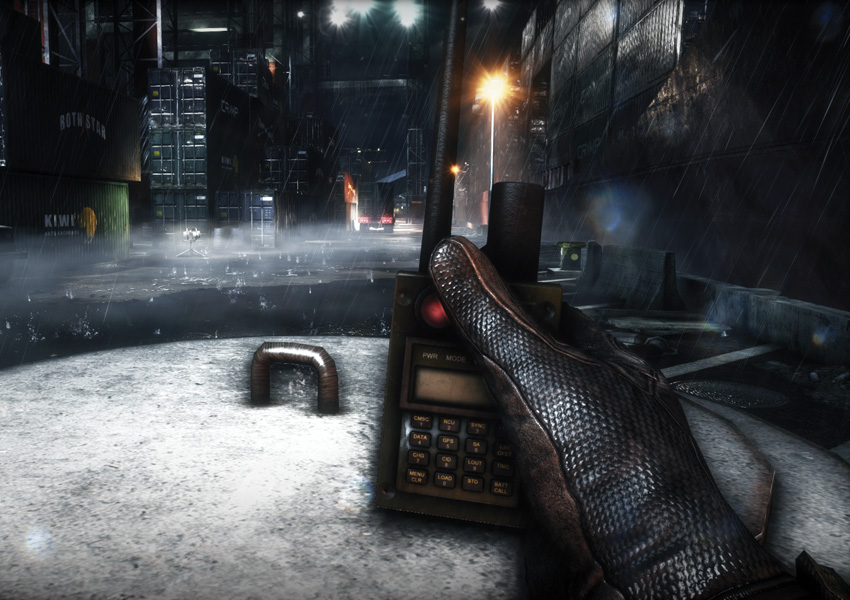
Once the terrorist at the checkpoint is neutralized, move to the right of the gate and take cover behind a concrete barricade. Wait for the truck to drive farther into the port facility. “Mother” lets you know when it is far enough away for you to safely detonate the explosive. Press the button on the remote detonator in your hand and watch the action as the truck blows up. However, the resulting explosion is much, much larger than what should have resulted from the charge you placed on the truck. Not only is the truck vaporized, but the entire dock area looks like a war zone. Cranes are falling over and containers are falling everywhere. Your route out of the area is blocked, so you need another way to extract.
Get to Extraction Point
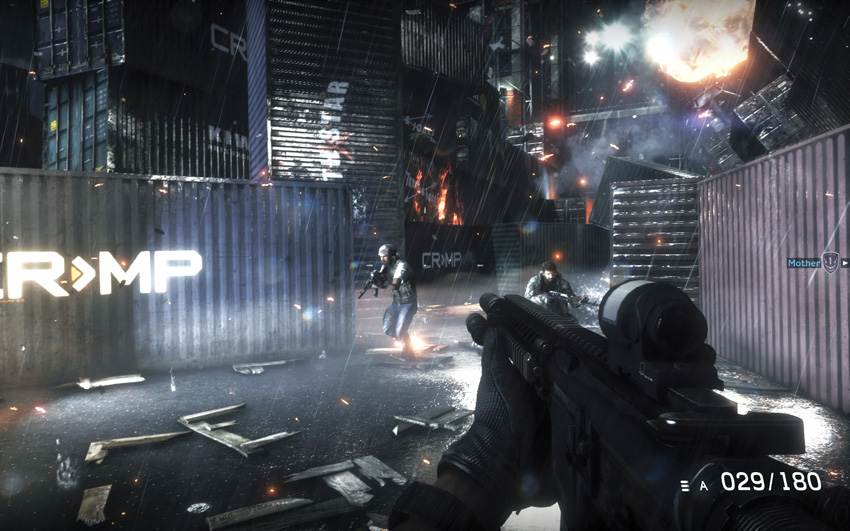
After the explosions begin to subside, you automatically switch to your rifle, which is equipped with a red dot sight. You can use the red dot sight by holding down the aim button. “Mother” and you now need to get out of dodge and make it to the end of the dock to the new extraction point. Begin to advance along the dock. Watch out for a terrorist who moves out from behind a shipping container. Take aim and drop him. Continue forward a bit and get ready to take down a second terrorist in this area.
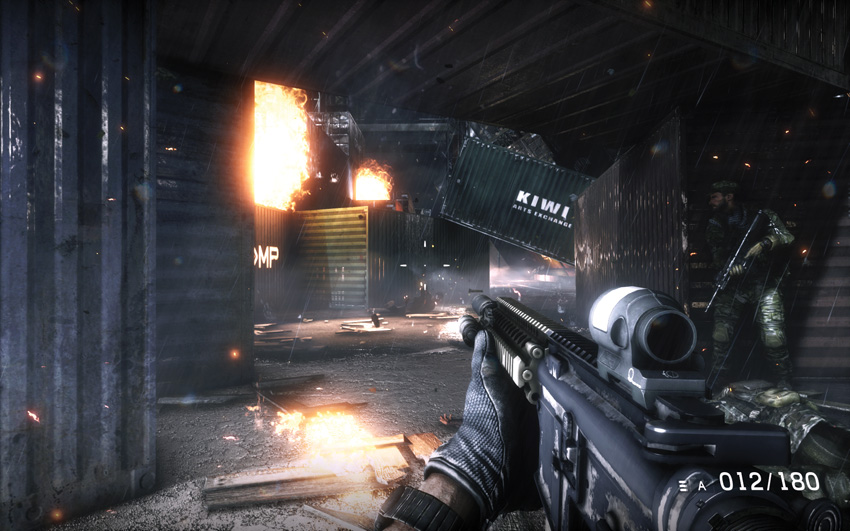
Follow “Mother” as he advances. Be ready to let loose with your rifle on enemies who run out in an effort to get away from the flames. As you advance, try to look for cover to the sides of your path—just in case you come under fire and need some protection.
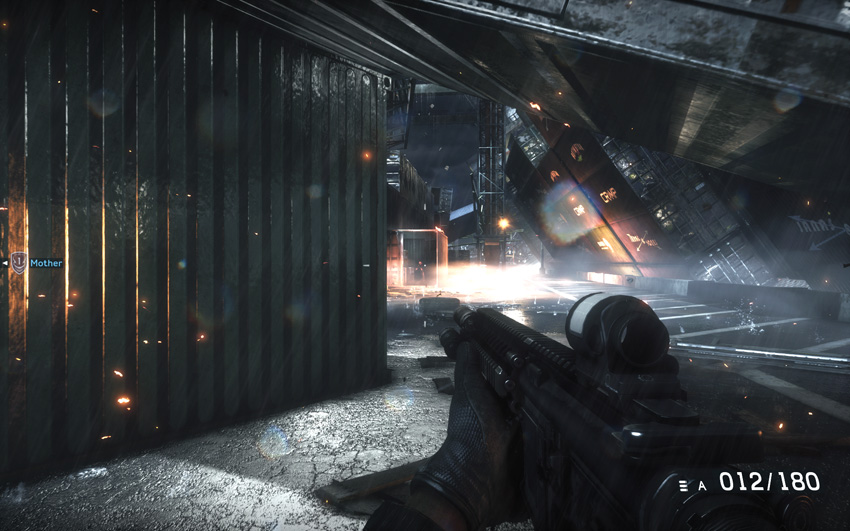
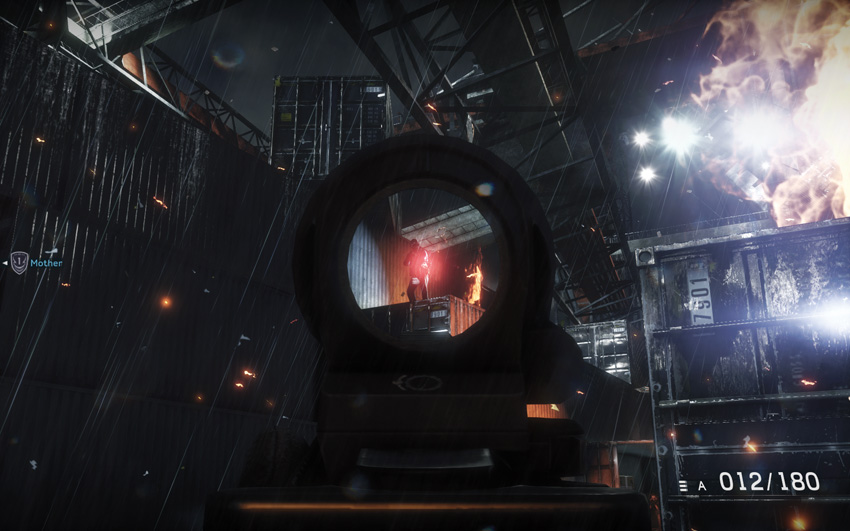
As you come across a shipping container laying over your path, take caution. There is a terrorist inside a shipping container on the other side. Try to take him out with long-range fire before going under the container. Another enemy, this one on fire, comes running out from the left side. Drop him as well. As soon as you advance under the container, you come under fire from an enemy on top of some containers to the left side of the dock. Take aim and kill him before he can hit you.
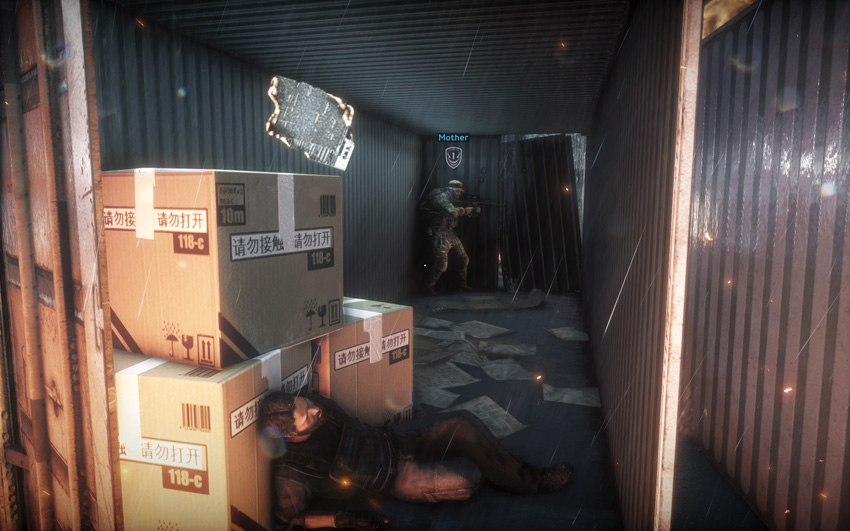
Once the hostiles in this area are neutralized, follow “Mother” into the open shipping container. He opens the door on the far end and leads you up a series of fallen containers as you make your way to the end of the dock.
Eliminate Hostile Helicopter
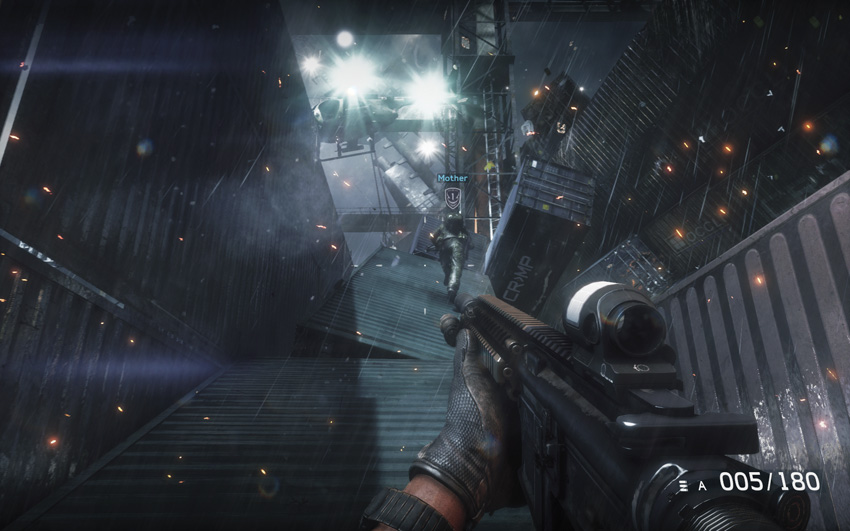
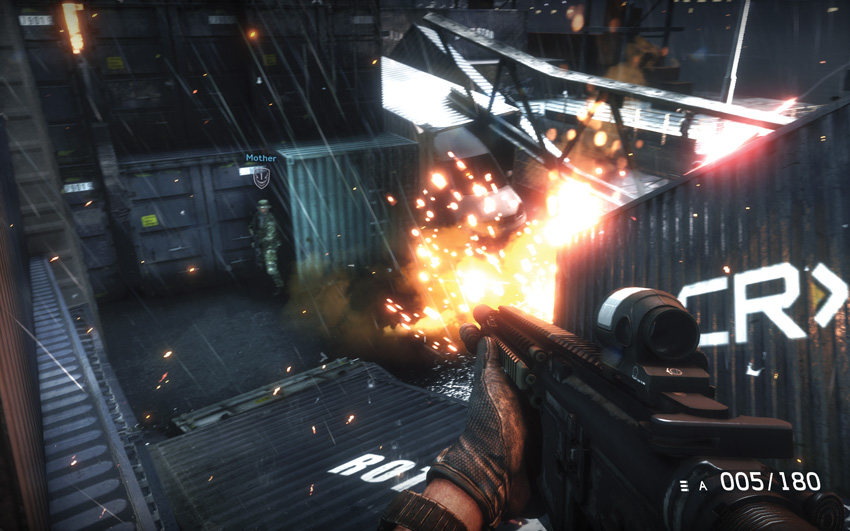
As you follow “Mother”, the enemy helicopter appears overhead. It is armed with machine guns, so you need to move quickly across the tops of the containers. Stay on “Mother’s” six while he advances and makes a series of left turns. As you get to the dock, a couple of terrorists are guarding the area. They are usually focused on “Mother”, so take the opportunity to drop the closest one before he opens fire on you.
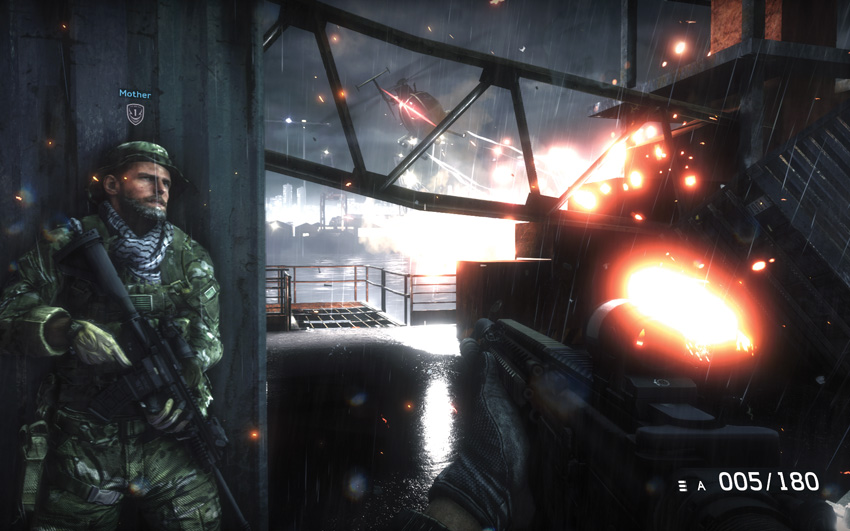
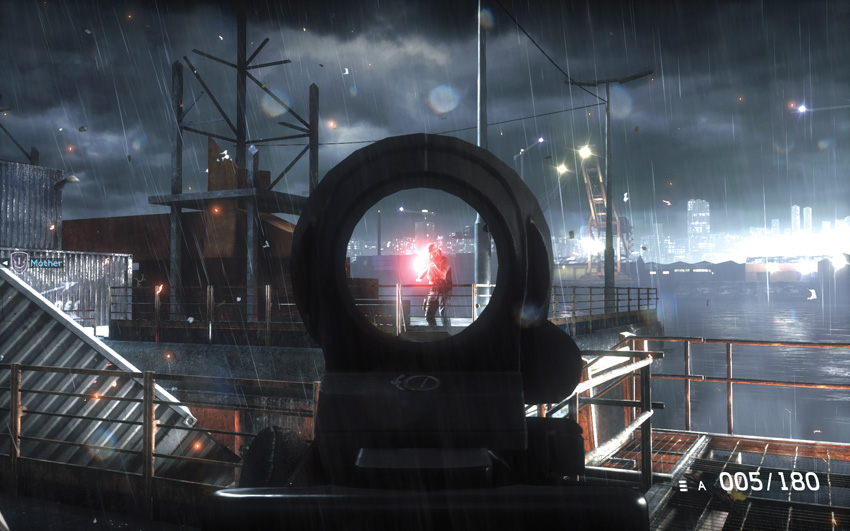
Once the hostiles are down, get behind cover near “Mother” as the helicopter makes a strafing run with its machine guns. After it moves past you, move out from behind cover and take out the second terrorist on the dock who is blocking your way to the extraction point.
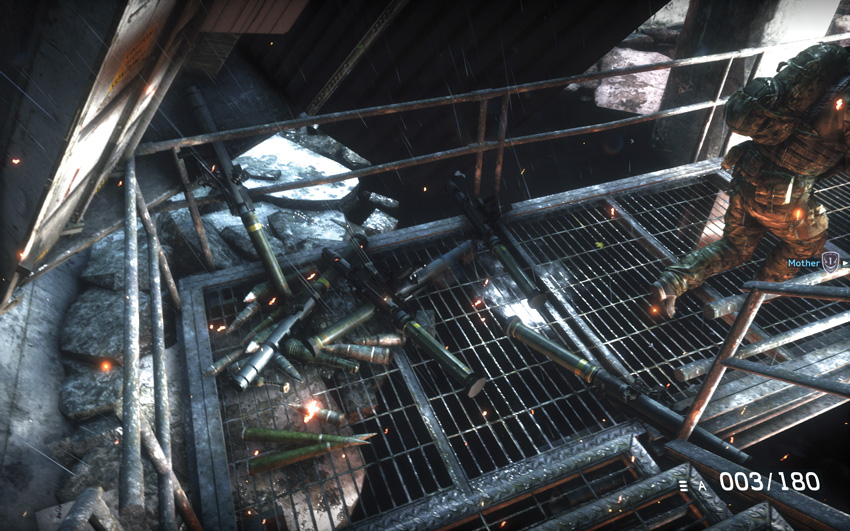
As soon as he is down, follow “Mother” along the catwalk that leads below the dock. Move quickly because the helicopter is headed back for another strafing run. Pick up one of the SMAW (Shoulder-launched Multipurpose Assault Weapon) lying on the catwalk near the pier. You need to use it to destroy the helicopter.
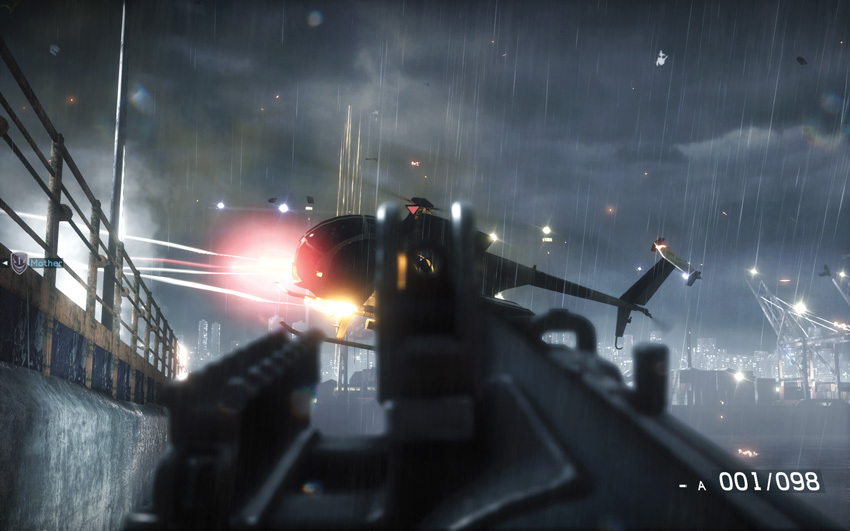
After grabbing the SMAW, rush under the pier and take cover among the concrete pier pilings. The helicopter makes strafing runs against you. Stay behind cover to avoid getting hit.
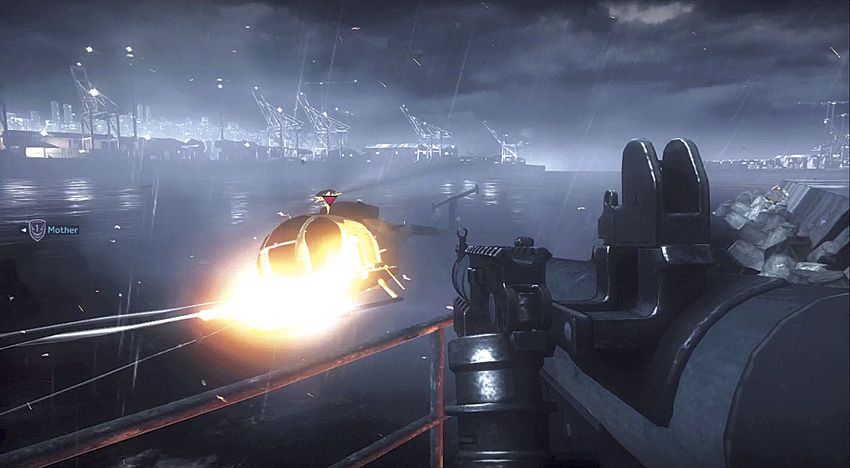
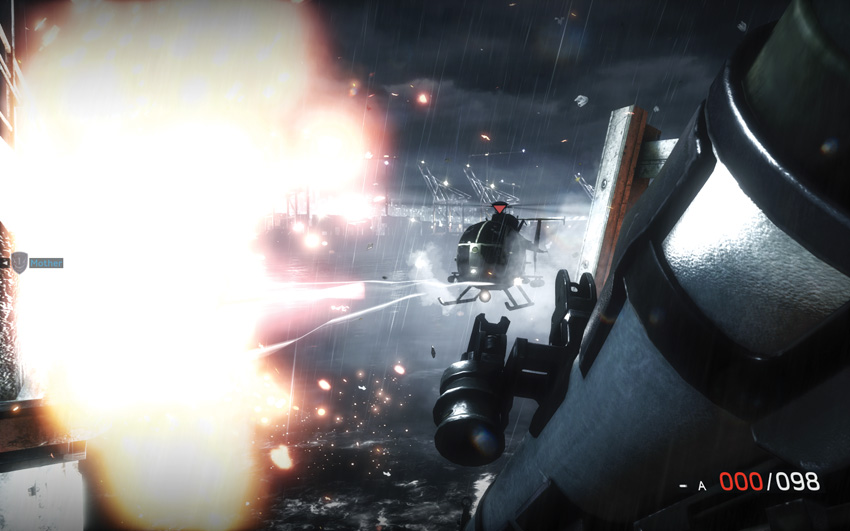
Make sure the SMAW is loaded and when the helicopter begins a strafing run, quickly move up the stairs from the catwalk and take a shot at the side of the chopper while it is trying to get “Mother.” If you miss, rush back down to the pier, take cover while you reload, and then try the same tactic again. Once you get a hit, the helicopter loses control and begins to spin until it crashes.
As soon as the helicopter is destroyed, rush to the end of the catwalk where the rest of your team is waiting with a Zodiac to extract you. As you leave the scene of the destruction, you can’t help but wonder what the hell was in that container. What could have caused such a huge explosion?