
Medal of Honor: Warfighter Guide Multiplayer Multiplayer Bootcamp
Classes & Weapons
Classes and Weapons
In Medal of Honor Warfighter, you select one of six classes to play, each with its own unique characteristics, weapons, and appearance. Pick from assaulter, heavy gunner, sniper, point man, special ops, or demolitions to find the class that best suits your style of play. In addition to this, as you progress through your multiplayer career you can unlock new national units, allowing you to play as a wide mix of special operators from around the globe, such as the U.S. Navy SEALs, Polish GROM, British SAS, or German KSK. With each new unit you gain access to new weapons and attachments for each class, adding more customization options to your online experience. Experiment to find the best combinations for different game modes and maps. Play to the strength of each class to lead your team to victory.
Class Abilities
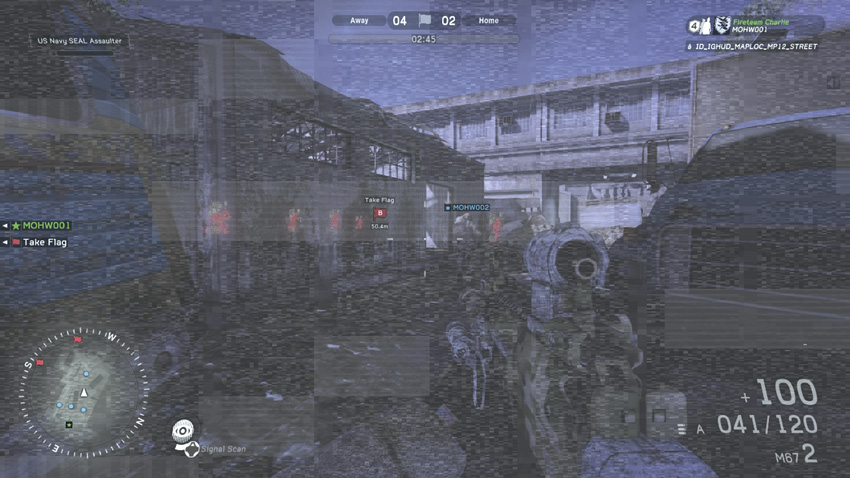
The spec ops’ signal scan ability is great for identifying the heat signatures of opponents, particularly during Home Run matches.
Each of the six classes has a unique ability designed to give them an edge over the competition. Your character’s class ability is shown on the HUD, represented by a small icon to the right of the minimap. The icon also shows the button press required to activate the ability. Some class abilities can only be used one time, such as the point man’s heavy hitters, a special magazine loaded with high-damage-output ammunition. But other abilities can be used multiple times, like the spec ops’ signal scan, or the heavy gunner and sniper’s bipod. During the heat of combat, it’s common to forget about these special abilities. But if used in the right situations, you can gain a significant advantage over your opponents.
Abilities
| Class | Ability | Description |
| Assaulter | 40mm Grenade Launcher | Fires a high-explosive grenade round, capable of killing multiple enemies. |
| Demolitions | Ballistic Armor | Imbues soldier with a heavy layer of armor. Offers protection but impedes movement. |
| Heavy Gunner | Bipod Setup | Can be deployed on the ground or low cover to stabilize light machine gun for improved accuracy and reduced recoil. |
| Point Man | High Power Ammunition | Loads a magazine of high-damage-output ammunition at the cost of heavy recoil. |
| Sniper | Remote Spotter | Can be deployed on the ground or low cover to stabilize sniper rifle. Sniper can also spot targets while bipod is deployed |
| Spec Ops | Signal Scan | An x-ray vision-like ability allowing soldier to glimpse the heat signatures of nearby opponents, even through solid walls. |
Support Actions
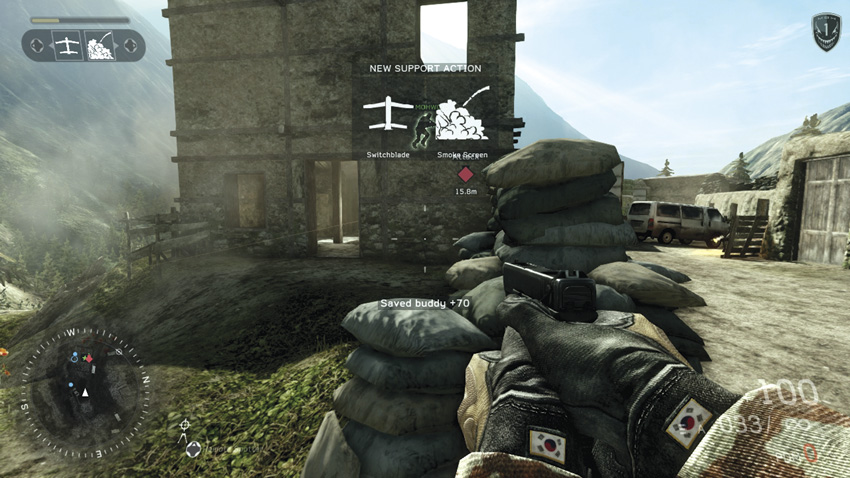
Available support actions are prominently displayed on the HUD when they are earned. Stay alive to maintain your scorechain.
Each class has access to a total of eight different support actions—four offensive and four defensive. Support actions are earned by scoring points without dying, essentially awarding kill streaks. The available support actions vary based on your class. Offensive support actions usually give you access to a special weapon or vehicle that you can target or even control to score more kills. Defensive support actions don’t result in kills, but can help your team in other ways, such as identifying the locations of opponents or resupplying your fireteam. Support actions are awarded at 400-point intervals. When awarded, two large icons appear at the top of the HUD, notifying you of the two support actions currently available. These icons are then moved to the upper-left corner of the HUD, acting as reminders that you have support actions available. All earned support actions are still available after dying and respawning into the game. However, when you die, the scorechain is broken and your support action points are reset to zero, requiring you to start your chain over. If you’re nearing the third or fourth tier, avoid any risky actions that may result in your death.
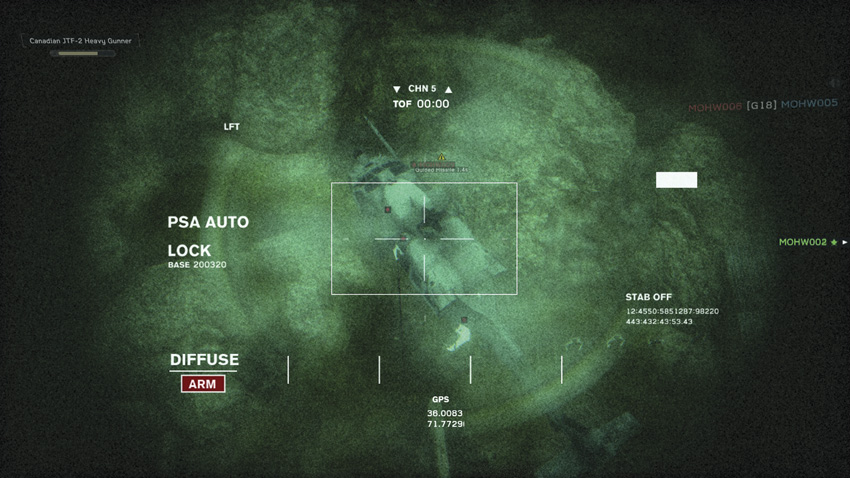
Sometimes support actions can be used to counter others. For instance, use a Guided Missile to target an enemy Blackhawk Transport.
Make an effort to use a support action soon after it becomes available. While support actions remain available if you die and respawn, if you manage to score another 400 points without using a support action, the previous support actions are lost and replaced by those from the next tier. For example, if playing as the assaulter class, you earn the 60mm Mortar offensive support action and the Smoke Screen defensive support action at the first 400 points. But if you earn another 400 points, those first tier support actions are replaced by the Guided Missile offensive and Fireteam Replenish defensive support actions. Keep an eye on the support action points meter in the top left corner of the HUD. If you’re close to earning a new set of support actions, be sure to use the previous ones.
Common Support Actions
All classes share the same defensive support actions as well as the final offensive support action, allowing you and your fireteam buddy to temporarily take the controls of a devastating Apache attack helicopter. The unique support actions available to each class are covered in the following class profiles. But here we take a look at the common support actions available to every class.
Smoke Screen
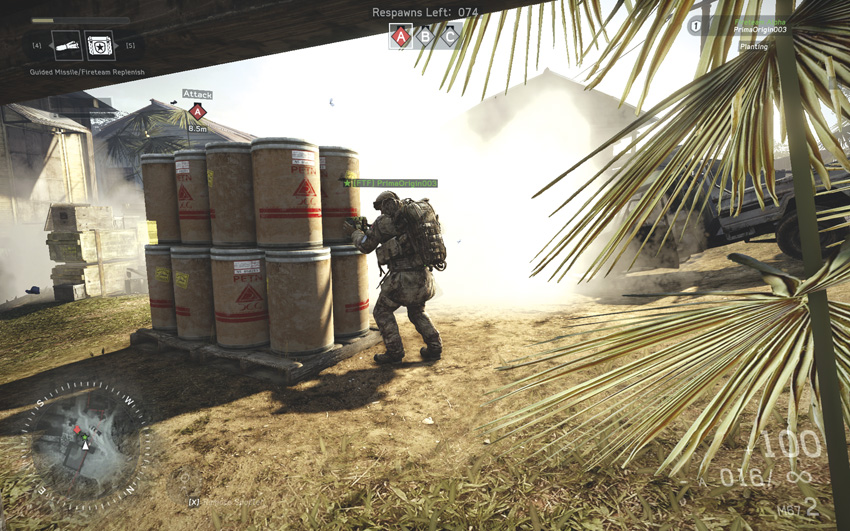
- Support Action Points: 400
When this defensive support action is selected, your soldier brings up a pair of binoculars, allowing you to pinpoint the target area for the incoming smoke barrage. Within seconds of initiating the support action, the target area is saturated with thick white smoke, greatly impeding visibility. This action can come in handy for concealing your team’s movements, particularly when moving toward a flag in Sector Control or an objective in Hotspot or Combat Mission.
Fireteam Replenish
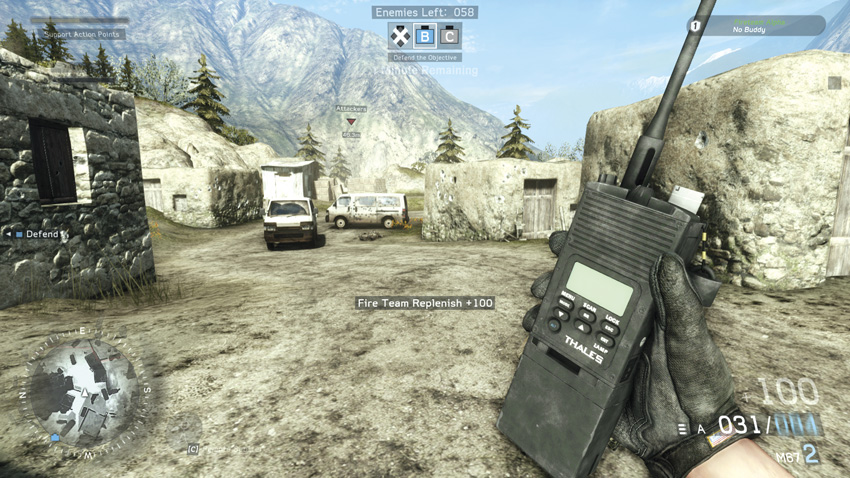
- Support Action Points: 800
Compared to its offensive counterpart (depending on class), Fireteam Replenish is a tough sell. When activated, this support action instantly replenishes you and your fireteam buddy with health, ammo, and grenades. You can already heal and resupply your fireteam buddy without activating this support action, but this is the only way you can get a new pair of grenades. In rare instances, this support action has some serious benefits, instantly replenishing the fireteam’s class abilities. So if you’re playing as an assaulter and need more grenades for your grenade launcher, this support action may be worthwhile.
RQ-7 Shadow
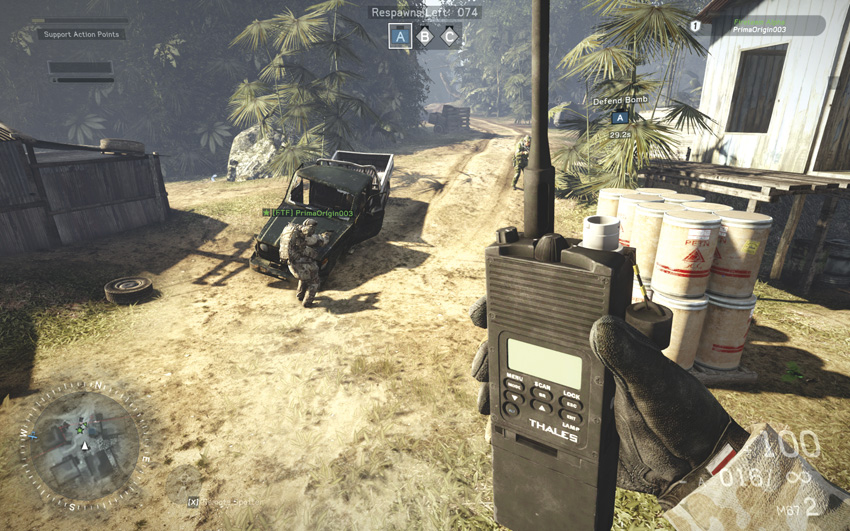
- Support Action Points: 1,200
The RQ-7 Shadow is a small unmanned aerial vehicle (UAV) that orbits around the map, revealing the locations of all opponents. This is an extremely powerful support action, allowing your teammates to see all enemy contacts, appearing as red dots on the minimap. The RQ-7 only remains airborne for approximately a minute. But in that time, your team can effectively hunt down and eliminate the opposing team no matter where they’re hiding. In a tight match, knowing exactly where the enemy is can make all the difference.
Apache Pilot
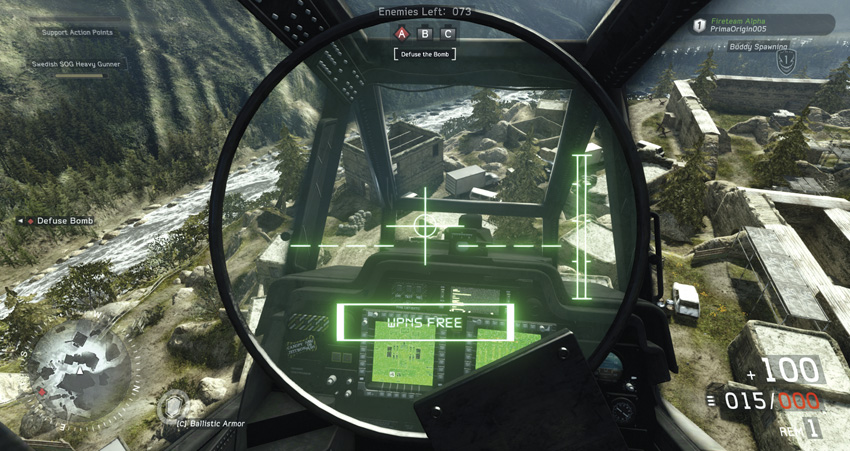

- Support Action Points: 1,600
This support action puts you directly in the pilot seat of an Apache helicopter, giving you access to the chopper’s high-explosive rockets. Flying the chopper is as easy as regular movement, only you’re suspended above the battlefield in a stable hover. Use the Apache’s rockets to target opponents scurrying about the map. Although impressive, the rockets are less effective than the chopper’s chin-mounted chain gun, operated by your fireteam buddy. So instead of looking for targets to take out with the rockets, spend your time maneuvering the chopper around the map so your gunner can unleash the full potential of the chain gun. The Apache can be struck by incoming small arms fire as well as rocket and grenade launchers. If the Apache sustains heavy damage, your ride will be cut short. Keep moving to make the Apache a more difficult target to hit.
When this support action is activated, your fireteam buddy automatically takes control of the helicopter’s chin-mounted turret. The HUD changes to a camera view on the front of the chopper, allowing you to pan and tilt while lining up targets within the 30mm chain gun’s reticle. The chain gun is absolutely devastating against opponents, rapidly firing explosive rounds with significant splash damage. However, you will need to coordinate with your fireteam buddy to effectively line up targets. Communicate and work together to make the most of this powerful support action.
My Gun: Weapon Customization
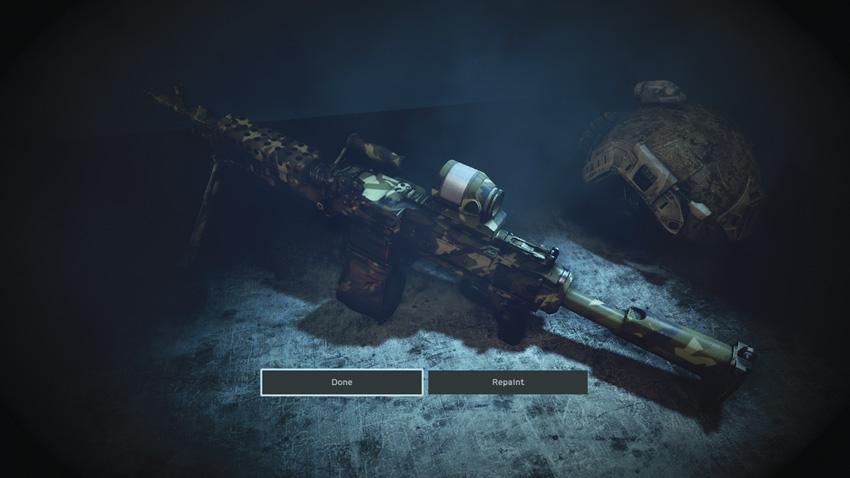
You can customize almost every aspect of your weapon, including the paint scheme.
With every new unit you unlock, you also unlock a new weapon along with several attachments. Weapons can be customized from the Multiplayer main menu, choosing the My Gun option. But you can also enter the customization interface during a match, from the Deployment screen where you choose your class—select the Change Weapon option to enter the My Gun interface. Here you can change your weapon, choosing from all unlocked weapons within your selected class—there are twelve different weapons per class. Once you’ve selected a weapon, you can customize it by adding different attachments. There are five different modification points on each weapon: muzzle, barrel assembly, magazine style, optics, and receiver group. As you apply different attachments, make note of the fluctuating weapon stats in the top right corner of the screen. Each attachment can alter a weapon’s performance, affecting its effective range, magazine size, agility, magnification, and stealth, so pay close attention when customizing your weapon. Ultimately weapon customization comes down to personal preference. Create the build that best fits your style of play. This is much more important than trying to build out the weapon with the best stats. In addition to selecting different attachments, you can also paint your weapon with a variety of unique camouflage pattens. Painting your weapon has no impact on the weapon’s performance, but choosing a bright color may make you easier to spot. Take into account the map you’re playing on and try to choose a camo pattern that blends in with the surroundings.