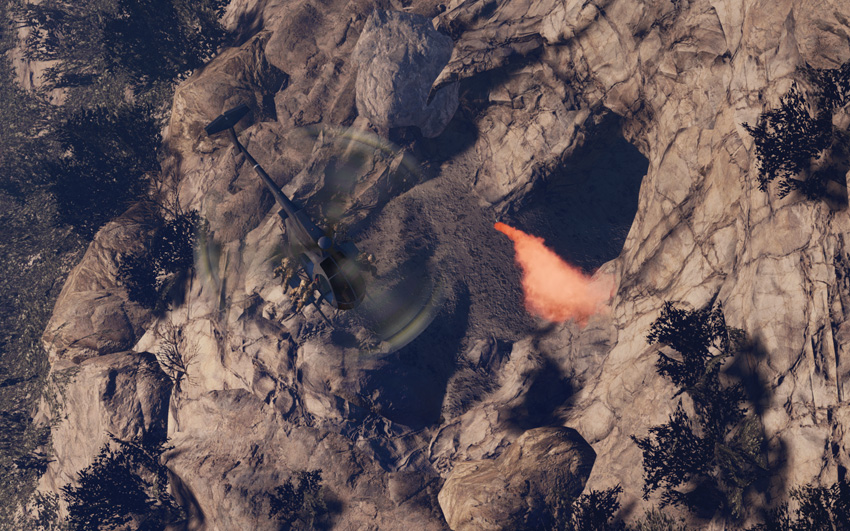
Medal of Honor: Warfighter Guide Walkthrough Single Player Walkthrough
Connect the Dots
Briefing
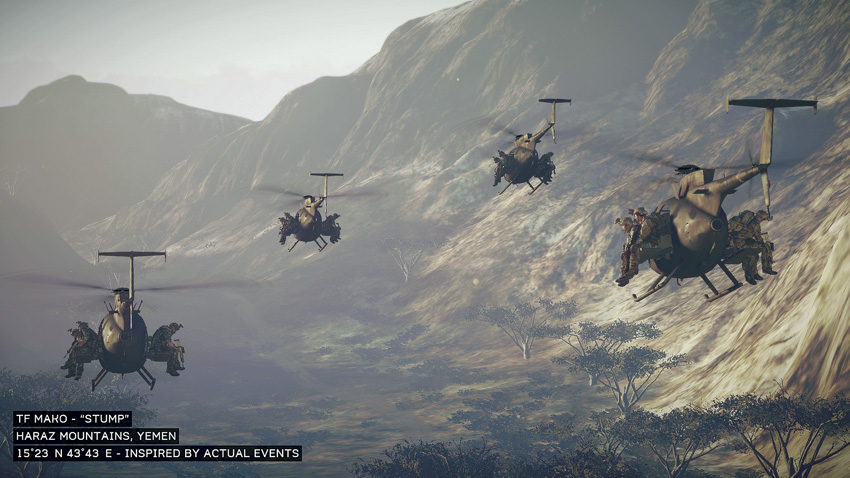
- Task Force Mako—“Stump”
- Haraz Mountains, Yemen
- 15°23’N 43°43’E
- Objectives: After gaining information from the gun runner Faraz and other intelligence, the picture is starting to come into focus. Task Force Mako is sent to raid a terrorist training facility deep in the mountains of Yemen. You play as “Stump” and are operating with “Voodoo” and other Tier 1 operatives as you take the fight to the enemy.
Loadout
Primary - Mk17
Secondary - AA12
Special - HK MG4
Frag Grenades - x6
Story
The discovery of P.E.T.N.in the Somali fort takes Task Force Mako deep into Yemen’s hinterland to raid a supposed terrorist training facility. Hidden high in the Haraz moun- tains, they must infil via little bird helicopters, and secure the facility and report back to command on their findings.
Toc 5
With the Yemen training camp taken out of the picture, Blackbird has to “follow the money.” They ar- rive in Dubai with one goal: “roll up” Hassan and get out of the country. The U.A.E. doesn’t like spies carry- ing out operations in their country. So Dusty repeats this is a low signature operation. In and out.
Mission Map
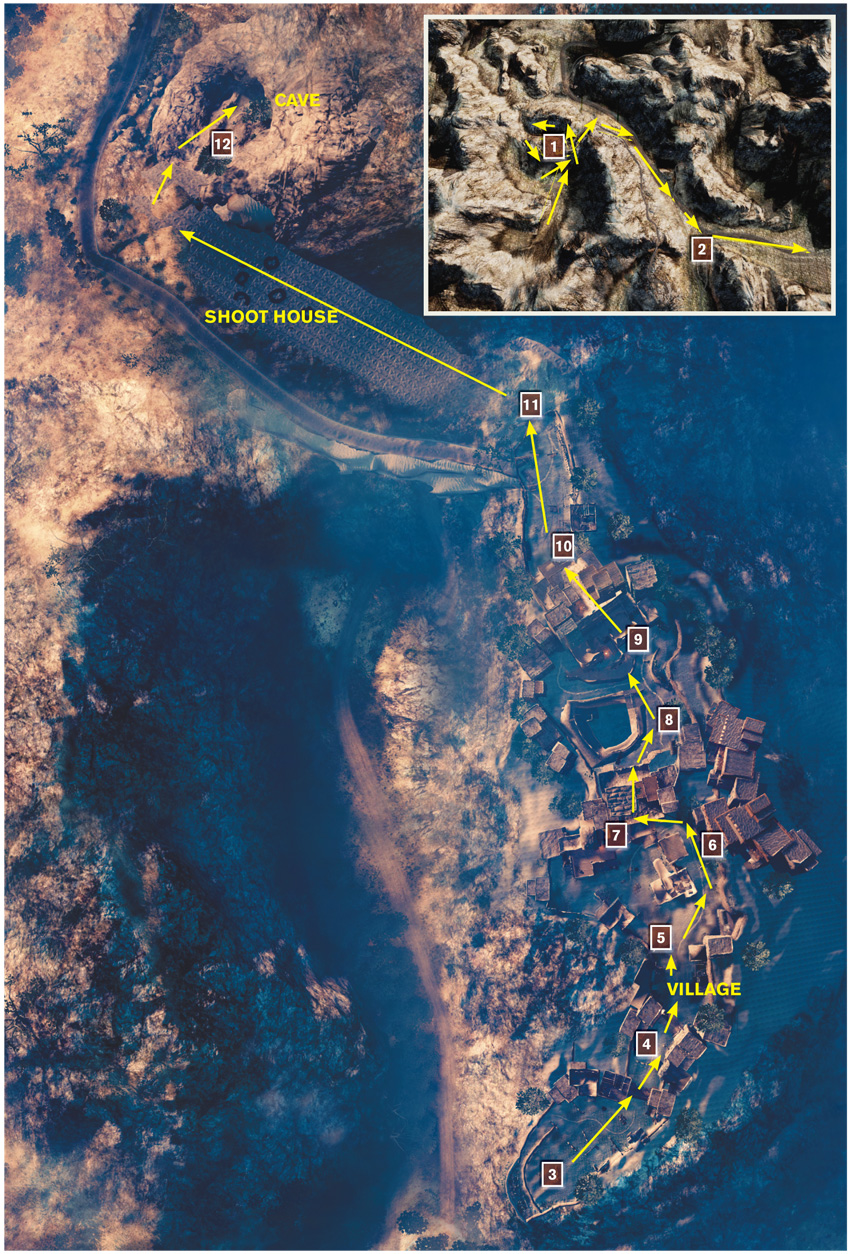
Find the Training Camp
Defend the Ground Forces
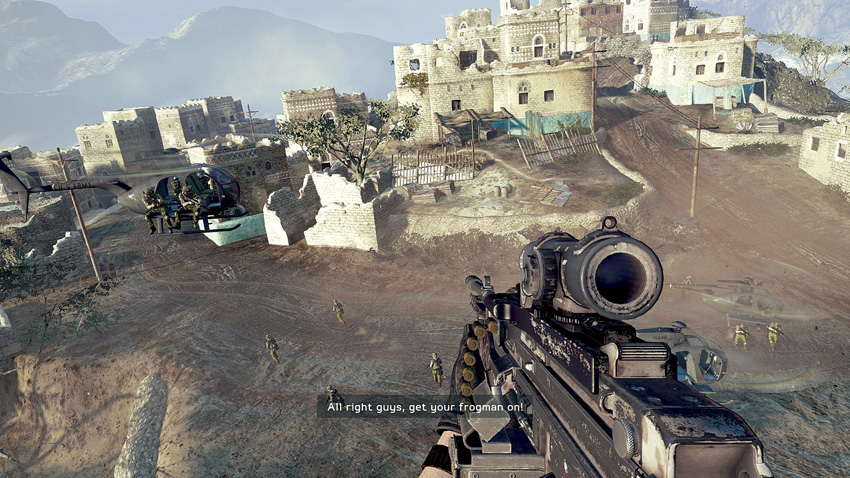
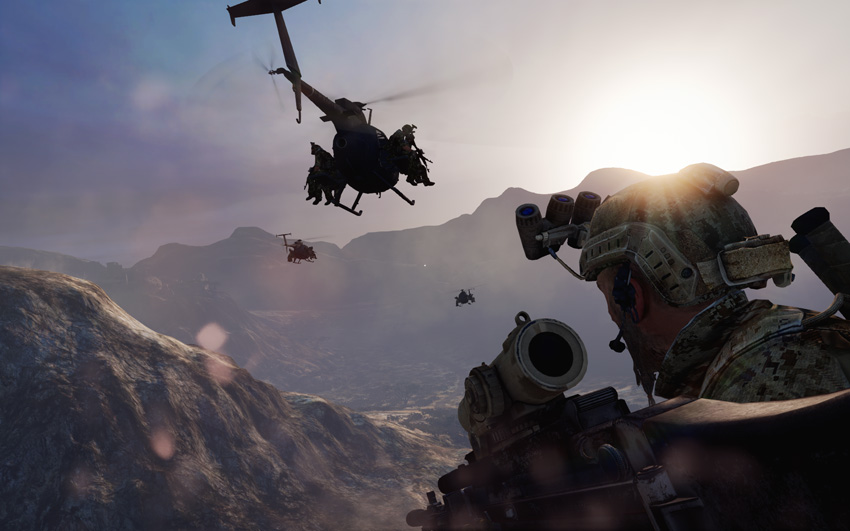
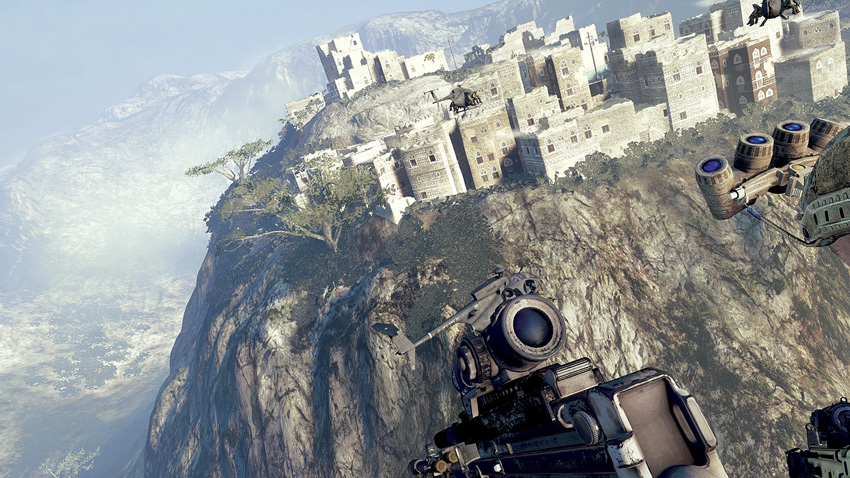
This mission begins with your task force airborne. After circling a terrorist stronghold on a hill, part of your force is inserted and advances towards the objective on foot. Meanwhile, your chopper continues to orbit the area and watch for trouble.
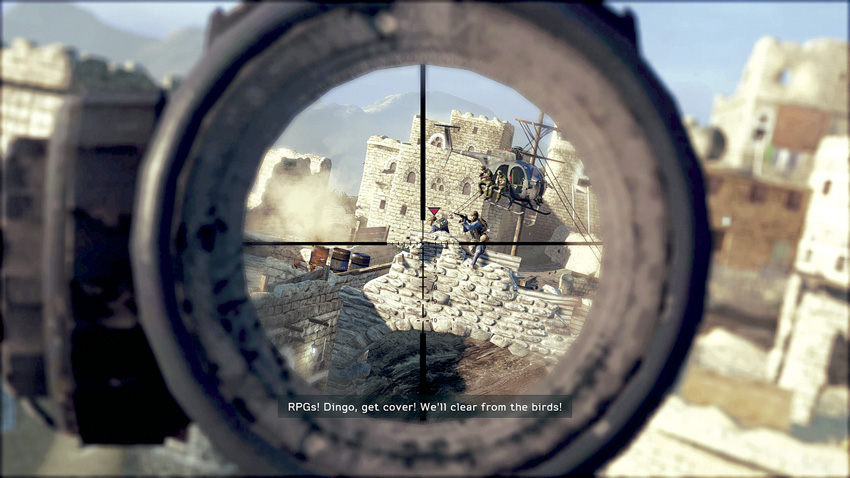
Shortly after your team lands, terrorists seem to come out of the woodwork—or brickwork. Use your machine gun to start taking them down. Look for hostiles armed with RPGs. They are often designated as a primary threat by icons over them. These are your main targets since they can cause a lot of harm to the boots on the ground as well as to the troops still in the air.
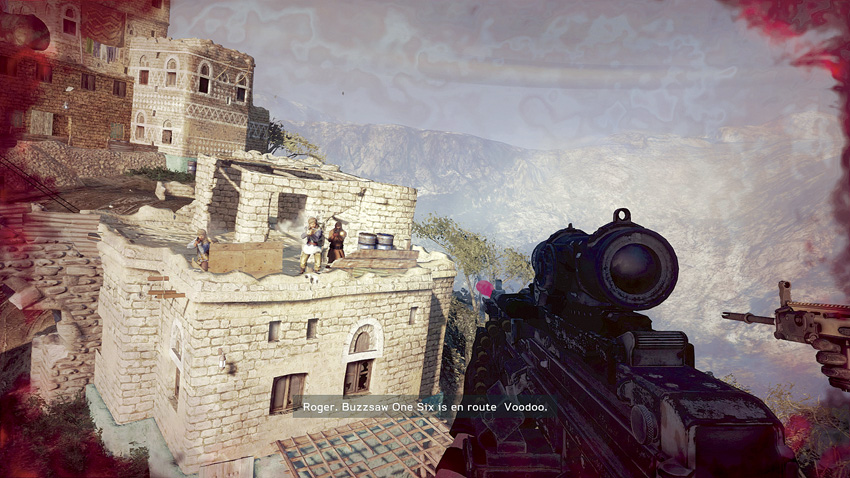
Use your scope to increase the accuracy of your shots. However, if you start taking fire, look up from the scope in order to increase your situational awareness. Locate new threats and then use the scope to take them out. By going in and out of scope view, you avoid the tunnel vision that is the disadvantage of trying to fight a battle only through the scope.
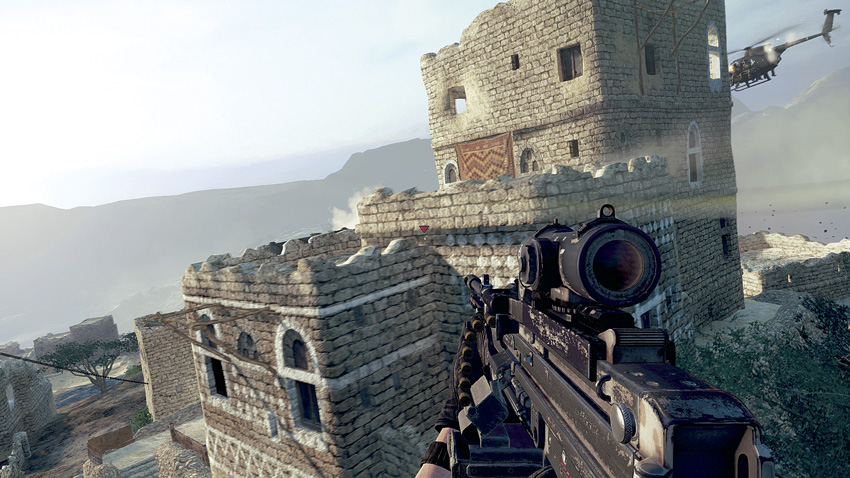
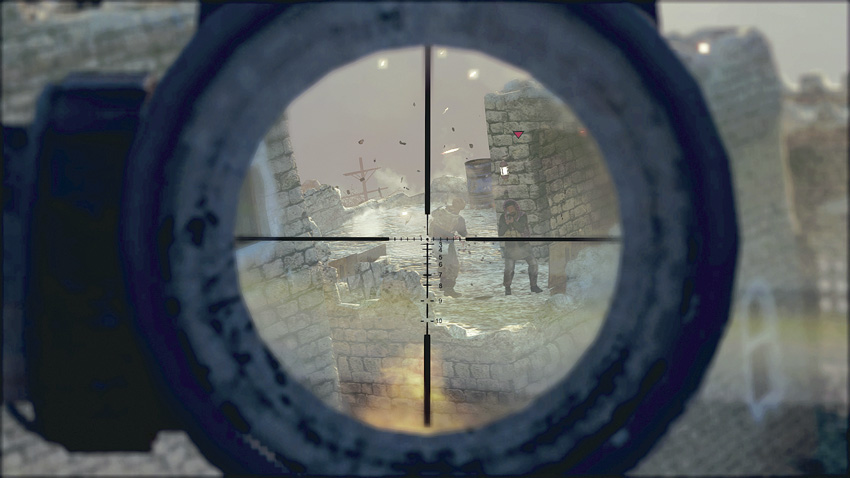
Once you clear out the hostiles covering the front of the stronghold, your helicopter begins to fly around the area as you look for more targets. Watch for enemies in an area with a damaged wall just after flying around the main tower. This is a dangerous spot, so be ready.
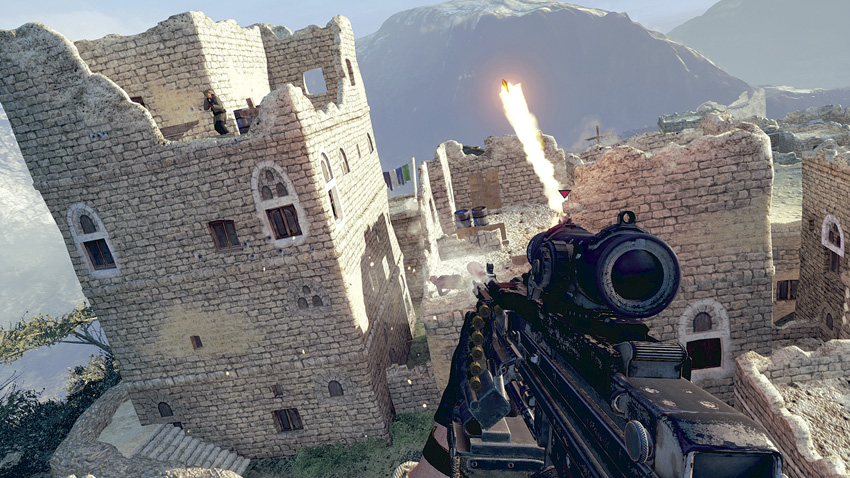
One of the terrorists is armed with an RPG. There are also more enemies located on the top floor of the tower just waiting for you to fly by so they can shoot at you. Keep firing at them until they are all neutralized.
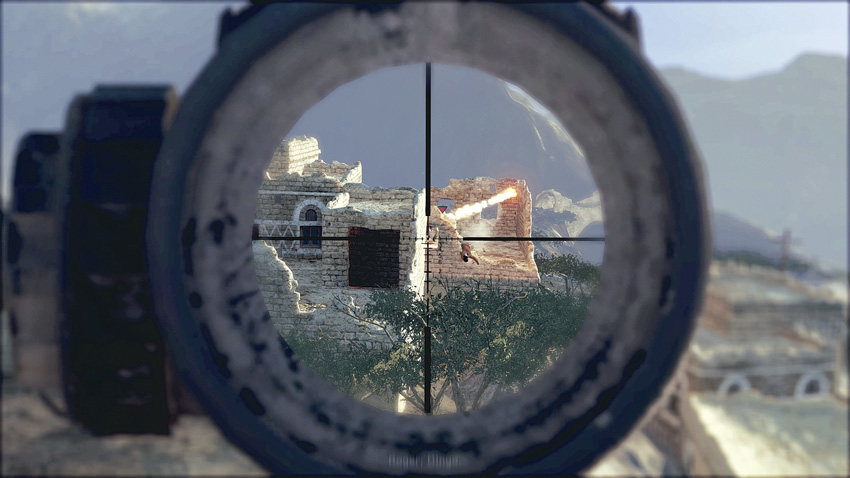
Your helicopter begins to fly around the stronghold again. Look and listen for RPGs fired at you or other helicopters. Then quickly locate the terrorist as he is reloading and kill him before he can get off another shot.
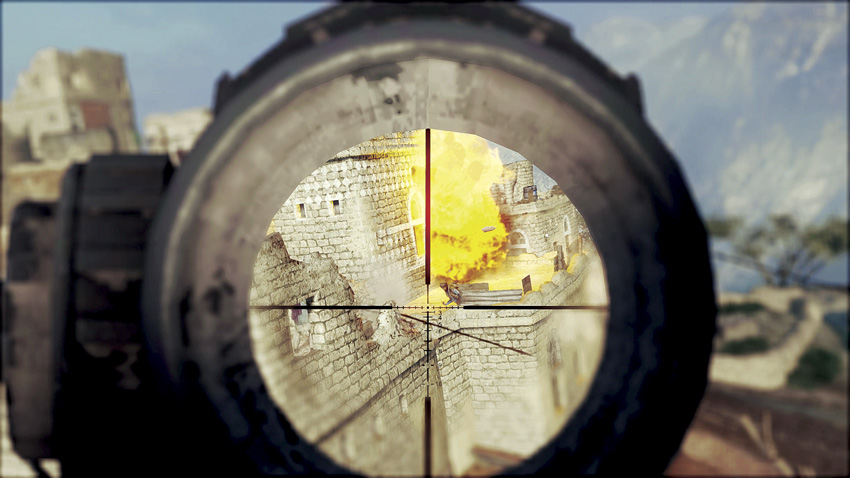
While you are attacking enemies, look for barrels containing flammable material. Rather than trying to hit an individual, aim for the barrel. When it detonates, it kills any nearby hostiles—plus provides a nice explosion.
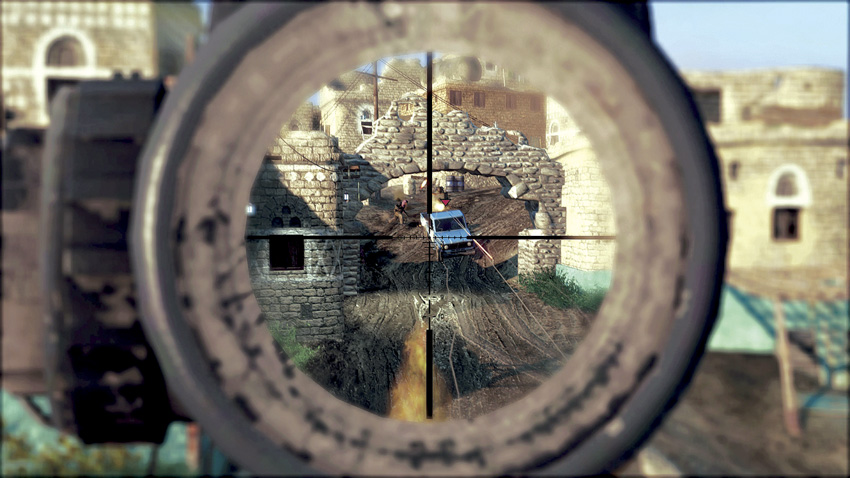
Watch for a technical pick-up truck to drive down a road and stop under an arch. The machine gunner in the bed is protected by an armored shield, so fire at the engine of the truck to try to blow it up and silence that gun. Then work over the hostiles in the central part of the stronghold.
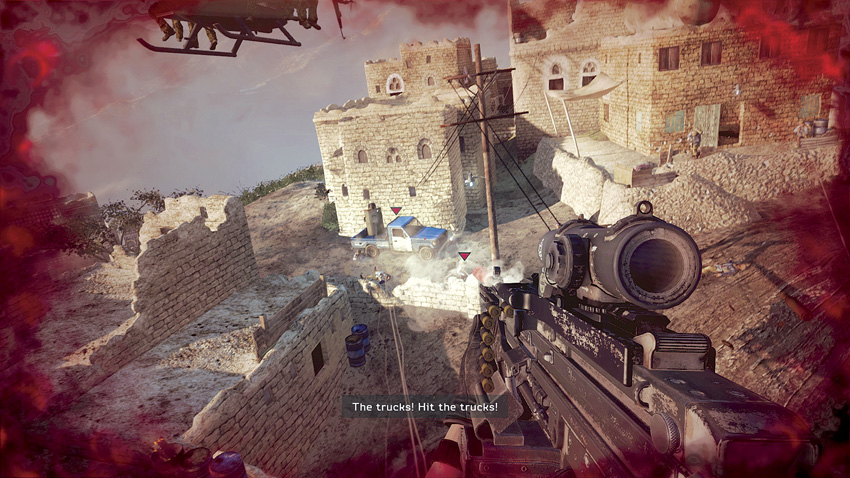
Another technical drives up from the left and starts firing at your helicopter. Quickly make this your priority target and aim for the truck. Keep firing until the truck blows up. Then continue firing at other terrorists in the area. All of a sudden, an RPG round hits a nearby helicopter. As it starts to go down, the blast rocks your chopper as well.
Eliminate the RPGs
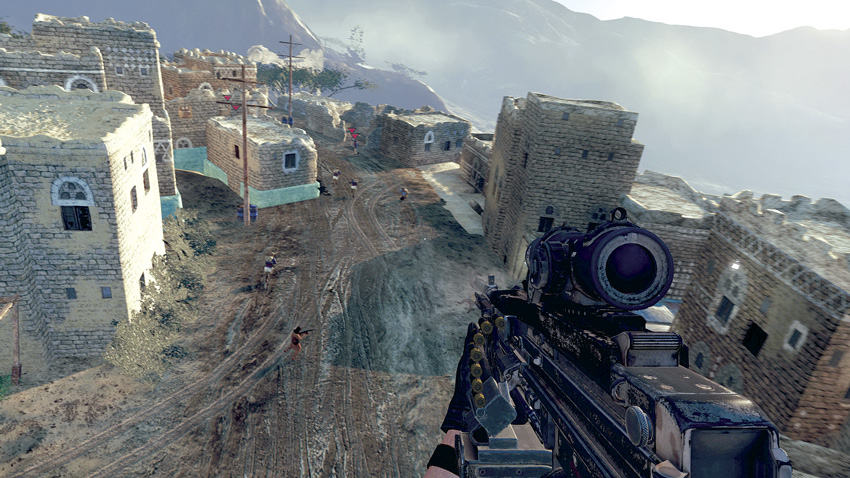
You now have a new objective. Take out those RPGs. The terrorists armed with rocket-propelled grenade launchers are marked with icons. Take them out.
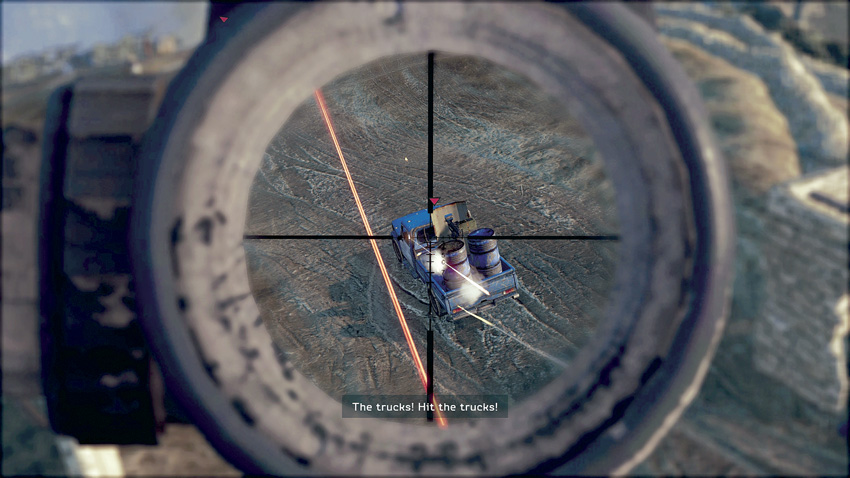
By this time, the hostiles are bugging out and escaping in technical pick-up trucks. Start firing at the trucks as they are fleeing. Aim for the barrels to get a big explosion.
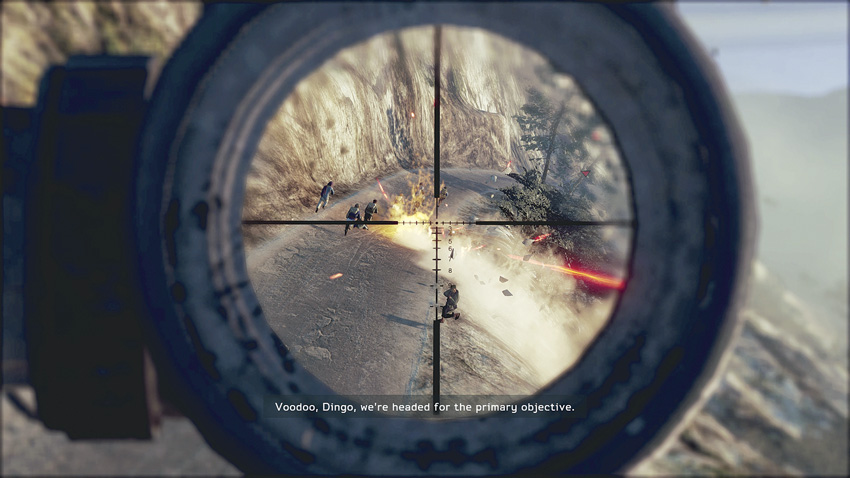
The helicopters now leave the stronghold and begin following the fleeing terrorists along a road. Engage any vehicles or hostiles on foot as you fly by. Watch for a technical parked across the road. Fire at it and eliminate that threat.
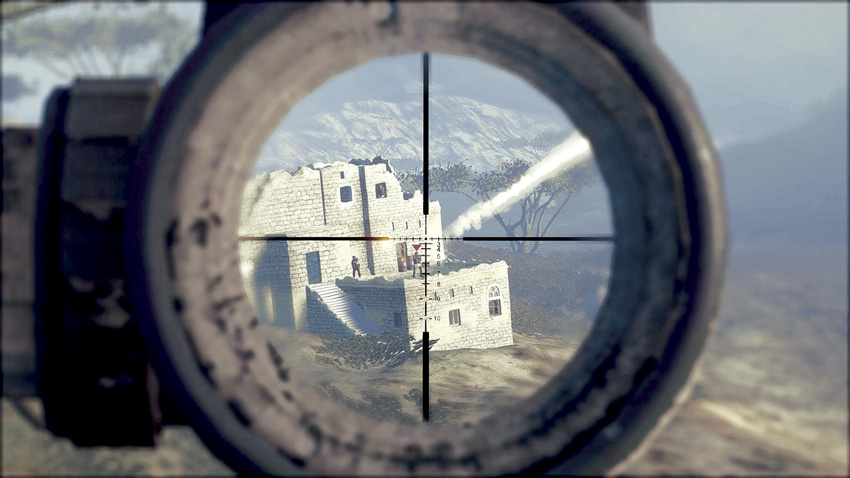
After passing by the enemies on the road, your helicopter approaches a building. There are more hostiles there and some are armed with RPGs. Use the scope on the machine gun to pick them off at long range before they can fire at your ride. Clear out as many terrorists at this building as possible as you fly by.
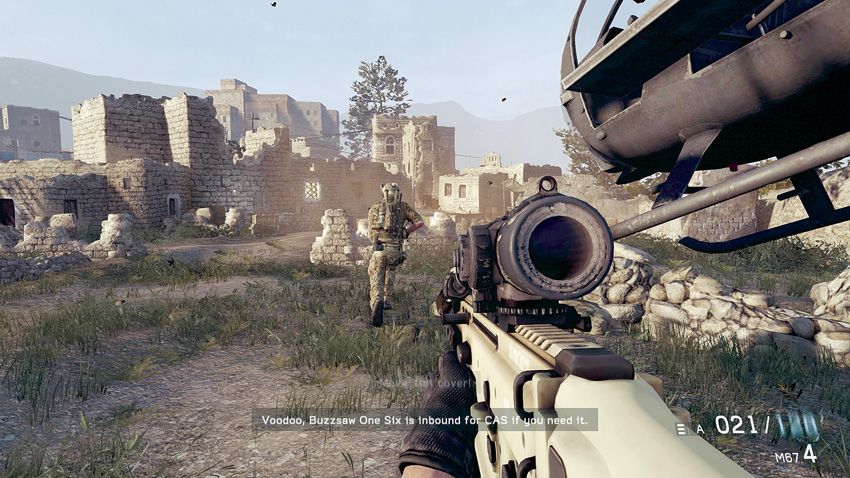
Your helicopter touches down briefly so you and “Voodoo” can dismount. It is good to be back on solid ground again where you are in control and can take cover. Follow your teammate into the village.
Clear the Village
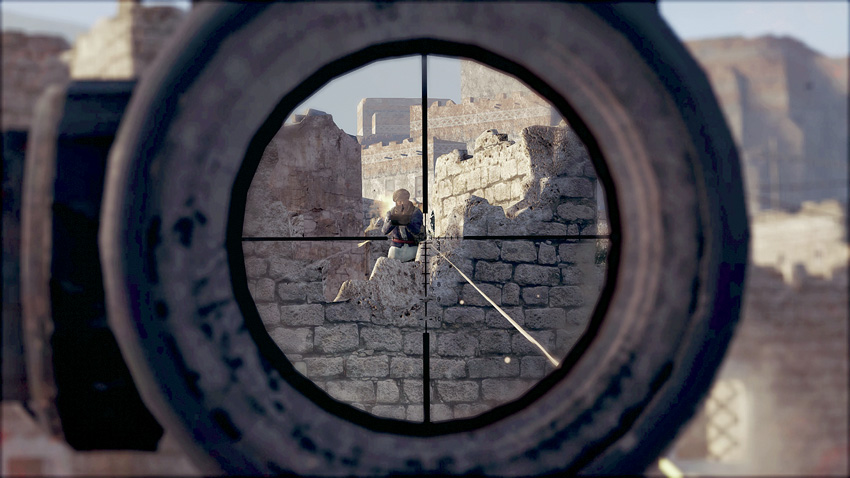
Get behind some cover and then start firing at the hostiles in the village. Look for a machine gunner on a rooftop. Kill him quickly and then focus on the remaining enemies. Several run out from the village, take cover behind crates, and then fire at you. Others fire from the windows. Stay put and clear them all out before moving on.
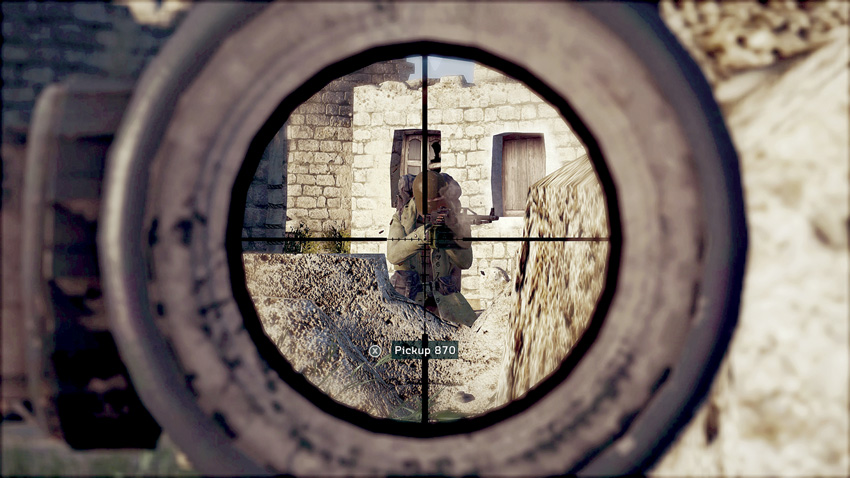
As you begin to advance, stay behind cover. There is a machine gunner down on the ground in front of the village. He is heavily armored, complete with a metal face mask. Don’t try for a headshot. Instead, you have to put several rounds into his body to take him down. Try to do this while he is firing at others and then duck back behind cover when he turns to attack you.
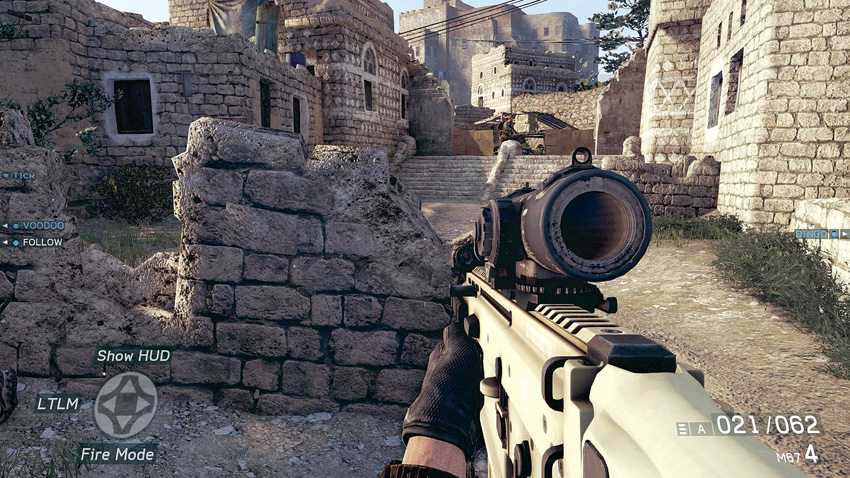
Follow “Voodoo” and your team into the village. As you see enemies coming towards you, take cover and engage them. When a technical pulls up and adds its firepower, stay behind cover. You don’t have to worry about taking it out. “Voodoo” will call in some close air support from “Buzzsaw”. After it makes its attack run and clears the way for you, move out.
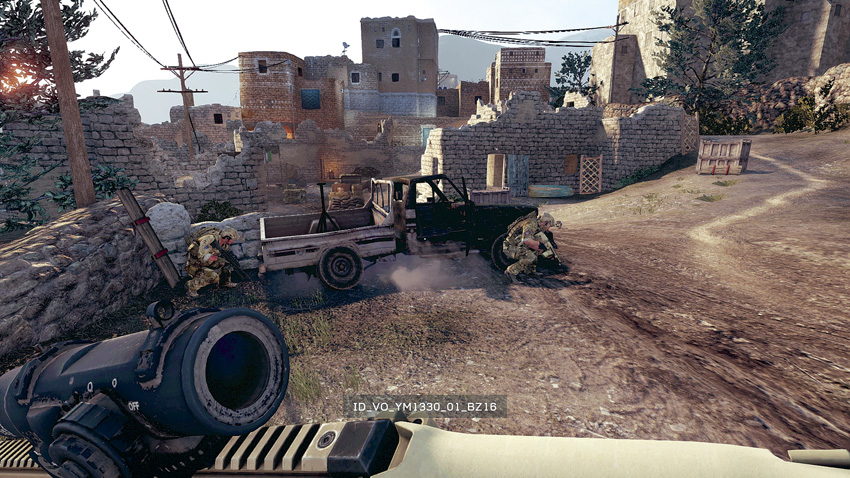
The terrorists have set up defenses in front of a large building complete with one of those armored machine gunners. If you have not picked up some ammo from a teammate, this is a good time to do so. While they take cover by the vehicle, you need to try to flank the enemies.
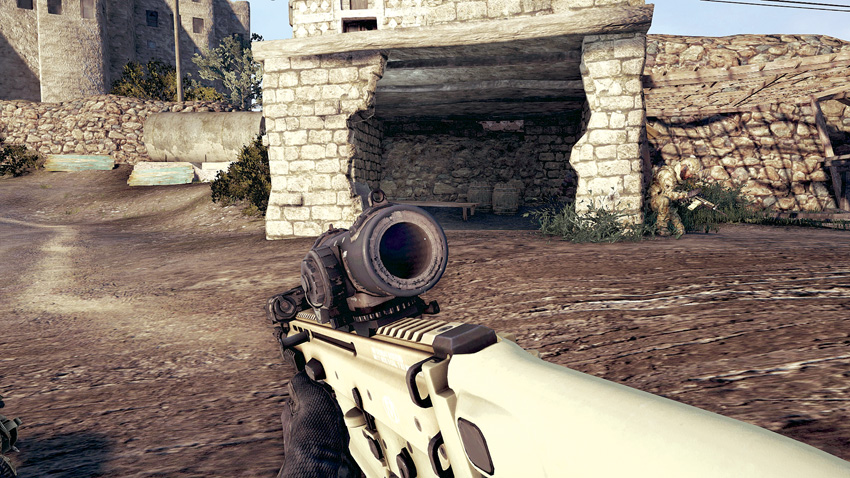
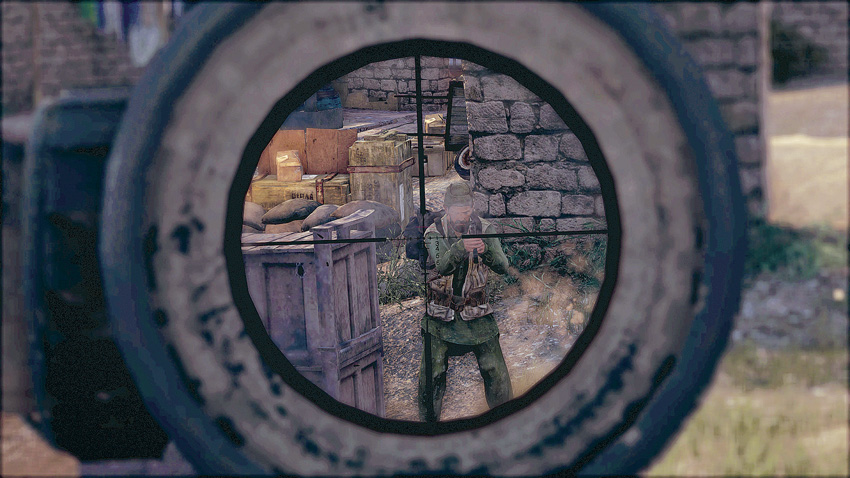
Turn to the right to see a road that leads up and around to the side of the battle. There is a lot of open ground, so sprint for the small building to the right of the road and take cover. Peek around the corner of the doorway and clear out any hostiles that can attack you while you make your next rush.
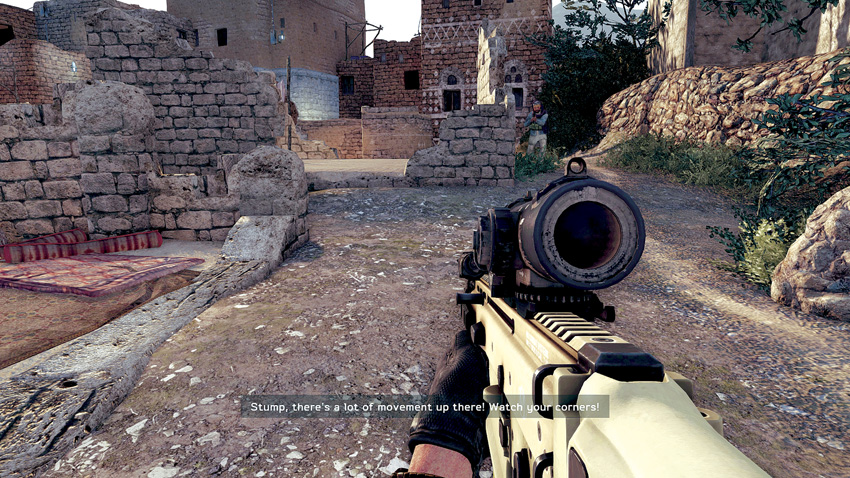
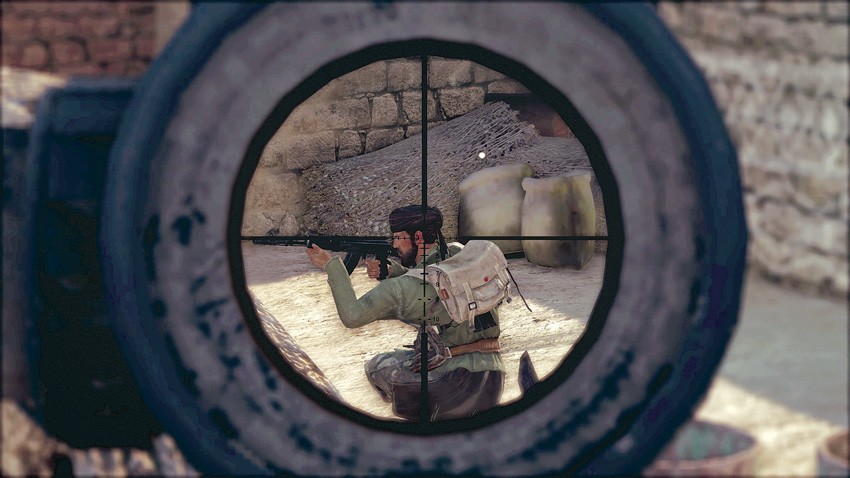
Once the fire dies down a bit, rush up the road. Be ready to engage any hostiles headed your way. When you get to the end, take cover. You now have a flanking position on the enemy. As they are focusing on your teammates, you can shoot at them from the side where they have no cover to protect them.
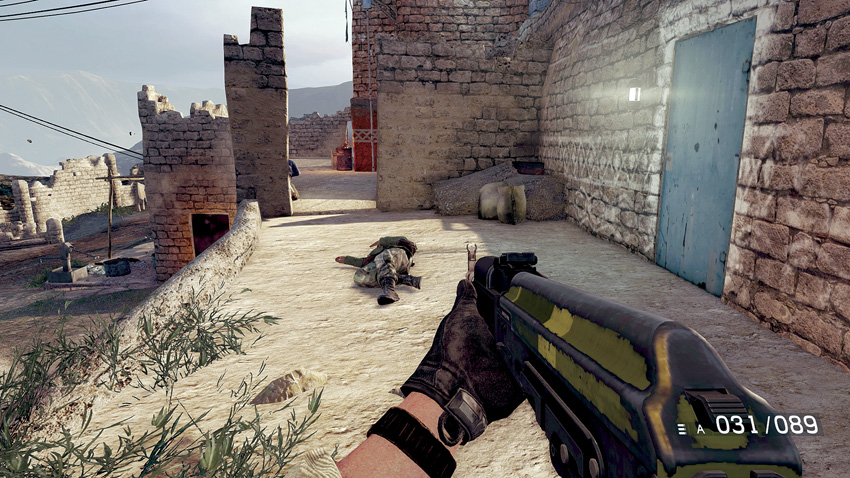
Continue along the upper walkway located at the front of the building as you keep hitting the enemy from the flank. If you get low on ammo, pick up a rifle from a fallen terrorist and use it against his brothers.
Breach and Clear
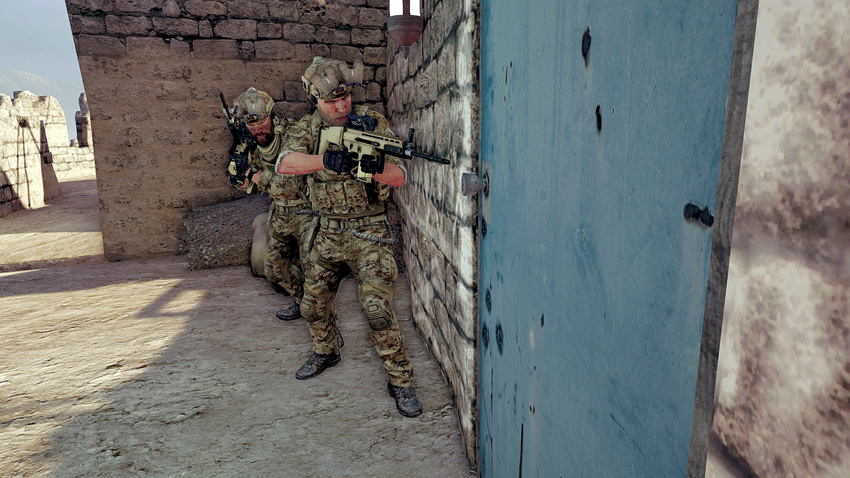
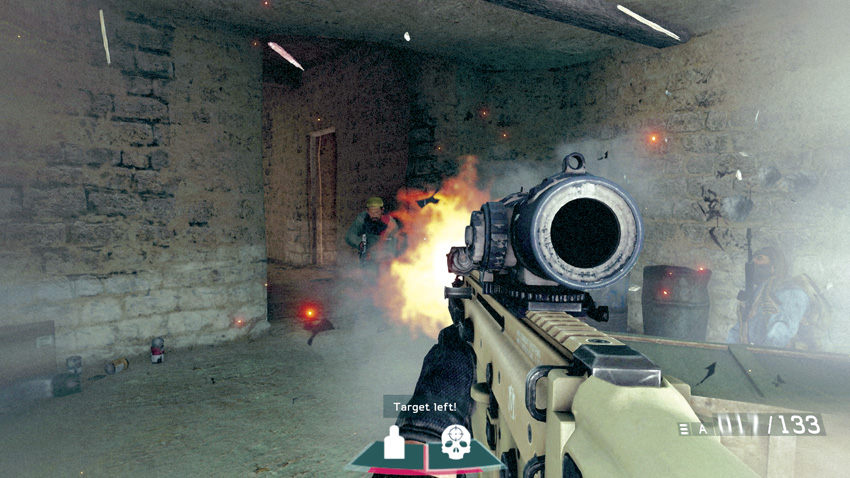
Now that the area outside the building is clear, it is time to enter. Stack up on the door along the walkway and then order a teammate to breach it. There are two hostiles inside. Quickly take them both out while they are stunned to clear the room.
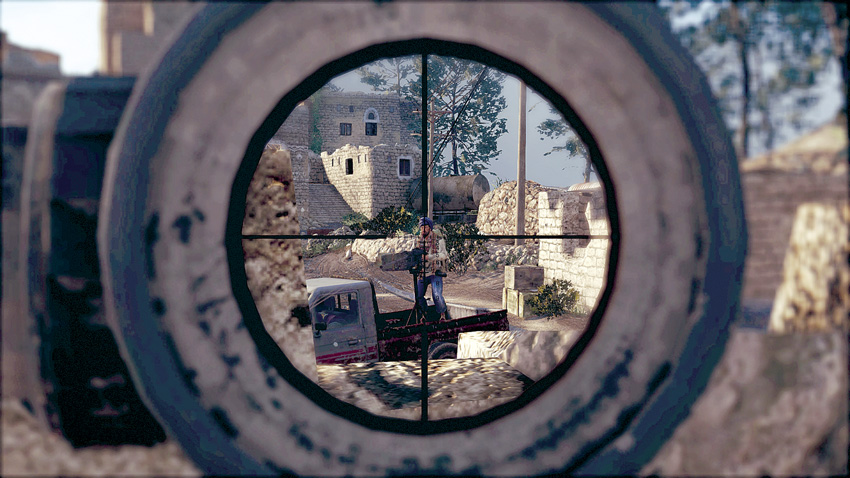
Follow your team through the building. It is clear. Continue outside of the building and take cover behind a wall. The area between you and the next building in the distance is filled with hostiles. Your first target is the machine gunner on the technical. Then pick off the rest of the terrorists near the technical.
Defend While Awaiting Airstrike
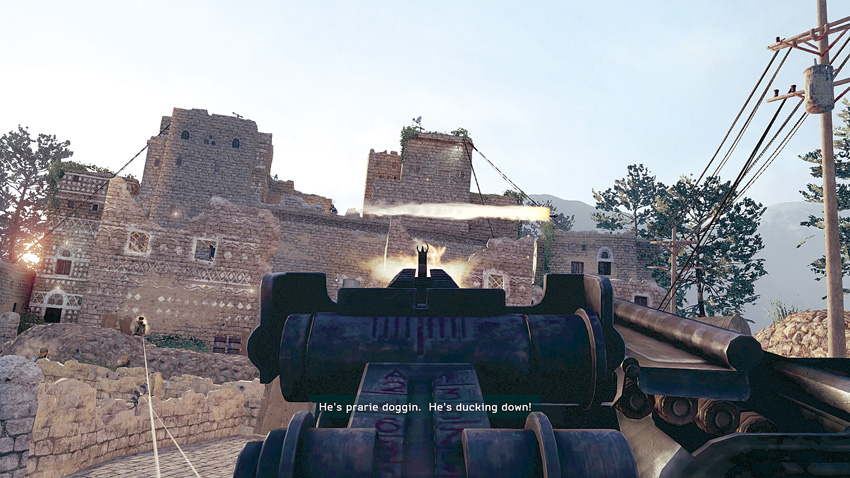
Once the area around the technical is clear, sprint around the cover, jump up onto the back of the technical, and man the machine gun. Engage the hostiles in the other building. Some fire at you from windows or the roof. Remember to fire in bursts to avoid overheating the barrel of the machine gun. Keep it up until “Buzzsaw” arrives to make a gun run against the building. This takes out some of the hostiles, but not all of them. Keep firing and watch for an RPG on the rooftop. “Buzzsaw” comes back around—this time with a rocket attack.
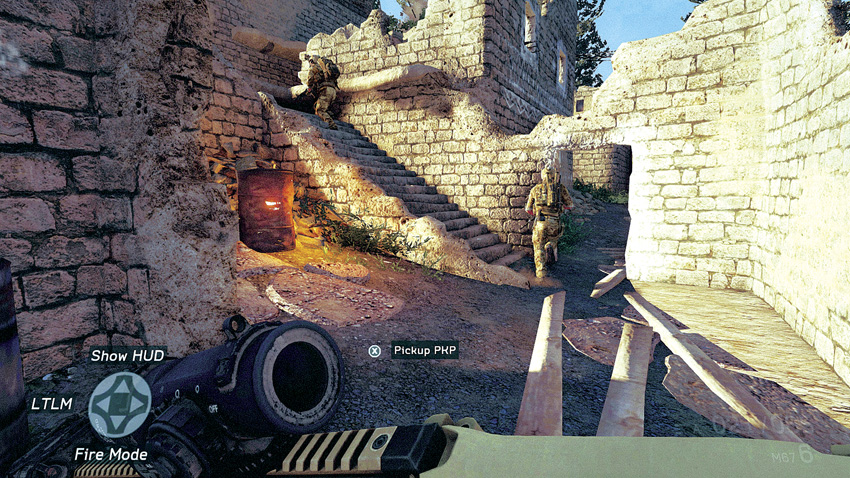
The rocket attack does the job. Leave the technical and follow your team to the building and head up the stairs. Go through the door and enter the building. There is no P.E.T.N., so continue out the back of the building.
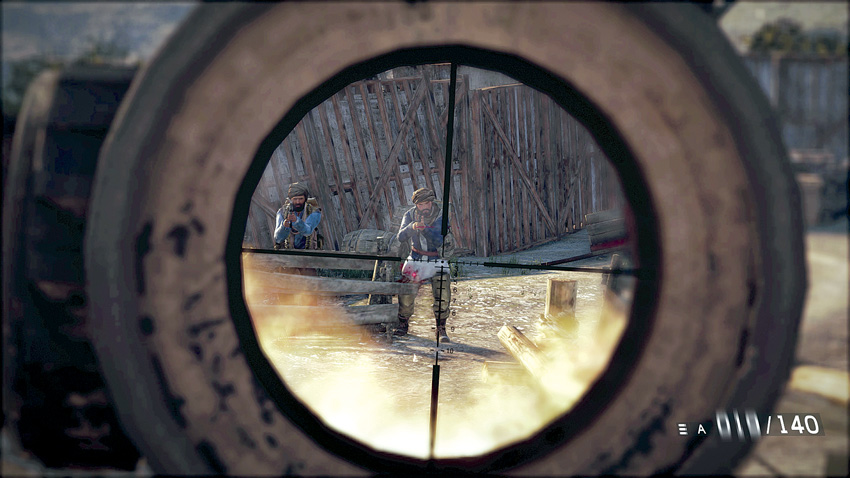
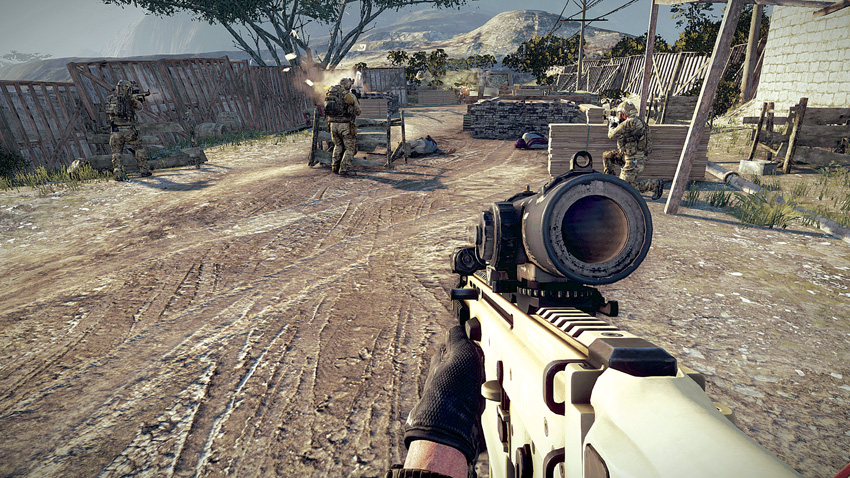
Take cover and begin picking off enemies in the area behind the building. Let your teammates advance ahead of you and get behind some protection while you provide covering fire. Then, once they are in position, move up to join them. Take cover behind a stack of wood or other object and lean or peek around it to engage the enemies ahead of you. Don’t rush ahead of your team or you risk getting flanked by the enemy. After you get the all clear, move forward with your team to the hidden entrance to the training camp.
Clear the Training Camp
Clear the Hidden Shoot House
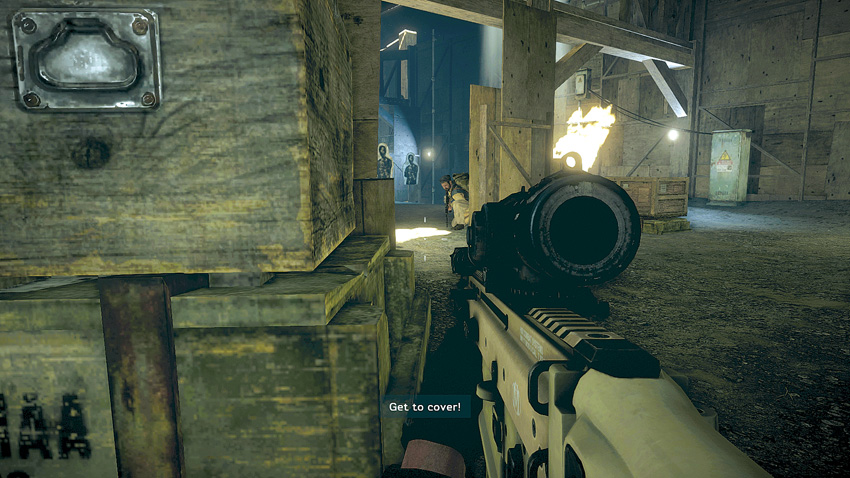
Move down into the underground shoot house. The first few rooms are empty. However, when you get to the larger room with shooting targets, there are hostiles inside as well. Take cover at the doorway or behind some crates inside and start engaging the enemy. If the enemy throws grenades at you, be ready to rush to another spot of cover.
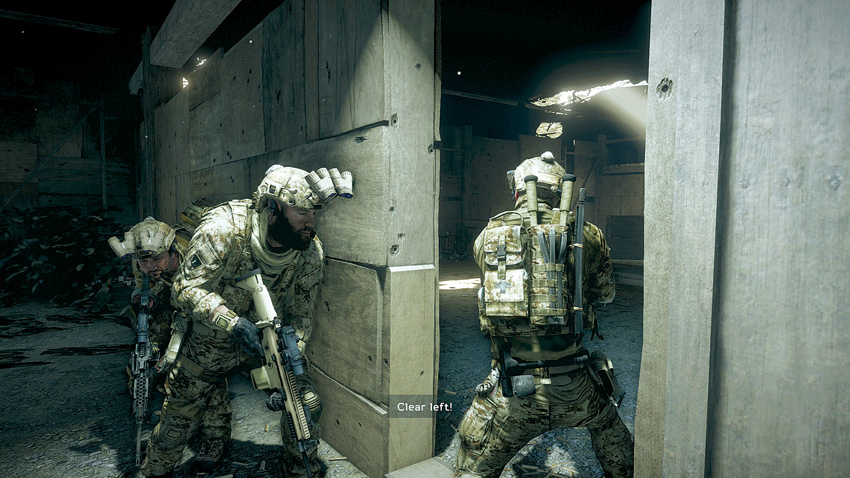
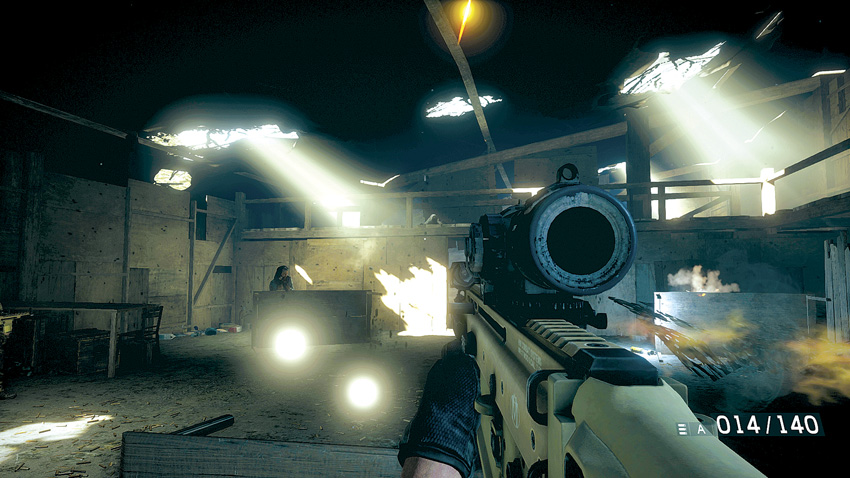
Once the room is clear, advance with your team to a hallway and stack up at the doorway. After your team enters, follow them in. As you enter, a terrorist on a balcony throws a grenade right at you. After tipping a table to make cover from the grenade, begin taking out the hostiles in the room that attack you. They come at you from the balcony as well as at ground level.
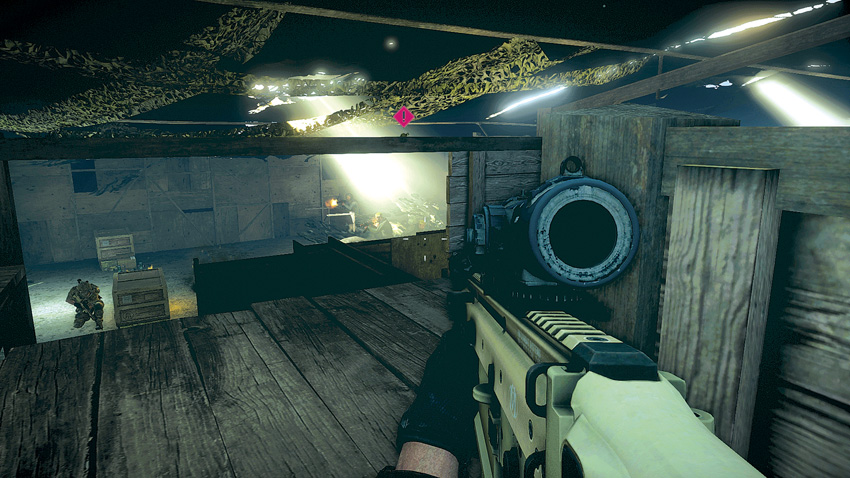
Clear the room and then continue to the next room. Follow “Tick” up the stairs while the rest of your team stays low. Take cover at the top and fire down at the terrorists below as you carefully advance along the catwalks above the shooting rooms below. Be careful not to hit your teammates.
Breach and Clear
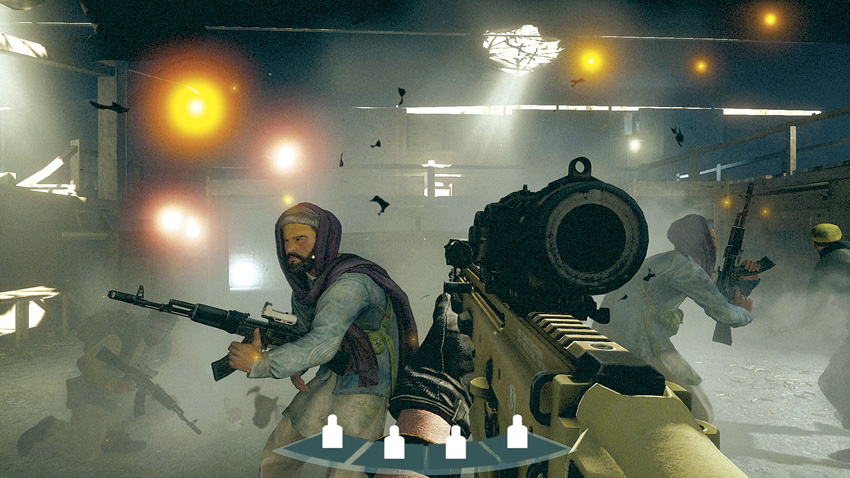
Once the shoot rooms are clear, head down another flight of stairs and move along a corridor to a door. Stack up and give a breach order. Once the door is open, rush in and kill the four enemies inside.
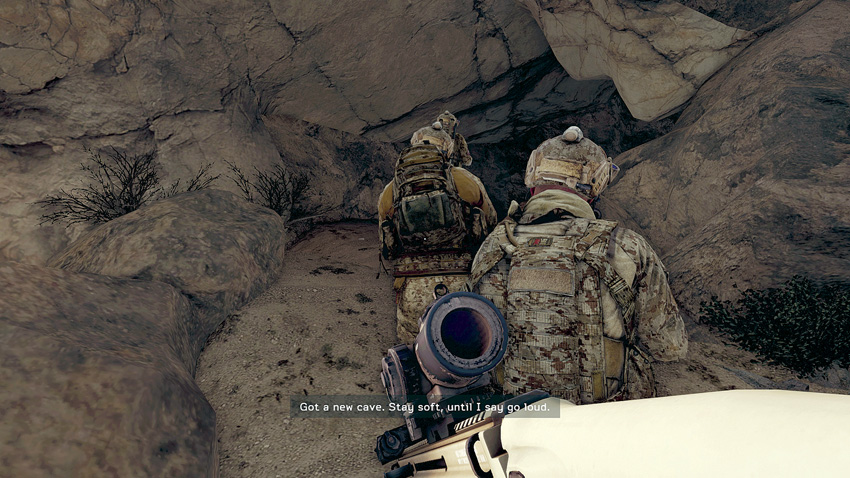
There are no more hostiles in this structure, so follow your team through a narrow passageway and through a door leading to the outside. Continue along a narrow path that leads to a cave. Stay quiet as you enter. It is unlikely the enemies in this cave heard your firefight in the underground shoot house.
Clear the Caves
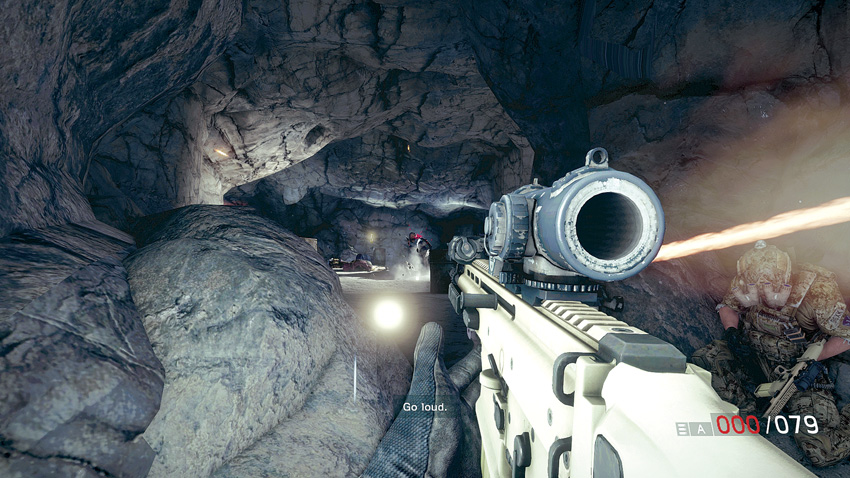
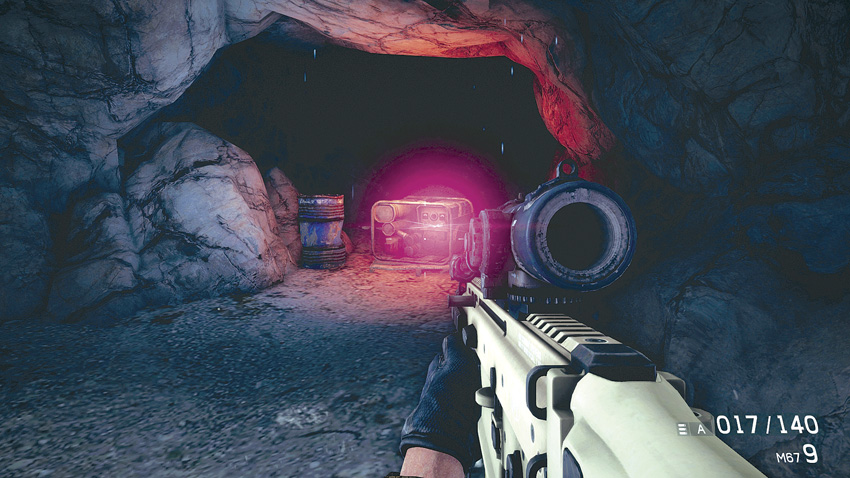
After moving through the cave, you eventually come across a group of terrorists. Take cover behind a rock and wait for the order to go loud before opening fire and killing all of the hostiles. The cave is lit by electrical lights powered by a generator. Time to take out the lights. Shoot the generator while your team waits by a door that leads further into the cave.
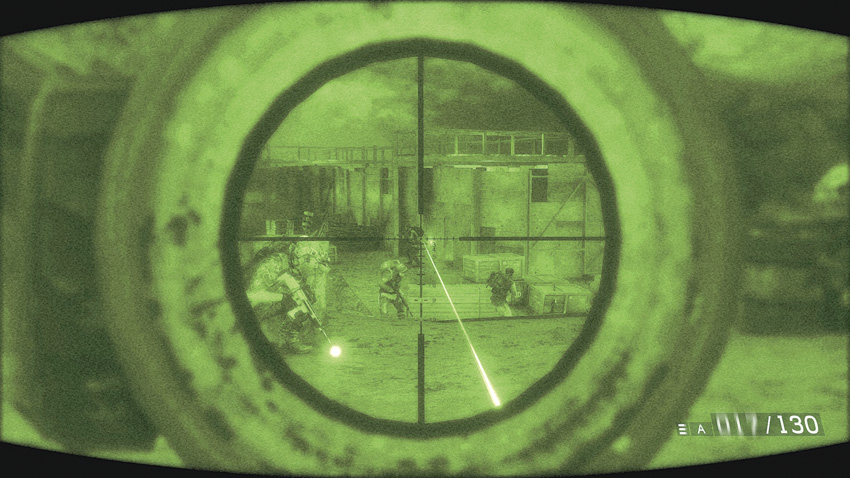
Your team owns the night. After activating your NODS, you can see in the dark, but the enemy can’t. As your team breaks up into pairs, stick with “Voodoo” and cover him as he advances. Once you get to a large area with training kill rooms, start firing on the enemies and eliminate them before they can tell from where the fire is coming.
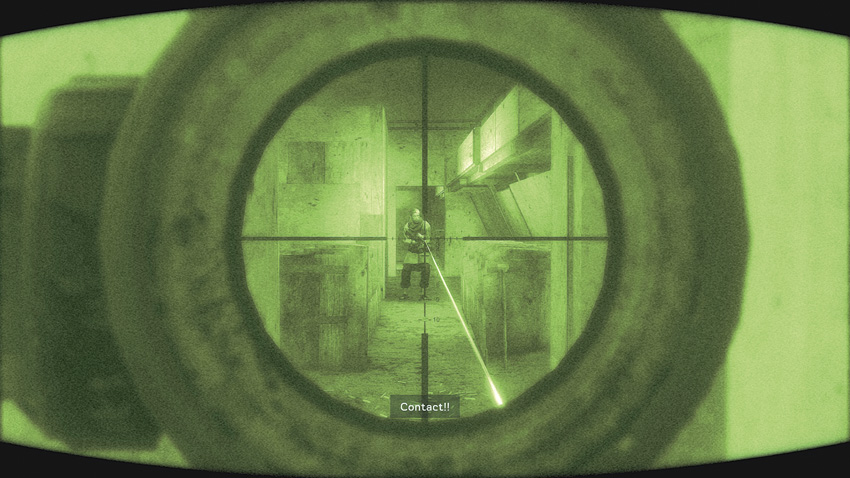
Move into the training kill rooms. They are made to resemble a passenger airliner. Kill the hostiles inside as you advance through this area.
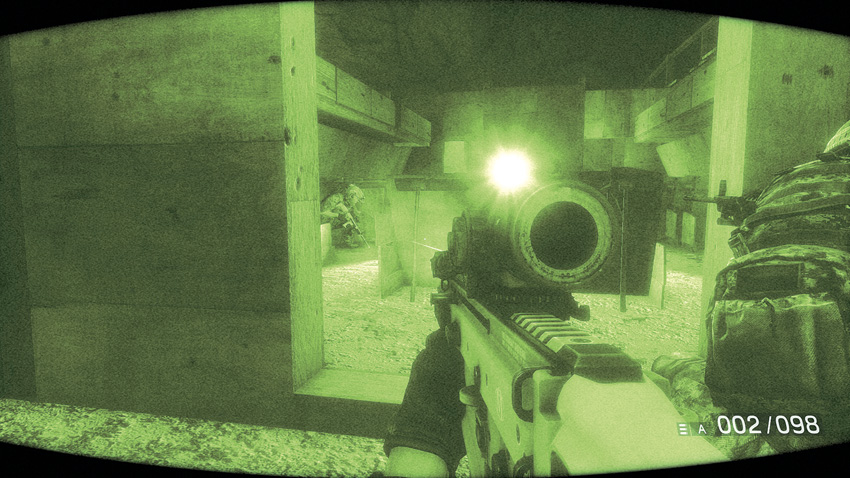
As you progress through the kill rooms, the terrorists have found some flashlights. This makes it difficult to see the enemies and they can now see and attack you. Fire at the lights and you are more than likely to hit the person holding it as well.
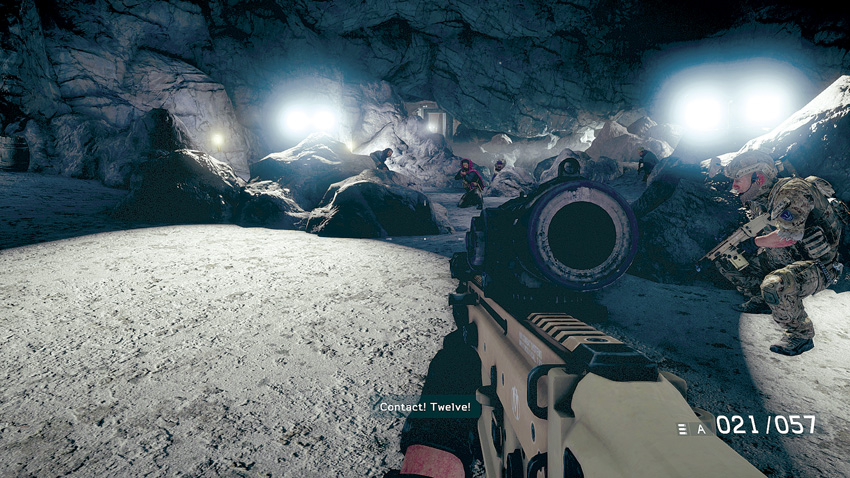
As you exit the kill rooms, the enemy has got another generator going to power several large lights. You no longer have the advantage. Quickly take cover and engage the hostiles waiting to attack you. Peek over the rocks to take your shots, then duck back down to avoid being hit yourself.
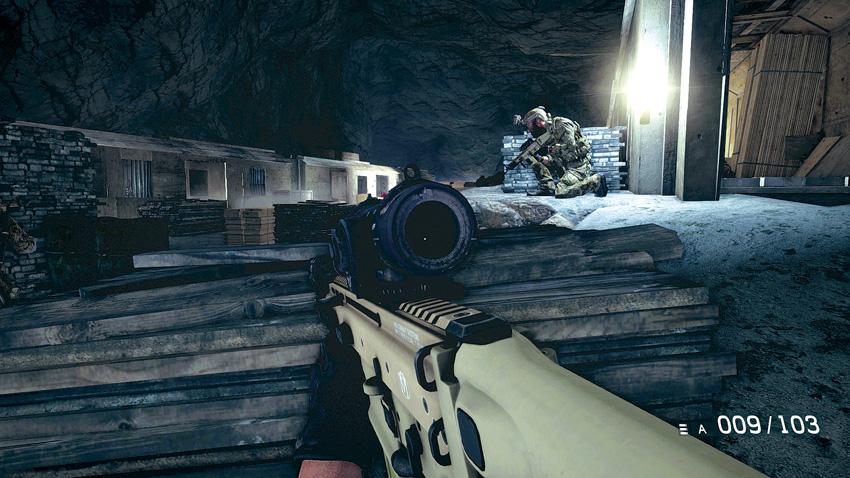
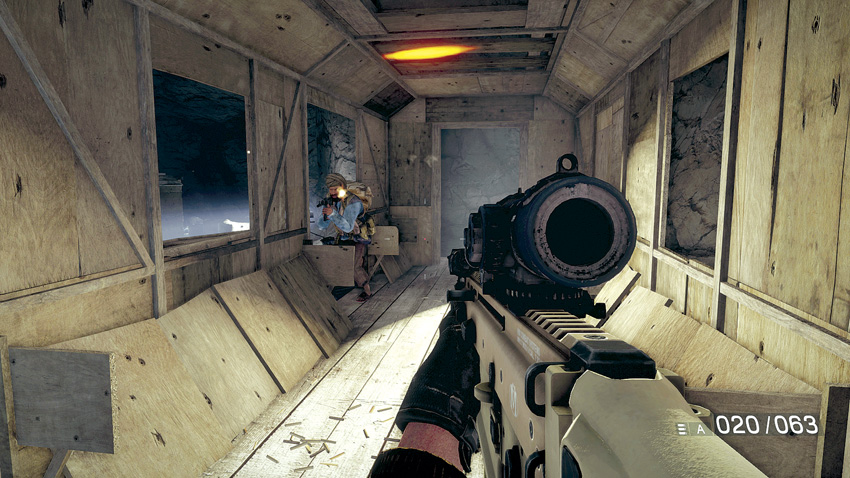
After clearing out this area, advance to an area built to look like a train station. Once again, take cover behind rocks and start picking off the enemies you can see. A good tactic is to move into the mock train on the right. Clear out any enemies inside and then use this position to hit the enemies on their flank. This is a good way to get in behind the armored machine gunner that begins advancing on your teammates.
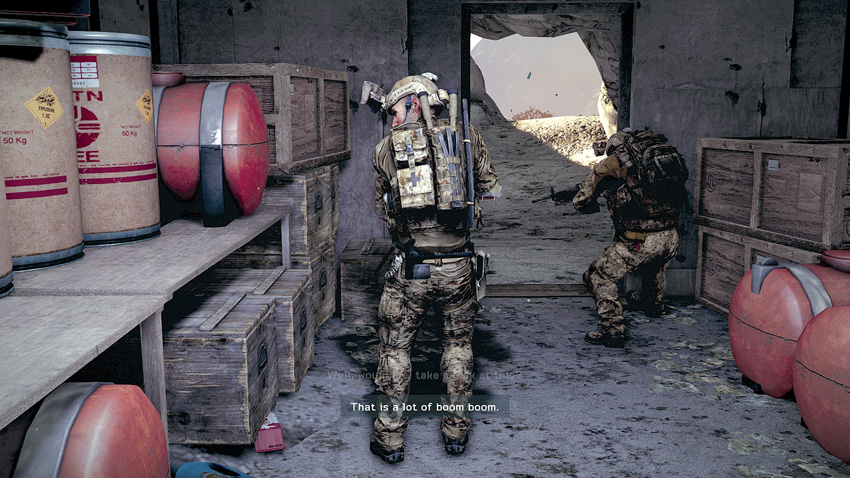
Clear out the train station area, then follow your team to the opposite side and move through a door. On the other side is a room filled with the P.E.T.N. explosives. It feels uncomfortable to be in such a small room with so much destructive potential. However, while there are a lot of explosives here, it looks like a lot is missing.
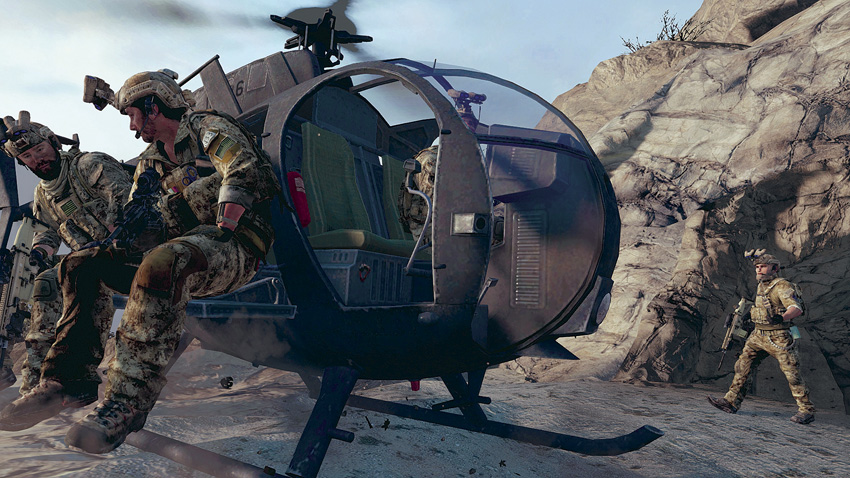
“Dusty” tells you to take a sample and then get out of there so they can blow it up with an airstrike. Head out to the chopper and climb aboard. “Voodoo” places a smoke grenade at the entrance to the cave and as soon as your chopper flies away, the strike hits, with the resulting explosion taking out half of the mountain.