
Company of Heroes 2 Guide Theater of War Soviet Missions
Soviet Missions
Co-op Scenarios
Brody Tank War
Achievements
I Need No Help: Do not call in any reinforcements.
Walkthrough
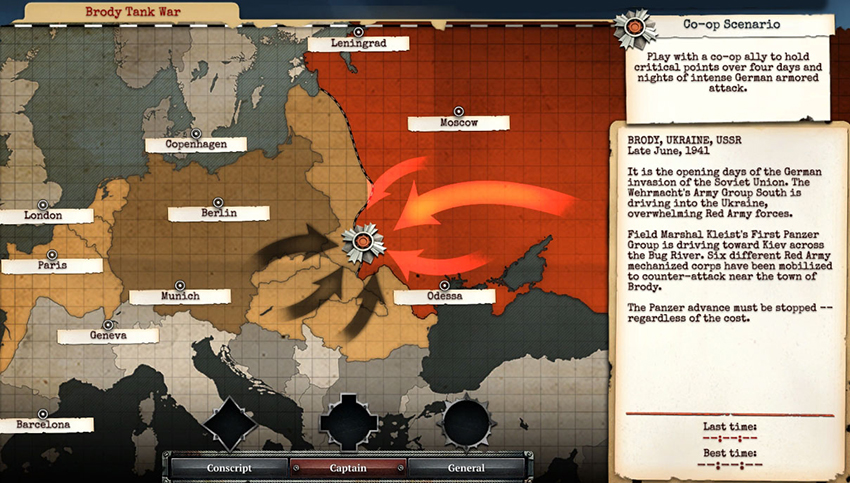
The Brody Tank War adds new elements to the defense missions found in the campaign and Theater of War. Although there are Victory Points and territory points similar to any normal multiplayer map, you must hold the Victory Points or else your Victory Tracker will decrease. The mission is timed; you must last four days and nights while holding the Victory Points to succeed. The Germans will still have a high consistent income without territory points while you will not, requiring that you hold a majority of the points in order to call in better units and use more abilities. Both you and your ally—an online friend or a computer-controlled AI—will begin the mission with a fully constructed base, two T-70s, a KV-1, two Conscript squads, a Combat Engineer squad, and a ZiS-3 Field Gun. Your bases are located on the bottom side of the map while the Germans will attack from the north.
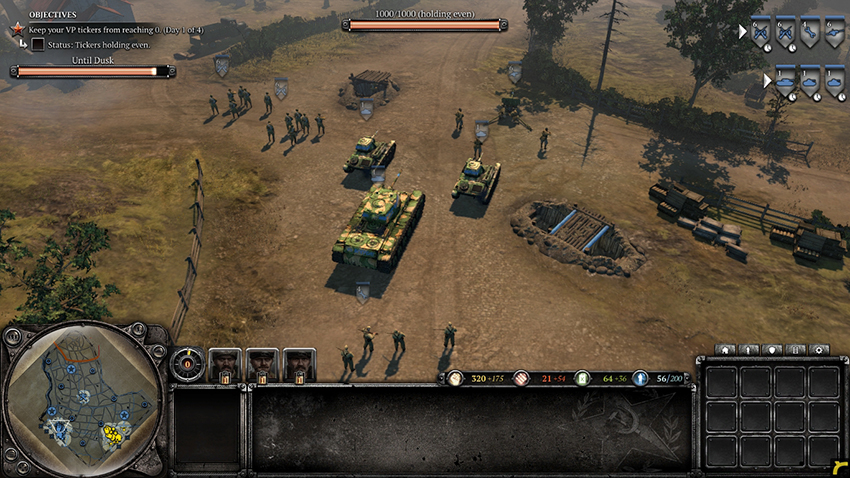
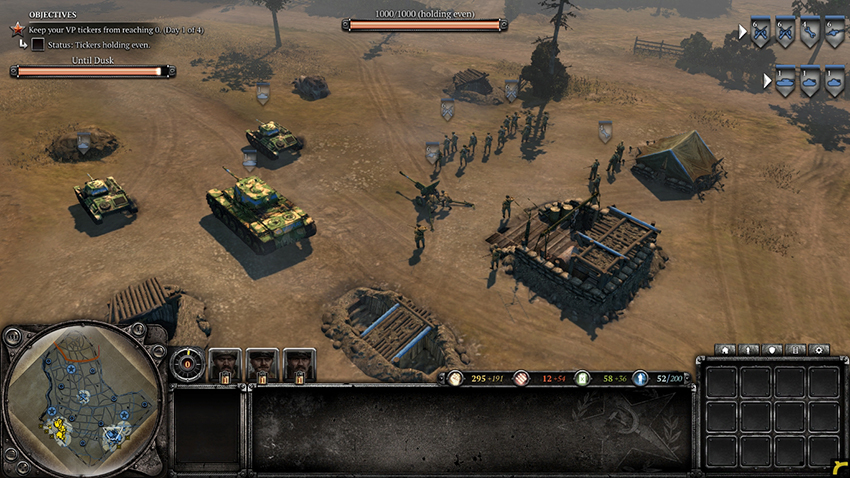
The German attackers will use a combination of infantry, light vehicles, and tanks to take your Victory Points. Fortunately, the KV-1 Heavy Tank is the most powerful tank in the mission and can take out all three types of units while suffering little damage in return. Placing your first KV-1 and ZiS-3 at the top Victory Point, facing north, will likely be enough to take out any Germans that try to take the point. The two T-70s that you are given are great for eliminating any units that take other territory, especially when they have earned a rank of veterancy, allowing them to activate Secure Mode to recapture territory. Conscripts and Engineers will not be much help for this mission, although you can keep them on points so that the points are not captured.
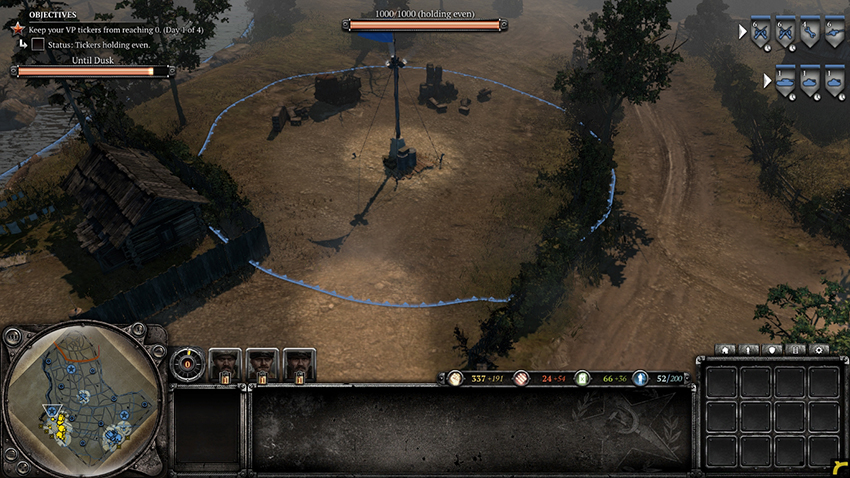
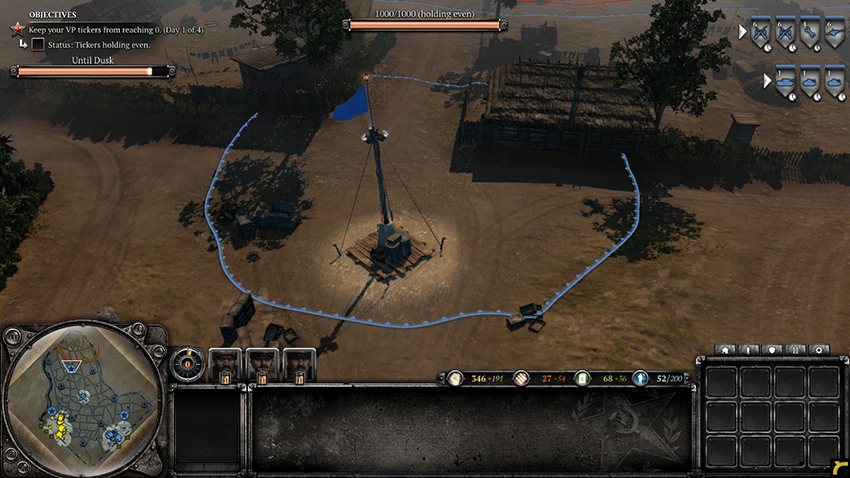
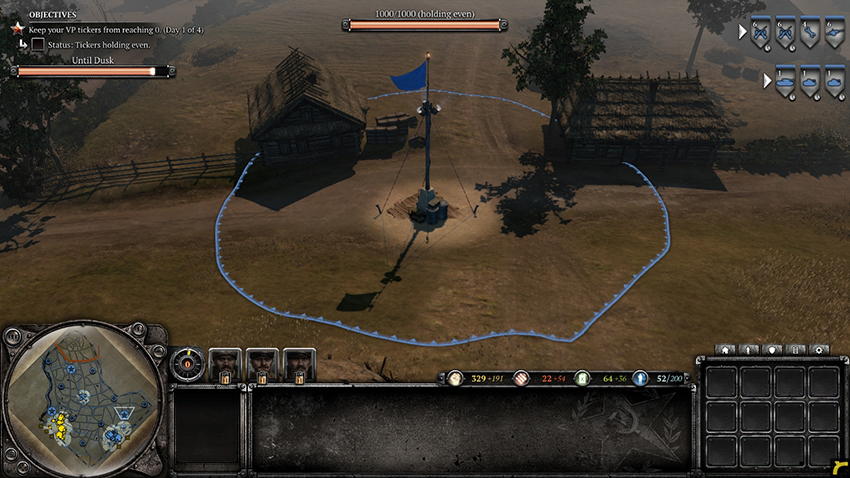
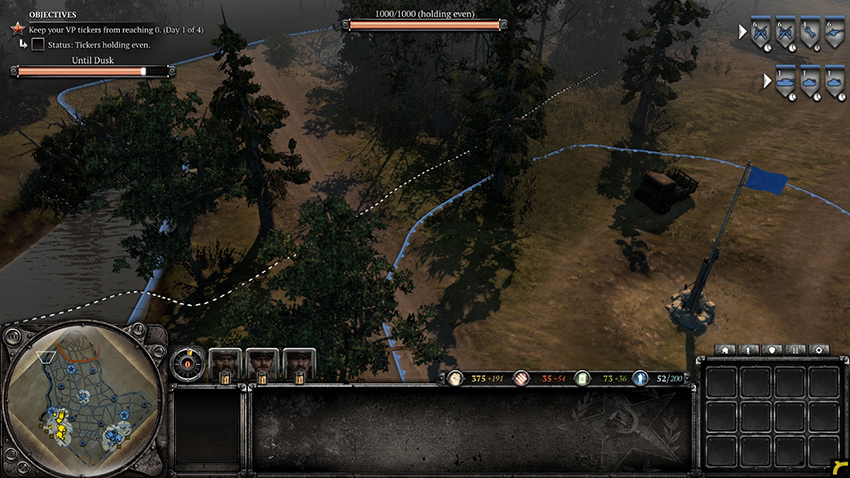
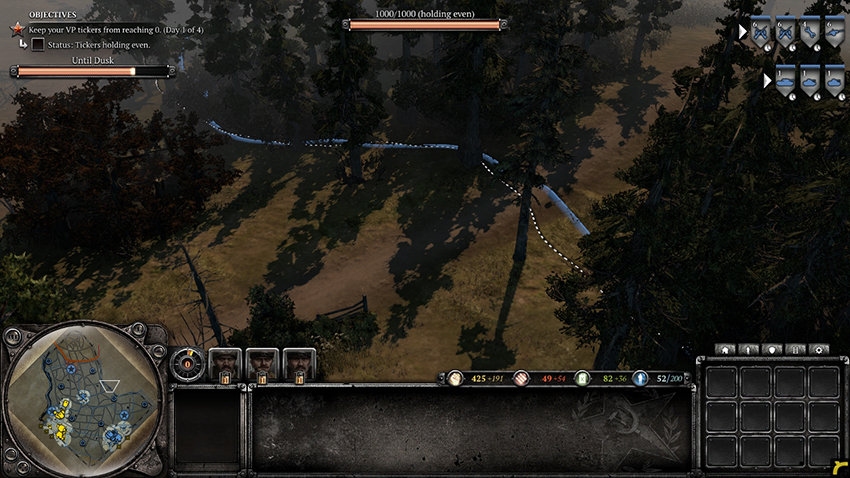
The Germans will attack from three positions. Their base is located at the top of the map, and is heavily defended by AT guns and tanks. The two other positions are side roads that may be hard to spot—one is located in the northwest, next to the territory point; the other is on the right side of the map, roughly halfway between the top and right Victory Points. While it may be difficult to set up defenses near the side roads at the beginning of the mission, keep in mind that placing a future KV-1 and other tanks near each side road will make the mission much easier. If you are playing with a friend, let them defend one of the side roads while you defend the other. No matter where you are defending, calling in additional KV-1s is the best option for dealing with the Germans. With enough KV-1s supported by ZiS-3s and other tanks, the Germans will not be able to push through your defenses as long as you keep everything alive. Don’t worry about calling in additional AT guns because there are abandoned ones on the map, such as at the Vehicle Repair Facility and on the hill south of the top Victory Point. Your resources should be focused on calling in additional KV-1s.
The unique gameplay element for this mission is the day-and-night cycle. The Germans will send out more and better units on later days, as well as fire artillery at multiple positions. To counteract the increasing German aggressiveness, you will be able to call in tank reinforcements on each day after the first. Three types of reinforcements are available, although you are able to call in only one each day and each reinforcement only once. Light Reinforcements grants you two T-70s, making it easier to eliminate any Germans that sneak past your defenses. Medium Reinforcements grants you two T-34s, with an extra T-70 if you call them in on Day 3. Heavy Reinforcements grants you two KV-1 Heavy Tanks, with two bonus T-34s if you call them in on Day 3 and three bonus T-34s and a bonus KV-1 if on Day 4. Although it is better to call in Light Reinforcements on Day 2, Medium on Day 3, and Heavy on Day 4, you should analyze the current situation to decide if you need better tanks to survive until the next day. If all goes well and you do not have to call in Heavy Reinforcements until Day 4, the amount of tanks you receive will make the final day and night easy to complete.
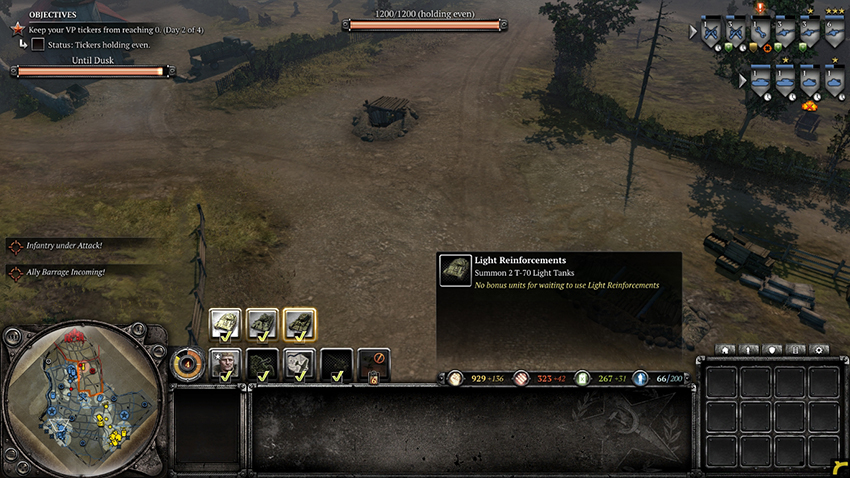
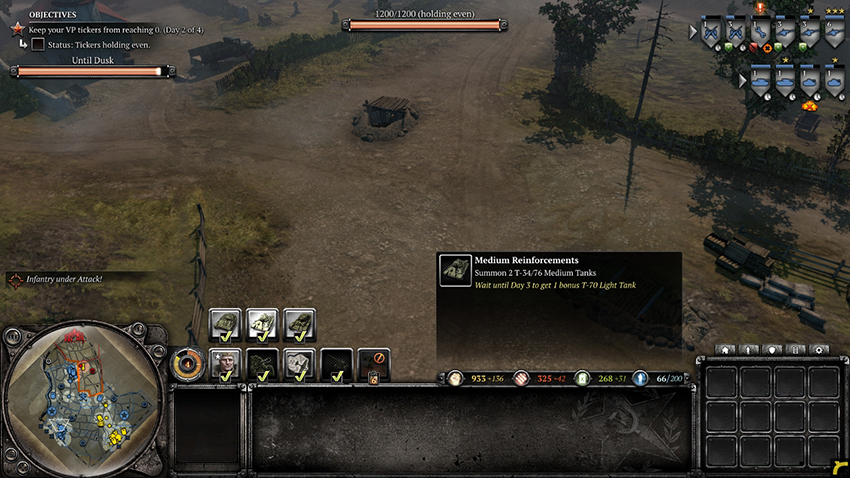
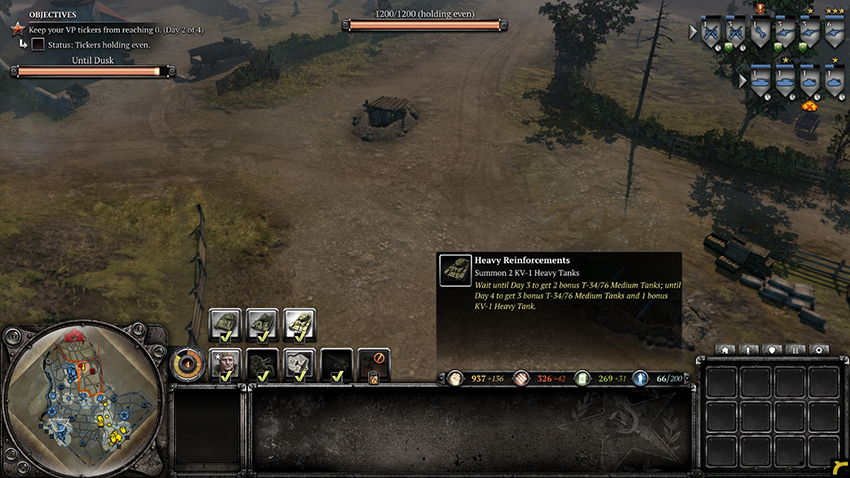
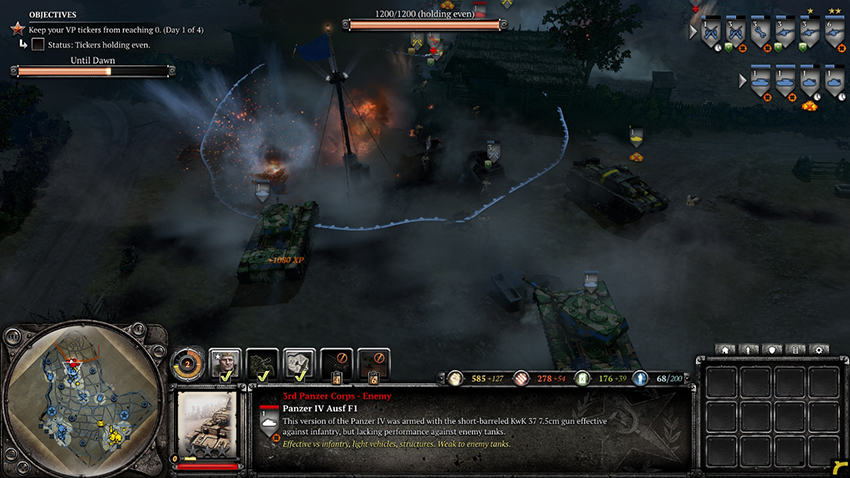
Enemies will not come on the map from the side roads on Day 1. At the beginning of the first night, a Panzer IV will come from each of the side roads. Besides the occasional tank, a majority of the units that arrive on the side roads will be infantry and light vehicles until Day 3. Also on Day 3, the two Victory Points in the bottom left and bottom right will be bombarded by artillery. On Day 4, every position on the map will be a target for artillery barrages. The Germans will send similar units on each day, while the later days will bring an increased number of units and a larger number of Panzer IVs. You will not encounter many weapon teams that can deal with your infantry, although the sheer number of German vehicles reduces the usefulness of infantry anyway. For defending the top Victory Point and the two side roads, have at least two KV-1s and two AT guns covering the top Victory Point before you send additional tanks to guard the side roads. As you call in more tanks, think about where they will be most useful. Defending the top Victory Point is more important than the side roads, as the majority of German units will attack the top Victory Point. Survive for four days and four nights to achieve victory.
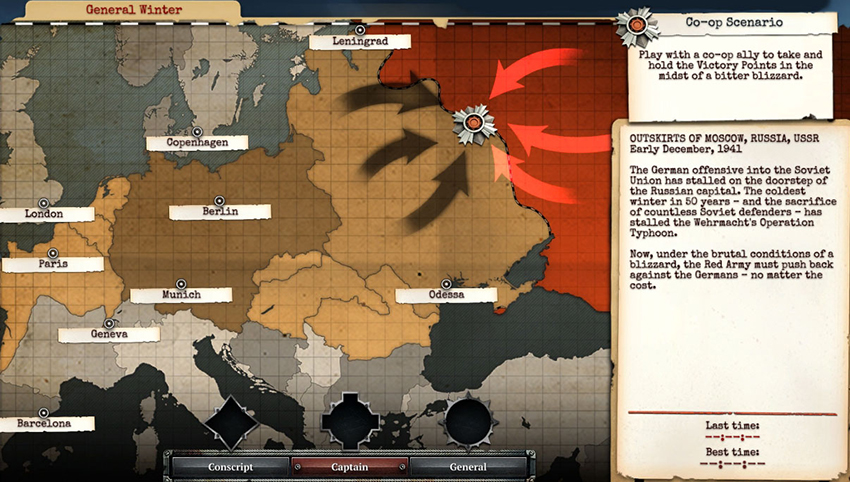
General Winter
Achievements
Cookout: Build 10 Campfires.
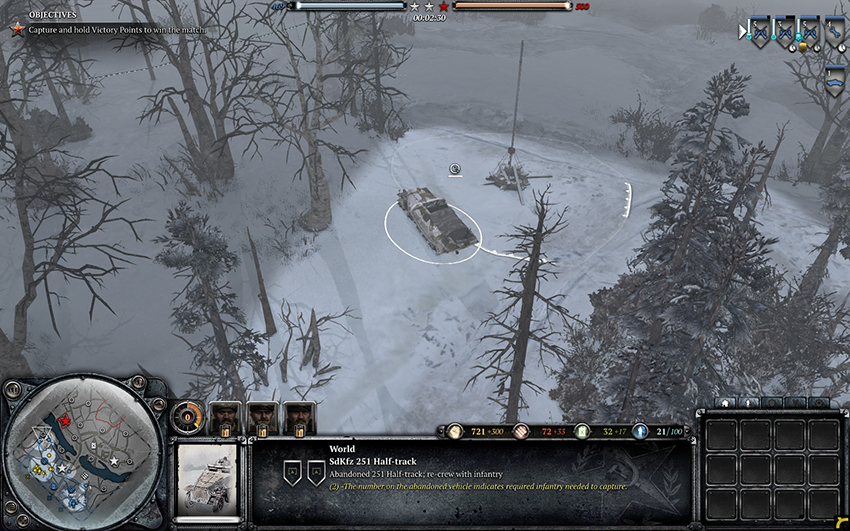
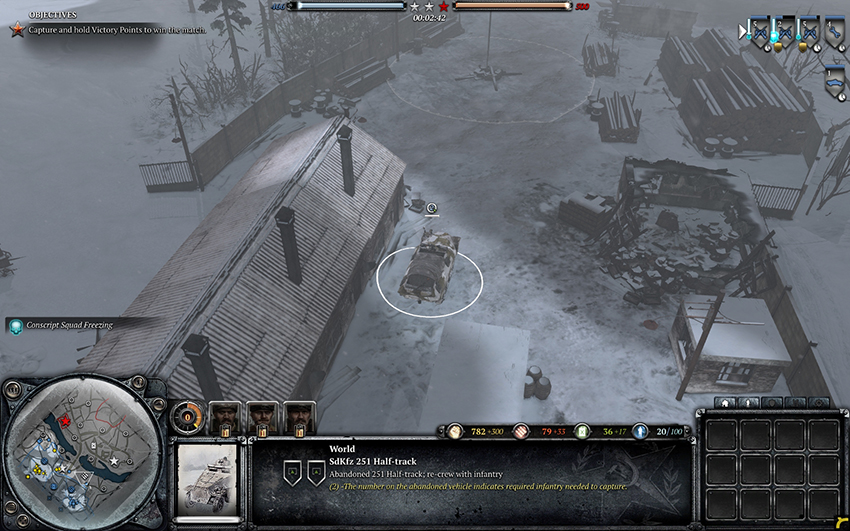
Half-tracked: Recrew all of the abandoned German Half-tracks.
Recrew the three abandoned Half-tracks on the map for this mission to receive this achievement. This is shared between you and your ally.
Walkthrough
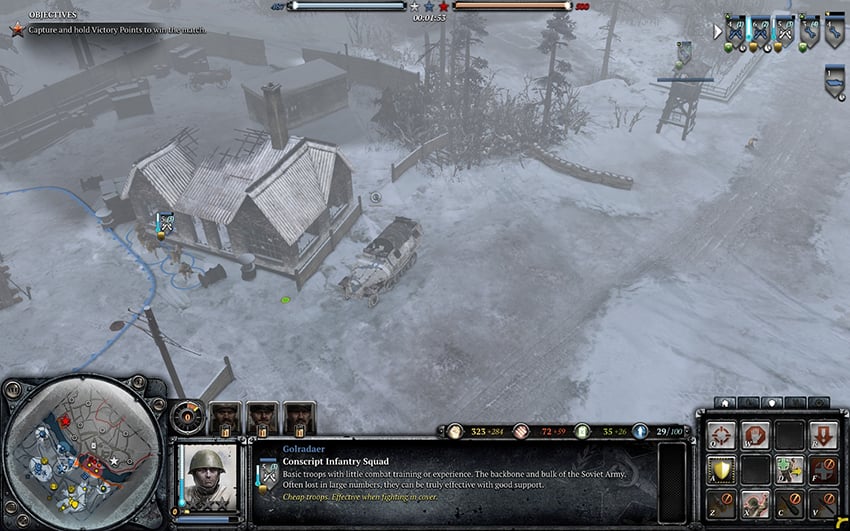
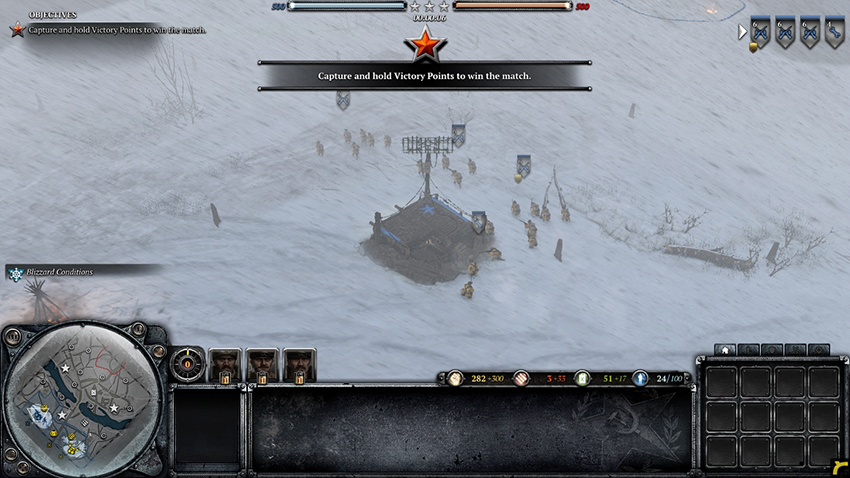
This scenario pairs you up with a Soviet ally, either a friend online or an AI, against two German enemies on a map continuously affected by a blizzard that reduces unit sight range and freezing infantry. Victory will be earned by reducing your opponent’s Ticker to zero by controlling more Victory Points than the enemy. This map functions in a similar fashion as most multiplayer maps, although you are only able to produce units available in 1941. Capture territory points to gain more income, then beat back your opponents and hold the Victory Points. Both players will start with three Conscript squads and a Combat Engineer squad, as well as two shared Munitions Caches and one Fuel Cache on the points between the Soviet bases.
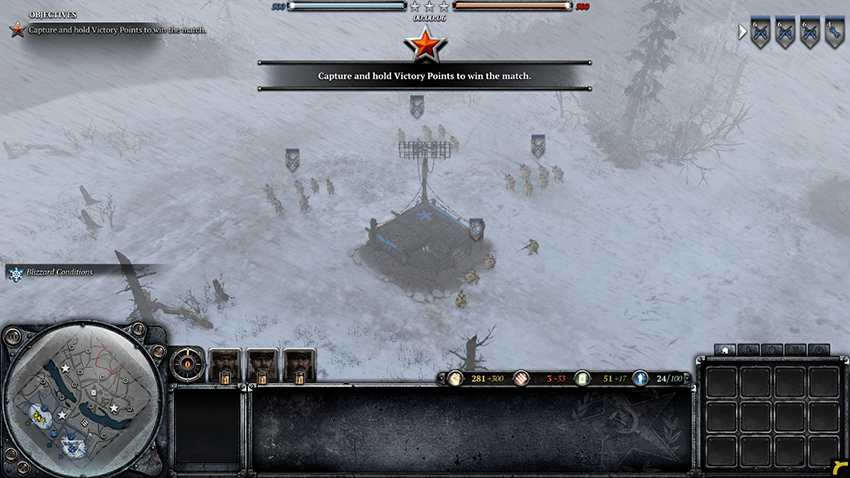
The Germans will call in Grenadiers, HMGs, Mortars, and Pioneers to secure their side of the river, making it hard to cross the river safely. However, rarely will German squads cross the river to take your territory points. Instead of trying to capture the two Victory Points on the German side of the river early on, simply set up your squads to defend the territory points near the river and wait until you have better units before crossing. Units from both the Special Rifle Command and the Support Weapon Kampaneya will prove useful, although the most effective Soviet unit is the KV-1 Heavy Tank from the Tankoviy Battalion Command. Strong against infantry and loaded with armor heavy enough to take a few rounds from an AT gun, a quick KV-1 will prove most useful against the German infantry. If you wish to get a KV-1, build Fuel Caches on any available territory points on your side of the river. Otherwise, Snipers or Mortars will be necessary for breaking the German defenses.
Although you will be able to build a Tankoviy Battalion Command and call in tanks relatively quickly, the Germans will not do the same. Instead, expect the Germans to use plenty of infantry and weapon teams, along with a few Half-tracks or Scout Cars. For the most part, you will not have to worry about German tanks until much later in the mission. Due to the prevalence of infantry, both tanks and Snipers are great for this mission. Once you take out the German units that are in cover along the river, you are able to set up defenses to guard the Victory Points on the German side of the river. HMGs, Mortars, Snipers, and tanks will be able to hold the points from the Germans once you capture them. The most difficult part about this mission is getting across the river without being killed by HMGs or Mortars. After you have captured the Victory Points, the mission should be easy to complete, assuming you continue to call in additional tanks or other useful units.
Solo Challenges
Indirect Fire
Achievements
Indirect Gold: Complete the bonus objective.
Massive Destruction: Destroy 75% of the neutral structures.
Rocket Recovery: Recrew all of the Katyusha trucks on the map.
Walkthrough
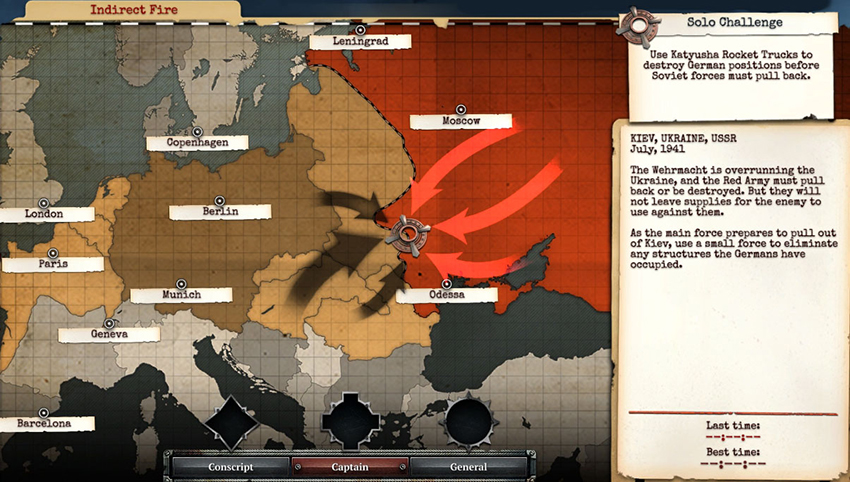
This mission takes place on the same map of Stalingrad from Mission 5 of the campaign, although you will find different enemies and many more buildings. Your goal is to take out 15 German structures within the time allotted. More time can be added to the countdown by capturing territory points and destroying neutral buildings. Your initial forces include two Katyusha Rocket Trucks, a Conscript squad, and a Combat Engineer squad, along with a base that can call in Combat Engineers, Conscripts, Snipers, and Scout Cars. After receiving 1 Command Point, you are able to use the Mobilize Fresh Conscript Squad commander ability. Although you are not able to call in additional Katyushas, you will find plenty abandoned throughout the city that you can recrew. Katyusha barrages will be your primary tool for completing this mission. In fact, your infantry squads are not necessary to achieve victory, although they will be used for capturing territory points and scouting out the German defenses.
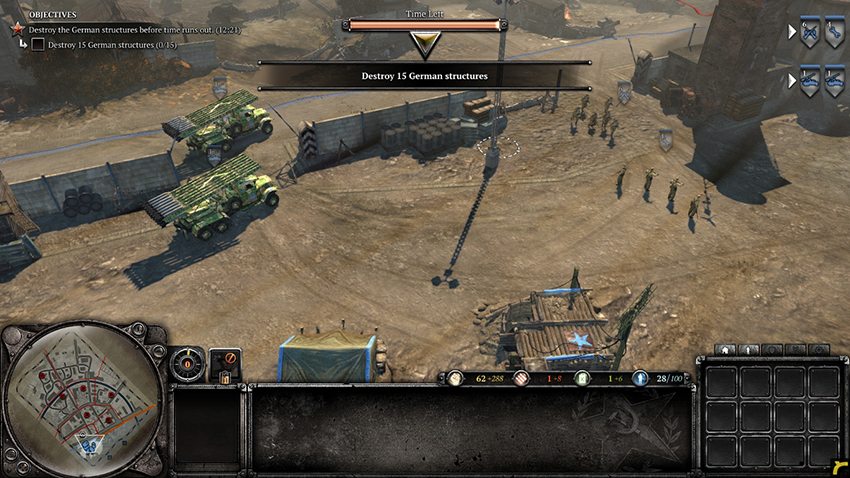
Begin by taking the closest territory point northwest of your base. Before moving toward the next territory point to the north, barrage the area with your Katyushas with the tall German building as your primary target. After the barrages, move in your infantry to take out the remaining squads and destroy the Munitions Cache securing the territory. Capture the territory, then set your sights on the territory point to the east. If you lost men while taking the territory point, retreat and reinforce your squads before continuing. You should now have two out of 15 German structures destroyed.
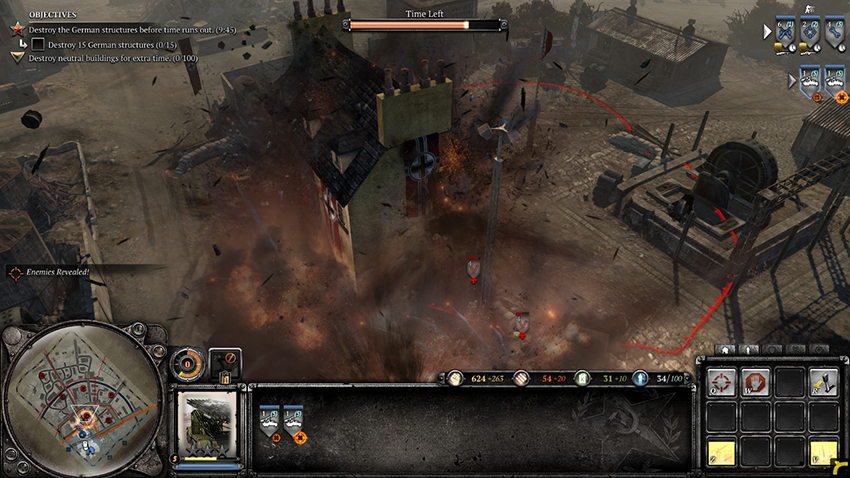
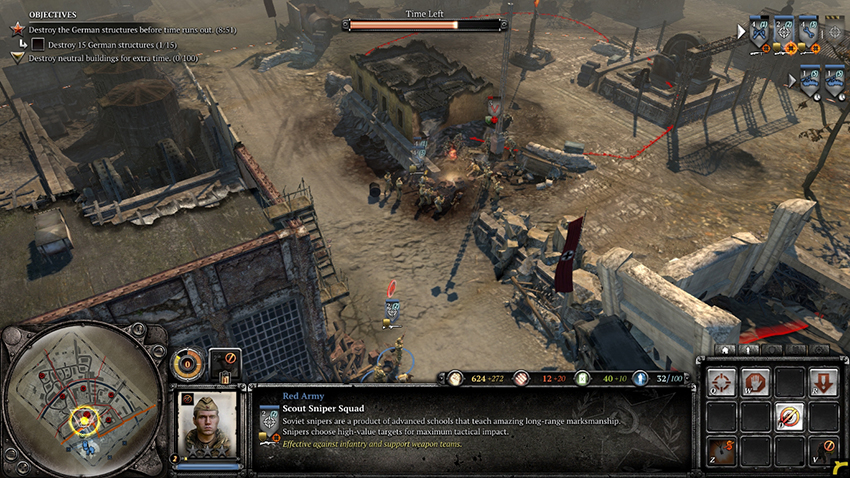
Locate the tall German building at the next territory point, northeast of your base, and barrage it with your Katyushas. After it has been destroyed, move in your infantry to secure the territory point. If you are having trouble killing off the remaining German infantry defending the territory point, pull back your infantry and wait for a second barrage from your Katyushas to take them out. Destroy the Munitions Cache and capture the territory point. You should now have four German structures destroyed.
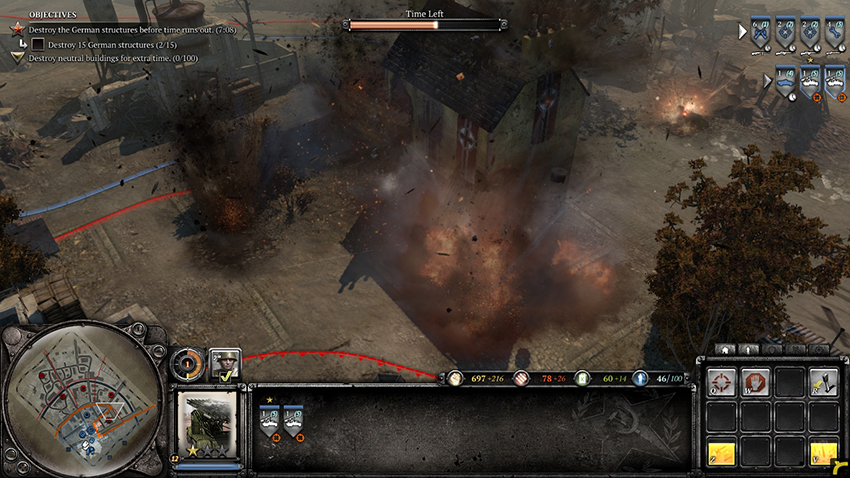
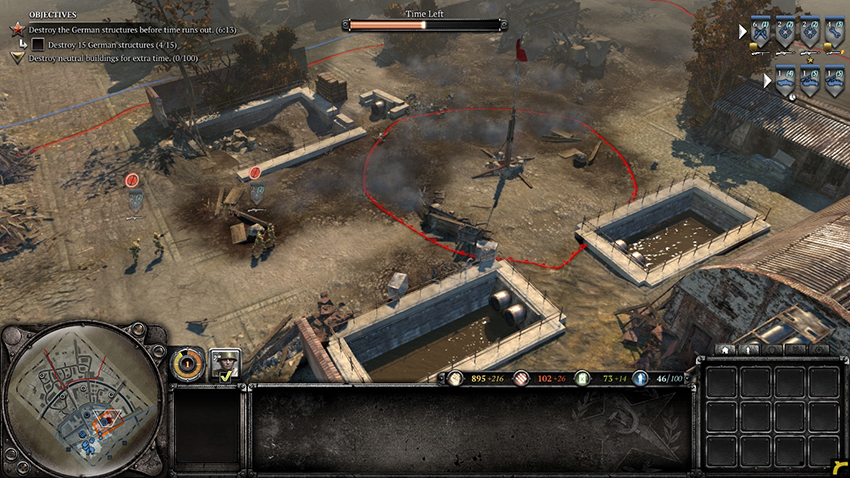
The next point to the north is defended by AT guns, HMGs, and Grenadiers. Unlike before, this time don’t begin by barraging the territory point—there are two abandoned Katyusha Rocket Trucks nearby that you may destroy. Instead, use Snipers and infantry to take out the AT guns, and Snipers or a Scout Car loaded with an infantry squad to take out the HMGs. Eliminate the Germans, destroy the Munitions Cache, capture the territory point, and recrew the Katyushas with a squad of Conscripts. While doing this, look to the west to find another tall German building between the point you are capturing and the next territory point. Target the building with your Katyushas to destroy it. You should now have six German structures destroyed.
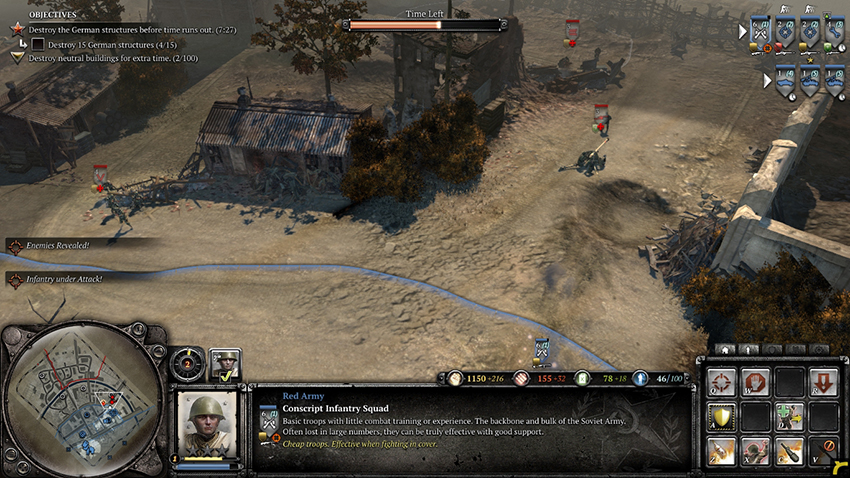
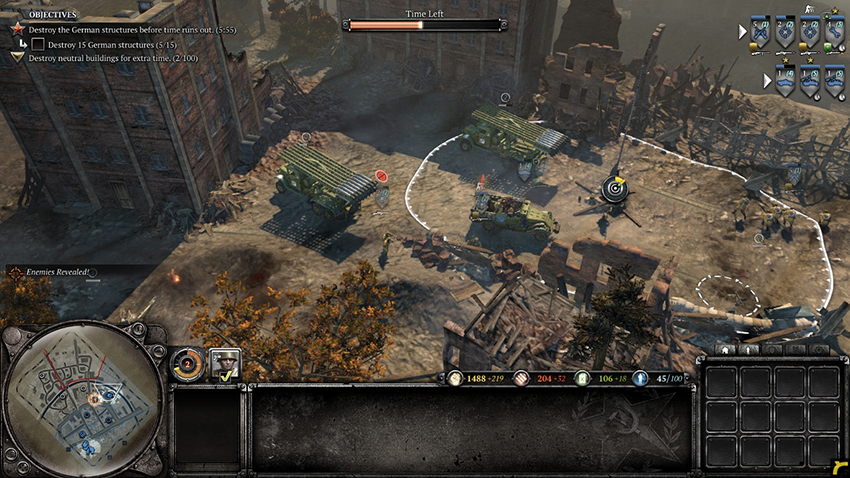
The following territory point to the west of your position is defended by a bunker and Panzergrenadiers. Target the territory point with your Katyushas to take out the bunker, then use a Scout Car and your infantry squads to take out the remaining Germans. Destroy the Munitions Cache and capture the point. You should now have eight of the 15 German structures destroyed.
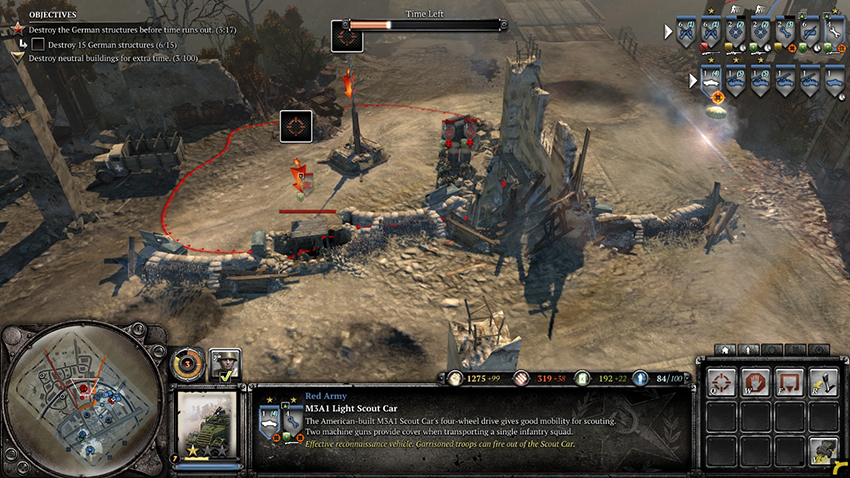
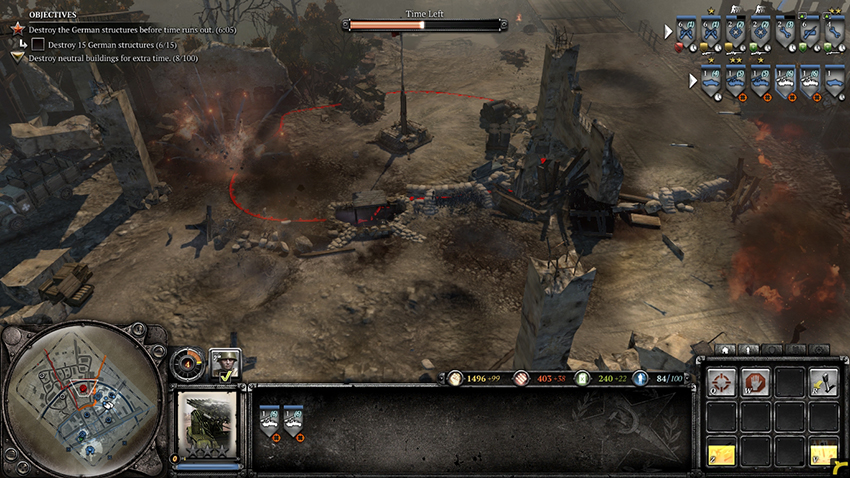
More bunkers, AT guns, and HMGs guard the territory point to the west of your position. Use Flares or your infantry to gain sight of the bunkers, then barrage them with your Katyushas. Locate the tall German building southeast of the territory point—barrage this structure as well. Destroying all of the bunkers and the tall building will remove all of the HMGs from the area, allowing your infantry to destroy the Munitions Cache and capture the territory point. You should now have 12 German structures destroyed.
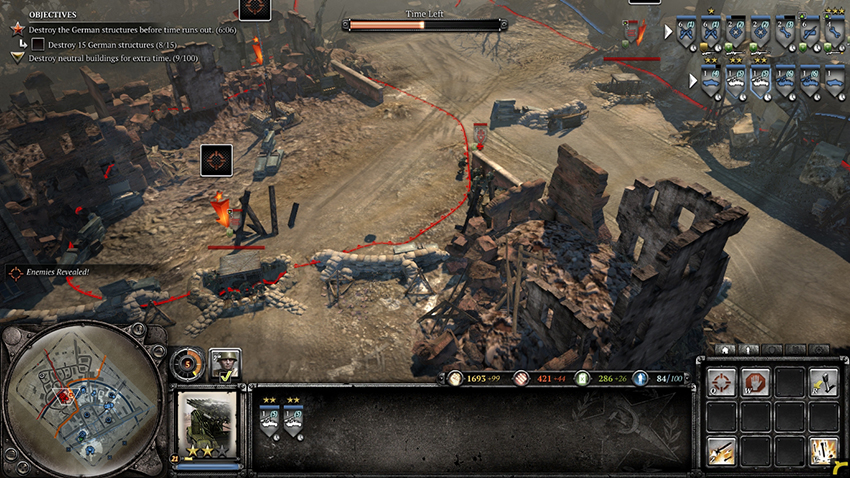
On the road to the final territory point, northwest of your position, is another German bunker. Barrage it with your Katyushas to take it out. The point itself is guarded by a Panzer IV, an AT gun, and infantry garrisoned within the nearby German building. However, there are four structures on the point that will put you past the number of destroyed structures necessary for victory. Instead of moving your units in to take out the tank and infantry, constantly barrage the area until all four structures are destroyed—the German building, two production buildings, and a Munitions Cache—as well as the nearby Panzer IV tank. After you have destroyed 15 structures, you will be asked to destroy five additional German structures. Doing so will give you an achievement. After all of the structures at the final territory point have been destroyed, you will have two out of five additional German structures destroyed.
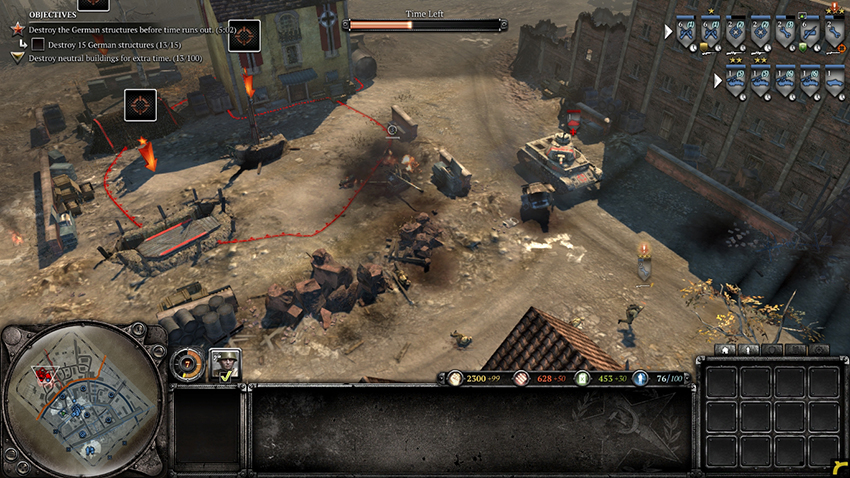
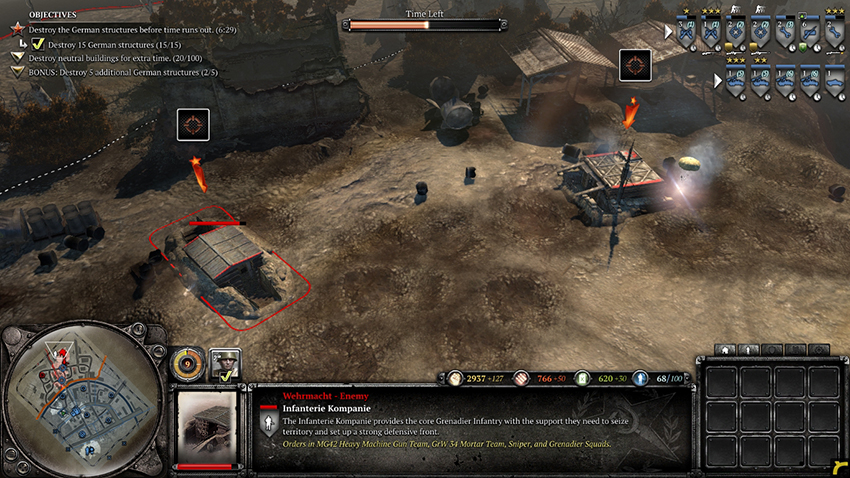
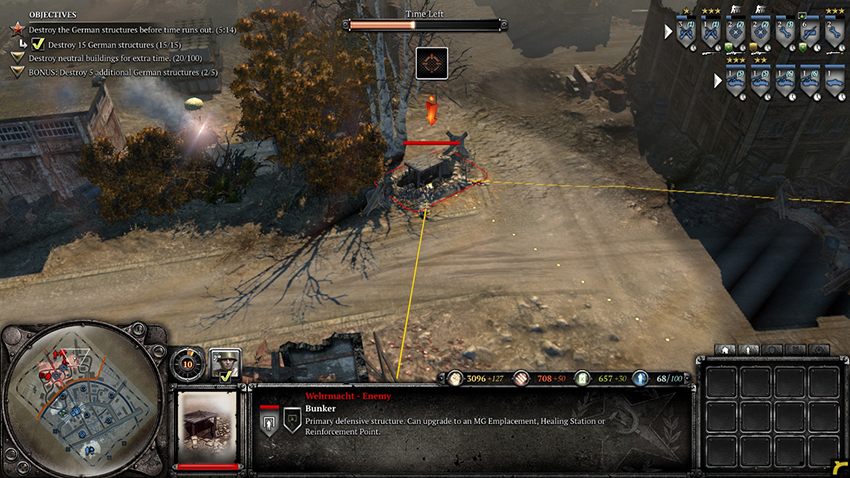
Instead of capturing the territory point with your infantry, move them north to the location of the German headquarters in Mission 5. Two German structures are within the area defended by walls. The path to the area is protected by a Panzer IV, a Scout Car, and multiple squads of infantry. If you do not wish to take out the German units defending the area, simply barrage it until you have destroyed the structures. These buildings can be identified by large holes in the ground—as these are German production buildings, they require more than one barrage to be destroyed. The final German structure is a bunker to the east of the production buildings at a four-way intersection. Destroy all of these buildings to complete the mission and earn the bonus achievement.
Winter Defense
Achievements
Gold Defense: Complete the bonus objective.
Panzer Theft: Recrew and repair a Panzer IV tank.
To the Front: Call in 20 squads of Fresh Conscripts.
Walkthrough
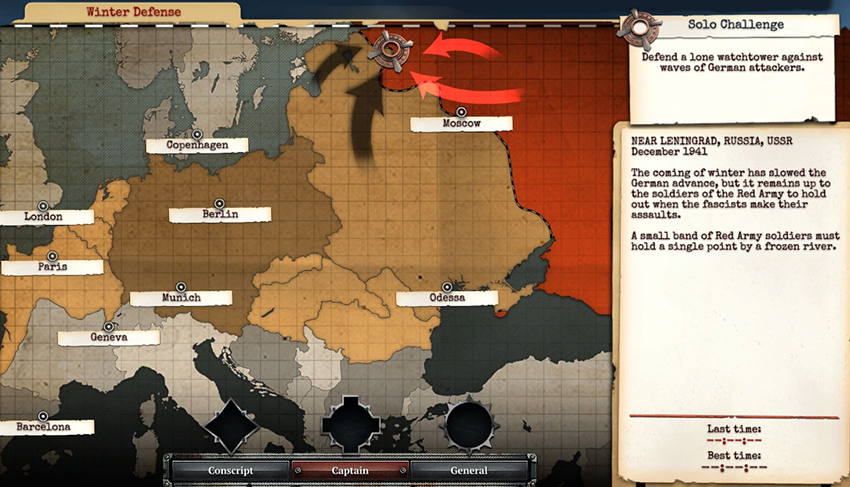
The objective of this challenge is to maintain control of the Watchtower while defending against waves of German units. Although you are not given a base with which to call in additional units, defeating each wave grants you additional resources and new squads. Earning 1 Command Point allows you to use the Mobilize Frontoviki Conscript Squad commander ability, which represents the only units that you are able to manually call in. Recon Overflight is available at 2 Command Points, and IL-2 Strafe Support is available at 6 Command Points. Your initial forces includes Guards Rifle Infantry, a Frontovik squad, and a Combat Engineer squad.
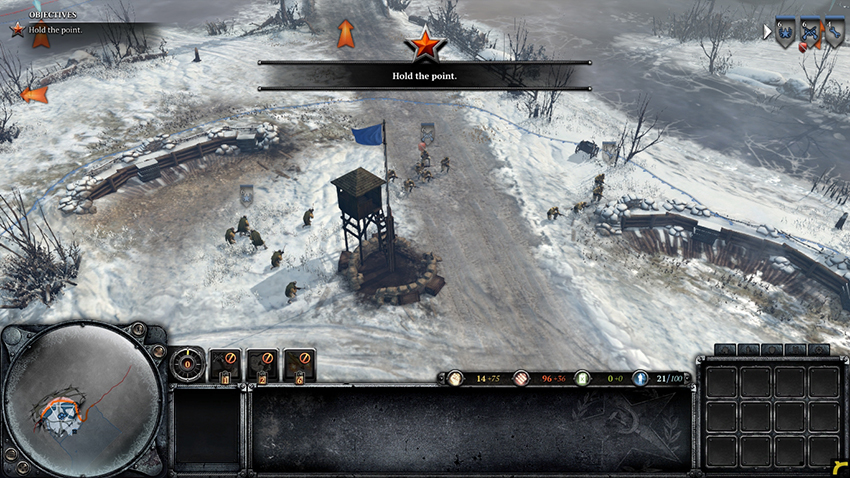
The first wave consists of Ostruppen squads. The direction these squads arrive from is randomized each game, although they will come from one of the four marked Possible Enemy Approaches. To defeat this wave, place your squads in cover and watch out for any squads that get too close. Ostruppen do not cause much damage, although taking as little damage as possible is important—it is not possible to reinforce your squads during the mission. Completing the wave will give you an additional squad of Guards Rifle Infantry and a Frontovik squad.
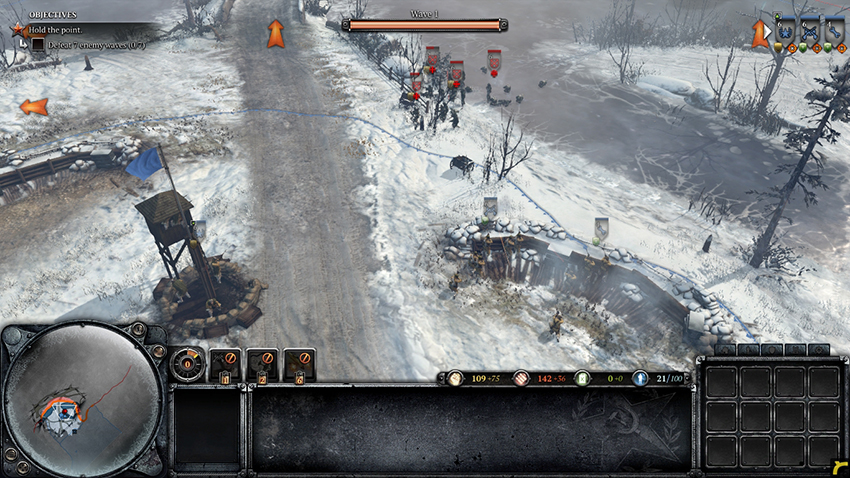
The second wave consists of Grenadiers, some of which may have MG42 LMGs. Depending on which path the Grenadiers come from, move your squads into cover nearby. Keep your squads in cover and wait for them to come to you. If one of your squads starts to take heavy damage, move them away so that your other squads take fire. Complete the wave to receive a Sniper and extra Munitions.
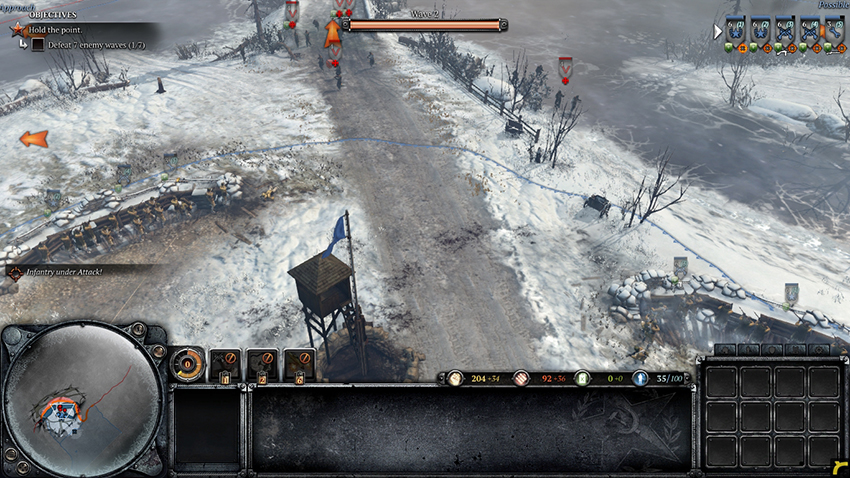
The third wave consists of Panzergrenadiers, Grenadiers, and HMGs. As before, stay in cover and let the German infantry come to you. Use your new Sniper to take out any HMGs that set up far away from your cover, but be sure to keep it safe from other infantry squads. If you lose your Sniper, use a Frontovik squad to flank the HMG. Complete the wave to receive another Combat Engineer squad.
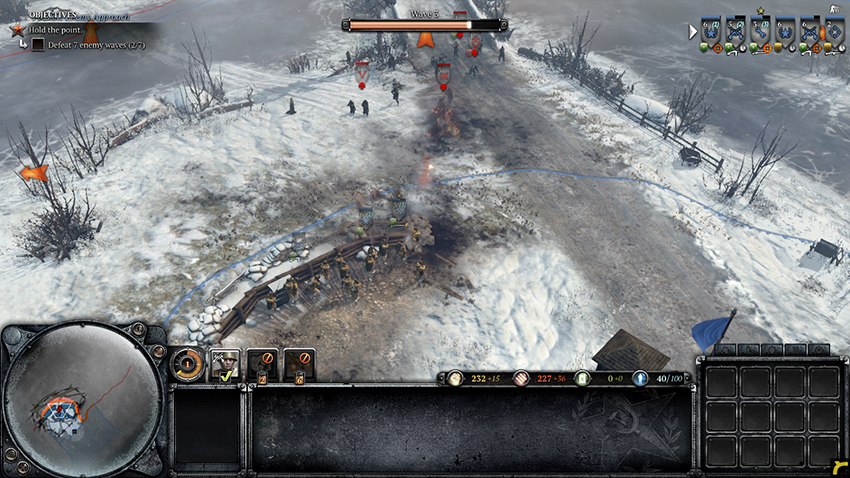
The fourth wave features the first German vehicle, an upgraded Scout Car with an Autocannon, as well Grenadiers and Panzergrenadiers. Have one of your Guards Rifle Infantry squads upgraded with PTRS-41 Anti-tank Rifles before this wave begins. Use them to take out the Scout Car at range, then eliminate the rest of the Germans as normal. Complete the wave to receive a ZiS-3 Field Gun.
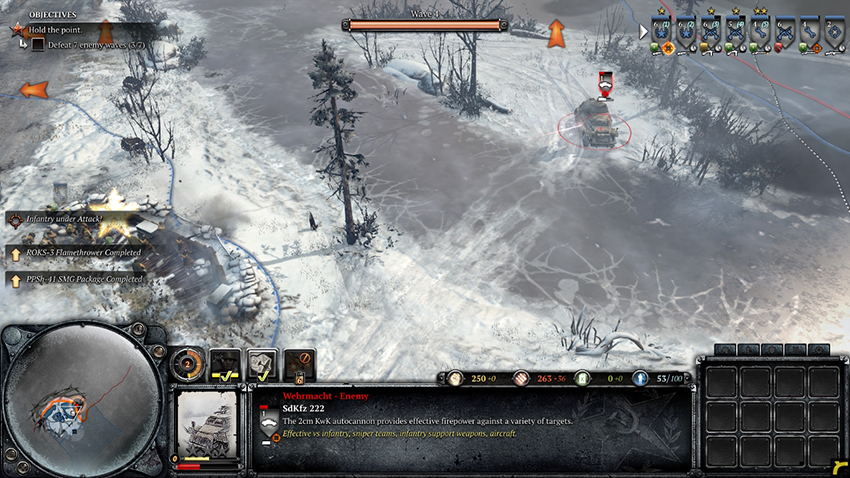
The fifth wave introduces a Panzer IV tank supported by Grenadiers and Panzergrenadiers. Use your Guards Rifle Infantry and new AT gun to take out the tank, but be cautious of the German infantry. The tank can easily kill your infantry, although it will take heavy damage from the AT gun and PTRS-41 rifles. Be sure to move your squads away from the Panzer IV if they have low health. Complete the wave to receive a Soviet HMG.
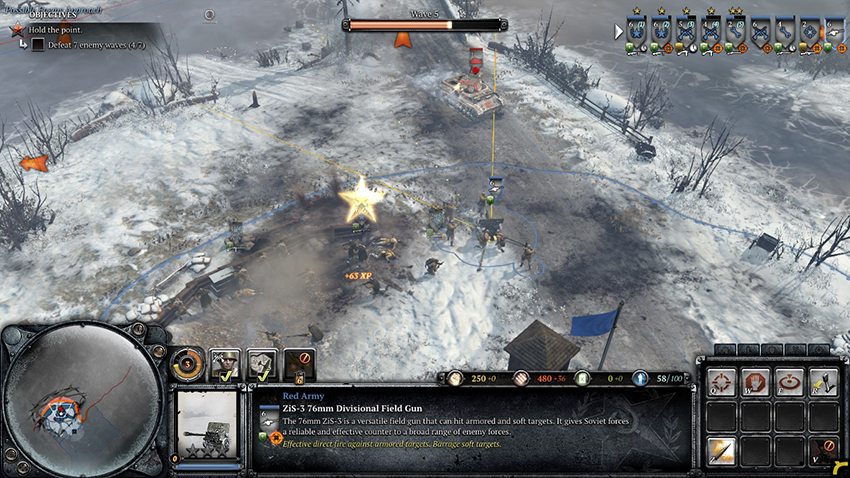
The sixth wave consists of German Snipers, Grenadiers, and Panzergrenadiers. Your Snipers can easily take out the German Snipers—target them quickly so that they do not kill many of your men. Aim your new HMG at the advancing Grenadiers and Panzergrenadiers. If you lose your Sniper squad, move your Frontovik Conscripts toward the German Snipers until they are killed. Completing the wave will not give you any additional squads.
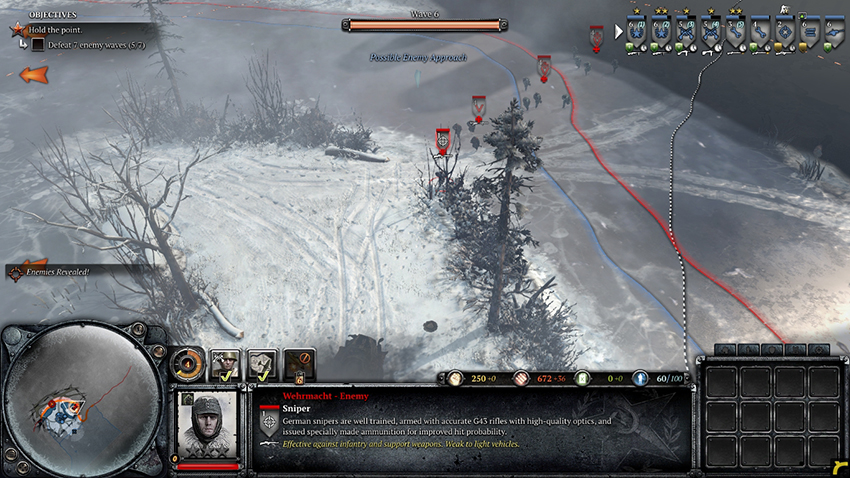
The seventh wave begins with a German Stuka strafing your position at the Watchtower, causing light damage to infantry and pinning them to the ground. Retreat any of your squads that are pinned—this will remove the pinned effect, allowing them to move again. Move your squads just south of the Watchtower until the Stuka leaves. An upgraded Scout Car and Panzergrenadiers will arrive after the Stuka begins strafing. Take them out once they get close but don’t move back to cover until the Stuka is gone. Complete the wave to complete the mission and receive a bonus objective—survive three more waves to earn an achievement.
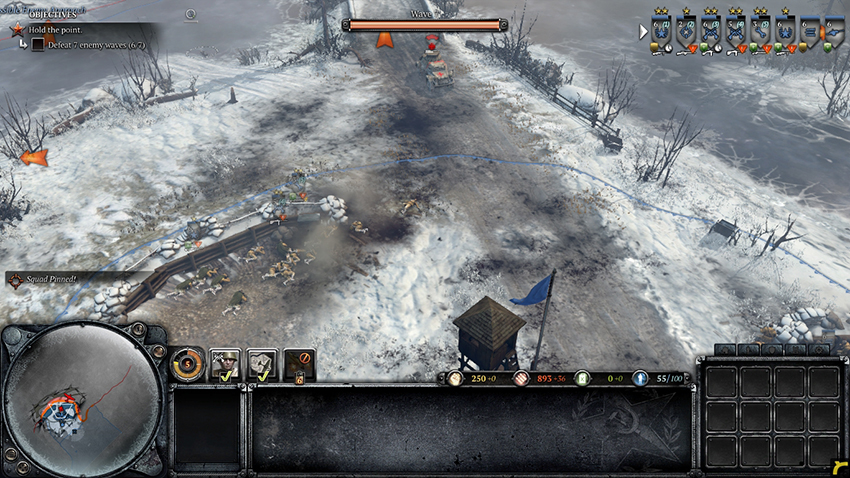
The eighth wave consists of multiple upgraded Scout Cars, Grenadiers, Panzergrenadiers, and Mortars. Use your Guards Rifle Infantry to take out the Scout Cars, then use your Sniper to take out any Mortars. Don’t leave your infantry in cover—move them around so that they are not killed by Mortar shells. Complete the wave to earn extra Munitions.
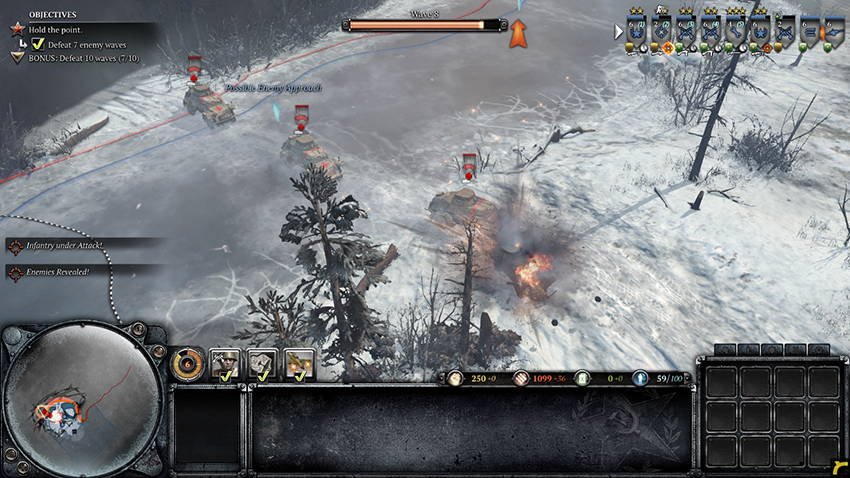
The ninth wave features a Mortar Half-track, StuGs, Grenadiers, and Panzergrenadiers. Watch out for the Mortar Half-track, as it will fire normal mortar shells as well as incendiary shells, which will light an area on fire. Take out the Half-track with your Guards Rifle Infantry, then position your AT gun and Guards Rifle Infantry to take out the incoming StuGs. Complete the wave to earn extra Munitions.
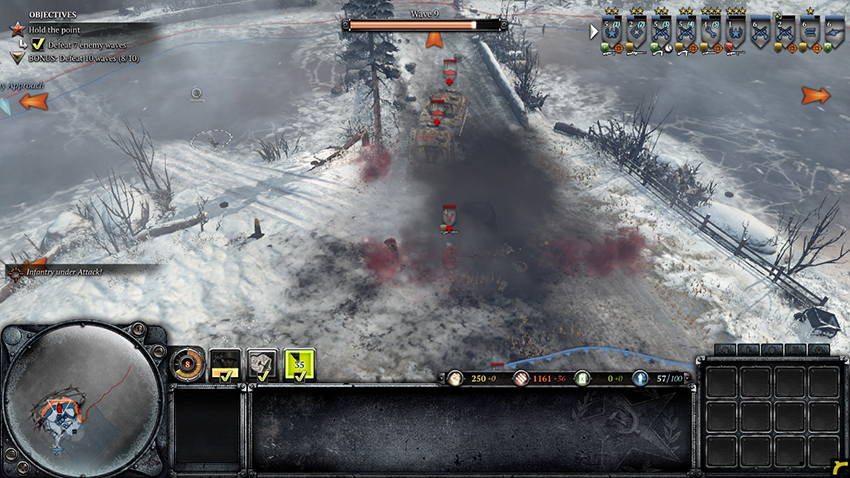
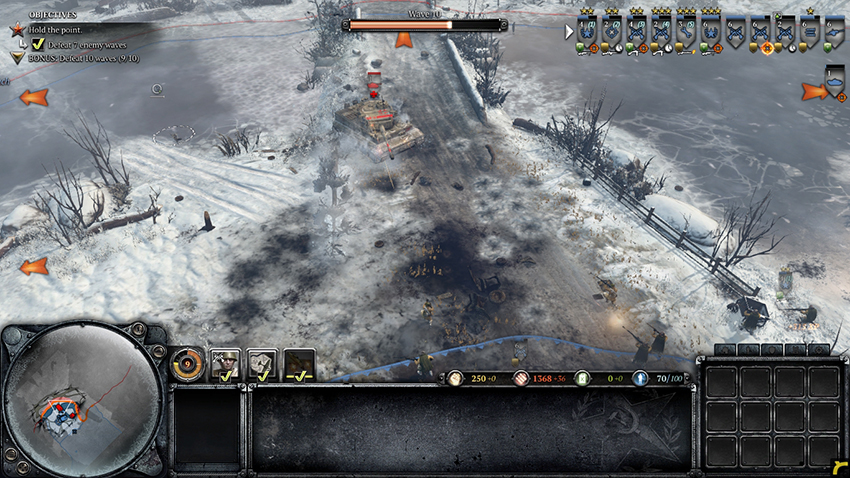
The tenth and final wave will send a German Tiger to eliminate your forces, along with multiple Scout Cars. Use your AT gun and Guards Rifle Infantry to take out all of these units. Remember that the Tiger’s armor is weaker in the rear—position your Guards Rifle Infantry to attack the rear of the Tiger if possible. Your Conscripts and Engineers can be used to distract the tank as they will not be able to cause damage. Consider placing mines near the Watchtower in case the Tiger manages to run over them. Be careful with your AT gun and Guards Rifle Infantry. Use any additional Conscripts to merge into your AT gun and Guards Rifle Infantry squads so that they are not killed. Complete the wave to finish the mission and earn the bonus achievement.
Cold Weather
Achievements
Gold Weather: Complete the bonus objective.
Help Indeed: Rescue all three Partisan squads.
Winter Driver: Recrew and fully repair a Panzer IV tank.
Walkthrough
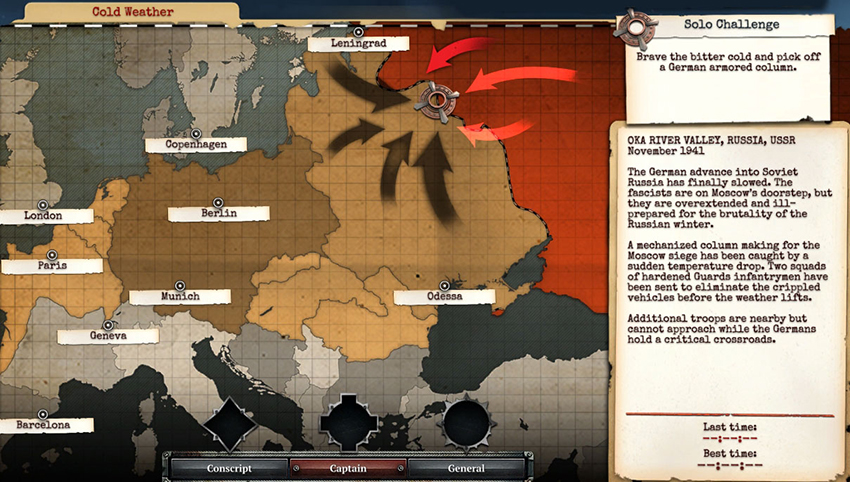
Using two squads of Guards Rifle Infantry, your objective is to destroy nine German vehicles that have been disabled by the cold weather. The general area is protected by a number of separated German infantry squads that are huddled around Campfires or in cover to stay warm while a constant blizzard surrounds them. Any infantry units caught outside of cover or away from a Campfire will quickly freeze, killing one man at a time until the squad is dead. With the reduced sight range brought about by the blizzard, the weather is on your side. Your initial forces are two Guards Rifle Infantry squads. One of your squads is equipped with PTRS-41 Anti-tank Rifles for use against vehicles, while the other is equipped with DP Light Machine Guns for extra damage against infantry, and the Button Vehicles ability, which disables them for a short time.
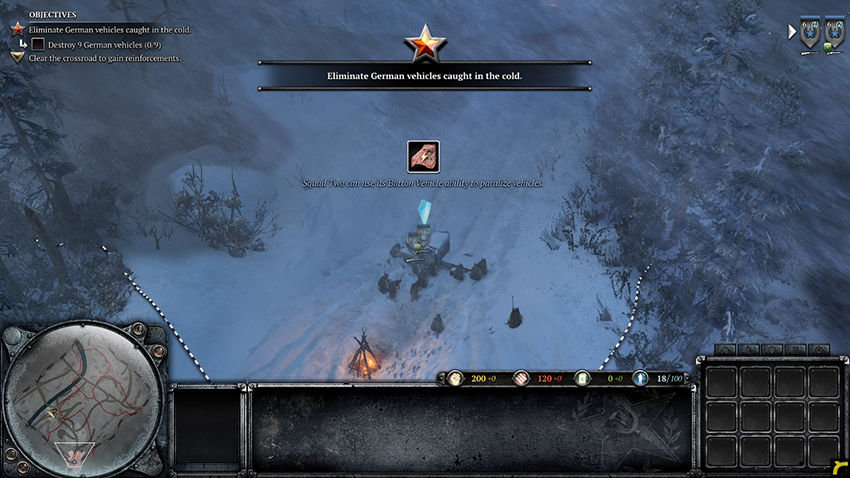
Move your units north along the road until you come upon a lone Ostruppen squad. Take them out, then move toward the Campfire to heat up your troops. Continue northeast along the road to find more German infantry and a slow-moving Half-track, along with collectable ammo boxes nearby. Take out the Germans and grab the ammo boxes to acquire additional Munitions. As you do not have any income and cannot build additional units, ammo boxes are very useful. You should now have destroyed one out of nine German vehicles.
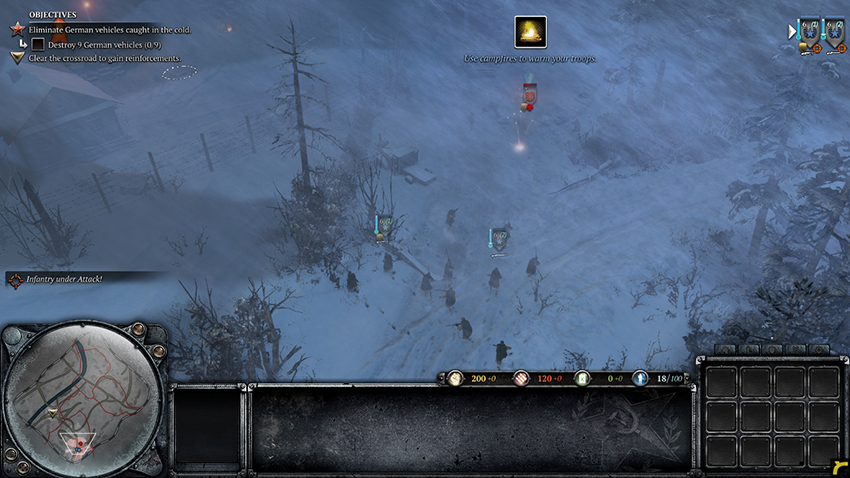
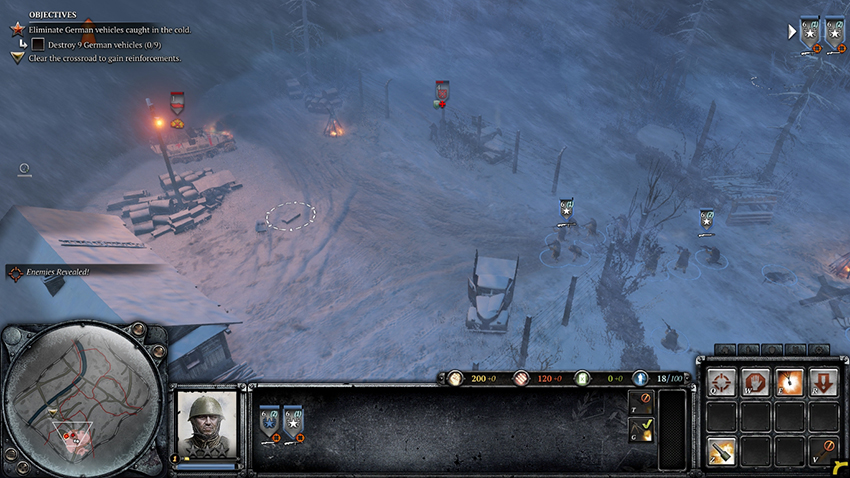
The crossroad to the northwest is protected by a Scout Car, AT gun, and Grenadiers garrisoned within a makeshift bunker. Use your Guards Rifle Infantry to take out the Scout Car, then toss a grenade at the Grenadiers. Finish off the AT gun to receive two squads of Conscripts and a squad of Combat Engineers. You should now have destroyed two German vehicles.
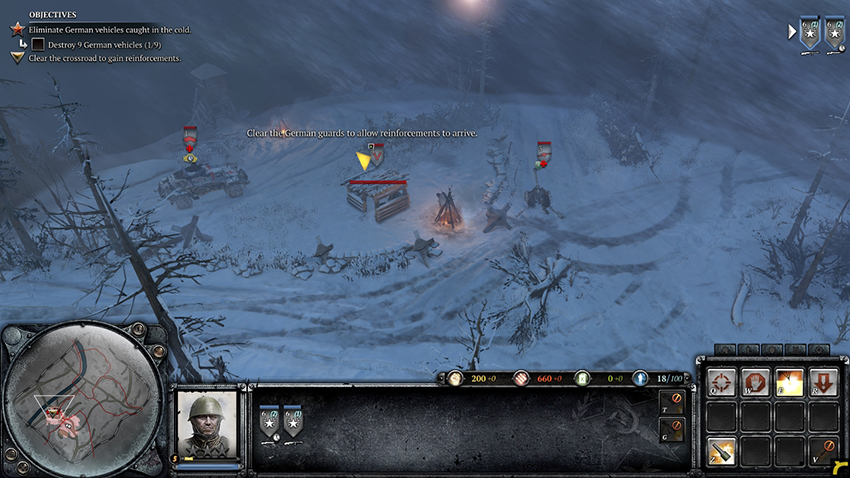
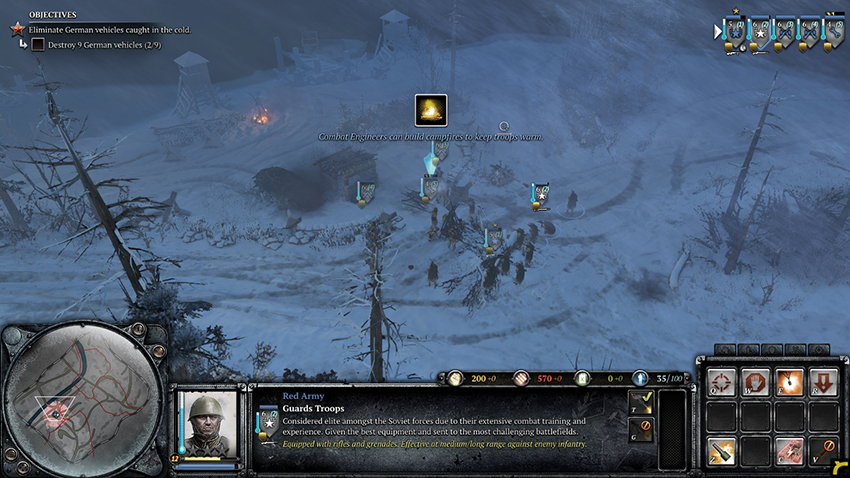
Continue east, following a path through the snow. A disabled Panzer IV is sitting in the snow, along with two additional Panzer IVs and Grenadier squads farther to the east. The third Panzer IV has a working HMG on top while the others are completely disabled. Take out the first two Panzer IVs and the Grenadiers before engaging the third Panzer IV. Use the Button Vehicle ability to prevent the HMG from attacking, then destroy the tank. You should now have destroyed five of the nine German vehicles.
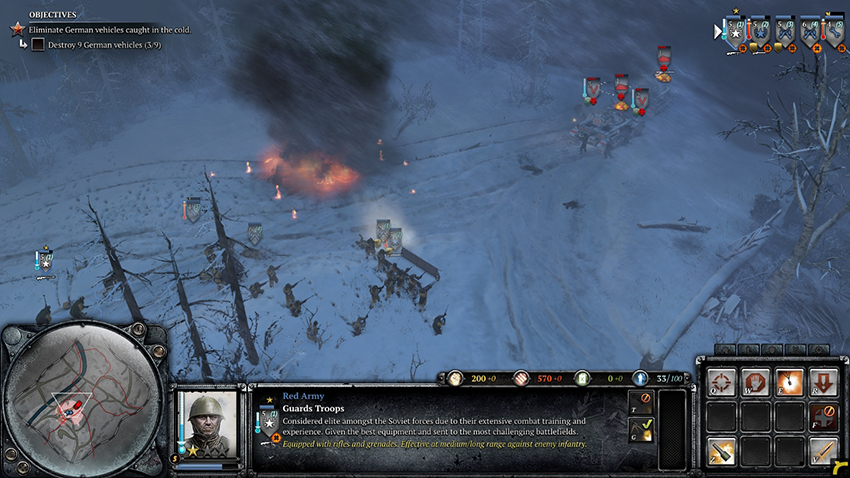
Move past the third Panzer IV and head southeast to find a German HMG in cover behind sandbags, facing away from you. Take it out from behind, then continue northeast along the path.
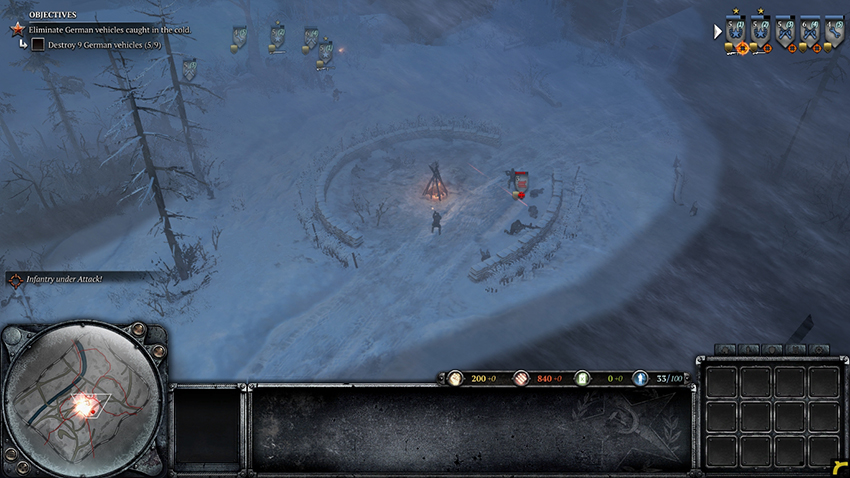
Within the small village, three Soviet Partisan squads are under attack by German forces. If you kill the Germans before they are able to kill the Partisans, control of all three squads will be given to you. One of the squads is a Mortar team, which, if saved, will make the remaining portion of the mission much easier to complete. To most effectively save the Partisans, rush your squads straight into the village square—sight will be given of the entire area as you get closer. Move close to the German infantry, then take out the Panzergrenadier squad first. Use your PTRS-41 rifles to take out the Half-track. If you can pick off the Germans before they can kill the Mortar team, the rest of the mission will be much easier. You should now have destroyed six German vehicles.
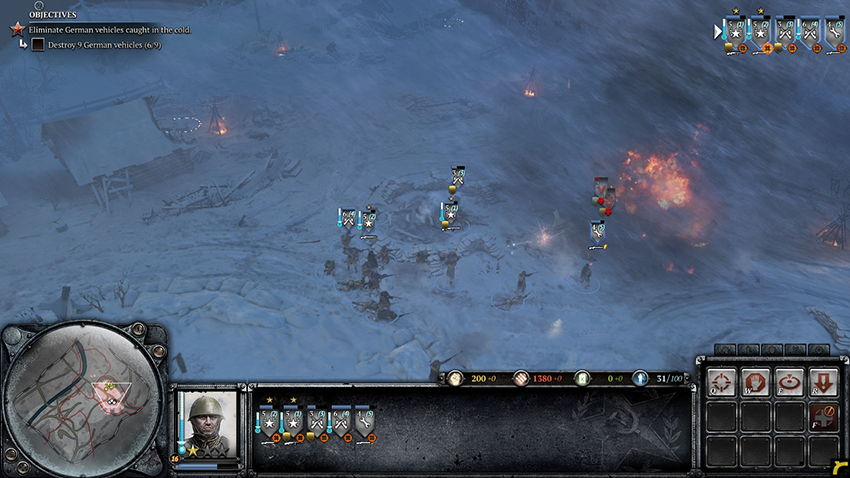
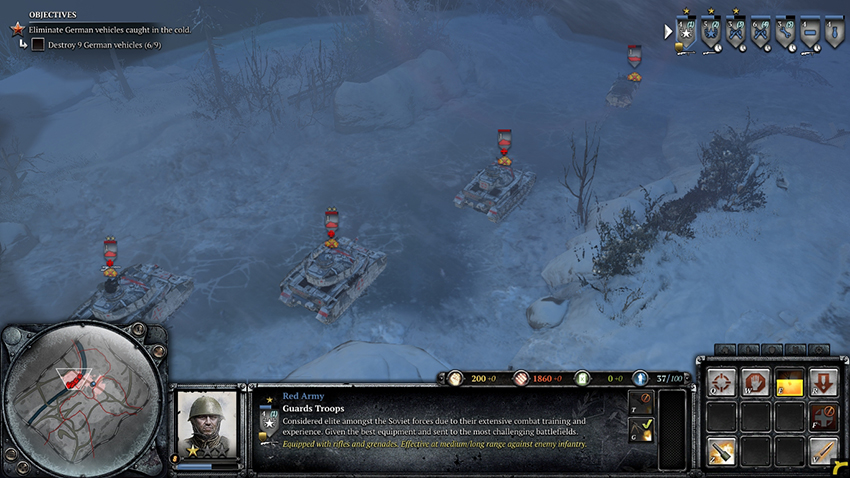
Move northwest out of the village until you are near the frozen river. Do not move too close—multiple German tanks are immobilized on the river. Use your Guards Rifle Infantry to launch a Flare over the river to spot the German tanks. If you have been collecting each ammo box you see, you should have plenty of available Munitions for additional Flares. Your Guards Rifle Infantry will be killed quickly if they get too close to the tanks. With Flares scouting the tank positions, use your Mortar to take out each vehicle by destroying them or breaking the ice beneath them, sinking them in the river. If you do not save the Partisan Mortar, recrew the Pak 40 AT gun on the west side of the map near the crossroads to take out the tanks from behind, although the tanks may take out the AT gun while it is firing at them. Destroy the three tanks and the single Half-track on the river to complete the main objective and receive the bonus objective—destroy three more vehicles to receive an achievement. You should now have destroyed one of the three bonus German vehicles.
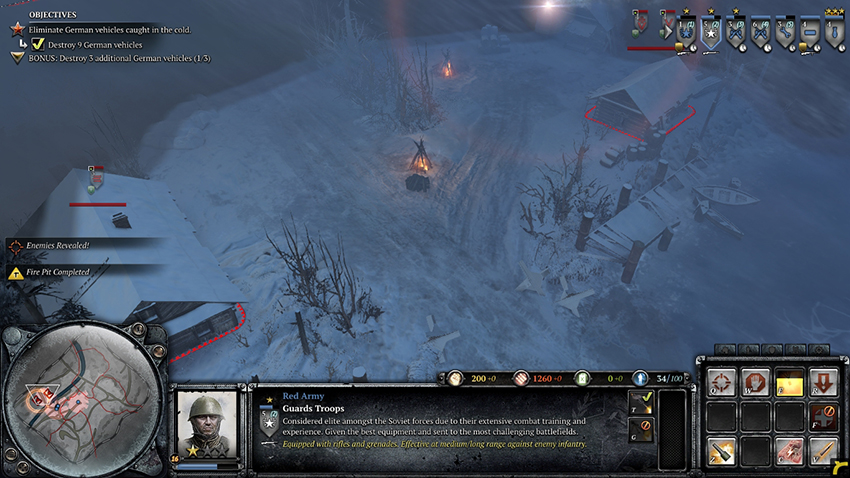
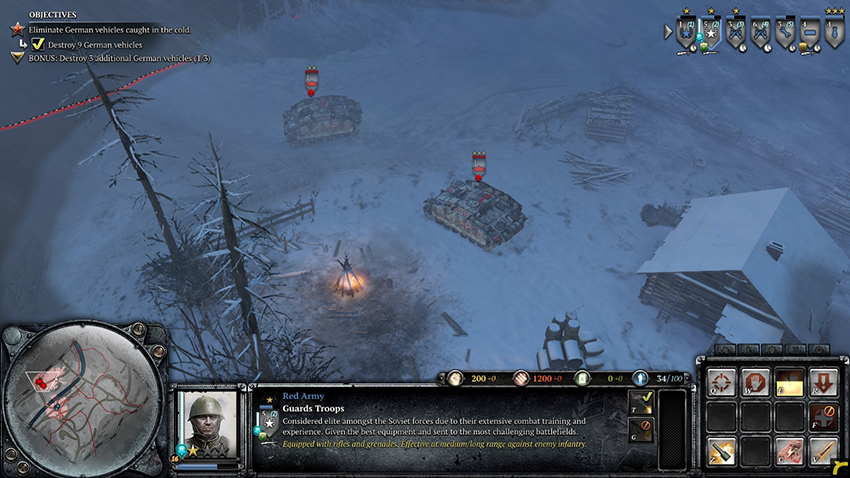
The final two vehicles are across the river on the far west side of the map, protected by an HMG and multiple squads of infantry. The HMG is garrisoned within the large building along the road across the river. Use your Mortar to take out the HMG, but be sure to protect it against any German infantry. If you do not have a Mortar, spread out your infantry and use grenades or Molotovs on the building. Two StuGs are sitting farther away from the river, and neither is disabled. Taking out the StuGs can be extremely difficult, as your units are not well equipped for dealing with vehicles. They will not react to attacks from a Mortar, however—use of Flares and the Mortar can take out the StuGs, although it may take awhile. Using AT guns and Guards Rifle Infantry is much more dangerous, as the tanks’ frontal armor is high and they will not have much trouble taking out your units. Destroy the final two tanks to complete the mission and earn the bonus achievement.
AI Battles
The “Advanced Tactics,” “Multiplayer Strategy,” and “Multiplayer Maps” sections of this eGuide provide you with advice relevant to these AI battles. Because your opponents are not human players, they will be more predictable and can be defeated with greater ease the more times you play against them, as they do not vary their tactics or strategies as much as humans do.
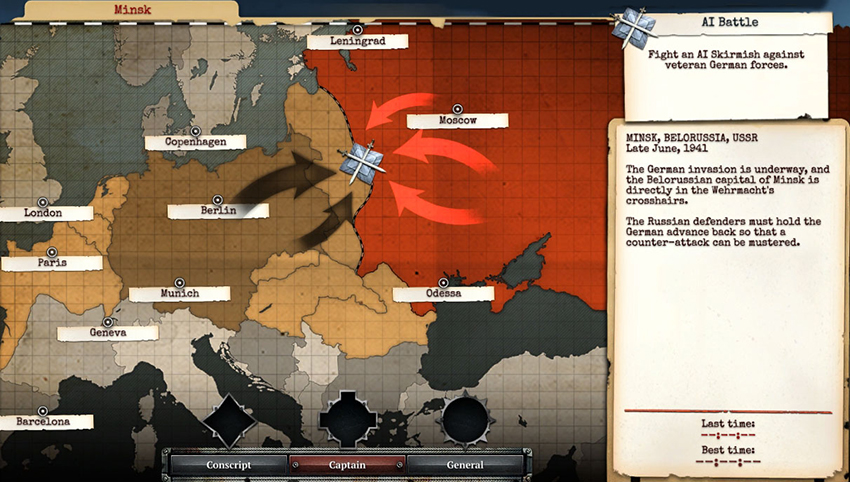
Minsk
2 vs. 2 on Minsk Summer. All German units start with one rank of veterancy. Otherwise, a normal match against AI.
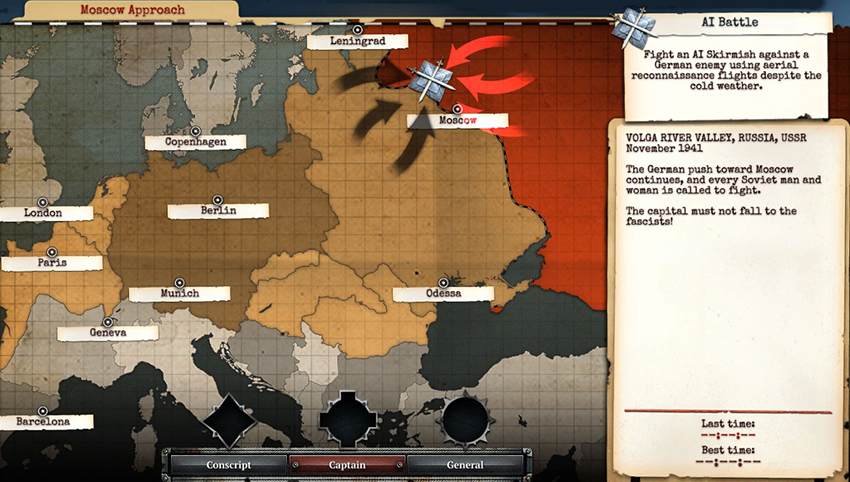
Moscow Approach
2 vs. 2 on Moscow Winter. The Germans can use aerial reconnaissance despite the weather, where normally they would not be available during blizzards. The AI will act the same as in normal games.
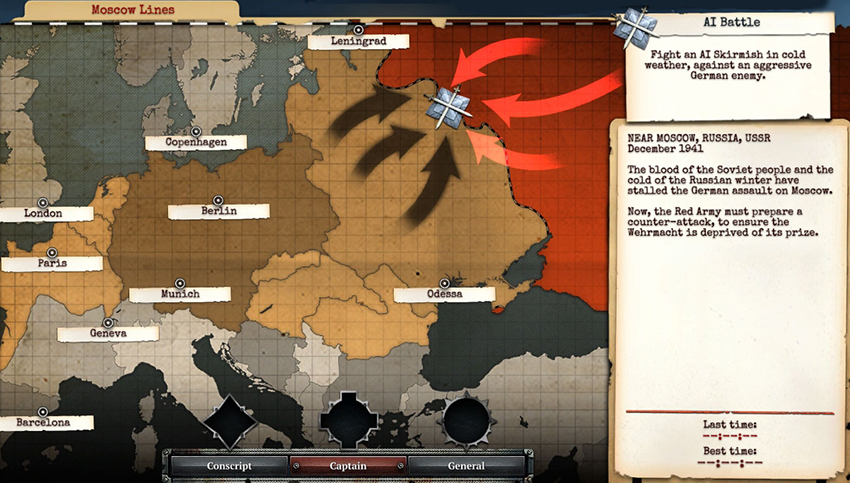
Moscow Lines
2 vs. 2 on Rzhev Winter. The German AI is more aggressive than usual.
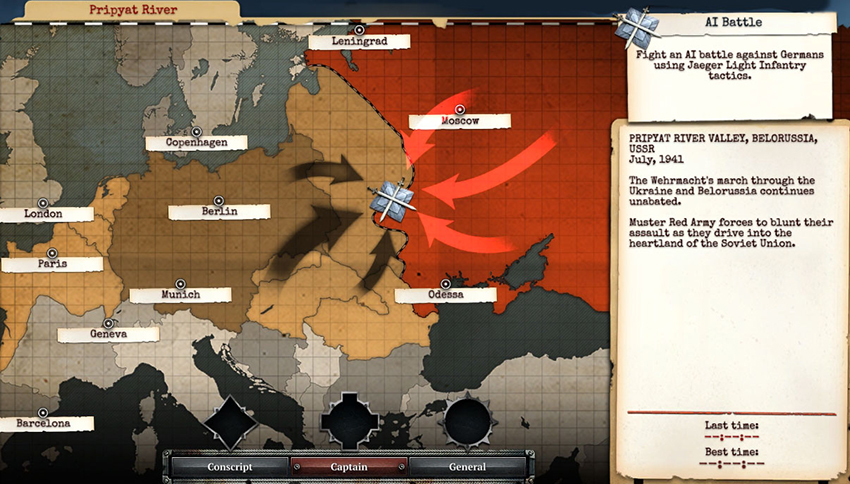
Pripyat River
1 vs. 1 on Pripyat Summer. Enemy Grenadiers and Panzergrenadiers are equipped for greater anti-infantry capabilities, forcing you to be careful with your infantry. The AI will act the same as in normal games.