
Company of Heroes 2 Guide Multiplayer Maps Kholodny
Kholodny Winter
“Kholodny” translates roughly in Russian as “the cold one.” Several villages in Russia and the Ukraine share variations on this name, but all are in parts of this vast region where temperatures can reach fatally low levels.
Many of the Isbas (small wooden farmhouses) in this area have been destroyed in prior conflicts, so shelter is at a premium.

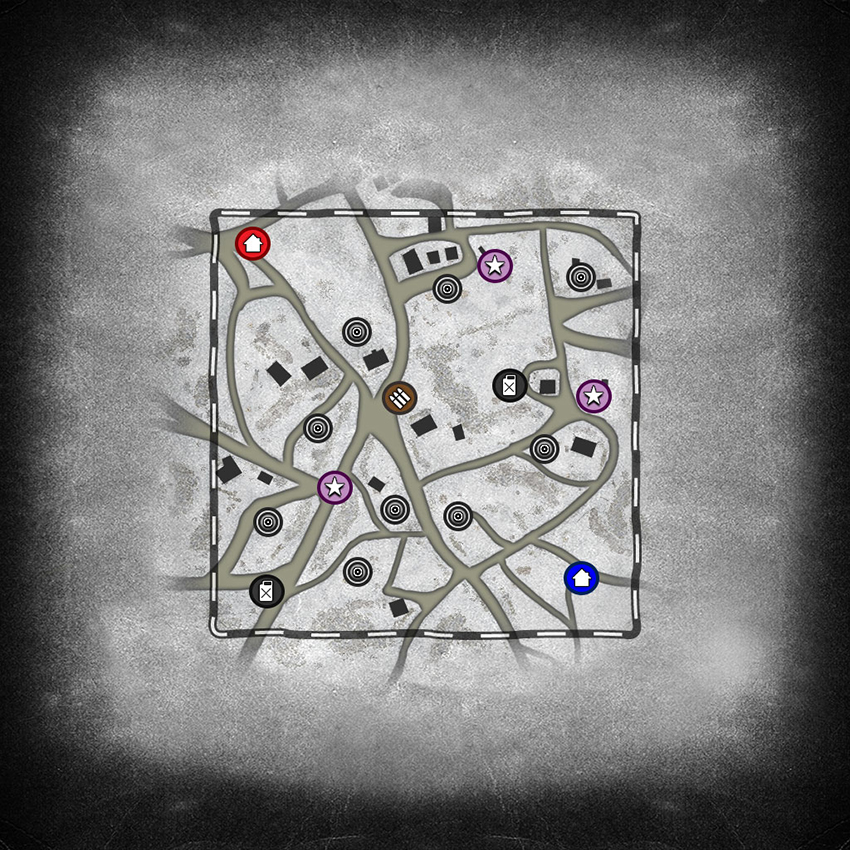
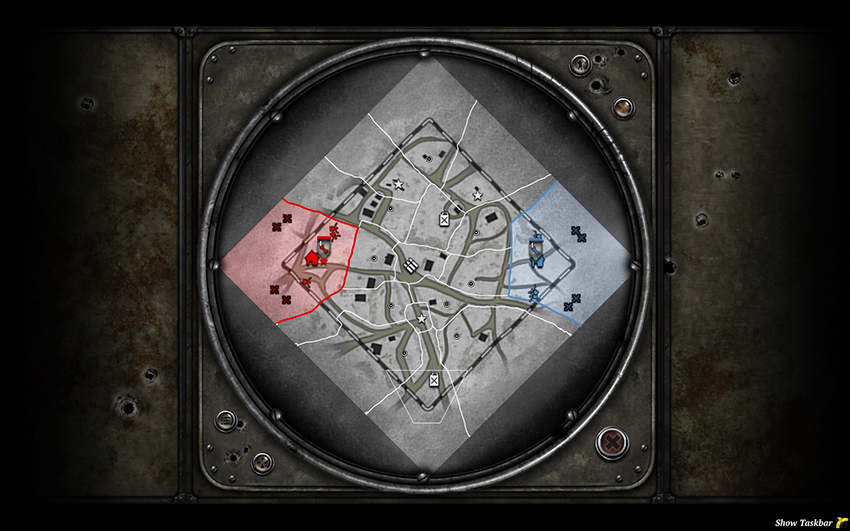
If you’re using a mobile army composition, the south should be an area of focus because it’s easier to cut off and flank. By contrast, the north is easier to fortify and the proximity of the two northern Victory Points means a defensive force will not need to split up to win games. The most important locations to contest and seize in the early game are the northern Fuel Point and the center Victory Point due to the strong positions of nearby buildings.
Most of the area-specific comments are the same as for Kholodny Summer, though differences are noted. For the most part you just need to consider how cold weather and blizzards change any of the dynamics of this map, and think about how the different resource layout changes your capping order or where you want to focus your attention.
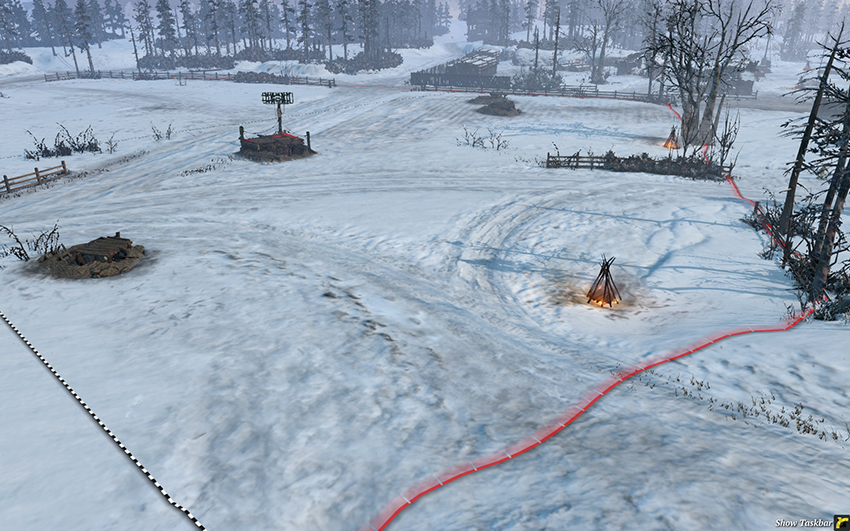
Western base.
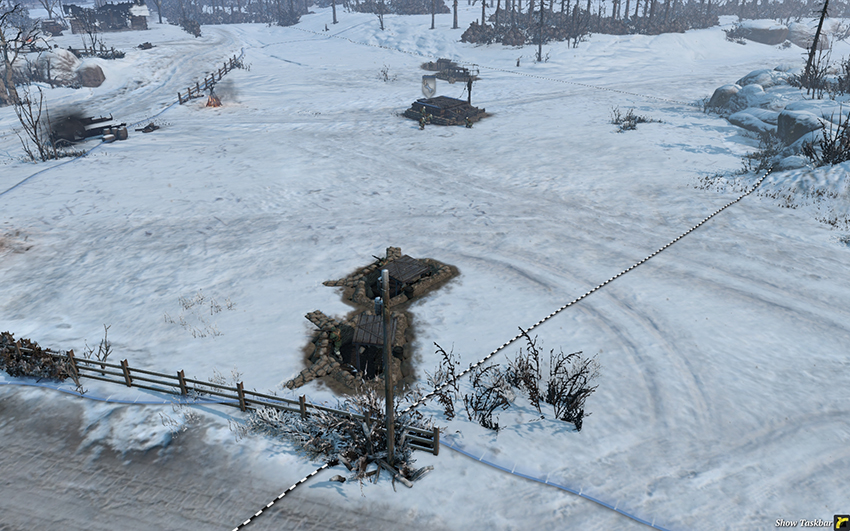
Eastern base.
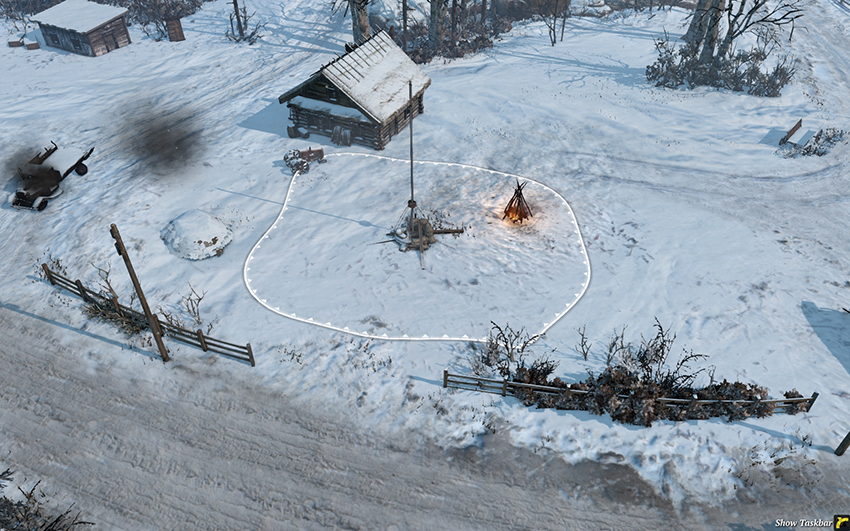
The Standard Territory Point directly outside of the eastern base is critical for the East to hold and a desirable objective for an aggressive West to contest. The building to the left is a great position for the West to garrison an HMG, but garrisoning it also provides the East with a secure flank and rear if the north is dominated by the West. If the East is under significant pressure, a Mortar in this area can provide fire support to the center and nearby Standard Territory Points on both north and south. The shed in the upper left is not an ideal building for an HMG, but it can be used to warm units in lieu of a Campfire—placing a Mortar nearby is a solid position with good coverage of important central and northern points.
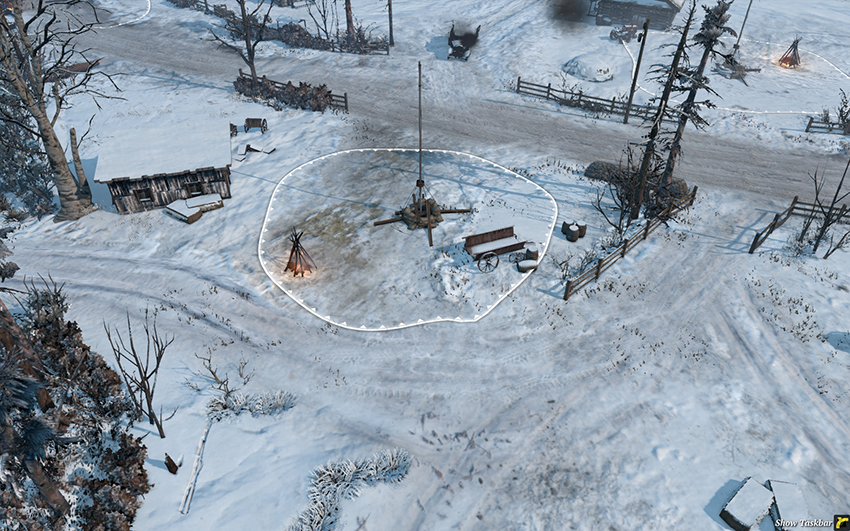
The East’s major southern cut-off point is a desirable target for an aggressive West. The area is relatively open and ripe for an HMG and AT guns. For the East, this is a major staging area for expeditions into the center and south. For the West, holding this area denies the East access to both the south and center, making it quite valuable. Bunkers and mines in the general area are useful tools for the West to lock it down after seizing it, but for the East it’s desirable to defend areas further to the center or south as this point’s value is determined principally by what it connects to. The small shack to the left can be garrisoned, but it’s quite vulnerable to attack so don’t rely on it as the crux of a defensive position.
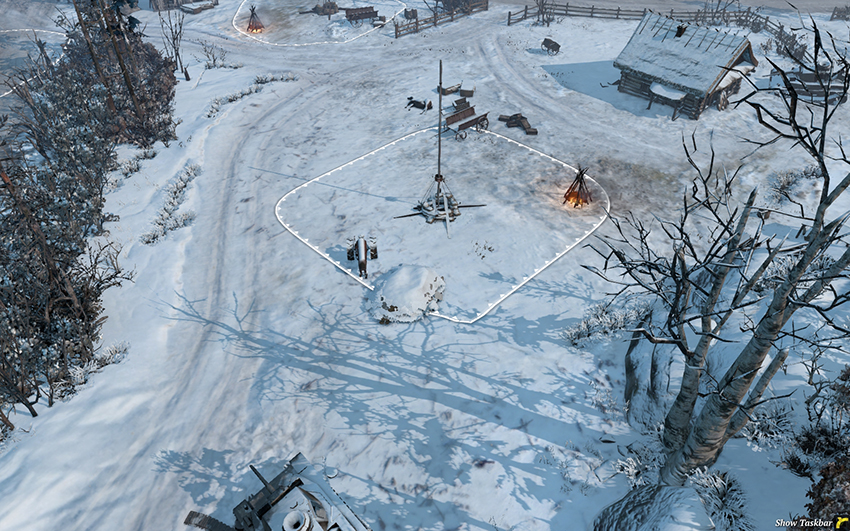
The southeastern Standard Territory Point has a great deal of cover strewn about by way of vehicle carcasses, and it’s quite open to the north and east. It’s important as a cut-off point to the southern fuel for the East. As the East, you don’t want to be fighting here, as your opponent can use the hedgerows to his advantage in avoiding your units and flanking you when you advance. It’s better to either contest the area with enough units that you can drive through to take the rest of the south, or use barbed wire and mines to make it an undesirable place to attack (but refuse to commit the bulk of your forces to it apart from mobile light vehicles, infantry, or perhaps a single HMG). For the West, this is exactly where you want to be! If you can take this point, you can seriously threaten the East’s cut-off points to the north and open up several flanking routes into the center. By positioning an HMG in the bottom part of this area, you will have an extensive field of fire and secure flanks.
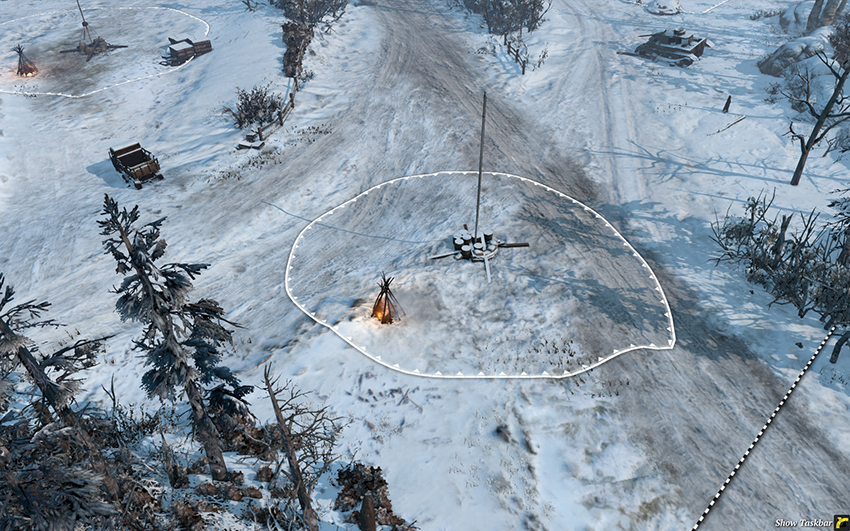
The southern Fuel Point offers the most clear firing lanes of any nearby sector. If you’re concerned about infantry or light vehicles flanking units you have in the area, set up a position in this area to limit the potential paths of attack. Bunkers positioned in the upper left or upper right can dominate the two cut-off points leading to it. A single HMG could easily reposition to protect both of those points as well as the southern Munitions Point from harassment, and you can be sure that your opponent won’t be able to sneak units up behind you.
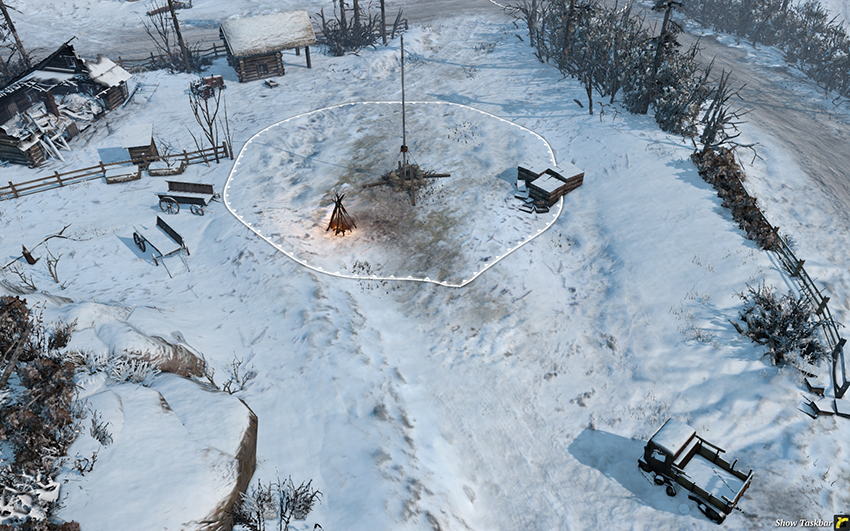
The southwestern Standard Territory Point is important for the West as a cut-off to the southern fuel. It has restricted access due to the hedgerows on the right, meaning that a single HMG can lock down this entire corridor. The hedgerows also provide a good location for a Mortar to hide. As it’s difficult to support this sector from the center and vice versa, field fortifications and bunkers are preferable for defense in combination with mobile infantry and vehicles, instead of maintaining a strong defensive force. The building to the upper left is a good location for the East to place an HMG to defend the south from incursions by the West as it covers the West’s southern cut-off point and the West’s southern base exit.
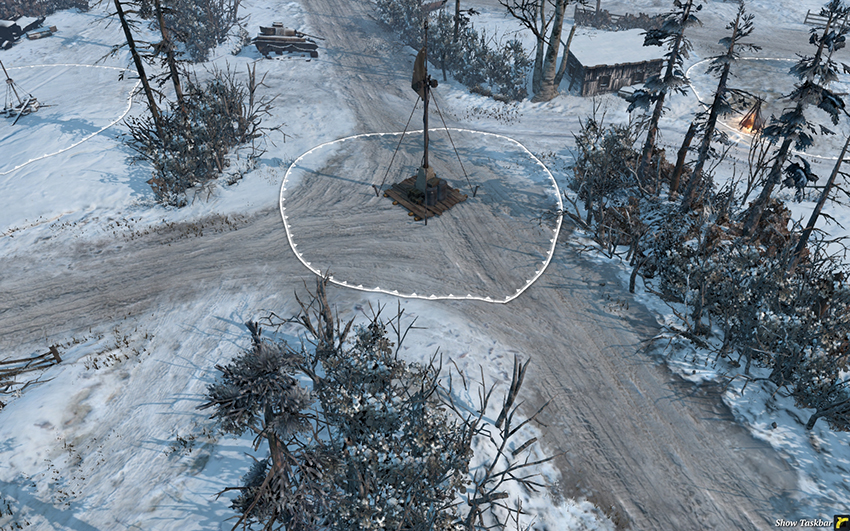
The southern Victory Point lies between several Standard Territory Points and near the southern Fuel on a road leading to the center Munitions. The surrounding hedges and trees restrict the firing arcs of HMGs and AT guns considerably, favoring assault units like light vehicles, Panzergrenadiers, and Shock Troops. While this is an important location to control as an access point, the ideal is laying mines or barbed wire in the gaps between hedgerows while your units establish a front line further to the east or west. The road is negative cover which makes it particularly deadly for infantry engagements.
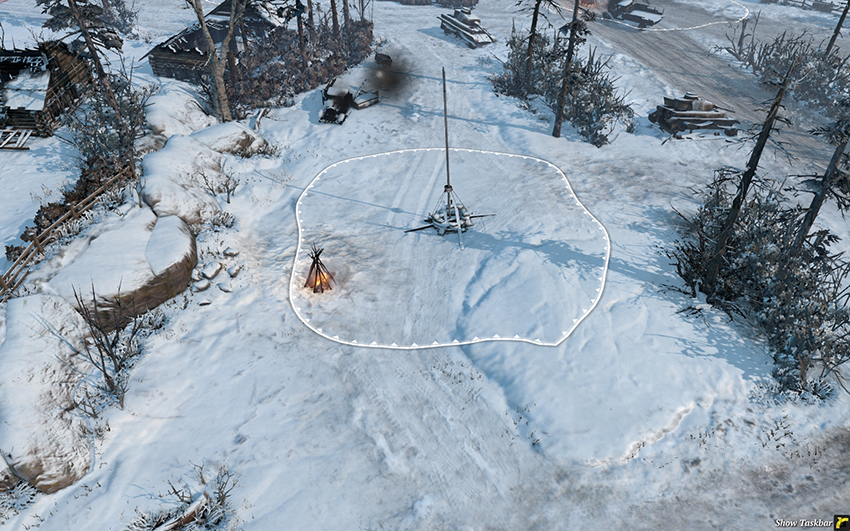
This is the major southern cut-off point for the West. It’s important to hold to maintain resource flow from the south, and the East would do well to harass this point with infantry and light vehicles. The road in its upper area is a key flanking route into the center and is a solid location for mines for both West and East.
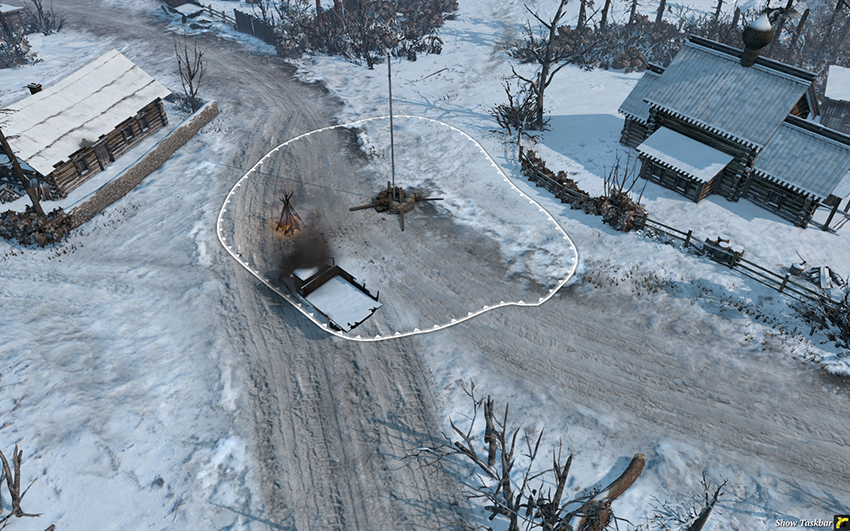
The center Munitions Point is often the location of decisive battles. It controls the confluence of roads that lead off to both bases and other major areas of the map, and it’s the location of the two most important buildings. Failing to hold either of the buildings will lead to significant pressure on your cut-off points, so I would strongly advise that you at least seize control of the one closer to your side. If the East can take the left building, it’s an extremely dangerous position for an HMG, as it forces the West to send units far off to the flanks or directly assault it. The church is a bit less dangerous for the East to let fall to the West, but it still provides a dominant position. Placing a Mortar behind either building is a good idea, but a location near the church especially can provide fire support to several important points nearby. Liberal use of mines throughout the area is recommended, as vehicles will surely be active here. Each road exit branching out from the middle is also a good location for an AT gun because the center is relatively open while the outlying areas are bounded by hedges and trees that make them difficult to flank.
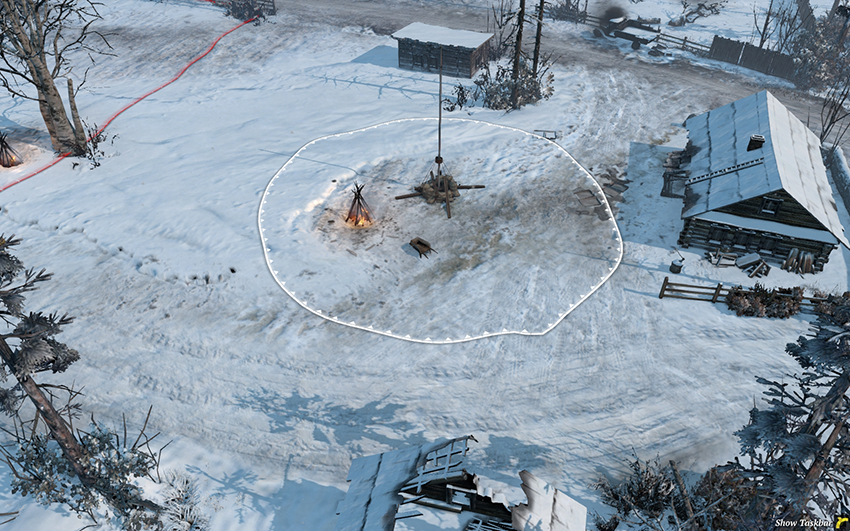
This point is often the first to be captured by the West and the most heavily defended, with good reason. As noted in the discussion of the central Victory Point, the building on the right is very important and not one that you want to let the East garrison. You should nearly always have units nearby that can lend support as necessary, and this is also a good location for a Mortar. For the East, either fortify this point to create a defensive position in the center while focusing on the south, or push through to the church so that you can threaten the north more easily, if that’s where you’re placing your focus. Note that there’s a passage just below the building at the bottom of this image that infantry can use to bypass the main road. If you have an HMG in the building on the right, watch out for flanks using this path.
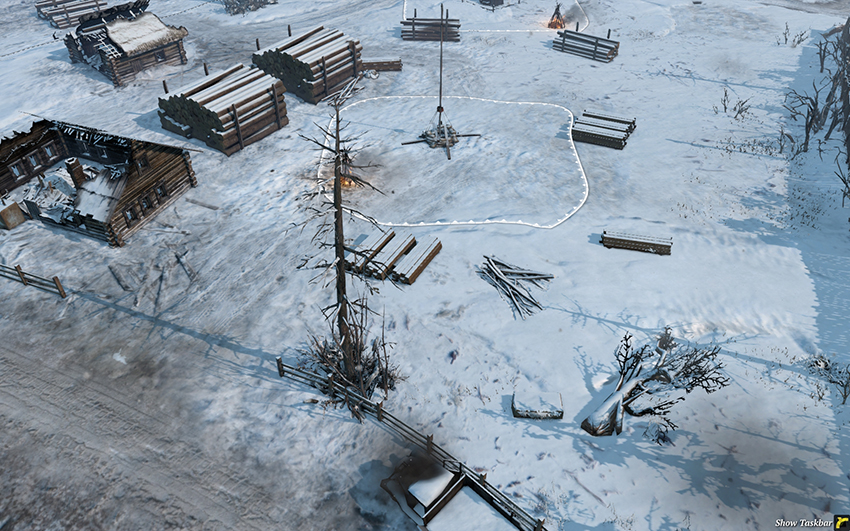
The West’s northern cut-off point is in a fairly open area notable for the impassable stacks of logs and destroyed buildings to the left. An annoying tactic that the East can use when harassing is to decap the sector and run behind the terrain on the left, out of the sight of infantry and HMG fire, forcing the West to give chase. As the West, you’ll want to focus the fighting elsewhere, but consider placing mines on the road at the bottom or in the capture area itself because the East is sure to try to harass it.
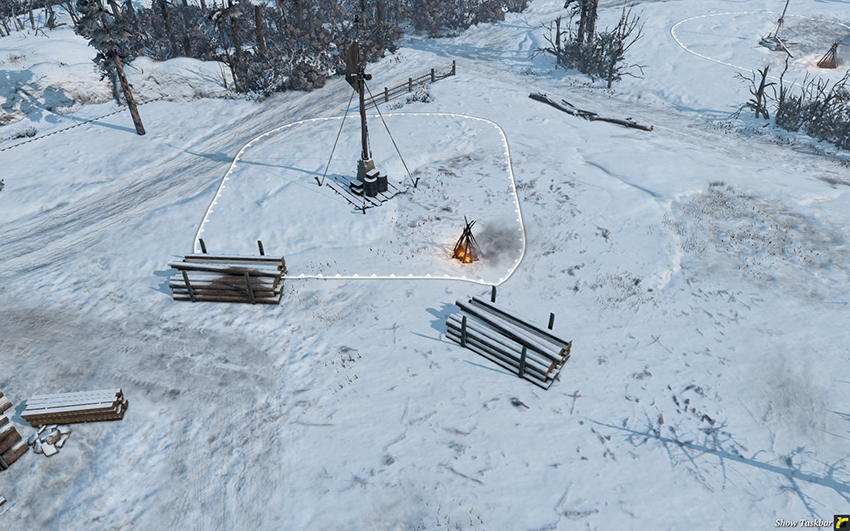
The northwestern Victory Point is a desirable location for both sides to hold, and open enough for HMGs and AT guns to project their power. Using barbed wire along the right side near the road, stretching from the hedges to the south, is a good way to restrict enemy infantry movements. Still, there’s too much territory to cover with a single firing arc, so it’s preferable to scout your enemy and draw his units into the arc of fire of a prepared HMG or AT gun, rather than set up your team weapons on your front lines.
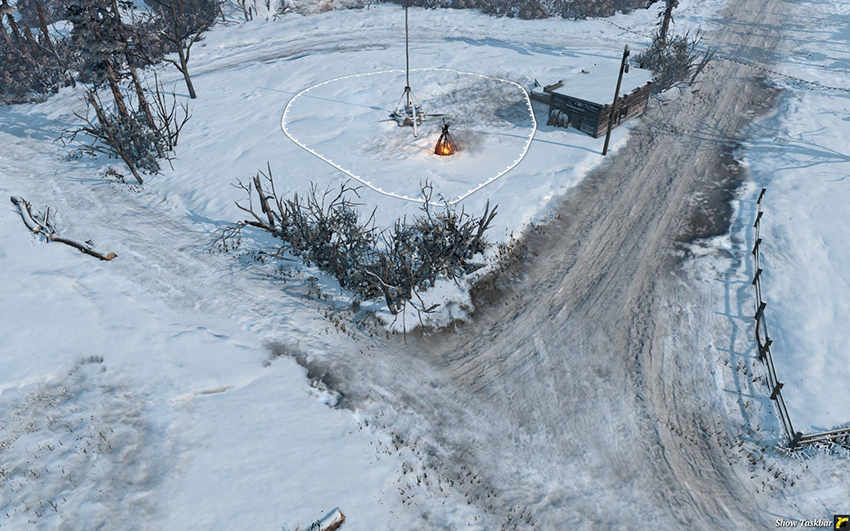
The northernmost territory point won’t see much fighting except in some early infantry skirmishes. Whoever controls the north ought to take this, and the small building can be used to cover the northern Victory Point as well as for warming infantry squads if the Campfire is destroyed, but it’s not a critical point in itself.
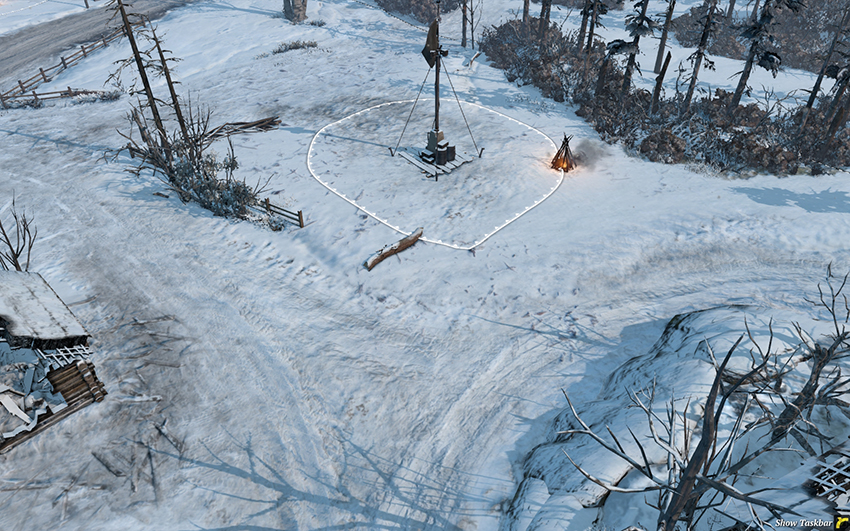
The northeastern Victory Point is in one of the most open areas of the map, making it well-suited to fortified positions. Bunkers, HMGs, and AT guns are good choices here, and Snipers can use the wooden fences as pathways for camouflaged travel. For the East, fortifying this location allows a strong position from which to contest the northern Fuel and Munitions. For the West, holding this generally means that the north is under control and you’re now preparing to repulse any expeditionary attacks.
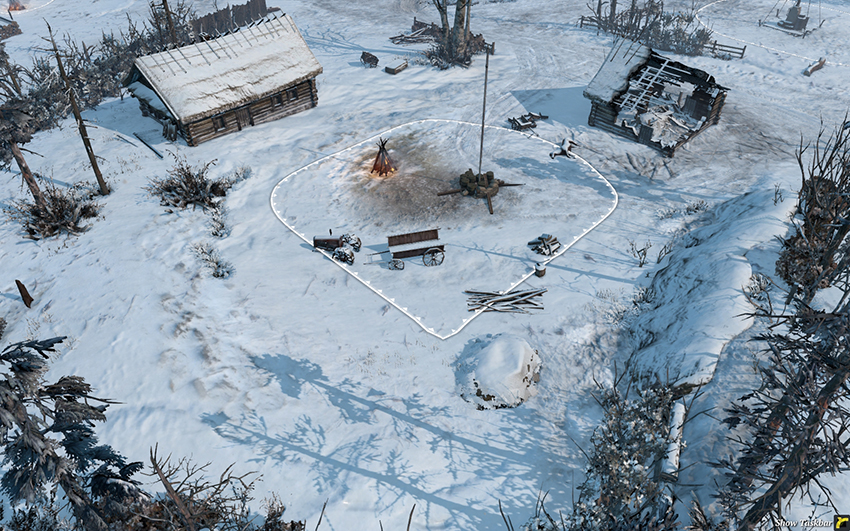
The northern Fuel Point is a major area of contention in most games due to its proximity to the center and importance as an access route to the northern Victory Point. The house above the point is one of the most important buildings in the game as it controls a wide area of important travel paths. Taking it early and garrisoning an HMG inside is often a good idea. Scattering mines throughout this area is usually a good investment, especially if you control the building, as your opponent is likely to send a vehicle to attack in response.
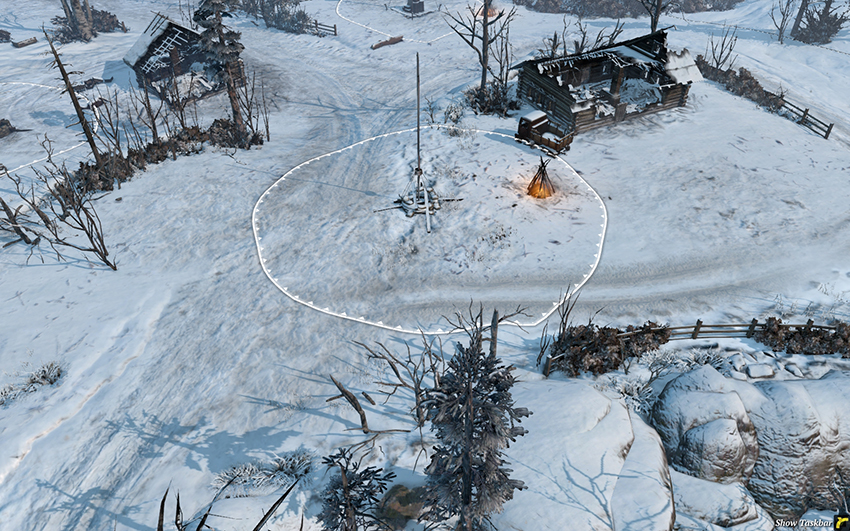
The East’s northern cut-off point won’t typically attract significant attention, but it’s still worth harassing for the West if the opportunity arises. It’s most notable as a staging ground for attacks to the north. Also there’s a ridge running along both the upper left and upper right areas of the sector, which means that all traffic is funneled into the center road, making it an inviting location for mines (the eastern road leads directly into the East’s base and so won’t see fighting). A Mortar placed just to the left of the point has strong protection from attacks due to the ridges, and it can provide fire support to the northeastern Victory Point, center Munitions, and northern Fuel.
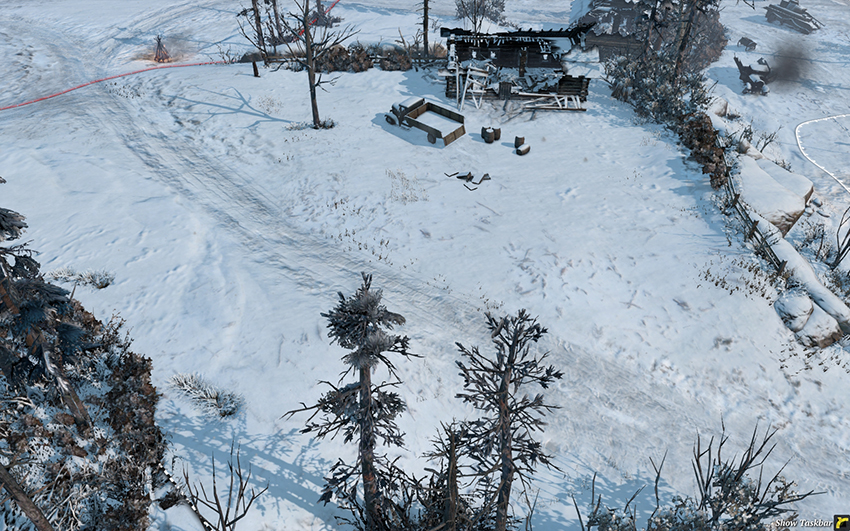
Little fighting will take place in this location due to its proximity to the western base. The slope along the right side of the sector is impassable, meaning that this is a good location for the West to position a Mortar to cover the south and middle regions of the map.