Company of Heroes 2 Guide Campaign Walkthrough Mission 9
Mission 9
Achievements
All on Your Own: Complete Mission 9 without reestablishing radio communication.
- To complete this achievement, you will have to be more wary of incoming Stuka strafes and German counterattacks. Both continue to happen as long as you do not have radio communication. Either complete the mission more quickly so that you do not suffer as much from the lack of communication, or take it slower and build up a bigger force before moving out to attack. This is most easily done after you have completed the mission, as you will know where the enemy units are located.
The Spice of Life: Create all available types of tank in Mission 9.
- Call in each type of tank from production buildings to get this achievement.

Walkthrough
This is the first mission that allows you to complete it using your preferred strategy, whether you would rather use an infantry-centered, vehicle-centered, or combined arms approach. You will start with a Sniper and an Engineer squad, as well as your Headquarters, a Special Rifle Command, and a Support Weapon Kampaneya. To call in units from any of the other production buildings, they must first be constructed. Select your Engineers, click the Production Buildings button, and you will able to construct the buildings you have as well as the Tankoviy Battalion Command and the Mechanized Armor Kampaneya.. Although you do not have access to all of the units mentioned in the building descriptions, you will be able to use the majority of Soviet units. To complete the first mission task, consider constructing the Special Rifle Command and calling in Shock Troops and Scout Cars. Alternatively, mobilize a couple squads of Conscripts and call in an HMG and a Mortar.
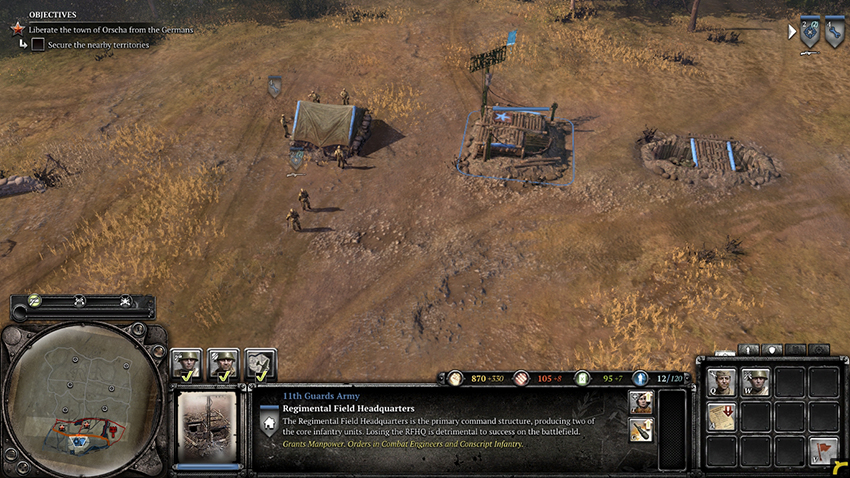
The two nearby territories that must be secured are defended by HMGs, AT guns, and plenty of German infantry, along with Snipers. Use your Sniper to take out the German weapon teams, then follow up with your Shock Troops, Conscripts, or Scout Cars. If you build HMGs or Mortars, set these up so that the HMG can suppress any squads that engage with your infantry while the Mortar barrages their location. Taking these first two territories is not difficult, although it may take some time. You are not under any time constraints so be sure to take out the enemy safely without losing any of your squads. Finish off the territory to the northeast of your base before assaulting the territory to the northwest. Capture both territory points to begin the next part of the mission.
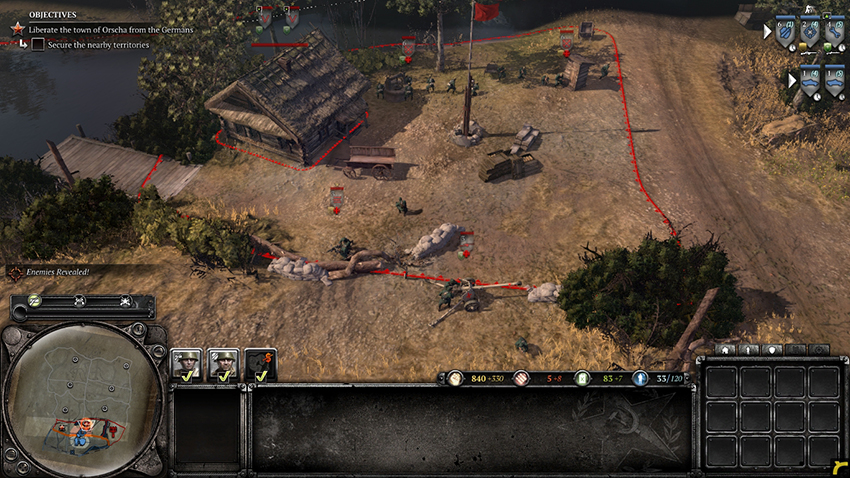
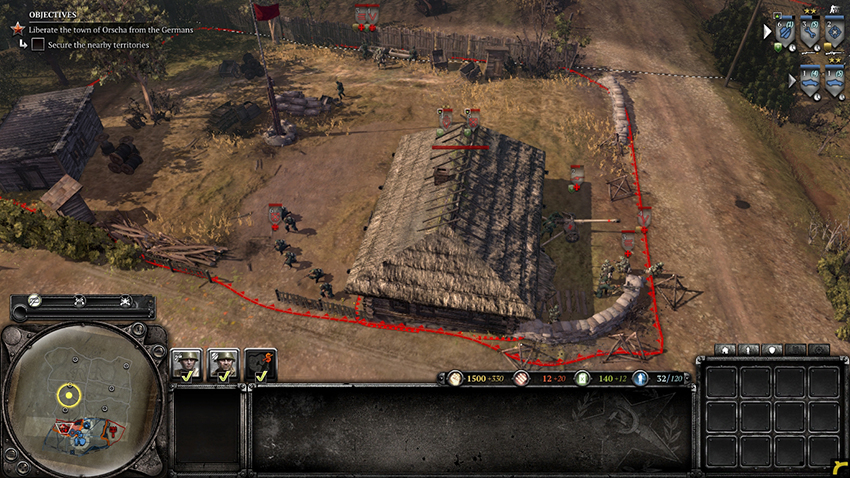
Shortly after taking both territory points, a Stuka destroys your communications, leaving you without any recon. While you do not have access to a form of communication, German Stuka attacks come without any warning and the Germans send forces to assault your base from the northeast and northwest. Reestablishing communication allows you to respond to any German attacks or air strikes before they occur, and also grants you Soviet aerial support. To do this, the Radio Transmitter to the east must be captured. First, construct a Tankoviy Battalion Command so that you can call in T-34s, T-70s, and Half-tracks, all of which will be helpful in completing the mission. Once you have enough Manpower and Fuel, call in a T-34. Order your squads to the next territory point northeast of your base, using your Shock Troops, Conscripts, or Sniper to scout ahead.
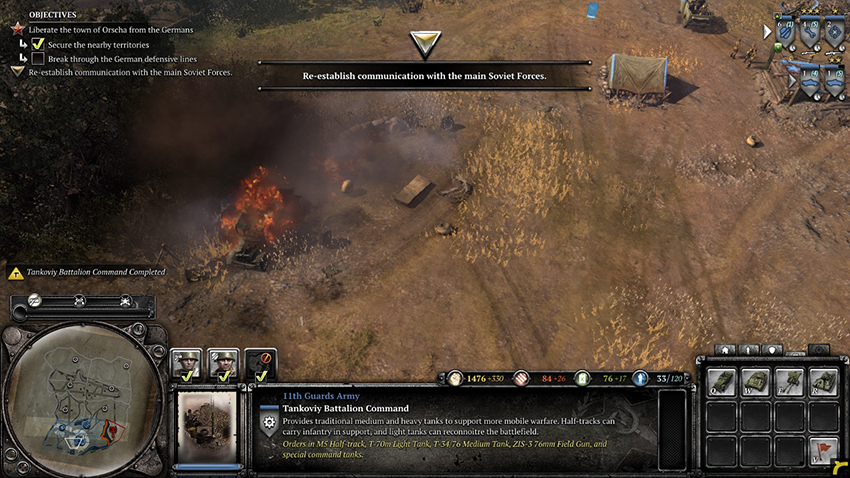
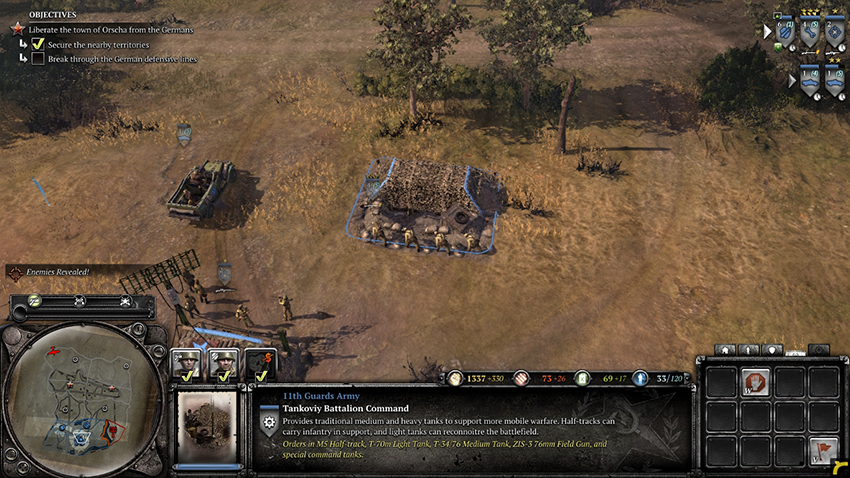
The area is defended by German infantry, including a Panzergrenadier squad with Panzershreks and a Pioneer squad with a Flamethrower. Have your T-34 and any weapon teams fire from long range to take out some of the German infantry before engaging with the rest of your units. Capture the territory point, then reposition your units to move to the southeast toward the Radio Transmitter, following the railroad tracks. The Radio Transmitter is defended by an AT gun, HMGs, Mortars, and Snipers, which can be difficult to assault with infantry alone. Use your Sniper or a Mortar to take out the AT gun, then use any T-34s to take out the rest of the Germans. Capture the point to reestablish communications with the main Soviet army.
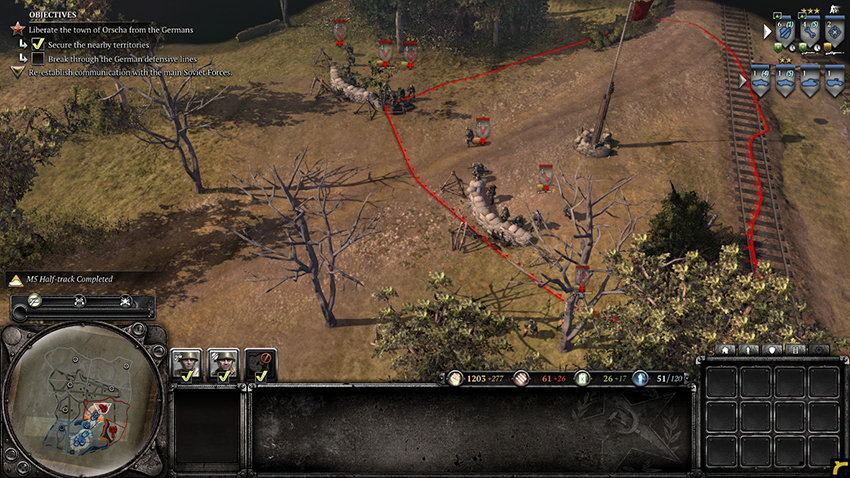
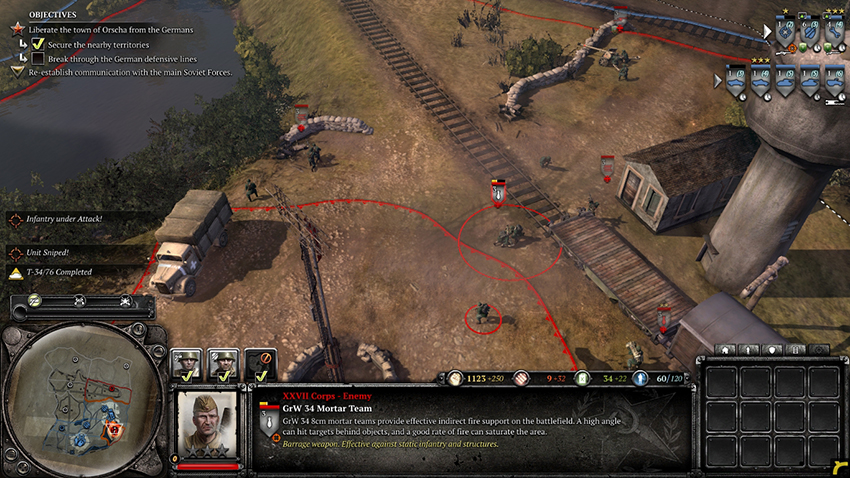
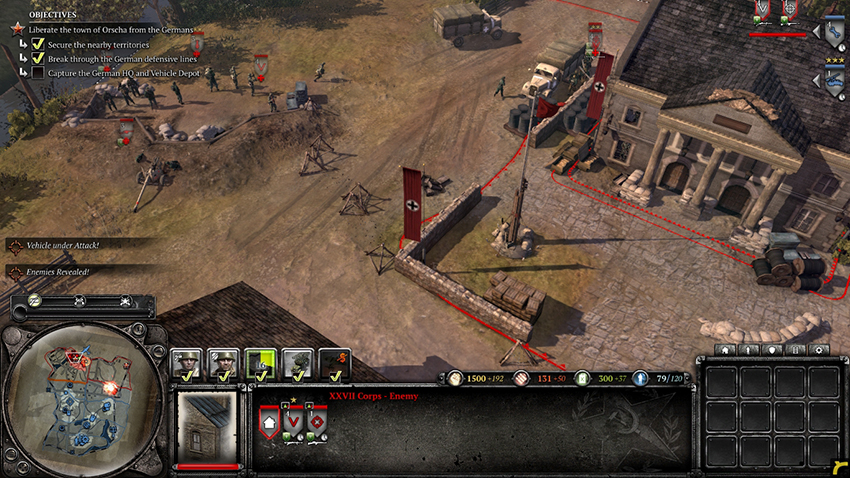
With communications once again secure, you are once again allowed to use the Recon Overflight commander ability to scout any area on the map. You are also given a Katyusha Rocket Truck and the ability to call in additional Katyushas from the Mechanized Armor Kampaneya. Your next task is to break through the German defensive lines. Although two areas are marked on the minimap, it is necessary to capture only one to complete the task. Each position is defended by different units. The eastern position is protected by three German tanks in Hull Down mode along with HMGs and various German infantry. The western position is defended by HMGs, Mortars, Snipers, and AT guns, although it is not protected by any tanks. With the Katyusha Rocket Truck you have been granted, either position can be assaulted with ease.
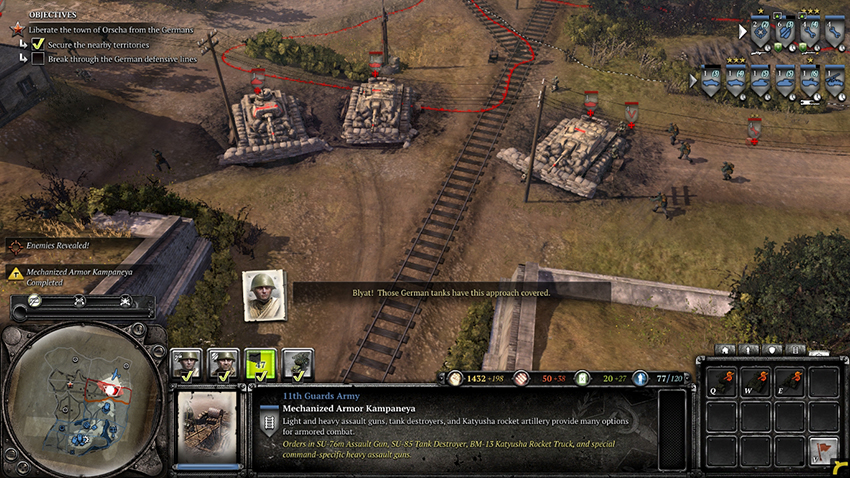
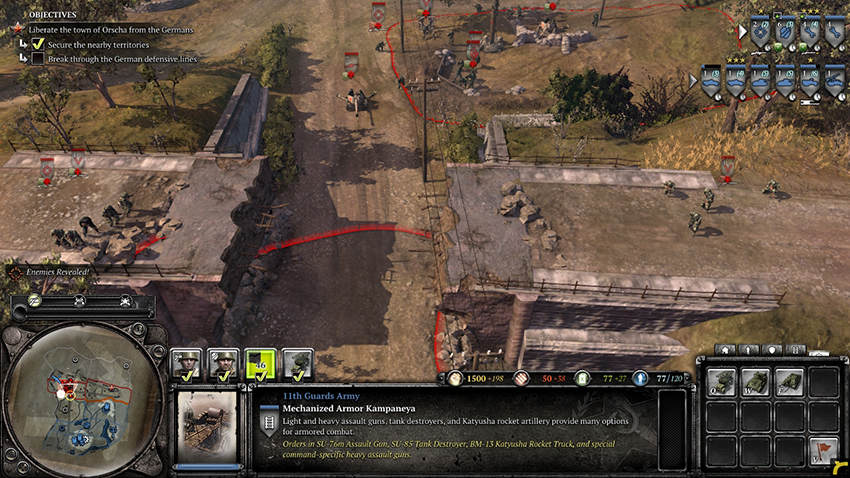
If you are using mostly infantry and weapon teams, focus on breaking through the eastern defensive line. Construct two SU-85 Medium Tank Destroyers from the Mechanized Armor Kampaneya to deal with the German tanks, as the vehicles’ long range and armor-penetrating shot will take down the tanks without sustaining much damage. Activate the SU-85’s Focused Sight ability to see farther in front of the tank, then move it closer to the German tanks until you have sight. It is also possible to use the Recon Overflight commander ability to gain sight of the tanks. Be careful when engaging the tanks and try to take on only one tank at a time. Use Mortars or Snipers to take out any HMGs you see and barrage the tanks with your Katyusha. Upgrading Anti-tank Grenades at your Headquarters and mobilizing extra Conscripts to throw them at the tanks can be an effective strategy, as you will have a decent Munitions income to offset the grenades you use. AT guns can also be useful, although they may not last long against three tanks at once. Destroy all of the tanks and capture the territory point to complete the task.
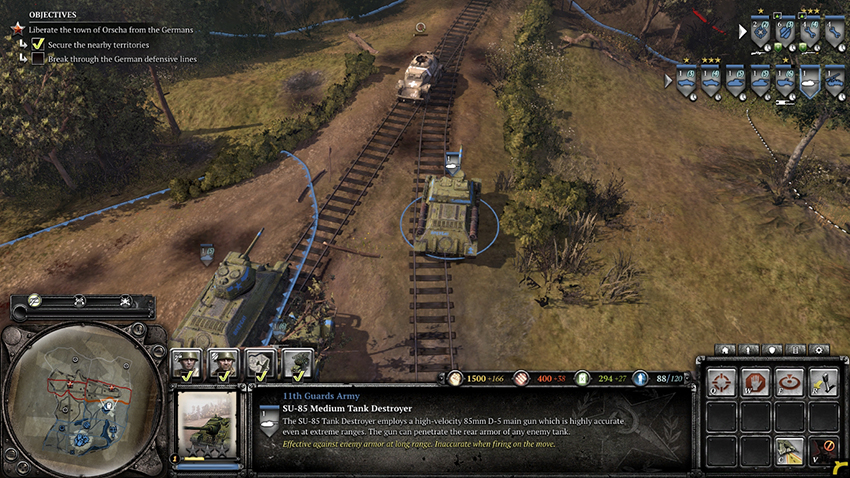
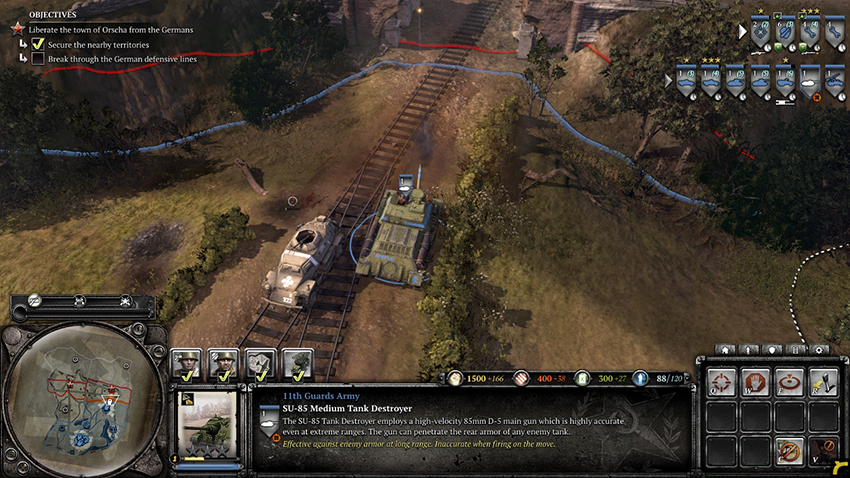
With a force comprising mostly vehicles and tanks, your focus should be on breaking through the western defensive line. To do so, the second territory point on the western side must be taken. Return your forces to your base, then proceed north along the western road. The second territory point will be defended similarly to the two initial points (with an AT gun, an HMG, Snipers, and plenty of German infantry). Scout out the area with a Recon Overflight to determine the location of the AT gun, then use your Katyusha to barrage the area. Once the AT gun has been taken out, use your vehicles to destroy the remaining German forces and capture the territory point. Perform the same tactic for assaulting the defensive line north of the territory point you just captured—use the Recon Overflight to discover where the German AT guns are located, then continually barrage them until they have been eliminated. Move in to the area with your tanks, taking out each infantry squad before continuing through the choke point and to the territory point itself. Do not move up too quickly in case there are any anti-vehicle weapons you have not destroyed. Capture the point to complete the task.
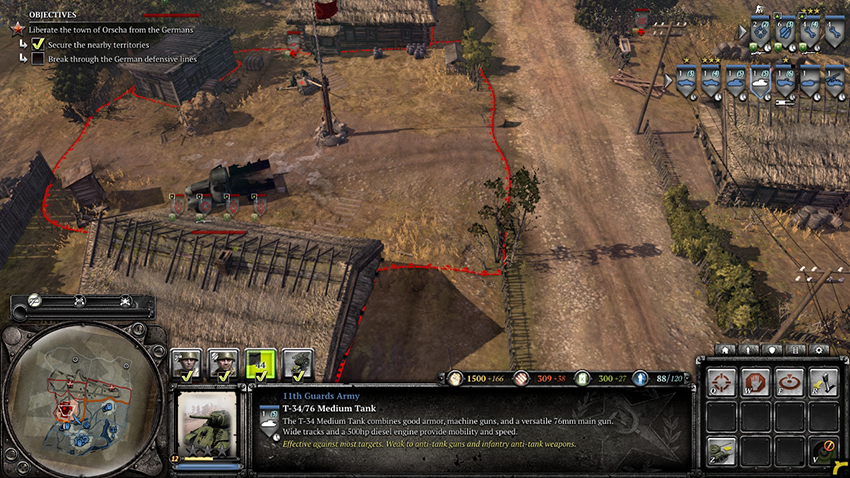
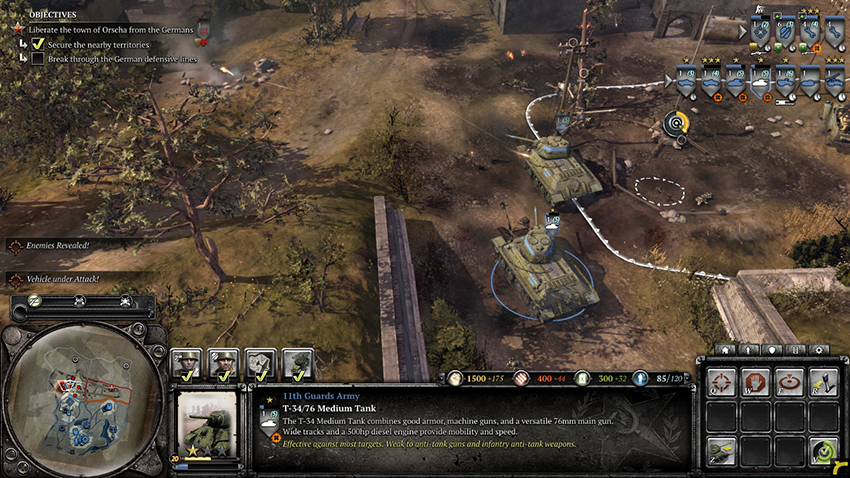
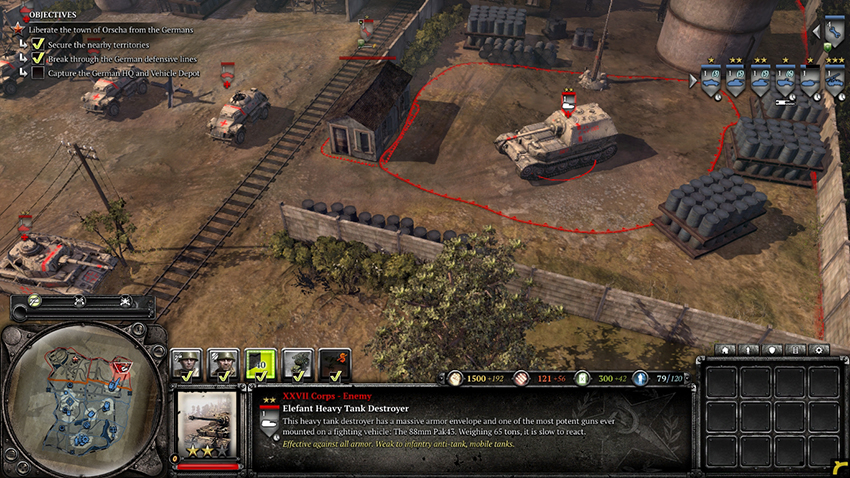
The final two territory points are defended similarly to the defensive lines that you just pushed through. The Vehicle Depot, located in the northeast, is defended by a number of German tanks and vehicles that will move to kill any units that come nearby. Once you gain sight of this area, you will be granted the IL-2 Bombing Run commander ability which drops a single high-powered bomb on the targeted area that destroys light targets and does moderate damage to heavier tanks. The Vehicle Depot is also protected by an Elefant Heavy Tank Destroyer, a massive German tank that causes incredible damage to any of your vehicles from long range. To take out the Elefant, try to lure it away from the Vehicle Depot with one of your units and use AT grenades and SU-85s to destroy it. Your T-34s can also be useful, as the Elefant can only shoot forward and it turns slowly; your T-34s can move around the tank without being shot. Once the Elefant has been destroyed, eliminate the rest of the German vehicles as you would normally, then take the territory point.
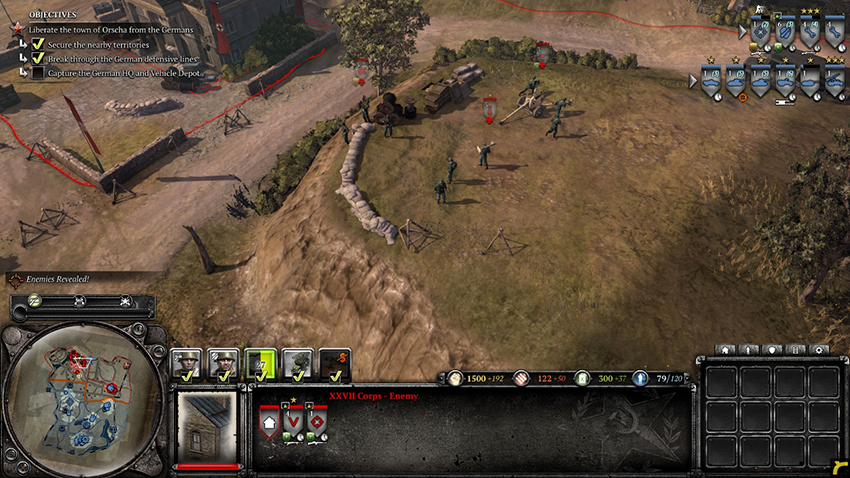
The German HQ is protected by a combination of AT guns, Mortars, HMGs, Snipers, Panzergrenadiers with Panzershreks, and other German infantry. Directly to the left of the HQ building is an AT gun, HMG, and Mortar in an entrenched position. To the right, on the hill overlooking the HQ, is another AT gun, HMG, and Mortar. Another AT gun is located on the hill south of the HQ. The HQ itself is loaded with a Sniper and Grenadier squad. Once you have located each weapon team, use artillery to take them out ,or move your units in from the east side to flank the weapon teams. If you are using vehicles, be sure to take out the AT guns and Panzershreks quickly. If you are using infantry, use Snipers and Mortars to take out the majority of the German weapon teams, then use Shock Troops or Conscripts to eliminate the rest of the German forces. Claim both the German HQ and the Vehicle Depot to achieve victory for the Soviet Army.