
Company of Heroes 2 Guide Advanced Tactics Unit Tactics
Snipers
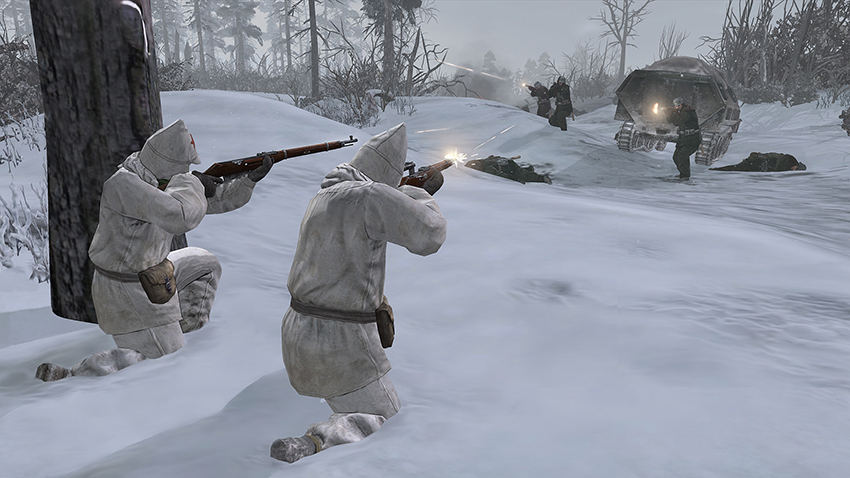
General Sniper Use
In many games, cloaking is an activated ability, and this is how Snipers in Company of Heroes functioned. In Company of Heroes 2, Snipers have camouflage that grants them invisibility when near cover and for a few seconds in open terrain immediately after leaving cover. This can be used to roam around the map secretly, so long as you move from cover to cover.
Snipers in Company of Heroes 2 do not suffer negative effects from blizzards; they can operate away from fires in a manner unlike any other infantry unit. Areas with large amounts of deep snow are especially good locations for Snipers, as closer proximity to enemy units is required before they’re noticed, and units that would seek to charge at a Sniper or chase one down will have their speed impeded by the deep snow.
Garrisoning Snipers in buildings can work very well to extend their line of sight and protect them against enemy attacks, but it removes their ability to move around secretly and surprise enemy units when attacking—Snipers in buildings are prime targets for Mortars and artillery.
As point capture in Company of Heroes 2 is done through standing in the capture radius, it’s possible for a Sniper to do this while remaining invisible behind cover. Your opponent will still notice that the sector is being captured, but he won’t necessarily know where your Sniper is. You can use the same technique to delay an opponent who is attempting to capture one of your points but doesn’t realize that you have a hidden Sniper nearby.
Snipers are of little use against vehicles, but they can snipe infantry units riding in the back of open-top vehicles (Soviet M3A1 Scout Car and M5 Half-track)—this is a rather dangerous way to give away your position and invite the light vehicle to chase you down, so I recommend using Hold Fire or immediately Retreating if a light vehicle comes anywhere near a Sniper of yours unless you have an anti-tank unit nearby. If you want a Sniper to attack units inside of a vehicle, it’s best to use the Attack Move command rather than right-clicking the vehicle to target it, as the latter command will result in the Sniper firing on the vehicle itself rather than on the men inside.
The Soviets can place Snipers in their own open-top vehicles and use them in a manner similar to a mobile garrisoned building—the Sniper gains defensive bonuses and mobility, but it gives up its invisibility. Be sure to stop the vehicle carrying the Sniper before it shoots as moving causes a significant accuracy reduction. Placing your Soviet Snipers in an M3A1 is especially useful in avoiding stray artillery and Mortar shots, and getting away from charging infantry without needing to Retreat to base.
The ideal targets for a Sniper are team weapons like HMGs, Mortars, and AT guns, enemy Snipers, and infantry squads with few remaining members. AT guns and Mortars require two men to fire, so if you reduce such a unit to one man he will abandon his weapon and run off the map alone—this makes Soviet Snipers particularly deadly against the three-man German team weapons.
In comparing the German Sniper to the Soviet Sniper squad, several differences emerge. One, the German Sniper has an extended cloak time, so he can more easily move from cover to cover. Two, the German Sniper cloaks more quickly after taking a shot. Three, the German Sniper has a higher rate of fire. And four, the Soviet Sniper squad has an extra squad member meaning its survivability, especially in Sniper duels, is higher.
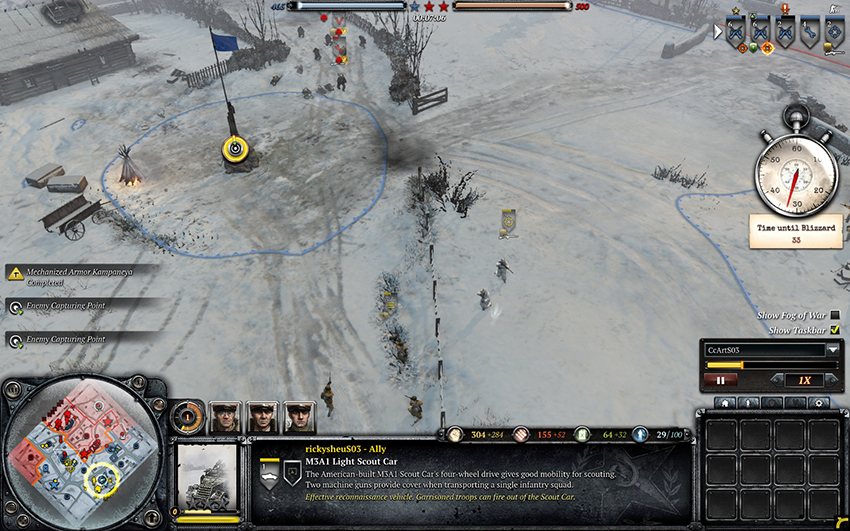
Support your Snipers with HMGs to guard against multiple infantry squads rushing you.
Counter-Sniping
Snipers are often used to counter enemy Snipers as a one-hit kill shot is very useful when your target only has one or two men and is high value. This creates the interesting situation of what to do with your own Sniper if you know that an enemy Sniper is in the vicinity.
Should you continue to attack enemy units normally and hope that your opponent does the same? A competent player will have his Sniper on Hold Fire and wait for yours to reveal itself before counter-sniping, so this is a bad idea.
Should you keep your Sniper on Hold Fire and wait for your opponent to reveal his Sniper? Again, if your opponent is competent he’ll likely be doing the same thing.
The result is a stalemate in which the two Snipers cancel each other out—neither can act for fear of retribution from the other.
- If your opponent doesn’t know that you have a Sniper, or believes it to be elsewhere, you should wait for the counter-snipe as this is the highest value option.
- If your opponent is aware of the existence and location of your Sniper, you either need to take steps to safely engage his units while mitigating the risk of a counter-snipe, or you need to take this opportunity to reposition to a different area of the battlefield—until you begin firing elsewhere, your opponent will believe your Sniper to still be in its original location on Hold-Fire waiting for a counter-snipe.
How to Counter-Snipe
- The obvious way is to place your Sniper in its own control group, camouflage in cover, turn on Hold Fire, wait for the enemy Sniper to reveal itself, and then select your Sniper and order it to fire at the enemy Sniper
- A faster option is to place your Sniper in cover, turn on Hold Fire, wait for the enemy Sniper to reveal itself, then select your Sniper and turn off Hold Fire. Your Sniper might decide to take a shot at a different unit for some reason, but if the enemy Sniper is the only possible target in range, this is the simplest way to ensure that your Sniper will shoot before the enemy’s can camouflage again or withdraw.
- If your Sniper is moving when an enemy Sniper reveals itself, select your Sniper and give it an Attack Move order immediately. This is the fastest way to get it to fire as you won’t need to move your cursor to target the enemy.
How to Avoid a Counter-Snipe
- Remain at the longest possible range to your target, and keep your target between your Sniper and your opponent’s Sniper—this will allow you to score kills safely.
- After firing, move directly away from the likely location of the enemy Sniper to hopefully move out of range of a counter-snipe until your camouflage reactivates.
- Constantly vary your location from shot to shot so that your opponent cannot be sure of your location. This pertains to keeping your Sniper alive in general and not only to avoid being counter-sniped, as Mortars and artillery are certain to target it if it remains in one spot.
- Try to take shots from a location adjacent to a line of sight-blocking object, like a tall wall or building. After firing, move to safety behind the object.
- While it’s ideal to finish destroying a weakened unit or focus fire on one unit to force it to Retreat, doing so allows your opponent to predict where your Sniper is likely to be. It’s okay to wait longer between shots and to switch targets continuously to throw off your opponent. Preserving your Sniper is the most important thing—any kills you manage to get are a luxury.