Company of Heroes 2 Guide Advanced Tactics Unit Control
Unit Control
Capturing Weapons and Vehicles
Infantry Weapons
Members of infantry squads that have upgraded weapons will often drop these weapons on the ground when they die. Infantry squads have slots for upgraded weapons, and rather than pay for upgrades yourself, steal your opponent’s weapons after you win a fight! This can lead to interesting weapon combinations like Conscripts with a Panzerschreck or Grenadiers with a Flamethrower.
While you should try to be smart about which units pick up which weapons (e.g., a flamethrower is good on an assault unit but not so great for a mainline anti-tank unit), simply denying your opponent the use of these weapons is an advantage in itself.
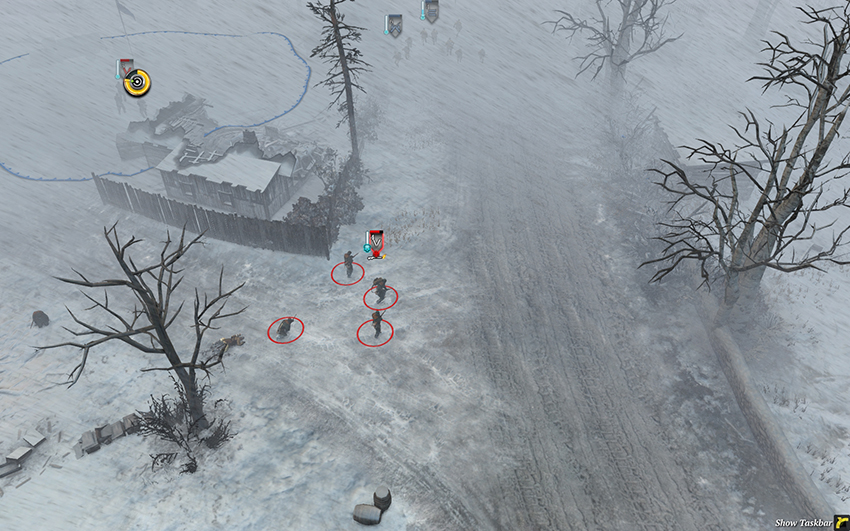
A Grenadier squad that picks up a flamethrower can become a dangerous assault unit.
Team Weapons
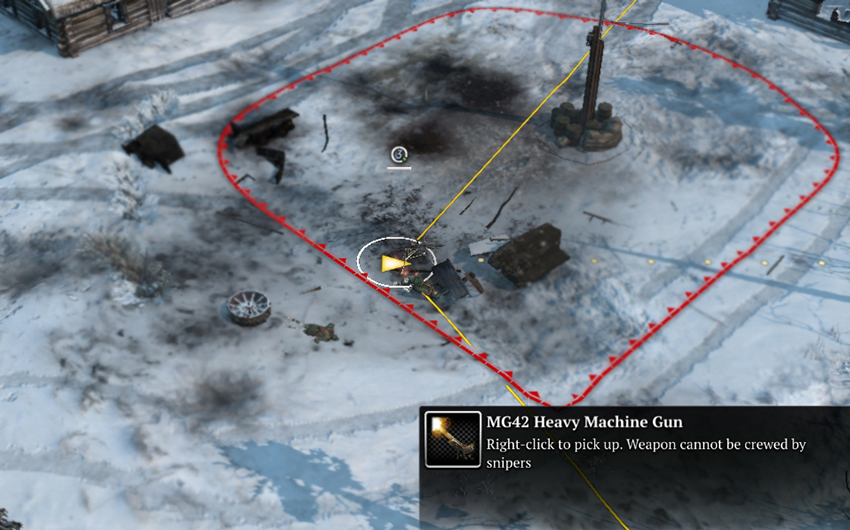
Support weapons like Mortars, HMGs, and AT guns can also be captured, but these require members of an infantry squad to leave and form a new squad (a minimum of two, but three men will leave if your squad is three members or more).
Vehicles
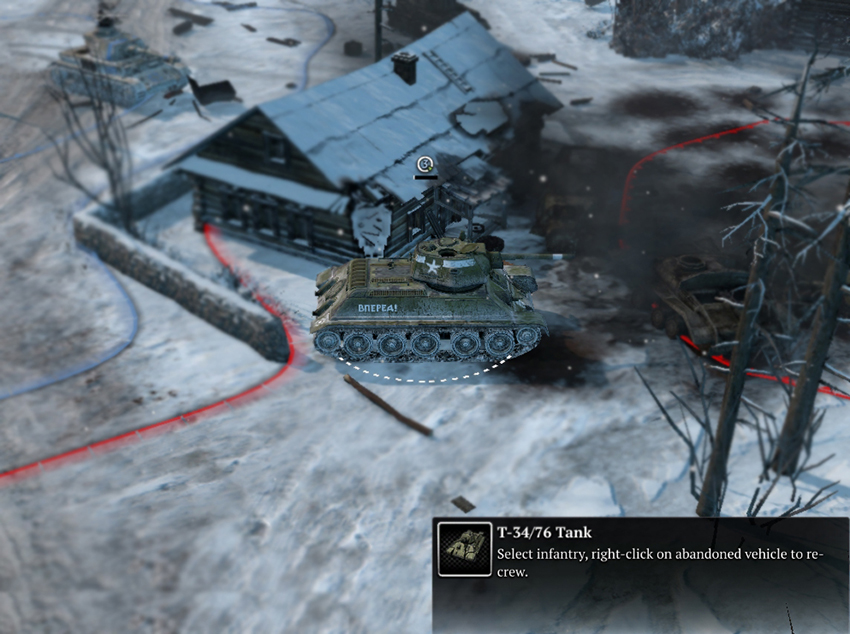
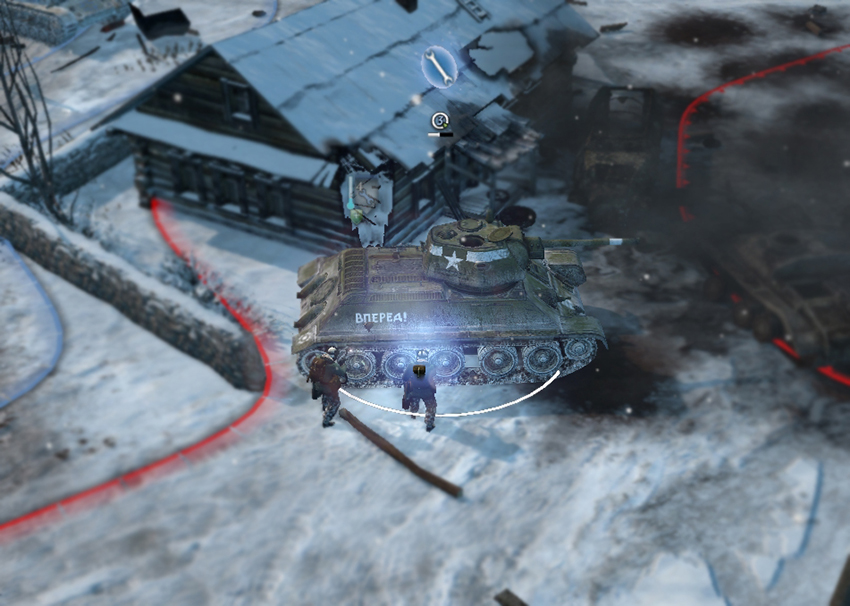
Company of Heroes 2 introduced the possibility for vehicles, including heavy tanks, to be decrewed on occasion instead of being destroyed. If you see an unoccupied vehicle on the battlefield, you need to either capture it yourself or destroy it so that your opponent cannot take it.
In multiplayer, vehicles are only decrewed at very low HP, so it’s not always a good idea to immediately capture a vehicle. Instead, you can use Pioneers or Engineers to repair the decrewed vehicle a bit before depleting a squad to capture it. The white number above the vehicle informs you how many squad members will be taken from your unit to capture it. The same rules regarding support weapons apply here: Use low-cost squads with more members than the number required for capturing. But here’s one exception: Let’s say you’re playing as Soviets and you have a Conscript squad and an Engineer squad near one another. If you come across a Mortar, HMG, or AT gun, it’s better to capture using the Engineers, as they are a weaker combat unit than the Conscripts. However, when capturing a vehicle, you’ll want to repair it as fast as possible, and the fewer members in a squad, the slower it can repair things. Better to capture the vehicle with Conscripts and repair it with Engineers.
Unit Movement
Kiting
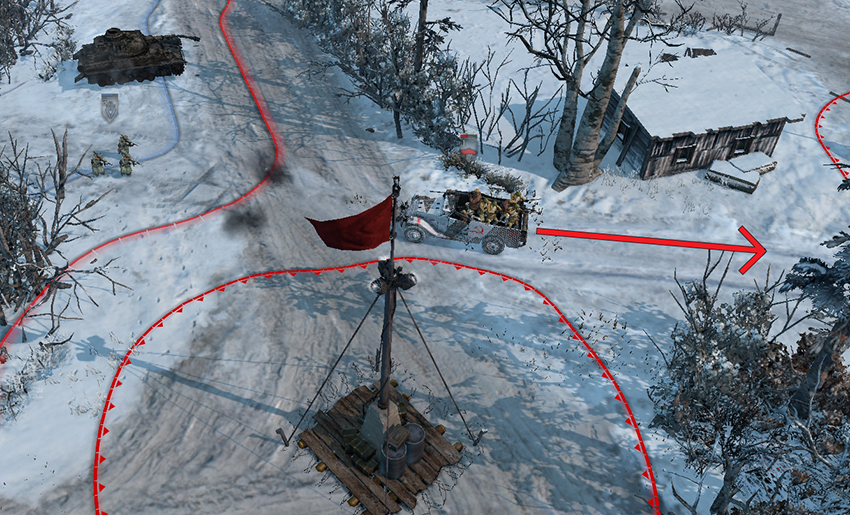
Kiting is a term that refers to a faster, longer ranged unit using its speed to engage a slower, shorter ranged unit that can only attempt to close the distance—if done properly, the unit being kited is forced to Retreat or be destroyed. The term is often used in the context of vehicles attempting to stay out of the range of AT grenades and Panzerfausts by reversing any time Conscripts or Grenadiers move closer, and advancing any time they back away. Kiting also works in a limited sense for Snipers against enemy infantry squads. Take a shot and move away, take a shot and move away. You can often deplete a squad to half strength before it gets near you and forces you to Retreat, and you may even scare off the squad if you bring in a supporting unit.
Circle Strafing
This refers to moving a faster unit in circles around a slower unit to avoid being targeted while continuously attacking. It is most commonly used by vehicles with turrets when fighting AT guns and vehicles without turrets.
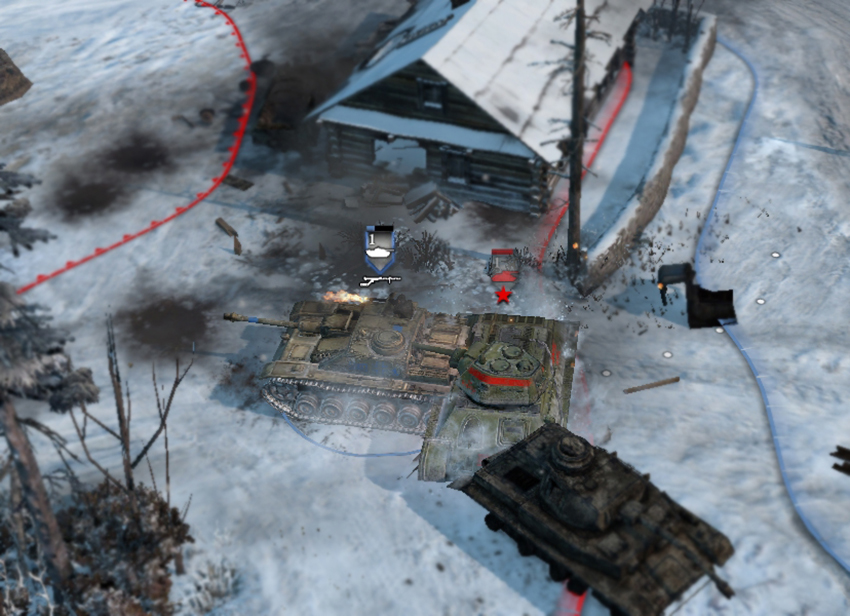
Infantry can circle strafe machine gun teams and vehicles can circle strafe AT guns.
Waypoints
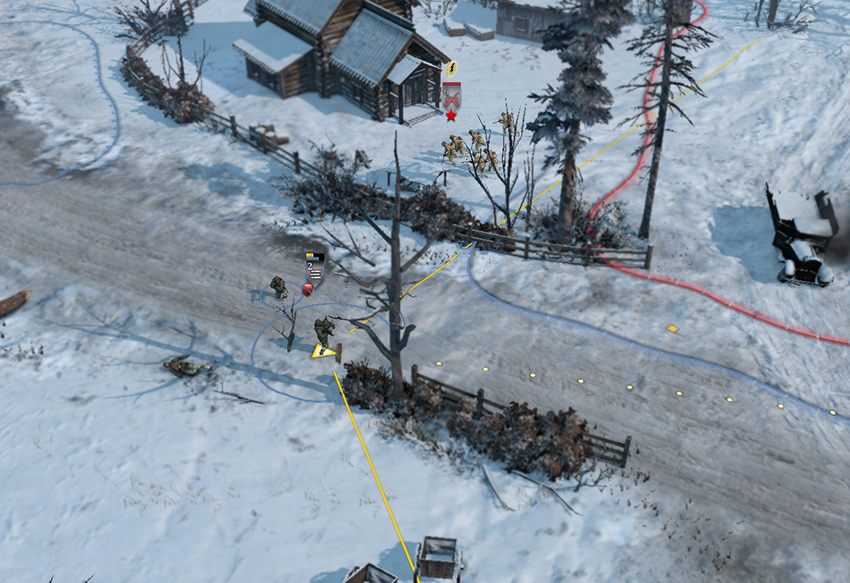
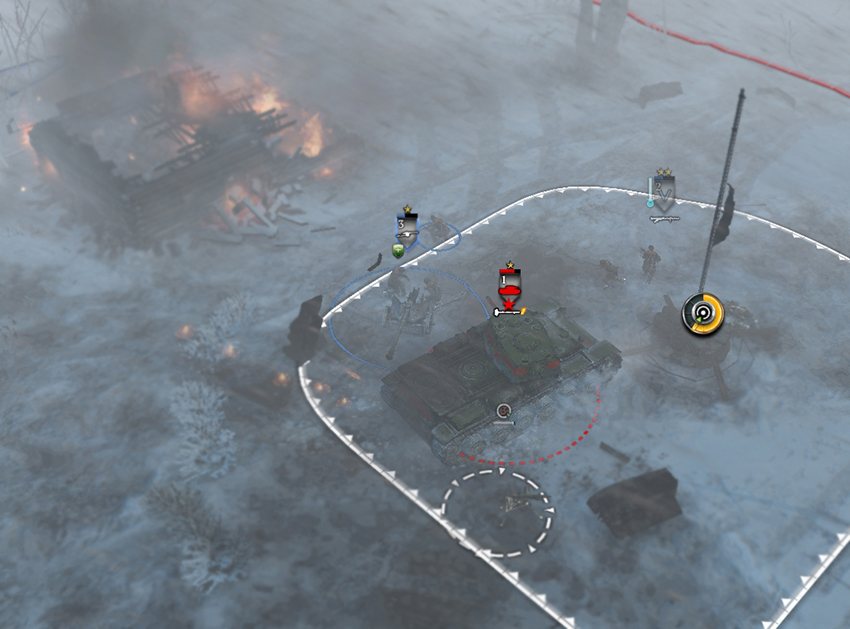
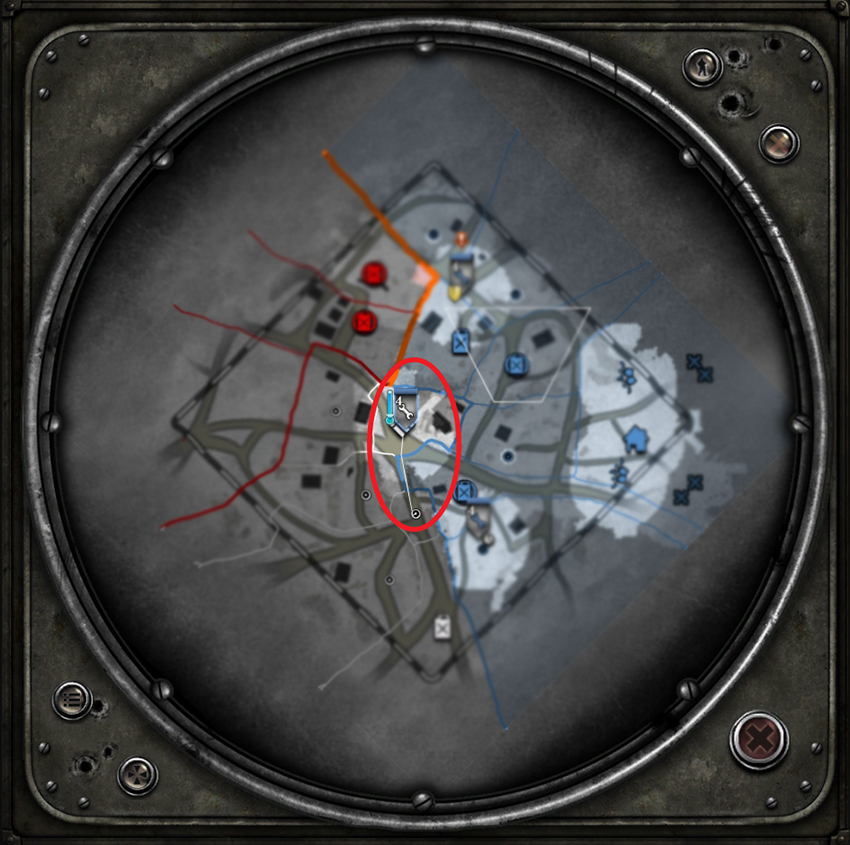
You can set waypoints by holding down the left Shift key while issuing orders. You can also do this on the tactical map, or when giving units sector capture orders on the minimap. Waypoints allow you to focus your attention on units that actually need it, removing the need to constantly give orders to idle units.
Capturing Sectors
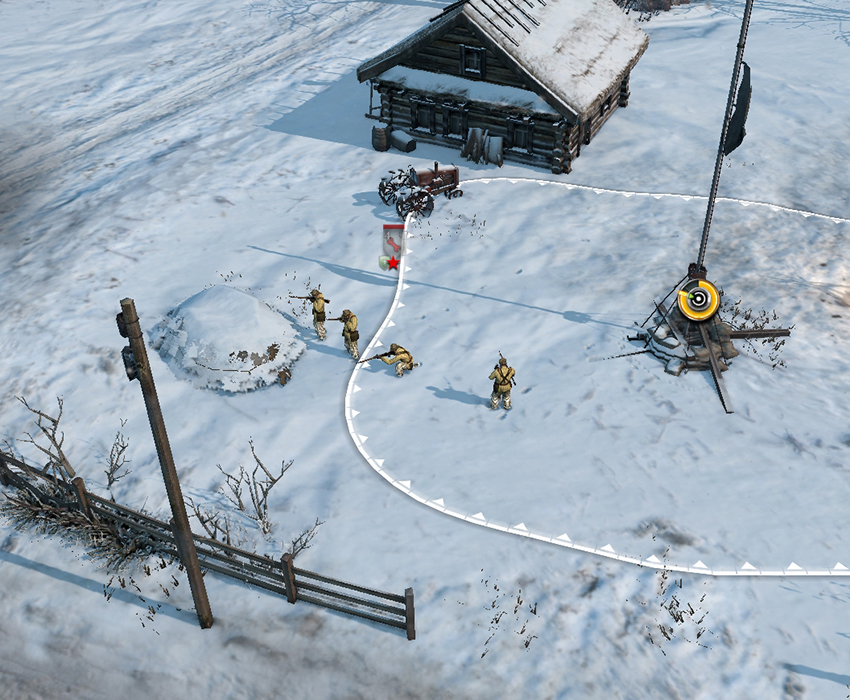
Early in the game it’s important to capture sectors quickly and move on to the next point. Individually micro your infantry squads such that they’re standing close to the outside of the capture sector in the direction that they’ll next be traveling. This allows you to speed up your early movements by a few seconds.
Controlling Enemy Movement
Unit Blocking
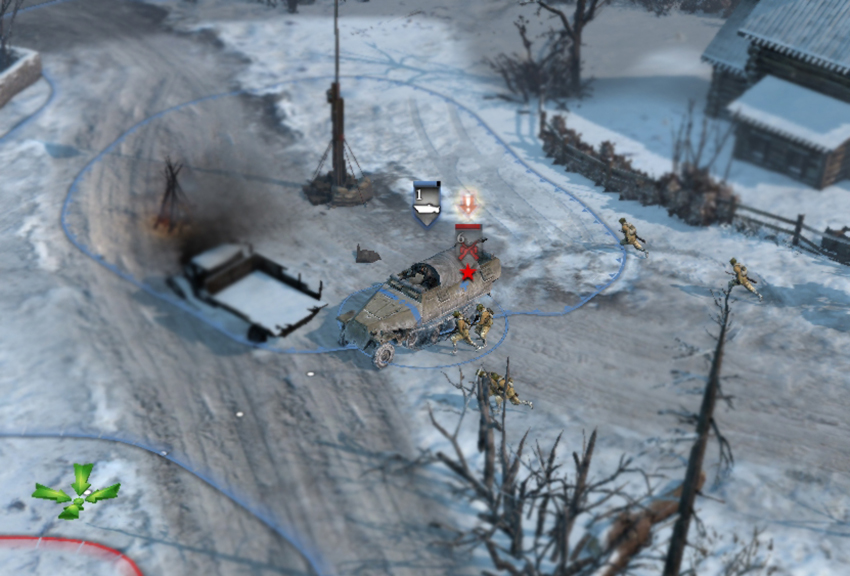
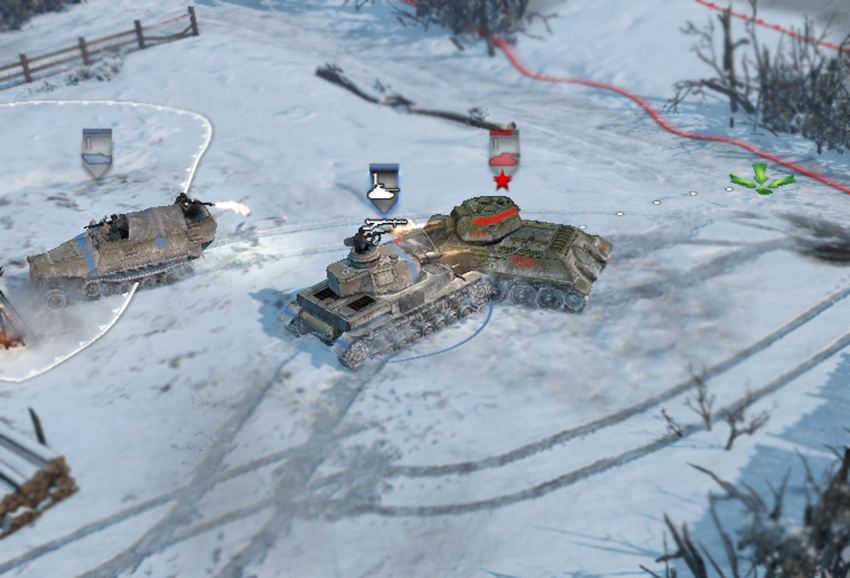
Vehicles are not able to drive through other vehicles and infantry cannot run through vehicles. In fact, it’s quite easy to completely block a slower vehicle’s attempt to move in a specific direction with a faster vehicle of your own for both offensive and defensive purposes. It’s also possible to delay an infantry squad’s movement using an intervening vehicle.
Offensive Unit Blocking
One example of offensive unit blocking involves getting in the way of a retreating enemy infantry squad, especially with a light vehicle, to increase the amount of time you can spend attacking it with both your light vehicle and any nearby squads. Another use of offensive unit blocking entails blocking an enemy vehicle from backing away from your infantry, AT guns, or other tanks by placing a vehicle in its path. Light vehicles work especially well in this situation because they can reposition constantly to lock down enemy heavy vehicles like tanks, and the tanks will typically not target your light vehicle first—the unit AI prioritizes heavier vehicles and AT guns, leaving your light vehicle safe from reprisal unless your opponent directs his tank to specifically attack yours. Soviet T-70s excel in this role against German Tigers.
Defensive Unit Blocking
Defensive unit blocking is most often employed to aid in the escape of a damaged vehicle. For example, if you have a T-34 with a damaged engine backing away from a Tiger, it is bound to be destroyed unless you halt the Tiger’s advance. Scout Cars and Half-tracks would normally be useless against a Tiger, but both can unit block wonderfully. Light vehicles can also unit block an infantry squad that is attempting to flank one of your MGs—move your vehicle back and forth in the infantry squad’s path while your reposition the HMG to attack.
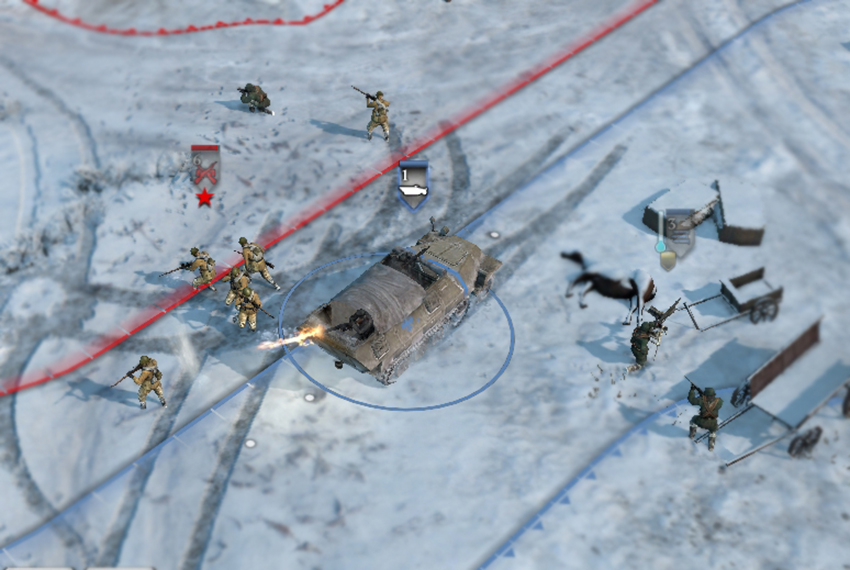
Unit blocking with infantry isn’t nearly as effective as with vehicles, but it can still be useful in some situations. Light vehicles like Scout Cars and Half-tracks are unable to crush infantry, they will only push them aside. You can use this to your advantage by delaying a light vehicle a little using one of your infantry squads. This can make the difference between a retreating Sniper dying and getting away. Infantry squads can also minimally delay retreating enemy infantry, allowing you to do the final bit of damage to wipe them out.
Forcing (Tactical)
Some units, unit abilities, and battlefield fortifications can force enemy units to move or suffer a great deal of damage. Artillery and Mortar barrages can be used to force enemies to halt an advance (by firing just ahead of them along their path of movement—this is called “leading the target”), to force a retreat (by using a powerful barrage directly targeted at an infantry squad or weapon team), or to hold their position (by firing behind them along the path they’d take to move away). Grenades can be used similarly to force enemies to exit buildings, stop them from rushing one of your squads, or remove them from an area of cover.
Contain
Containing is the act of creating a forward defensive position that restricts your opponent’s ability to maneuver his forces. This is generally done at a choke point or near a certain base entrance. It often involves battlefield fortifications and fire support units.
Withdrawing Units
Many situations arise that require you to remove your units from battle. There are several ways to do this, depending on the tactical situation.
Retreat Command
Ordering a unit to Retreat immediately sends it running for your headquarters—once you give the command it cannot be undone.
Retreat Effects
- Armor and Movement Speed bonuses.
- Immunity to suppression and pinning.
- Inability to attack or control the unit in any way.
Basic Uses of Retreat
- A squad is down to one or two men and low health, so you want to get it back to your base to reinforce as soon as possible.
- You notice that your squad is about to be struck by artillery or a grenade (that you cannot avoid), or it has been caught out of position and cannot possibly escape (e.g., an HMG being flanked by Conscripts with no nearby units for support).
- An HMG has pinned one of your squads and you have no way of dealing with the HMG at the moment.
Soft Retreat
Disengaging from a fight by using standard movement orders instead of the Retreat command is known as “soft retreating.” It’s superior if your squad is outmatched but in no danger of being completely destroyed, and you have a building nearby that you can garrison or supporting units on their way. Mainline infantry can use soft retreating to good effect in most situations if they aren’t suppressed or pinned, and when there isn’t a reason to have them return to the HQ at the time. For example, if your full HP Conscript squad walks around a building and into a Tiger, do not immediately issue the Retreat command. Instead, throw an AT grenade if you can and soft retreat back around the building.
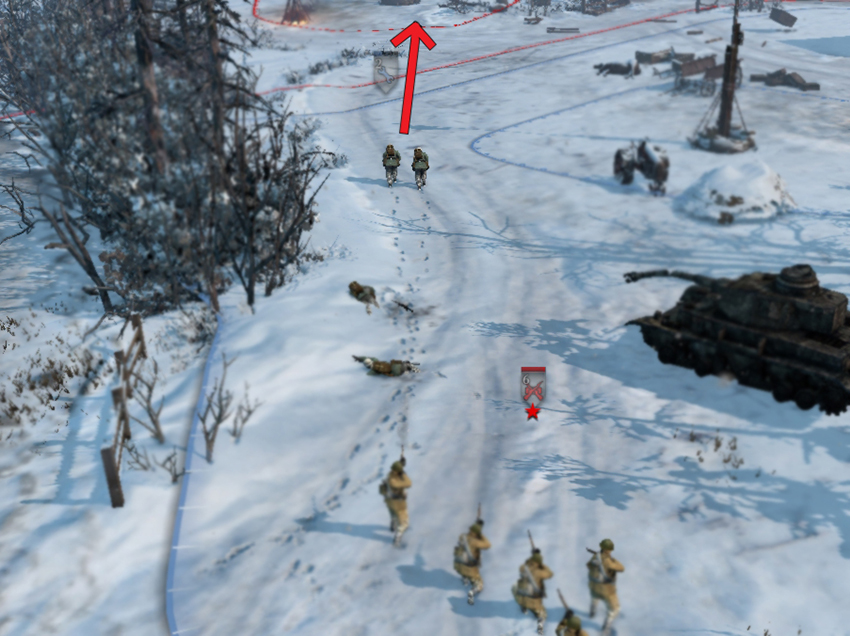
If you have a nearby Half-track as either faction or a Command Post as Ostheer, attempt to soft retreat and reinforce here instead or running all the way back to base. Only use Retreat if the squad is in danger of being completely destroyed. Retreating units ought to be focused down if there’s any possibility of destroying the unit entirely. If you know what retreat path the enemy squad is likely to take, you can send units closer to your opponent’s base to cut across this path and attempt to wipe out the squad. A long retreat path is one of the dangers of fighting far from your own base, it gives more of these opportunities to your opponent. If you have light vehicles, especially Scout Cars, you can chase after Retreating enemy units fairly easily to destroy them—this works especially well against Snipers, HMGs, and Mortars.
Unit Control Theory
Every unit ought to be doing something productive at every point in the game. This doesn’t mean everything needs to be constantly taking action. Sometimes standing still and waiting for the enemy to advance is productive. The important thing is using all of your units purposefully rather than using an individual unit purposefully while the rest of your units stand idle, awaiting your attention.
Don’t worry if it seems impossible to be thinking about all of your units at once—nobody can do this. When you’ve developed more experience you’ll have an intuitive sense as to what is optimal activity for any given unit.
The best thing you can do during a game is keep your units active. Wait until a game is over to think through specific situations to determine if a different tactical response might have been superior.
Veterancy and Unit Control
While holding sectors is critical to gaining resources and winning the game through Victory Points, it’s nearly always more important to preserve your squads so they can attain higher ranks of veterancy. Veterancy gives an active ability at rank one and stats boosts at ranks two and three for no cost. The player who maintains his early squads throughout the game will eventually have a stronger army than his opponent, even when unit count is equal.
Units gain veterancy based on how much damage they inflict or receive. Experience is earned throughout battles as long as damage is being inflicted one way or another. Currently, you gain 25% of the damage received and 75% of the damage you inflict as veterancy.
Further Unit Control Ideas
- Target Selection in Battles: Suppose that you have an IS-2 supported by a Conscript squad and an Engineer squad fighting a Tiger supported by a Panzergrenadier squad with Panzerschrecks and a Pioneer squad. Left to their own devices, the tanks will fire at one another, the Panzergrenadiers will fire at the IS-2, and the rest of the infantry will fire at each other. This is not ideal. Always focus fire the unit that is most easily killed first, unless it’s useless in the engagement. In this situation, all of the Soviet units should focus fire the Panzergrenadiers, the Conscripts should throw AT grenades at the Tiger whenever they can, and the Engineers should repair the IS-2 as soon as the German infantry is destroyed. The Tiger and IS-2 will both survive quite a while against one another, so this type of fight is decided by the superiority of support units.
- Fighting Vehicles with Combined Arms: Panzerfaust, AT Grenades, and mines are effective for causing engine damage and AT guns are effective for dealing the steady damage that leads to a kill. Engine-damaging AT weapons alone won’t kill anything hardier than Scout Cars, and AT guns will get flanked and destroyed by enemy vehicles moving at full speed. Pair the two types of AT weapons for maximum effectiveness. Staggering AT guns is important for avoiding the flanking problem, and spreading out infantry is important for avoiding mass crushing by tanks.
- Commanding Varied Unit Groups: Controlling a force of light vehicles and infantry requires constant micro and is impossible without control groups and hotkeys. A slower force of weapon teams, artillery, and AT guns doesn’t require as much constant micro. Controlling units at various points around a map requires a lot of attention shifting. Controlling units that are concentrated in one area is easiest for attention.
Formations
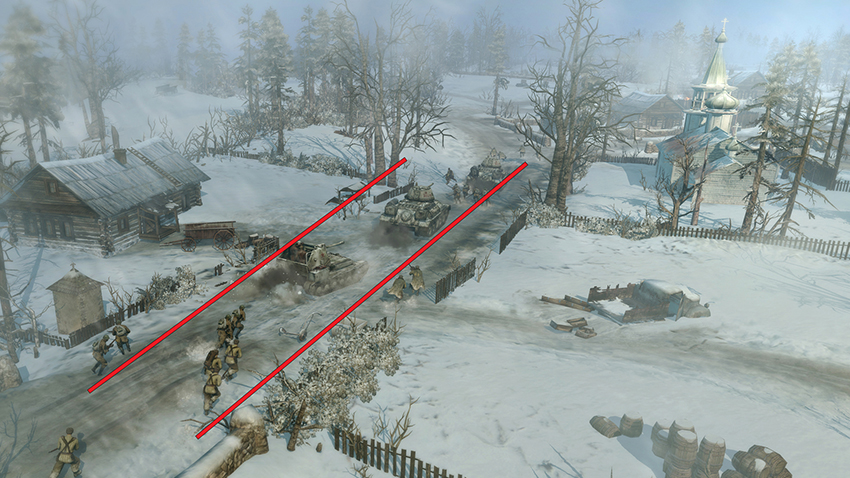
Players often do not think about the formations of their units in Company of Heroes 2 as much as in games set in earlier time periods, like medieval Europe or feudal Japan. Typically, players will either give orders to units individually without considering the positions of their other units, or give an order to a group of units, causing it move as a “blob.” I recommend thinking about units at the group level but giving commands at the individual level as much as possible.
- Line: This formation is ideal for advancing when the enemy position is unknown but cannot be outflanked. Allows individual units to exploit any weak points discovered during the advance.
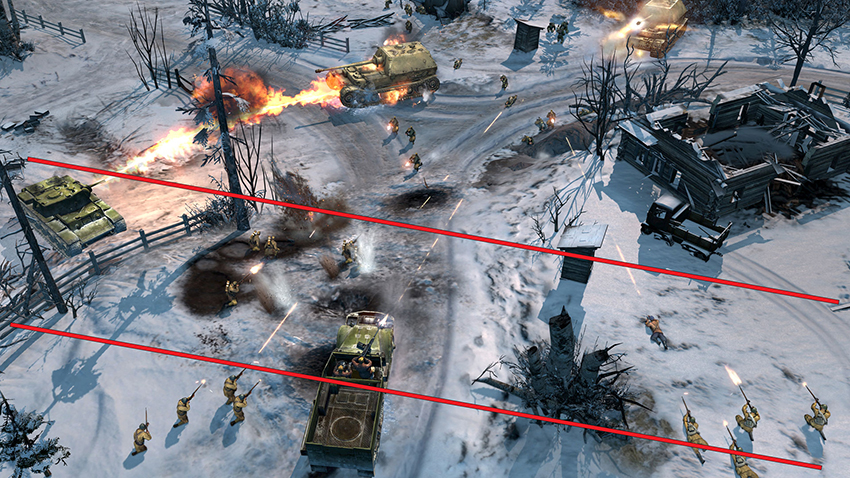
- Wedge: This formation is ideal for advancing when the enemy position is unknown, protects your flanks, and keeps the flank elements hidden during initial contact to the front—which is especially important against MG positions.
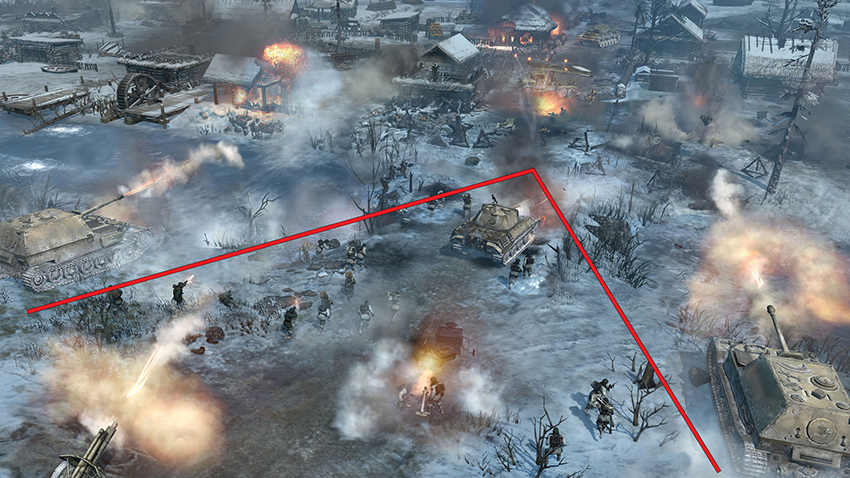
- Vee: This formation is ideal for advancing when the enemy position is known and can be outflanked. A Vee’s flank elements are able to engage the enemy simultaneously with its front elements, maximizing focused fire against enemy units located in the center.
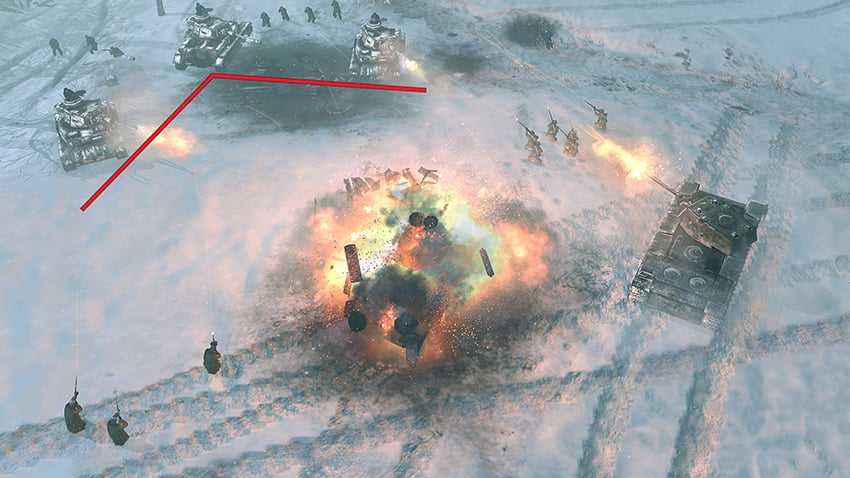
- Column: This formation is ideal for exploiting a known weak point in the enemy line, like a gap between AT or MG firing arcs, or a route unlikely to possess mines. This is a terrible choice for assaulting a prepared position, as the enemy can focus fire the leading unit while the others behind it are unable to attack.