Company of Heroes 2 Guide Campaign Walkthrough Mission 10
Mission 10
Achievements
Gate Crusher: Breach the gate without losing an ISU-152 on General difficulty.
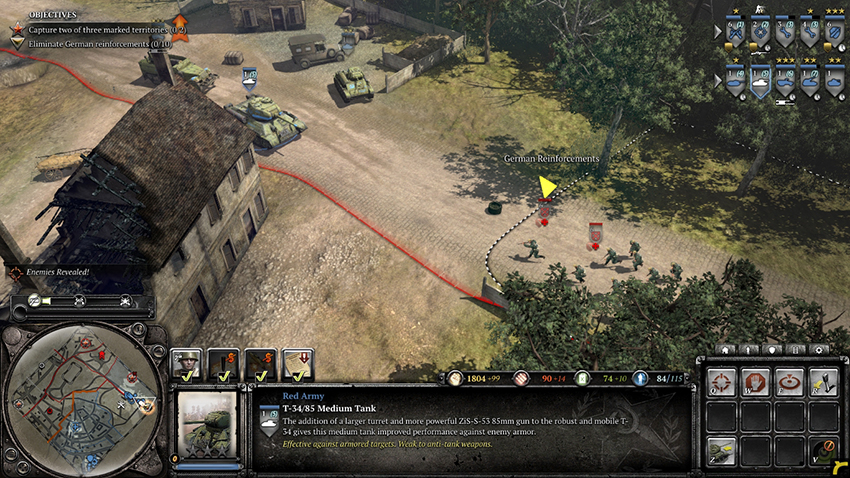
- To most easily complete this achievement, have a large force to protect the ISU-152s before you start sieging the castle gate. Quickly call in any replacements if you happen to lose units, although make the security of your ISU-152s your main priority. Keep your units close together instead of spreading them apart. Completing the additional objective of eliminating the German reinforcements on the eastern road will make this easier to achieve.
Glass Cannons: Destroy an Elefant or all Pak 43s before they destroy a vehicle.
- Taking out the Elefant without losing a vehicle will require that you quickly move any vehicle out of the Elefant’s range or sight if it is attacked, and do not have any light vehicles near your forces once you engage the Elefant. Keep Engineers near your tanks to repair them as needed. The Pak 43s are lightly defended and are most easily taken out by moving an infantry squad close enough to get sight of the target, then using one of your commander abilities on the Pak 43. Your vehicles are not necessary to take out the Pak 43s so keep them in a safe location while your infantry takes them out. If you fail to complete this achievement while facing either the Elefant or Pak 43s, you still have the chance to take out the other without losing vehicles in the same mission.
Zero-Risk Market: Capture the Lublin market square without losing a soldier or vehicle.
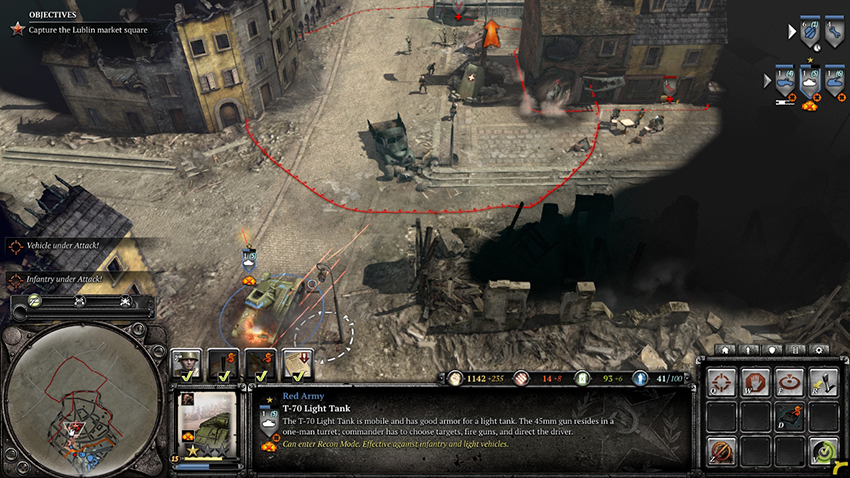
- Do not use your infantry while moving to capture the Lublin market square. Instead, use your SU-76, T-70, and upgrade your Half-track to take out any units you come across. If you need to repair any of the vehicles, move them back to your base before repairing. Try to earn a rank of veterancy on your T-70 so that it can use its Secure Mode ability, allowing it to capture the territory point without the use of an infantry squad. This achievement will require that you move carefully and keep watch of your infantry squads in your base so that they are not attacked by roaming German units.

Walkthrough
Your first objective in capturing Lublin from the Germans is to secure the market square northwest of your initial position. As in the previous mission, you are given a base with which to produce any units you feel will be helpful in completing the task. The entire mission requires you to deal with most of the German units you have come into contact with during the campaign. With that in mind, decide which units you would prefer to use, then call in forces that would create a well-rounded unit composition. To best complete the mission, consider using a mixture of infantry and vehicles.
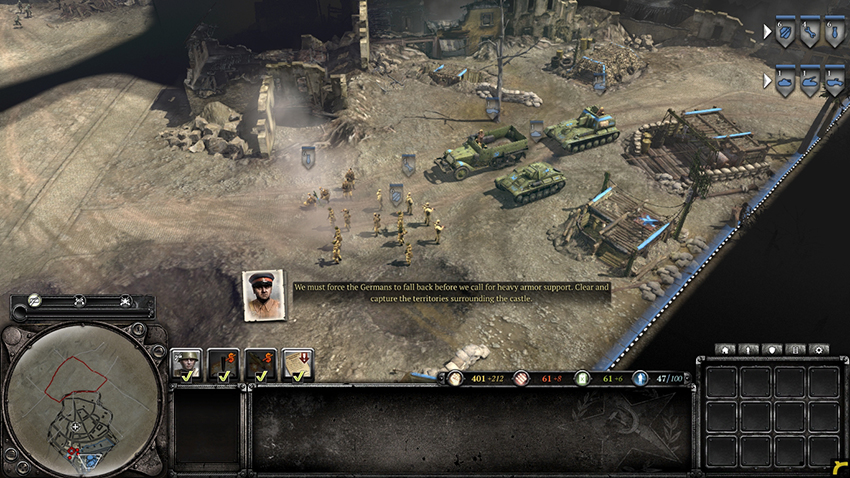
The forces provided at the start of the mission include Shock Troops, Engineers, a Mortar squad, a Half-track, a T-70, and an SU-76. To reach the market square, your units must make their way through the crowded city defended by German infantry and weapon teams. The narrow streets and abandoned buildings provide the Germans with great cover and many opportunities to ambush your forces if you move too quickly. Take your time and do not underestimate the enemy. Use your Shock Troops or call in additional Conscripts to scout ahead while using your vehicles and Mortar to take out any Germans you see. Follow the road northwest out of your base until you come upon Grenadiers and an HMG hidden to the west of your position. Take the HMG out with your Mortar or vehicles. Watch out for a Panzergrenadier squad equipped with Panzershreks, as all of your vehicles are lightly armored.
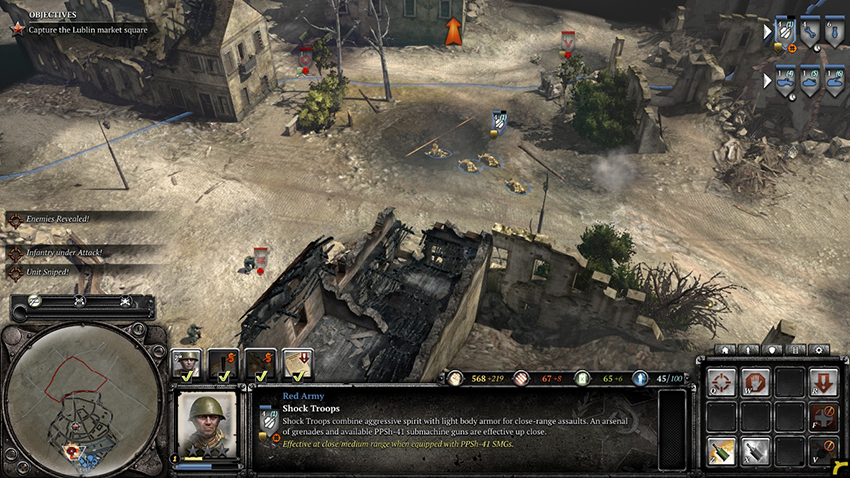
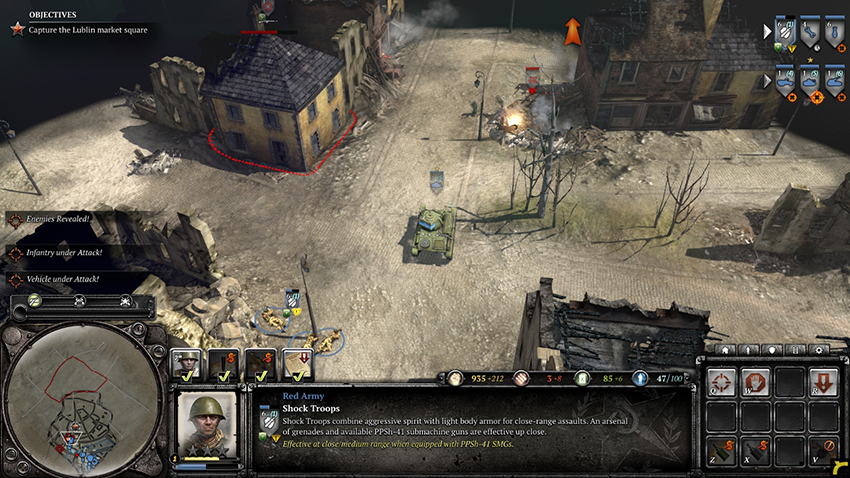
Once each squad has been taken out, look for the road that leads north, directly to the market square marked on the minimap. Continue along this road until your troops take fire from German Snipers. Quickly retreat from the area and bring up your Half-track and T-70 to take out the Snipers. The Snipers reveal their position by shooting at your vehicles, although they do not cause damage. Take out the Snipers, then continue leading with your infantry. The market square territory point is guarded by multiple squads of infantry, including multiple Snipers and a squad of Pioneers equipped with a Flamethrower. A German HMG may move over to the area as well. Eliminate all of the enemy squads and take the point. You get a Military Field Hospital that will heal any nearby infantry.
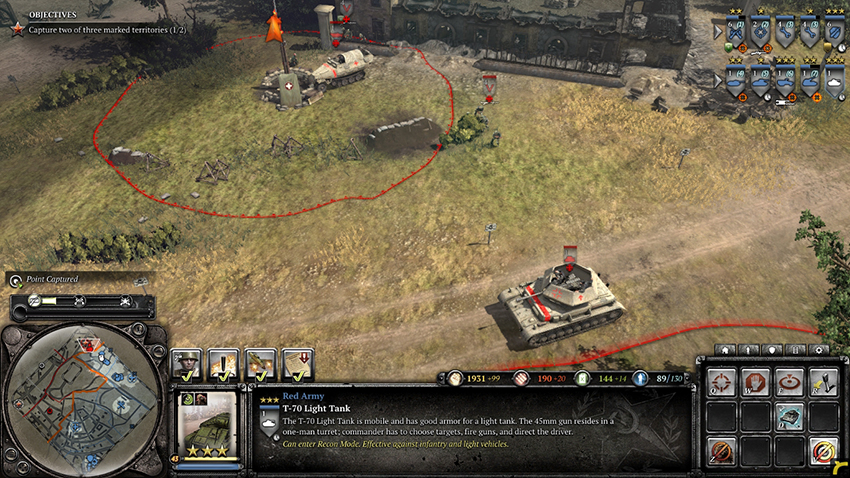
The next part of the mission requires that you capture two of the three remaining territory points marked on the minimap. Each area is defended by different types of units. The territory point in the northeast is surrounded by tanks and an Elefant Heavy Tank Destroyer. The territory point in the north is protected primarily by artillery, including Mortars and the rocket-loaded Panzerwerfers, which are similar to Katyusha Rocket Trucks. The western territory point is secured by three Pak 43 AT guns as well as various weapon teams, infantry, and Snipers. Choose one of the two initial points to begin—the northeastern point surrounded by tanks, or the western point protected by infantry and weapon teams—then progress to the northern point after the initial point has been captured, as the northern point is the easiest to capture.
The northeastern territory point is the least dangerous of the two initial marked territories if you have substantial anti-vehicle and artillery units. Along with the SU-76 you are granted at the start of the mission, add at least one SU-85 to your composition. Ideally, your force should contain three or more anti-vehicle or artillery units with at least one SU-76 and one SU-85. Adding on a T-34 would provide you with a solid frontline tank, although it is not necessary to capture the territory. While you are preparing units for taking the territory, begin to move your forces along the road that runs northeast of the market square you captured. Watch out for any German infantry or Snipers moving between buildings. At the end of the road is a Panzer IV Medium Tank that will drive off once it sees your units. Be careful of this tank—after it drives off, it will follow a path toward your base, forcing you to send anti-tank units back to your base if you do not destroy it immediately. One T-34 is able to take out the Panzer one-on-one, while you may need more than one SU-85 if you do not have additional supporting units.
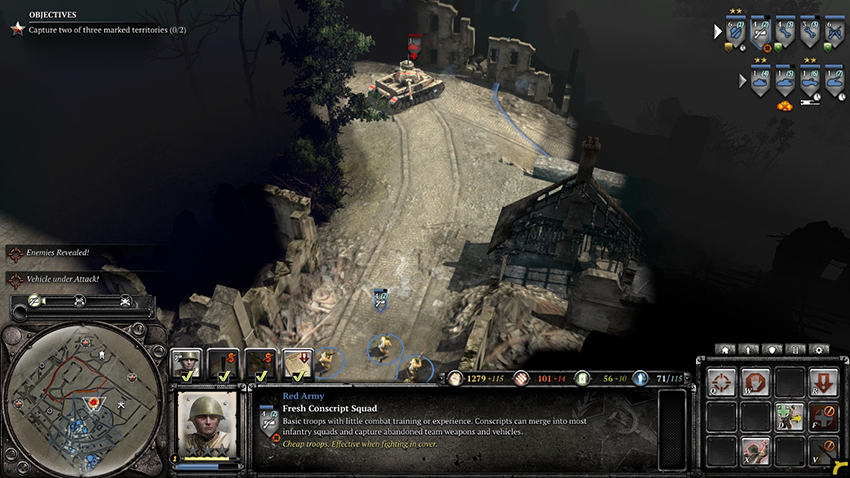
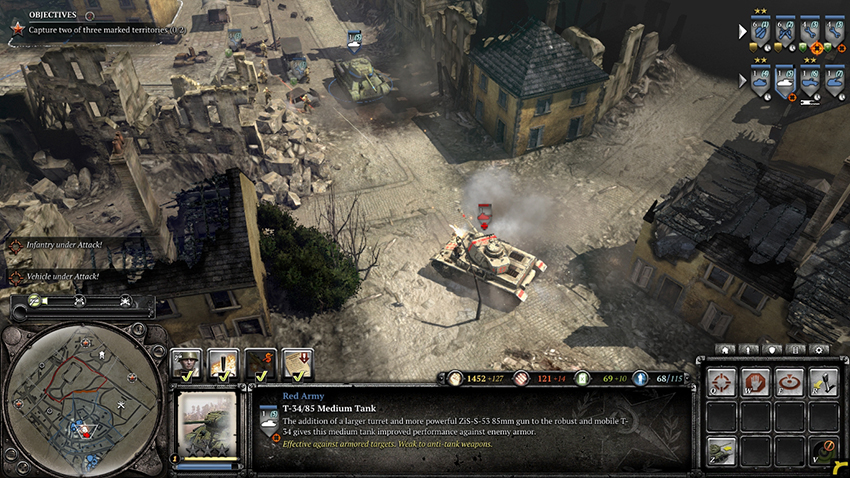
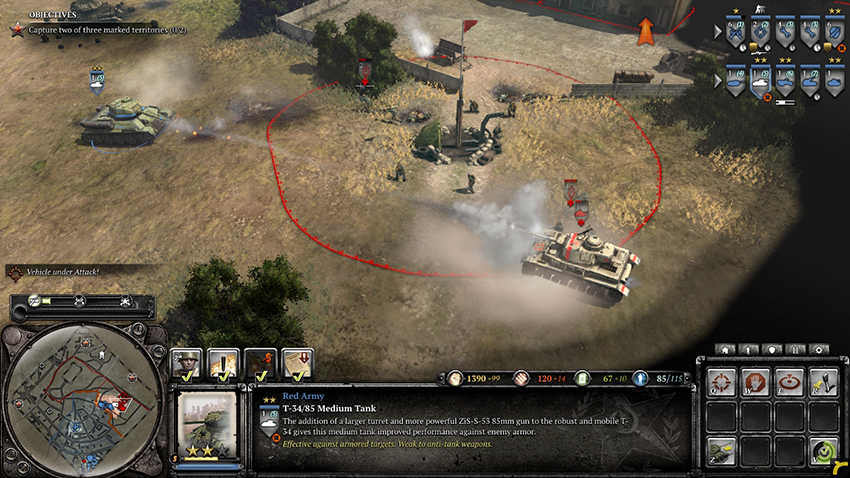
Once the Panzer has been dealt with, return to the end of the road where you first saw the Panzer. The next territory point has both tanks and infantry in a wide-open area. Take advantage of this by using your T-70’s Recon Mode ability, disabling its main gun and granting increased sight radius. Using your T-70, move down the road to the southeast and toward the territory point until you come across any German units. Keeping your T-70 at maximum sight range, move the rest of your units down and set up any of your anti-vehicle forces so that they can attack the enemy. SU-85s can take out any tanks without allowing them to fire back, while the SU-76’s barrage ability can do the same against tanks and infantry. The area will be guarded by tanks along with Grenadiers and Panzergrenadiers, some of which will be equipped with Panzershreks. Use the superior range of your units and the superior sight of your T-70 to take out the Germans, then capture the territory point. This point is a Vehicle Repair Facility similar to the ones you have seen previously, which will repair any nearby vehicles after it has been captured.
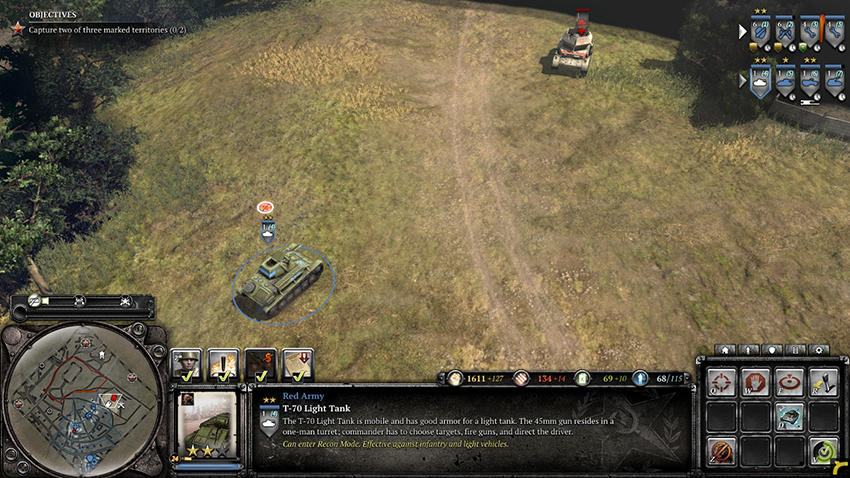
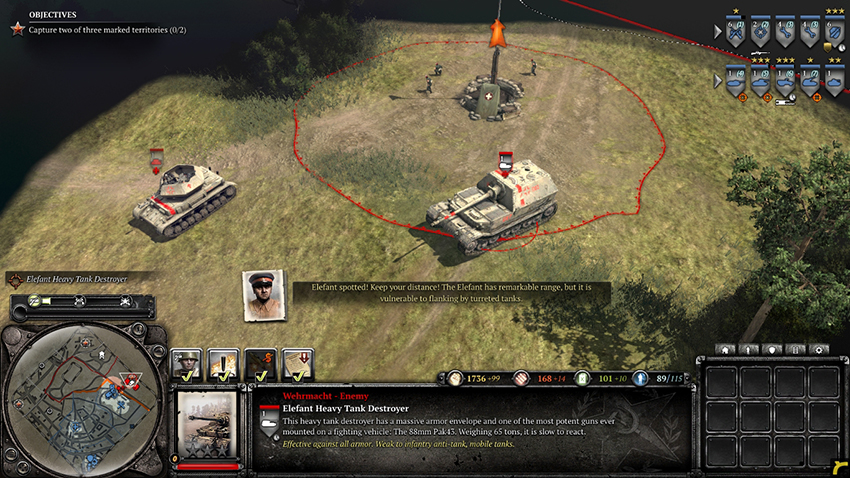
Between your forces and the marked territory point to the northeast are a few bunkers and AT guns, all of which are on the road. Take these out using your SU-85s and barrages from the SU-76, but be careful—the Elefant at the territory point will be able to fire at your vehicles if they are within its long range. Once you have cleared a path across the road, use your T-70 or the IL-2 Strafe Support commander ability to gain sight of the Elefant and any other nearby tanks. Using your SU-85s, T-34s, and the barrage from your SU-76s, focus on the Elefant. Try to keep your artillery and anti-tank units at long range while using the mobility of your T-34s to keep them out of the Elefant’s firing arc. If any other tanks start firing at your units, take them out quickly before returning to the Elefant. As your units are bound to take a lot of damage, be sure to get them out of sight of the German tanks if they are lower than half health, then quickly repair them. The German tanks are repaired by nearby Pioneers once they are damaged, although the Elefant will take heavy damage from your vehicles. Feel free to fire at it and then back away so that your vehicles are not destroyed, although be sure to return before it is fully repaired to take out the Pioneers or get extra shots off on the Elefant. Eliminate the Elefant and any other tanks, then secure the territory point to gain an increased population cap.
Your next objective is to secure the northern territory point. Move your units from the point you just captured to the next point northwest of your position, destroying any remaining tanks in your path. This next point is a Watchtower, which will grant sight over a large radius surrounding the point. Use your tanks to take out any defending Germans and leave behind your infantry—there will not be any anti-tank weaponry, although a German Half-track upgraded with a flamethrower will move in once you assault the point. Take out the Germans, then capture the Watchtower to gain sight over the northern territory point.
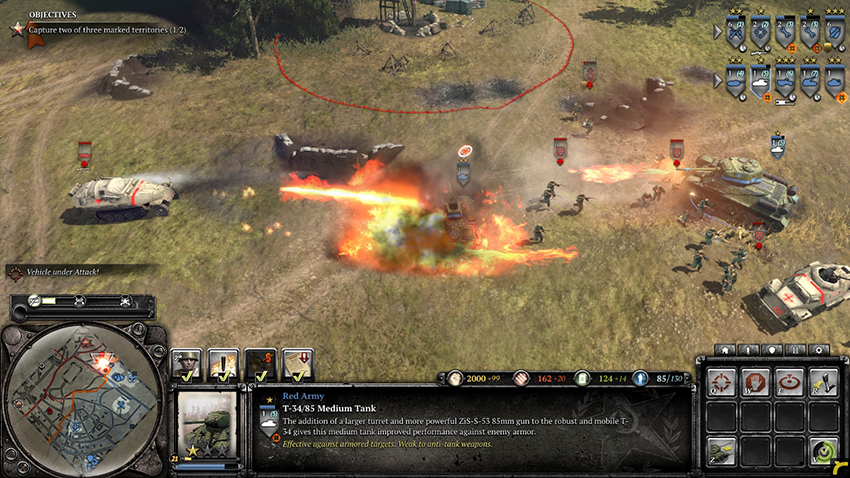
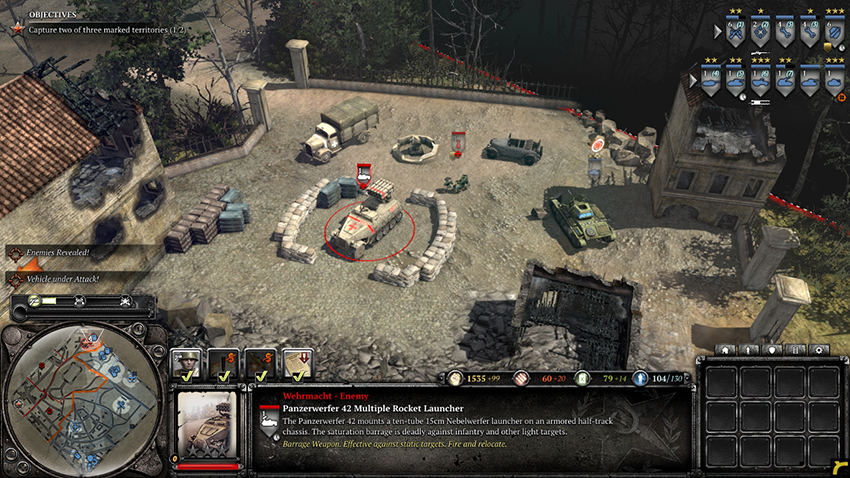
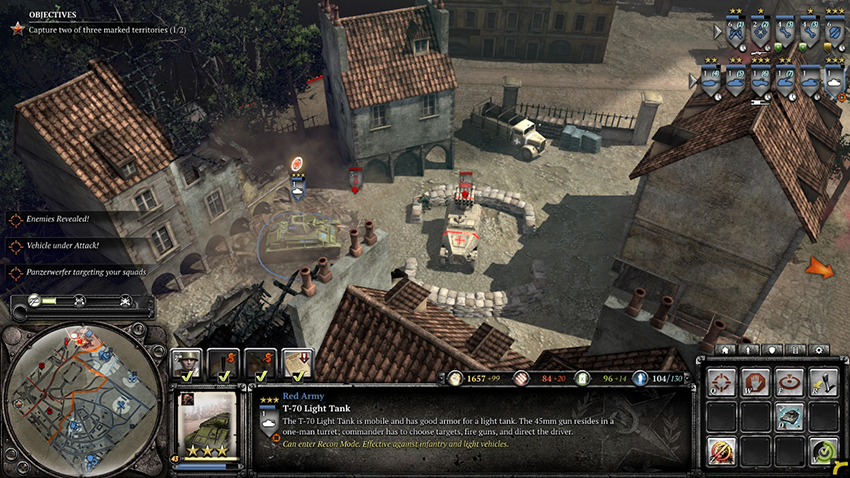
Any T-34s and other tanks you control can take the next point without much worry. The area is protected by Mortars and Panzerwerfers hidden behind nearby buildings, along with an Ostwind and a Panzer IV. With sight over the territory point, use your units’ long range to take out the Ostwind tank as well as the German infantry. The territory point itself is surrounded by anti-infantry mines, although they do not cause damage to vehicles that activate them. Use a vehicle to activate the mines so that your infantry will not be hurt by them. Once a unit moves close to the territory point, the German Panzerwerfers begin firing one at a time. The area they are targeting is designated by smoke dropped on the position, similar to the smoke dropped by air strikes, and rockets are fired shortly after. The rocket barrage fires more quickly than the one from the Soviet Katyusha Rocket Truck, although they cause a similar amount of damage. Before capturing the point, take out the Mortars and Panzerwerfers behind each of the buildings northeast and northwest of the territory point so that they cannot kill any of your units. A third Panzerwerfer and Mortar team is located between buildings southwest of the point. Once they have all been dealt with, capture the territory point to complete the task.
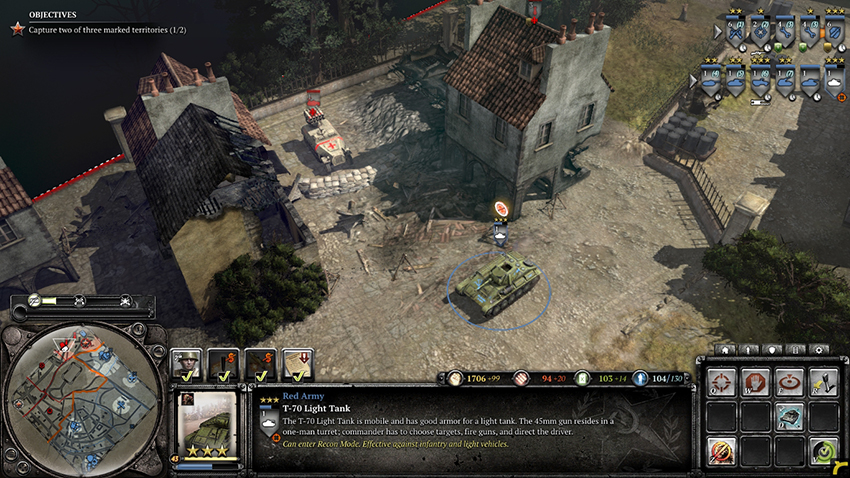
If you plan on assaulting the western territory point, begin by sending your units from the Military Field Hospital in the market square down one of the roads leading to the first territory point to the northwest. The Germans you will see along the way include Grenadiers, Panzergrenadiers, HMGs, Snipers, and AT guns. Although you meet anti-tank weaponry on your way to the marked territory point, each unit will likely be alone, allowing you to use tanks without worrying about them being destroyed quickly. Lead your units with a vehicle such as the T-70 or an upgraded Half-track. If you have the resources to call in a T-34, consider using one to lead your forces, as it will not be destroyed by Snipers or light infantry fire. Take extra care when moving up your infantry in areas that you have not cleared of Snipers. Take your time and clear out all of the infantry on your way to the first territory point.
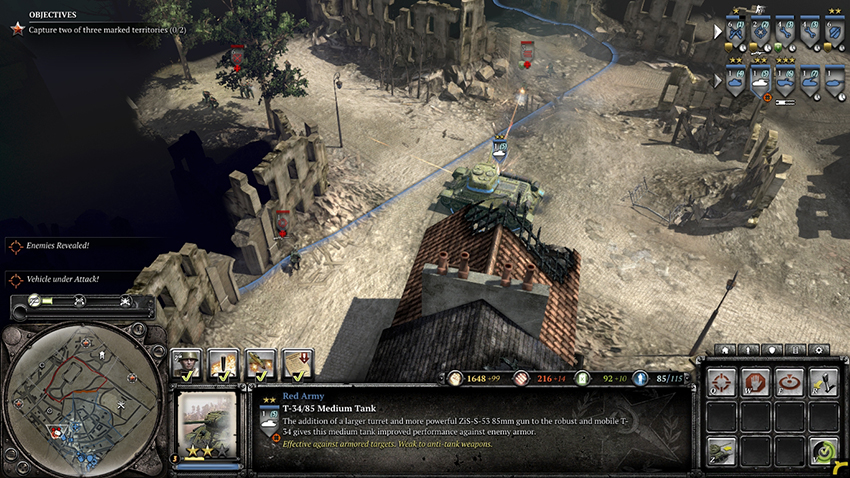
When you come upon the territory point between your units and the western marked territory, you may notice that it is blocked by barricades. Move a unit up to the barricades, then quickly move it out of the area. A light artillery barrage targets the entire area around the territory point, causing significant damage to any units caught within. Once the barrage is over, the territory point is open for capture. Take out any German infantry or Snipers that come back to the area, then capture the point.
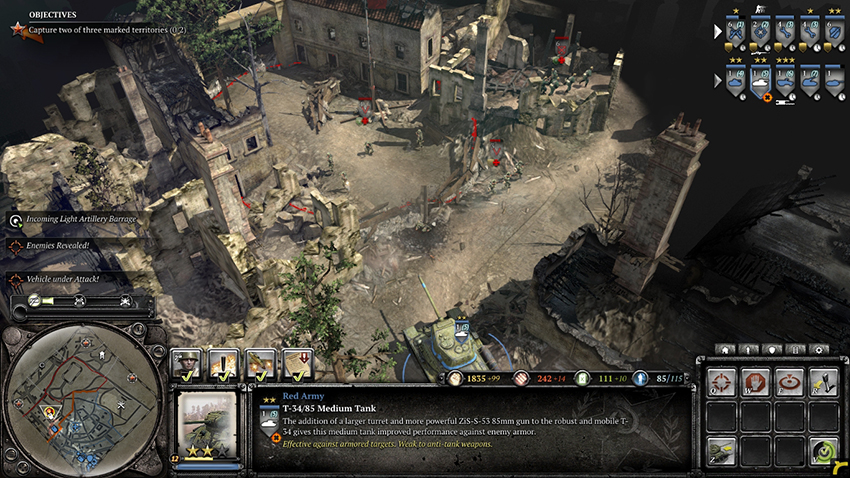
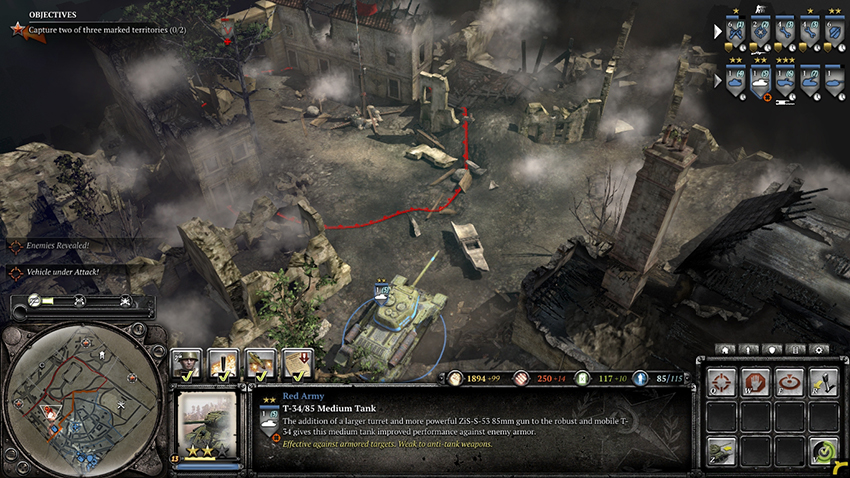
The next objective is to take the western marked territory. Move west out of the territory point you just captured to come upon a lone AT gun. Take it out, then continue northwest toward the marked territory. The territory itself is heavily defended by infantry, an HMG, and a Pak 43 behind the territory point. Use Mortars, artillery, or tanks to destroy the infantry from a safe distance. Once the infantry has been eliminated, use your own infantry or artillery to take out the Pak 43 without letting it fire on any of your vehicles. Capture the territory point to complete half of the task.
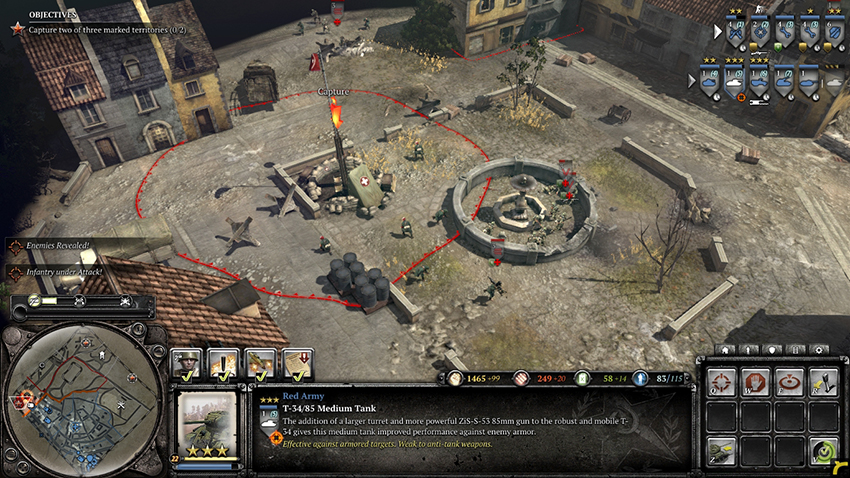
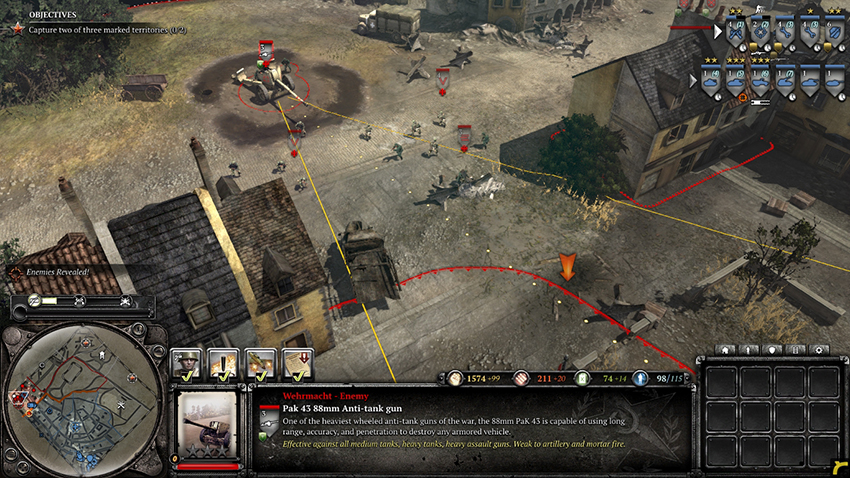
The path to the northern territory point is guarded by two more Pak 43s as well as various infantry squads. Use the north exit of the territory point you just captured then follow the road heading to the northeast. Unlike before, use your infantry to scout ahead of your vehicles until you come upon any German infantry or a Pak 43. The first Pak 43 is off to the side of the road just northeast of the territory point, while the second one is off the road closer to the next territory point. Follow the road until it ends, then transition to the nearby road that is also heading northeast. The northern territory point will be defended by the same units as described in the earlier paragraphs: tanks, infantry, Mortars, and Panzerwerfers. Take out the Panzerwerfer on the side of the road southwest of the northern territory point, then take out the two Panzerwerfers hiding behind the buildings northeast and northwest of the territory point itself. Eliminate all of the Germans, activate the mines with your vehicles, then take the territory.
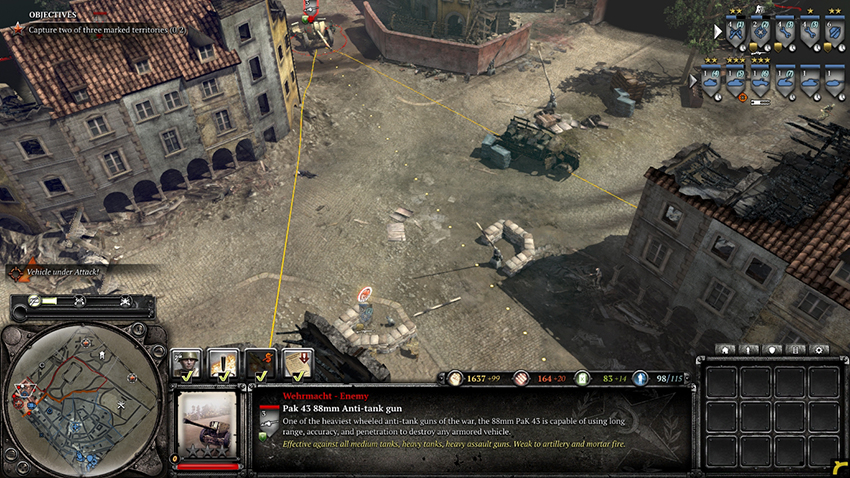
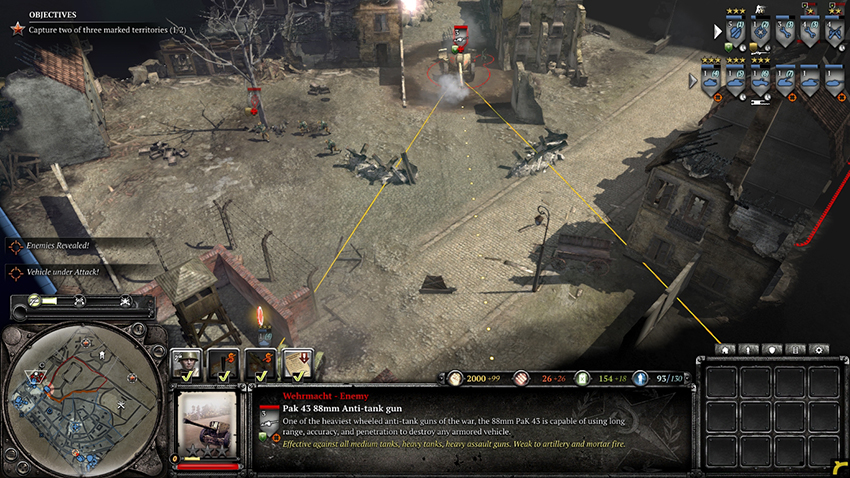
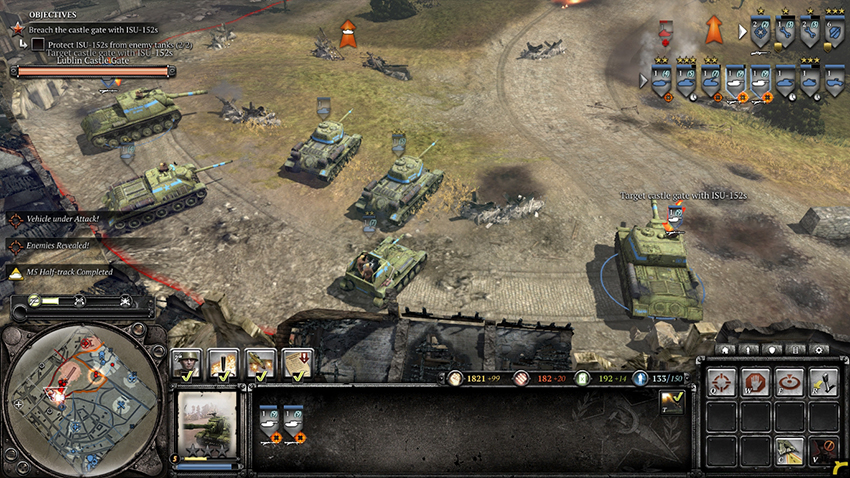
Completing the task opens up the castle for siege, and gives you two ISU-152 Heavy Assault Guns. These heavy vehicles have extreme range and an exploding shot that does high damage to both infantry and vehicles. Upgrade them with Heavy Machine Guns to give them extra fire support against nearby infantry. Two spots are marked near the castle gate for your ISU-152s to begin sieging the castle, although they must first travel through the city. To safely get your ISU-152s to the castle, return your units to your base, then move them with your ISU-152s down a path that leads to the castle. As you have not cleared out the most direct path from your base to the castle, be prepared to deal with light German infantry and Snipers. Once you have set up your ISU-152s at the marked positions, order them to fire at the castle gates to begin the assault.
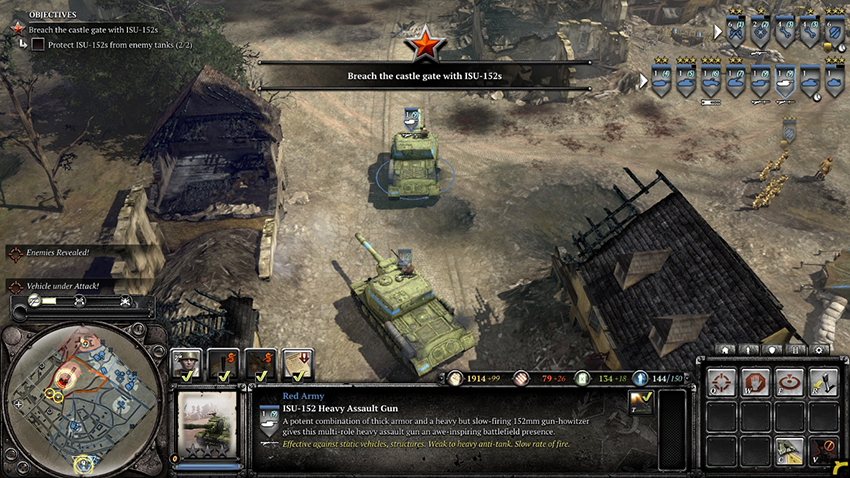
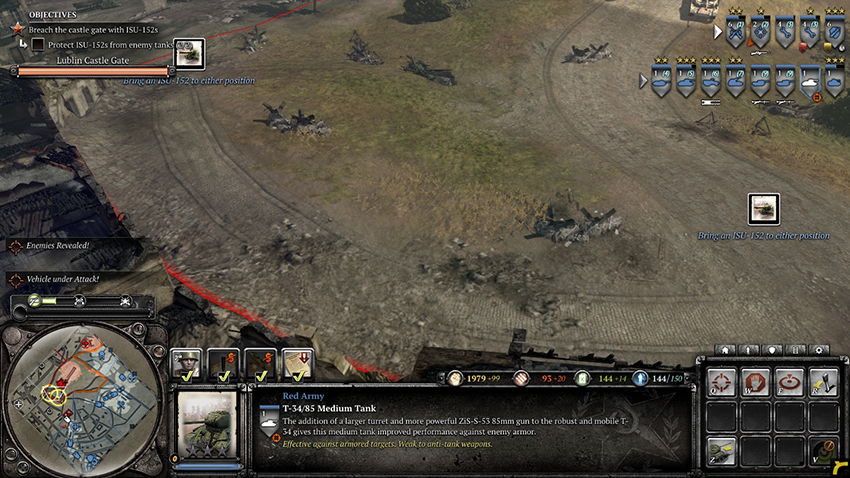
While sieging the castle, the Germans continually send vehicles and infantry to take out your forces. Your task is to keep your ISU-152s alive until the gate has been destroyed. If you completed the additional objective on the eastern side of the map, fewer German infantry will be sent to attack your forces. If you are having trouble dealing with the units attacking your forces, use your ISU-152s to attack the German units instead of the castle gate. Once you are no longer worried, order your ISU-152s to fire at the gate. Keep your ISU-152s alive and destroy the gate to secure victory over the Germans.