
Company of Heroes 2 Guide Multiplayer Maps Minsk
Minsk
Twenty Soviet divisions were trapped in the “Minsk Pocket,” created by a massive encirclement in a stunning display of German martial prowess and command.
300,000 Soviet troops were captured, perhaps half again that number killed or wounded, along with more than 4,500 tanks and 10,000 guns.
Thousands of troops fought their way through the German lines to rejoin their comrades. Small groups of infantry could move around the heavily forested battlefields, ambushing enemy troops and attacking vehicles.

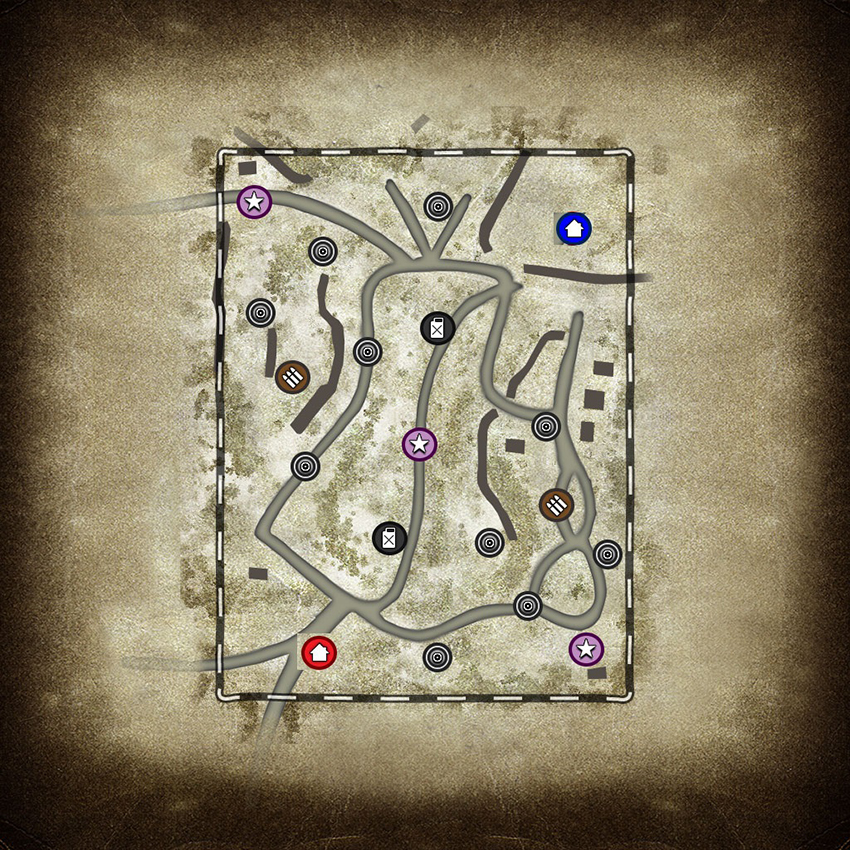
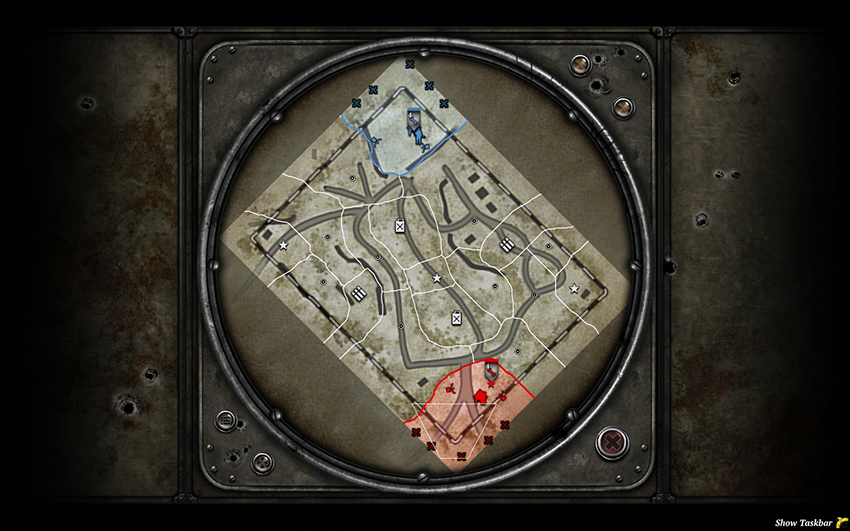
The wide-open center clearing is important to contest, as losing it threatens your Fuel supply and flank sectors. It’s also hard to reinforce the flanks from the center, so the main strategies are aggressively pushing the middle to force your opponent to engage your full force, or harassing the flanks continuously while contesting the center lightly—just enough to hold your Fuel Point. Battlefield fortifications are useful on the narrower flanks, and especially in the access points between the center and flanks. While the map doesn’t seem overly large, the access restrictions between the center and flanks causes travel times to be significant when you need to reposition forces, meaning that Half-tracks and versatile infantry are powerful. Team weapons can excel in the center if properly supported, but on the flanks they tend to be easily ignored.
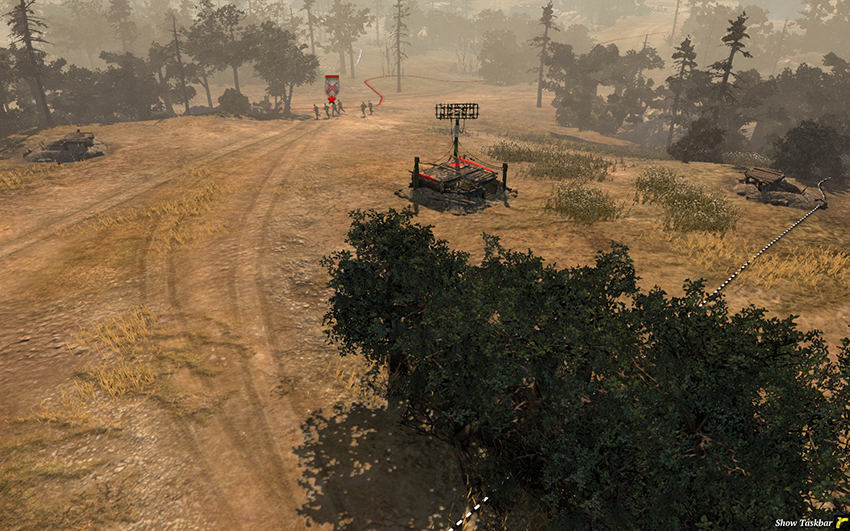
Southern base.
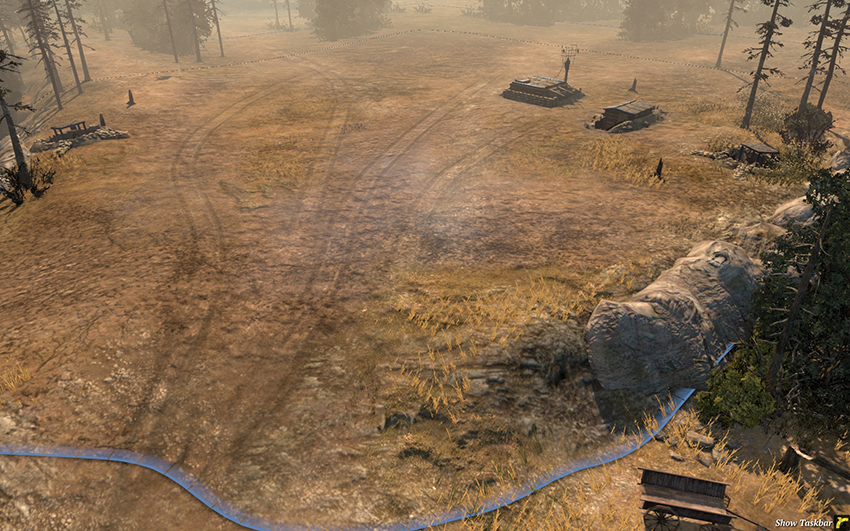
Northern base.
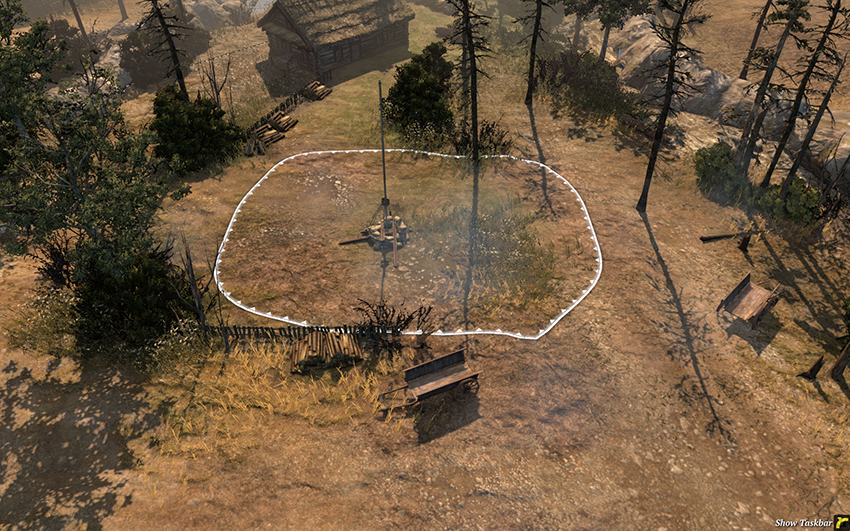
While this is a cut-off point for the North to the western part of the map, its proximity to the northern base means it’s unlikely to be captured. It’s worth harassing for the South if the opportunity arises to draw units away from the front line to reclaim it, but don’t make significant efforts to hold it.
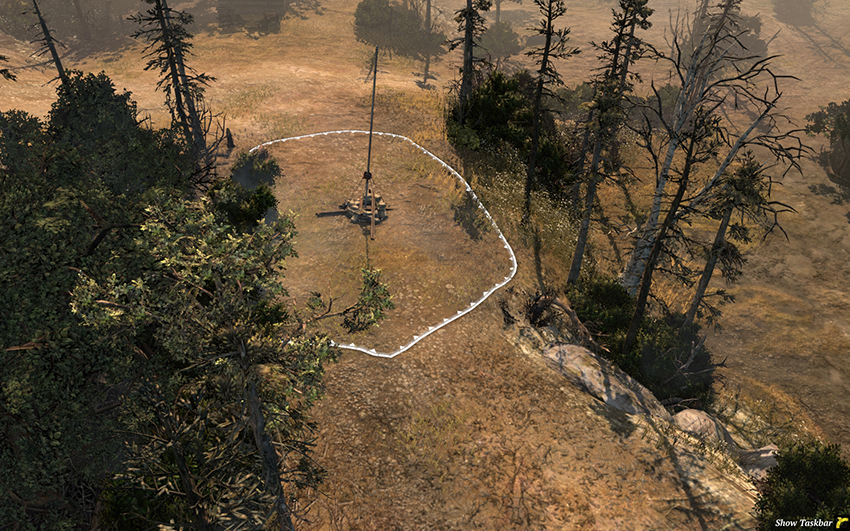
The northwestern Standard Territory Point is situated along a major flanking route for the South from the west into the center, or it could be looked at as an access point for the North from the center to the west. Either way, it’s a good location for barbed wire and mines—for the North, to make flanking the center more difficult, and for the South, to make accessing the western munitions more difficult. The restricted travel lanes lend themselves to weapon teams, and Mortars especially will excel due to the ridges and trees that serve as defenses against attacking infantry.
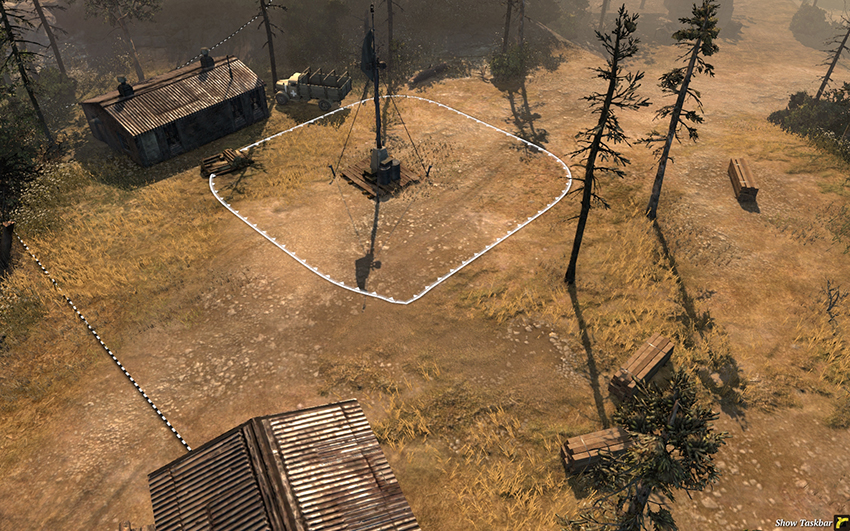
The western Victory Point is in a very open area, apart from the building on the left. There’s little reason to actually defend this area, though, as the access routes to the east and south are more easily controlled. As the South, you may try to place barbed wire across the road in the upper right, between the bushes and the map edge, so that you can focus fully on defending the nearby Standard Territory Point to the east—mines along that upper road are also a good choice, as the North is bound to send units to reclaim the area. For the North, you’ll ideally never be fighting in this area so long as you seize and hold the area around the western Munitions Point.
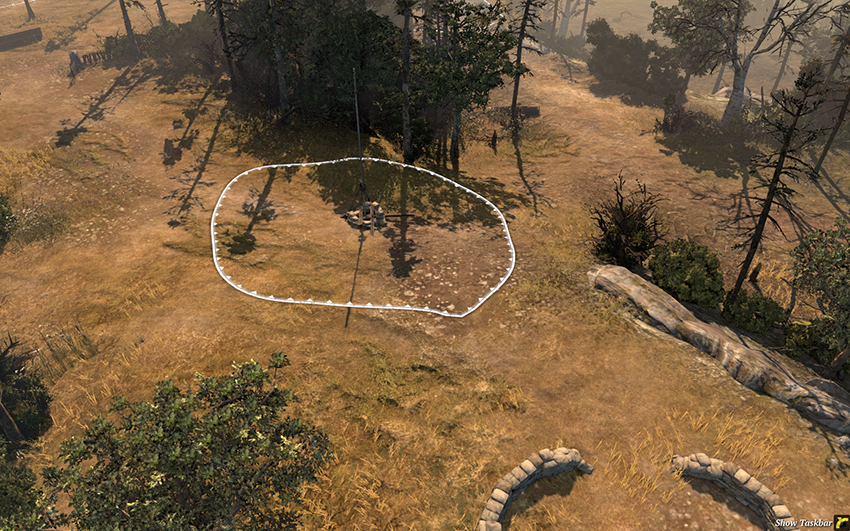
This Standard Territory Point is likely to be held by whichever side invests more in taking the west. The firing lanes for an HMG or AT Gun are fantastic, but the difficulty in accessing this area from the center means that you’ll often be using light vehicles or infantry to take or reclaim it. Wire to the right of this point, between the ridge and the trees, is a good option as are mines in the same area. If you are intent on taking this area, I’d recommend creeping with an HMG and a Pioneer or Combat Engineer squad in the early game: Scout ahead with the latter and draw any infantry into the former. If you do send an AT Gun to the west, be sure to seize as much ground as you can and set up defenses at a good choke point that opens into the center.
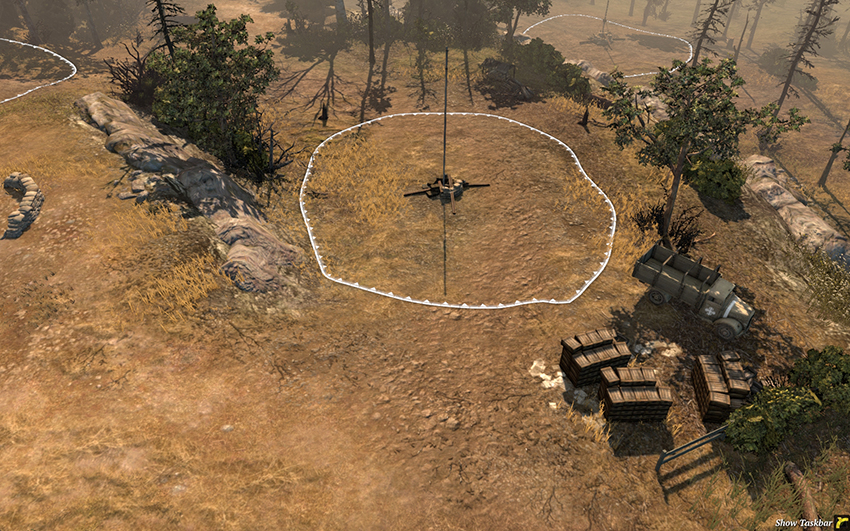
The western Munitions Point is desirable to control and is located near all of the major western travel routes. Much of the advice for the other western points applies, but also note that this point is quite likely to see numerous skirmishes. Depending on your faction, you might consider using Shock Troops, Guards Rifle Infantry, or Panzergrenadiers as a rapid response force that can take points like this one and flank the center.
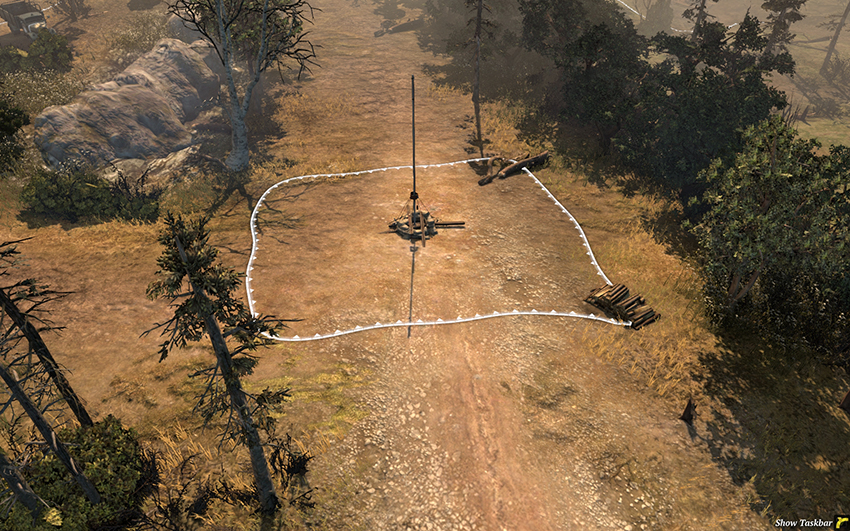
The major western cut-off point for the South is a key asset for both sides. The South needs to hold this to avoid being shut out from the west entirely, and the North should try to take it to do exactly that. The area along the tree line to the right is perfect for Mortars that wish to safely fire into the center. As this is an important travel route, mines to the left, top, and bottom are advisable. A German player might also consider placing an HMG Bunker to cover this point and the travel routes, given how important it is.
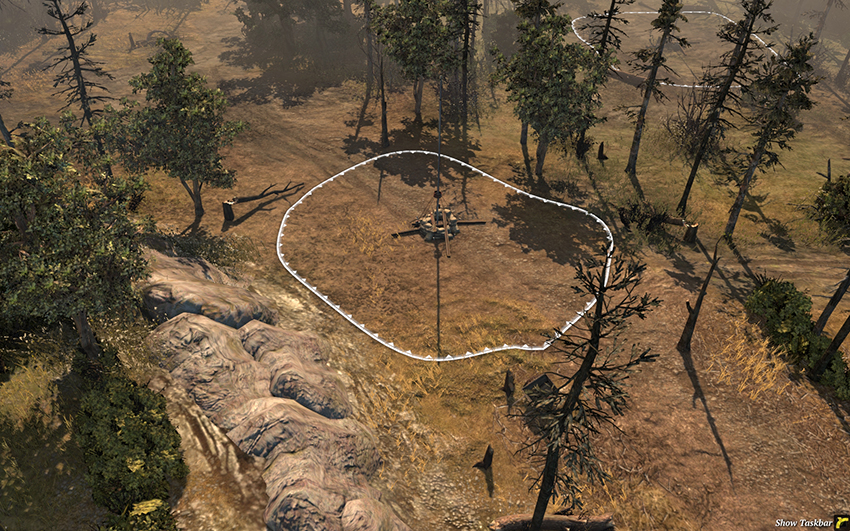
This point and area will invariably be used by both players to enter the center from the west, or the west from the center. The ridge to the left and trees at the top restrict movement to some extent, but it’s still a rather open area. This is where the South will wish to establish a strong fortified position if the west is secure because it’s close to the North’s travel routes to the west as well as close enough to the center to threaten it. For the North, this is a very dangerous point not to control and if you lose it you’ll need to be cautious in the center to avoid a multi-pronged attack. A single HMG or AT Gun can cover this area easily, and both bunkers and mines are good choices.
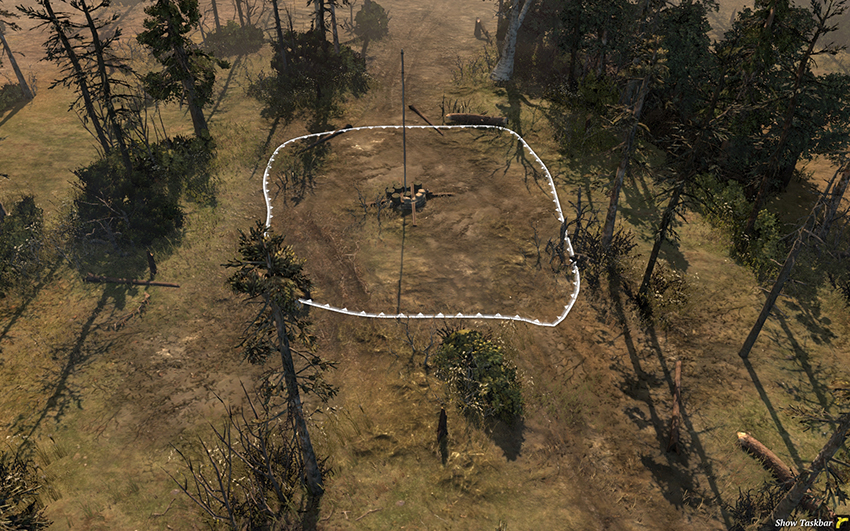
The northern Fuel Point is one of two poles of the center and likely the most heavily contested point for the North. You absolutely need to hold this point if you’re the North, as control of the center leads to seized cut-off points. Also, if either side holds both Fuel Points it’ll have a strong tech advantage—you don’t want to be facing extremely early T-34s, Panzer IVs, or Panthers. This means that the North should capture this point very early and the South would do well to take it so far as is possible. The most likely situation is a standoff in the center in which both sides hold their Fuel, trade control over the Victory Point, and send forces to reinforce the west and east. However, it’s also possible to employ a center push strategy in which you create a combined arms force specifically intended to take and hold the entire center while electing not to contest the flanks—such a force would tend more toward team weapons than numerous infantry or light vehicles. Also note that the more your opponent’s attention and forces are concentrated in the center, the easier the flanks are to take. If you’re intending to seize the flanks, it’s important to consider how you intend to defend your Fuel Point—a bunker, an HMG, or a mobile response force?
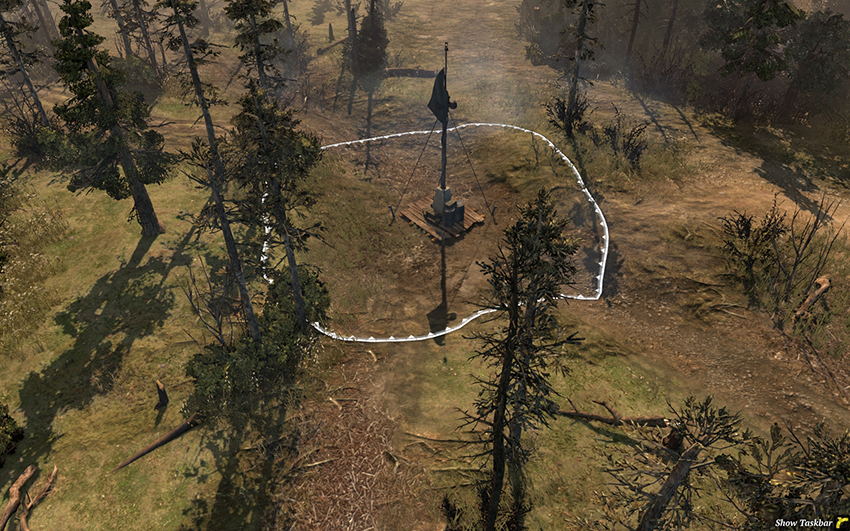
The center Victory Point lies in an open and wide clearing with scattered light cover: A single HMG or AT Gun is wholly unable to cover this area. This means that infantry squads can operate effectively here, even against team weapons, which is not true of the west and east. When using HMGs and AT Guns in areas like this, it’s critical that you have supporting infantry that can be used to scout the enemy forces, allowing you to position your units preemptively. Mines and barbed wire are unreliable, but if you do have the freedom to fortify, you can use barbed wire to channel the enemy forces rather than attempt to block off an entire area. Snipers are exceptionally effective in the center, as there’s plenty of light cover around for camouflage and any enemy units will be noticed at long range.
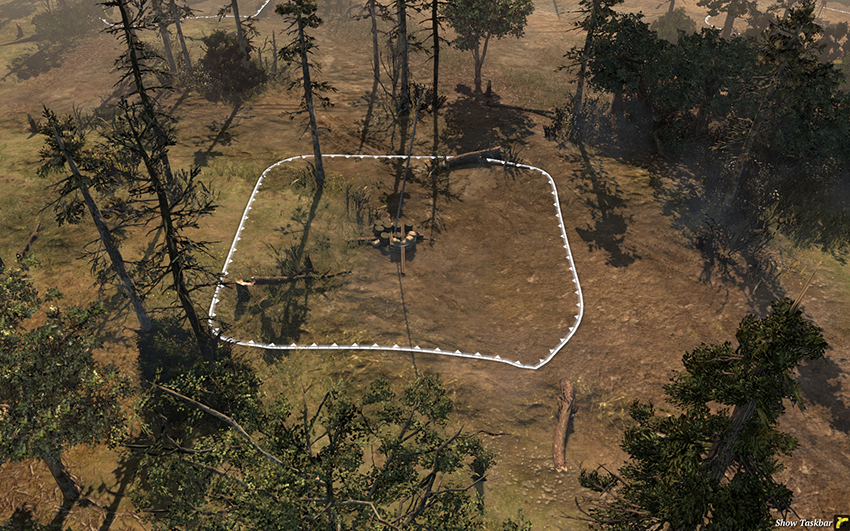
The southern Fuel Point holds the same importance as the northern one, and the same ideas apply, as do the tips regarding the center Victory Point. As the South, do not lose this point. As the North, taking it for a length of time may very well win you the game.
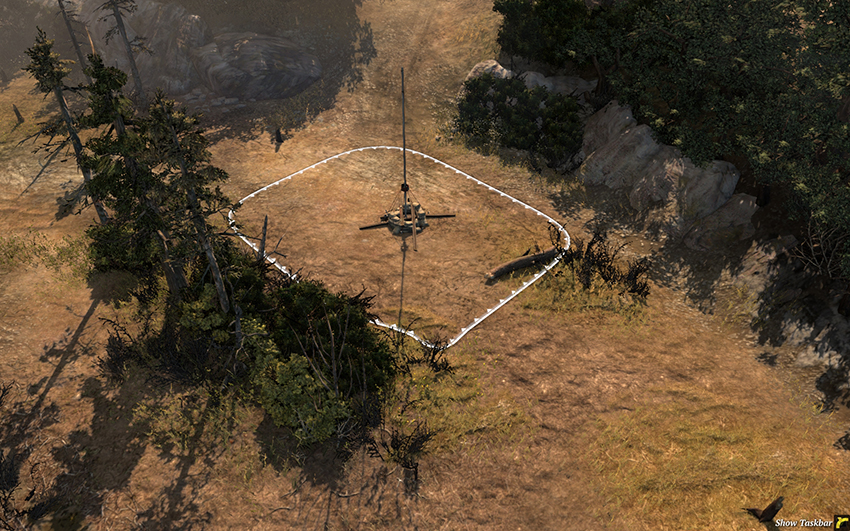
The gateway to the east, this Standard Territory Point isn’t important in itself, but it straddles several important travel routes. The South should endeavor to hold it; otherwise, any hold on the east will be seriously threatened. Mines and barbed wire are strong options for sealing off this area, but the ideal situation is focusing the fight elsewhere.
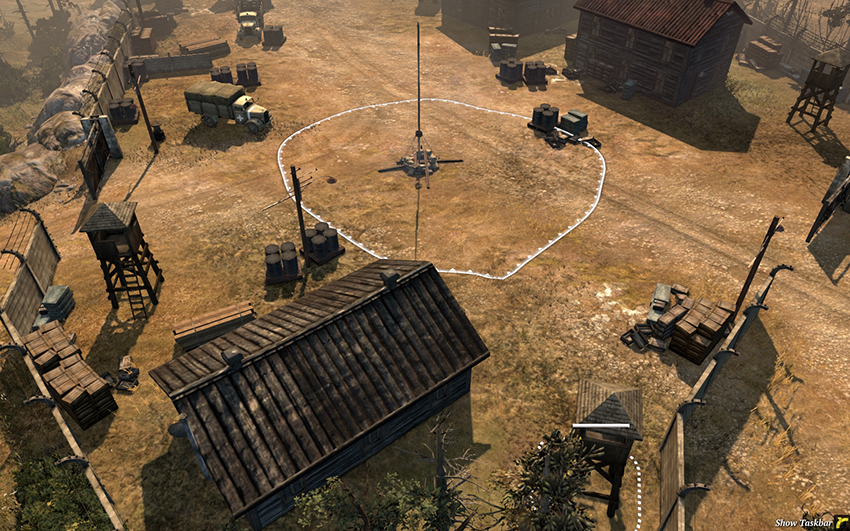
The North’s eastern cut-off point has restricted entrances and several buildings that can be garrisoned for defense. As the South, in the early game it’s advisable to place barbed wire at the gate on the right to seal off the east. Later, holding this point with a garrisoned MG Team combined with a strong force in the center will be sufficient to lock down much of the map until vehicles arrive. Mines at the entrances are practically unavoidable, and they will counter the vehicles sent to displace any defending units, so definitely make use of them. For the North, apart from placing your own mines at the entrances, there isn’t much you ought to do to hold this point, as it’s primarily valuable if you hold points in the east. Set up defenses further in the east rather than here. However, placing barbed wire at the left gate is a good way to avoid harassment from the center, as you can still access this area from the north near your base.
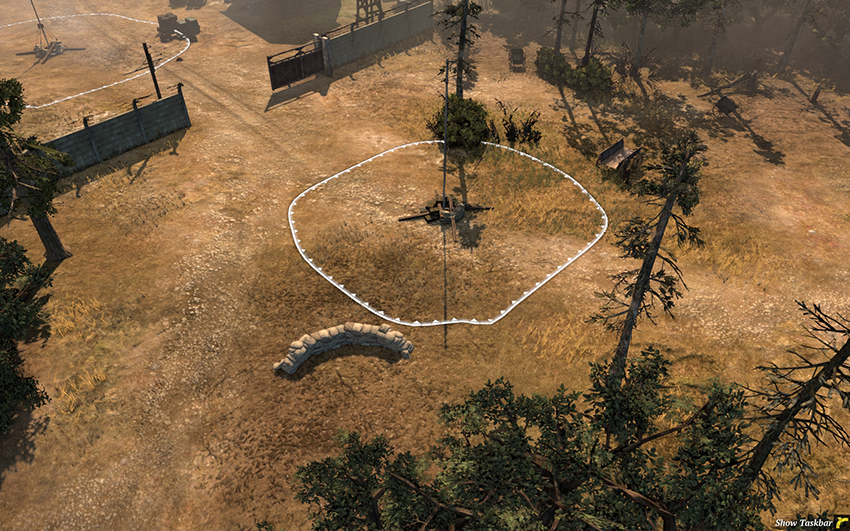
The eastern Munitions Point will likely be a major focus of combat in this area of the battlefield. It’s quite open and well-suited to defense using HMGs and AT Guns. If you’re invested in holding the east, you ought to be holding this point.
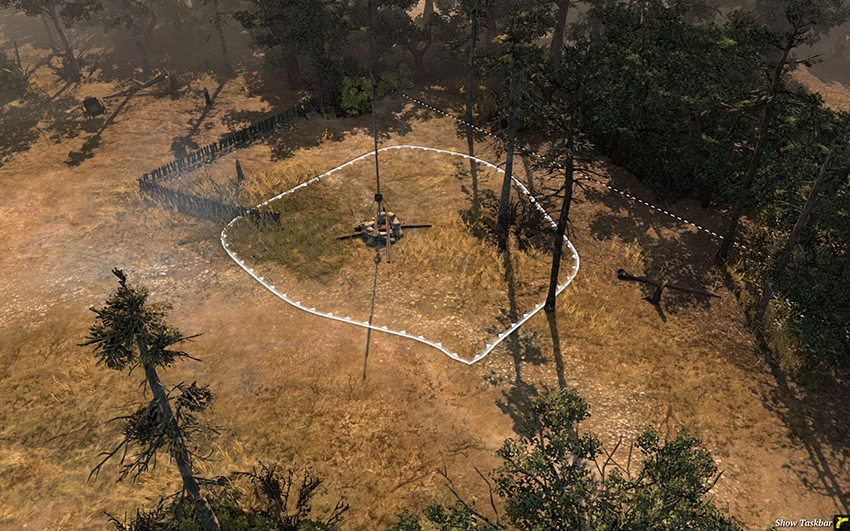
This far eastern Standard Territory Point will provide a bit of resource income to whomever controls this general area. It’s not a focus of fighting in itself.
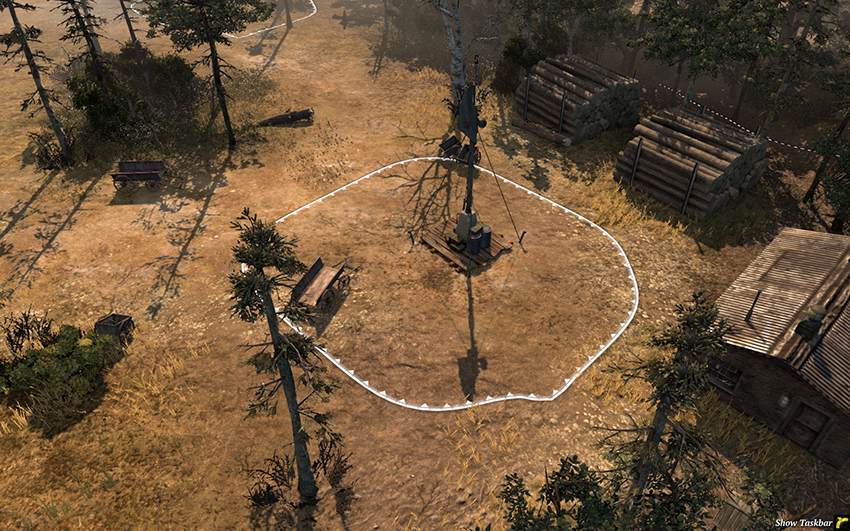
The eastern Victory Point has much the same advantages and disadvantages as that in the west. There’s a building that can be garrisoned to assist in winning an infantry skirmish, but any defenses here are easily avoidable due to the point’s distances from major travel routes. Take this point and ones near it, and then position your defenses closer to both the enemy and the center so that your units are not wasted.
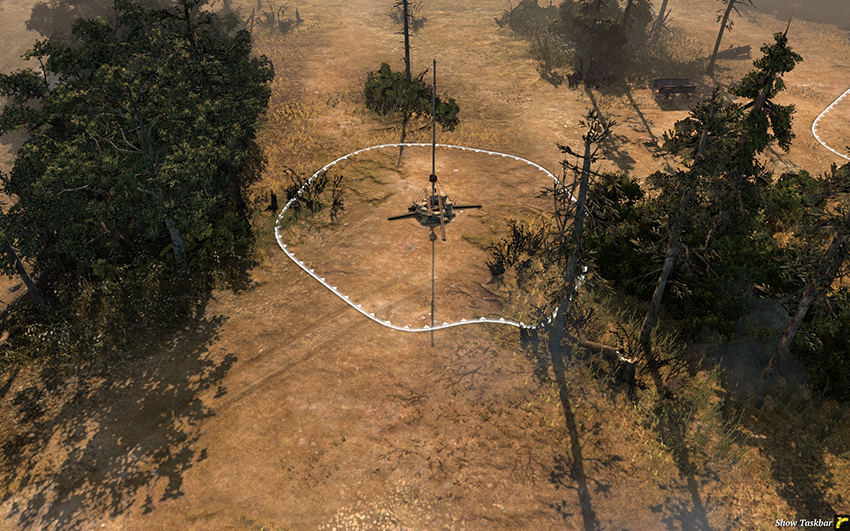
This Standard Territory Point is where the North should set up defenses when attempting to hold the east. The trees restrict movement, which makes bunkers, HMGs, and AT Guns the preferred choices. Both mines and barbed wire can also be useful in closing off the gap between the two stands of trees.
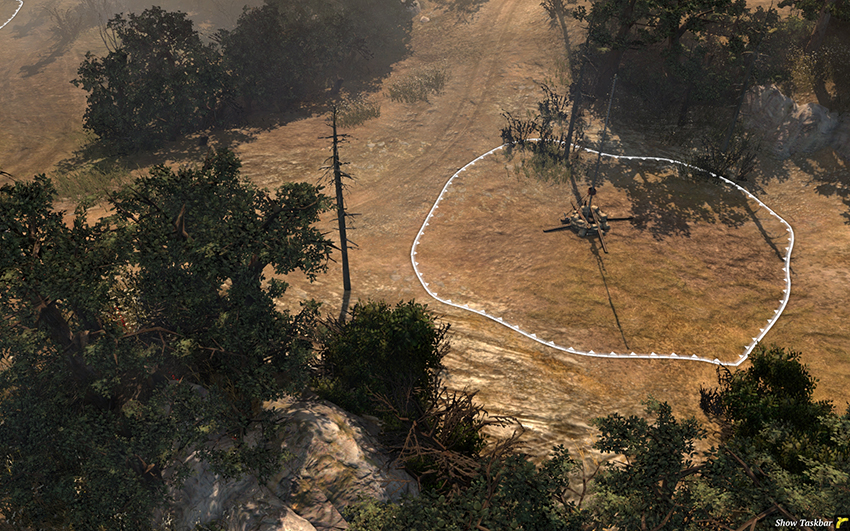
The South’s eastern cut-off point is unlikely to see much action, but it’s worthwhile for the North to harass it if possible. This is a good route for the North to use with fast light and medium vehicles in flanking the center.
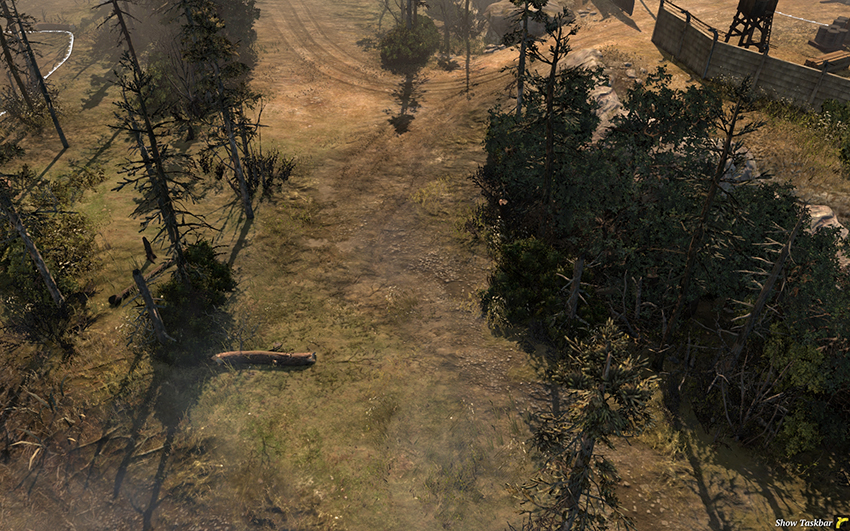
Another view of the western approach to the North’s eastern cut-off point.
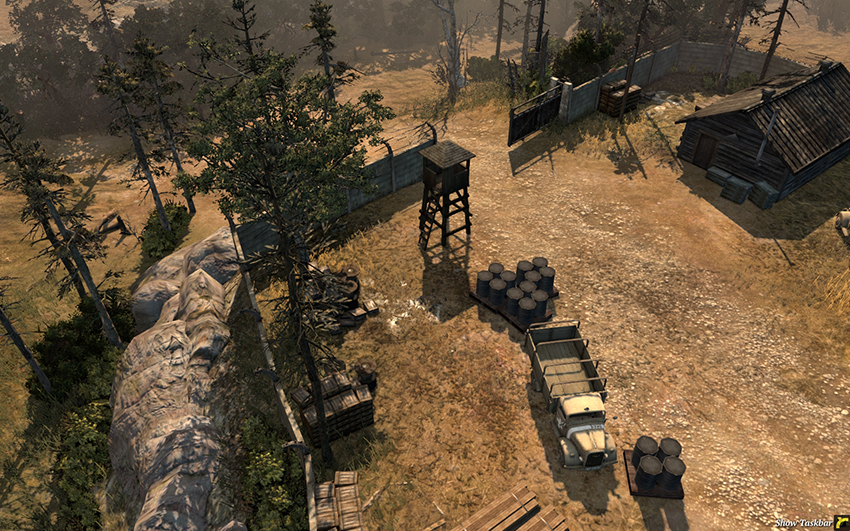
This is the main entrance used by the North to travel to its eastern cut-off point. For the South, mines and barbed wire are recommended.
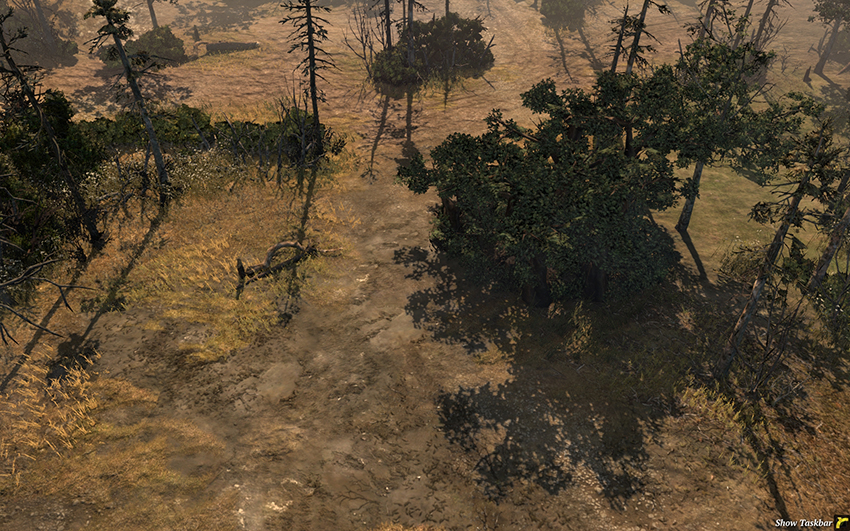
This is a view of the open territory near the northern Fuel Point. Long-range vehicle combat is likely here if the North is under pressure. The North can place a Mortar behind the stand of trees in the center of this image to provide fire support to the center.
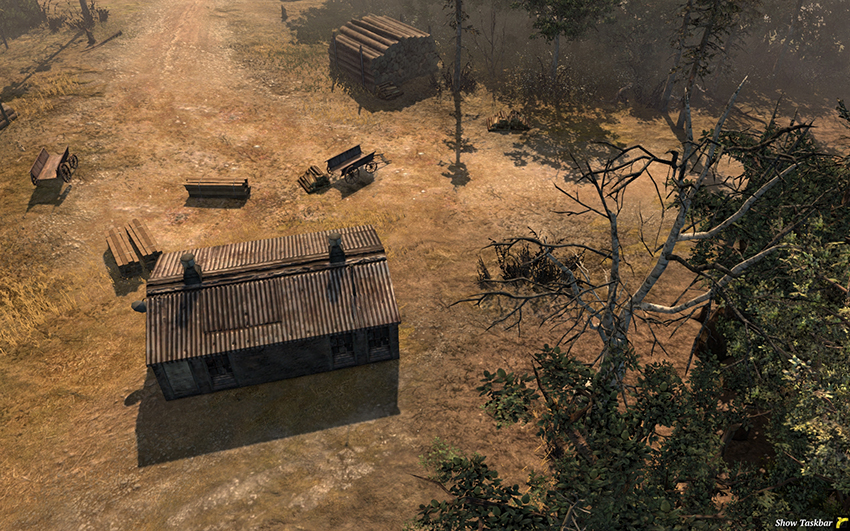
The area outside of the southern base leading to the west lacks resource points, but it does have strategic value. This is the South’s primary travel path to the west, and it’s a fantastic flanking route for the North when executing a multi-pronged attack on the center. Both sides can benefit from placing barbed wire along the far right to seal off the entire west from the center. The North would desire this for obvious reasons, but the South can also benefit from doing this when engaged in a center push strategy to avoid enemy units attacking from the rear.