
Company of Heroes 2 Guide Multiplayer Maps Moscow
Moscow Winter
The German Army reached the outer suburbs of Moscow on December 2nd, 1941 and were allegedly able to spot the spires of the Kremlin some 20 km away.
Heavy winter snows indicated the arrival of General Winter, and cases of frostbite and exposure deaths increased dramatically in the German Army. Moscow was spared, and the course of the war permanently altered.

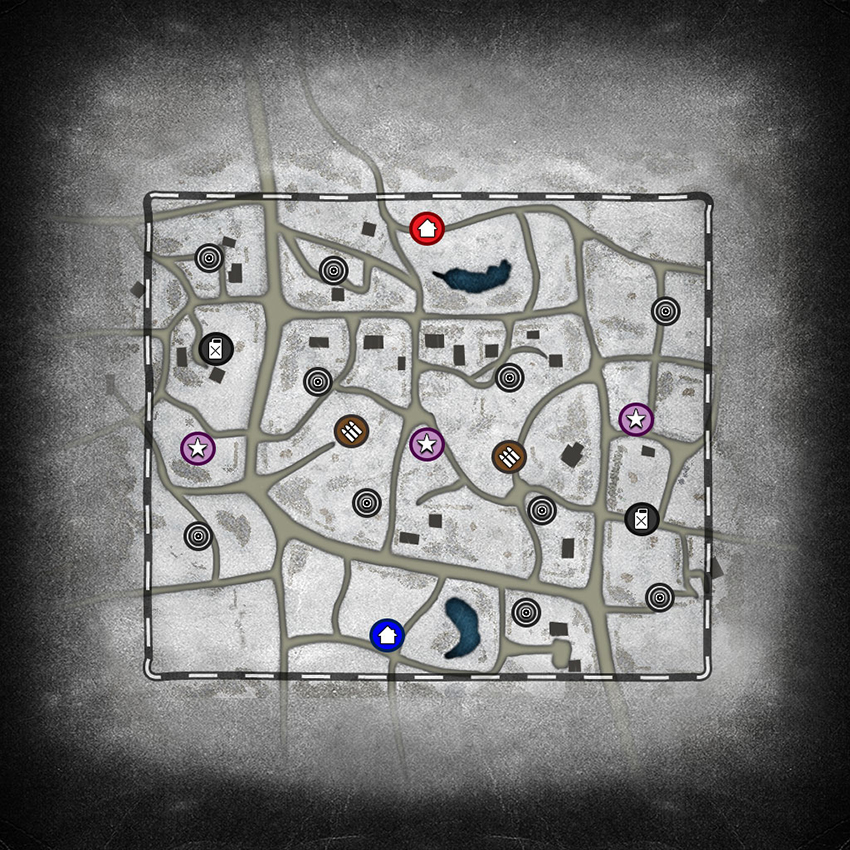
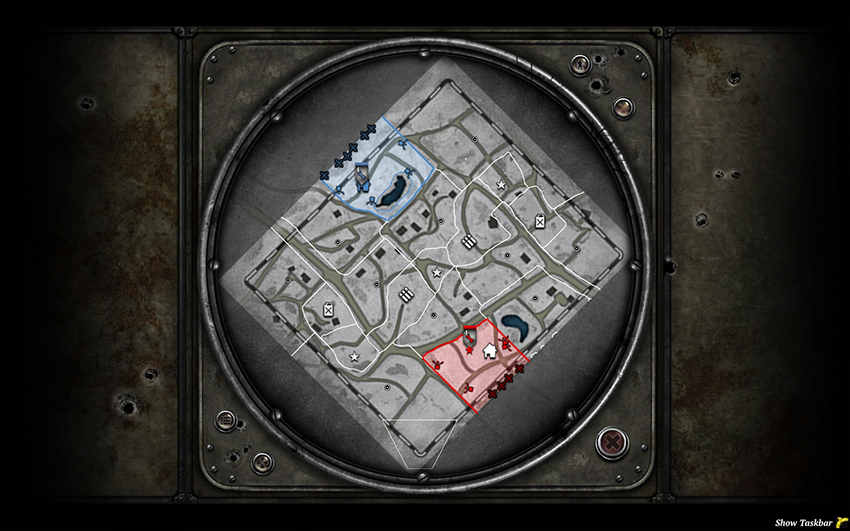
The center is surrounded by a lot of interesting buildings that can be useful on a situational basis, but individually only the church in the east controls a significant area. The flanks are quite distinct from the center without restricting movement too much, as the hedgerows bordering the roads restrict fire lanes and sight. There is plenty of room to maneuver throughout this map and no area is dominated by a single choke point, meaning highly mobile units are powerful. Still, the wide-open center is a great spot for long-range units to dominate.
For the most part you just need to consider how cold weather and blizzards change any of the dynamics on this map as compared to Moscow Summer and think about how the different resource layout changes your point capture order or where you want to focus your attention. One important difference is that the Munitions Points are located in the center on this version of the map, meaning that it’s slightly more advantageous to hold the center than on the summer version.
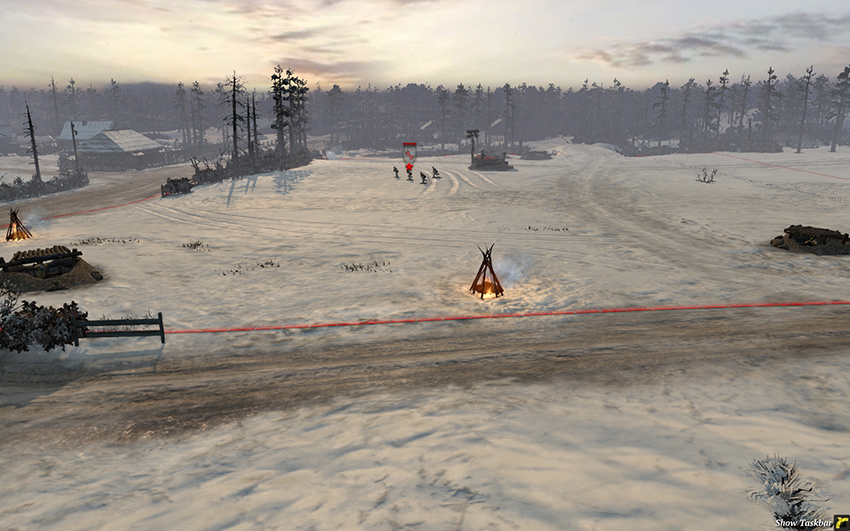
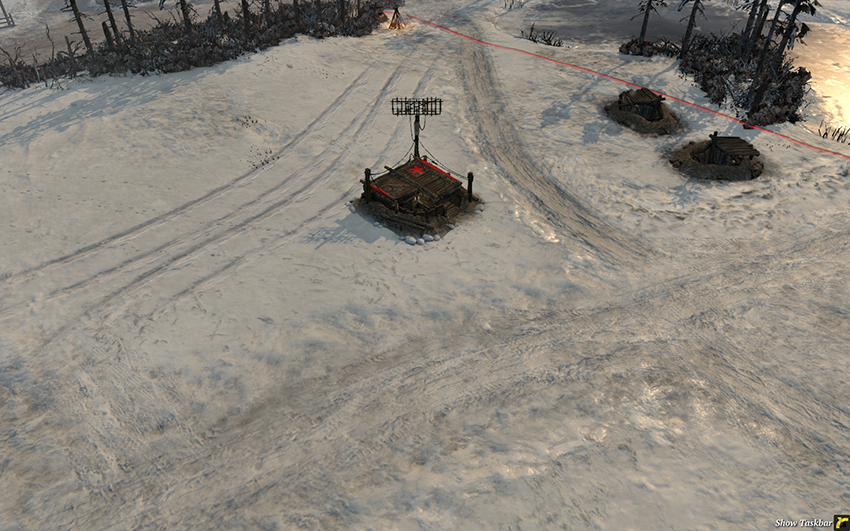
Southern base.
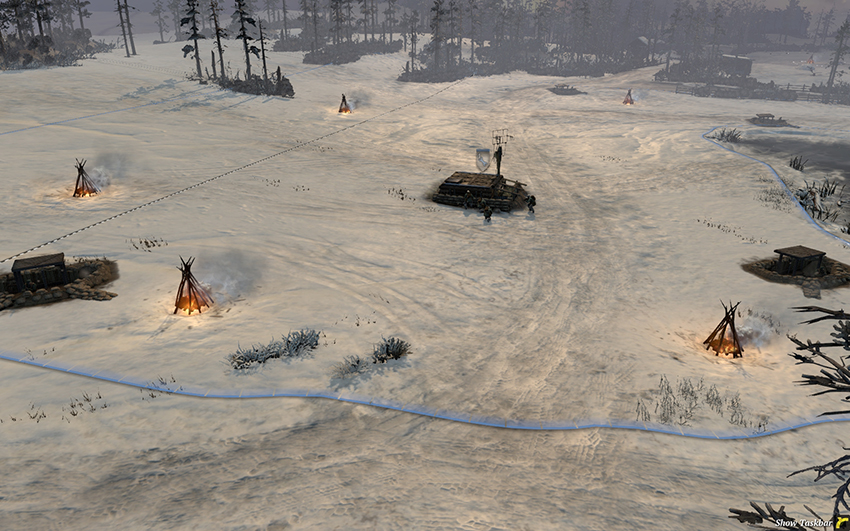
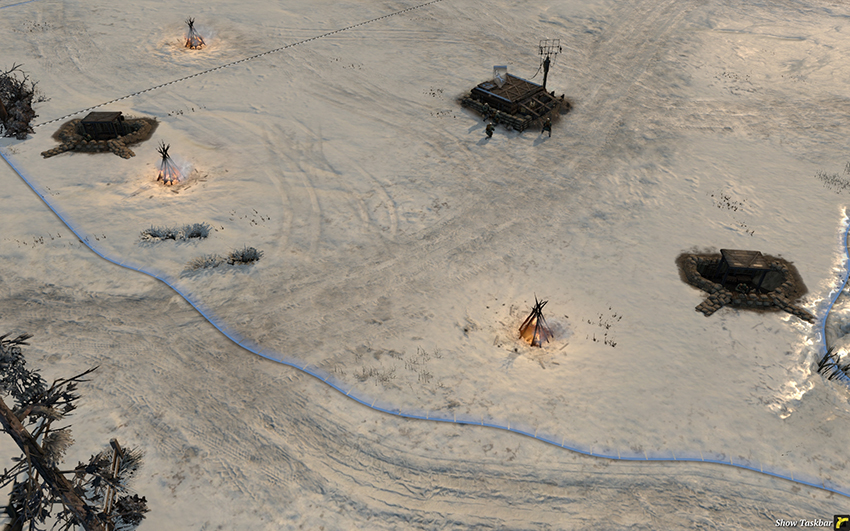
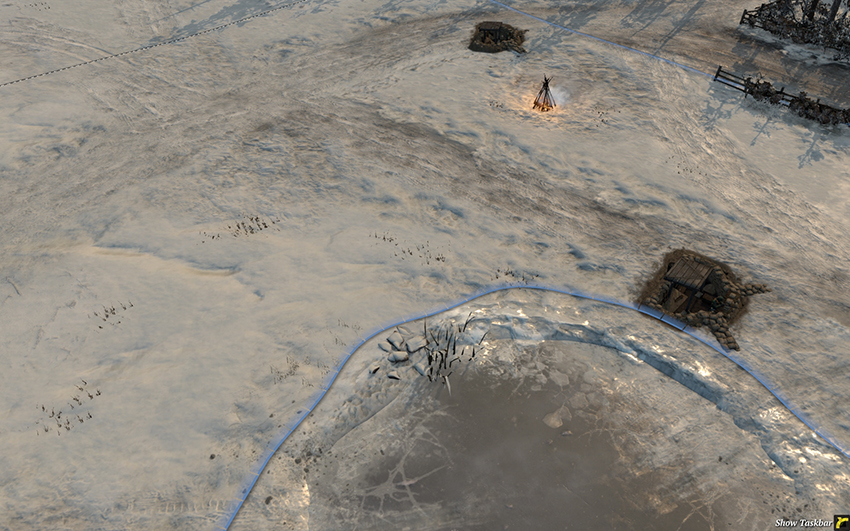
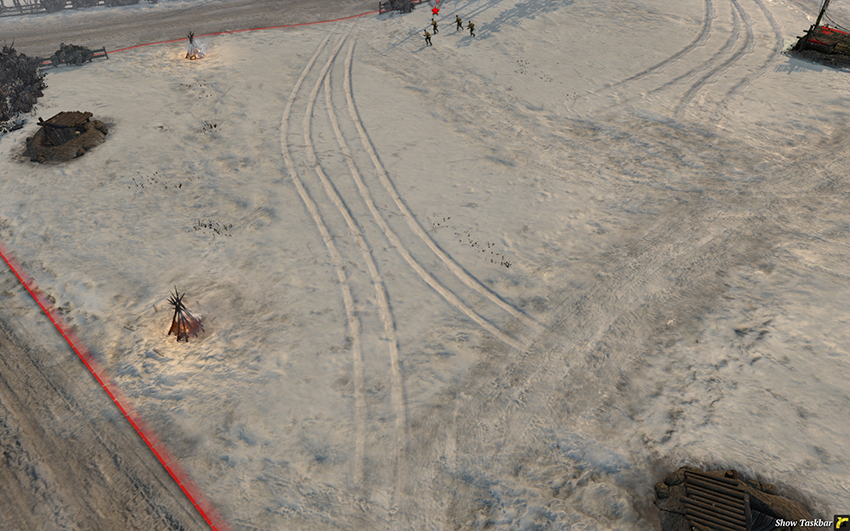
Northern base.
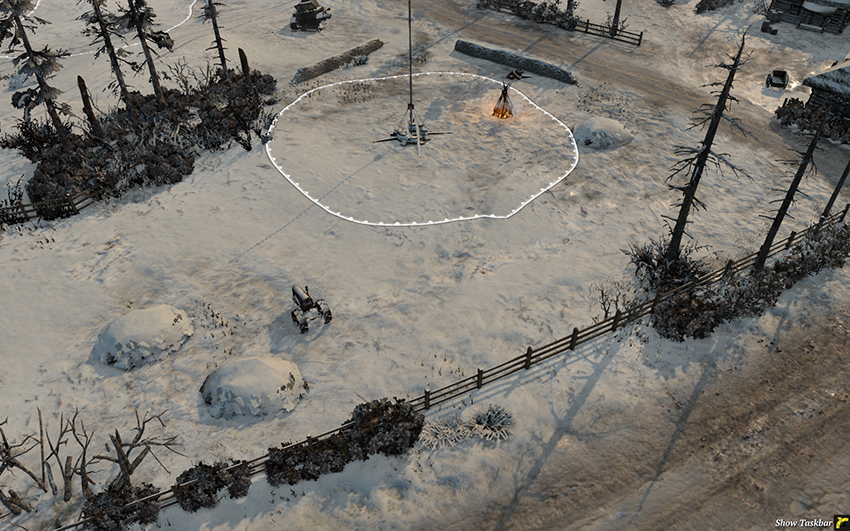
This Standard Territory Point will often be fortified by the South to attack and defend the center. HMGs at the stone walls at the top are a good idea. Mortars can reach from here to the center Victory Point and provide fire support over a wide area of contested ground.
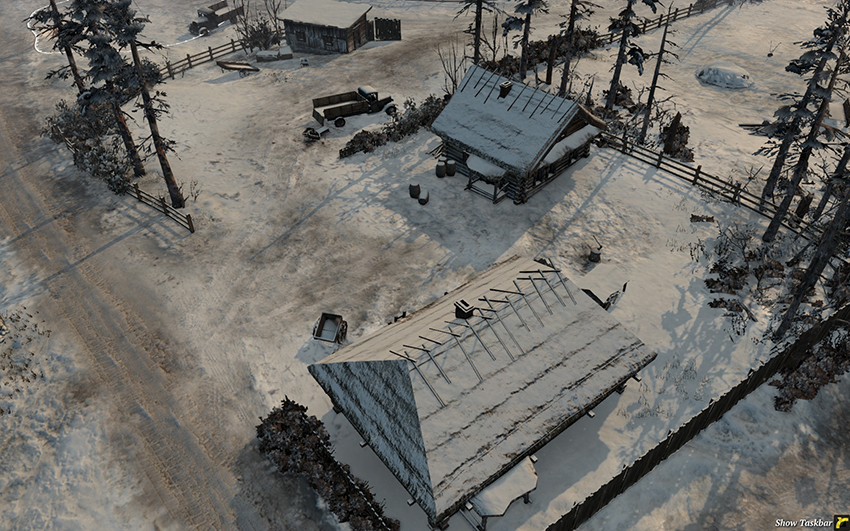
This area can be used by the South in attacking or defending the center, and the two buildings are useful locations for garrisoning HMGs or anti-tank infantry if the North is pushing hard.
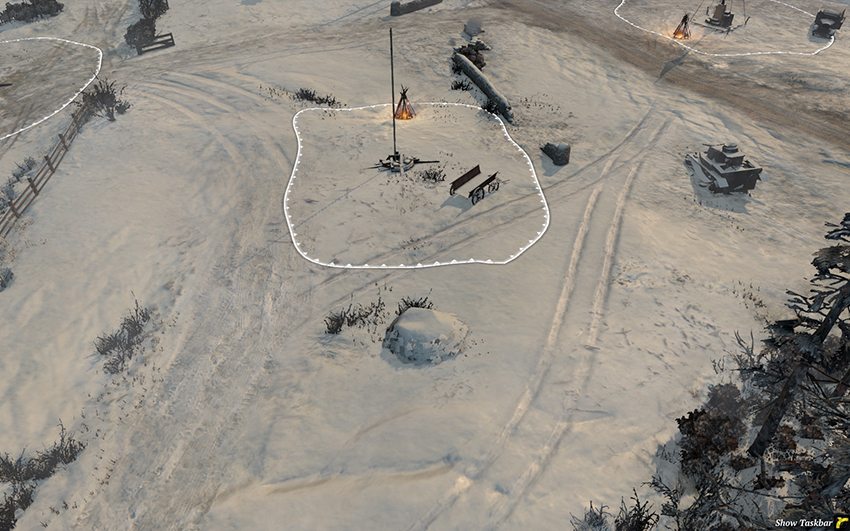
The western Munitions Point is often a site for early infantry skirmishes and is likely to change hands along with control of the center. It’s not typically fortified, as the areas just north and south of here offer superior cover. As it is a Munitions Point, it’s worth trying to take early and holding with fire support from nearby units.
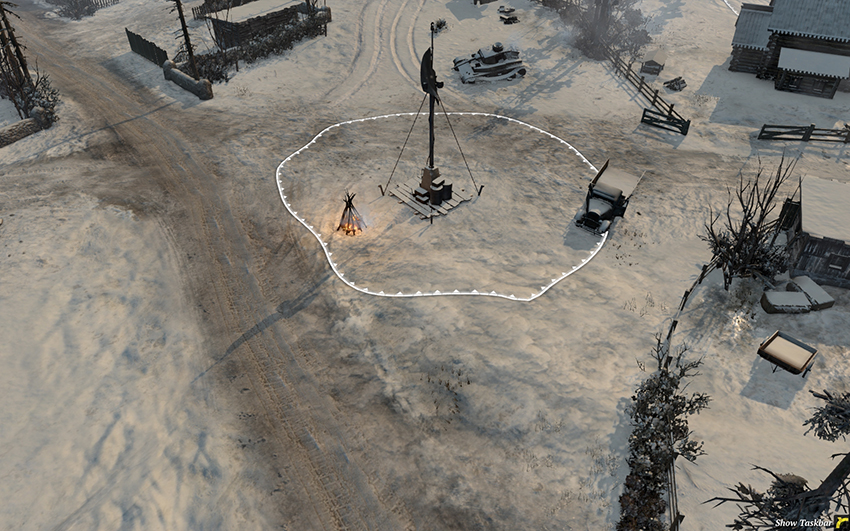
The center Victory Point lies in an open area where armies frequently clash. The areas by the shacks in the bottom right and top left are good for AT guns, HMGs, and Mortars, but be particularly careful of the church seen in the upper right. It’s the most important building on this map and an HMG in it can cover a large amount of important territory. In holding the center, you can place pressure on your opponents if you push for the Standard Territory Points closer to their base.
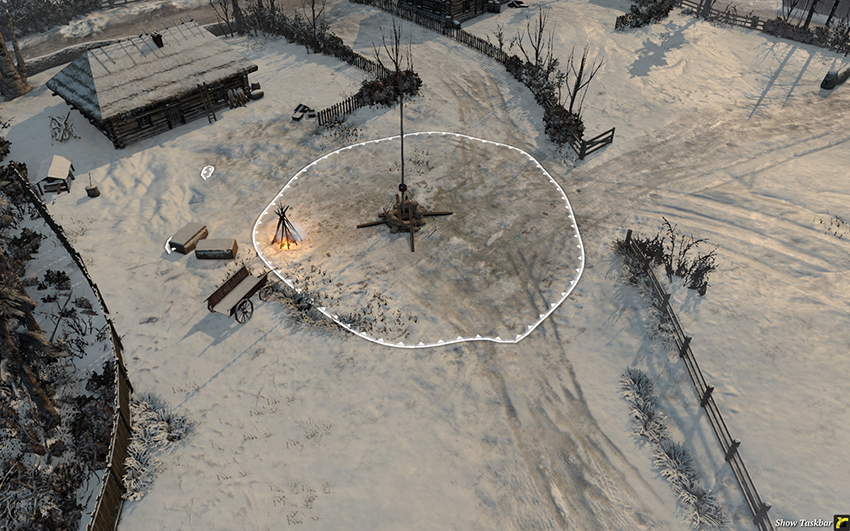
The North’s western cut-off point is an important connection to the western Fuel. As the North, place an HMG in the house at the top to cover this area and consider placing a Mortar nearby. Snipers are also a good option in this area, as the wooden fence offers a travel path to the center while keeping your forces camouflaged. For the South, place as much pressure as possible on this point. If you can take it and place our own HMG in the building, the North will be under a great deal of pressure to attack you, meaning the center and west will become easier to take.
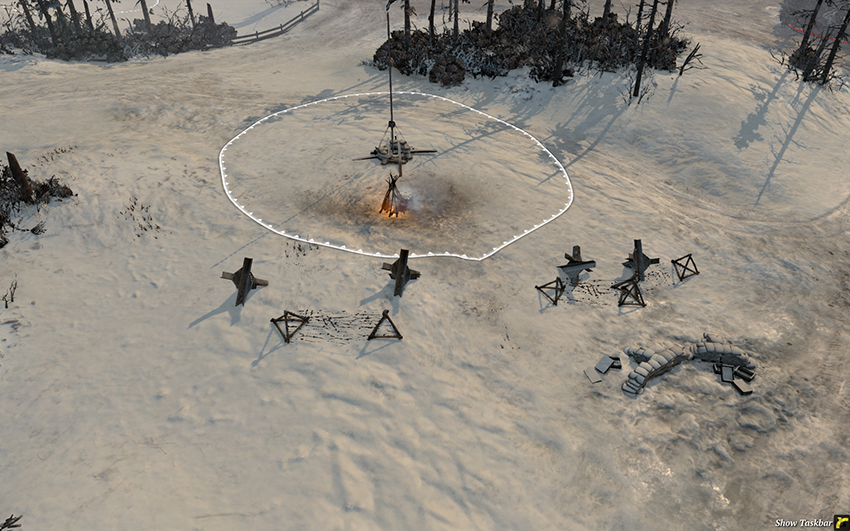
This is a good point for the North to harass with light vehicles, as it’s unlikely to ever be defended. If the South is careful about defending the west, this is also a good spot for a Fuel or Munitions Cache.
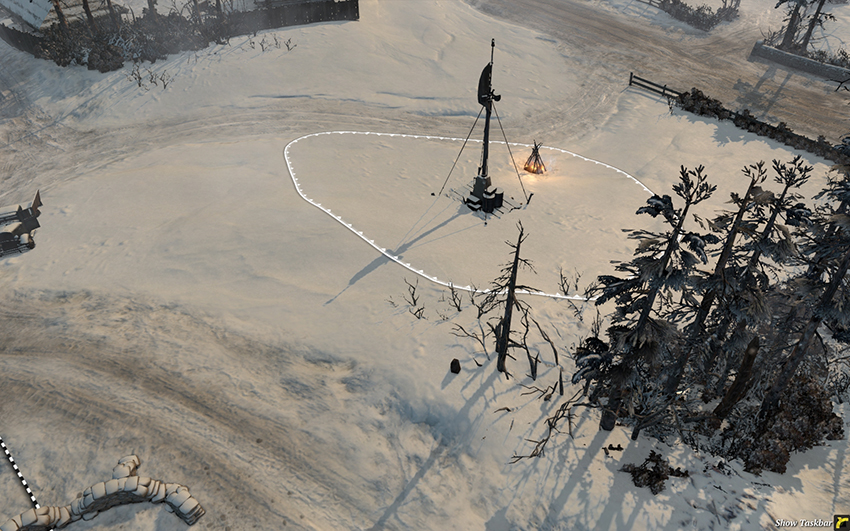
The western Victory Point is in an open region that often isn’t fortified. The deep snow around this area makes it difficult for infantry to access, which means Snipers are particularly deadly here. If you control this point, destroy all nearby Campfires to force enemy infantry to freeze during an attack. Mines along the road to the right are effective for the North, and German players ought to build an HMG bunker to cover this point. Otherwise, defend this with mobile units and set up defenses farther to the north if you’re the South, or farther toward the center if you’re the North.
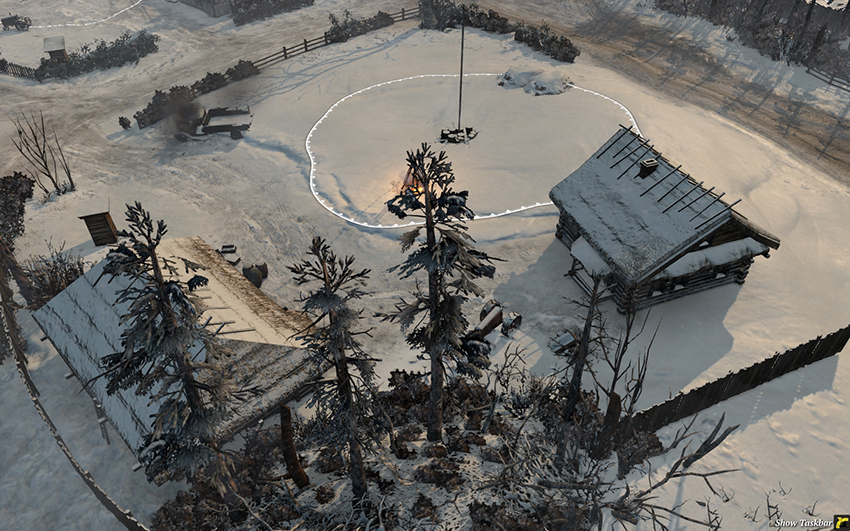
The western Fuel Point will be hotly contested by aggressive players in the early game because the house on the right is a very strong building. An HMG here can defend the area easily until vehicles arrive. The path around the fence on the left can be used by the North to bypass the main road in attacking the western Victory Point, and by the South in flanking units defending this Fuel Point or in harassing other northern points.
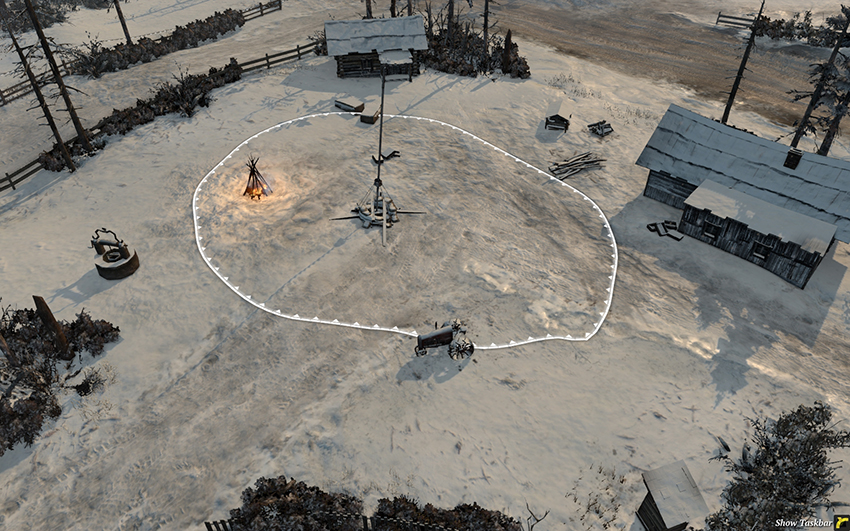
This northern point rarely receives attention apart from minor harassment. It’s a good option for a Fuel or Munitions Cache for the North.
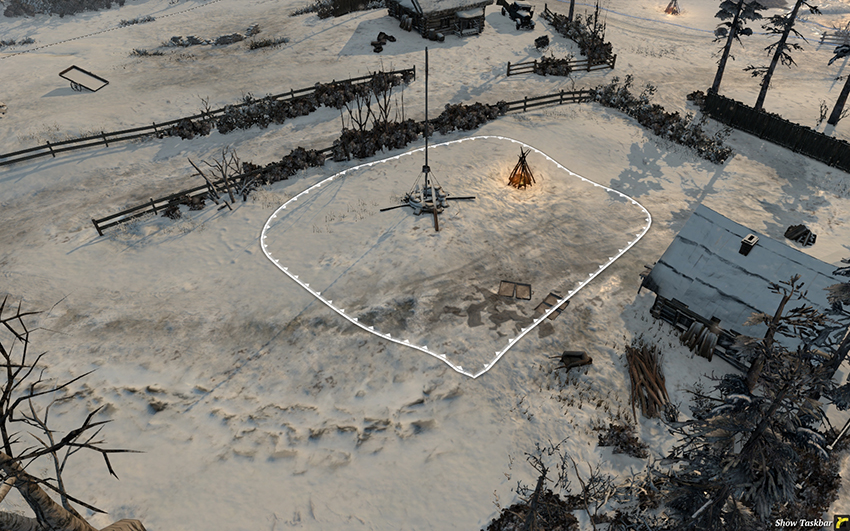
This Standard Territory Point is a desirable sector to harass for an aggressive South. The many wooden fences surrounding this area allow infantry and Snipers to take more direct and unexpected paths if you micro your units in ordering them to vault fences instead of ordering them to move to the sector normally. Especially useful is the fence on the right next to the building: The North can vault it to reach the center more quickly, and the South can vault it to garrison the building unnoticed. As the South, if you need to Retreat a unit after harassing this point, try to vault one of the fence sections to avoid running all the way around the fence through enemy fire. It’s a good location for the North to build an early Fuel or Munitions Cache.
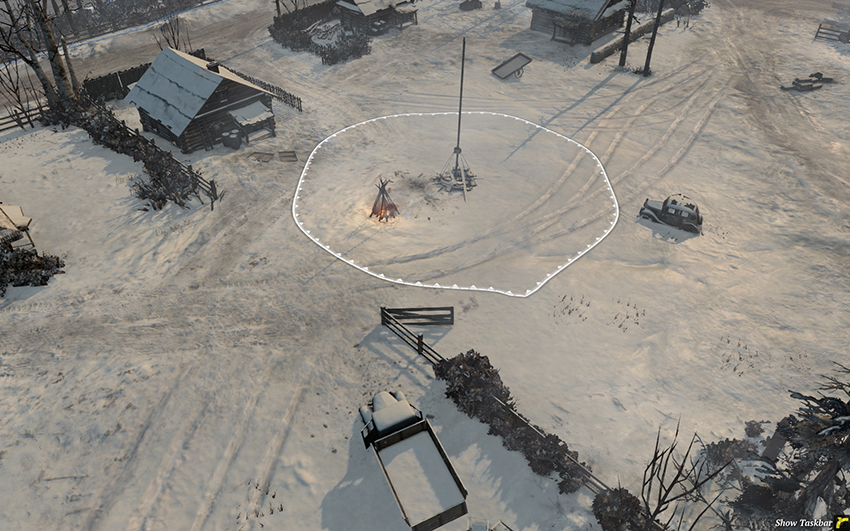
The northeastern Standard Territory Point may be attacked by an aggressive South if they hold the church, otherwise this area generally serves as a staging ground for the North’s attacks into the center and east.
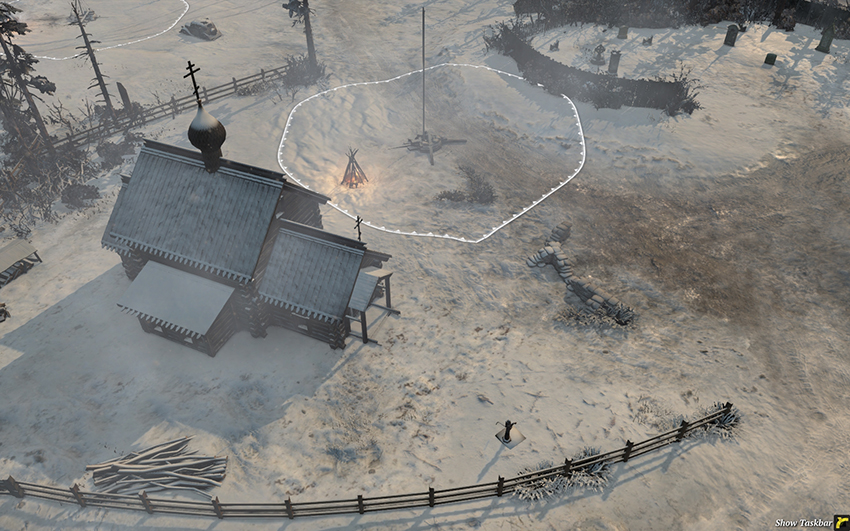
The eastern Munitions Point is one of the most contested locations on the map due to the highly useful church. The graveyard in the upper right is also a good location for Mortars and Snipers because it’s difficult to flank and access. It’s a good idea to rush an early Combat Engineer or Pioneer squad directly to the church. If you fail to claim it first, wait until you have flamethrowers or a Mortar before attacking again and focus your attention on the right flank until then.
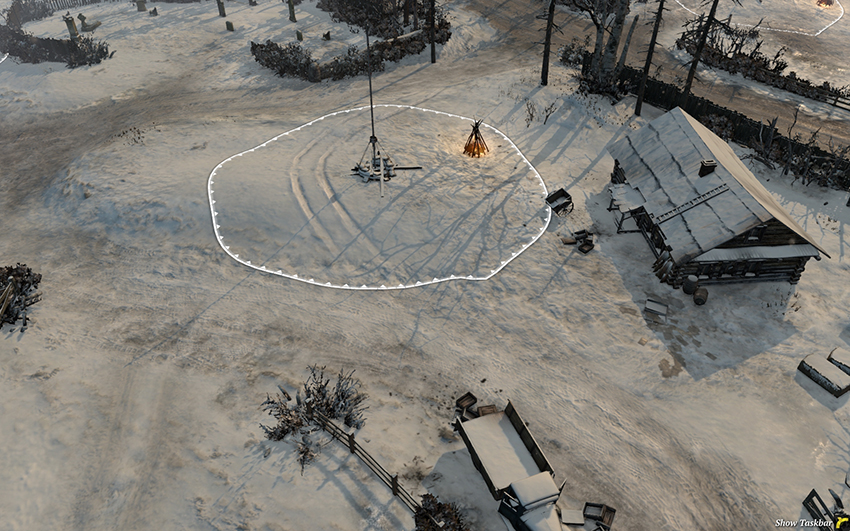
This sector is significant as the South’s cut-off to the entire east. You do not want to allow the North to occupy the building here as it’s be a pain to take back. For the South, a Mortar placed behind the building is protected from most directions due to the fence and hedge blocking sight—it covers the eastern Victory Point and Fuel Point, and can provide fire support over part of the center. As the South, it’s actually a good idea to bypass this sector at the very beginning to reach the church if you can. By holding the church, you’ll keep this point relatively safe from harassment, except from the eastern road entrance, where you should place mines. As the North, putting pressure on this point will distract attention from the other eastern sectors, making them easier to capture and hold.
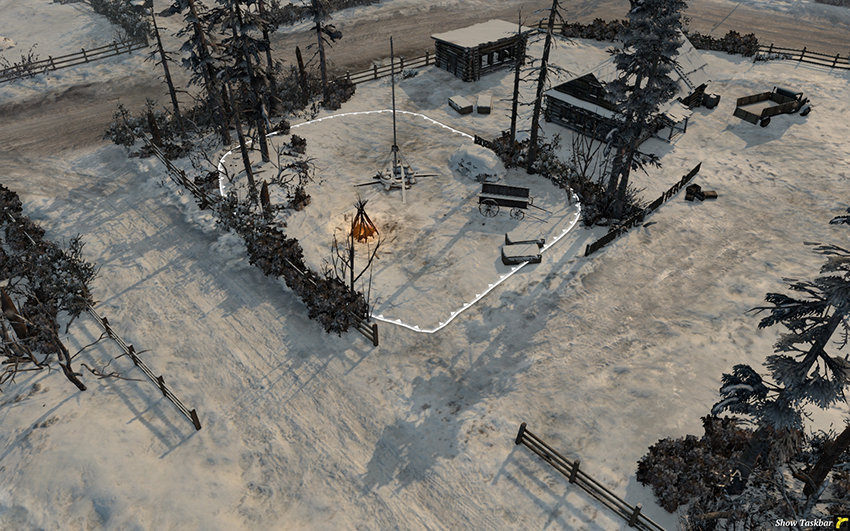
The Standard Territory Point just outside of the South’s base will be harassed by an aggressive North and, like its corresponding point in the north, the surrounding wooden fences provide interesting vaulting opportunities. This isn’t an ideal location for the South to hold, but if you’re preparing an assault against the eastern Victory Point this can serve as a safe staging area, especially if you place an HMG in the top building and a Mortar nearby.
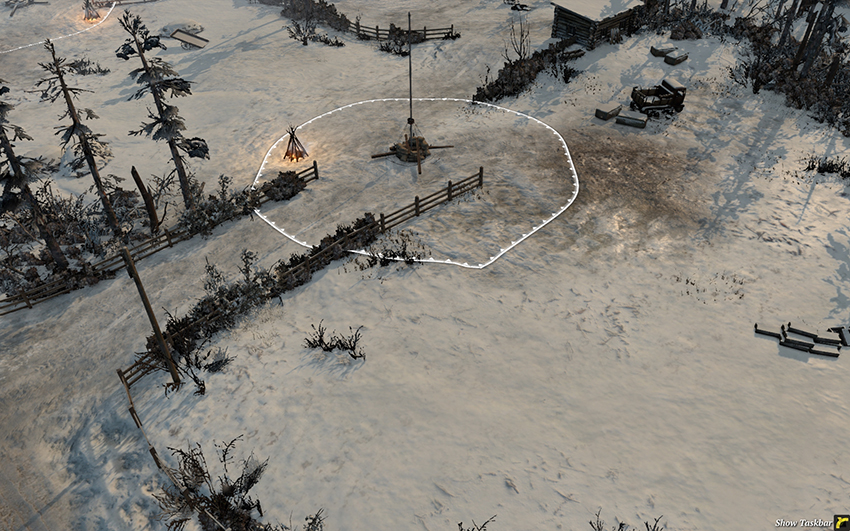
The southeastern Standard Territory Point won’t receive much attention, except through its proximity to the eastern Fuel Point. As the South, if you have solid control over the east, place a Fuel or Munitions Cache here.
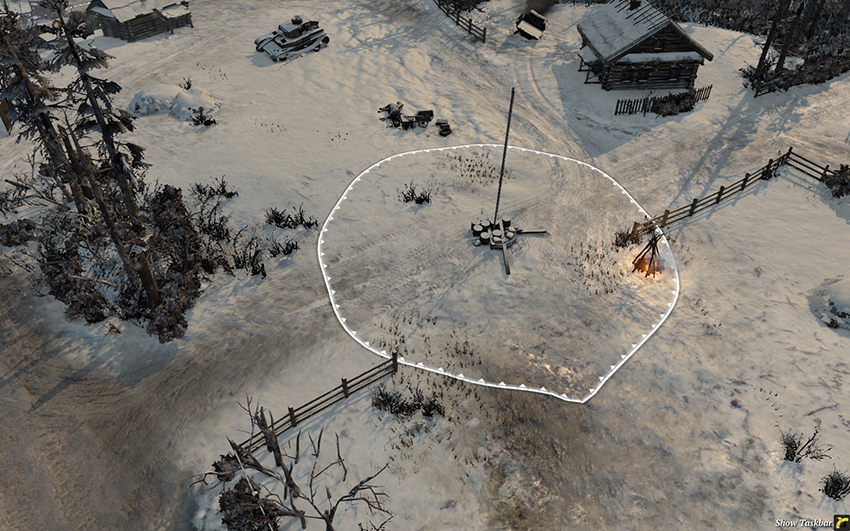
The eastern Fuel Point is in a rather open area that isn’t typically fortified. Instead, mobile infantry and vehicles vie for control over it. Mines along the roads can stop this from occurring, or at least make it easier for your units to drive off any attackers. It’s better to set up defenses closer to the center in most games, but if you are driven out of the center for some reason, HMGs and AT guns here can be effective if you have supporting infantry to scout out advancing enemy units.
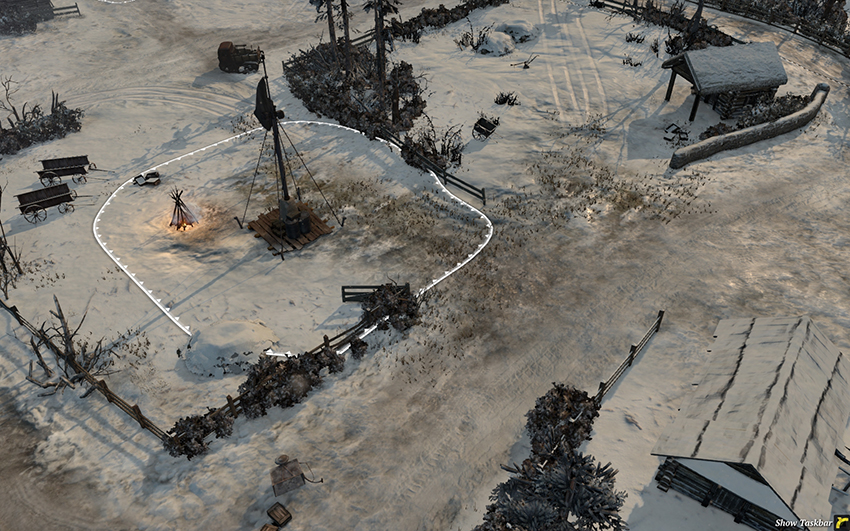
The eastern Victory Point is an important location to hold and will likely receive attention throughout the game. Place mines along the main road on the left to limit vehicle movement. The building in the lower right is an excellent location for an HMG to defend this point. If you’re harassing this point, consider moving your infantry off to the top right behind the small building to get out of the line of sight of forces sent to reclaim the point. Once they leave, your unit can return to the point and capture it yet again. This is best done with a Combat Engineer or Pioneer squad, as they’re inexpensive and can lay mines while doing this.
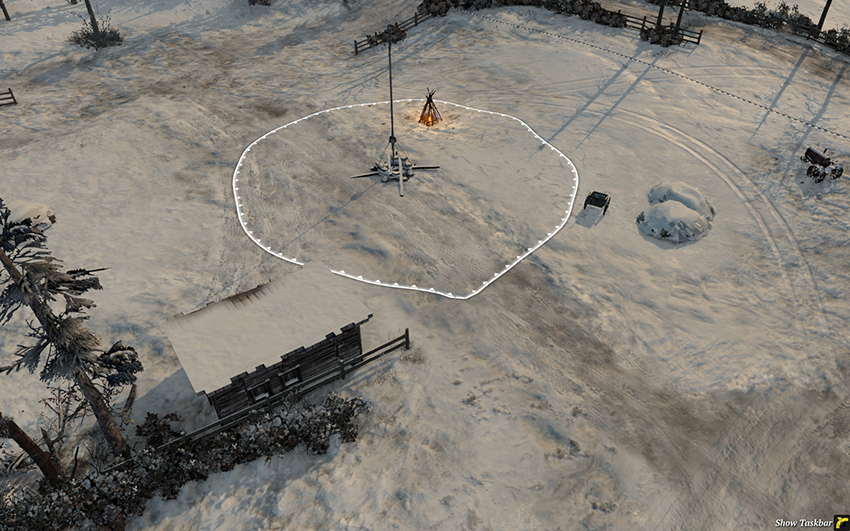
The Standard Territory Point in the northeast is rarely harassed and serves as a very good location for a Fuel or Munitions Cache early in the game.
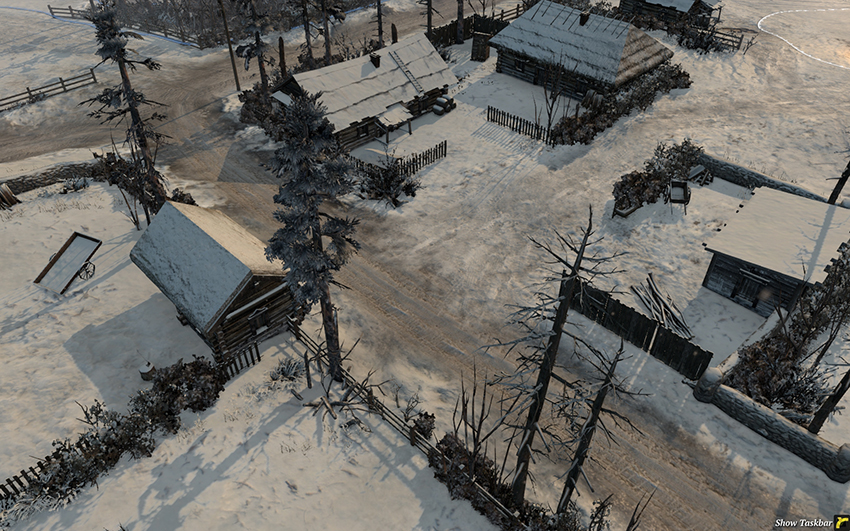
This is a view of some of the buildings in the northern part of the center. The many buildings and obstacles restrict the travel paths of vehicles and the sight of AT guns, so the roads are quite important. The North may fortify this area in attacking or defending the center. A good position for a Mortar is behind the shed on the right as there’s plenty of cover to prevent freezing and block sight.