Company of Heroes 2 Guide Campaign Walkthrough Mission 11
Mission 11
Achievements
Armia Krajowa: Mobilize all three types of Partisan troops during the fight.
- Before completing the mission, use each Mobilize Partisan commander ability at least once to get this achievement.
Snipe the Driver: Snipe the driver of a moving Opel truck.
- Opel trucks will often move along the south road, near where your Snipers begin the mission, or along the road between the final Officer’s building and the prison. Order all of your Snipers to shoot at each moving truck until you manage to kill one.

Walkthrough
For this mission, you take control of Ania and her fellow Polish Partisan Snipers on their way to assassinate German officers and kidnap one to bring back to the Soviets. Your initial forces include Ania and two squads of Partisan Snipers. All three have capabilities similar to the Soviet Snipers you have used in the past, although they are slightly changed to assist you in completing the mission. Each Sniper squad can use the ability Set Up Sniper Cover, which orders the Snipers to set up yellow cover at a targeted location, as well as Plant Demolition Charge, which is the same ability that can be used by Combat Engineers. The Partisan Snipers can toss smoke grenades that will block line of sight in an area, similar to those thrown by Shock Troops. Ania can fire a Flare into an area, the same that can be used by Soviet Snipers.
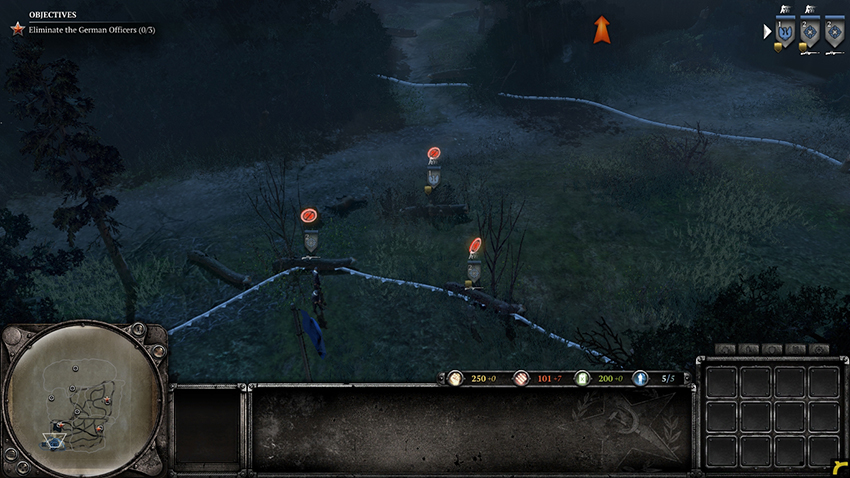
The first objective is to eliminate three German officers, each defended by groups of German infantry. Once you begin attacking their camps, they must be taken out quickly or they will have the chance to call in reinforcements or escape. It’s a good thing that your Snipers can take them out with a single shot. Begin your assassinations by moving north to the first territory point. Keep your squads camouflaged in cover as much as possible until you have sight of the enemy. Keep in mind that your Snipers start with Hold Fire enabled and must be ordered to attack the enemy. The officer is standing on the territory point while the infantry squads defending the area are around the fire and cargo truck southeast of him. Get sight of the officer by moving your squads forward or using Flare. Take out the officer first—if you take your first shots at the infantry squads, the officer will run toward the radio tent and call in reinforcements that may be difficult to deal with. Once he has been dealt with, order your Snipers to take out the rest of the Germans.
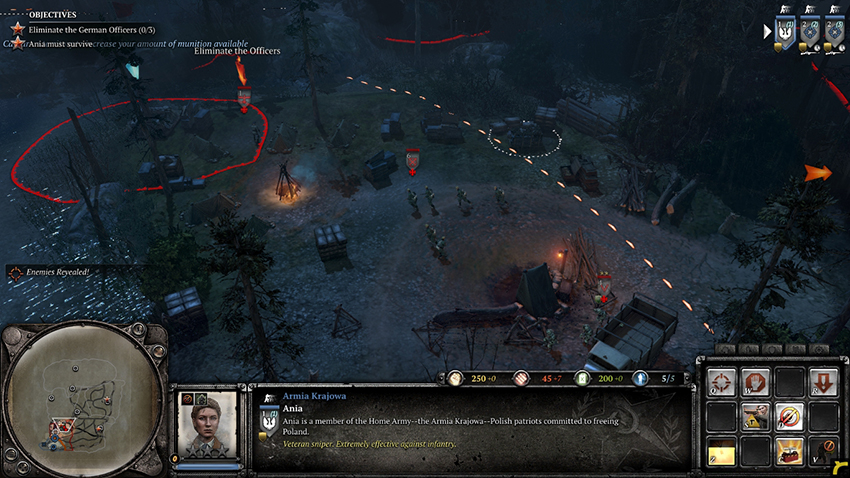
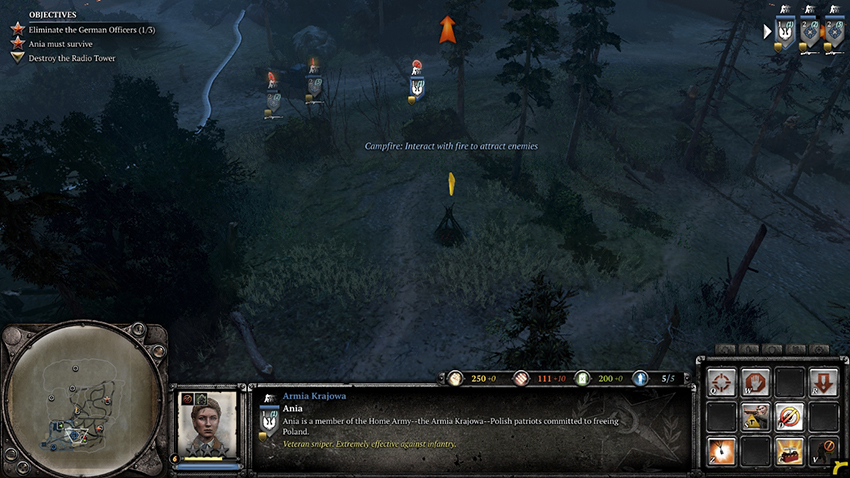
The territory point guarded by the Germans has been upgraded with a Munitions Cache that is not easily destroyed by your Snipers’ weapons. Use one of your squads to plant a Demolition Charge to blow it up, allowing you to take the territory. Claiming the territory is not necessary to complete the mission, although it does provide a bonus to your Munitions income. Collect the Supply Cache in the camp for bonus Munitions. Make your way to the southeast, back to the main road. Ania tells you that she can light fires that will cause the Germans to investigate, thereby allowing your Snipers to ambush them. Move your Snipers into cover, then light the fire pit south of the road. When the Germans start to move closer, attack them with your Snipers. Take them all out, then collect the Supply Cache to the east, where they were standing.
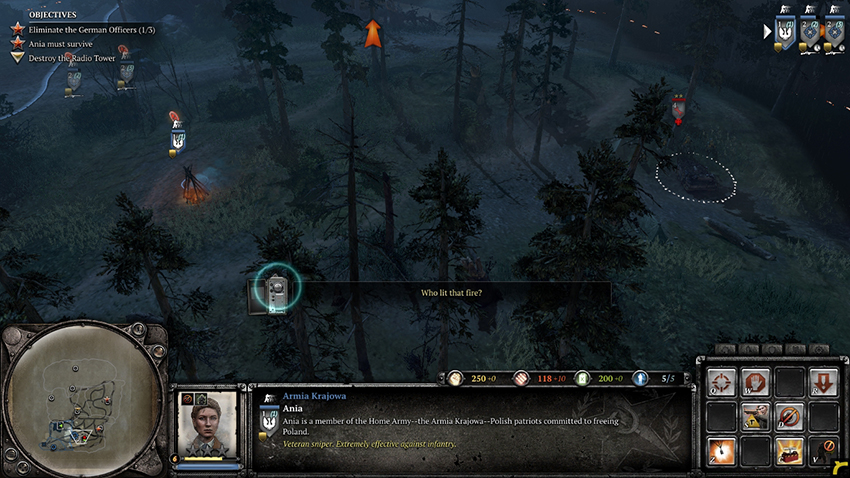
The second German officer is garrisoned inside a building on the nearby territory point. Continue east to the river and use Ania to scout out the German defenses. Take out any Snipers that you see, then proceed to take out the rest of the Germans. This officer does not need to be eliminated first, as he does not try to run away or call in reinforcements. If the German infantry starts to get close to your Snipers, have them run away until you think their weapons have been reloaded, then take another shot at the enemy. Eliminate all of the infantry and the officer, then take the territory point. This point is a Military Field Hospital that will heal and allow your squads to reinforce. Retreating units will also return to the hospital instead of running to the southwest corner of the map.
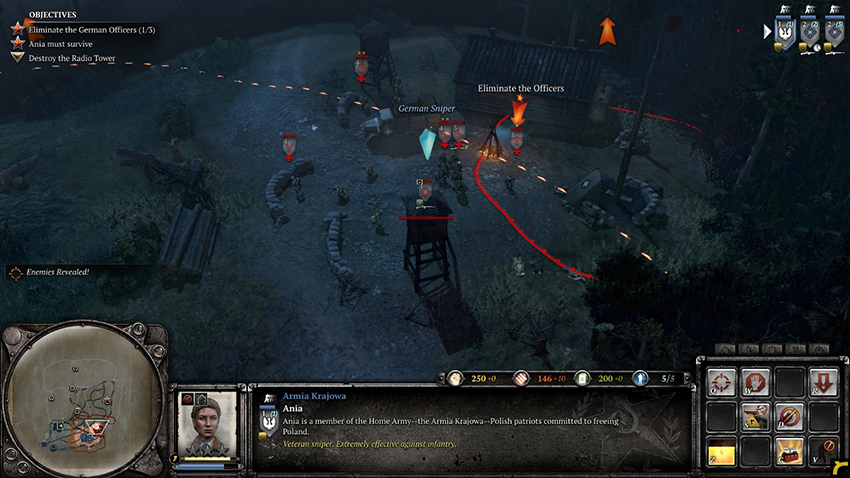
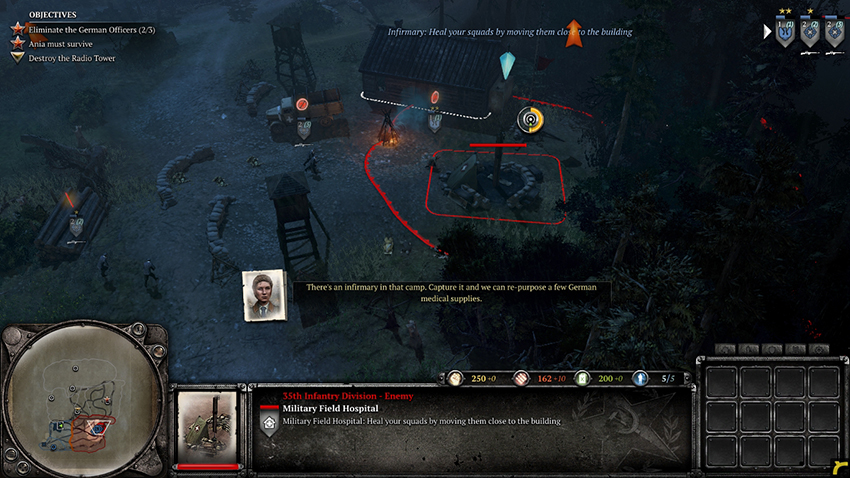
The Radio Tower necessary to complete the additional objective can be destroyed while you are on your way to the third German officer. Move northwest of the Military Field Hospital to find a path leading to the Radio Tower. You should have vision of a German Sniper inside of a Snipers Nest—take it out, then continue with the rest of the German forces. Plant a Demolition Charge on the Radio Transmitter and detonate it to complete the objective. Take the territory point for additional Munitions income, then continue to the northeast toward the third German officer.
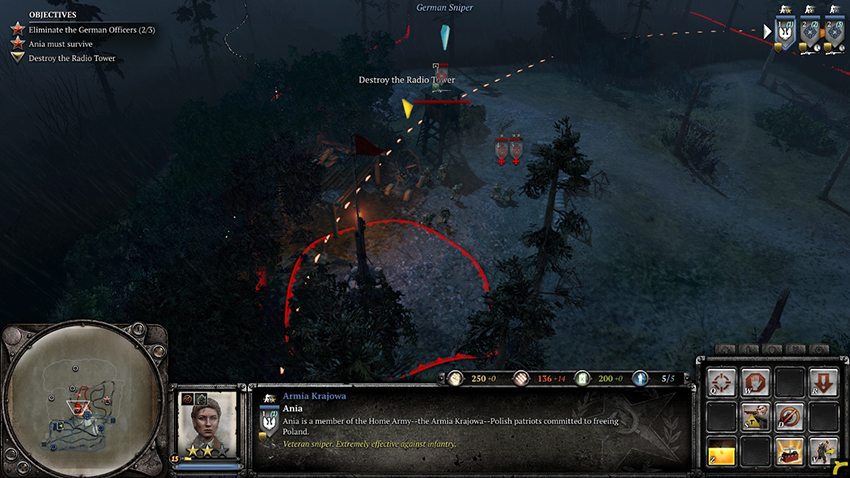
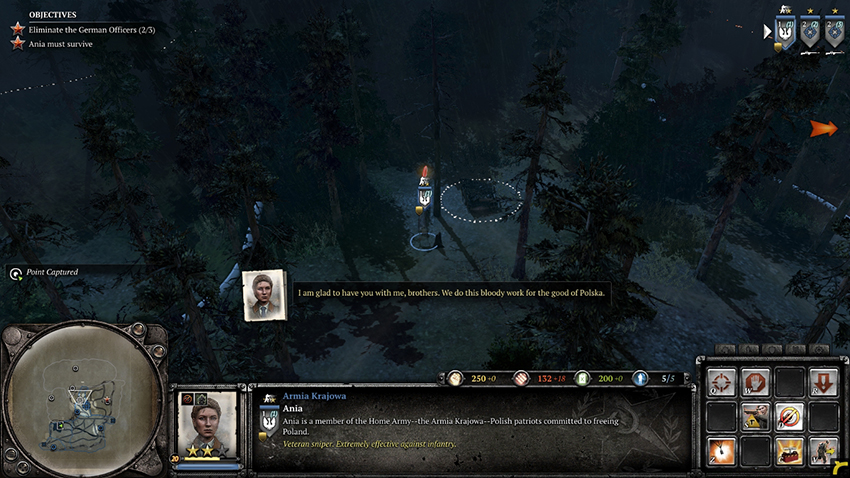
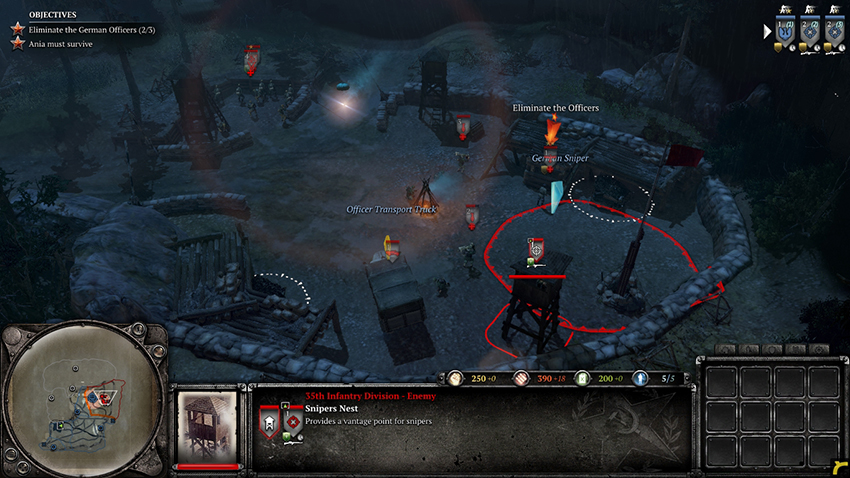
The third officer is more heavily defended than the other two were. Be cautious when moving toward the territory point and use a Flare from Ania to scout the area safely. The most pressing threat will be any Mortars in the territory, as they will kill your Snipers if their shots are accurate. However, there is a Sniper in a Snipers nest watching over them. Begin by taking out any infantry at the front that will cause lots of damage, such as Panzergrenadiers and Grenadiers, then move Ania in to kill the Sniper. Keep her at maximum range, as the Sniper’s range is shorter than Ania’s. Use your other two Snipers to take out one of the Mortars and use Ania to kill the German officer. Make sure you act quickly—the officer will enter the nearby cargo truck and drive away if he is not killed swiftly, or if the nearby truck is not destroyed. Eliminate the remaining Germans and take care not to lose Ania. Claim the territory and prepare for the next part of the mission.
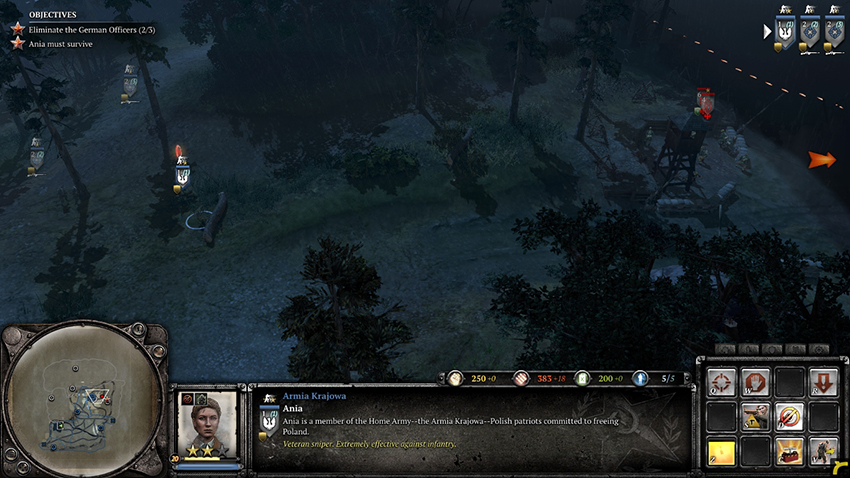
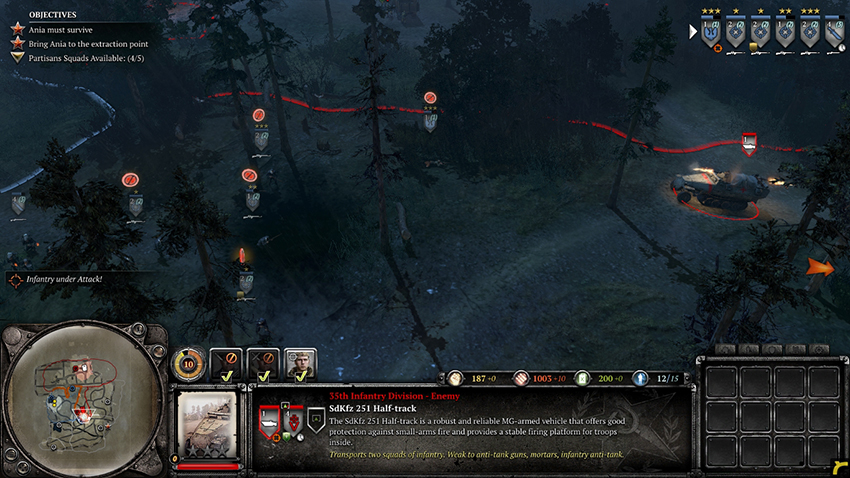
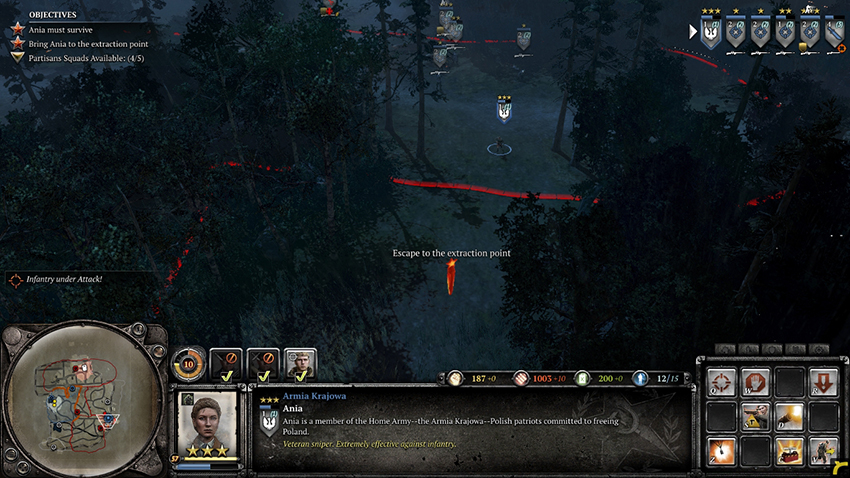
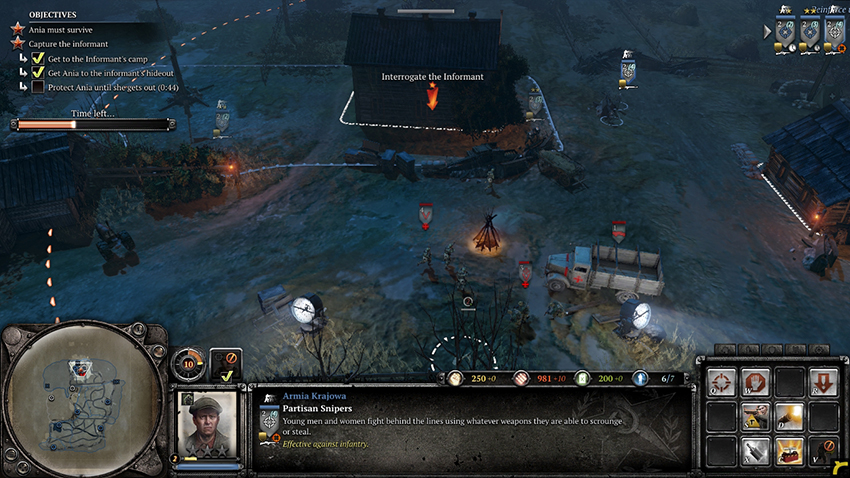
The Germans are on to you and are moving through the area you claimed to kill you. Quickly move north away from the German base, then proceed northwest to the final German officer, who is marked on the minimap. You will run into German infantry and an AT gun on the way to your destination—take them out from a distance and continue to the officer. Once you are close, you will lose control of Ania and she enters the building. The Germans begin to move in on your location to take out Ania and save the officer. Move your Snipers into cover and use your new Mobilize Sniper Team commander ability to call in new Partisan Snipers that will help hold off the Germans. Many of the enemies come inside Half-tracks or Cargo Trucks that normally aren’t damaged by Snipers. However, for this mission, your Snipers have a chance to shoot the drivers of these vehicles, forcing them out of control and killing any units inside. Control your Snipers to focus fire on enemy infantry that are moving in and any German vehicles that drive into the area. Hold out for the short time that it will take Ania to interrogate and secure the German officer.
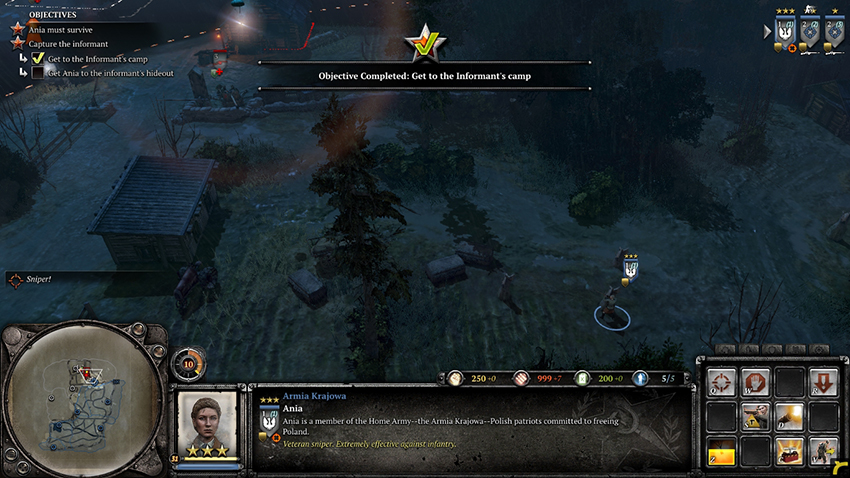
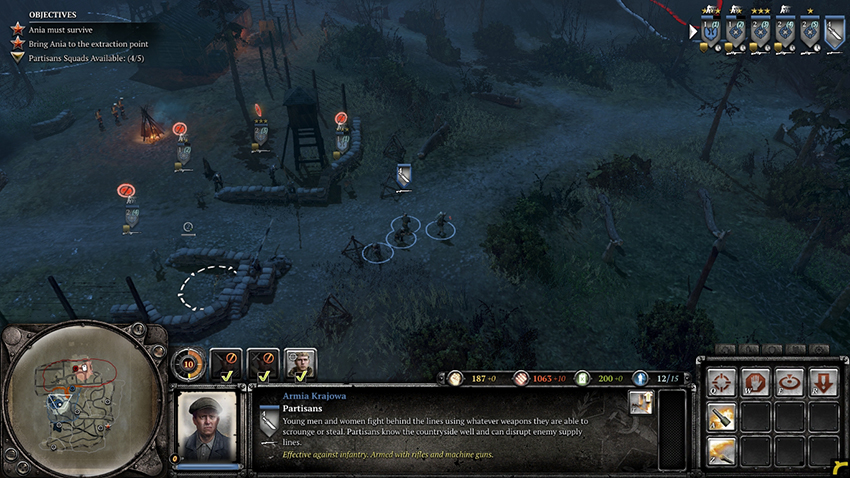
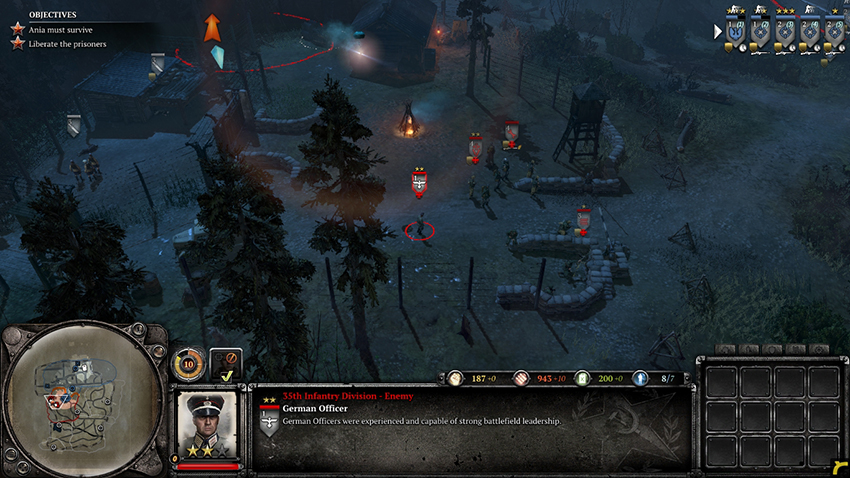
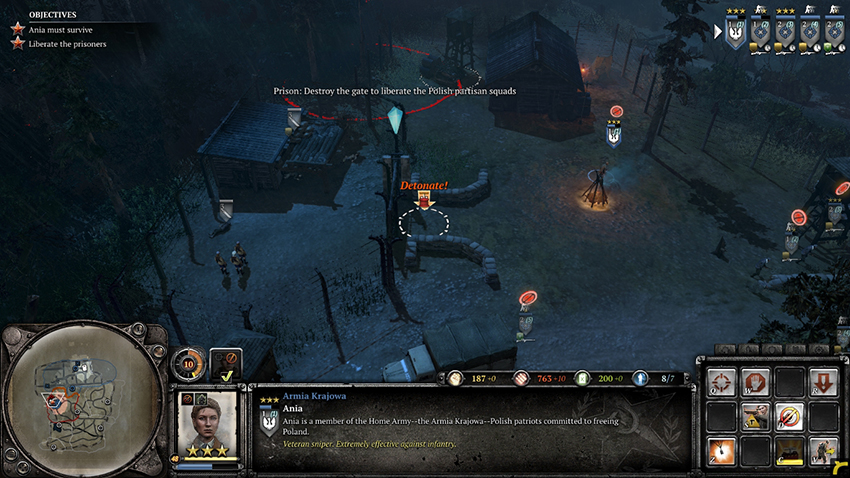
Ania is put back under your control and the officer is escorted off the map by a neutral Partisan Sniper squad. With new intel about Polish prisoners being held by the Germans, your next task is to liberate the prisoners. Head southwest toward the designated location on your minimap. The prison will be defended by German infantry and an HMG, all of which can be easily taken out by your large number of Snipers. Eliminate the HMG first, as it will cause the most trouble for your Snipers, then proceed to kill the rest of the Germans. A German officer at the prison will try to call reinforcements if he is not killed quickly, although none will arrive if you have taken out the Radio Tower. Plant a Demolition Charge to blow up the prison gate, then prepare for the final task of leaving the area.
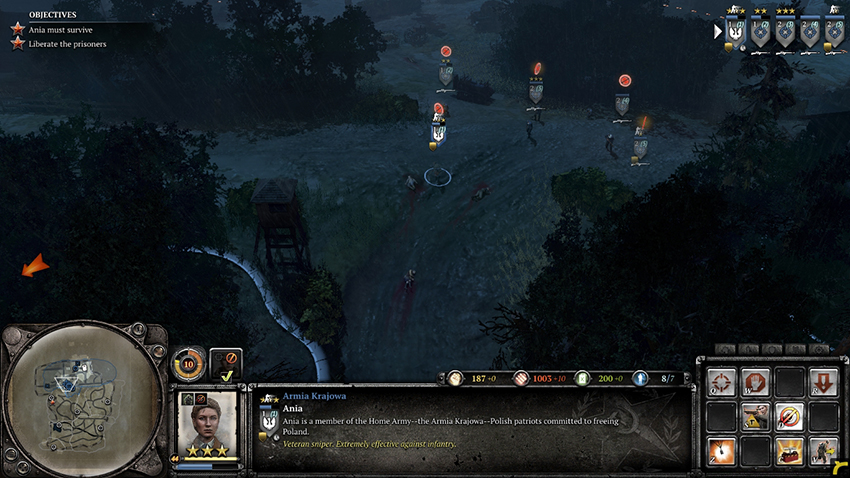
Liberating the prisoners has granted you the ability to call in a limited number of Partisan reinforcements. Anti-Infantry Partisans come equipped for dealing with infantry with two light machine guns, the ability to throw grenades, and a flamethrower upgrade. Anti-Vehicle Partisans are equipped with two Panzershreks and can throw Anti-tank Grenades. While both are useful, your Snipers will continue to be your main killing force. Call in whichever squad you feel will be most useful, then continue to the southeast toward the extraction point. Use your new Partisans to scout ahead, then follow up with your Snipers. Take out any infantry or vehicles that you see. With the new Partisans spearheading your movement, your Snipers do not have to worry about taking enemy fire. Watch out for Mortars and infantry hiding in the forest, as they may try to ambush you. Move along the road running east until you reach the edge of the map, then head south to the designated extraction point.