
Company of Heroes 2 Guide Multiplayer Maps Oka River
Oka River
The headwaters of the Oka River start near the ancient citadel town of Orel where they flow east until they merge with the mighty Volga, eventually passing Stalingrad, the site of one of the largest battles in human history.
The Oka is a beautiful sight in winter, but its fragile ice can doom friend and foe alike, and the bitter cold can take a toll on the unprepared or unwary.
Reaching the enemy is impossible without crossing the Oka at some point—battlefield resources are distributed on both shores.

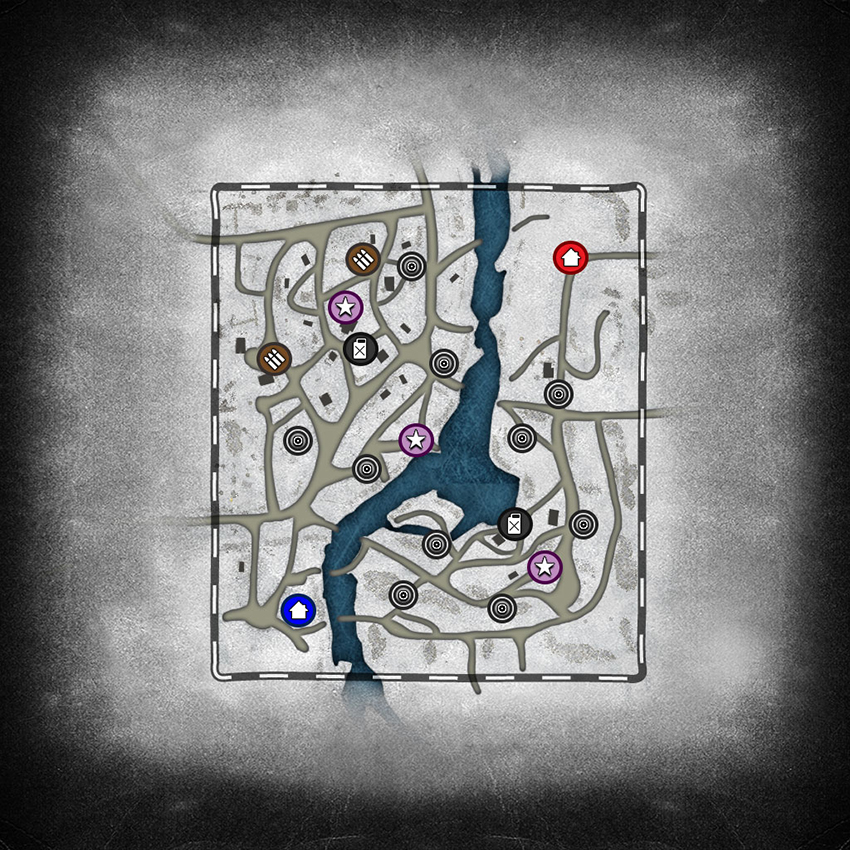
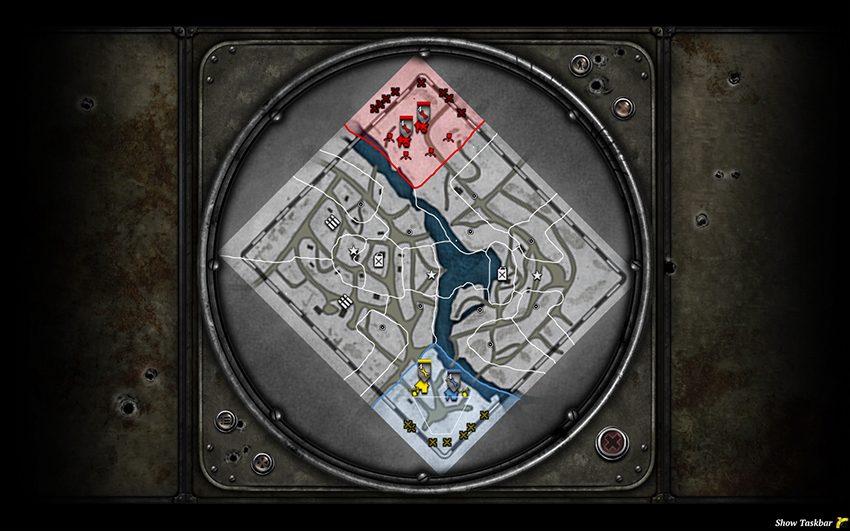
The frozen river can be used to good effect as a highway to reach the northern and southern cut-off points in the east, and to reinforce the center from the east. Long-range vehicles, AT guns, Mortars, and artillery excel on the open expanse of the frozen river near the center, and around the center Victory Point. Generally the fighting in the east will be quite independent from the events in the west and center, so if you’re played with an arranged team try to have your strongest 1 vs 1 player go for the east. The west and center tend to involve assaults on fortified positions, but wide flanking maneuvers are still possible if you use unconventional routes, like the road in the far west.
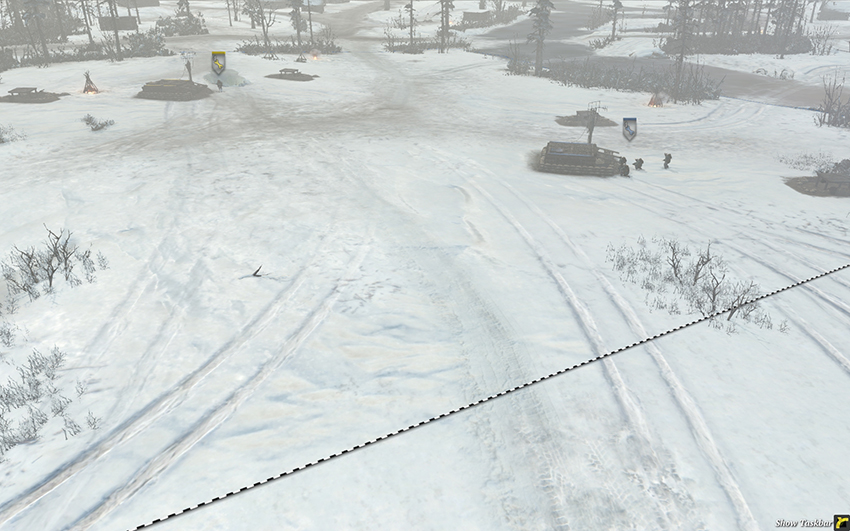
Southern base.
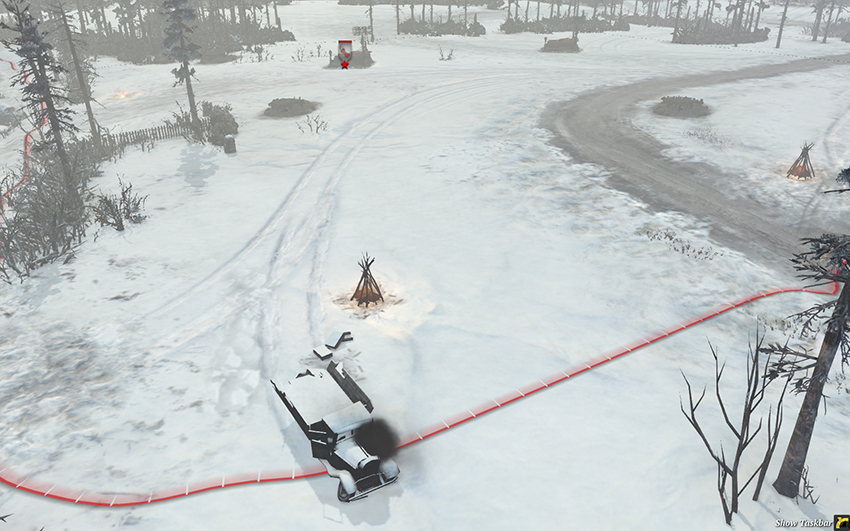
Northern base.
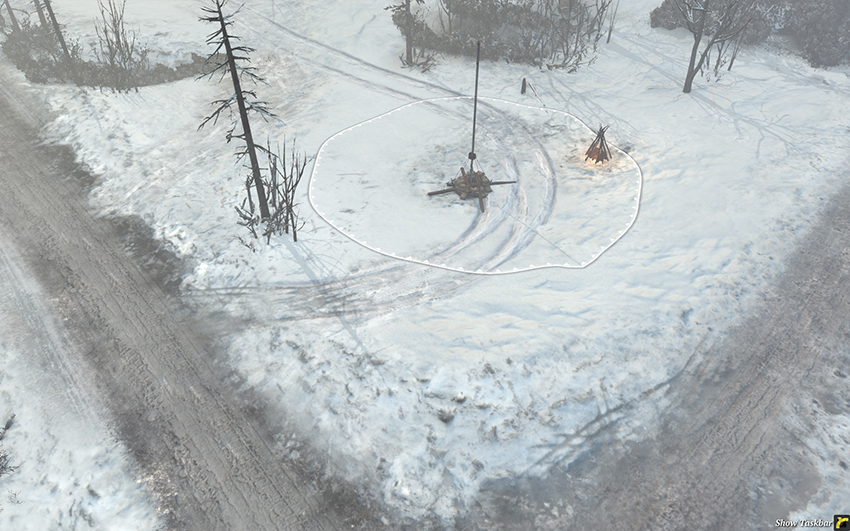
This point is a good location for the North to place a Fuel or Munitions Cache as it’s unlikely to ever receive attention by the South unless the game is going very poorly.
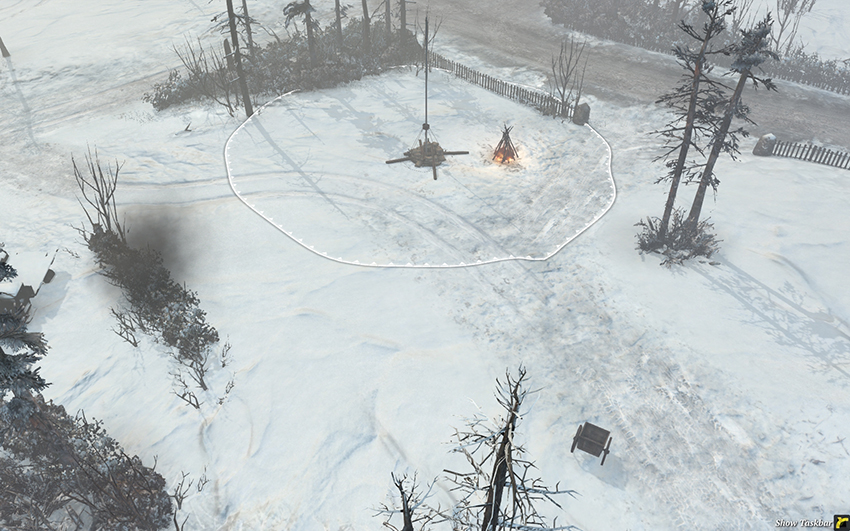
The North’s eastern cut-off point is an attractive target, especially if the South has had difficulty securing the eastern Fuel and Victory Point. It can be attacked by moving across the river and bypassing any defenses in the east. For these reasons it’s important that the North moves to defend it as soon as units on the river are discovered, preferably by using light vehicles.
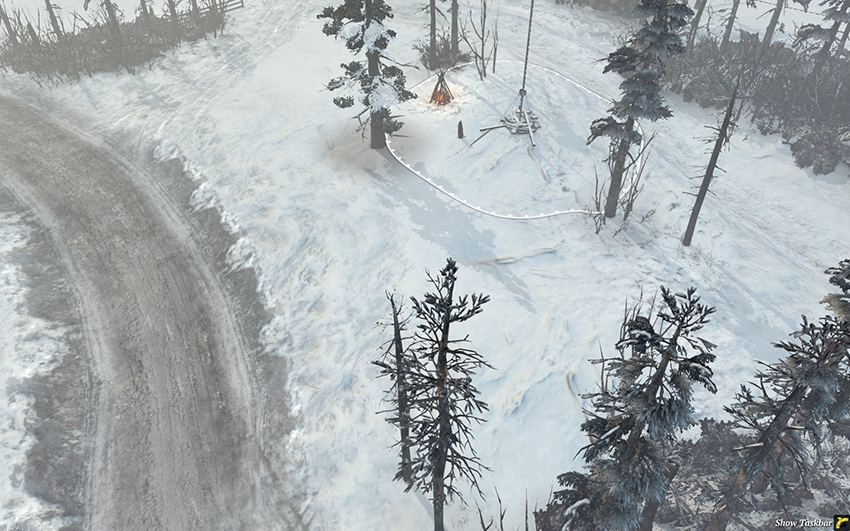
This Standard Territory Point is a good staging area for the North to use for attacks against the eastern Victory Point and Fuel Point. A Mortar positioned here will be well protected and have good coverage of important locations. Place mines along the road to protect against enemy vehicles or attacking infantry—the path around the forest on the far right isn’t commonly used because it takes longer, but it does provide another avenue for flanks against HMGs and AT guns.
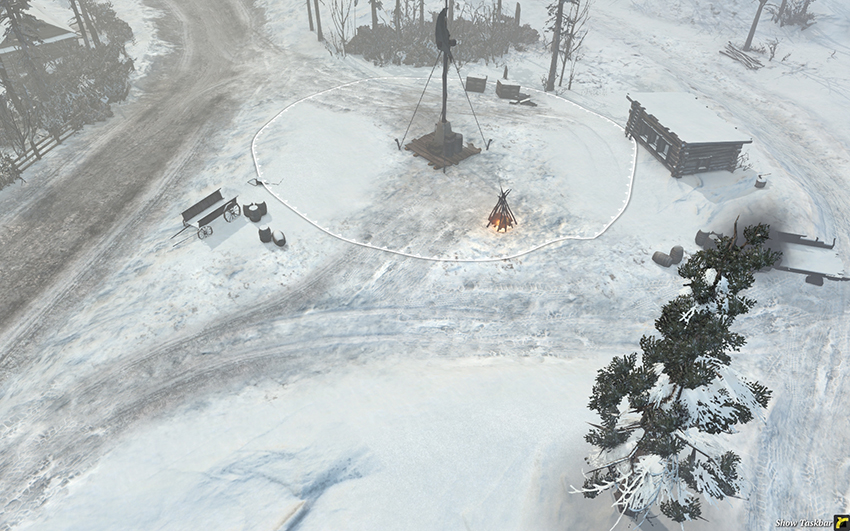
The eastern Victory Point is a frequently contested region notable for the road on the left and the small building on the right. The road is a dangerous travel path, as has negative cover for infantry, but it will often be used anyway, especially if the enemy is attacking from the Fuel Point left of here. So long as your infantry are off the road, and ideally in cover, they’ll be able to do a significant amount of damage. Place mines here to protect against early light vehicles, and in the later game against heavy tanks that may rush in to attack your position. In the early game, garrisoning the building on the right is a strong move unless your opponent already has Molotovs or flamethrowers because a unit inside has good survivability and reach over the entire Victory Point region.
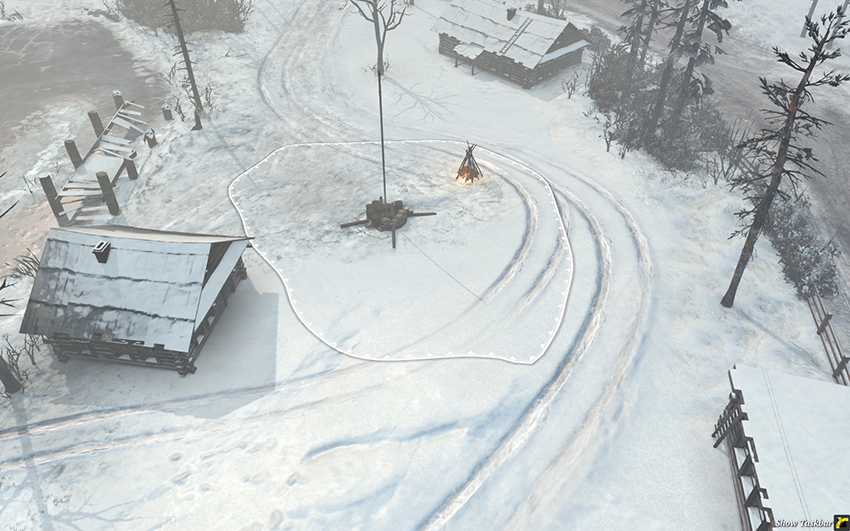
The building in the lower left is one of the most powerful on the map, to the extent that it’s often worthwhile to rush Combat Engineers or Pioneers here directly, bypassing earlier points to ensure that this building is under your control. Why? It’s very difficult to displace units from buildings at the beginning of the game, and by the time tools like Molotovs and flamethrowers become available, a player is typically able to establish a strong defensive position with an HMG and supporting infantry. This building in particular is important because it’s so close to the Fuel Point and it has many windows that make the squad inside more deadly than if it had few windows—like the smaller shed in the bottom right. The building at the top is a good choice for the South if you’ve already secured this area, as an HMG within it can provide fire support farther ahead; it’s also good for the North if the first building is already occupied, but it’s decidedly inferior on the whole for infantry units other than HMGs due to the greater distance between it and the capture zone. Watch for flanks from across the river if you hold this area.
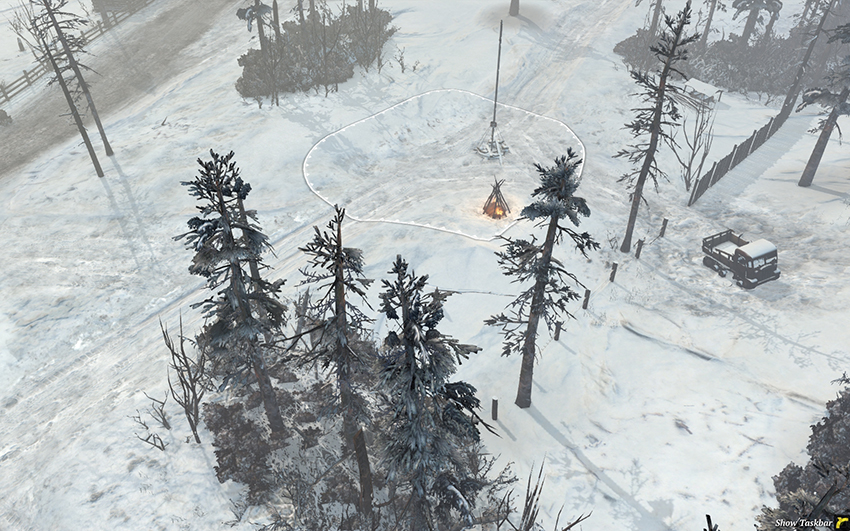
This Standard Territory Point will often be harassed by the North and seized if possible, but there isn’t much significant about it. Take it when you have the nearby area under control but don’t concern yourself with it too much otherwise. Mines along the top are good as vehicles often use this path as an alternative to the road when attempting to escape from enemies.
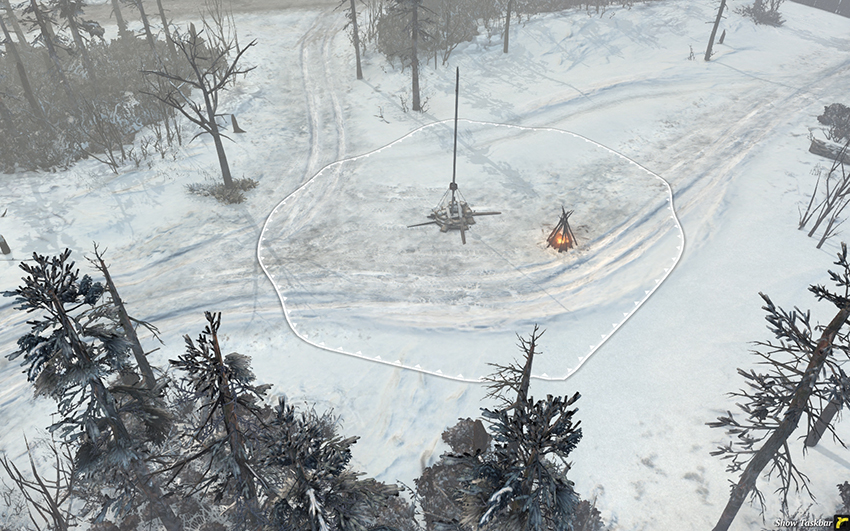
In an evenly matched game, this point will be controlled by the South and almost never harassed by the North. However, as the North, if you have a Scout Car or a Half-track with a Pioneer or Combat Engineer squad inside, drive behind your opponent’s lines to take this point, lay one or two mines, and drive off. It’s an easy and inexpensive way to annoy your opponent a great deal.
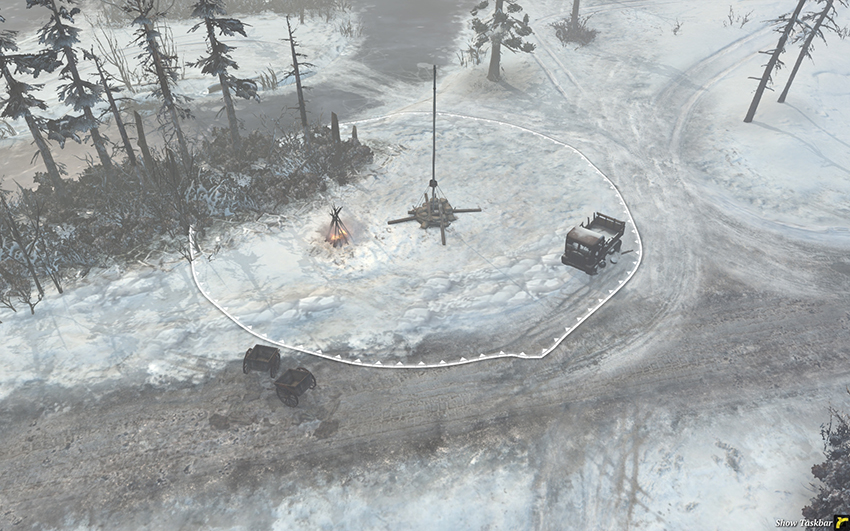
This is the eastern cut-off point for the South and a key travel route to the east. As the North, if you’ve lost control of the east, attack this point from across the river and place mines all over the area. The island across the ice at the top is a nice location for repairing vehicles and placing artillery because the bushes on its upper border block line of sight, and enemy units will generally need to attack across the ice, beneath which you can then sink them with a well-aimed barrage.
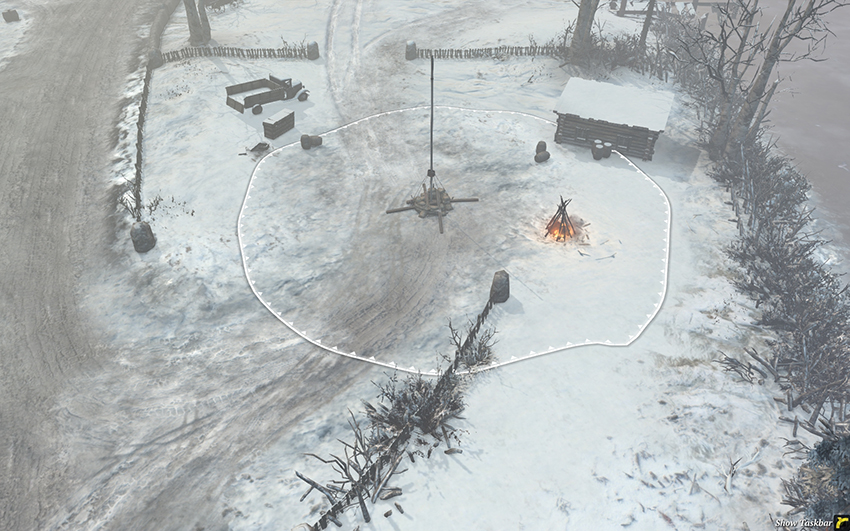
The South’s western cut-off point is also its main staging area for attacking the center. In the early game, the North can send an early unit directly to garrison this building, creating a major annoyance for the South. Later, the area around the building and the hedge is a good place for the South to locate a Mortar to fire into the center. Mines along the entire upper area are advised, as the center is a hotly contested region, and a common battleground for vehicles—especially along the road.
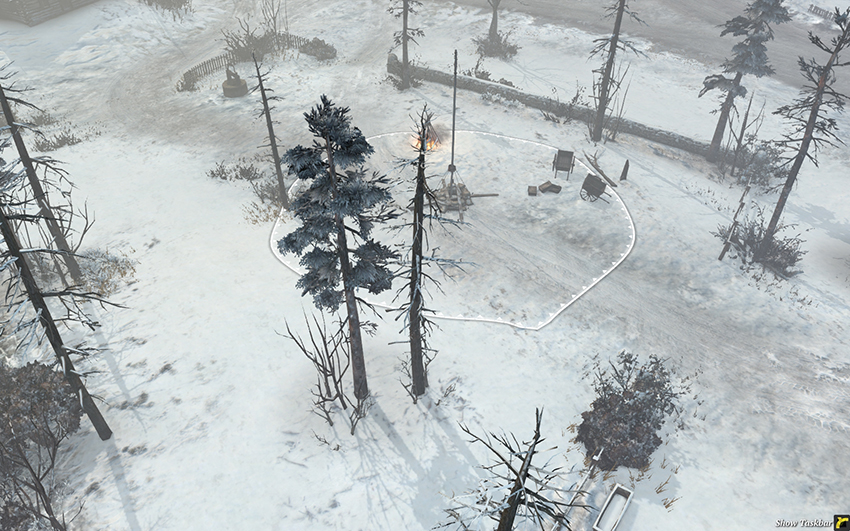
This point is almost always in the South’s control, and it’s a good location for a Fuel or Munitions Cache due to the ease with which it’s defended.
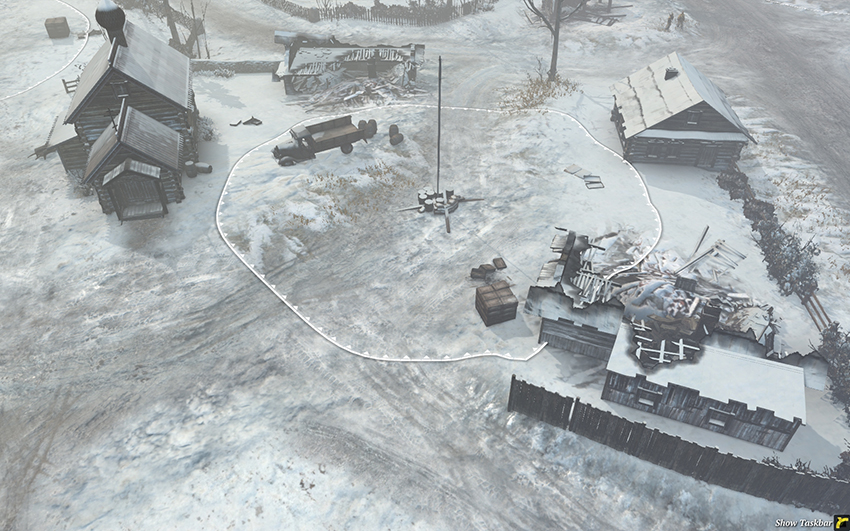
The western Fuel Point is one of the most important areas of the map to control, and it’s the location of the most important building—the church. As with the eastern Fuel Point, this area is important enough to warrant rushing an early Combat Engineer or Pioneer squad directly here to ensure that the church is captured. If one team can get an HMG into the church and adequately protect it, the other side will be at a severe disadvantage, for the church not only controls the Fuel, but also the western Victory Point. The building in the upper right is another good choice for garrisoning, especially for the South, but the church should always be the primary focus. There is a lot of sight-blocking terrain in this area, meaning that long-range units like SU-85s, Elefants, and ISU-152s will struggle to acquire solid firing lanes, and mobile assault units, especially German Half-tracks with Flame Projectors and Soviet M3A1 Scout Cars, will be able to dance around while attacking units and retreating to safety for repairs. Barbed wire between the buildings is a good idea in the early game, especially for the North near the wooden fence at the bottom, as it limits the ability of infantry to flank. To counteract the advantages of assault units in this area, place mines on the roads.
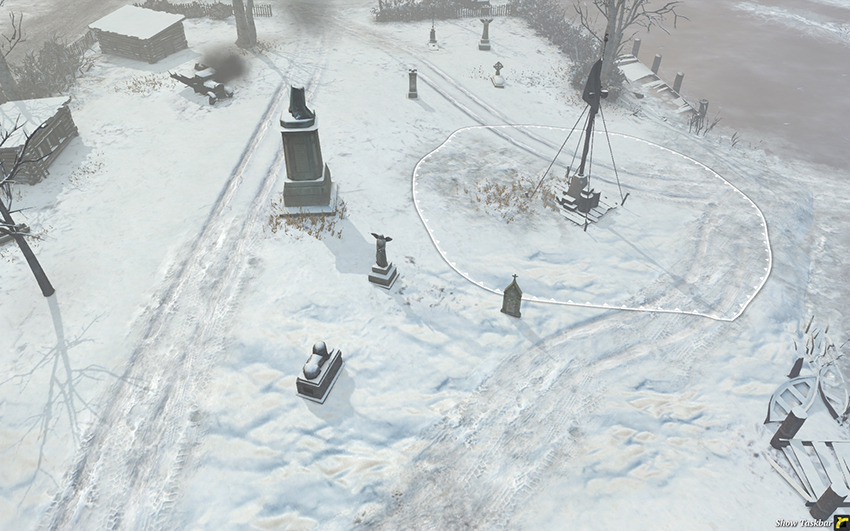
The center Victory Point is wide open to the north, south, and east, though the west is bordered by a hedgerow that blocks sight and movement from the road. The consequence is that both sides tend to create fortified positions near the territory points to the north and south to project power into this area. The frozen river is a high-risk path to use, especially for tanks, as units can be annihilated by a single shot from tank cannons, Mortars, or artillery that breaks a hole in the ice. The gravestones are good locations for Snipers to remain camouflaged, and in general this area is better suited to team weapons and Snipers than infantry flanking. Units will move through this area throughout the game, so use mines liberally whenever you have the Munitions available and a nearby Pioneer or Combat Engineer squad.
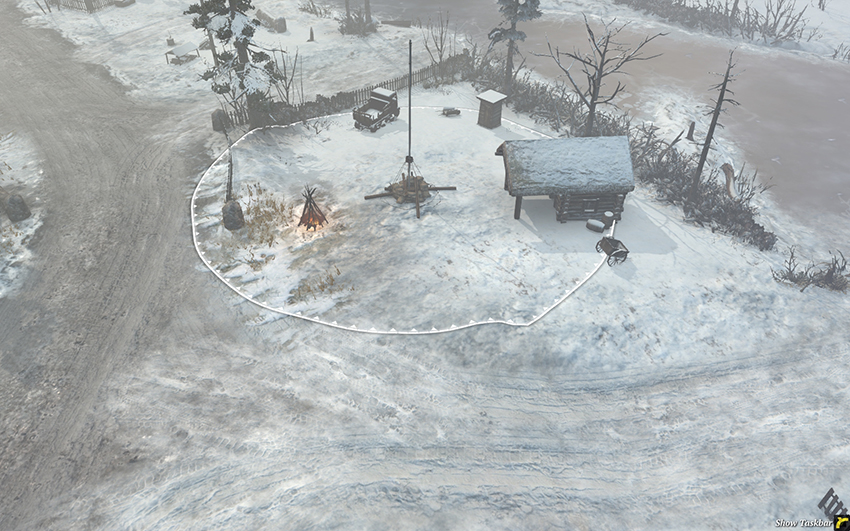
The North’s western cut-off point is much the same as the one in the south. The small building can be garrisoned by the South in the early game while harassing. The area is typically well-defended by the North later in the game and is often a site for Mortars and bunkers.
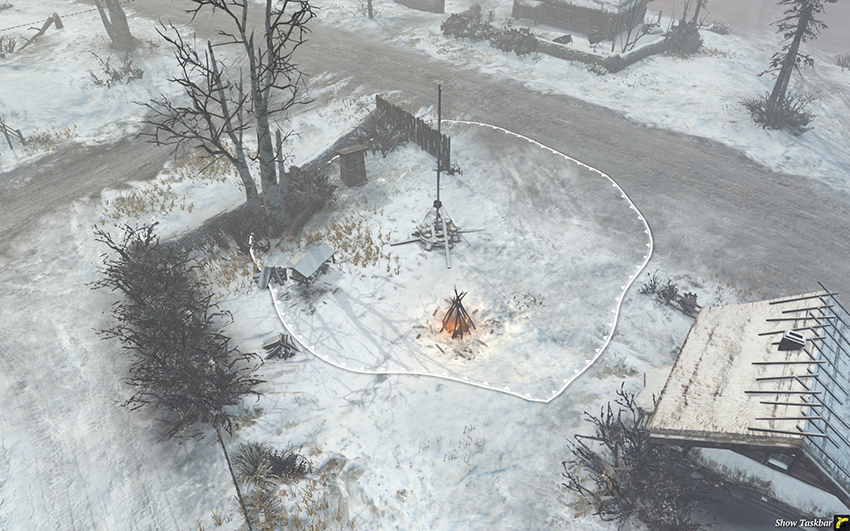
This Standard Territory Point won’t be fought over that often, and it’s a good spot for the North to place a Fuel or Munitions Cache. The building in the lower right is exceptional for the South if they’re able to push up this far, as it covers the main travel path from the northern base to the western side of the map.
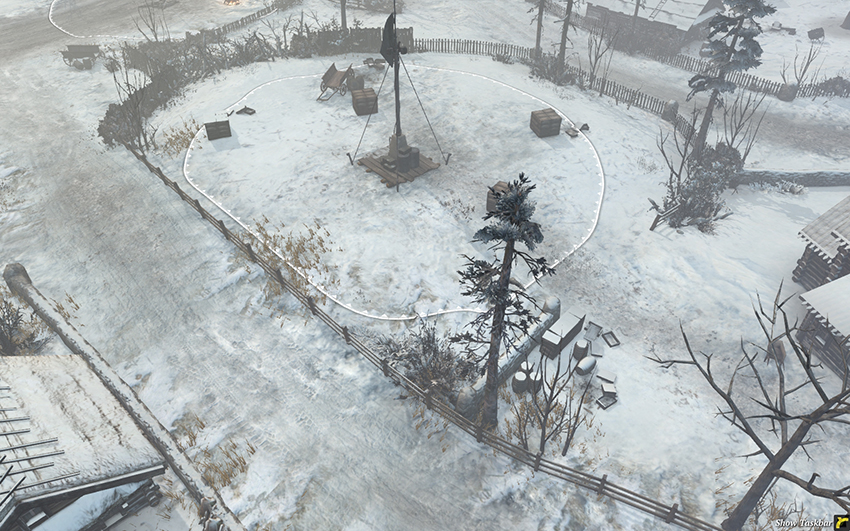
The western Victory Point is, somewhat surprisingly, often not a strong focus for players. This is partially due to the presence of the church and Fuel Point because the side that holds those will generally also hold the Victory Point; players will fight over those instead of the Victory Point directly. That said, the building in the upper right and that in the lower left are strong locations for HMGs and can easily serve as fortified positions for AT guns and Mortars. As the point is almost entirely surrounded by fences, team weapons will have difficult accessing it in the early game before vehicles smash the wooden fences. If you lose control of the church and Fuel Point, rather than continue to bash away at a strong defensive position, relocate to one of the other buildings covering the Fuel and try to force your opponent to spread his forces farther out to the flank. The entire left flank is often underutilized in games on this map in favor of the center.
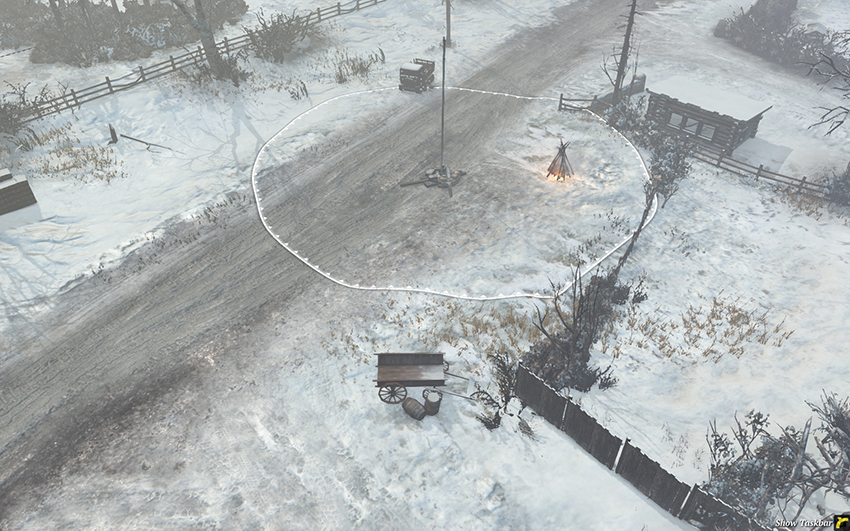
The northwestern Munitions Point is rarely fought over, except in small-scale infantry skirmishes, but it’s actually a good location to hold if you lose control over the center. From here you can threaten the rear lines of both North and South, especially if you have light vehicles that can quickly transport infantry along the roads. The small building on the right isn’t of much use because its sight lines are poor, but it can be used for warmth if the Campfire is destroyed.
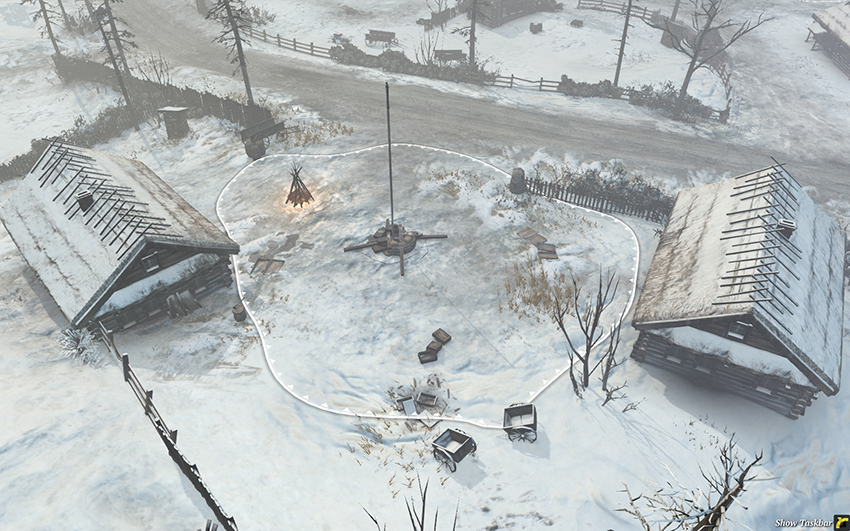
The southwestern Munitions Point is a great area for the North to harass, as both buildings can be garrisoned as defense against enemy units. This area is too far to the rear for the South to gain much from setting up defenses here, but if the North manages to push this far ahead, and especially if it can place an HMG in the building on the right, the South will find it difficult to retake. As the North, be careful when you harass this with infantry because your retreat path will take you to the east along the road rather than directly back to your base due to the wooden fence. This is quite dangerous. Instead, if enemy units are converging on your infantry squad, move behind the building on the left and vault over the small fence before retreating—this way your unit will take a safer path back to your base.
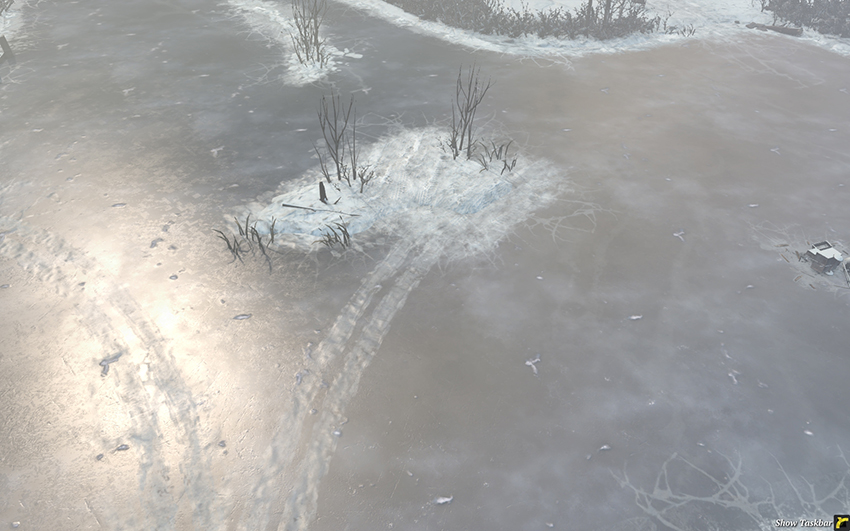
A view of the center of the river Oka. The small island in the middle is a surprisingly good location for an SU-85, Elefant, or ISU-152. It can also work well as a staging area for infantry attacks if you build a Campfire on it. Snipers are quite vulnerable on the ice because there is almost no cover for camouflage, but Mortars are fantastic.
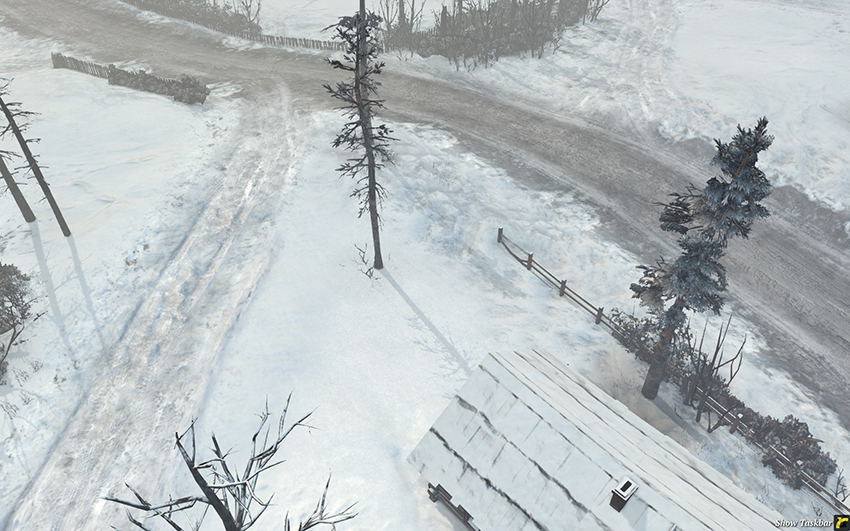
This is another view of the road from the northern base to the eastern Fuel and Victory Points. Note how an HMG in this building would be a true pain for the North.
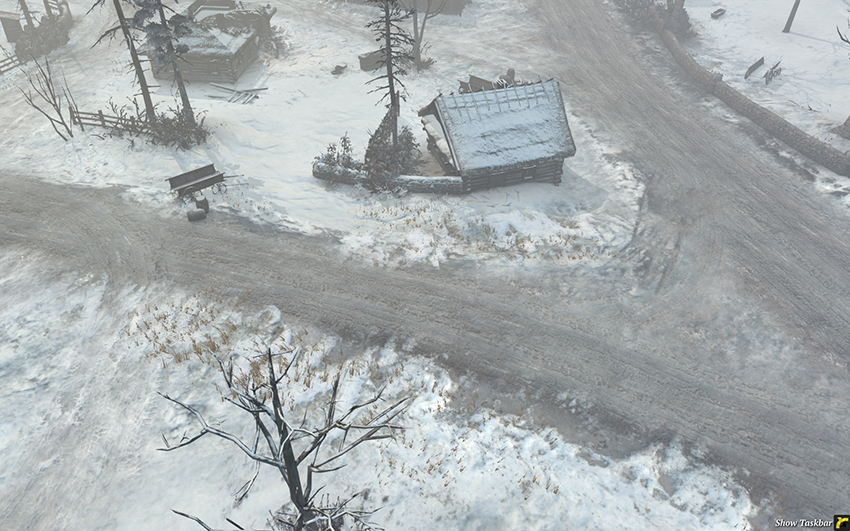
This is a view of the roads leading to the center and west from the southern base. The building in the center is an excellent position for either side. The North is unlikely to reach it in an even fight, but the South can make good use of it if the Fuel Point is under the North’s control. A Mortar positioned here can provide fire support to several points, and an AT gun will defend against vehicular attacks. Be sure to place mines on both roads, as you won’t want enemy tanks rushing in behind your lines.
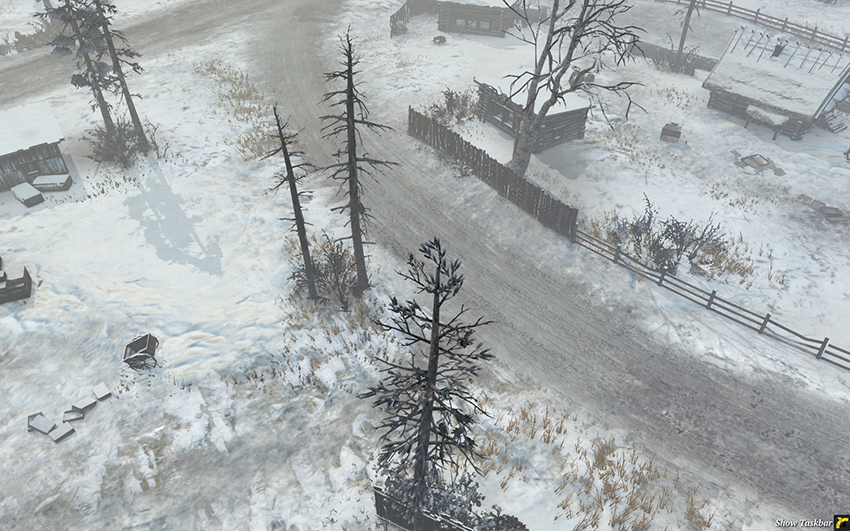
The far western area of the map lacks territory points of any kind, but it is a great travel path because it’s both unexpected and never defended. There are quite a few buildings scattered around that your infantry can use to warm up while on a long excursion.
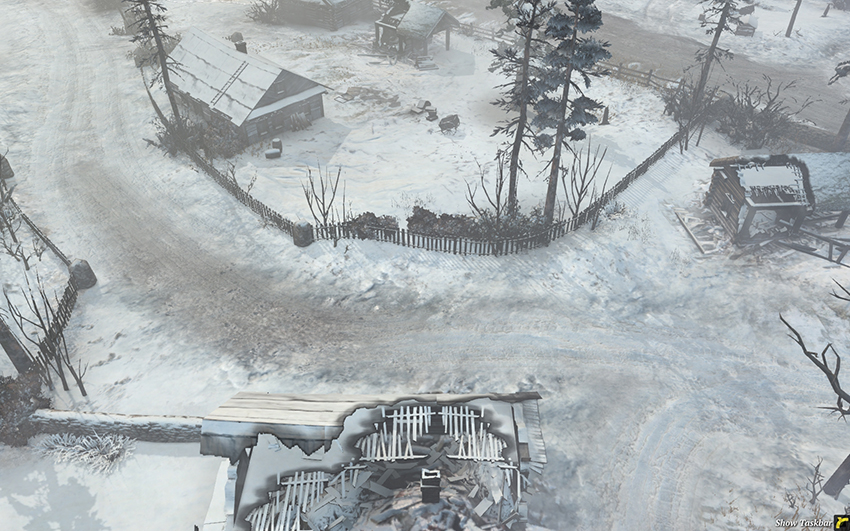
The area just north of the Fuel Point is a good location for the North to place team weapons and Snipers when the church is under the South’s control. The many destroyed buildings block line of sight, which provides some safety for Mortars and for vehicles against AT guns.