
Company of Heroes 2 Guide Multiplayer Maps City 17
City 17 Winter
Stalin’s Five Year Plans led to aggressive industrialization of large parts of the Soviet Union west of the Ural mountains.
Sleepy hamlets became nameless industrial centers almost overnight, filled with refugees from the hinterlands driven from their farms by forced collectivization and famine.
These forbidding cities became even more inhospitable with the arrival of winter. Factories turn into fortresses, roads into kill zones, key points must be pried from winter’s icy grip and protected from your enemy.

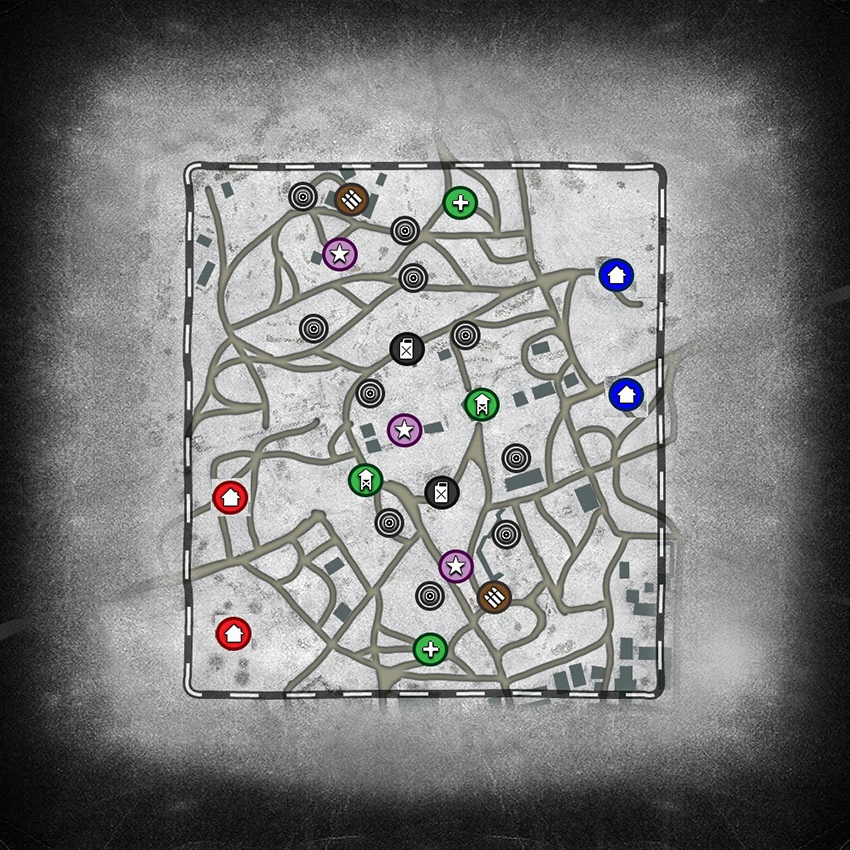
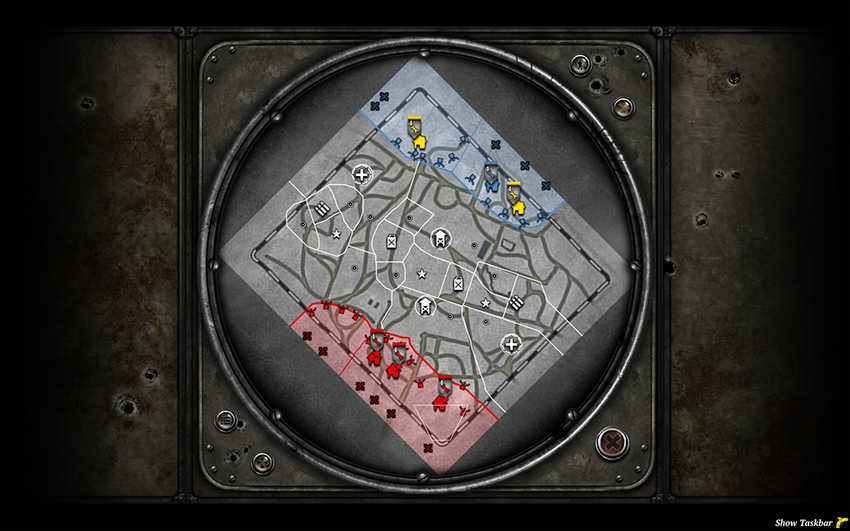
Military Field Hospitals are unique to this map and especially good when combined with forward reinforcement capabilities from a Command Post bunker or a Half-track. Use transport vehicles to shuttle infantry to combat zones as the base areas are quite far from the front line. Winter assaults are difficult due to the time it takes to mobilize infantry, ensuring they’re in position and warm. As compared to the Summer version of this map, there are far fewer strong buildings available to garrison, which means you must rely more on field defenses and mobile assaults.
There are relatively few points to capture on this map, considering the number of players, so it’s important to seize territory as quickly as possible to prevent your opponents from setting up defenses. The longer the game lasts, the more difficult it will be to take ground. If you’re pushed out of an area near the beginning, delay your counterattack until you are able to create a unit that will give you an advantage against the defenders, whether it is a fire support unit like a Mortar or Sniper, or an assault unit like Shock Troops or Panzergrenadiers.
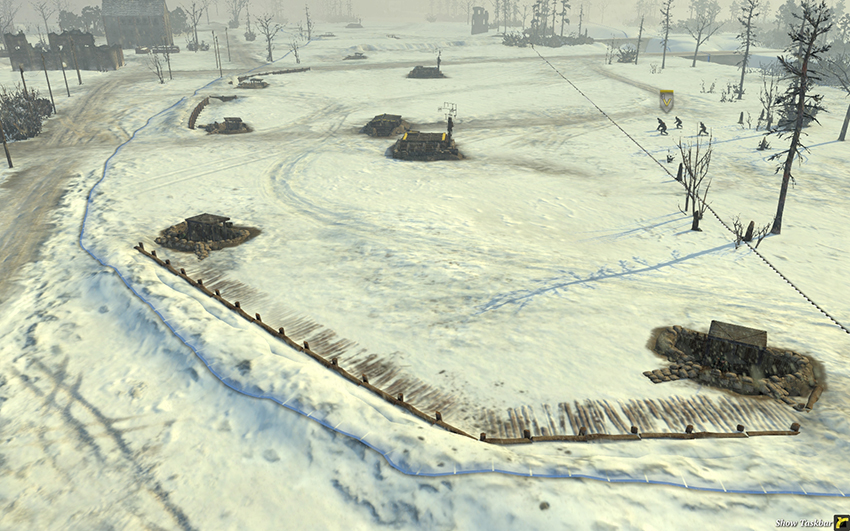
The southern portion of the eastern base.
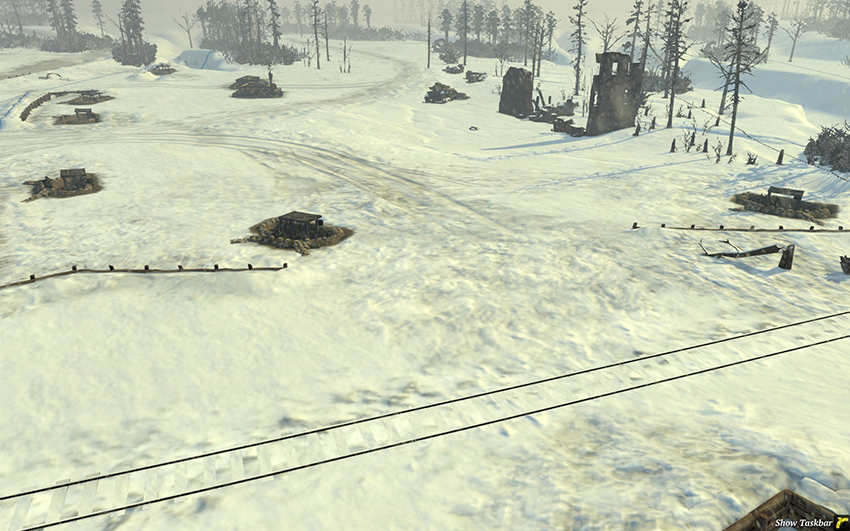
The northern portion of the eastern base.
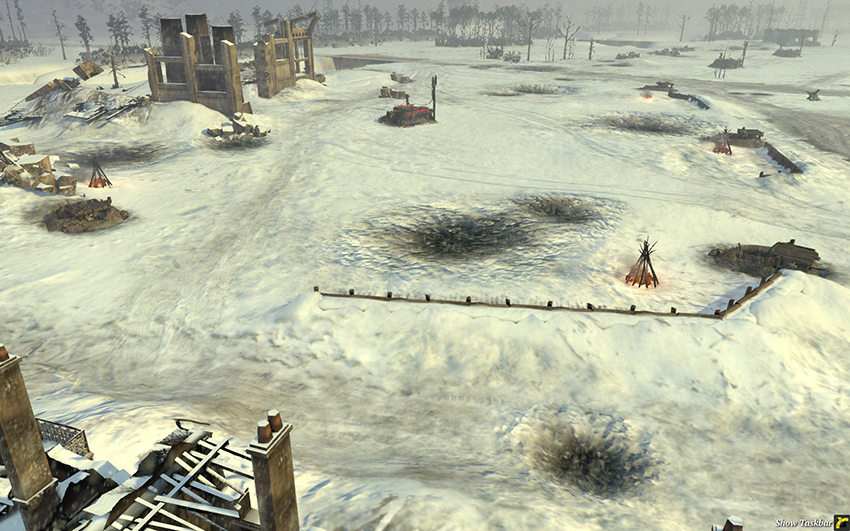
The southern portion of the western base.
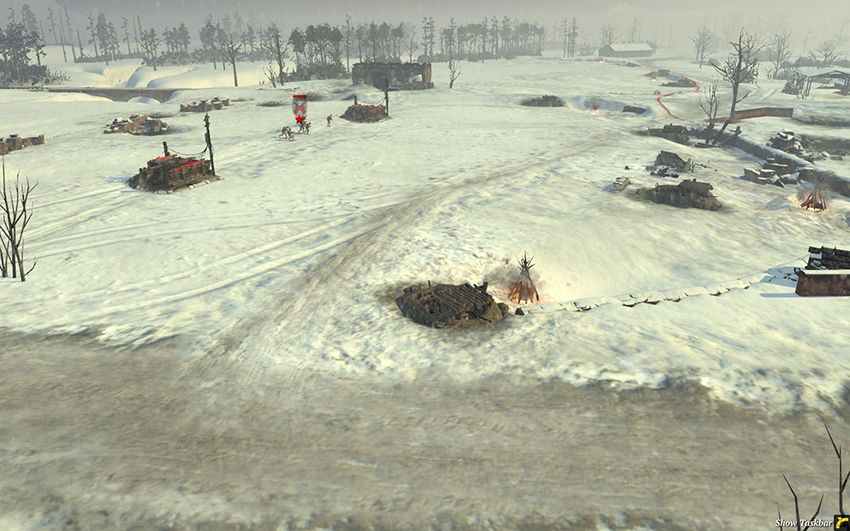
The northern portion of the western base.
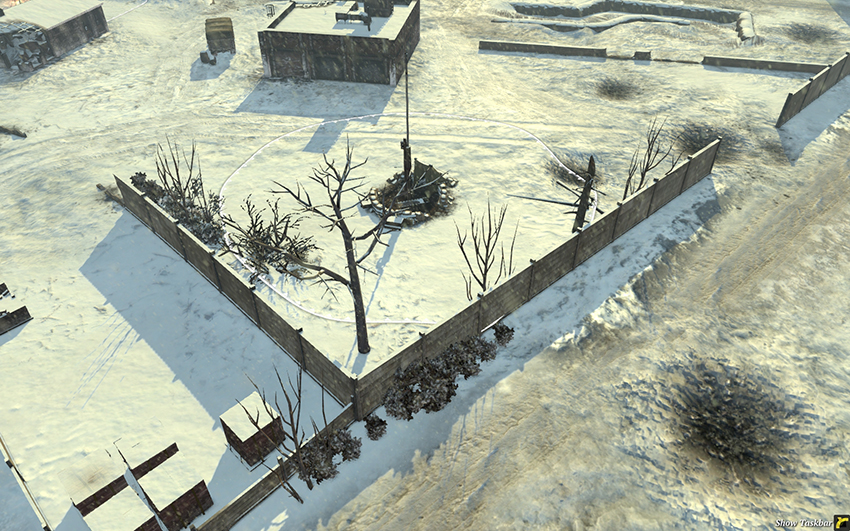
The southern Military Field Hospital heals nearby infantry units, which is especially useful when paired with a forward reinforcement point—either a Half-track or an upgraded German bunker. The building at the top is a great spot for an HMG to cover this location, the nearby Standard Territory Point, and the southern Munitions Point.
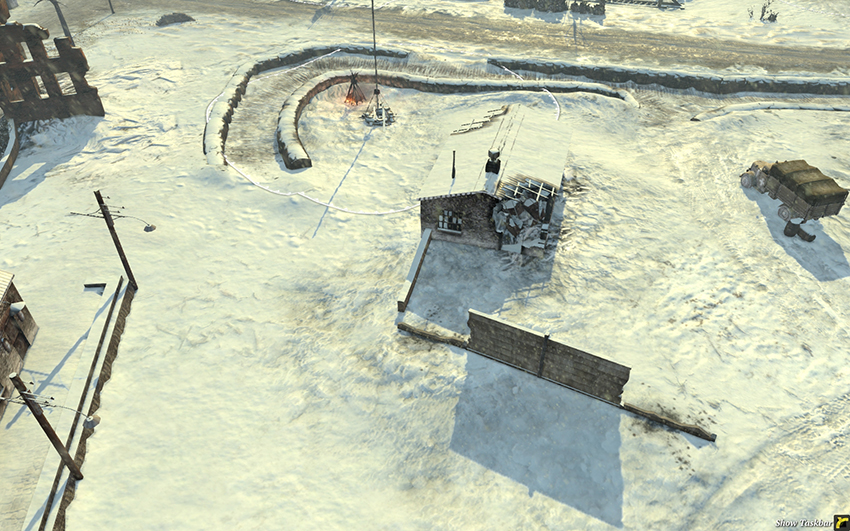
The trenches provide cover for infantry and Snipers defending this location, which is important to stop freezing if there isn’t a nearby Campfire. Anti-tank infantry are quite powerful here as the trench line is quite long and close to both the southern Victory Point and southern Munitions Point. The West should concentrate forces near this point to control the south.
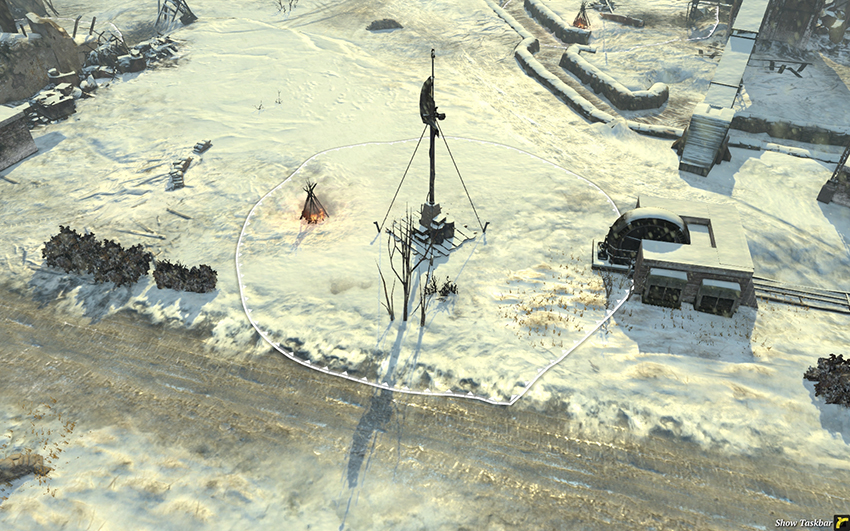
This is the site of battles between the West and East, with both fortifying their trench lines at opposing Standard Territory Points. Long-range vehicles and artillery are useful for steadily taking ground.
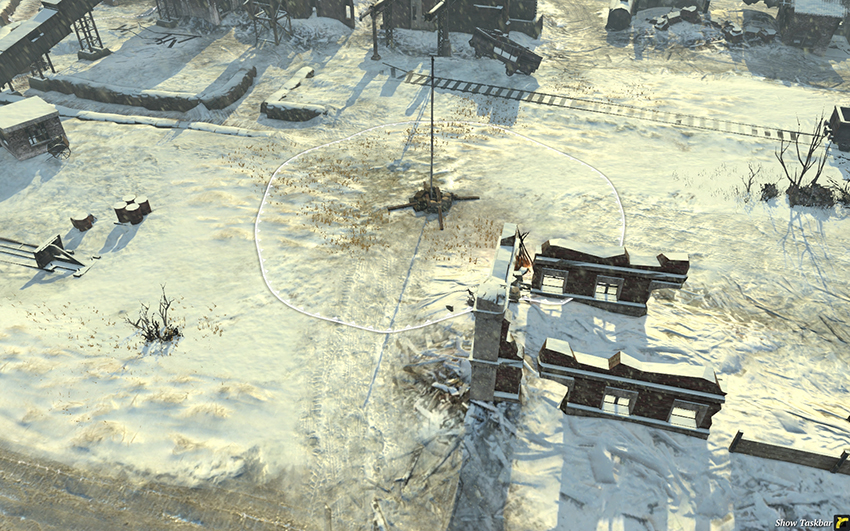
The southern Munitions Point has many destroyed buildings nearby that block sight but still allow infantry movement through gaps. Snipers and anti-tank infantry excel here, so long as they keep to cover locations.
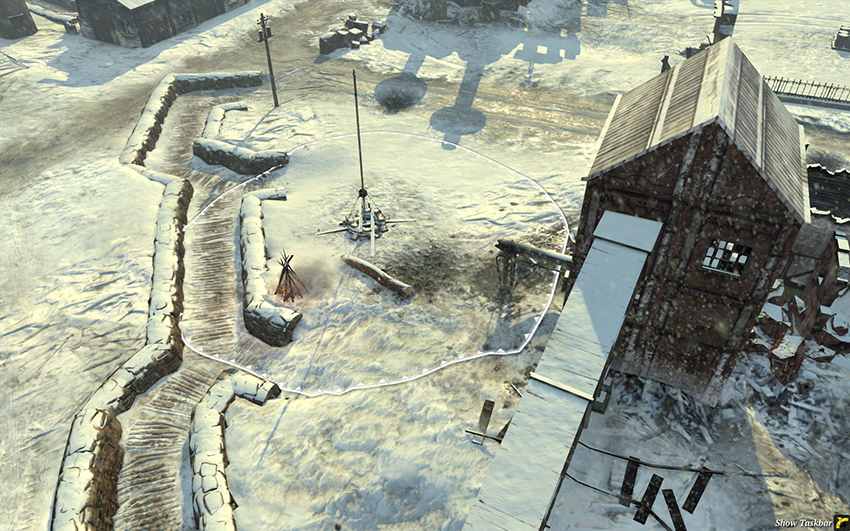
The East’s primary defensive position for controlling the south has extensive trenches just like at the West’s point. These give an advantage to defending infantry, allowing them to hold their own against vehicle attacks.
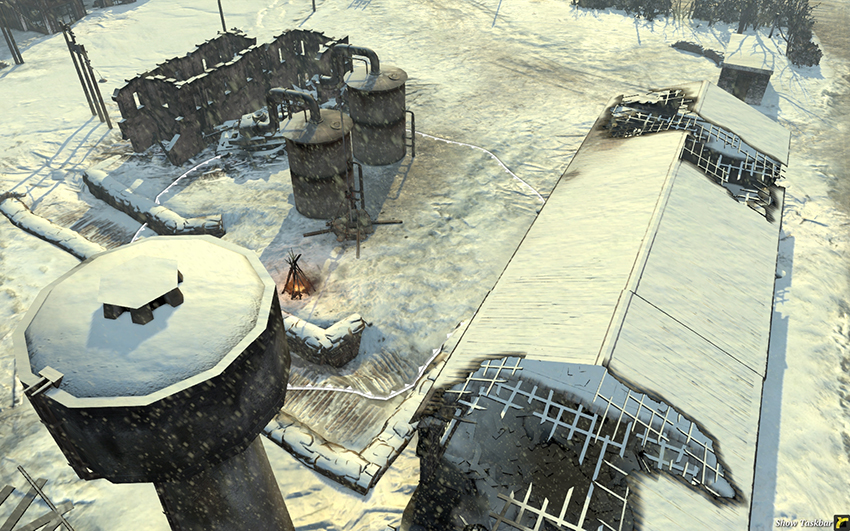
The East can use this point as a staging area for attacks against the southern Fuel Point. The proliferation of cover and obstacles gives a defensive advantage to infantry and Snipers. This is a fairly safe location for Fuel and Munitions Caches, so long as you keep units within the vicinity.
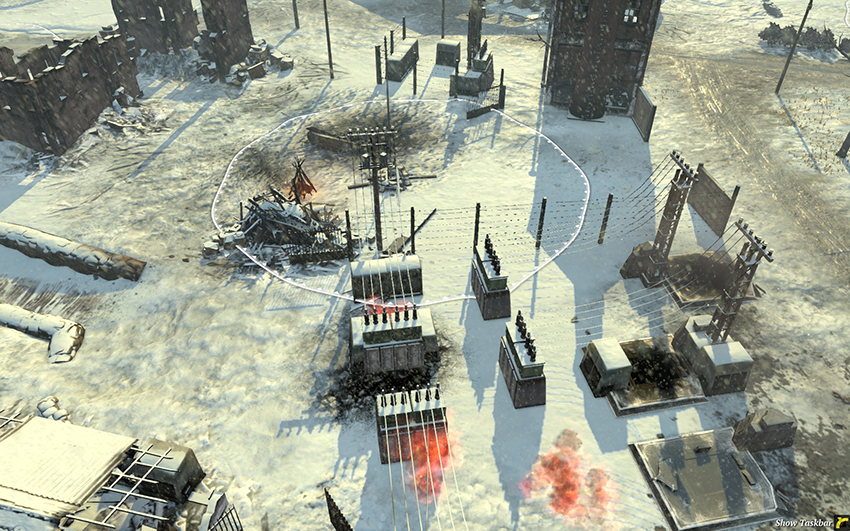
The West’s Standard Territory Point near the southern Fuel Point has obstacles everywhere, making it great for Snipers, and the building in the top right is a good location for HMGs or anti-tank infantry. This is a fairly safe location for Fuel and Munitions Caches, so long as you keep units within the vicinity.
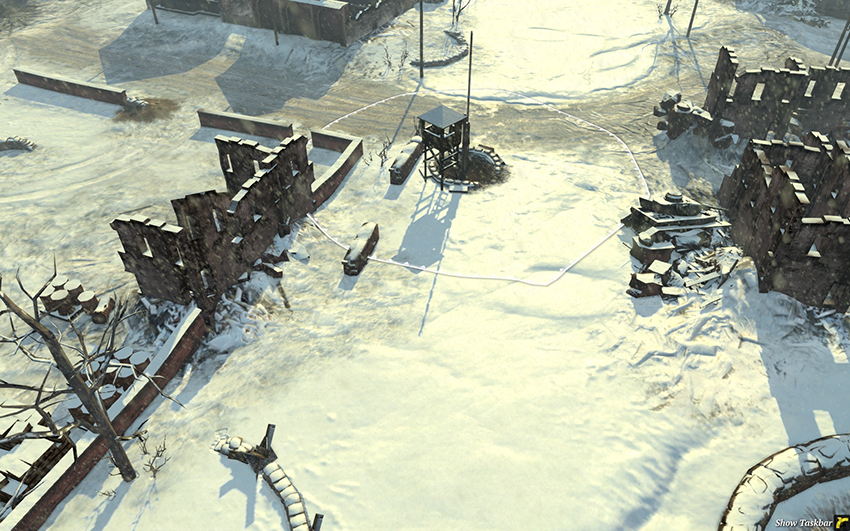
This Watchtower is useful for the West to hold in attacking the center Victory Point, and it can even be garrisoned by Snipers. Move infantry along the stone walls so that they remain in cover to keep their temperature constant—which is especially important during blizzards.
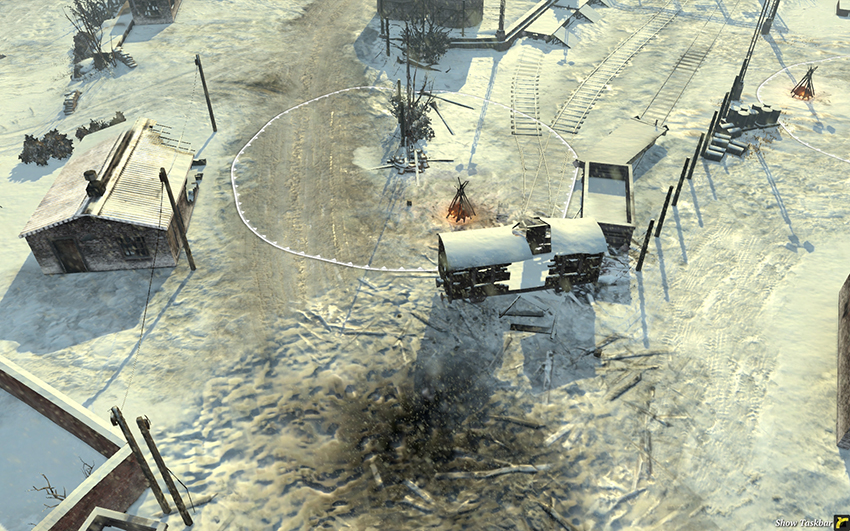
This Standard Territory Point is very close to the center Victory Point so whoever controls the latter will likely control the former. There are many sight blocking objects in the area and several travel paths, so mobile infantry and vehicles will be strong here.
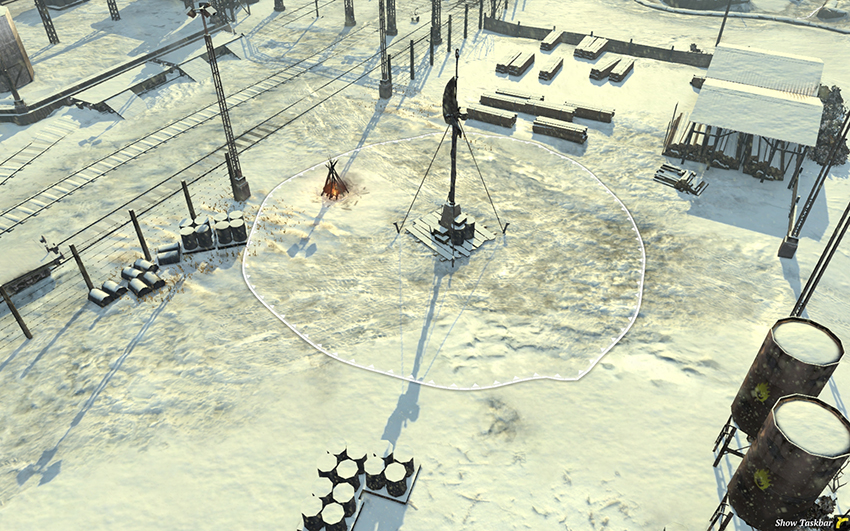
The center Victory Point has light cover scattered around, but nothing substantial. Snipers and other long-range units have exceptional sight lines around this area. Mines to the south and north of this point are suggested, and if you take control of it you ought to build sandbags with your Soviet Conscript squads, or build bunkers with Grenadiers or Pioneers as Germans. The gap between the wire fences on the left can be blocked with barbed wire in the early game to restrict access.
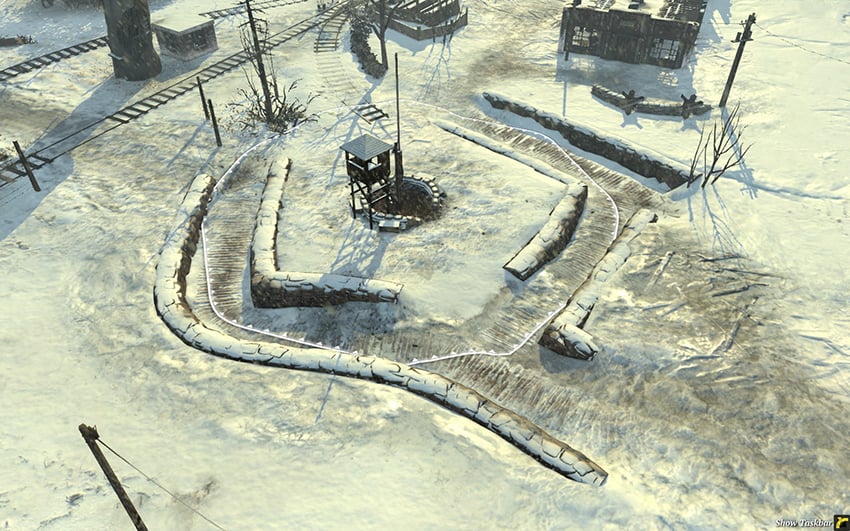
The eastern Watchtower is an important staging location for attacks against the center Victory Point due to the wonderful cover provided by the trenches. Infantry supported by AT guns functions effectively in this area.
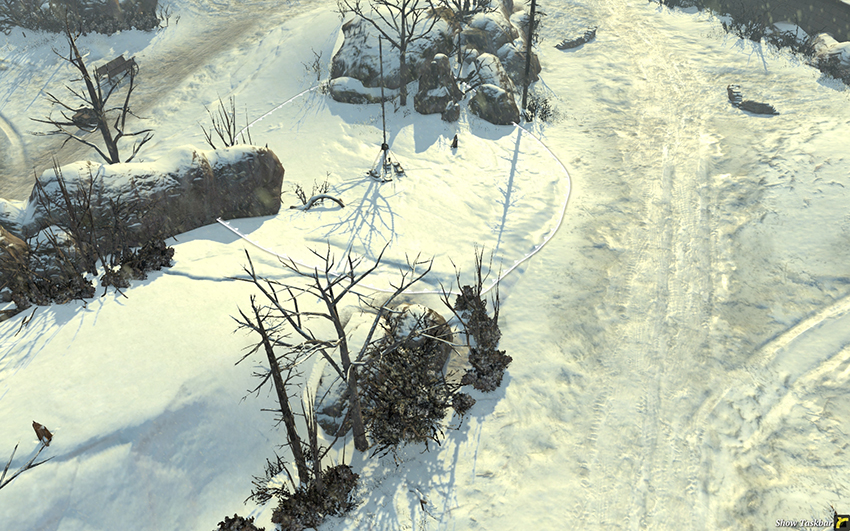
This point lies on the western approach to the northern Victory Point. Take it and move on; this isn’t an area you want to be fortifying.
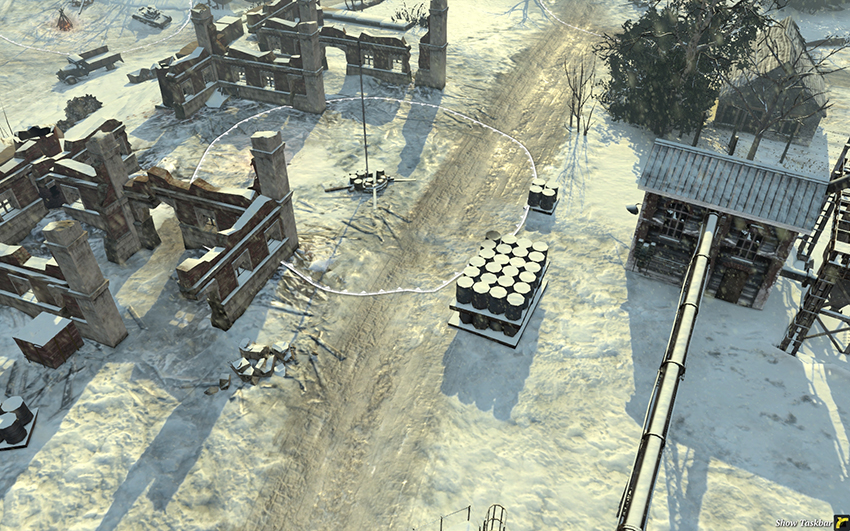
The northern Fuel Point is desirable to hold to gain an advantage in tank production. The destroyed buildings nearby restrict movement and sight, but infantry are not impaired as much. If you should capture this area, consider placing a Mortar inside one of the destroyed buildings for protection, so long as you have a Campfire nearby.
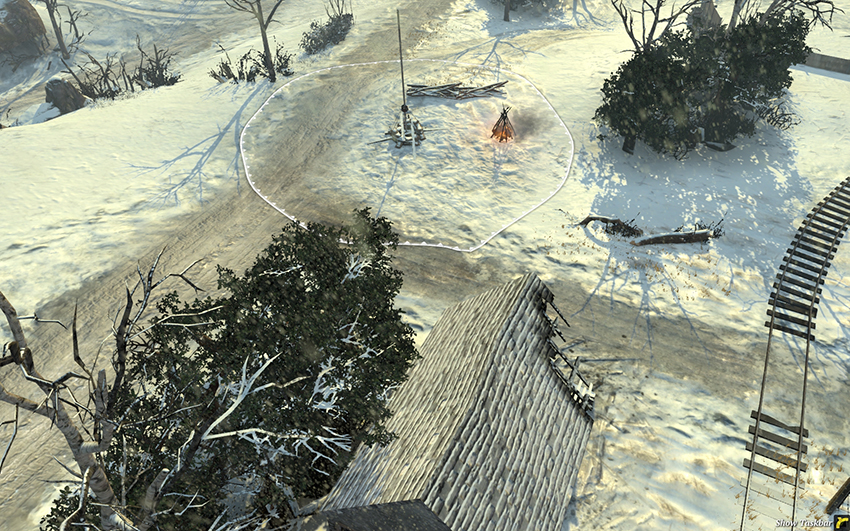
This Standard Territory Point straddles the East’s northern access routes to the northern Fuel and center Victory Point. As it’s so open, mobile vehicles are powerful here and mines on the roads are an effective counter.
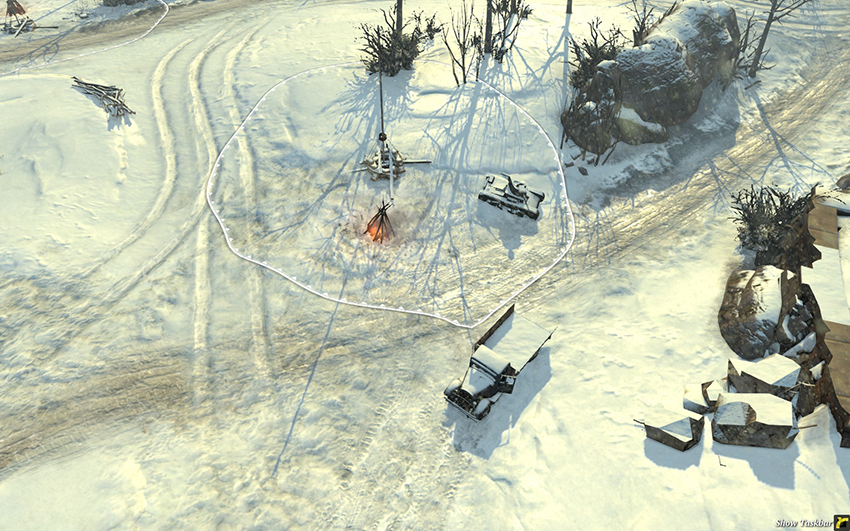
Fighting will take place here less commonly than at the northern Victory Point, though mines and barbed wire along the choke point on the right will restrict the East’s access. If the West can seize territory up to here, it’s a good location to defend by using long-range vehicles and artillery.
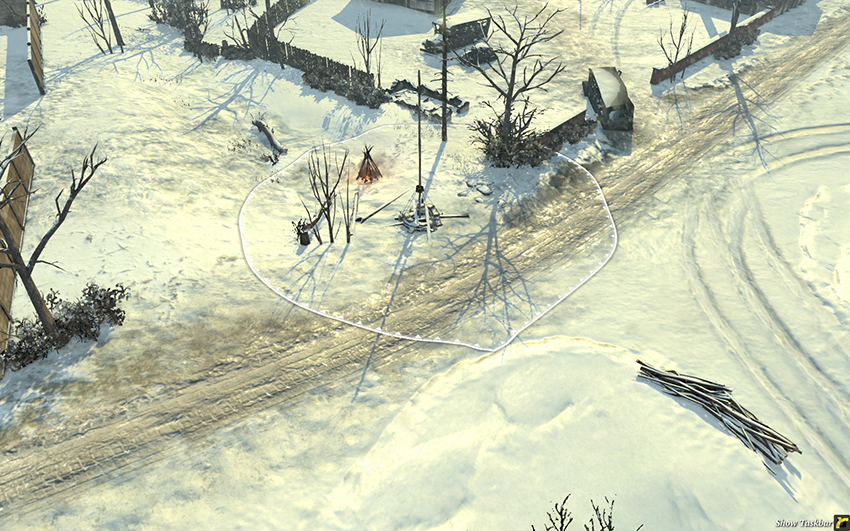
This northern Standard Territory Point is in a reasonably defensible location, especially for the East if they don’t have control over the northern Victory Point. Units around the walls at the top can cover the road and punish infantry that attempt to attack over open ground. Use the school buses to block sight when positioning a Mortar or Sniper.
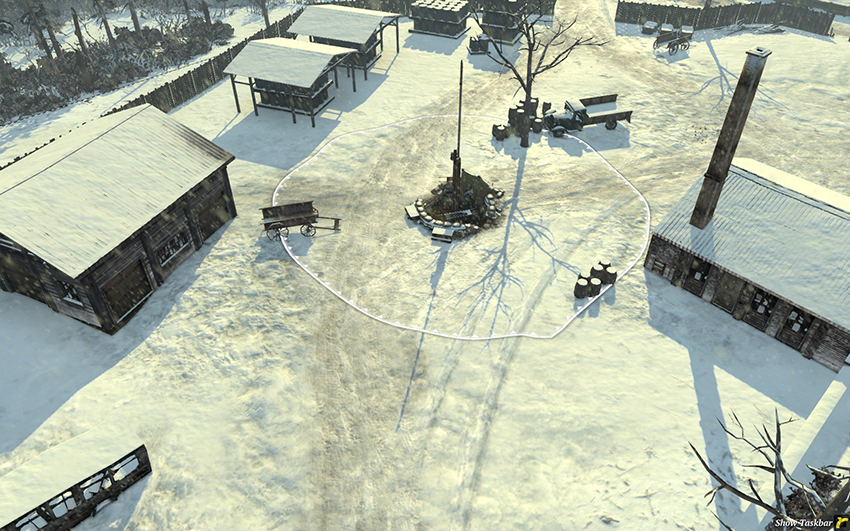
The northern Military Field Hospital is a desirable target for the West if they are able to push aggressively in the north, but it also can assist the East if they have difficulty securing control over the northern Victory Point. For either side, the buildings on the left and right are good positions for HMGs and anti-tank infantry. As the East, consider sending your vehicles from here along the northern map border to flank the northern Munitions Point, rather than approaching on the main road to the south as would be expected. This is especially potent during blizzards with restricted visibility.
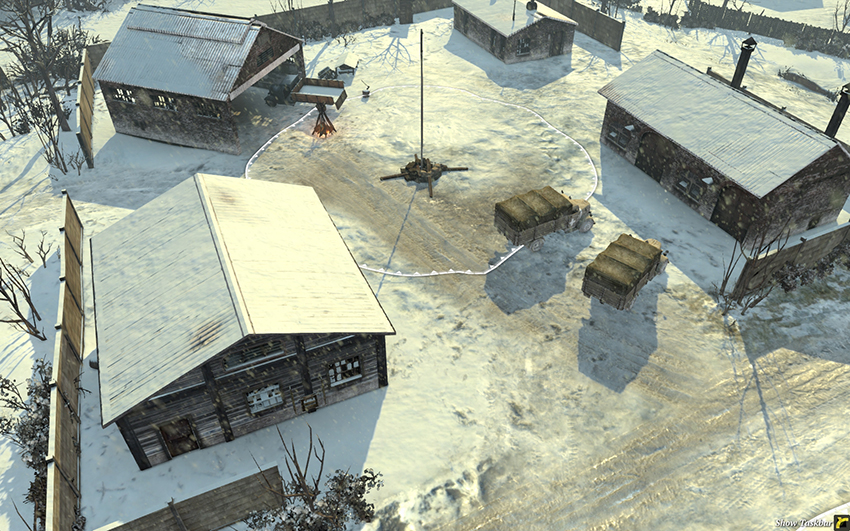
The northern Munitions Point has several strong buildings that may be garrisoned to lock down the area, including the northern Victory Point. Mortars may be placed in the gaps between the buildings and the stone walls so long as a Campfire is nearby, and vehicles can hide behind the many large buildings when repairing. Both sides should try to secure this area as soon as possible to prevent the other from fortifying it.
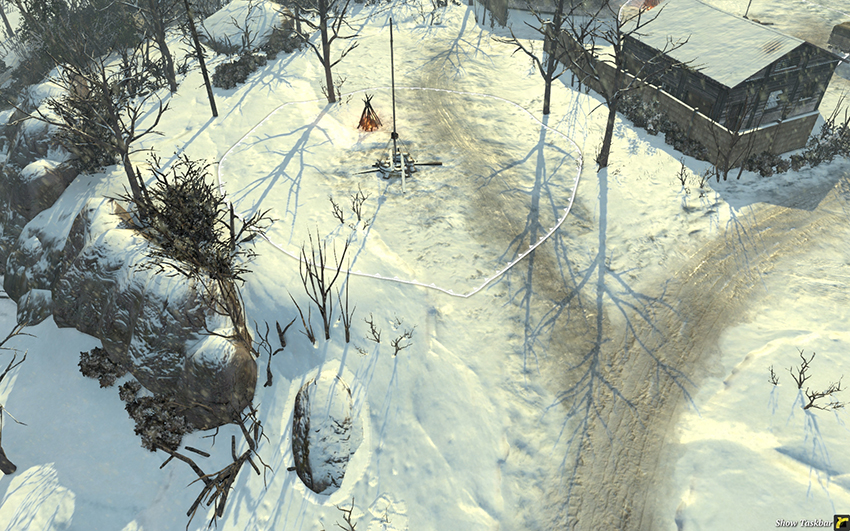
This northern Standard Territory Point sits on the western entrance to the northern Munitions and Victory Point. AT guns and HMGs can be positioned here by the East to stop the West from advancing up the road when attacking, and forcing them to divert their forces further toward the center.
ctw21.jpg The southern Fuel Point is located within a very large destroyed building with plenty of rubble around. Fortifying this location to a large extent isn’t the best idea because there’s not much useful cover to be found, but mines in this area can be powerful. So long as the flanks are protected, a single HMG or bunker can hold this area, but it’s desirable to mount an attack against the other side’s Standard Territory Point and related defensive force rather than remain here—especially if you can draw them out of position by momentarily withdrawing from this Fuel Point.
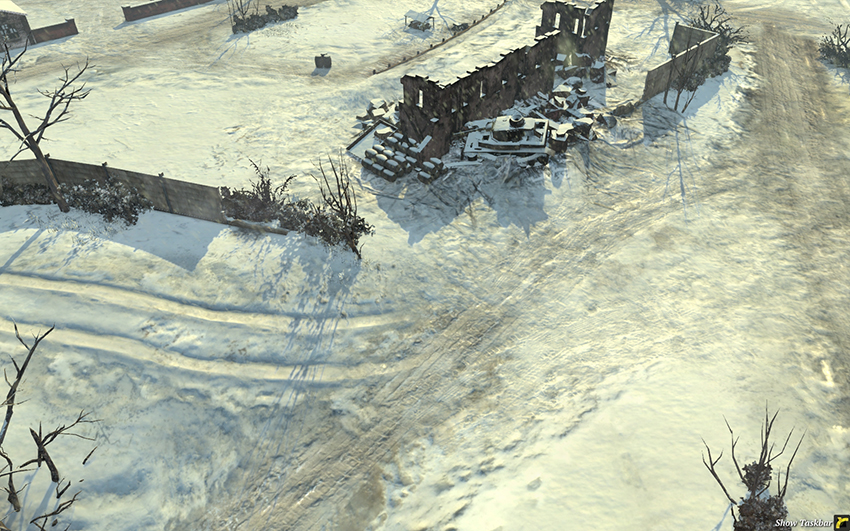
This area in the northeast is often used by the East to reach the north, though it’s important to watch the temperature meters on infantry to be sure they don’t freeze while crossing the open expanses.
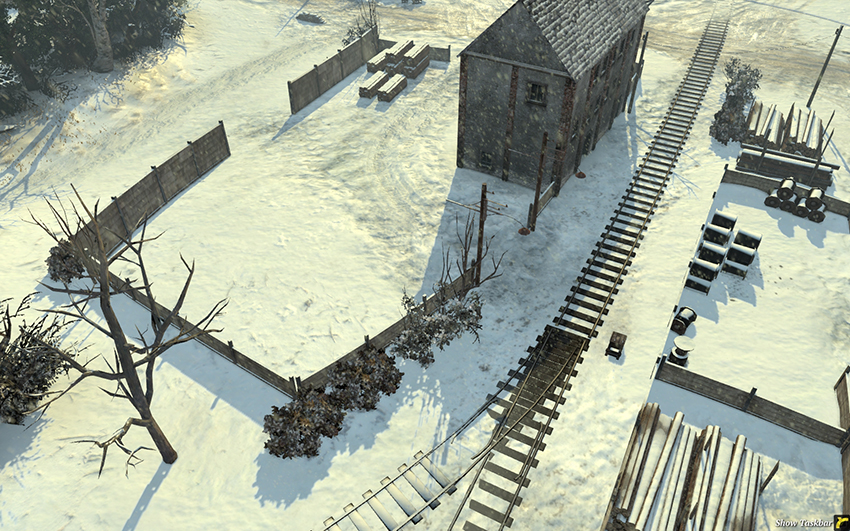
This area is another travel path used by the East, but it’s notable for the building here—one of the few intact ones on the map. This can be a good location for the East to place artillery units if they’re being pressured hard in the center.
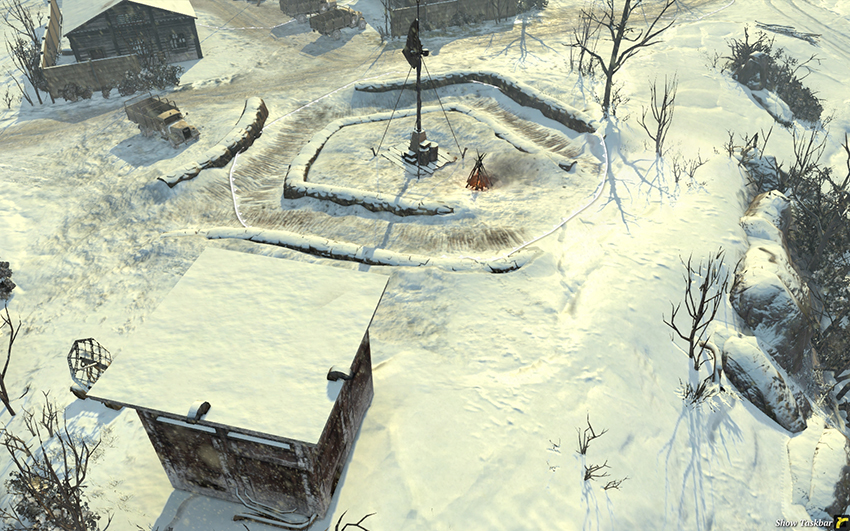
The northern Victory Point is surrounded by trenches that provide defending infantry units with a strong source of cover in any direction. The building at the bottom is a good location for an HMG, as is the building in the top left. When assaulting this point, it’s desirable to have artillery support to bombard any infantry in the trenches, and then to rush in from multiple directions simultaneously, using the open ground farther to the south as a travel path, and ideally pushing into the northern Munitions Point before seizing this.
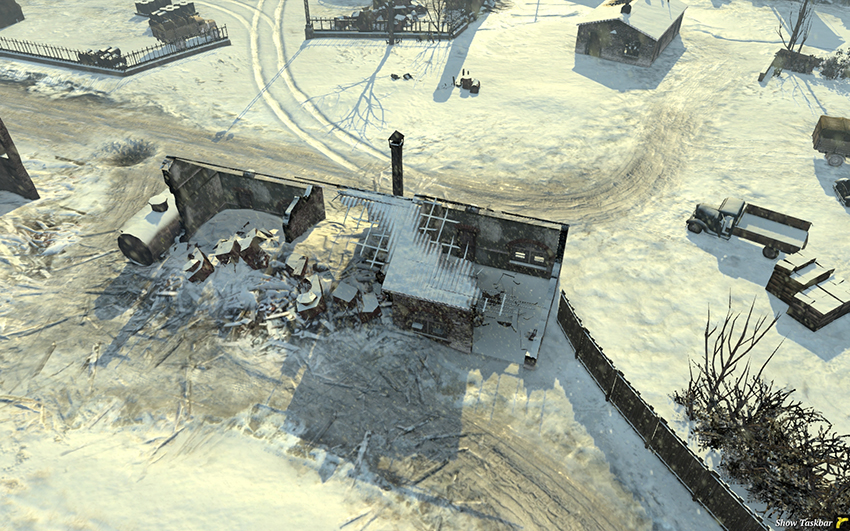
This is a view of the eastern entrance to the southern Munitions Point. Note how restricted sight lines are by the wooden fence and the destroyed buildings—you’ll want to be careful in moving in and out of these areas to avoid ambushes. Vehicles can crush the fence and open up new flanking routes, so be aware of that when positioning your units while defending the Munitions as the West.
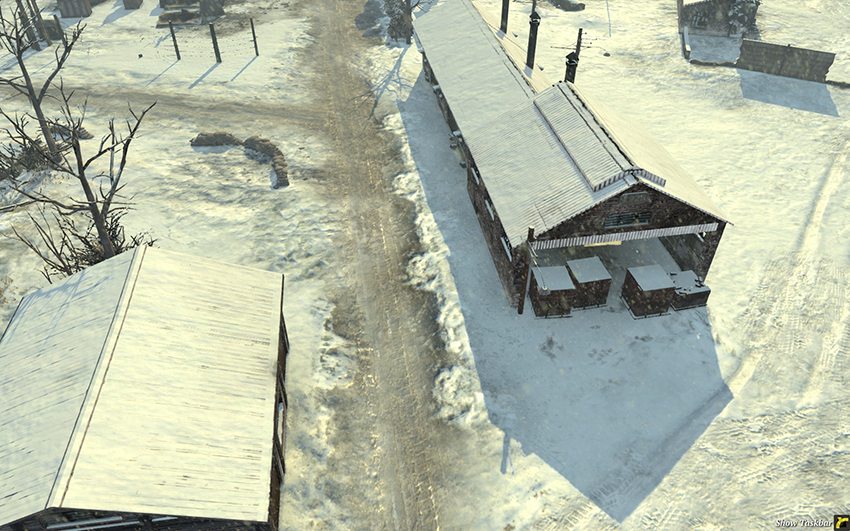
This is the area leading from the western base to the south. Not much fighting should occur here, but the several buildings bordering the road can be useful in warming up troops on their way to the front line during blizzards.
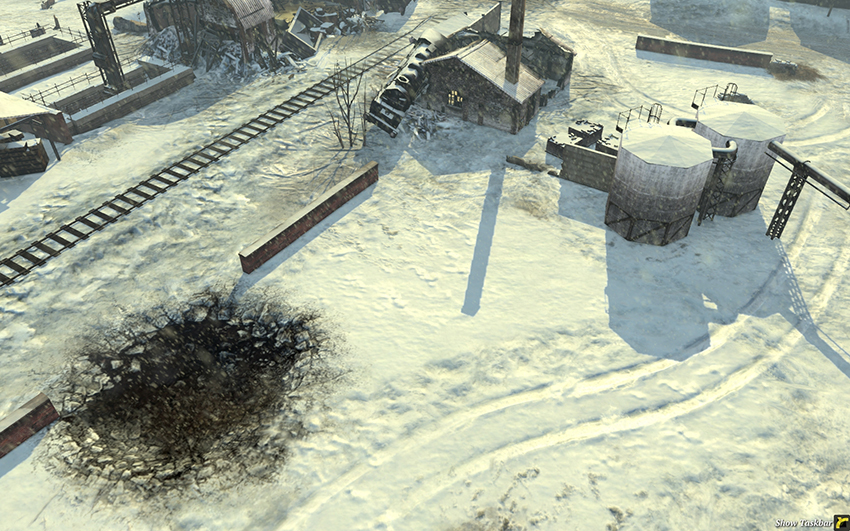
This is the West’s direct approach to the center Victory Point. As the West, the structures around the top are useful for blocking sight to allow your artillery to fire from safety.
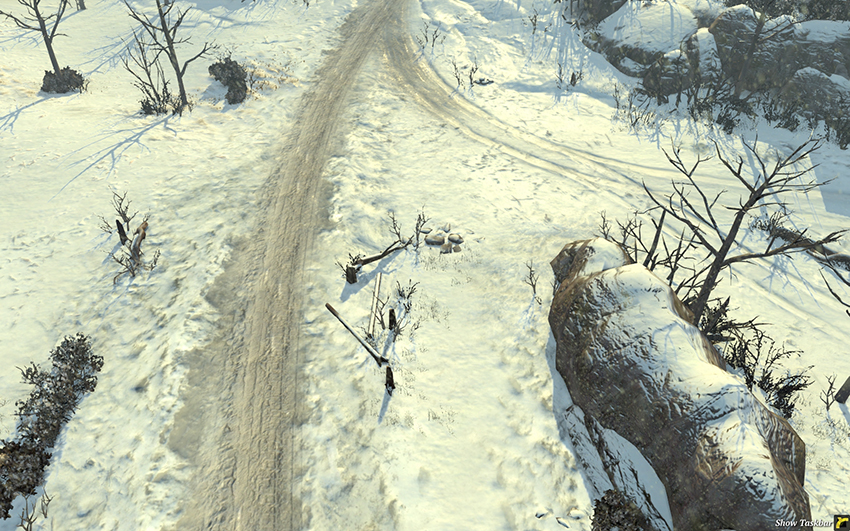
The western approach to the north lacks Campfire and is quite open. Vehicles, especially Half-tracks, will be a desirable component of any assault force against the north. As the West, it can be worth constructing a Campfire somewhere in this area to allow units to warm themselves when needed while traveling—it should be safe, as the East is unlikely to bother approaching this area.
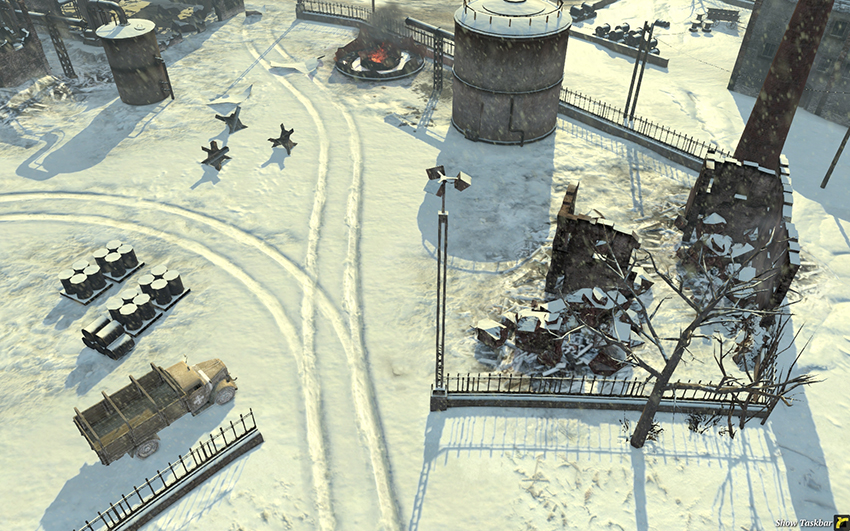
The area just west of the East’s southern base may see little fighting, but it is a useful path for units attempting to flank the south—depending on temperature conditions, it may be worth constructing a Campfire around the bottom of this area.