Prima Games eGuides
primagames.com Browse Redeem a code Help
Company of Heroes 2 eGuide
Sign in My Guides

Sign in or create an account

We'll email you a link. No password needed, and if you don't have an account yet, the link makes one.

By creating an account or signing in, you agree to our Terms of Service and Privacy Policy.

Have a password?

Had an account on the old eGuides site, or a code from a printed guide? Help and troubleshooting

Sign in with a password

By signing in, you agree to our Terms of Service and Privacy Policy.

Check your email

A sign-in link is on its way. It works once and expires in 15 minutes. Open it and you're in, with an account if you didn't already have one.

Contents

  • Essentials
    • Introduction to Company of Heroes 2
      • Soviets and Germans Essentials
      • Controls
      • New in Company of Heroes 2
    • Units
      • Unit Roles
      • Germans
      • Soviets
    • Interviews
      • Martin Katzenmeier — Development Manager
      • Ian Guise — Art Director
      • Jeffery Simpson — Community Manager
      • Remy Saville — Lead Engineer
      • Stefan Haines — Senior Balancer
      • Brett Pascal — Lead Animator
      • David Renn — Lead Audio Designer
    • History Gallery
      • History Gallery
  • Campaign Walkthrough
    • Introduction
      • Introduction
    • Mission 1
      • Mission 1
    • Mission 2
      • Mission 2
    • Mission 3
      • Mission 3
    • Mission 4
      • Mission 4
    • Mission 5
      • Mission 5
    • Mission 6
      • Mission 6
    • Mission 7
      • Mission 7
    • Mission 8
      • Mission 8
    • Mission 9
      • Mission 9
    • Mission 10
      • Mission 10
    • Mission 11
      • Mission 11
    • Mission 12
      • Mission 12
    • Mission 13
      • Mission 13
    • Mission 14
      • Mission 14
  • Theater of War
    • Introduction
      • Introduction
    • Soviet Missions
      • Soviet Missions
    • German Missions
      • German Missions
  • Advanced Tactics
    • Advanced Tactics
      • Advanced Tactics
    • Unit Control
      • Unit Control
    • Tactics: Situational Analysis
      • Tactics: Situational Analysis
    • On the Battlefield
      • On the Battlefield
    • Unit Tactics
      • Snipers
      • Infantry
      • Vehicles
      • Anti-Tank Guns
      • Mortars
      • Heavy Machine Gun Teams
      • Howitzers
  • Multiplayer Strategies
    • Introduction
      • Introduction
    • Multiplayer Essentials
      • Multiplayer Essentials
    • Commander Selection
      • Commander Selection
    • Strategy Theory
      • Strategy Theory
    • How to Be An Expert
      • How to Be An Expert
  • Multiplayer Maps
    • Map Strategy
      • Point Types
    • Kholodny
      • Kholodny Summer
      • Kholodny Winter
    • Minsk
      • Minsk
    • Pripyat
      • Pripyat Summer
      • Pripyat Winter
    • Oka River
      • Oka River
    • Moscow
      • Moscow Summer
      • Moscow Winter
    • Rzhev
      • Rzhev Summer
      • Rzhev Winter
    • City 17
      • City 17 Summer
      • City 17 Winter
    • Steppes
      • Steppes
  • Video
    • Tutorial Videos
      • Abilities
      • Building and Construction
      • Cold Weather
      • Commanders
      • Cover and Flanking
      • Range and Combined Arms
      • Resources and Capture
      • Spawning
      • Suppression and Retreat
      • Team Weapons
      • Truesight

Company of Heroes 2 Guide › Campaign Walkthrough › Mission 7

Mission 7

Achievements

Direct Fire: Complete the mission without capturing or deploying a Mortar.

  • This can be done by following the normal mission walkthrough as long as you do not use a Mortar.

Point Blank Demolition: Destroy the German strongholds from close range on General difficulty.

  • This will require that you eliminate all German units near each stronghold before destroying the strongholds themselves. The challenge of this achievement will be the extra units and decreased population cap on General difficulty, as well as forcing the player to take out all of the defending units instead of destroying the strongholds with artillery barrages.

Suchka Specialist: Earn three ranks of veterancy with an SU-76.

  • Although it is possible to receive this through completing the mission normally, it may be done by using only one SU-76 to barrage enemy targets such as the Pak 43s or enemy defenses. It may take a while before the SU-76 earns all three ranks due to the cooldown on its barrage ability, although it is not necessarily challenging.

Walkthrough

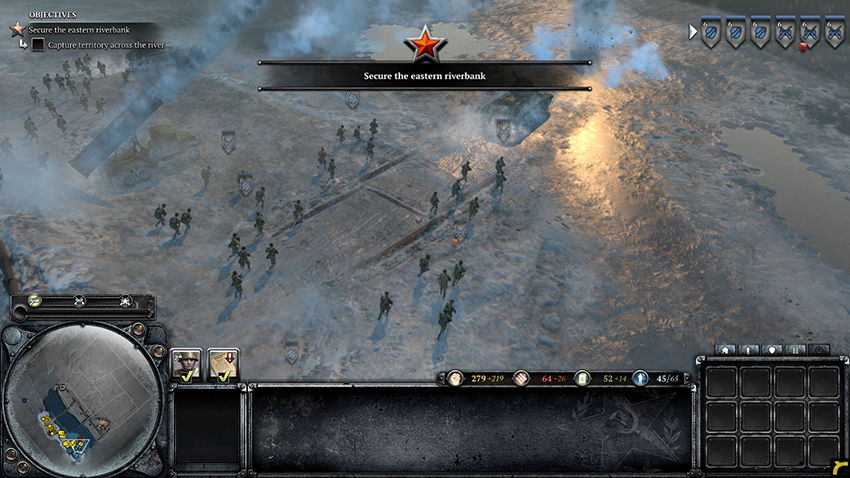
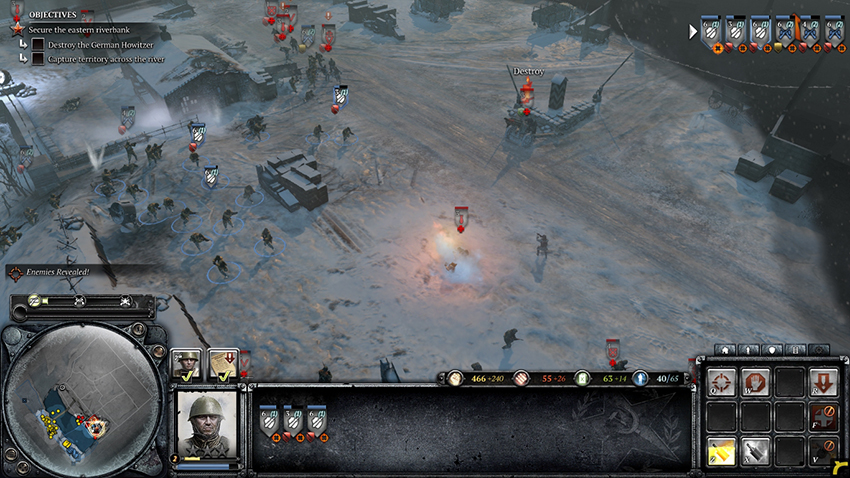
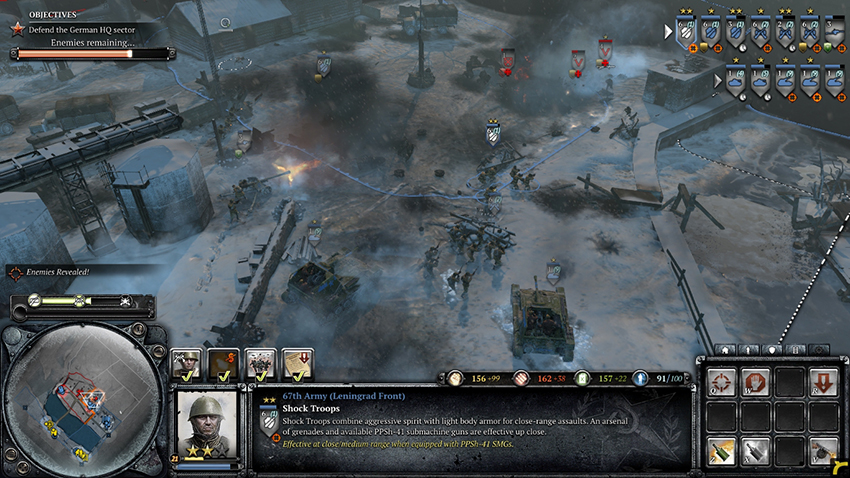
The mission begins with your forces across a frozen river from strong German defenses. Use your three Shock Troops squads and your three Conscripts squads to cross the river and secure the territory point. Although there is plenty of enemy infantry in the way, they retreat once they begin to lose men. Use grenades from your Shock Troops to force them to retreat more quickly. Take out the Mortars along the riverbank, then destroy the nearby Howitzer artillery battery. The last enemies are hiding near the territory point—an HMG and Snipers will try to keep your units from taking the territory. Use at least three of your squads at once to take out the Snipers and throw a grenade or Molotov at the HMG to take it out. Secure the territory point to begin a cutscene.
Caution

The German Mortars constantly bombard your units as they run across the river. Keep moving so that none of your units get caught in a barrage.

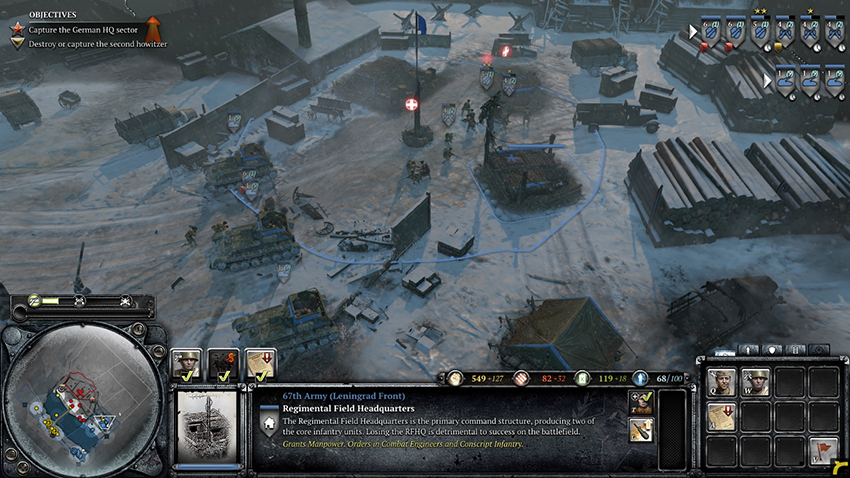
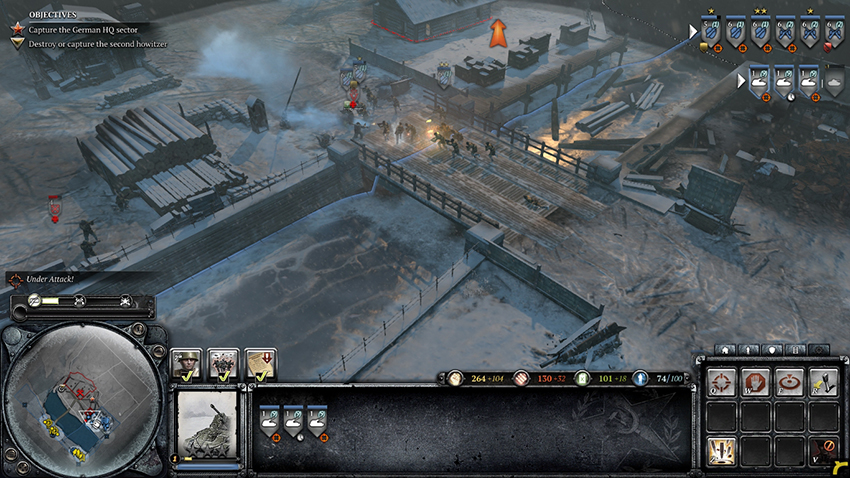
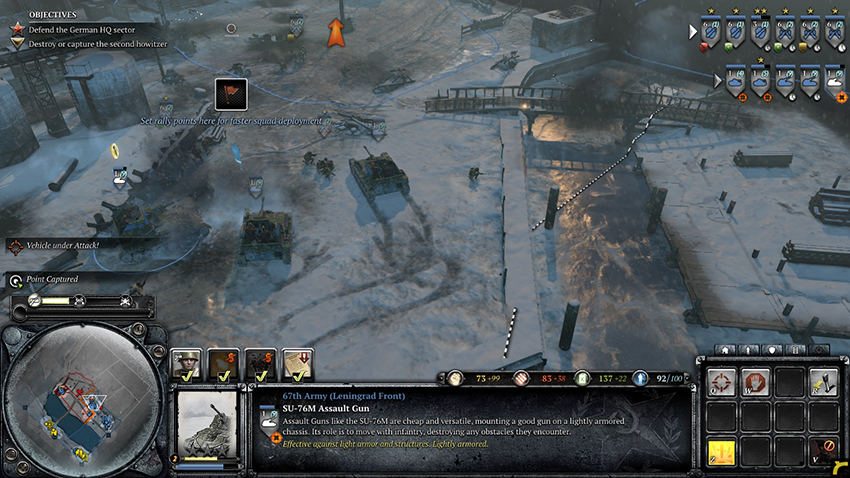
A new base is set up on the captured territory point. Use your increased population cap to build new squads and reinforce any wounded squads. If you look at the Tankoviy Battalion Command, you will notice two new units that you can call in: the M5 Half-track Transport, the same one that you used on Mission 5, and the T-70 Light Tank, a small mobile tank that is resistant to small-arms fire and can destroy infantry and light vehicles easily. This mission will require both an aggressive and defensive force, so consider calling in an HMG as well as any mobile forces you wish to use. The T-70 is a worthy investment and will be useful for most of the mission. In addition, you are granted three SU-76M Assault Guns, medium-armored vehicles with the ability to shoot artillery at a long range. These are great for bombarding defended positions and taking out HMGs, and their main gun is good against light and medium vehicles. Once you have decided which units to add to your force, head northwest across the bridge and toward the German HQ sector, the area marked on the minimap.
Tip

The new commander ability, Fear Propaganda Artillery, causes enemy infantry in the target area to be pinned or retreat. Although expensive, it can be invaluable in getting your units out of bad situations by neutralizing enemy infantry.

Note

The abandoned artillery battery in the territory can be recrewed by your infantry. The artillery is immobile and can only fire using its barrage ability, yet it causes incredible damage and has an extreme range.

Tip

Consider calling in an M5 Half-track to advance with your infantry, allowing them to reinforce away from your Headquarters. Load a Sniper into the Half-track or upgrade it with the Anti-air Package so that it is strong against infantry.

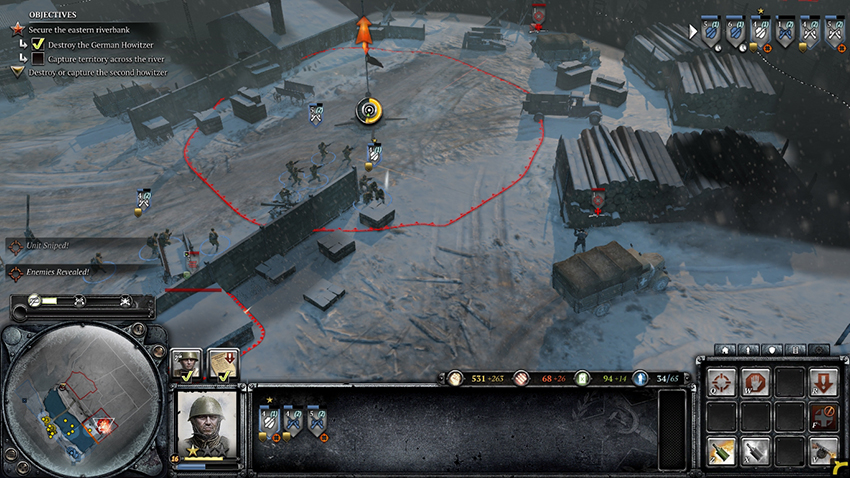
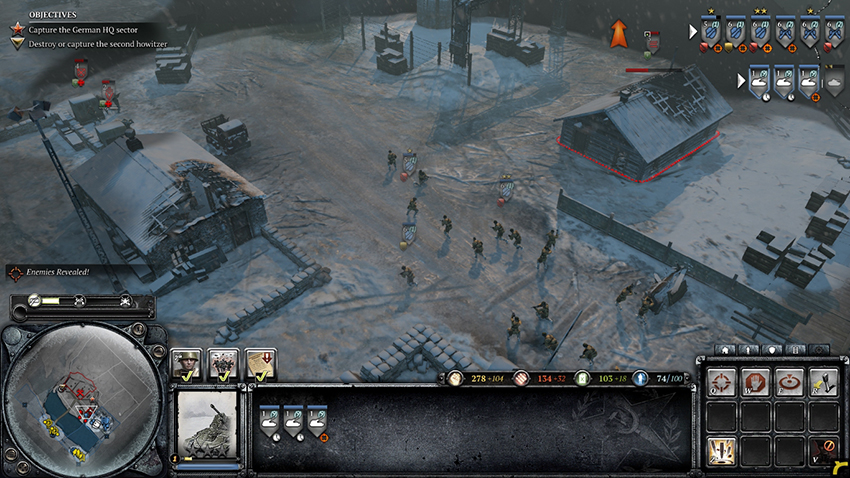
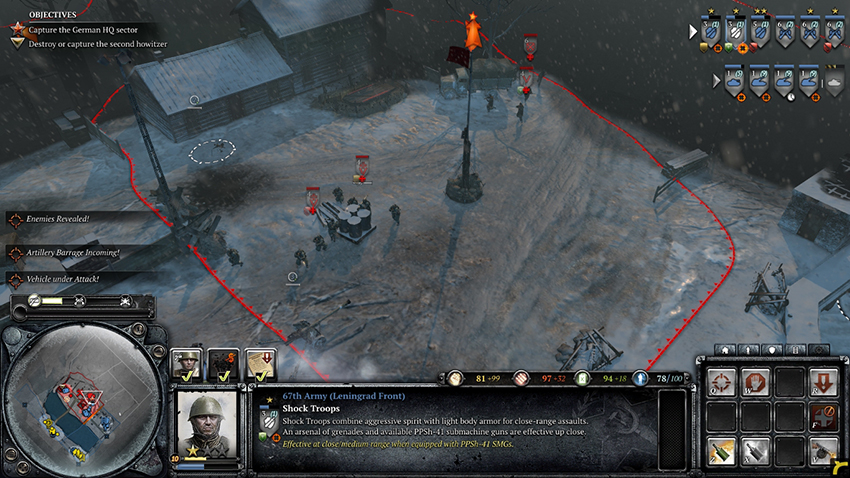
A number of German infantry squads are stationed between you and the German HQ sector, consisting of Grenadiers, Panzergrenadiers with Panzershreks, and HMGs, which may be garrisoned in buildings. Lead the way with your infantry and follow up with vehicles, taking out any anti-vehicle units before finishing off the rest of the units. Your SU-76s are great at dealing with stationary targets at long range, and their Light Artillery Barrage can target single units, which makes them useful against slow or disabled units. Use these to quickly take out infantry in buildings or cover. Continue to the designated territory point to find an abandoned MG42 HMG and Pak 40 AT gun. Claim the territory point to complete the task.
Note

The second German Howitzer is to the northeast of your position at the third territory point. Consider taking this out before you capture the German HQ sector so that it cannot cause any more damage and you can use all of your squads for the next task. It is not heavily defended, although taking it out will likely require more than two units. Look for the position marked on the minimap.

Tip

A German-controlled Vehicle Repair Facility is on the cliff northwest of the German HQ sector. If taken, vehicles close to the facility will be slowly repaired. Taking the territory is not required, although doing so can make the mission easier to complete.

The Germans want their HQ sector back and are going to fight for it. German infantry come in from the northeast as well as across a small bridge to the east (which can only be used by infantry). Use one of your SU-76s to blow up the bridge so that the enemy is forced to come from the northeast—target the bridge with its barrage ability to destroy it. Set up your weapon teams to cover the territory and keep any vehicles nearby to make short work of any incoming Germans. The infantry will be easy to deal with due to your force of Shock Troops, Conscripts, and SU-76s, if you use their barrage ability. Use your SU-76s to take out any light vehicles. When tanks begin to attack, select your SU-76s and target them with the barrage ability—it will not take long before they are destroyed. Consider crewing the abandoned MG42 and Pak 40 in the area; they will help with the defense. Destroy all that comes your way and the nearby building turns into a new Soviet Headquarters, and also increases your population cap.
Note

Another commander ability, Scorched Earth Policy, is ready for use. At the high cost of 300 Munitions, all of your territories will be bombarded when enemies are nearby. While this can be useful for defending, its high cost is likely not worth it—save your Munitions for grenades, Molotovs, and unit upgrades.

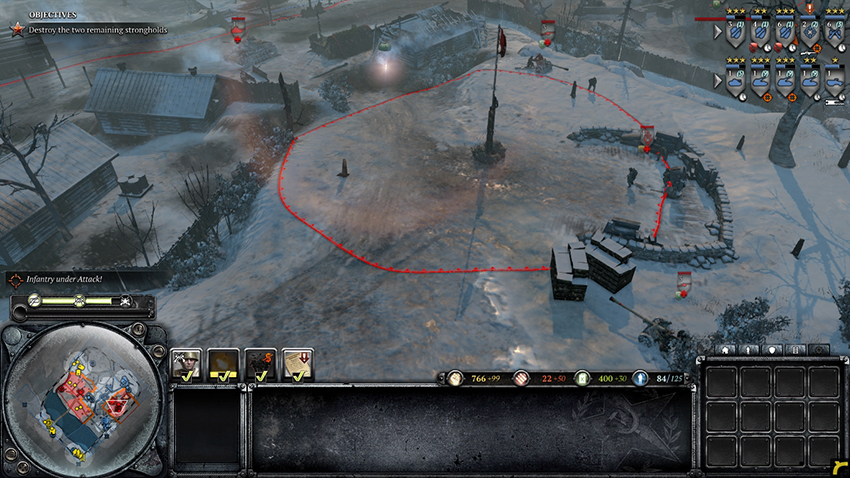
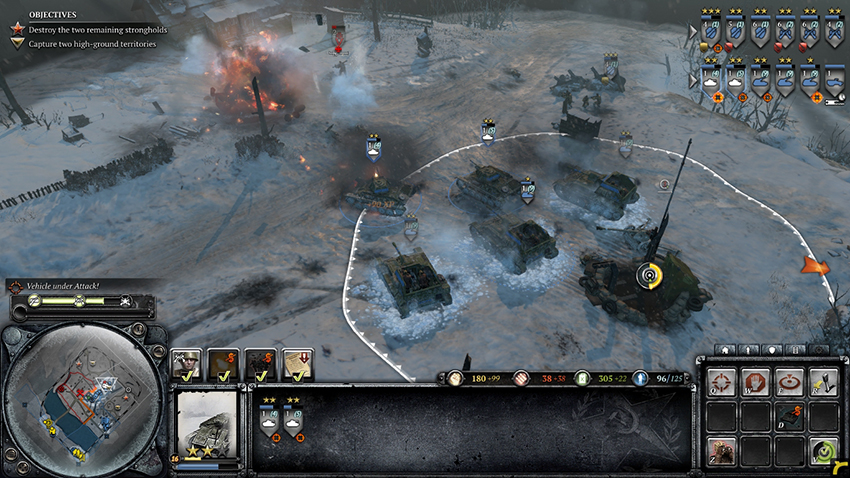
Your final task for the mission is to take out the two remaining German strongholds in the north and east. After reinforcing your units and repairing your vehicles, move your units toward the Vehicle Repair Facility northeast of your new Headquarters. The territory is guarded by an AT gun, Panzergrenadiers with Panzershreks, and other infantry, as well as a German Half-track with the Flammenwerfer upgrade, which grants it two flamethrowers that can spit fire at long range. Use your infantry to scout ahead and attack the German anti-vehicle units until the Half-track drives toward your units. Quickly target the Half-track with your SU-76s’ barrage ability and keep sight of it until it has been destroyed. With your infantry’s main threat removed, use them to finish off the rest of the Germans near the Vehicle Repair Facility, or barrage the area with your SU-76s. Take the facility—this will be used as a staging point for destroying both German strongholds.
Note

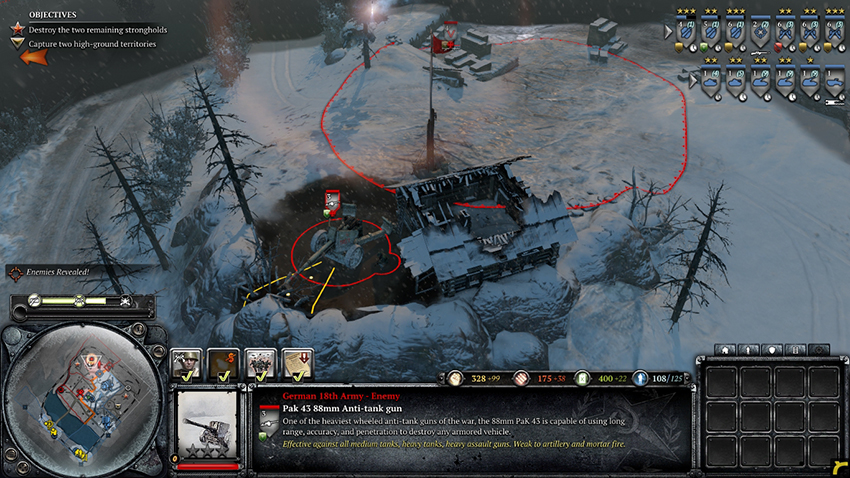
The new secondary objective you are given is to capture two high-ground territories. Completing this objective causes your allies to come in from the northeast side of the map and they assault both of the German strongholds; it also increases your sight radius. The Vehicle Repair Facility you capture counts as one territory. The southeastern territory is defended by a force similar to the one that defended the facility, although you will not find another Flammenwerfer Half-track. The northern territory is much more lightly defended by infantry and Mortars. However, the northern territory point is guarded by a large and powerful Pak 43 AT gun—taking this out will make moving around the northern side of the map much easier. You may pick which one you would like to take if you wish to complete the objective.

Caution

While you hold the Vehicle Repair Facility, the Germans will send Panzergrenadiers with Panzershreks at the territory. Don’t leave your vehicles at the facility without infantry support or they may be destroyed.

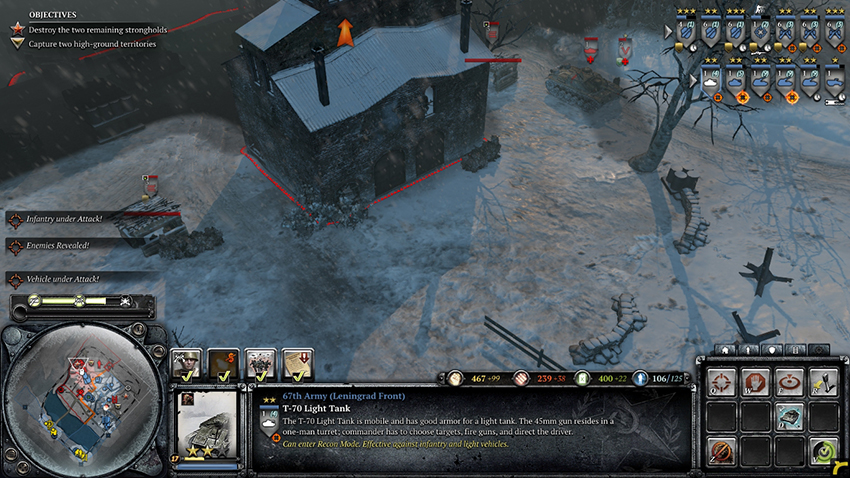
Leading with your infantry, move your units toward the northeastern German stronghold. The stronghold is defended by infantry, weapon teams, and tanks, along with a long-range Pak 43 AT gun on the hill to the east of the stronghold. Your SU-76s can take out most of the Germans as long as they have sight of their targets. Get sight of the enemy with your infantry, then let your SU-76s and other vehicles take them out. Completely destroy the stronghold to cause an allied Soviet force to assault the Germans from the northeast if you have not completed the secondary objective.
Tip

The Pak 43 is incredibly weak to artillery. Your SU-76s can take it out from long range before it can cause trouble by using their barrage ability.

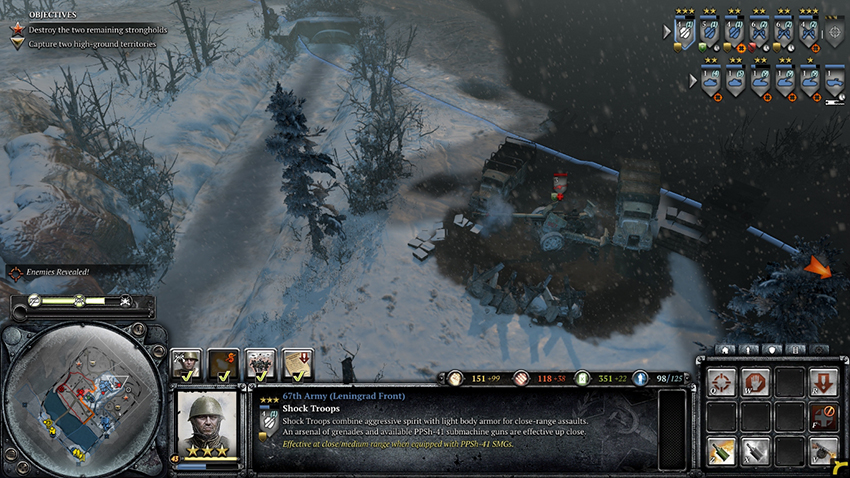
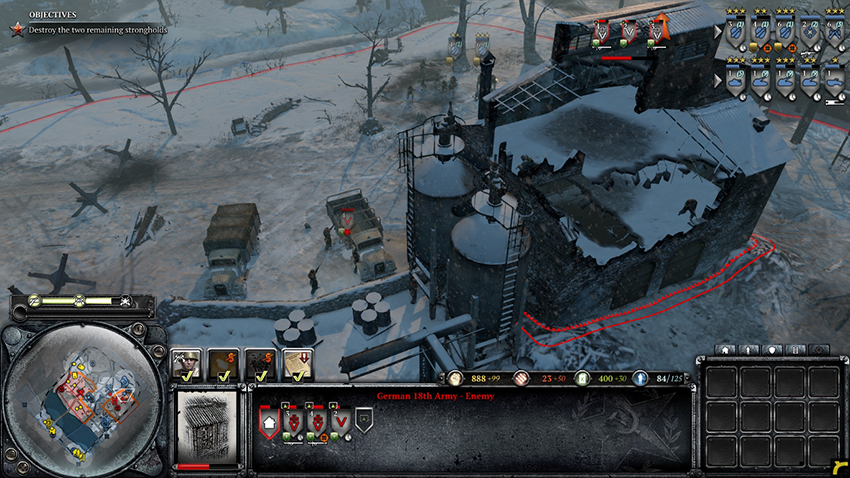
The second stronghold is located southeast of your Vehicle Repair Facility. Return to the facility to repair your vehicles, then continue on to the second stronghold. This one is much more heavily guarded by tanks and weapon teams. Using the same strategy of scouting with infantry and barraging with your SU-76s may take a while, as the barrage ability has a fairly long cooldown. If you wish to speed up the process, position AT guns on the road north of the stronghold and lure the German tanks into their range, then use your vehicles to take out the remaining weapon teams. Destroy the stronghold to claim victory over the Germans.
Tip

A second Pak 43 is located along the road north of the second stronghold. Fortunately, your SU-76s can reach it from the Vehicle Repair Facility with their barrage ability. Your infantry can recrew it if it is taken, which provides an effective way of destroying the German tanks near the stronghold.

Keep reading with a free account

The first 3 sections of Company of Heroes 2 are open to everyone. An account opens the rest of it, and every other guide in the archive. It's free, and there's nothing to buy.

Bought guides on the old Prima Games site? Your account and every guide you own moved here, so there's nothing to buy again. Sign in.

Create a free account Or browse our free guides

PreviousMission 6 NextMission 8