Company of Heroes 2 Guide Campaign Walkthrough Mission 2
Mission 2
Achievements
Invaluable Resource: Keep the Shock Troops alive throughout Mission 2.
- Keep watch of your Shock Troops throughout the mission and use Conscripts to merge into their squads as needed. This is not a difficult objective, although you will need to be more careful with positioning your Shock Troops. You do not have to keep every squad alive to receive this achievement.
What’s Mine is Mine: Defend the train yard without placing any mines on the roads.
- Instead of using mines, use grenades from your Shock Troops to take out Half-tracks and Scout Cars. This is not difficult as long as you respond quickly to any German vehicles.

Walkthrough
The first mission involved launching an offensive on the German forces. Now, you must defend a Soviet town until its evacuation is complete and all of its resources have been removed or destroyed. You are granted two Conscript squads to begin with. Move these squads to the designated squads of Shock Troops, shown on the minimap to the northwest of your position. You are given control of the Shock Troops once your Conscripts near their position. To complete the objective of using Merge on the Shock Troops, select your Conscripts, click on the Merge ability, then left-click on one of the squads of Shock Troops. Merging removes men from the Conscript squad and puts them into the targeted squad, returning it to full strength. Both squads of Shock Troops must be returned to full strength and require three men. Once the units have been merged, two additional nearby Shock Troops squads are given to you. Your task is now to hold their position.
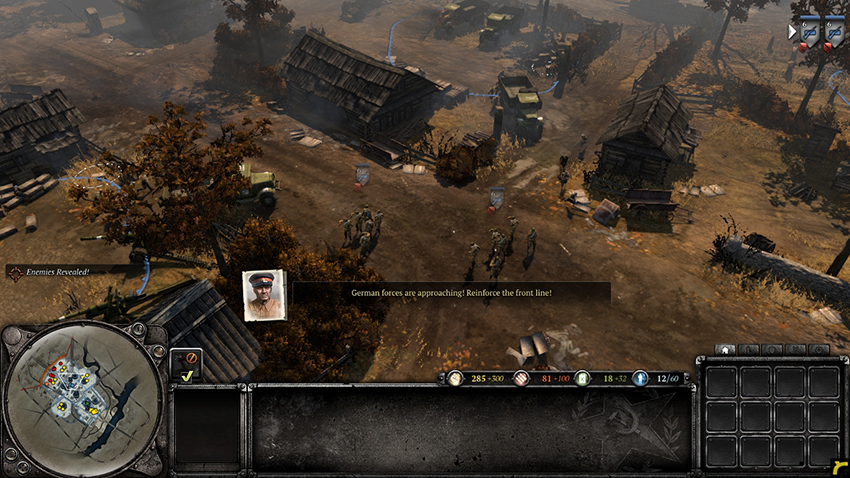
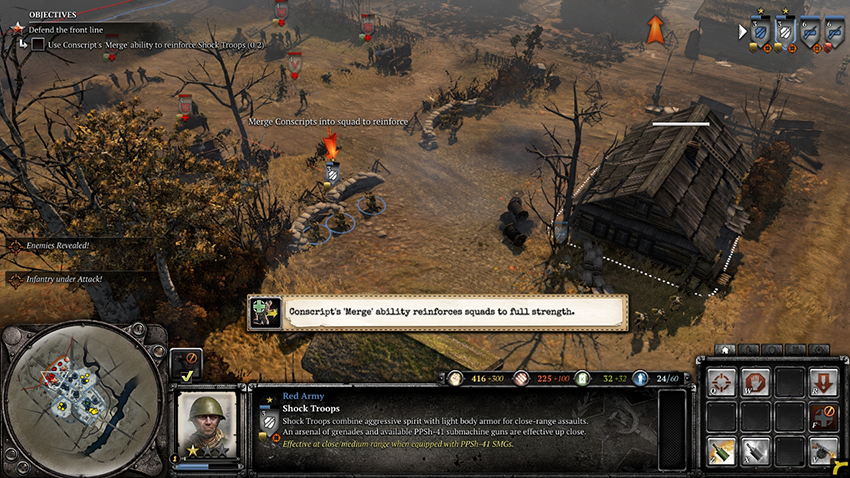
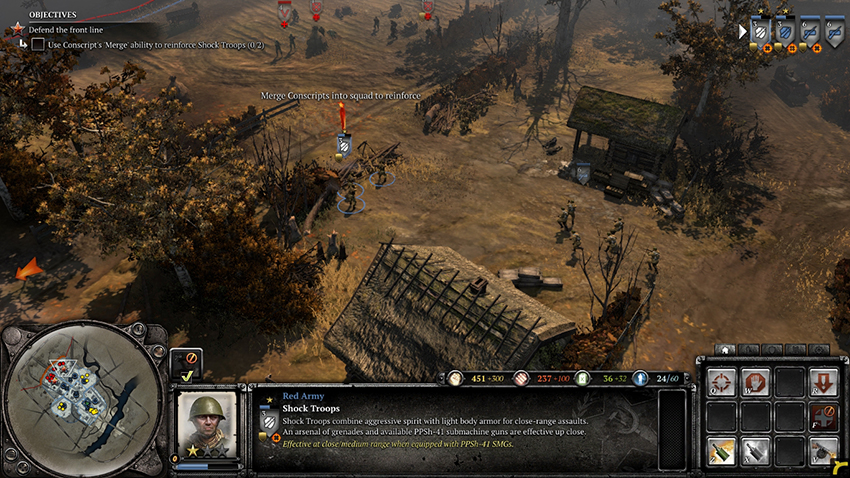
The Germans send waves of infantry to take your position. Keep your Shock Troops in cover and place your Conscripts nearby to shoot at the enemy. If any of your Shock Troops lose men, quickly use your Conscripts to Merge into their squads. Use grenades if you feel that you are being overrun, although do try to save Munitions; you will need the extra resources later in the mission. Your new Mobilize Fresh Conscript Squad commander ability can be used to call in a new squad of Conscripts—use this to replace any Conscript squads that you may lose. Hold the position until your objective is complete.
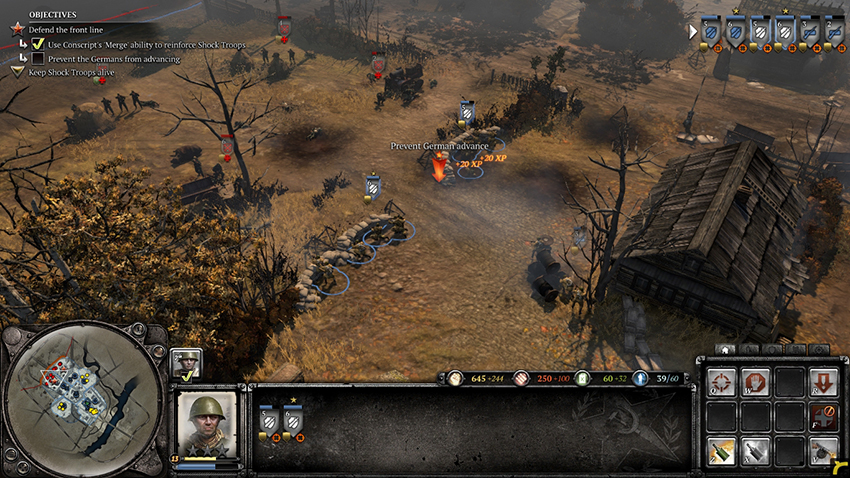
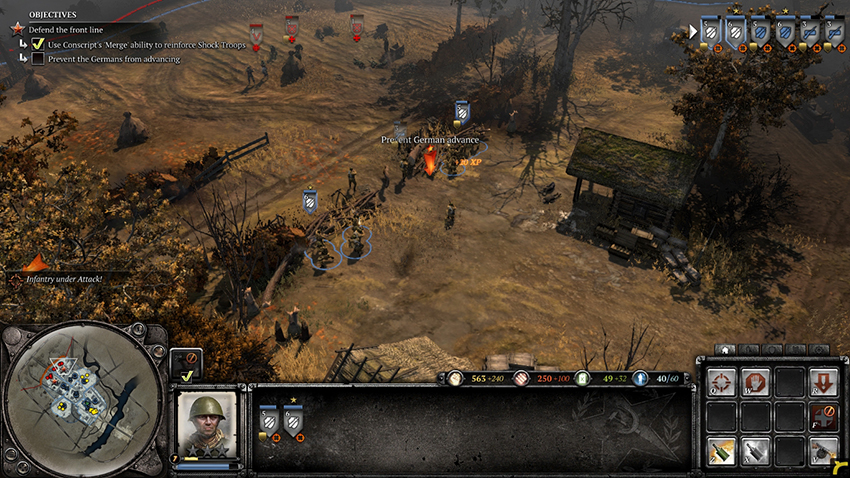
After the enemy retreats, a Stuka bomber tries to take out your squads at the left defenses. Once Soviet communications tell you that a Stuka is incoming, move your infantry away from their defenses quickly. Another option is to use the new Retreat order on your infantry, which is on the top-right of a squad’s task bar. Retreating squads automatically run back to your Headquarters, near where your Conscripts were initially located in the middle of the map. If you are worried about your units dying, Retreat is the best option.
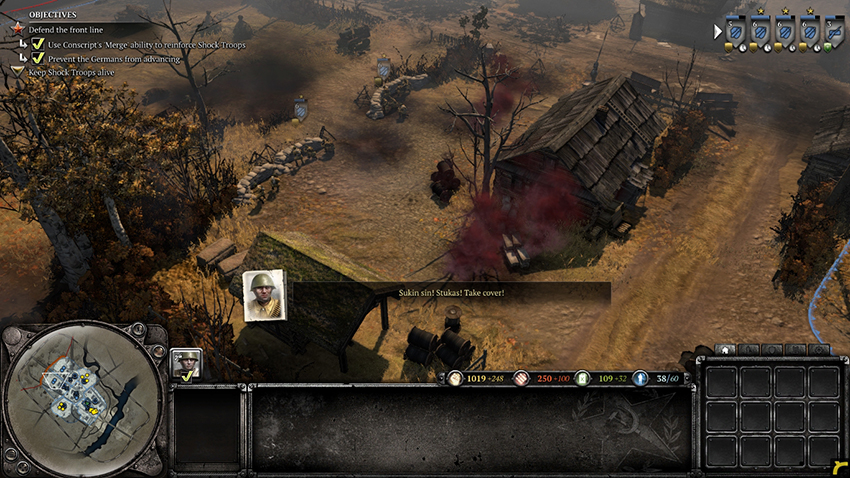
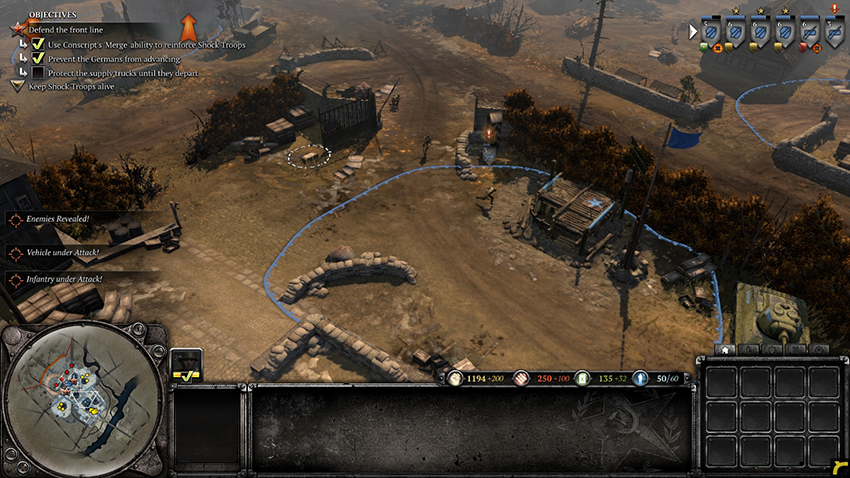
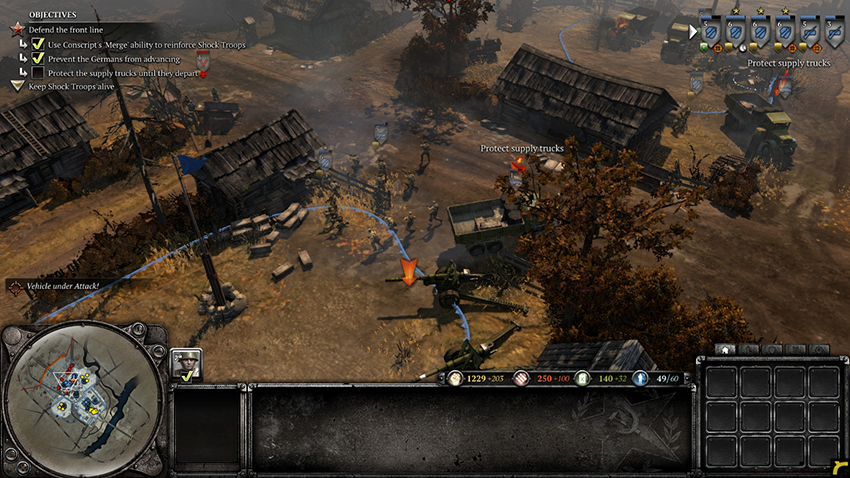
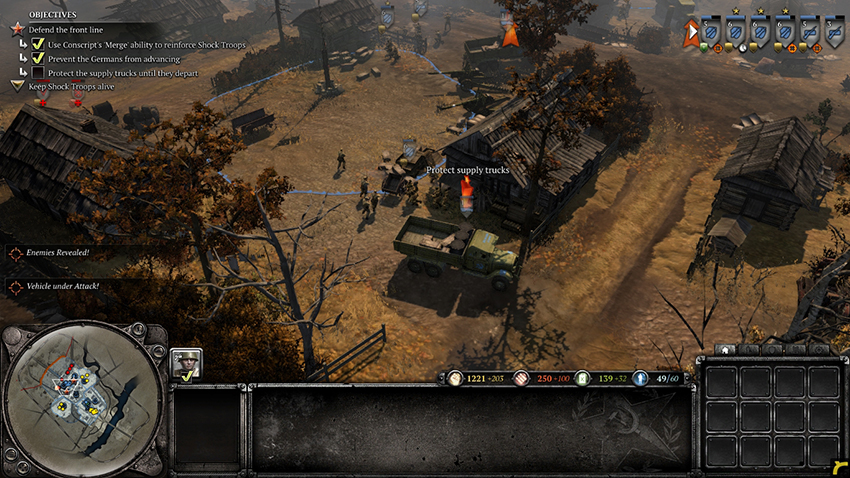
Your next task is to defend the Soviet supply trucks as they finish preparations for leaving. Identify the marked locations on the minimap for each supply truck. There are three in total that must be protected. Place units in nearby cover to draw enemy fire and kill any German infantry. You may also place your squads within nearby buildings for protection. They can shoot out of the windows. Protect the supply trucks until they move out.
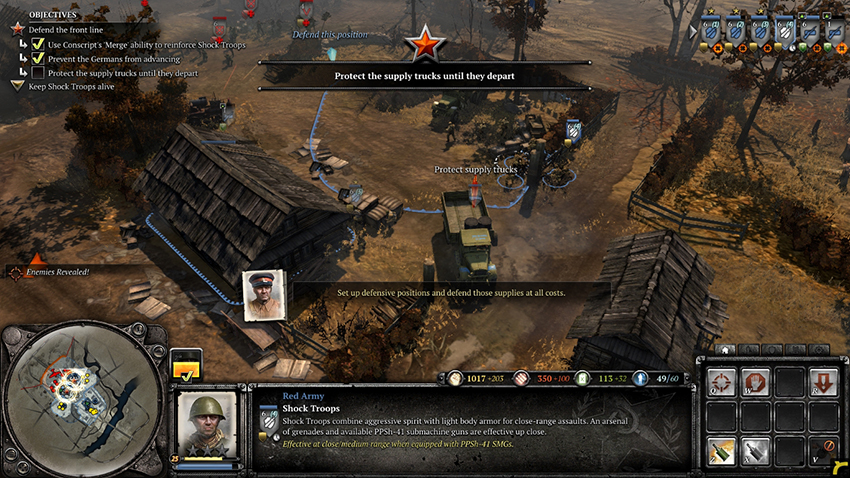
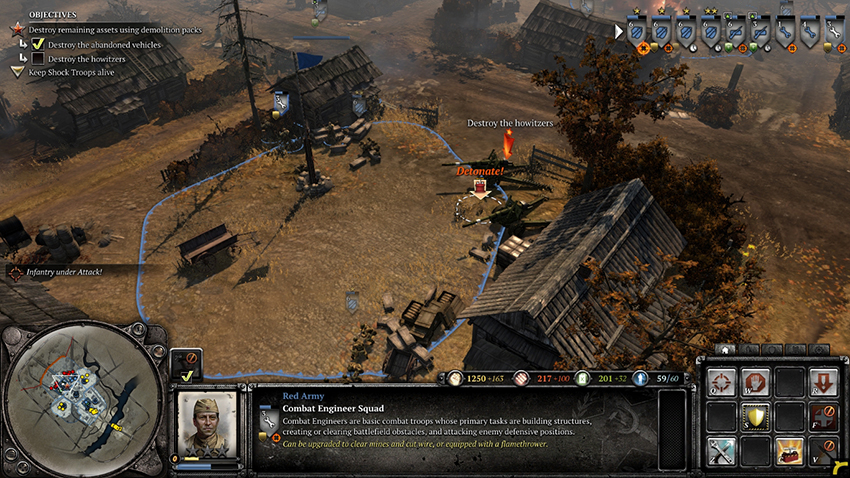
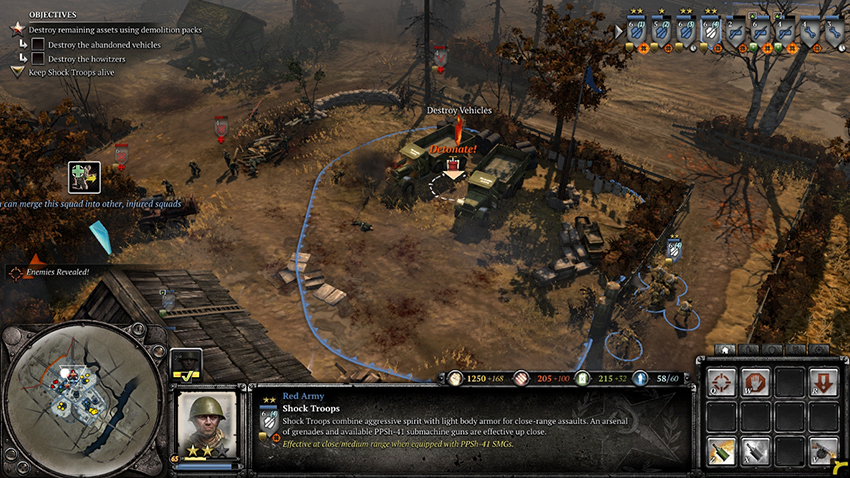
The supply trucks have moved out, yet there are important supplies that could not be moved in time. Once you are given three squads of Combat Engineers, use their Plant Demolition Charge ability to create demolition charges near the Howitzers and vehicles identified on the minimap. A single demolition charge is enough to take out each of the targets. Keep your Shock Troops and Conscripts in their defensive positions until your Engineers are done placing the demolition charges. When both charges have been planted, either move your units out of the area or retreat them back to the Headquarters. Left-click on the icon above each demolition charge on the screen to blow them up, destroying the Howitzers, vehicles, and anything nearby.
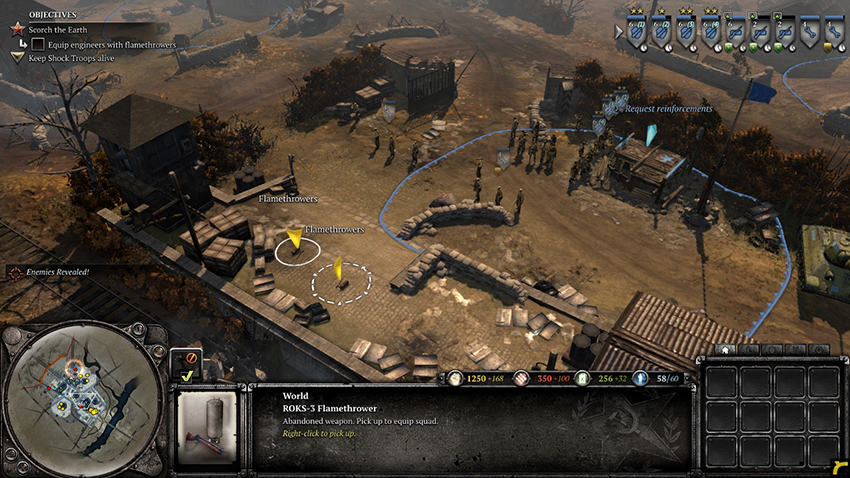
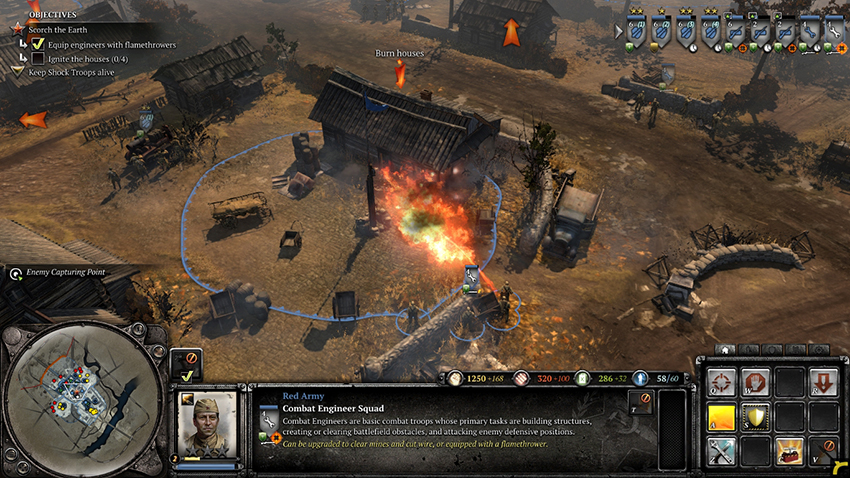
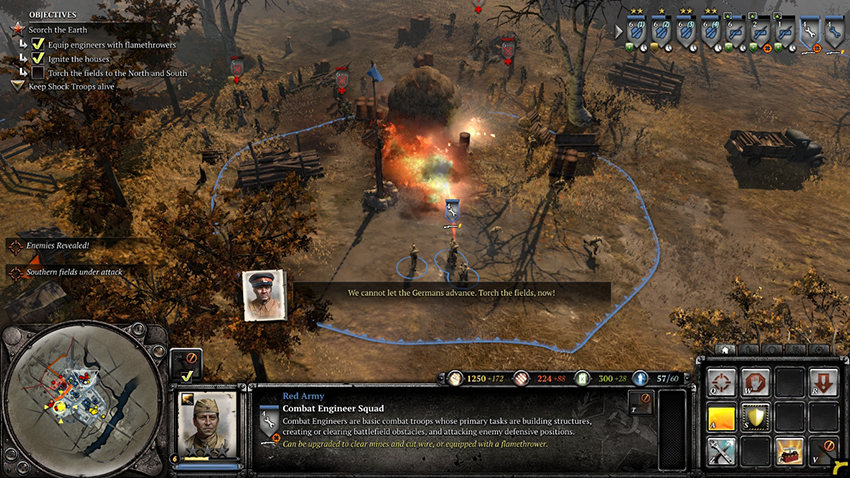
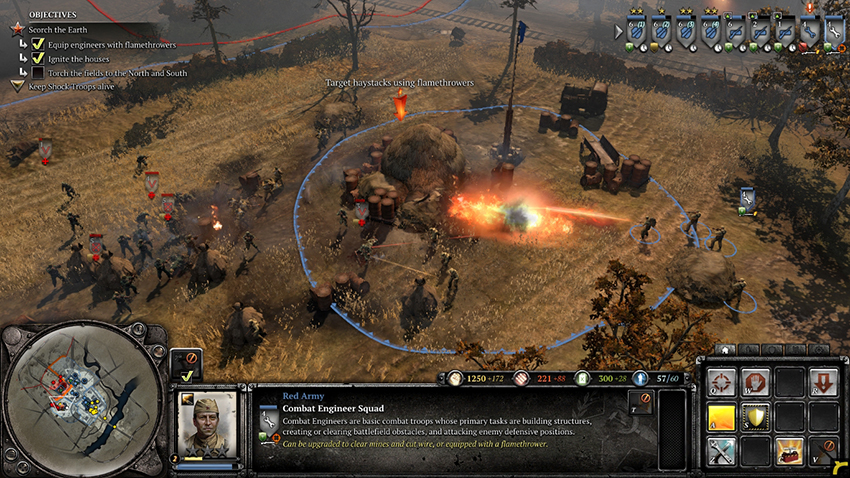
More supplies must be destroyed before the Soviets can leave the town. Near the Headquarters, two ROKS-3 Flamethrowers are placed on the ground. Having your Engineers pick these up grants them a new ability, Flamethrower Attack, which can be used on buildings to burn them to a crisp. Four buildings must be ignited; they are identified on the minimap and by arrows on your screen. Order your Shock Troops to take cover near the buildings to defend the Engineers from enemy infantry, then move your Engineers to each building and use their new ability to ignite the buildings. Be careful not to get too close or your flamethrowers will roast your own units.
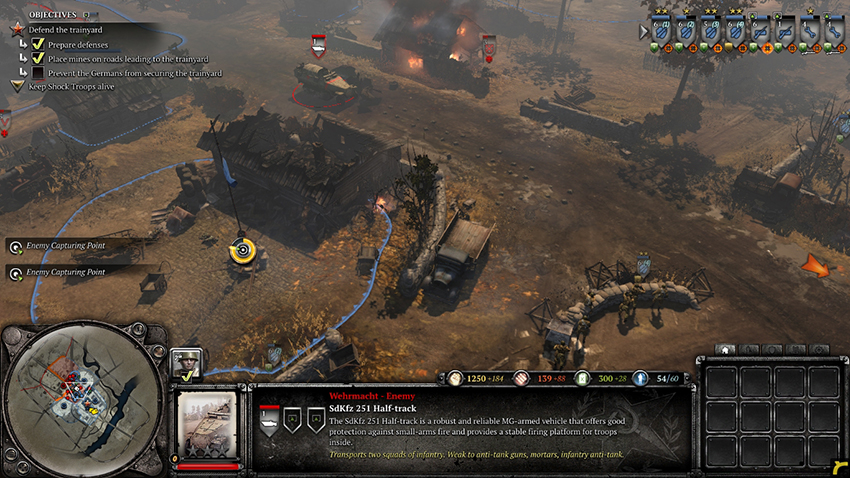
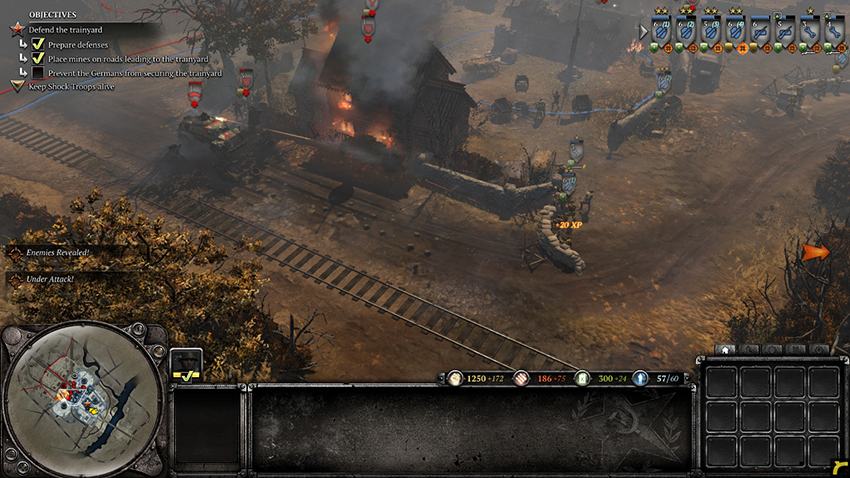
The final task is to defend the train yard until the train departs. You are granted a short time to move your units into cover and place mines and demolition charges before the German forces assault your position. Your Engineers can now place mines, shown in the Field Defenses building options as the TM-35 Mine, which activate when an enemy vehicle gets near. Place these mines along the roads designated with arrows. Vehicles come straight down the middle of each road, so it is best to place your mines in a straight line following the road. Place an equal amount of mines on each road until you do not have any munitions left. You may also place demolition charges to take out infantry and vehicles, although keep in mind that they are expensive, and your Shock Troops and Conscripts should have no trouble taking out the German infantry.
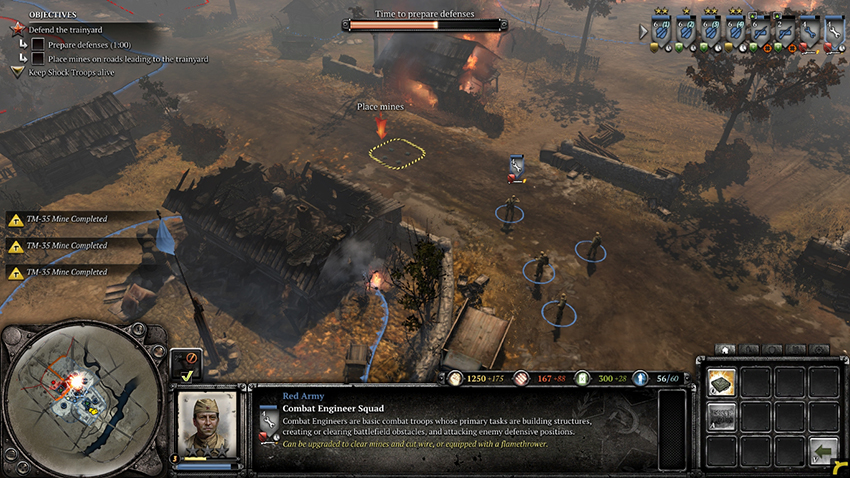
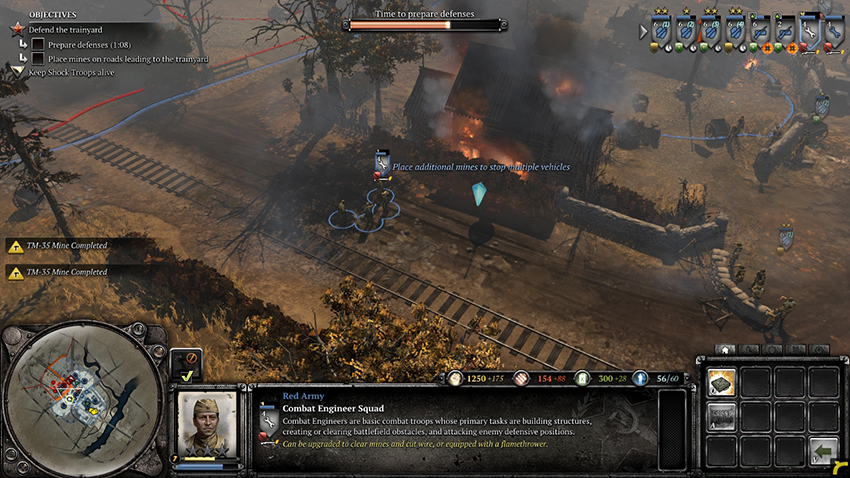
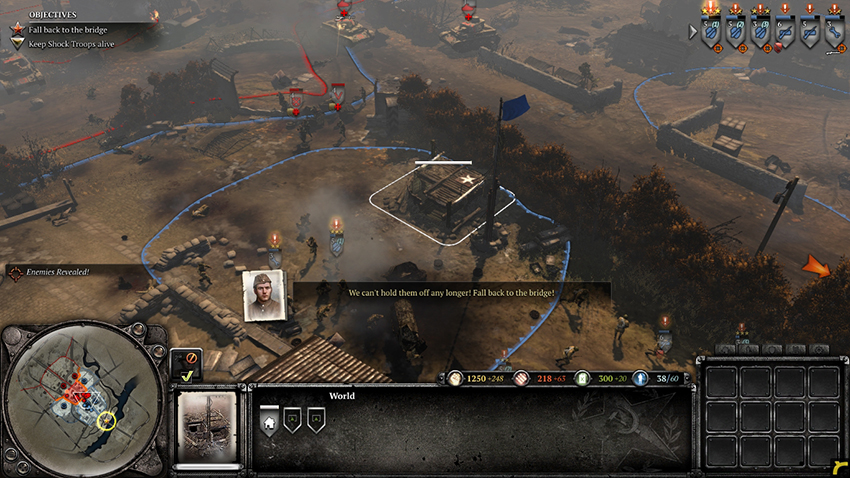
Once your mines are placed and your squads are in position, the German assault begins. Infantry come down the roads or through the area between them, while Scout Cars and Half-tracks drive down the roads. Continue to Merge your Conscripts into any wounded squads of Shock Troops and build mines to replace the ones that have been activated. If you run out of mines and the Germans are still sending vehicles, use your Shock Troops’ Grenade ability to take them out—two grenades will kill a Half-track, while only one grenade is necessary for a Scout Car. Hold out against the enemy until the train has departed.