
Company of Heroes 2 Guide Multiplayer Maps Pripyat
Pripyat Summer
The Pripyat River and the marshes that follow its meandering course were obstacles to the German advance into the Soviet Union in 1941, and a similar problem when the Soviets finally returned in 1944 during Operation Bagration.
In the intervening years, partisan forces waged an effective campaign behind the lines using river crossings and forested areas to blunt the military advantage of their enemy.

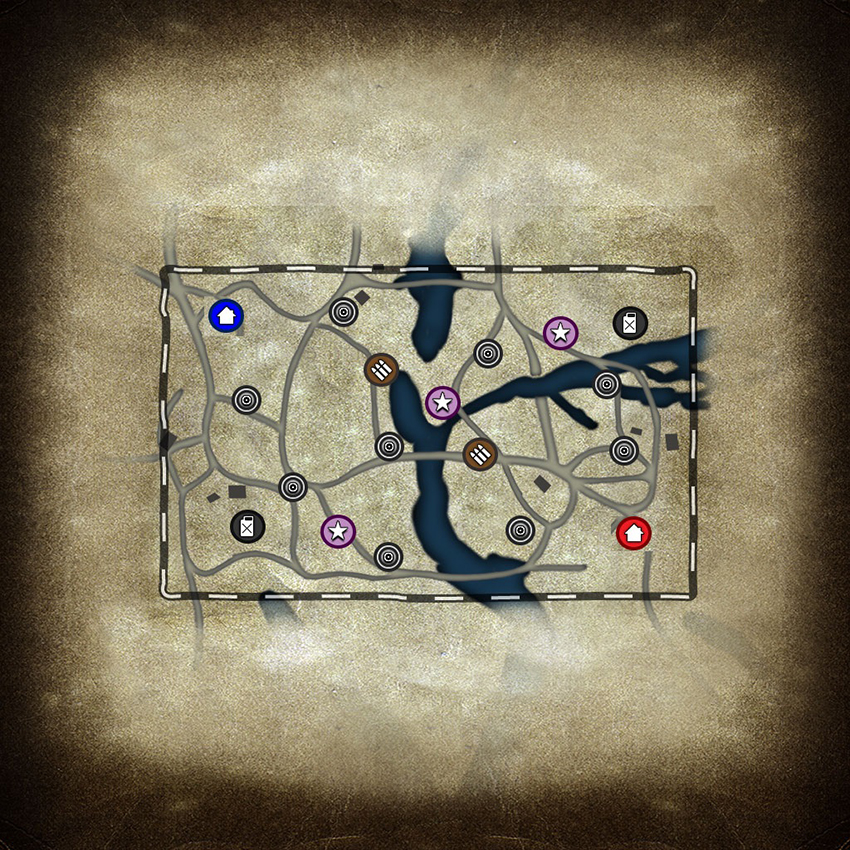
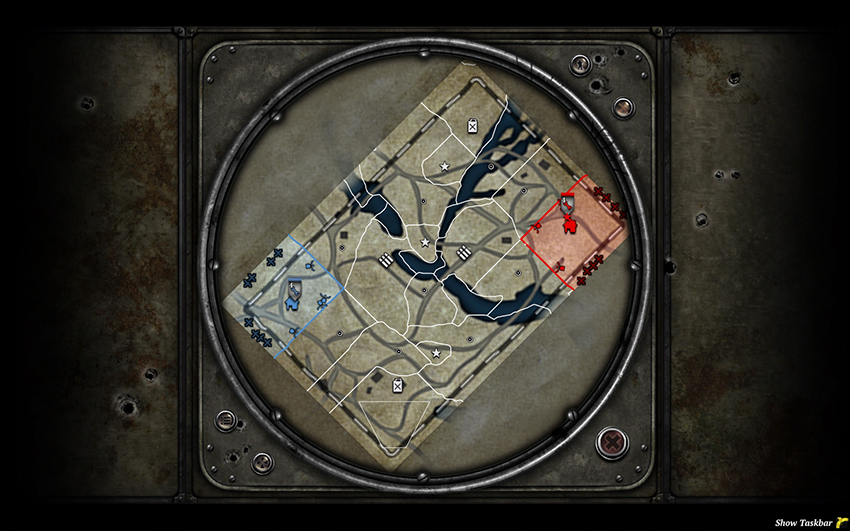
On this map, the West tends to take control over the south, the East over the north, and the center is contested. Both sides benefit from harassing the other’s Fuel Point and Victory Point, and mobile units like assault infantry and light vehicles will be strong in those flank areas until fortifications appear. The center tends to turn into a standoff involving HMGs, Mortars, and AT guns, unless one side has a superior assault unit and attempts a breakthrough. It’s important to contest the center as early as possible to prevent your opponent from setting up a strong defensive position, and you’ll want to consider using as many flank routes as possible if you must retake the area.
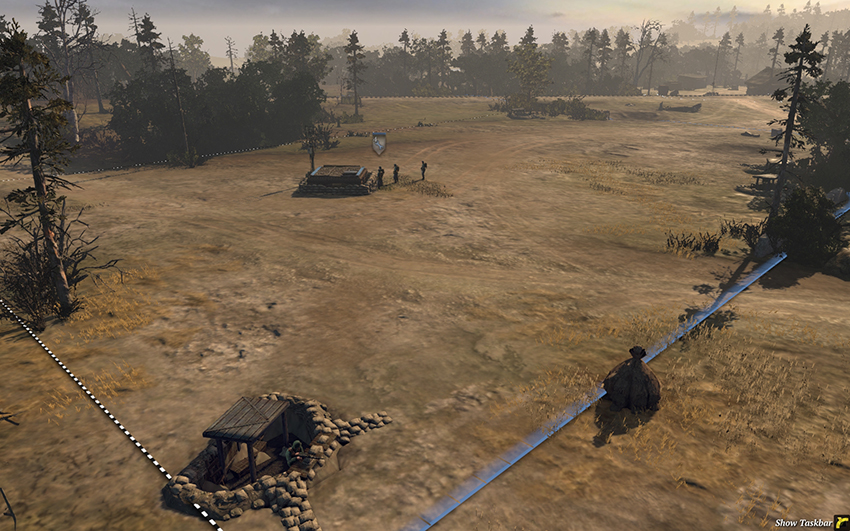
Western base.
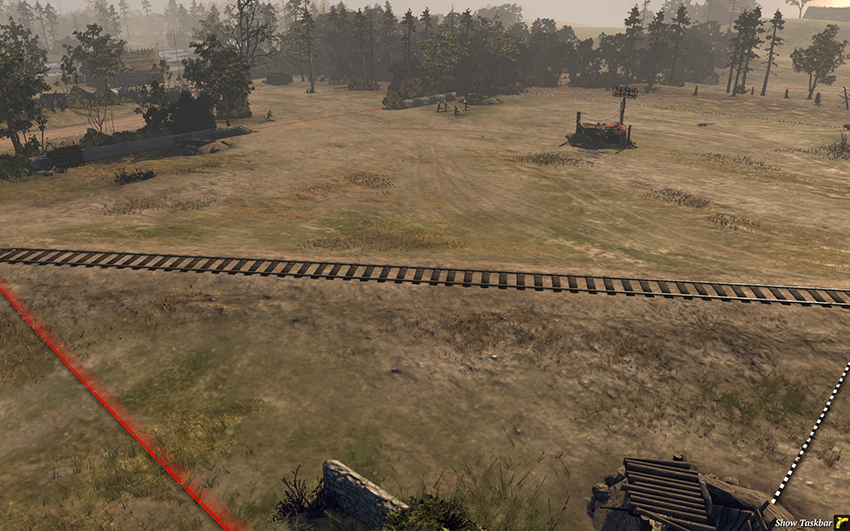
Eastern base.
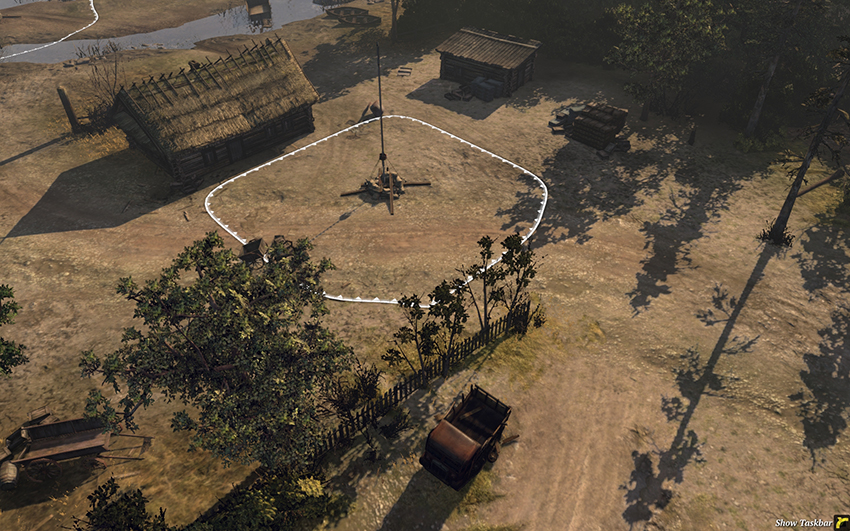
The Standard Territory Point just north of the eastern base will rarely see much action, but the building to the left is a good place for the West to garrison after harassing this point.
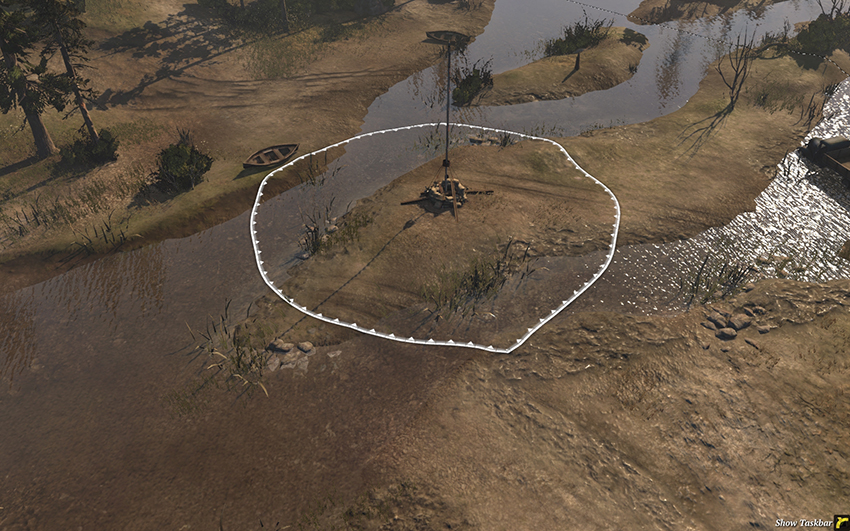
This point is the most used travel route by the East to reach the north. Because the water slows infantry and vehicles, HMGs and AT Guns placed on the north shore by the West are difficult to displace without Snipers or a Mortar. The West should often attempt to harass this point while the East should seek to establishing defense around the northern Victory Point rather than here.
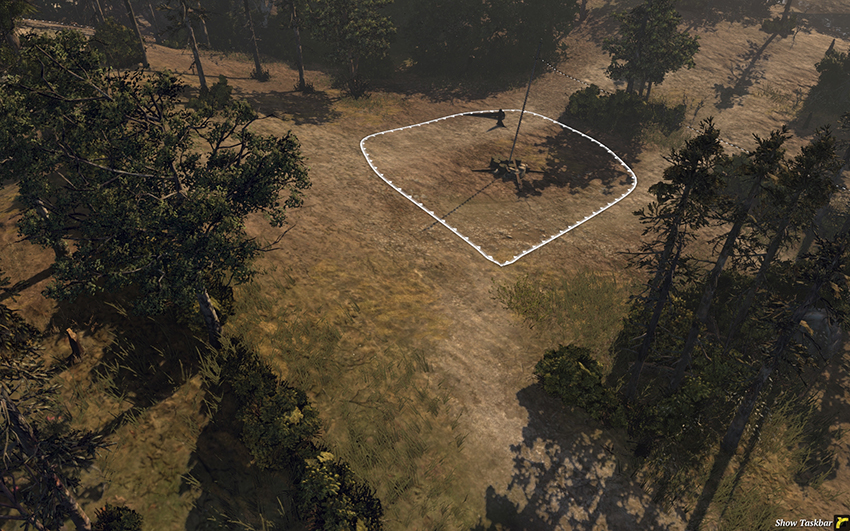
The northern Fuel Point is important for its resource income, but its out-of-the-way location means it will rarely be the site of key fights. However, for the side that holds the north, it’s a relatively safe place to repair vehicles, and a Mortar placed behind the tree line to the left can cover the northern Victory Point exceptionally well. Also, if the West happens to place an HMG in the house near the northern Victory Point, there’s a flanking route in the top left corner of this image, around the tree line, that should prove useful.
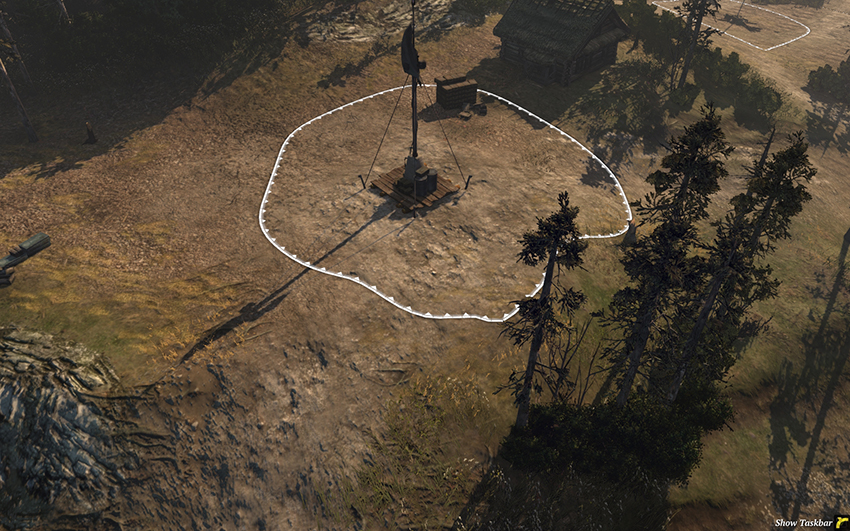
The northern Victory Point is located near a major travel path and it offers a commanding position over the surrounding region. The building in the top is the best one on the map, and an HMG there will be able to lock down the entire area. The East tends to control this area in most games, but an aggressive West that takes this early can place intense pressure on the East, especially in terms of Fuel income.
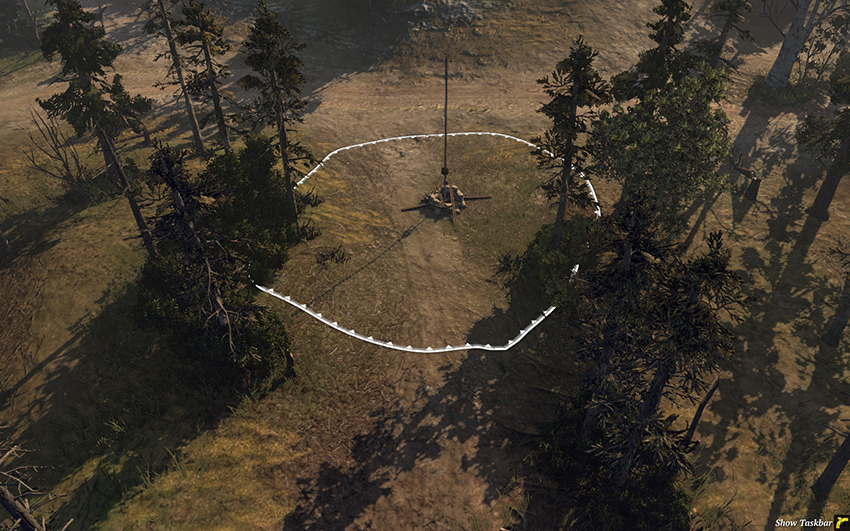
The northern Standard Territory Point lies on a heavily traveled path between the center and northern Victory Points. Snipers operate effectively in this area due to the presence of light cover and a few obstacles, even as it’s mostly open. Mines anywhere in this area will be a good investment for either player. The hedges on the left do block sight, so a Mortar can easily take up a protected position behind them. German bunkers for reinforcing and healing are a good idea here if you’re seeking to hold the center and the north.
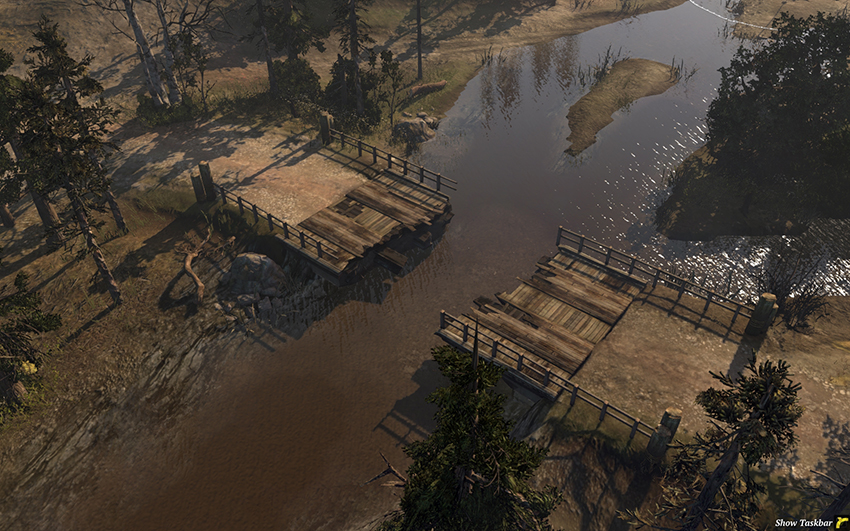
This bridge in the north is destroyed at the beginning of the game. It’s advantageous for the East to repair it at some point, as it’s far easier to access the north along this route. It’s also notable as a location for a Mortar or artillery while still destroyed—they’ll have extensive reach into the center and north, and neither infantry nor vehicles can reach them.
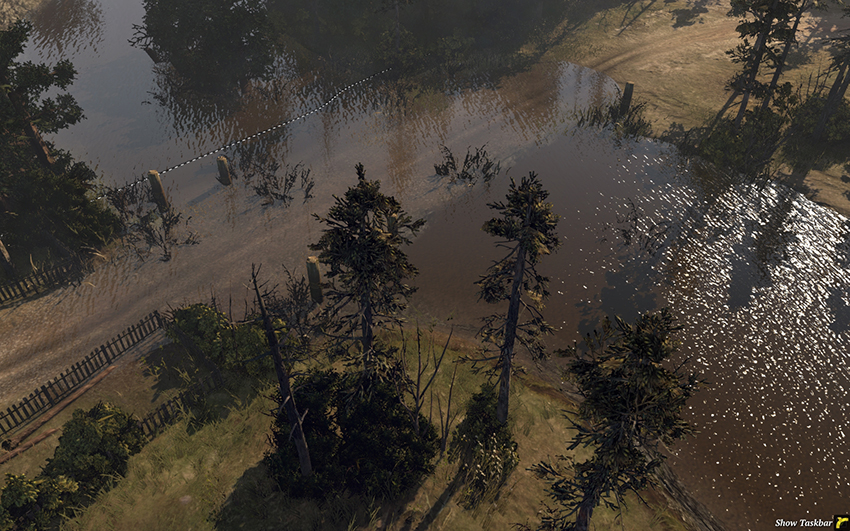
The path through the river in the north is the slowest but safest way for the West to reach the northern Victory Point, and to flank the center. For the East, mines, barbed wire, and a bunker on the northern shore are desirable to prevent this. If you notice a vehicle moving through here, reposition an AT Gun to cover the area because it will take quite a while to cross.
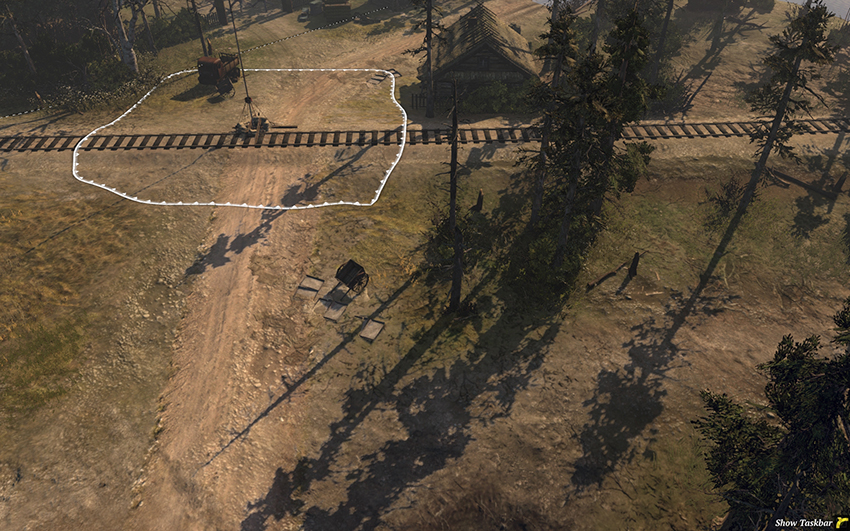
This Standard Territory Point outside of the West’s base will only ever be taken when the East is in a supremely dominant position. For the most part, it serves as a staging area for the West when attacking the center and north. Mortars, AT Guns, and Howitzers placed here are relatively safe from attack, especially if you have an HMG in the building at the top.
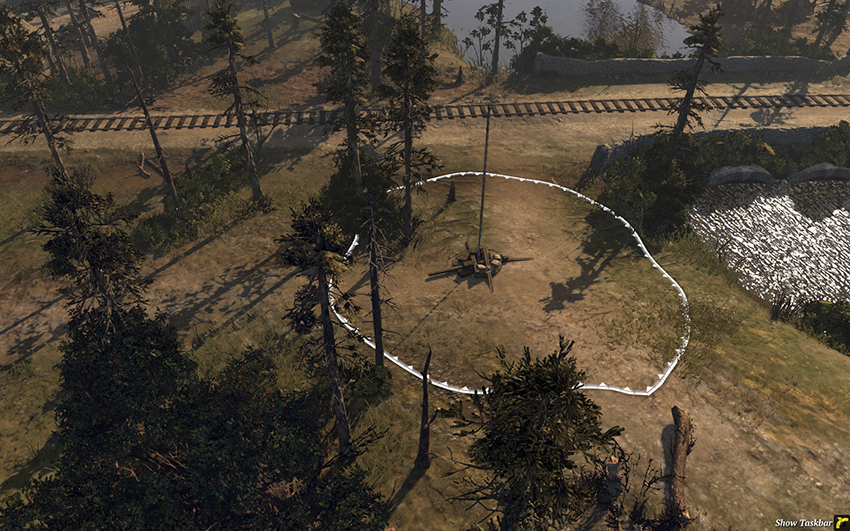
The western Munitions Point will be contested by an aggressive East, but it’s easy to defend with team weapons positioned to the left. Vehicles with long-range guns can fire from here into the center, so consider placing them along the riverbank before advancing with your infantry.
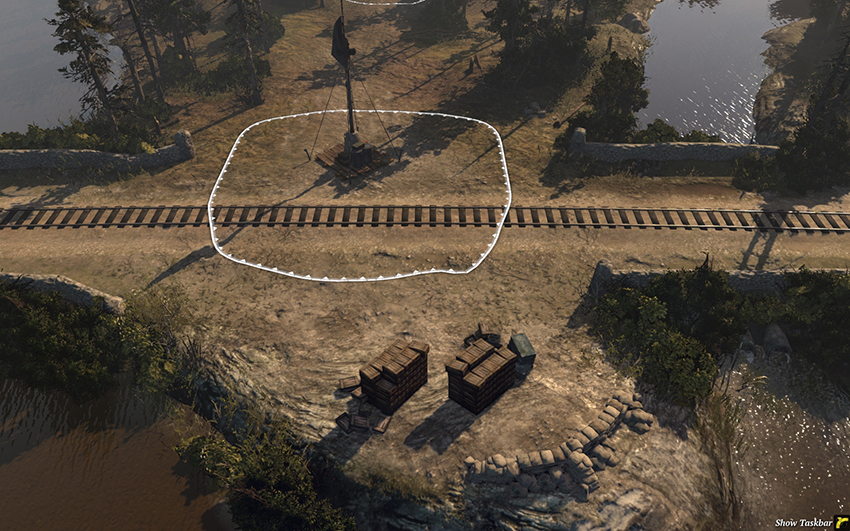
The center Victory Point will be highly contested throughout the game, and it’ll become quite a dangerous location in the late game when artillery and commander abilities proliferate. In the early game, if you’re able to take this uncontested, place barbed wire along your opponent’s land bridge to restrict infantry movement. Mines anywhere around this area are desirable, and German bunkers are fantastic here. A single AT Gun is enough to defend this area against anything short of heavy tanks, but you must watch for Snipers and Mortars. Typically, both sides will station combined arms forces at or near this area to contest it. Whichever side holds the center will continually need to watch for indirect fire and be sure that infantry squads are reinforced and vehicles are repaired. Whichever side wishes to seize it will position its force across one of the land bridges at the Munitions Point and wait for an opportunity to attack. The key here is multi-pronged attacks: If the West wishes to take the center, it should attack from the north, and across the southern bridge to the eastern Munitions Point—the more you can separate your opponent’s units and force them to fight in multiple directions, the better your chances. As the area is so open, many units can fire across the river itself to and from the area by the sandbags at the bottom. For example, you can position HMGs and AT Guns there to provide support against enemy units moving across the southern bridge.
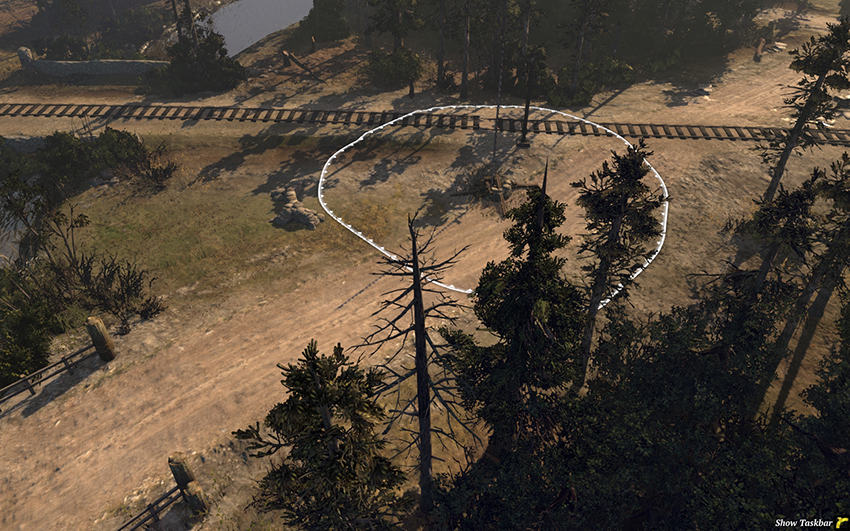
The eastern Munitions Point is a key area for the East, and a desirable target for an aggressive West. In the early game as the East, you may consider placing barbed wire on the southern bridge at the bottom so that the West cannot flank any units you send into the center. Mines along the southern bridge and the land bridge to the center work well to counter light vehicle attacks, like early M3A1s from the Soviets, or a Half-track with Flame Projectors from the Germans. A single HMG and AT Gun can defend this area effectively due to the restricted travel paths.
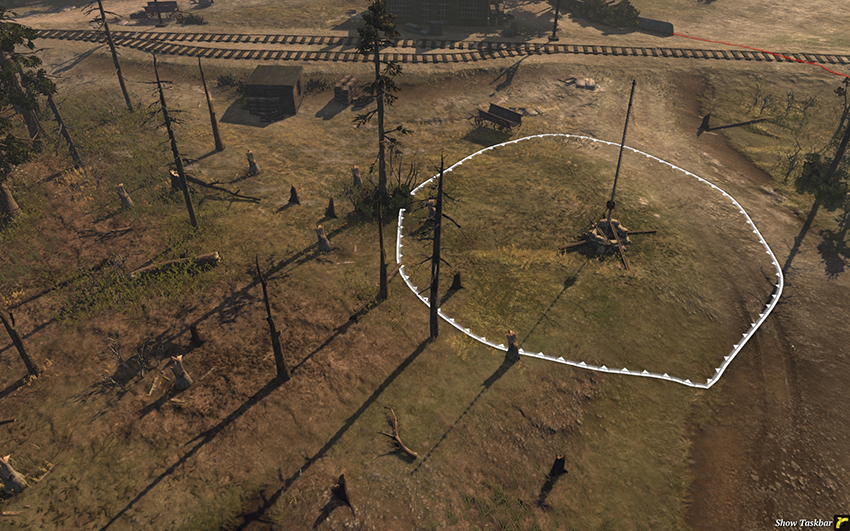
The Standard Territory Point to the south of the East base does not often see much action, except potential infantry skirmishes if the West attempts to harass it. Given that the water path to the south is so troublesome, this point isn’t one the East needs to worry much about.
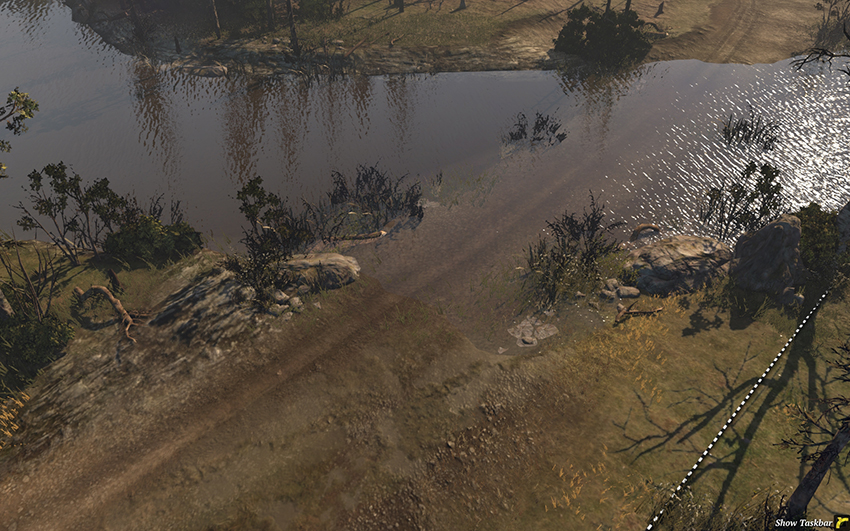
The water path in the south is the major travel route used by the East to reach the southern Victory Point. For the West, mines are effective but barbed wire can be a pain to position appropriately—as Germans use a bunker instead, and as Soviets use an HMG. The West generally benefits little from crossing the river, except in sending a single infantry squad to harass. That said, a cunning West could launch a major attack through here to flank the East’s forces in the center, precisely because it’s a suboptimal route and generally ignored.
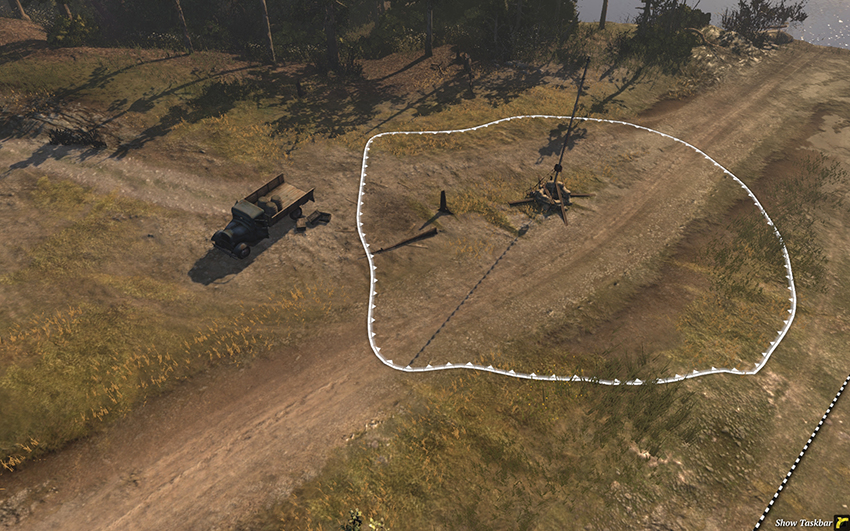
The Standard Territory Point near the southern water path will likely change hands many times throughout a game, but it’s worth attempting to fortify by the West to restrict access to the southern Victory Point. HMGs and AT Guns are the preferred units to defend this area.
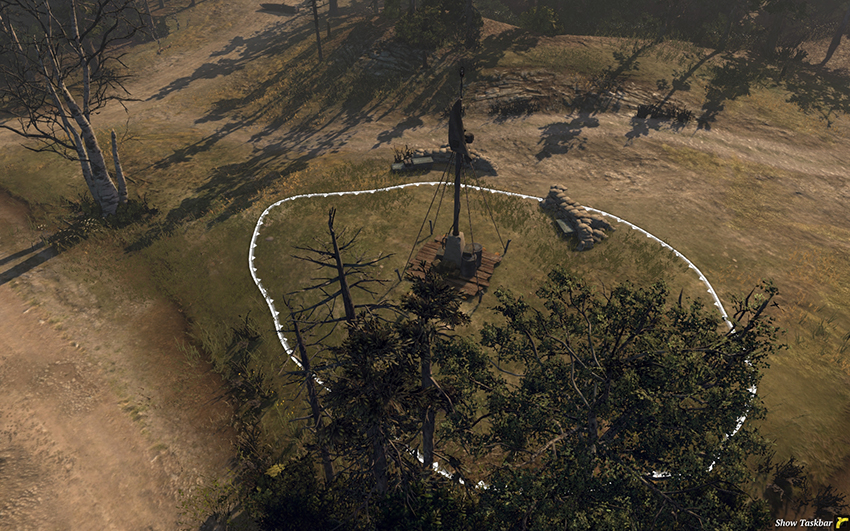
The southern Victory Point lies along a reasonably well-traveled path, at least when the south is contested by both sides. Bunkers and mines will prove useful, and the tree stand at the bottom can be used to protect a Mortar. The area is wide enough to be difficult for a single HMG or AT Gun to cover effectively, meaning you’ll need to have at least one supporting unit nearby to act as a scout to allow preemptive positioning.
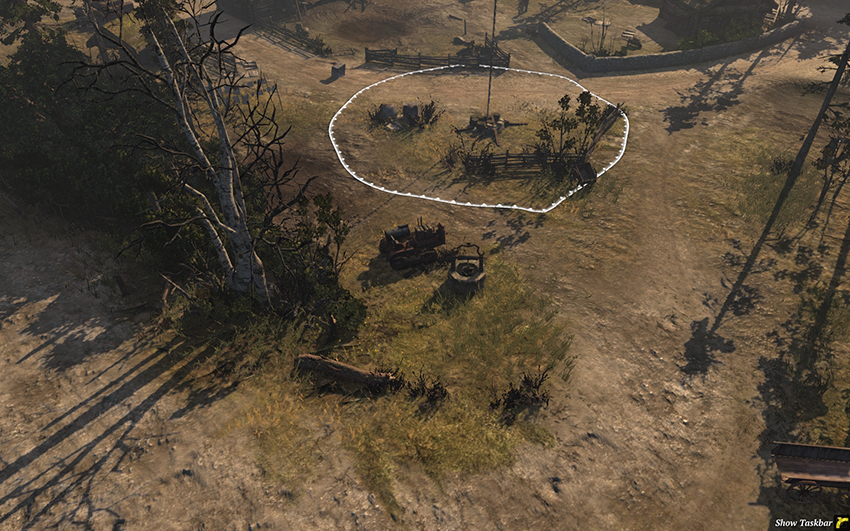
The southern Fuel Point has quite a lot of sight-blocking terrain nearby, including buildings and tree stands, but it won’t be the site of major battles because it’s far from the center and standard travel paths. However, light and medium vehicles excel here for just those reasons. Try using Half-tracks with a single infantry squad inside to capture this point, or the veterancy ability on the Soviet T-70, T-34, IS-2, and KV-8 that allows point capture. The buildings above can be useful during infantry skirmishes over this area, but they aren’t likely to be a focus for either side.
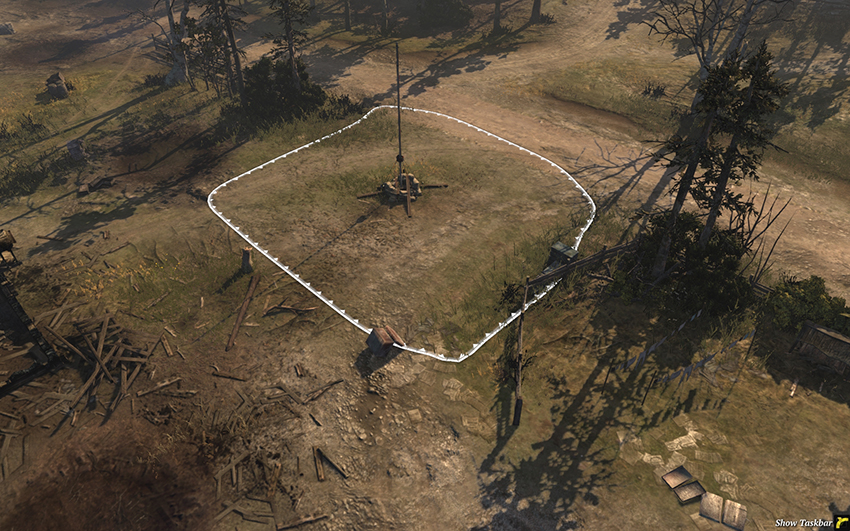
This Standard Territory Point is held by the West for the majority of most games, especially against a passive East. When the East first pushes into this area of the map, this should be the first point to take, as it’s a cut-off for the southern Fuel. If you’ve taken the entire south as the East, set up defenses here by using an HMG and AT Gun supported by mines—the West is sure to attempt to reclaim it.
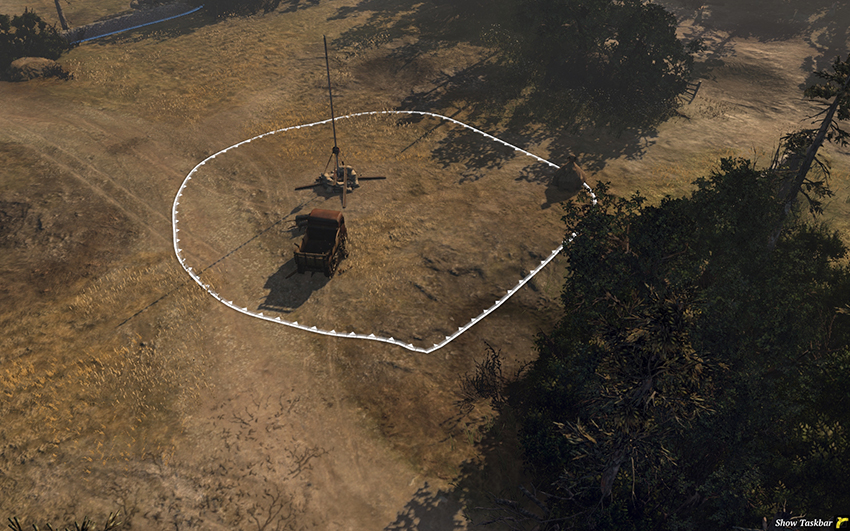
As this point is so close to the western base, it’s unlikely to see much action. If you’re the East, try harassing this with a Half-track carrying an infantry squad to avoid reprisal by driving off.
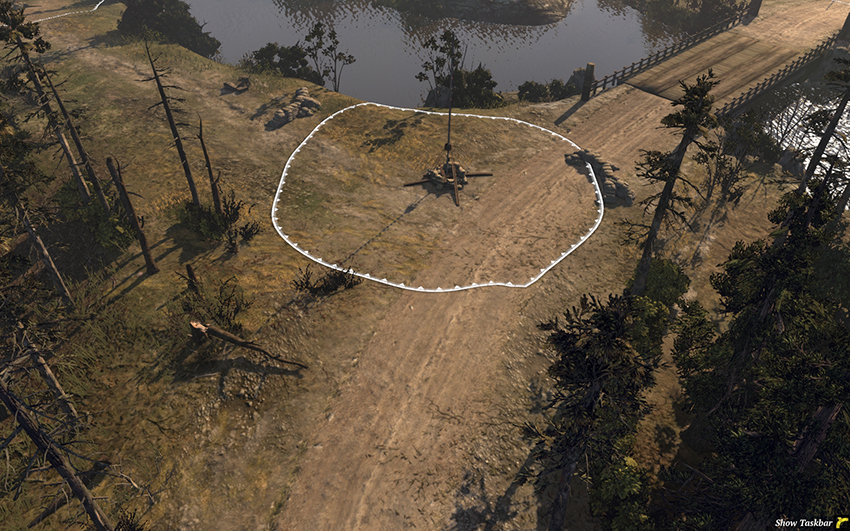
The western Standard Territory Point near the southern bridge is a good place for the East to harass while creating opportunities to flank the West’s units near the center. The East can also use it to threaten the south, but it’s not a safe position to attempt to hold. For the West, holding it is important to prevent the things I just mentioned: You want the south to be secure and you don’t want the center to be flanked. This is a highly traveled route, so mines from both sides are a good investment here, and the West might consider wiring off the bridge if they’re not intending to attack across it in the early game.