Company of Heroes 2 Guide Campaign Walkthrough Mission 4
Mission 4
Achievements
Cool Efficiency: Take all three German outposts in Mission 4 using only Snipers.
- This requires you to capture all of the territory points with the Snipers. Eliminate the German units as you normally would, but only use your Snipers to capture the territory points.
Revenge: Destroy all 10 tanks in Mission 4.
- All tanks will be marked on the mission map. Use Demolition Charges to blow up any tanks you find. Destroy all of the tanks before capturing the final territory point and activating the defensive portion of the mission.

Walkthrough
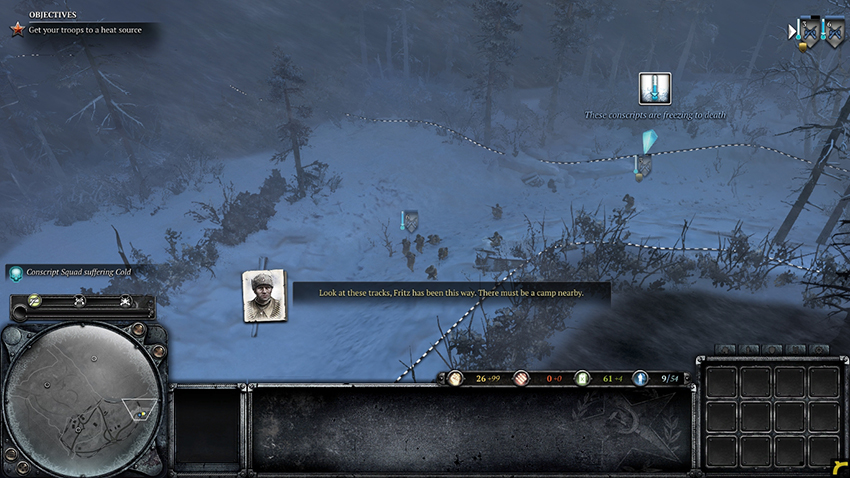
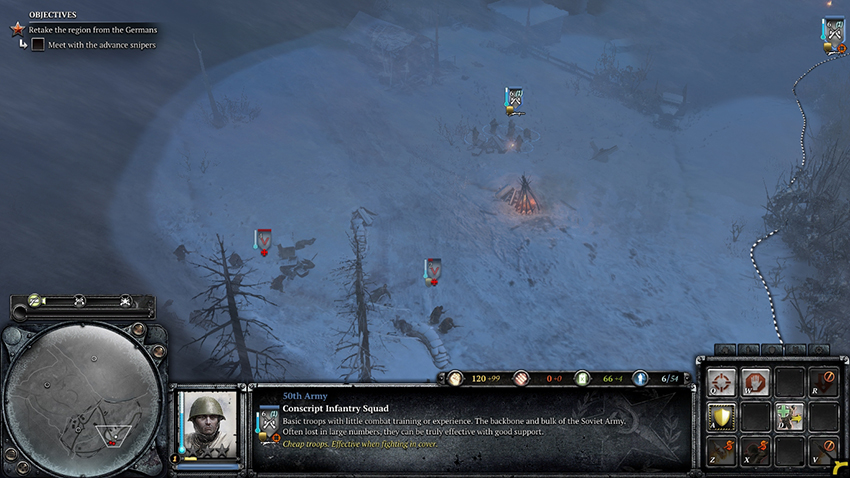
This mission introduces you to the Coldtech feature, which consists of temperature, fire pits, blizzards, and freezing squads. The area is constantly under the effects of a blizzard, which drops the temperature of any infantry squads that are out of cover or away from a fire pit. You start with two Conscript squads, one at full temperature and another that is freezing. Select your squads and move along the path to find a fire pit that warms up your squads. Your second Conscript squad completely freezes to death before they can reach the fire pit.
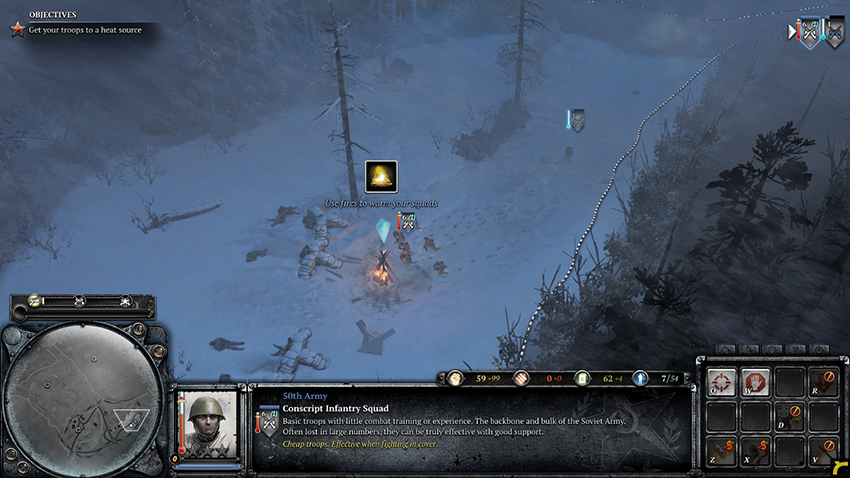
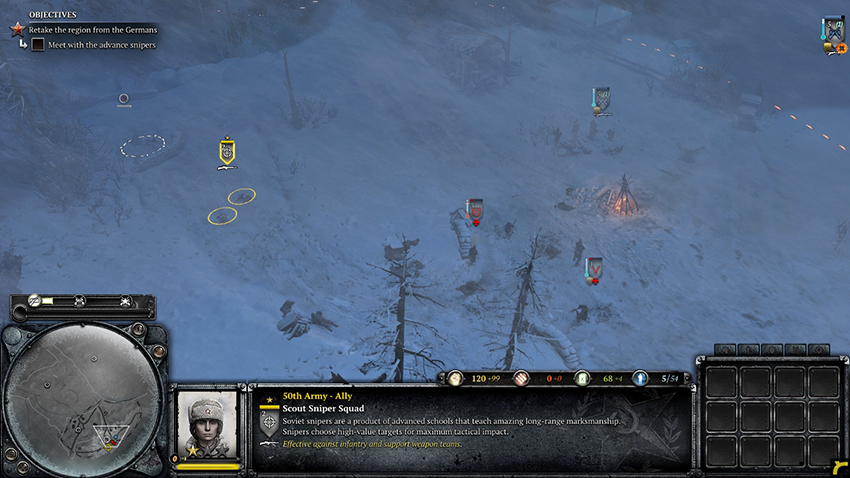
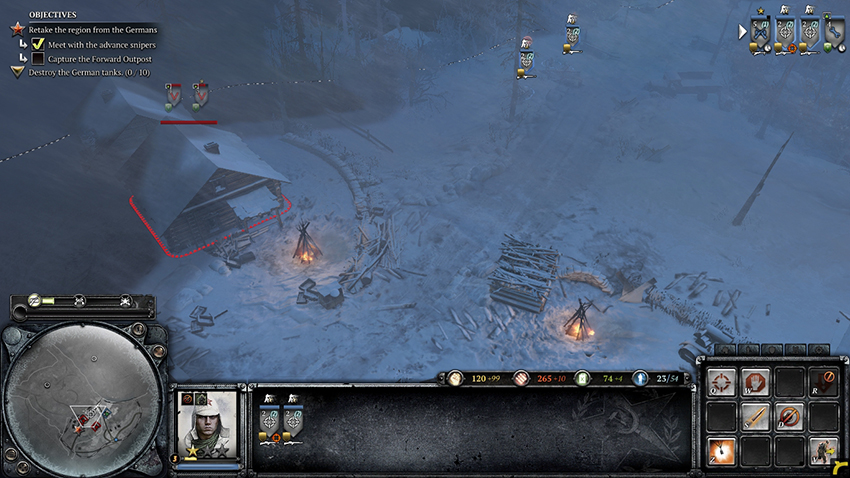
Once your lone squad is back up to full temperature, continue moving down the path to meet up with squads of advance Snipers on a scouting mission. As you reach the fire pit, German infantry run at your Conscripts. Get to cover quickly and defend against the Germans. Two allied Sniper squads come out of cover to take down the infantry. You are granted control of both Sniper squads when the Germans are dead. Snipers are long-range units that kill infantry in a single shot. Fortunately, they are immune to the cold weather and will not freeze. Use the Snipers to scout the path ahead, north of your position.
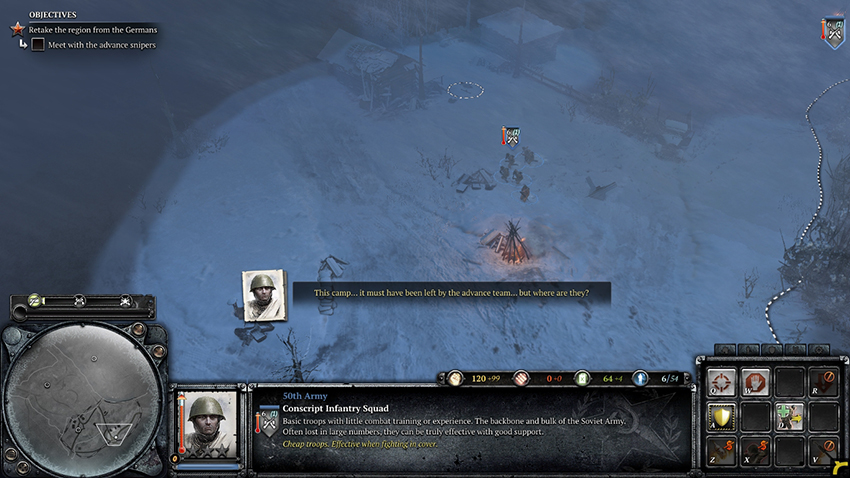
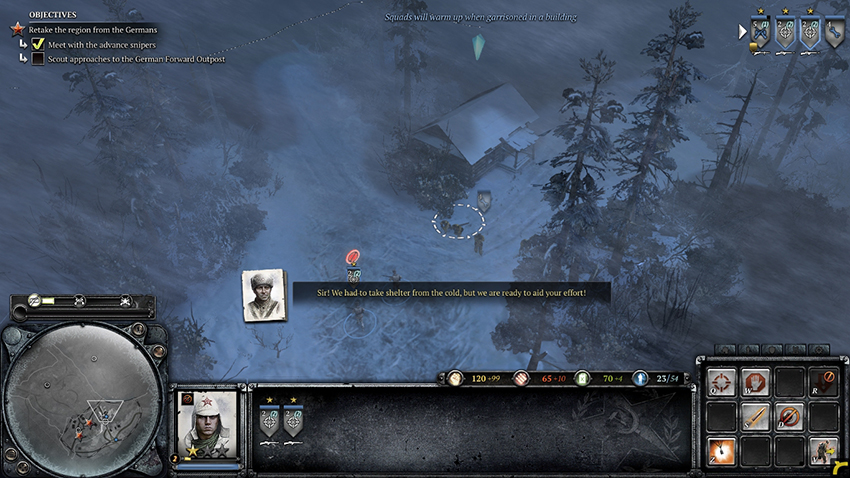
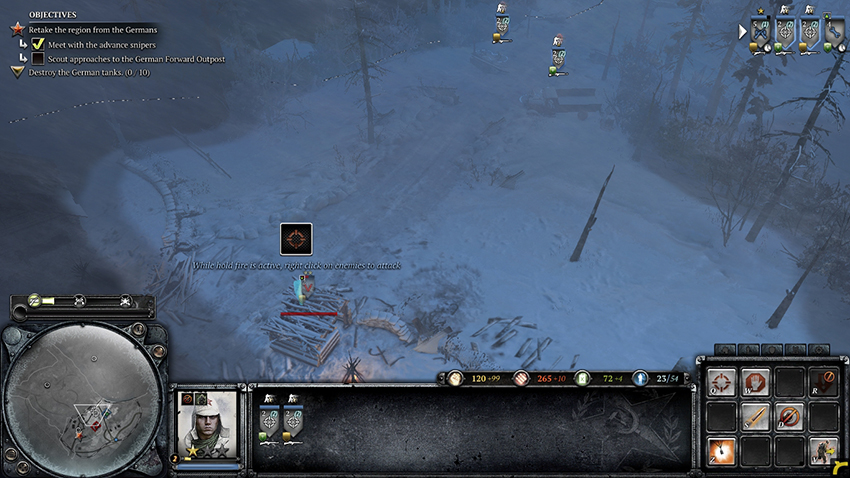
As you follow the path, a squad of Combat Engineers exits the building on the side of the road and you are given control of them. Pick up the nearby ammo box and put them back in the building so that they stay warm, as you do not need them yet. Continue moving down the path until your commanding officer gives you orders to move your Snipers into cover at the end of the road. Your Snipers will be invisible while they are within cover. While your Snipers have Hold Fire enabled, you will have to right-click the enemy you wish the Snipers to shoot. Order your Snipers to shoot the Grenadiers inside the small outpost to the southwest. They will be taken out instantly.
Slowly move your Snipers up into forward cover until you can see more enemy infantry. Kill off the German infantry within the garrisoned buildings. Once they have all been eliminated, move your Snipers up to the buildings. Multiple squads of Grenadiers and HMGs are on the other side of the territory point, yet your Snipers can take all of them out easily. Keep them in cover and at long range, then order them to attack each of the squads until they are gone. Move your Snipers back if they start to take damage. If you are having trouble dealing with all of the enemy infantry, take out the HMGs, then move in your Engineers and Conscripts to aid your Snipers. Take the territory point and move the rest of your forces up when there are no remaining hostiles.
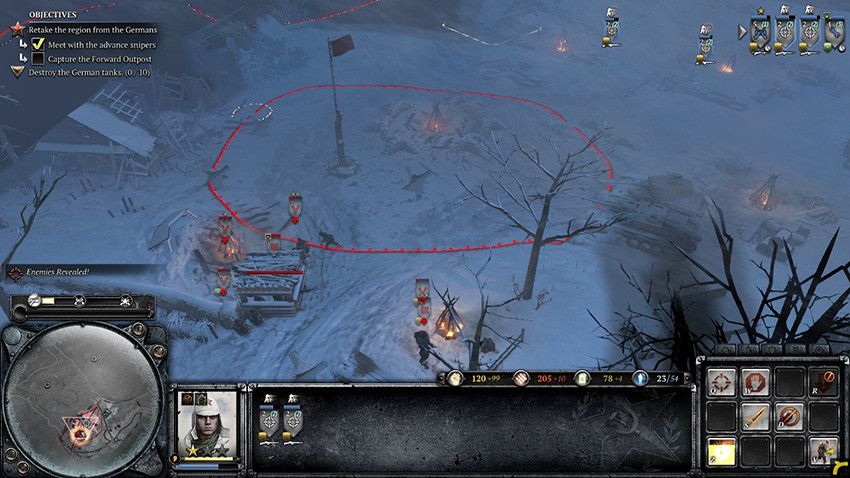
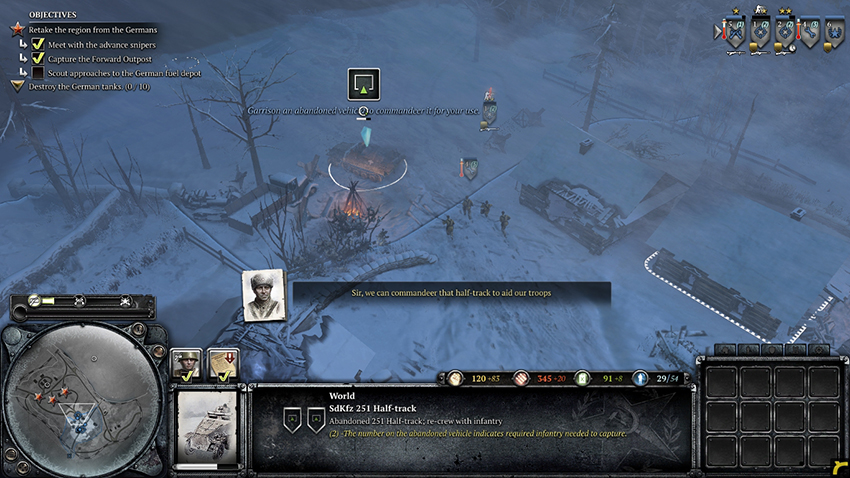
Capturing the territory point gives you the Mobilize Fresh Conscript Squad commander ability. Use this to supplement any Conscripts you may have lost. On the road north of the territory point, there is an abandoned German Half-track that can be recrewed. Half-tracks can transport infantry inside and allow any nearby squads to reinforce themselves, just as they can do next to a Headquarters. Use this to get your squads back to full strength. Order your Snipers and Half-track to scout ahead and then follow behind them with the rest of your squads.
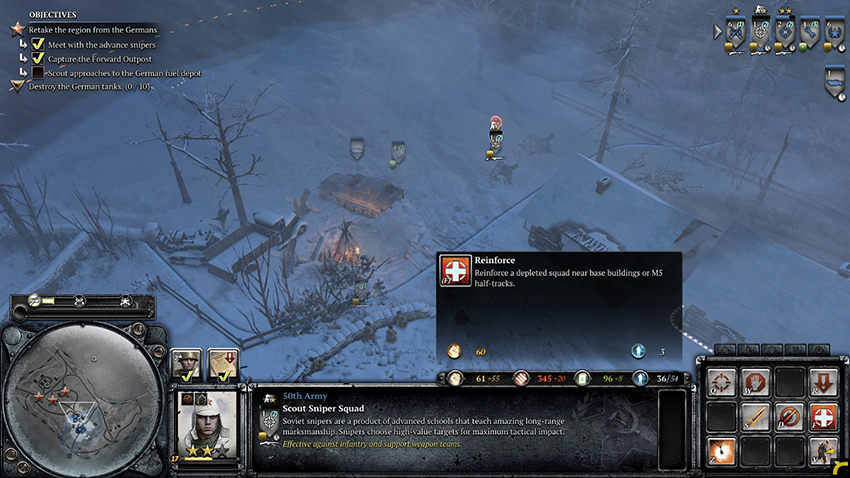
Near the location designated on the minimap you will find a defense force of Grenadiers, Panzergrenadiers, and HMGs. The captured Half-track can be used to scout ahead and draw fire while your Snipers take out the enemy units from long range. Watch out for any Panzergrenadier squads that have upgraded Panzershreks—these are anti-vehicle weapons that can easily take out your Half-track. Order your Snipers to focus on these squads, which have a weapon icon below their squad indicator similar to your Sniper squads. Normal infantry squads and HMGs do not do much damage to your Half-track, allowing it to take fire without being destroyed. Eliminate all of the enemies you encounter and continue along the road to the next territory point.
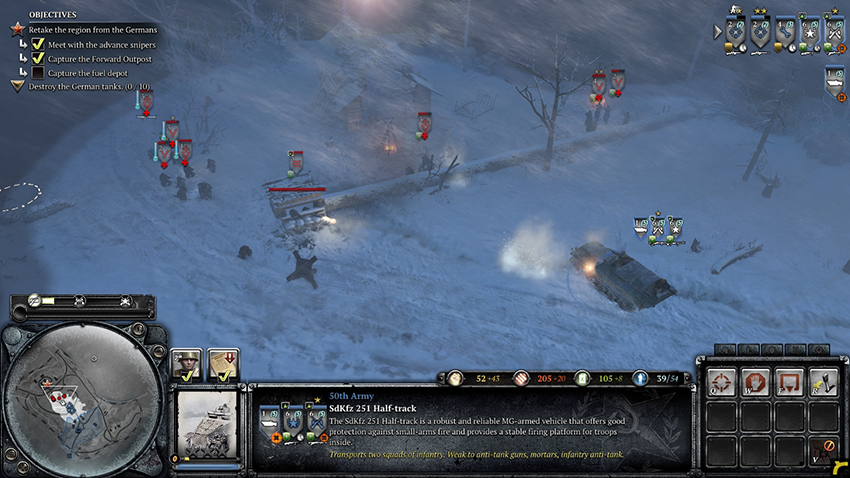
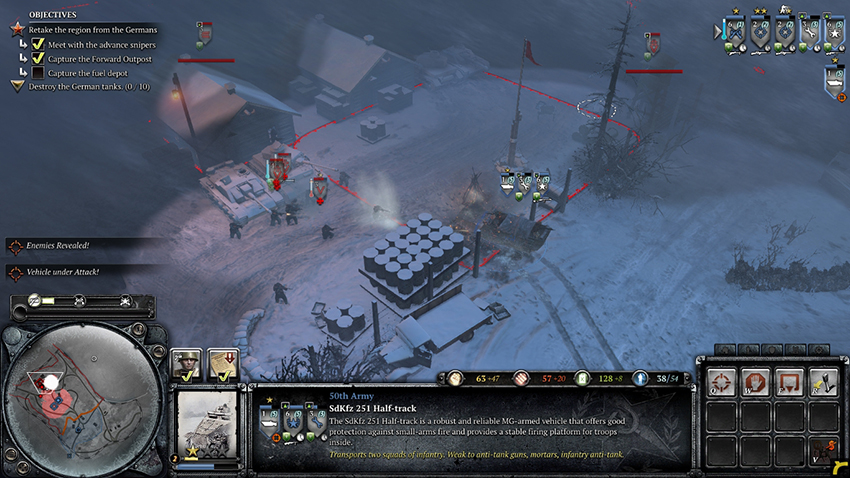
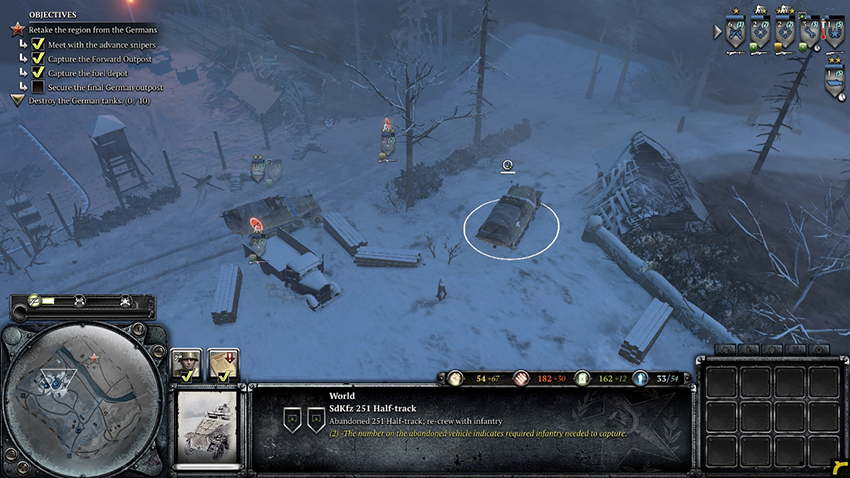
After taking the second territory point at the Fuel Depot, you will be granted replacements for any Sniper or Engineer squads you may have lost. After reinforcing your squads back to full strength, move along the road to the northeast to find another abandoned Half-track that may be recrewed. Continue to the northwest and move across the river to find a group of German forces. Use the same strategy as before, using your Half-tracks to scout while your Snipers shoot from long range. Be careful of any Panzershreks that the enemy may have. Secure the territory point when the Germans have been defeated.
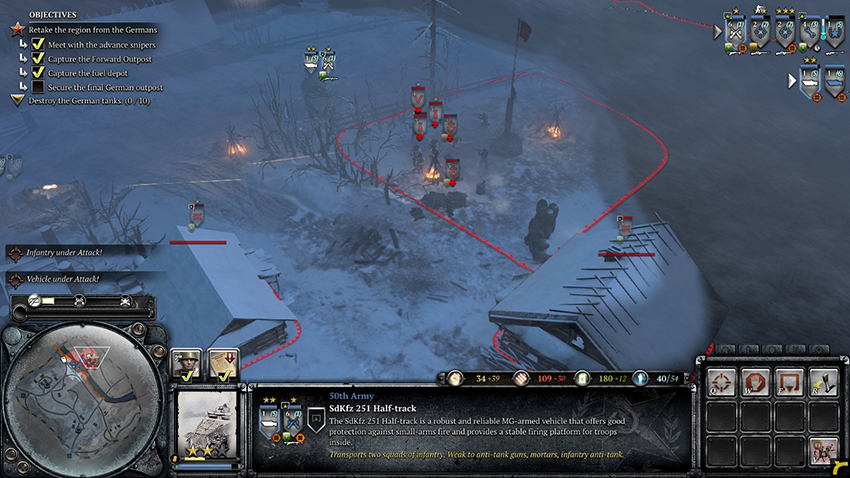
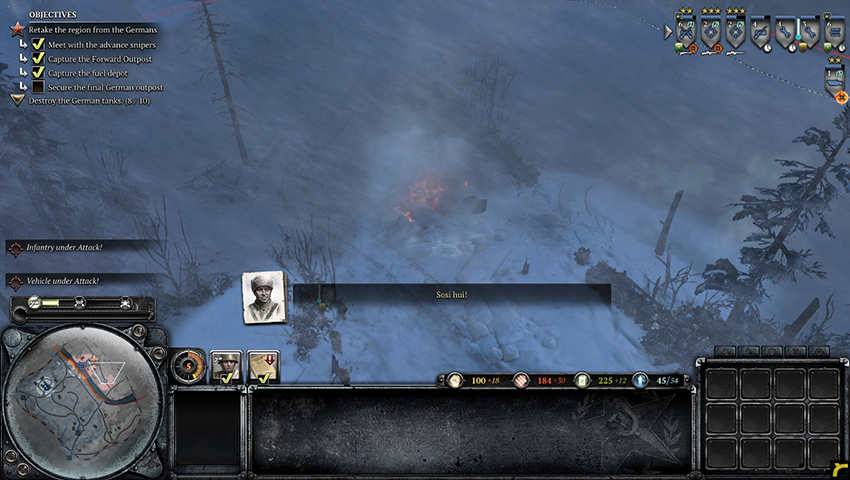
The Germans aren’t giving up on their territory. Crew the abandoned Mortars and place them in cover. Position your Snipers and the rest of your units for defending against the German forces that will come from the northern road and across the river to the west. Keep your Half-tracks in front of your infantry to provide line of sight and protect them from the enemy. Eventually, a German StuG will drive down the frozen river to kill your forces. Use your Mortars’ Mortar Barrage ability on the location of the StuG to break the ice and sink it into the river, destroying it instantly. The German forces retreat, leaving you as the victor.
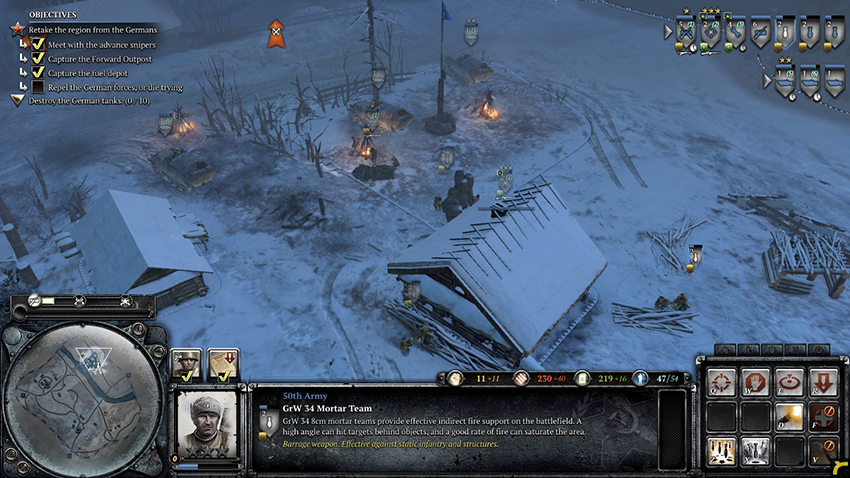
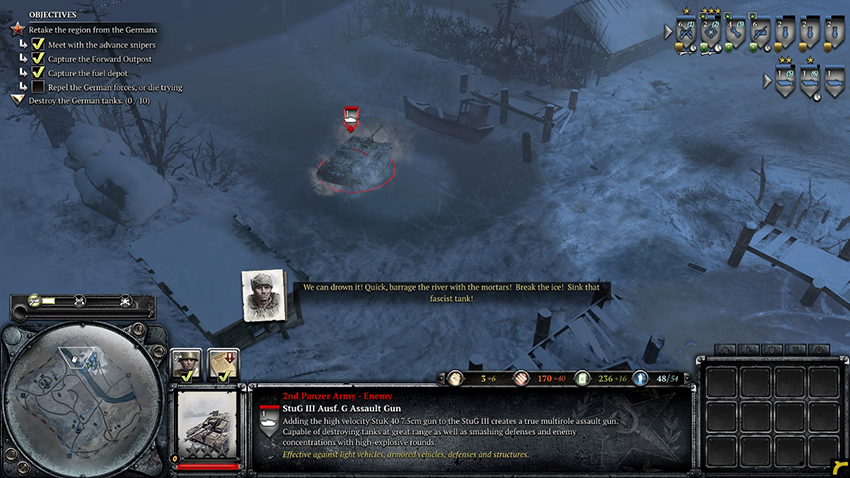
There are ten frozen tanks that must be destroyed for this achievement. The first tank two tanks are located before the first outpost, after you gain control of the Snipers. Set up a demolition charge at each of these tanks – one near each of the two buildings that grant you Combat Engineers.
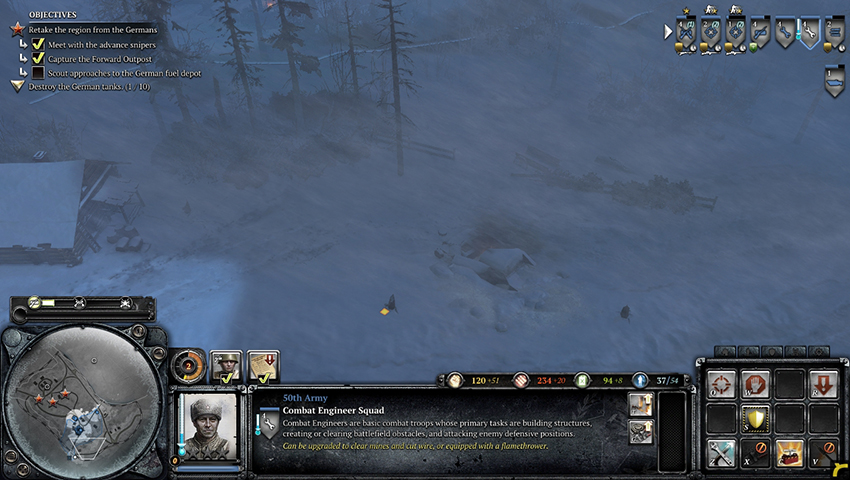
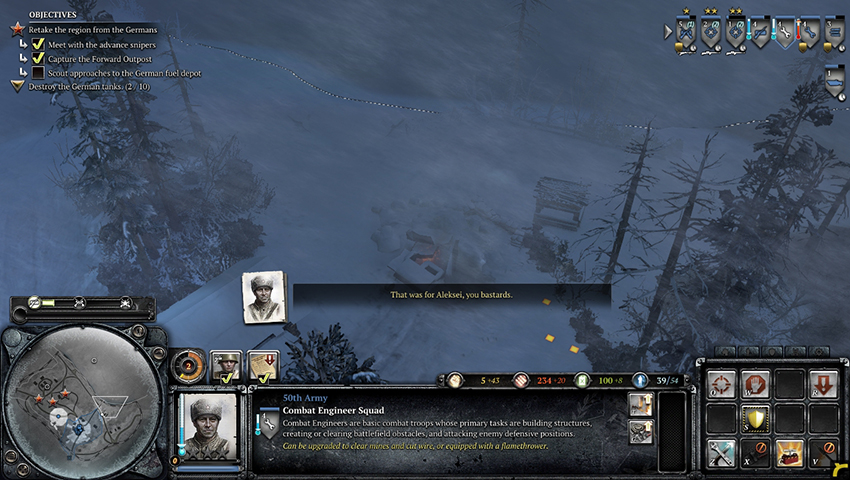
The next two tanks are located at the first outpost.
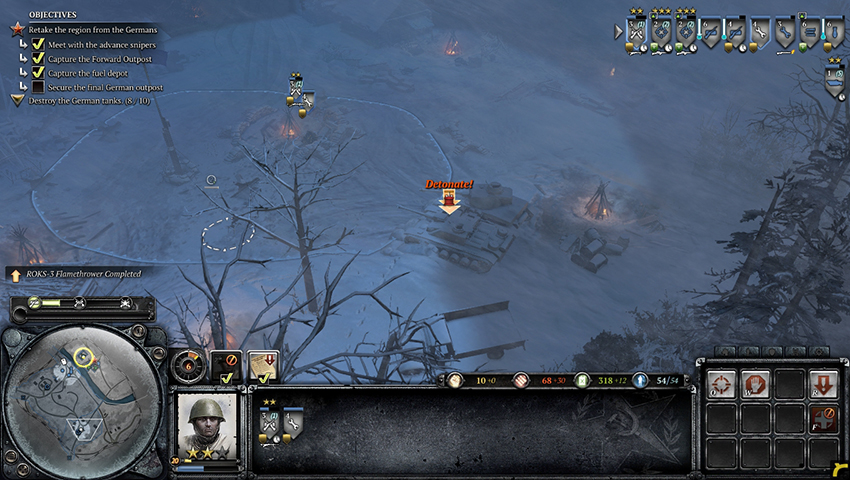
Four more tanks are located at the second outpost in groups of two.
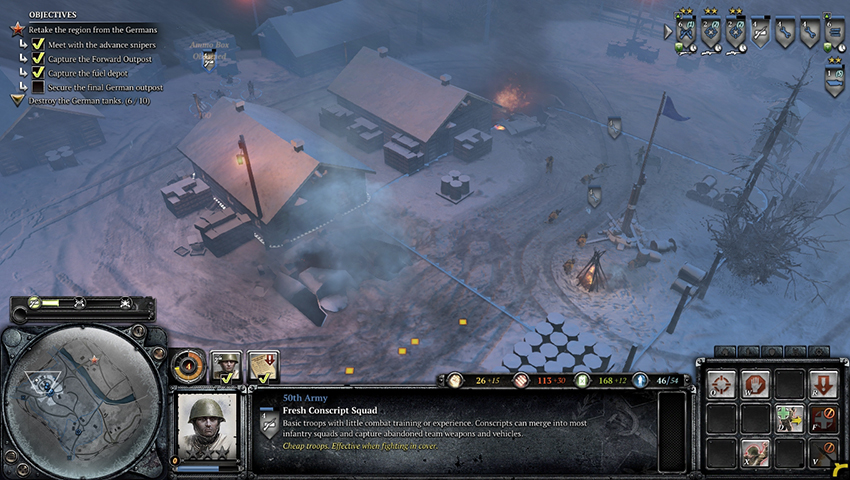
The ninth tank is located between the first and second outpost, slightly to the northeast.
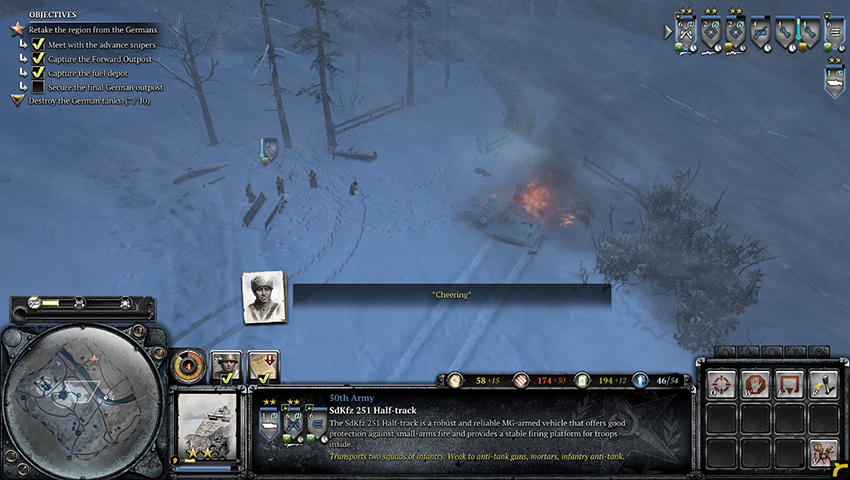
The final tank is positioned along the road across the river.