Company of Heroes 2 Guide Campaign Walkthrough Mission 8
Mission 8
Achievements
No Help Needed: Complete the “Hunt” without calling in any additional troops.
- This can be completed by following the normal mission walkthrough as long as no additional units are used from the base or through the Mobilize commander ability. Be sure to heal and reinforce any wounded squads, and repair any vehicles, instead of calling in new squads to replace them.

Walkthrough
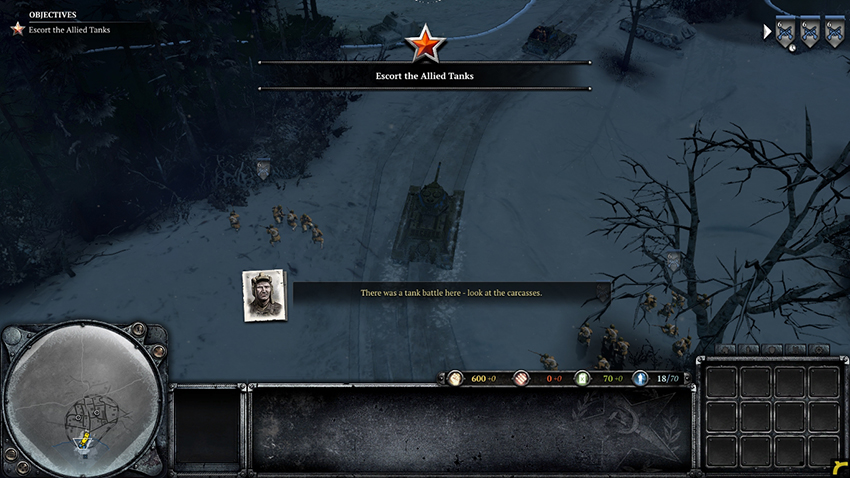
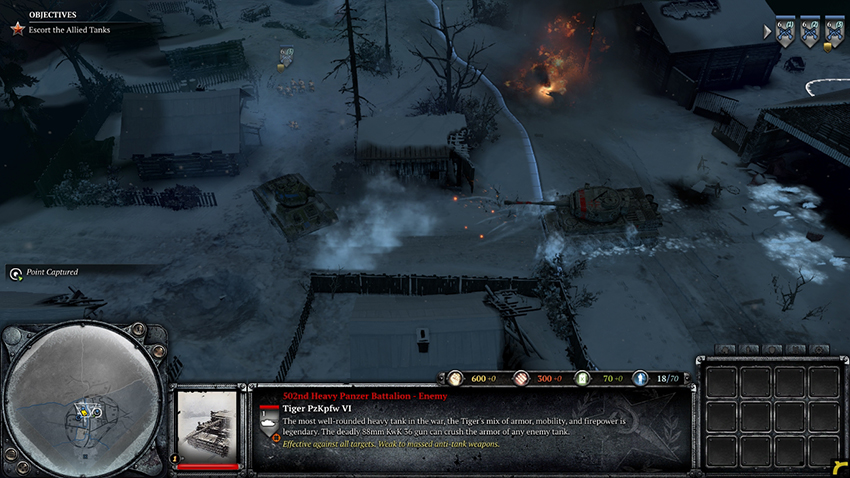
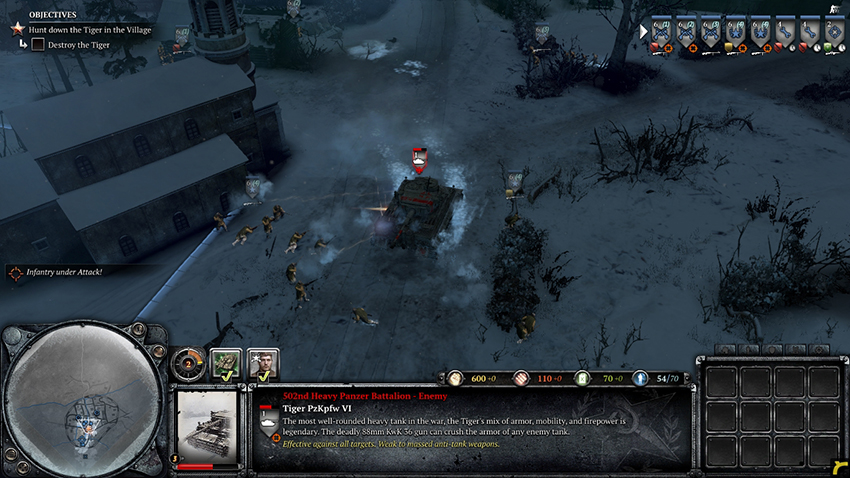
Tasked with escorting allied tanks through a small village, your initial force consists of three Frontovik Squads and three allied tanks. Follow the tanks as they progress down the road until a cutscene begins, introducing one of the most powerful units you will encounter—the German Tiger heavy tank. All three of the Soviet tanks will be destroyed, but your squads will be left unharmed. While the Tiger is firing on the tanks, move your squads out of its sight. Once the tanks are blown up, the Tiger begins to drive around the area, engaging anything in its path. You are granted extra squads to deal with the tank, including Guards Rifle Infantry, Combat Engineers, and a Sniper. Unfortunately for you, the Tiger is one of the most heavily armored German tanks and you no longer have tanks to support you. You must take out the Tiger using only the infantry you have been given.
In order to disable the tank, you’ll have to use your Guards Rifle Infantry and Frontovik Squads to pierce its armor. It is possible to use demolition charges and mines, yet neither is a reliable solution simply because the tank often does not move in a predictable fashion. The area is littered with ammo boxes, giving you the vital Munitions you need for your Frontovik Squads’ AT grenades, as well as PTRS 41 Anti-tank Rifles, the same ones that your Guards Rifle Infantry are initially equipped with. Before trying to take on the Tiger, collect any ammo boxes and PTRS 41 Anti-tank Rifles you can find, then search for the Tiger and set up your squads in cover near where the tank is located.
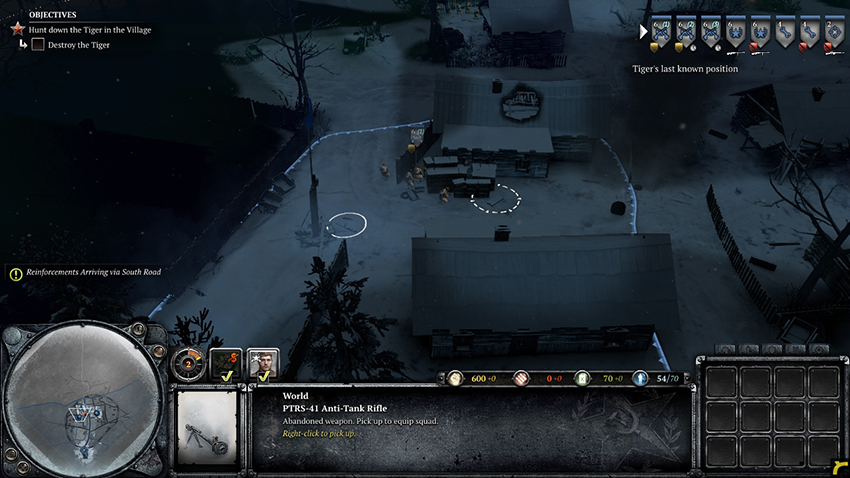
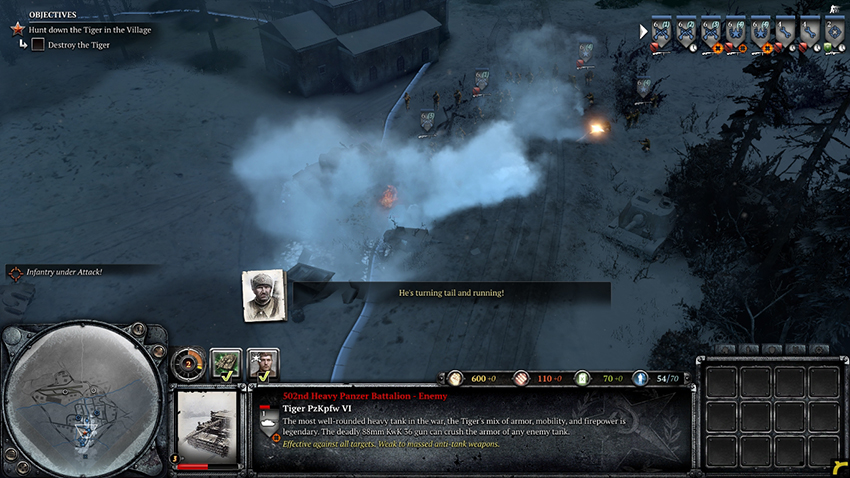
Order any of your squads with PTRS 41 Anti-tank Rifles to fire at the Tiger and use your Frontovik Squads’ AT grenades on the tank as much as possible. Although the Tiger is strong against all targets, it will not damage your squads quickly. Five or more squads of infantry can take it out with only a few casualties. However, be sure to retreat any squad that has three or less men so that they are not lost unnecessarily. Once the Tiger is down to half health, it pops its smoke launchers and drives off to the north. A new area opens up for you to move to. Follow the Tiger up the road—it won’t get away that easily.
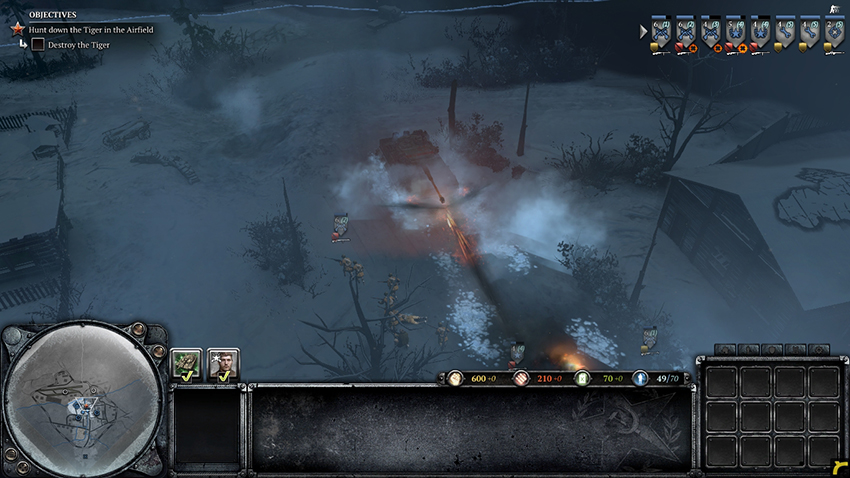
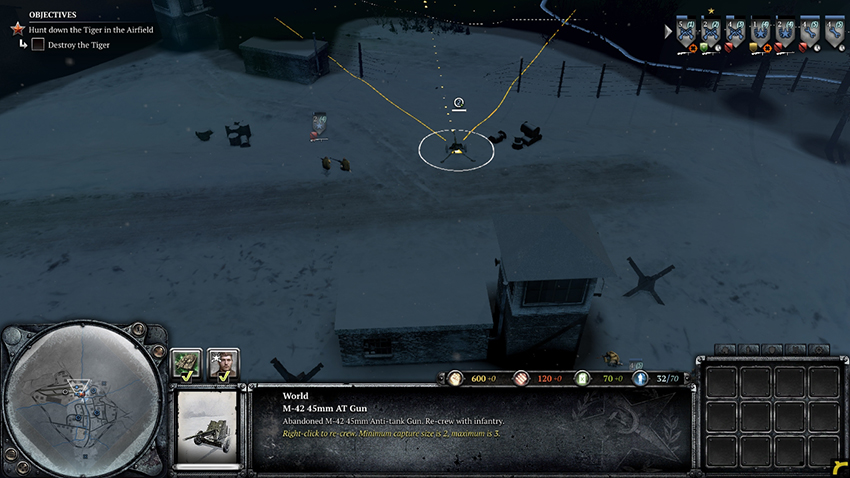
The Tiger is driving around the airfield and could be anywhere by the time you arrive. Once you locate it, use the same strategy as before to finish it off—target it with your PTRS 41 rifles and AT grenades. There is also an abandoned AT gun on the airfield roughly between the two nearby territory points. Although it is not exceptionally strong, it can help take out the Tiger. Continue firing away until the Tiger is destroyed.
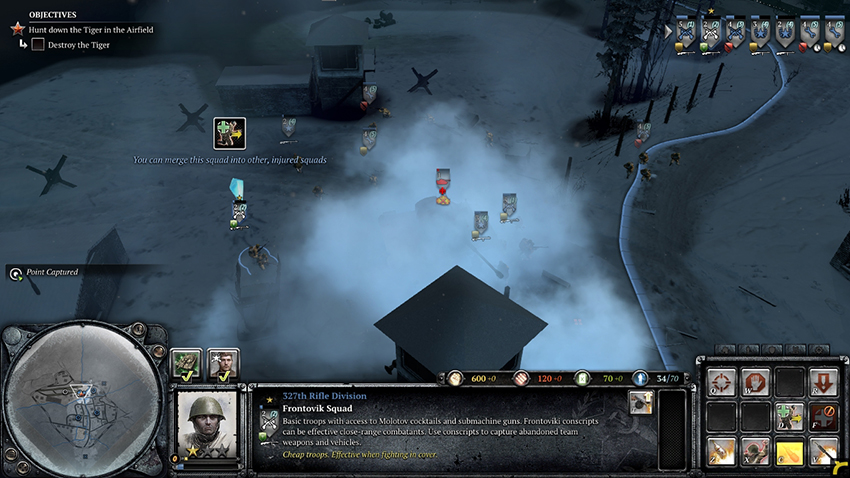
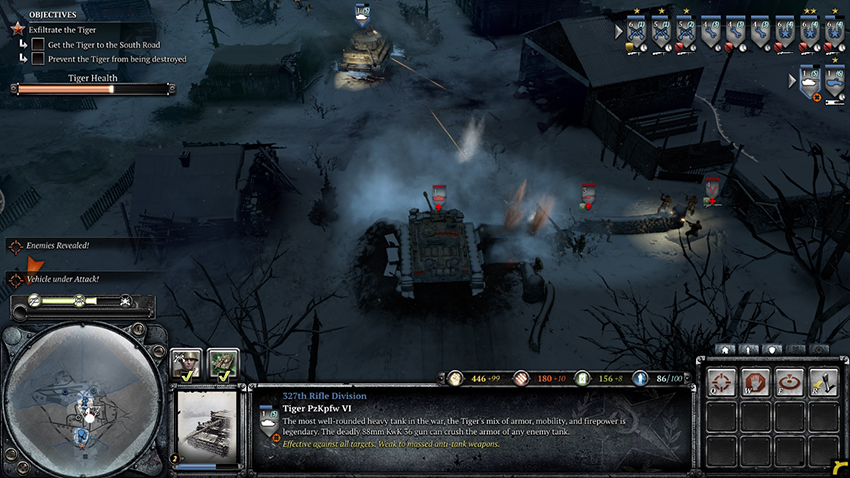
Due to your excellent work at taking out the Tiger, it was not completely destroyed, which means that you can crew it with infantry. Jump a squad into the tank then use your Engineers to begin repairing it. In addition to the Tiger you just requisitioned, a Soviet base is set up at the southern part of the map and a Soviet Half-track loaded with Guards Rifle Infantry and Combat Engineers has been sent to the tank’s location. The rest of the mission will require you to get the Tiger to the South Road safely. The Germans send infantry and vehicles to secure the road and destroy the Tiger, which are difficult for your infantry alone to deal with. Defend the airfield long enough to repair the Tiger to full health, repairing its gun and treads in the process.
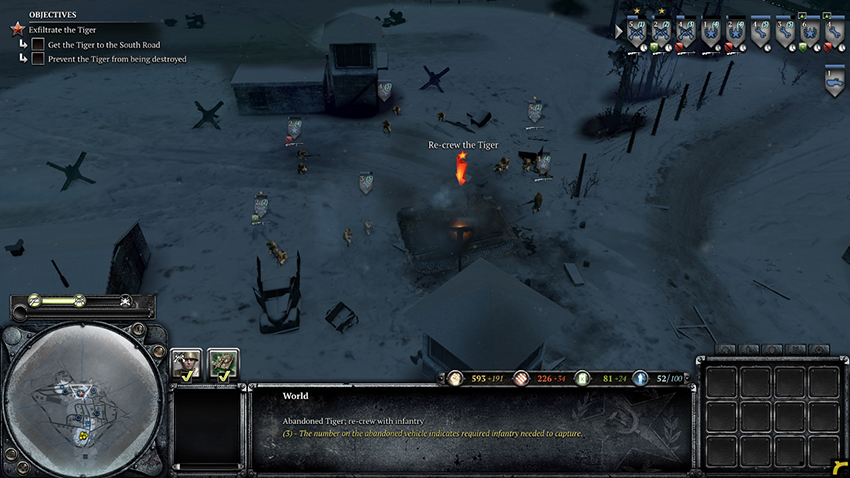
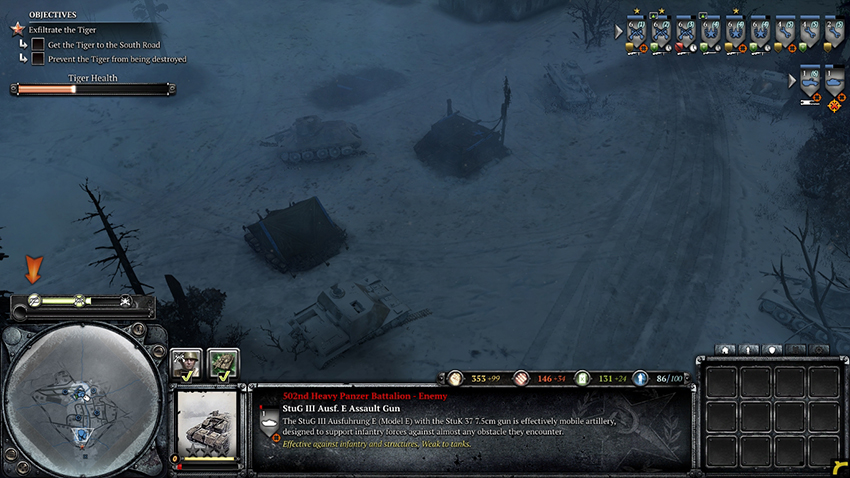
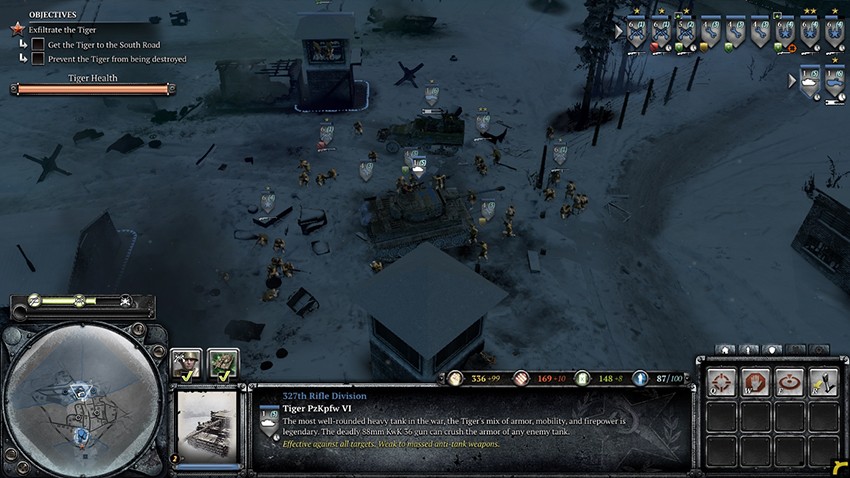
Begin moving the Tiger south toward your base using your infantry and Half-track to support its advance. The Germans do not have anything to take out the Tiger quickly, although they do have a large amount of anti-vehicle weaponry including tanks and Panzershreks. Your Tiger will take minimal damage from the enemy but keep your Engineers nearby in case it needs to be repaired. Do not feel that you have to rush to extract the Tiger—take as much time as is necessary to take out the enemy and get the Tiger to safety. Pull back, reinforce and repair as needed. Too many tanks, AT guns, and Panzershreks at once could take out the Tiger, but they will not last in one-on-one engagement. Expect multiple StuGs, Panzershreks, and at least one AT gun when moving down the road. If the enemy defense seems tough, take a few shots with the Tiger, then pull back and repair it to full health. When you enter the village, the Germans will have placed a tank into Hull Down mode in the middle of the road; it has increased armor along with reload speed and accuracy while it is immobile. Although it may take a while, the tank can be destroyed by the Tiger. Destroy the tank and any other defenses then proceed to the South Road. Successfully extract the Tiger to achieve another Soviet victory.