
Company of Heroes 2 Guide Advanced Tactics Unit Tactics
Vehicles
After World War II, the great variety of armored fighting vehicles—light tanks, medium tanks, heavy tanks, tank-destroyers, assault guns, self-propelled guns—disappeared in favor of the multirole main battle tank. But in World War II, it was the medium tank and its derivatives based on the chassis of the T-34, Panzer III/IV, and M4 Sherman that made up the bulk of production and bore the brunt of combat.
Vehicles have front and rear armor, with rear armor typically half as strong as front armor. Flank armor doesn’t exist, so half of each flank is categorized as front and half as rear. Always try to target rear armor, especially when you have a mobile unit like a medium tank with a turret or an infantry squad with an anti-tank weapon. When using vehicles yourself, be sure to keep your front armor facing your opponent’s anti-tank weapons—if you hold the right mouse button down you can order a unit to alter its facing, which is especially useful in these circumstances.
Experienced drivers were able to pick lines through terrain that would maximize their speed and minimize their exposure to enemy fire. Speed is one thing, arriving at the intended destination was more important.
Vehicles can crush some terrain features like trees, fences, and sandbags. Larger vehicles can crush larger objects (for example, heavy tanks can knock over hedgerows and tall walls). Tanks can also crush infantry. Infantry will naturally attempt to avoid being crushed if they do not have any other orders, but if you give an infantry squad a movement order that intersects the path of a moving tank, your men will likely meet their doom under the oncoming treads. Retreating units cannot be crushed, so if an infantry squad is in danger of being crushed, Retreat them. When microing a tank to crush infantry, it’s best to move back and forth as much as possible over the path of the infantry squad—use the Reverse button (hotkey R) to assist with this.
Tanks and Turrets
Veteran German tank crews probably had dozens of battlefield encounters, often in the same tank, under their belts, whereas their Soviet counterparts might have had a dozen tanks shot out from under them. Both experiences taught valuable lessons.
You might perceive the T-34 and T-70 to be far less effective for their cost than the StuG, SU-76, or SU-85. It depends a great deal on how you use them. Tanks with turrets have the wonderful advantage of circle strafing. Vehicles that lack turrets (such as the SU-76, SU-85, and StuG) often run into trouble against tanks with turrets because they must turn their entire chassis to fire. To speed up their turn speed, you can give the unit a movement order in the opposite direction of the target vehicle’s intended movement path. For example, against a T-34 approaching from the front-left side of a StuG and intending to flank around its left side, give the StuG a reverse order to its back-right—this will cause the StuG to rotate as normal while also keeping a greater distance between the two tanks so that it won’t need to rotate as far during subsequent shots against the oncoming T-34.
Turrets can only rotate so quickly, and sometimes it’s not fast enough if a vehicle is driving past your tank or enemy infantry begin Retreating. To decrease the time it takes for your cannon to line up with its target, hold down the right mouse button and order the tank to rotate in the direction your turret is moving—this combines your tank’s movement with its turret rotation.
The Heavies
At the respective pinnacles of armored development for the Germans and Soviets were the Tiger (and later Tiger IIs) and the IS-2, named after Joseph Stalin himself. These tanks illustrated diverse approaches to design: Main armament differed dramatically, as did the quality of production, crew protection, and design complexity. IS-2s were almost comically menacing, Tigers massive and foreboding.
The Tiger and IS-2 are the super heavy tanks of Company of Heroes 2 and the ultimate assault units. No single unit can hope to win against them, forcing your opponent to consider a combined arms approach rather than build a simple hard counter. These tanks work best when spearheading assaults against lightly defended territory, or when striking out from the flanks at heavily defended positions. While they have the armor and HP to engage a defensive force frontally for a little while, they cannot hope to win, and this use of them doesn’t justify their cost. It is viable to put slight pressure through frontal advances, then Retreat to repair after taking out a weak target, assuming your Tiger isn’t disabled by a T-34, or your IS-2 by a Panzerfaust.
The ISU-152 is a massive Howitzer on treads and the Elefant is the most lethal tank destroyer in the game. They cost massive amounts of Fuel, equivalent to the Tiger and IS-2, but they lose handily to the heavy tanks in single combat. What’s the solution? The ISU-152 and Elefant have a range of almost two screen lengths, far exceeding any other non-Mortar or artillery unit in the game. As Soviets, use mines and AT grenades to damage the engines of enemy tanks while your ISU-152s safely engage outside of the enemy tank’s range—Germans can do the same with Panzerfausts. These are the ultimate fire support units, use them as such and don’t be surprised if they fail in the role of an assault unit.
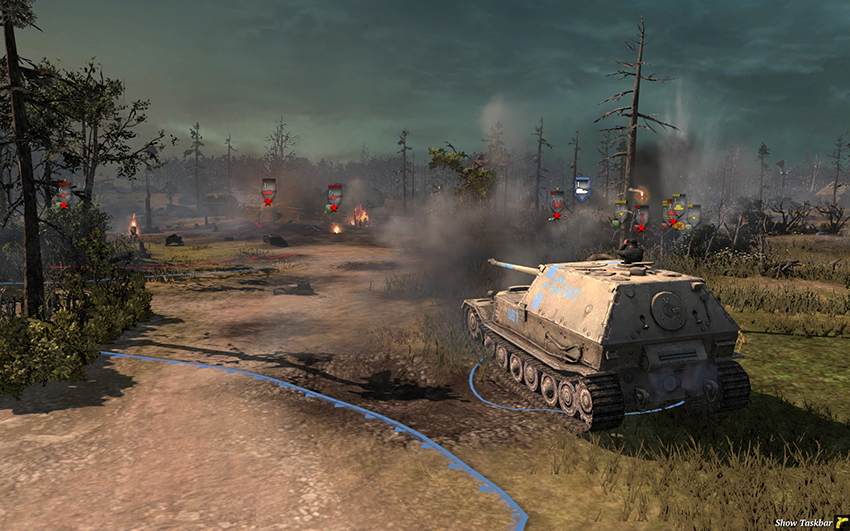
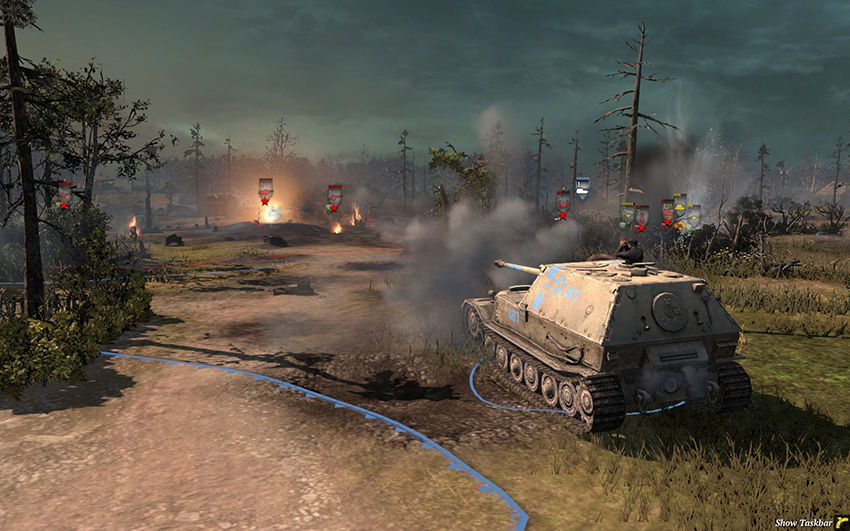
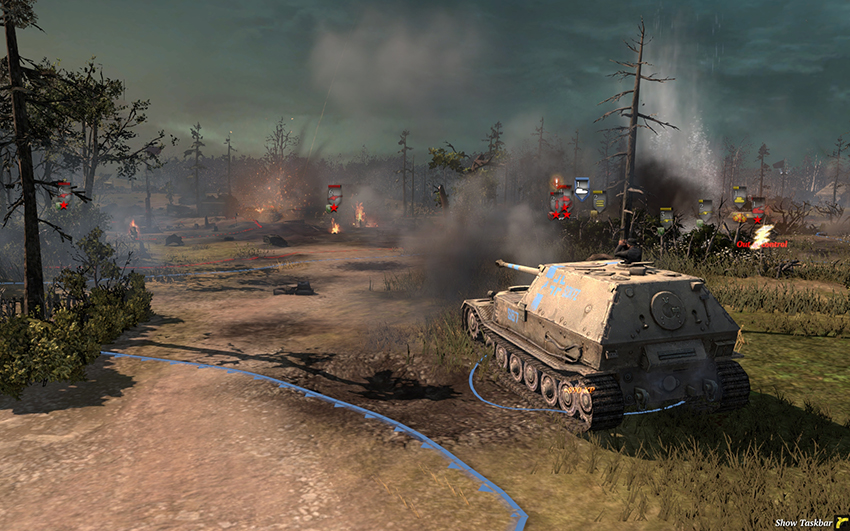
The Elefant and ISU-152 have such extreme range that you’ll need to tilt your camera if you want to watch them engage targets over a screen-length away. Here, an Elefant outranges and destroys an SU-85 Medium Tank Destroyer, itself a long-range anti-tank vehicle.
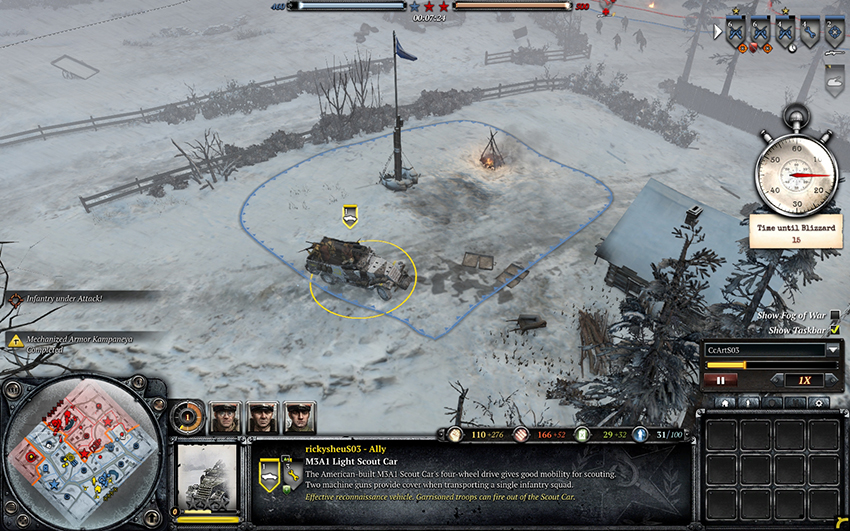
Light vehicles are useful for harassing your opponent’s points if you place an infantry squad inside. There are no “half-track aces” comparable to famous tank commanders in the historical accounts of World War II. Support vehicles rarely receive the recognition they might deserve, but consider that many hundreds of thousands of soldiers were shepherded alive across the violent battlefields of the Eastern Front.