
Company of Heroes 2 Guide Theater of War German Missions
German Missions
Co-op Scenarios
Encirclement at Smolensk
Achievements
In the Noose: Kill the Penal Battalion squads attempting to break out alongside the armored convoy.
Silence the Guns: Destroy the Soviet Artillery positions on the central plateau.
Walkthrough
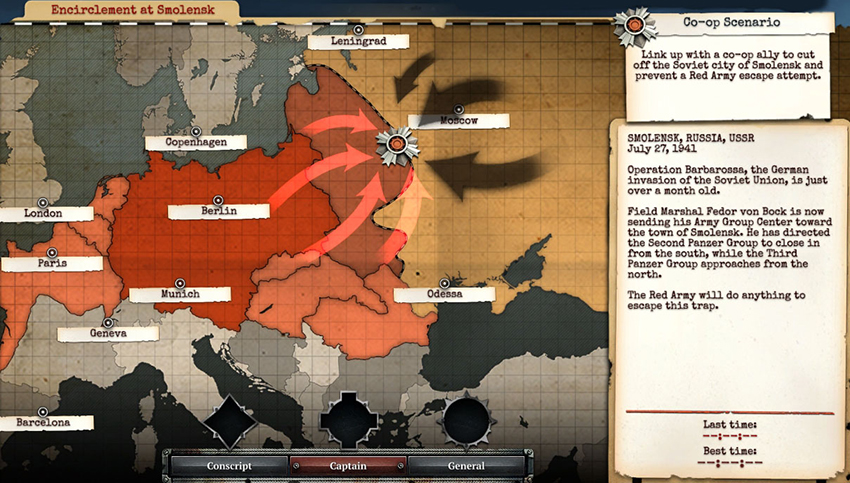
The objective of Encirclement at Smolensk is to force the Soviets into a position that they cannot escape from. Your goal is to destroy four Soviet production buildings and effectively hold the enemy within the confines of their base. A German ally—either an online friend or a computer-controlled AI—will be given their own base to pressure the Soviets on the top side of the map, while you will assault their defenses on the bottom. The Soviets will not produce many new units, instead using the units already stationed at different positions on the map. Both you and your ally will begin with three squads of Grenadiers, a Combat Engineer, an AT gun, two StuGs, and a Scout Car. To call in additional units, you will have to build production buildings with your Pioneer squad. Each new production building will be unlocked after you Escalate to additional Battle Phases at your Headquarters.
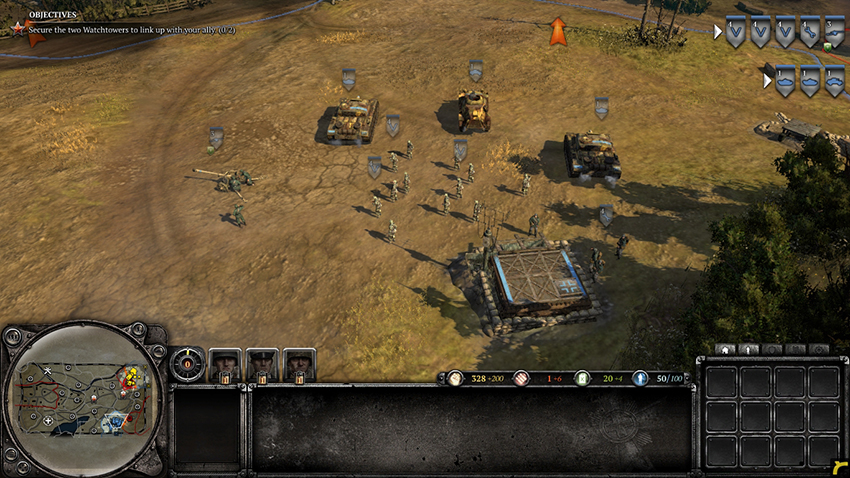
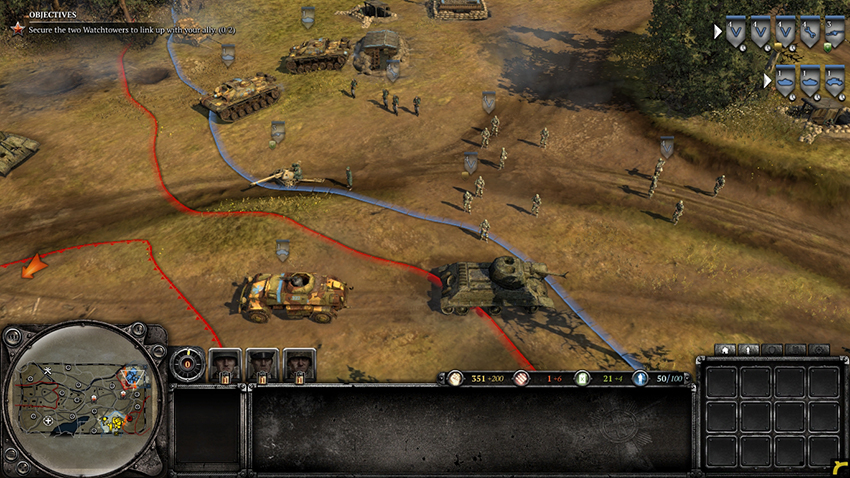
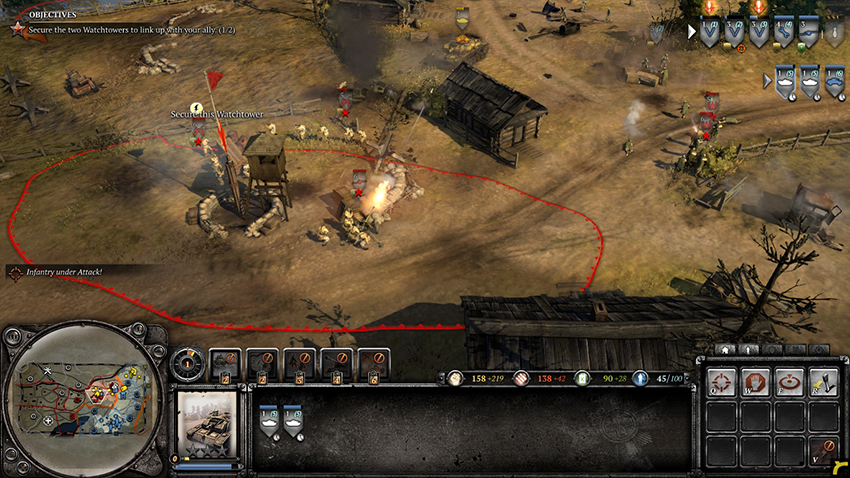
Your first task is to capture the two Watchtowers controlled by the Soviets. Each one is guarded by Soviet infantry as well as weapon teams. Use your forces to take the closest Watchtower, between the two German bases, then continue on to the Watchtower to the west. Capture any nearby territory points to secure additional Munitions and Fuel income. Soviet forces will be scattered throughout the map to defend different points, as well as some that will move to engage your units.
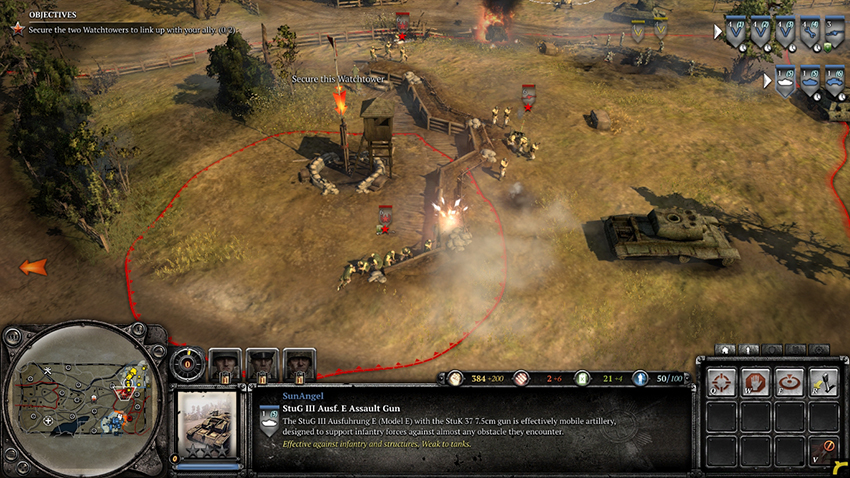
In the middle of the map is a large plateau with two Soviet Howitzers and an AT gun on top, facing east. The only entrance to the plateau is on the west side of the map, and it is protected by KV-1 Heavy Tanks and other Soviet units. Instead of trying to reach the artillery pieces with your forces, call in a Mortar and set it up at the base of the plateau on the east side. This Mortar will be able to reach both Howitzers—barrage both of them until they are destroyed to protect your forces from future artillery barrages.
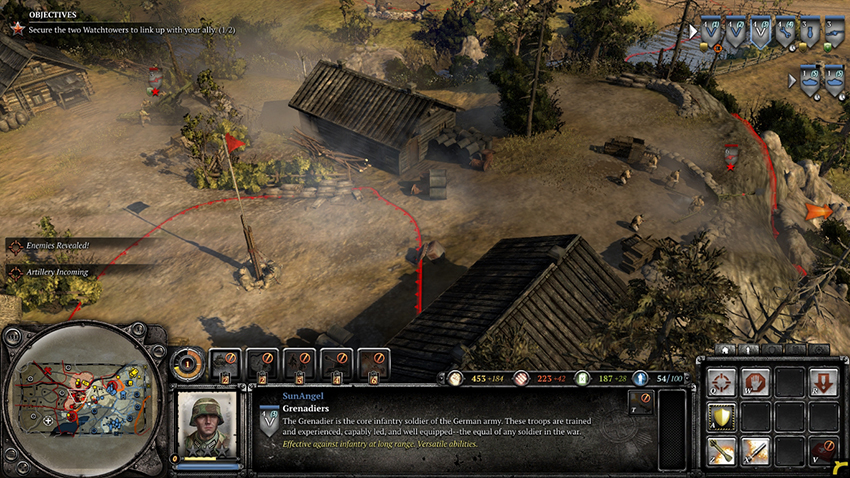
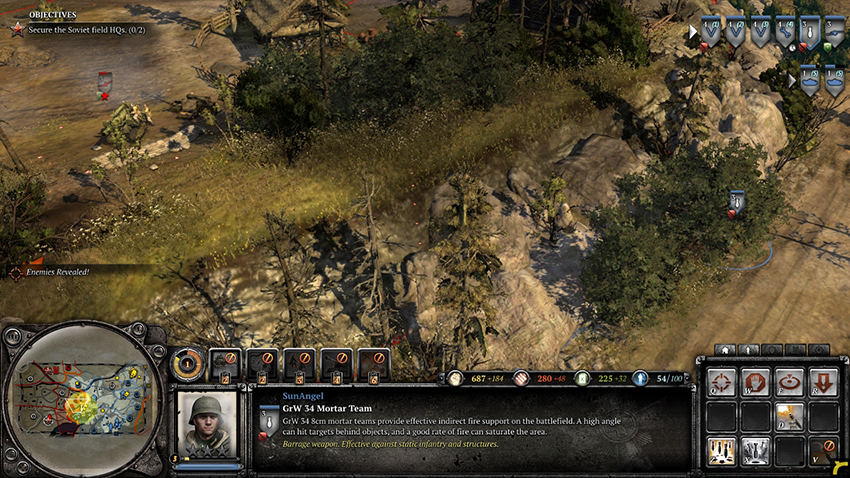
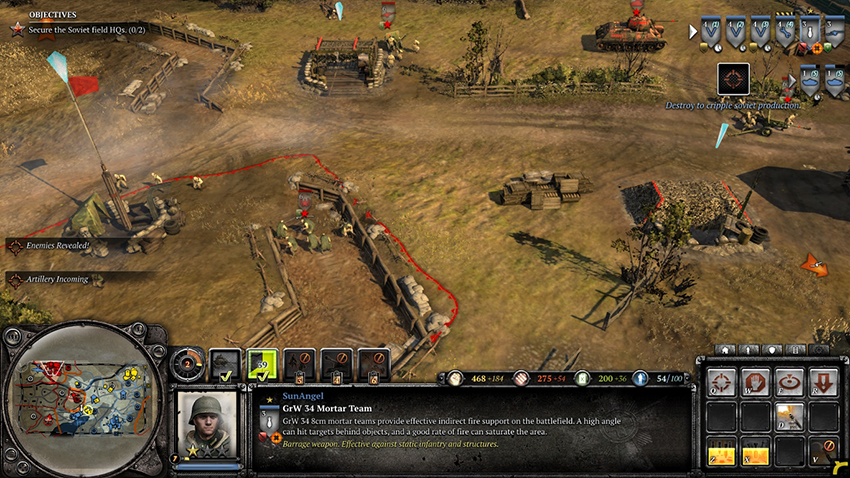
After the Watchtowers have been captured, your next objective will be to secure the two Soviet HQs on the top and bottom of the map. If you are on the bottom side of the map, you will mainly fight infantry and weapon teams. Half-tracks upgraded with Flamethrowers are great for killing infantry, Mortars are useful for taking out AT guns, and HMGs can be used for defense against infantry that gets too close to your forces. If you are on the top side of the map, you will mainly fight AT guns and tanks. Call in Mortars to take out the AT guns, then use either AT guns or StuGs to take out the Soviet tanks. Each HQ consists of two production buildings and a territory point that must be captured—the top territory point is a Vehicle Repair Facility, while the bottom territory point is a Military Field Hospital. To secure the HQs, destroy both production buildings and capture the territory point. Doing so will begin the final part of the mission—the Soviets will send an armored convoy to try to escape from the encirclement.
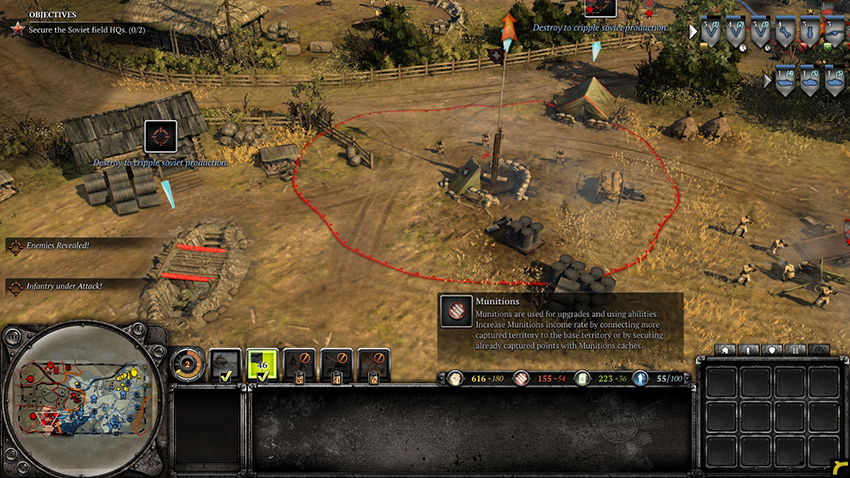
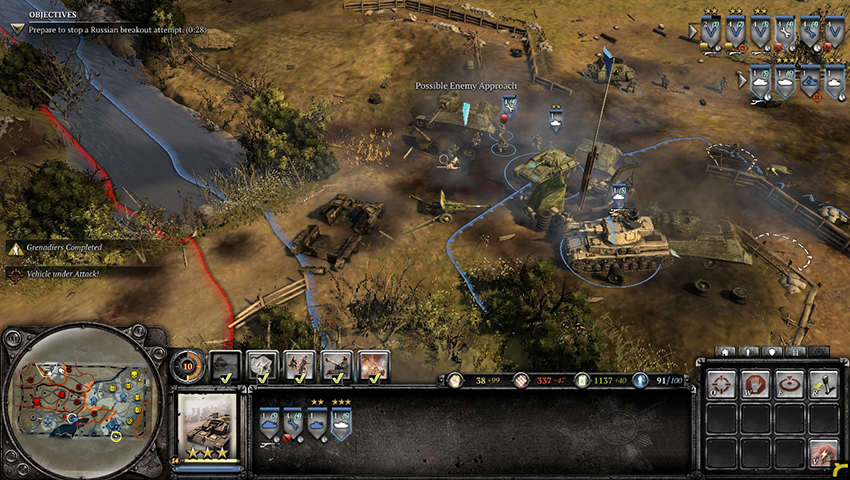
The armored convoy will come after a few minutes, allowing you time to prepare for the defense. The convoy will move from west to east across the map, and may move along the top or bottom of the map as marked. This convoy will consist of trucks, Scout Cars, T-34s, and Half-tracks. All you will need to take out the convoy is anti-tank weaponry such as AT guns, StuGs, and Panzer IVs. Mines can also be planted along the convoy’s path to destroy them. As you do not know whether the convoy will move across the north or the south portion of the map, you may either split up your forces to cover both sides or set them up farther to the east. The left Watchtower is a good spot to set up your units, as it allows you to respond to whichever side the convoy moves down. Multiple squads of Penal Battalions will move along the path opposite of the convoy—these can be killed for an achievement. Take out the convoy to achieve victory.
Faceoff at Rostov
Achievements
Red Dead: Kill twenty squads of Soviet Shock Troops or Penal Battalions.
Uncompromising: Complete the mission without the Soviets ever controlling more victory points than you do.
Walkthrough
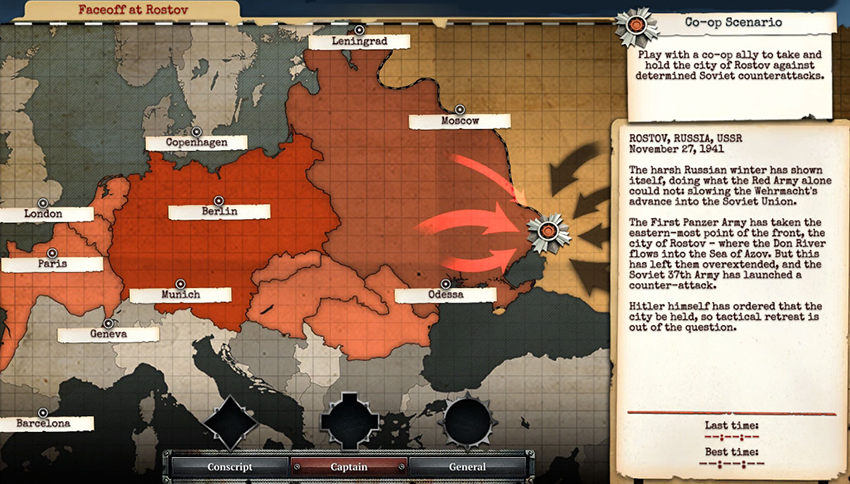
The second German Co-op Scenario, Faceoff at Rostov pits you and an ally—an online friend or a computer-controlled AI—against two Soviet enemies on a snow-covered map. The objective is the same as a normal multiplayer game: Decrease your opponents’ Victory Tracker to zero by holding more Victory Points than them. To make the mission more challenging, the faction with fewer Victory Points will be given certain advantages to help them beat back their enemy. If your faction has one Victory Point, your units will capture territories more quickly. If your faction has zero Victory Points, your units will be called in more quickly. If the Soviets have less Victory Points, they will be given additional units. Both German players will begin with two Grenadier squads, a Pioneer squad, and a StuG. Player 1 will also start with a Half-track, while Player 2 will start with a Scout Car. You will not start with any captured points or production buildings. Germans increase their tech level differently from Soviets—instead of constructing production buildings, higher tech buildings require the German player to Escalate to Battle Phases at the Headquarters. No Battle Phase is necessary to construct the Infanterie Kompanie, which can call in Grenadiers, HMGs, Mortars, and Snipers. Battle Phase 1 allows the construction of the Leichte Mechanized Kompanie, which can call in Panzergrenadiers, Scout Cars, Half-tracks, and AT guns, while Battle Phase 2 allows the construction of the Support Armor Korps, which can call in StuGs and Panzer IVs.
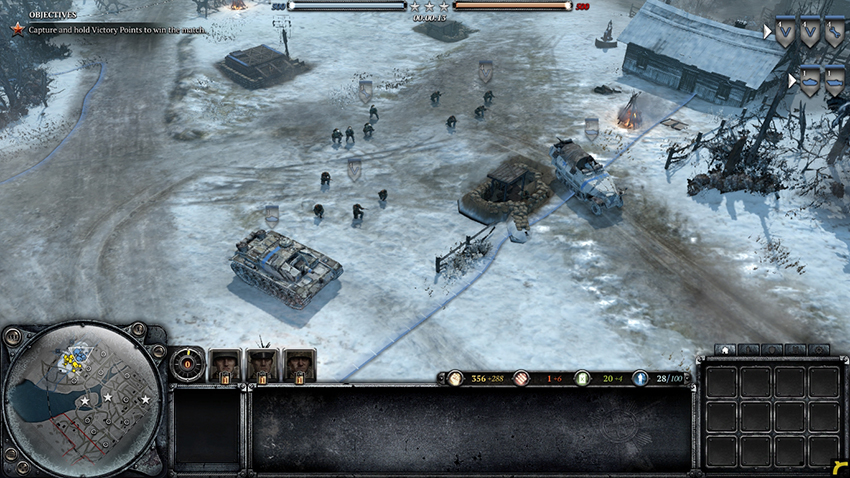
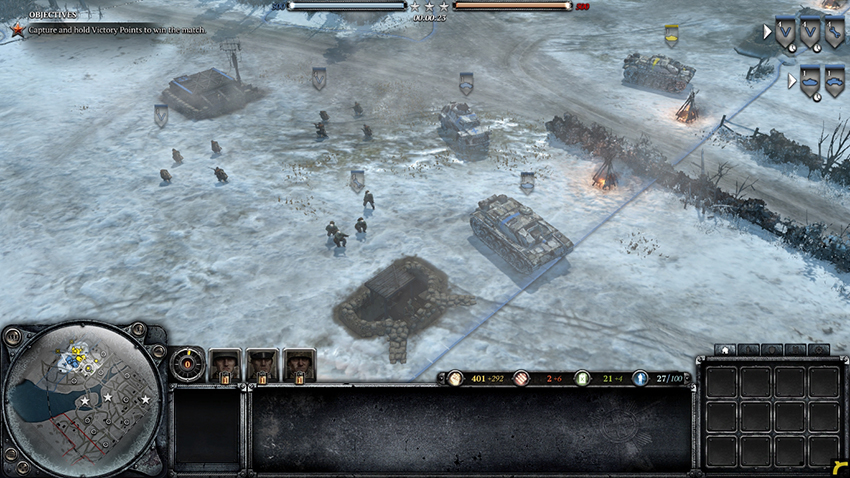
Due to the bonus condition of the mission that grants the Soviets additional units if you control more Victory Points, it is best to hold only two of the Victory Points and defend them until the Soviet Victory Tracker reaches zero. Use your initial forces to capture as many territory points as possible then build bunkers and call in mortars to defend the Victory Points. The Soviets begin with multiple infantry squads and Scouts Cars that will move out to capture territory as well. Early in the mission is the best time to eliminate the Scout Cars, as your StuG can destroy them easily and the Soviets won’t have any strong anti-tank support. After capturing the territory points and two of the Victory Points, search for the Scout Cars and destroy them. As there are no Fuel or Munitions points on the map, placing caches is important for having a reasonable income. Fuel Caches will not be quite as useful since your Manpower will limit your unit production the most. Munitions Caches are great, as they allow you to use more abilities that will make defending the Victory Points much easier. When choosing which Victory Points to defend, the left and middle Victory Points will be the most accessible by your forces. If you are playing with a friend, divide up the two Victory Points so that you only have to defend one. As the mission continues, you will reach the population cap with your units, limiting your ability to call in extra. Use any additional Manpower to build bunkers covering the Victory Points and other areas that need to be defended, such as paths across the frozen river or territory points that the Soviets attempt to capture. With Munitions Caches you will have plenty of Munitions for upgrading bunkers with MG42 Heavy Machine Guns. The combination of bunkers and Mortars to deal with infantry, along with StuGs to take out vehicles, will be enough to defend the Victory Points for a majority of the mission.
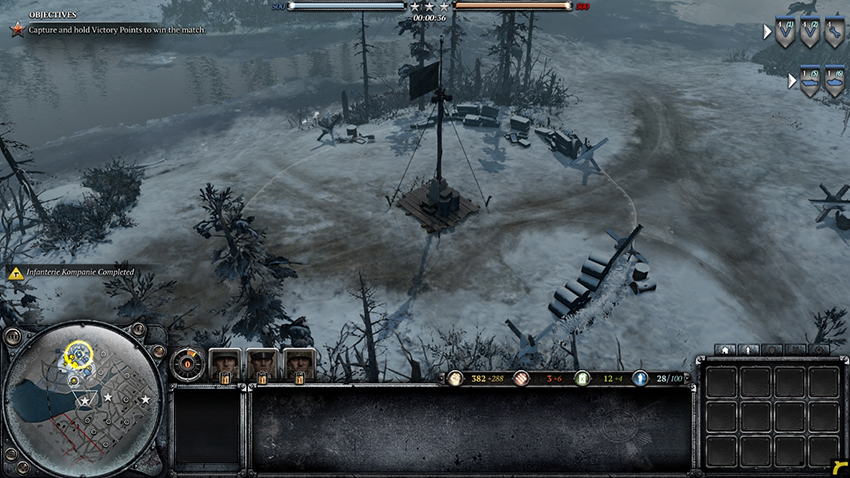
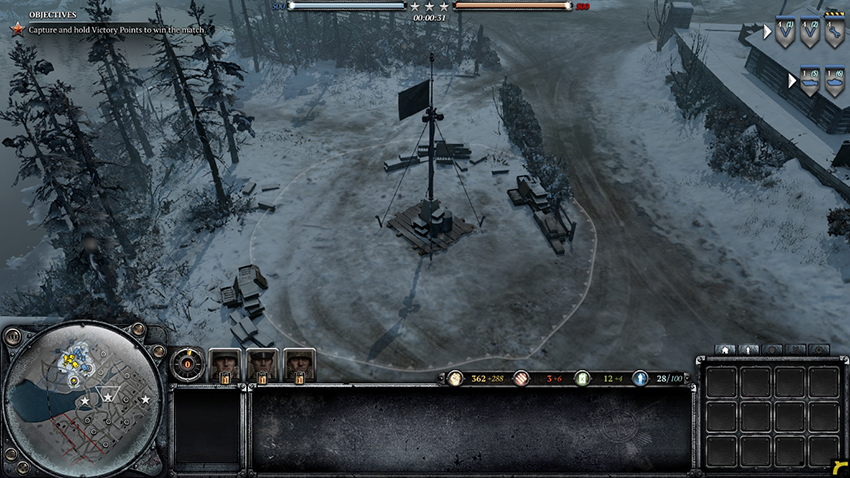
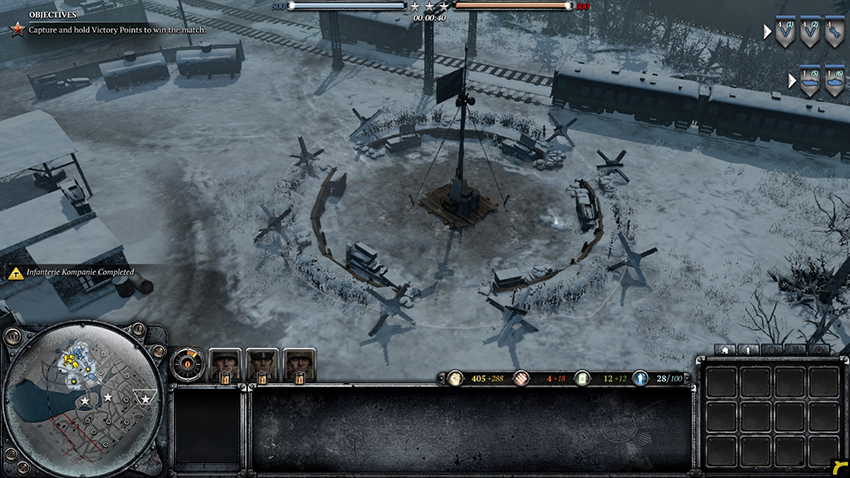
As the mission continues, the Soviets will receive new and better units. Eventually the Soviets will receive multiple squads of Guards Rifle Infantry with PTRS-41 Anti-tank Rifles which will decimate any vehicles or bunkers you may have. To counter the large number of Guards Rifle Infantry you will face, as well as any other infantry that try to take the Victory Points, select the German Mechanized Doctrine once you receive 1 Command Point. At 2 Command Points you can call in the Mortar Half-track, a light vehicle loaded with a Mortar. Along with the attack of a traditional Mortar, this unit can use the Incendiary Mortar Barrage ability that will light an area on fire, causing heavy damage to any infantry caught within. The Mortar Half-track is useful throughout the mission for this reason—use the Incendiary Mortar Barrage on Soviet infantry that try to capture the Victory Points to take them out quickly. The Incendiary Mortar Barrage costs 60 Munitions to use, so repetitive use of the ability will require a higher Munitions income brought upon by building Munitions Caches. Later on, the Soviets will begin to use multiple T-34s at once. To deal with these, have at least three StuGs nearby to take them out once they move in on your defenses. AT guns can be useful as well, although StuGs are more mobile and can be repaired after the T-34s have been taken out. Watch out for T-70s as well, although your StuGs can take them out quickly.
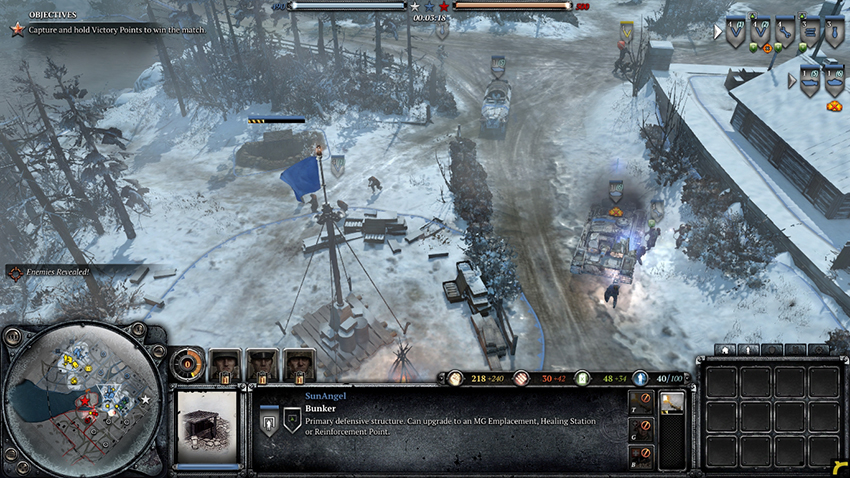
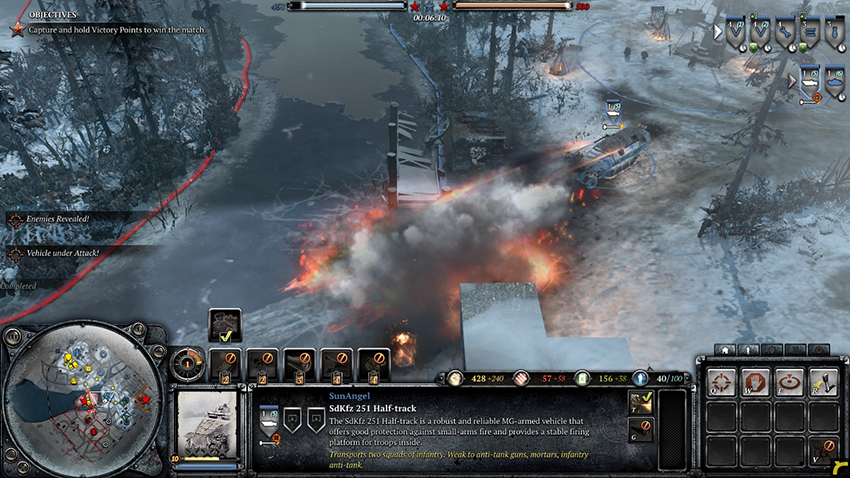
If the Soviets overrun your defenses and force you back across the river, set up defenses at the nearby territory points until you have enough units to push the enemy back and secure the Victory Points. Additionally, the ice on the river can be melted by flamethrowers so that units cannot use it for movement—consider upgrading a Half-track with Flame Projectors and using it to melt some of the ice, forcing the Soviet units to bunch up when they try to cross the river. As for units, although it can be tempting to call in Panzer IV tanks since they are better than StuGs, their population cost is too great to make the vehicle worthwhile. Instead, continue to use bunkers and Mortars to counter infantry, and StuGs to counter vehicles.
Solo Challenges
Schildkroteberg
Achievements
Hard Shell: Build three Panzer IV Medium Tanks.
Triple Triple: Have three squads reach triple veterancy.
Turtle Gold: Complete the bonus objective.
Walkthrough
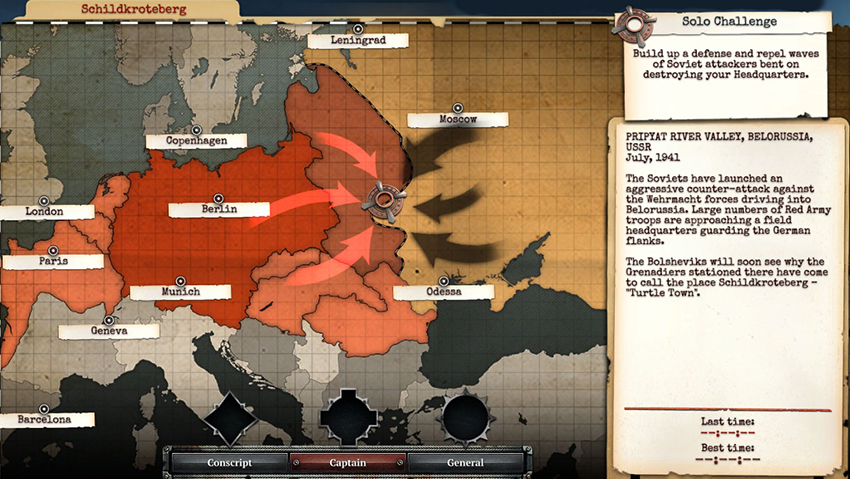
This is a defense mission that requires you to fend off seven waves of progressively more powerful Soviet attackers for the main objective, and an additional three waves for the secondary objective.
Soviet Waves
- 1. Fresh Conscripts and Conscripts
- 2. Conscripts and Shock Troops
- 3. M3A1 Scout Cars, Maxim HMGs, and Guards Rifle Infantry
- 4. AT guns and Penal Battalions
- 5. Shock Troops, Guards, Penal Battalions, and Conscripts with PPsH submachine guns
- 6. Guards Rifle Infantry and Snipers
- 7. T-70s, Conscripts, and T-34s
- 8. T-70s, T-34s, Guards Rifle Infantry, and Shock Troops
- 9. T-70s and Shock Troops
- 10. T-34s and a KV-1 Heavy Tank
You begin with limited resources and you’ll be consistently heavily outnumbered, so the key to the early stages of this mission is funneling the Soviet infantry with barbed wire into choke points covered by HMGs, either the units or the bunkers. It’s superior to defend in close proximity to your production buildings because your infantry can reinforce in combat when necessary and the buildings can function as a diversion sometimes to keep your units alive.
First, begin constructing a second Pioneer squad while you send your initial Pioneer squad to place barbed wire at the left entrances to your base. This will remain in place until Soviet vehicles arriving, blocking flank attacks.
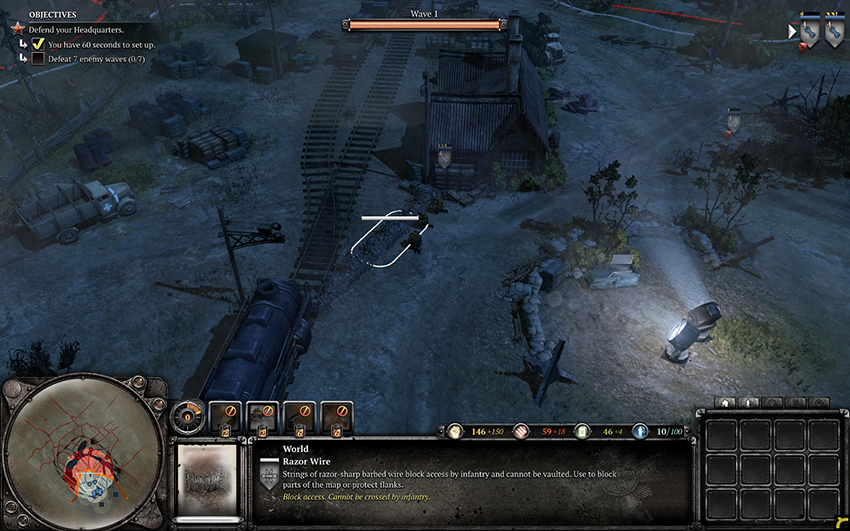
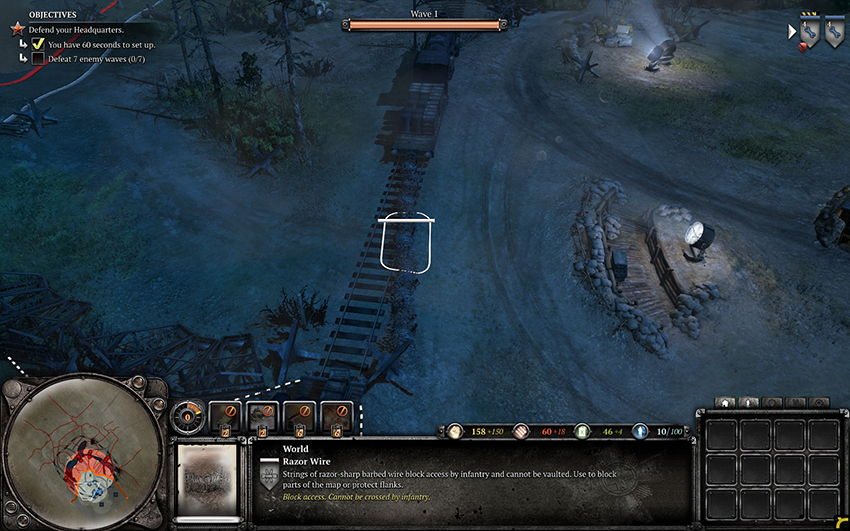
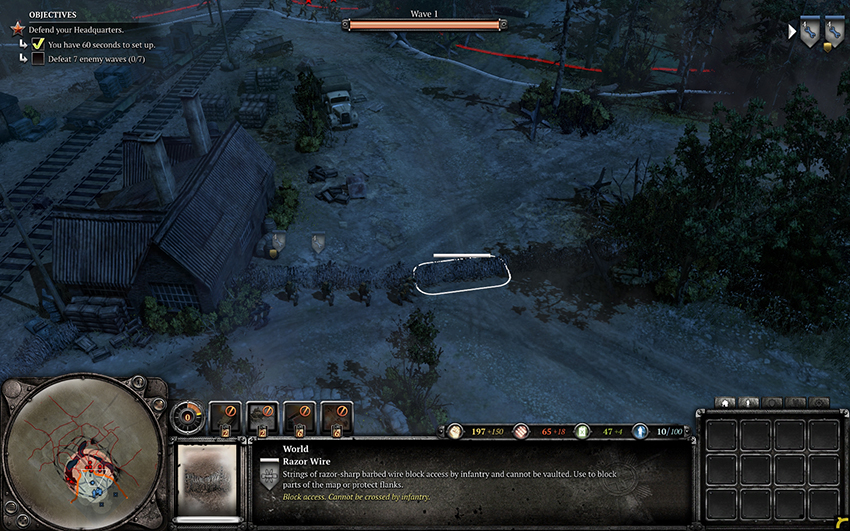
You should build a bunker while placing barbed wire, positioned to cover the right flank, and upgrade it with an HMG.
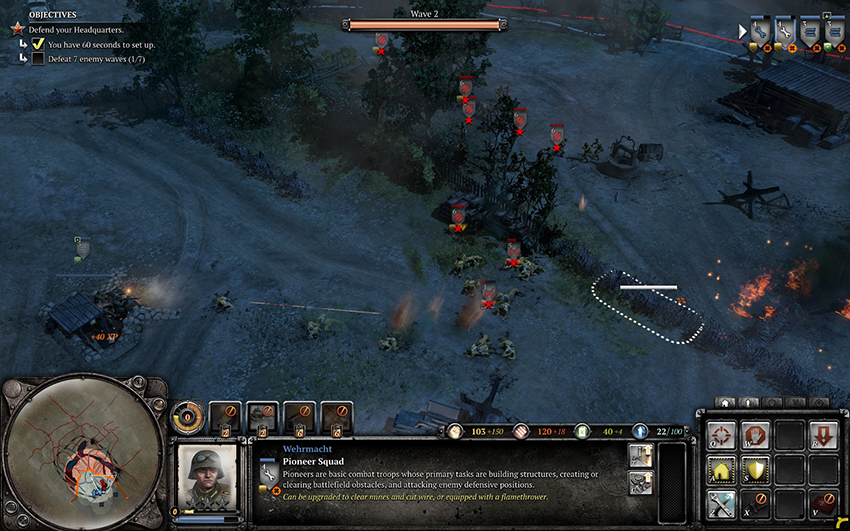
This force alone is sufficient to fend off several waves of infantry on its own, but you’ll soon want a Half-track with Flame Projectors when you’re faced with hordes of Shock Troops and Penal Battalions. And one or two additional bunkers are a good choice to protect your infantry and cover more approaches with HMGs, as your barbed wire will be crushed by enemy vehicles in later waves. Be sure to control your Half-track carefully when attacking Guards Rifle Infantry and AT guns—withdraw it for repairs as needed.
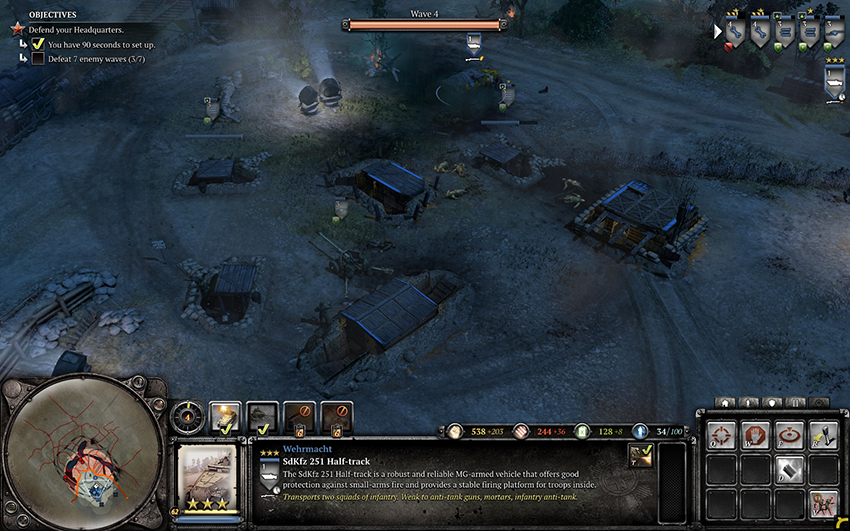
When playing on Conscript or Captain difficulty, build Panzer IVs and move them out ahead of your base and other units so they get the kills and veterancy, the more veterancy these get the easier it will be to fight Soviet tanks. You can also use StuGs, which cost less Fuel, but they lack the pintle-mounted machine gun upgrade and turret that allow the Panzer IV to excel against infantry. During this time, be sure to capture the Soviet AT gun in Wave 4 with your Pioneers, as well as the Soviet HMG in Wave 3, and build an AT gun of your own.
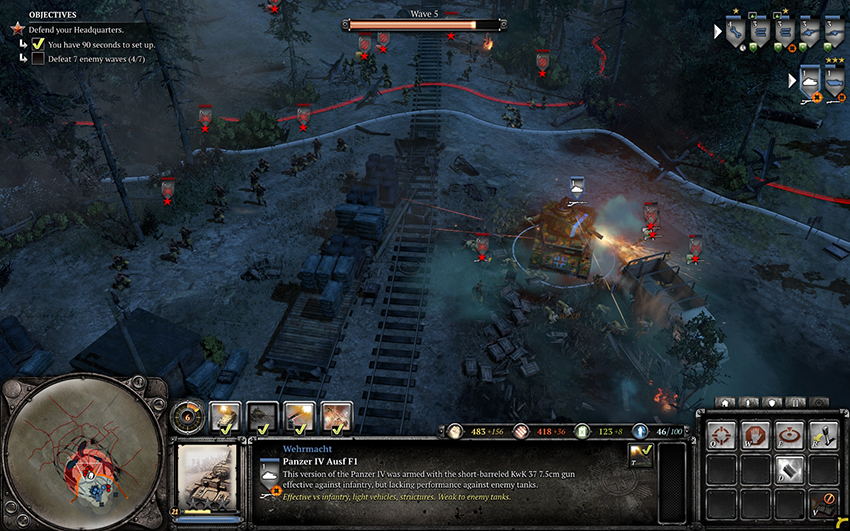
Unfortunately, on General difficulty your Fuel supply will be considerably limited, so you’ll need to rely on a combination of AT guns and StuGs to counter the Soviet tanks in the last couple of waves. AT guns alone are not sufficient, as they will be flanked, so you’ll need to use your vehicles to limit the mobility of enemy tanks through offensive unit blocking (explained in Advanced Tactics).
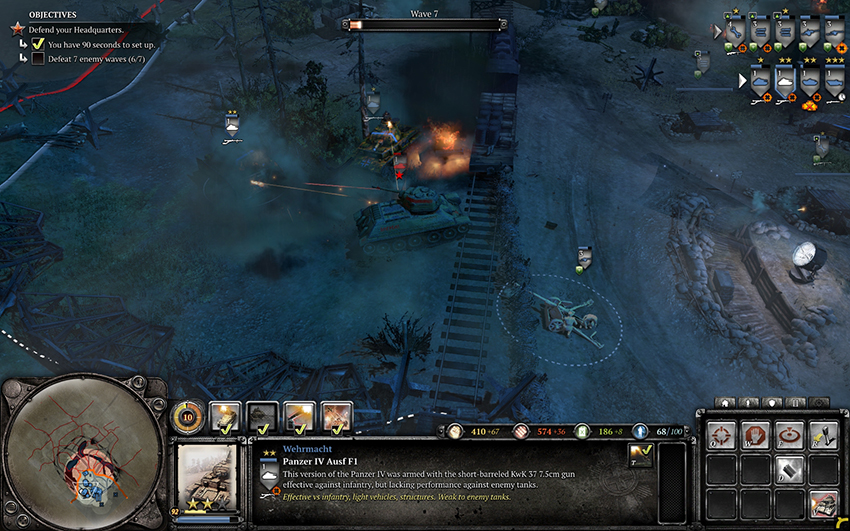
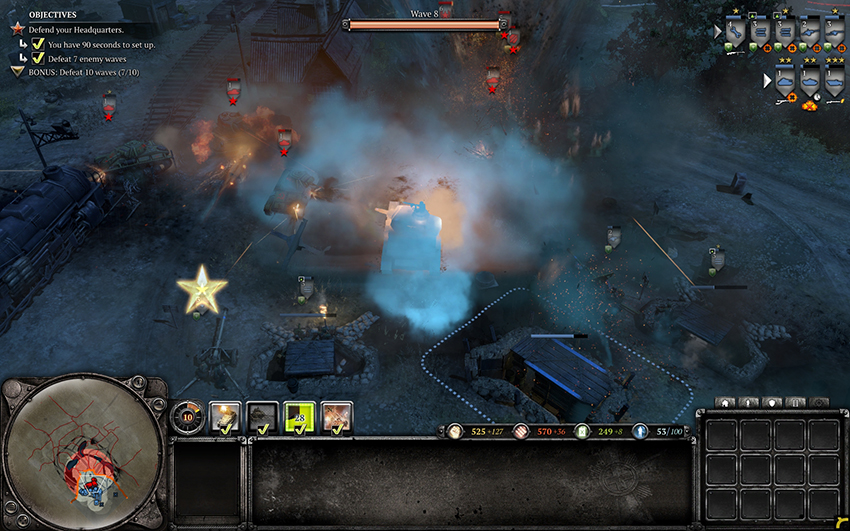
Use Railroad Artillery to knock out T-34s with ease, so long as they’re stationary. You can use a vehicle, like a StuG, to attract the T-34s and prevent their movement to some extent.
Officer Assassination
Achievements
Scrounger: Pick up 80% of the Supply Caches on the map.
Gold Assassin: Complete the bonus objective.
Sharpshooter: Use a Sniper to deliver the killing shot to five Soviet officers.
Walkthrough
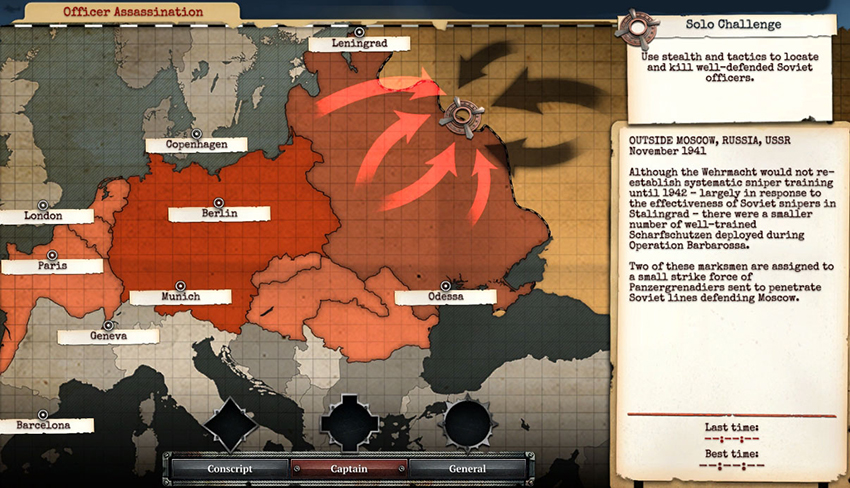
Using Snipers, Panzergrenadiers, and Half-tracks, your objective is to eliminate four Soviet officers without losing all of your units. Each officer is defended by Soviet infantry and certain officers will be loaded inside a Soviet Scout Car. As more officers are assassinated, the Soviets will send more heavily-armed patrols to find your units and protect the officers. In return, you will be granted extra units. There are also supplies scattered around the map that will give you the resources necessary to reinforce your squads, upgrade your troops, and use abilities.
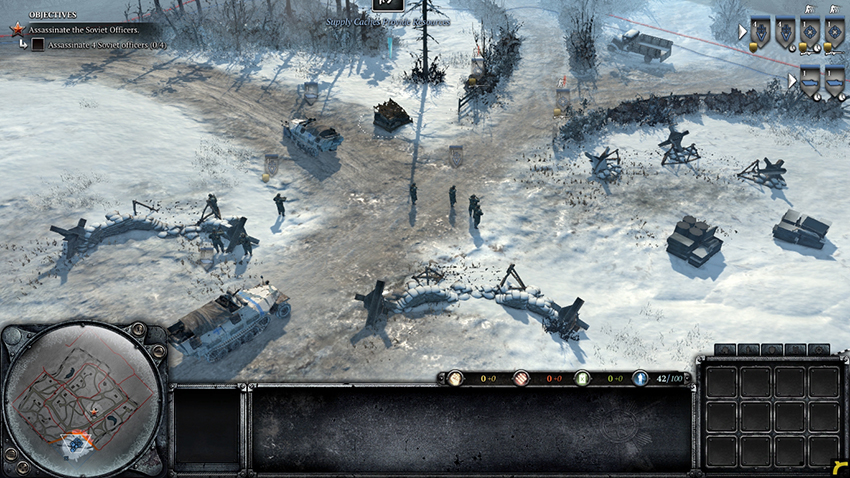
Begin by moving your two Snipers north, keeping them in cover so that they are camouflaged. A Conscript squad will be in cover across the road from your position. Target them to kill off two of their men, at which point they will run away. Slowly continue northeast along the road and snipe the Conscripts if they return. The first officer’s location is marked on the minimap. Nearby him is a Soviet HMG—snipe the HMG team before taking out the officer. If you have trouble taking out the Soviet units, move in your Panzergrenadiers and Half-tracks to support your Snipers, but be wary of Guards Rifle Infantry squads that have been upgraded with PTRS-41 Anti-tank Rifles.
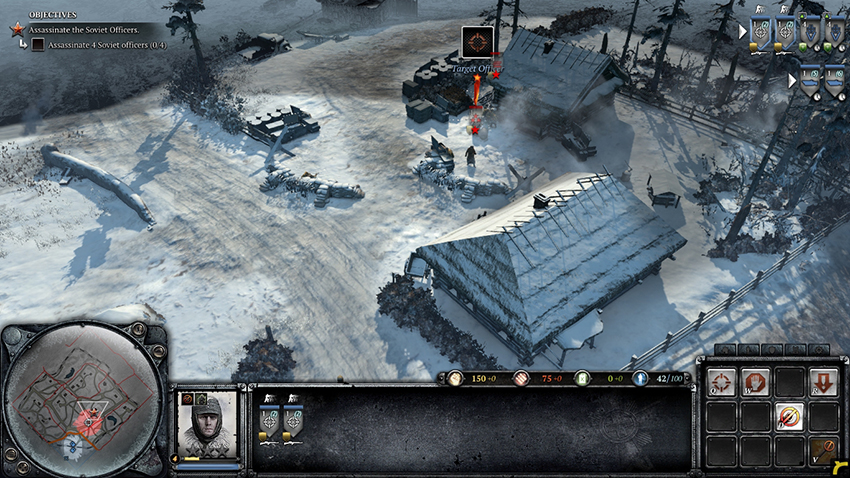
The next officer is to the east of your position, near two buildings. Move toward the area, sticking to cover. Take out the Guards Rifle Infantry and Conscripts defending the officer, then take out the officer himself. Doing so will grant you an extra Half-track and two squads of Panzergrenadiers. The Soviets will also begin to send squads of Guards Rifle Infantry equipped with PTRS-41 rifles and Scout Cars to patrol the roads.
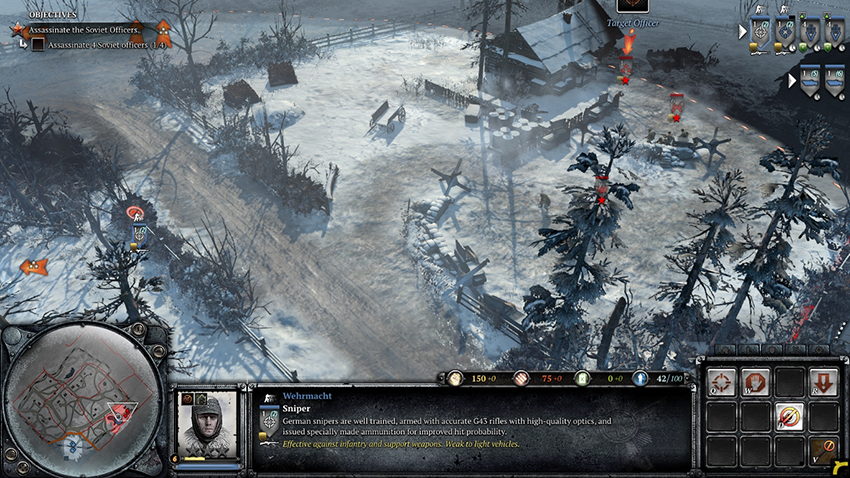
The third officer is just northwest of the one you eliminated, near a single building. Be careful of any wandering infantry, as they can easily kill your Snipers if they get too close. Cross the road and take out the infantry near the officer, then snipe the officer himself. Shock Troops will throw explosive grenades on top of your Snipers and smoke grenades to block their vision. Run away from the Shock Troops to avoid their grenades. Killing the officer will cause the Soviets to send out more patrols.
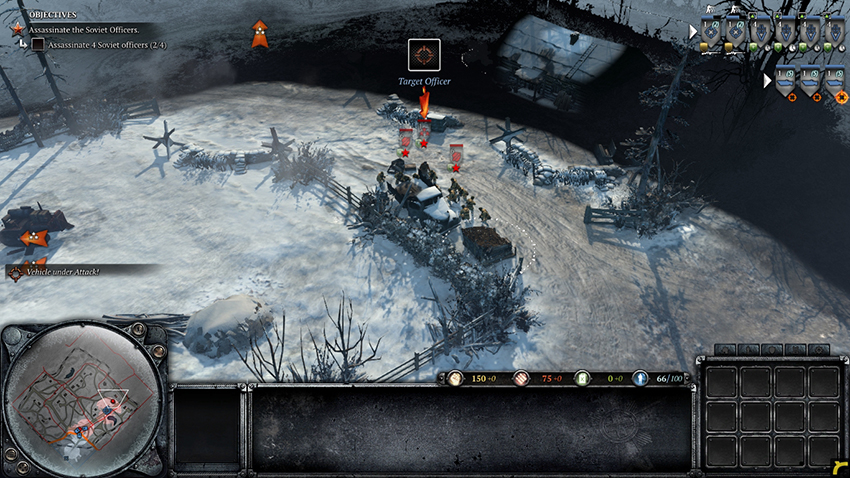
The final officer needed for the mission is nearby, northwest of your position by a church. This officer is loaded inside a Scout Car and is protected by a Sniper garrisoned within the church. Instead of relying on your Snipers to take out the Sniper (it is difficult to snipe while inside a building), move your Panzergrenadiers and Half-tracks to your position, avoiding any patrols, and use a grenade to take out the Sniper. Then, destroy the Scout Car and kill the officer to complete the mission, as well as receive a bonus objective—kill two more officers to receive a bonus achievement.
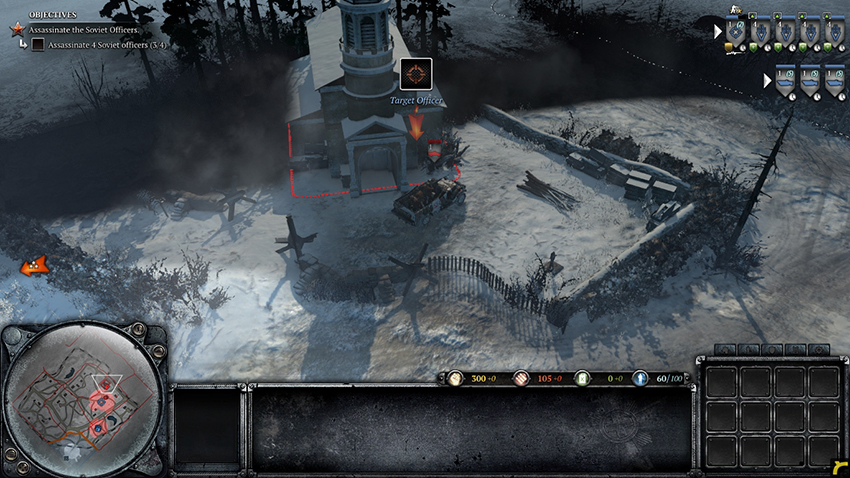
The fifth officer is located near the middle of the map, slightly off to the left, and is inside a Scout Car as well as guarded by Shock Troops. Use the combination of your Half-tracks, Panzergrenadiers, and Snipers to take out the infantry and the Scout Car, then kill the officer. Do not make a big deal out of killing all of the Soviet units. If possible, take out the Scout Car and the officer quickly, then retreat so that the remaining Soviet units cannot cause more damage. Killing this officer will cause T-70s to enter the field to eliminate your forces—move to the final officer quickly so that they cannot cause trouble.
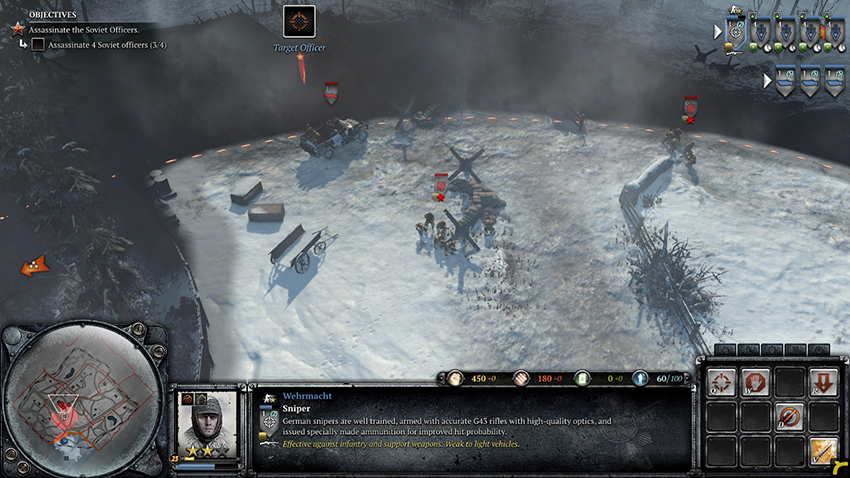
The final officer is located near two buildings to the west. Unlike the last two, he is not defended by a Scout Car. Kill him quickly to finish the mission and obtain the bonus achievement.
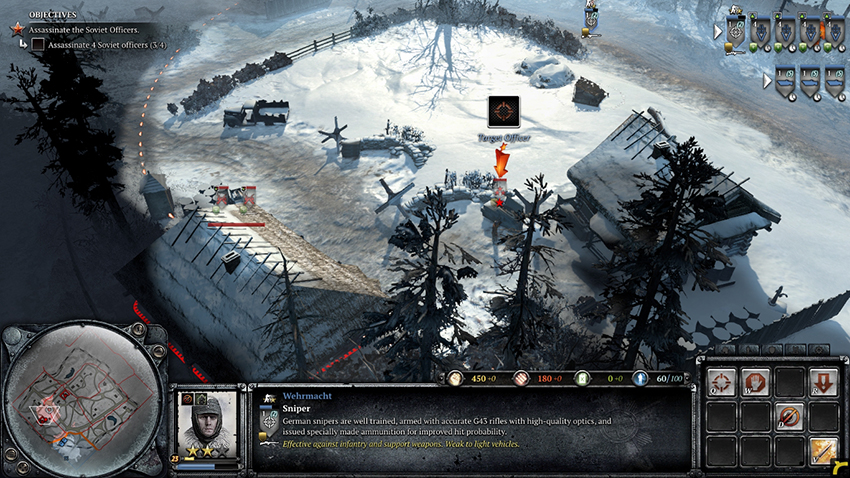
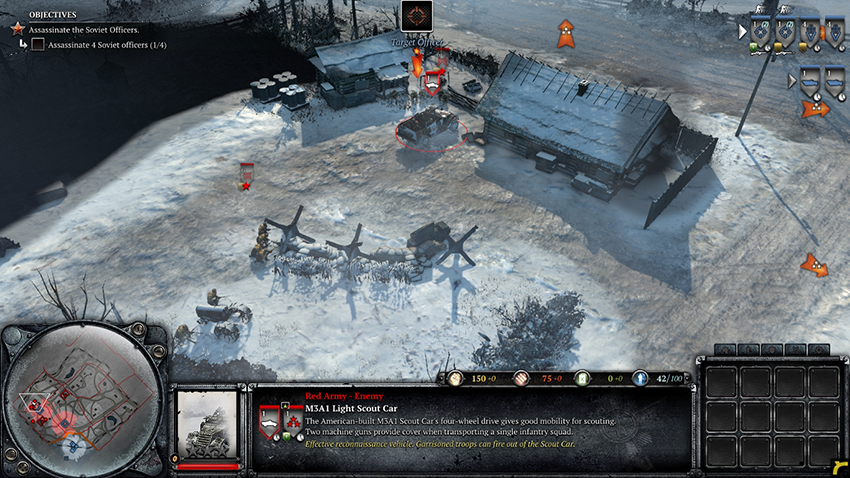
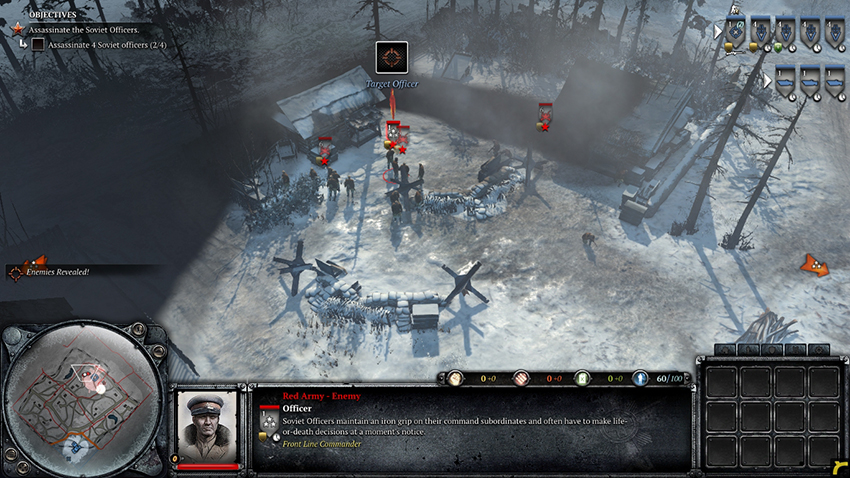
There are three more potential officers that you may be required to kill. Their locations and nearby guards are shown in the following pictures.
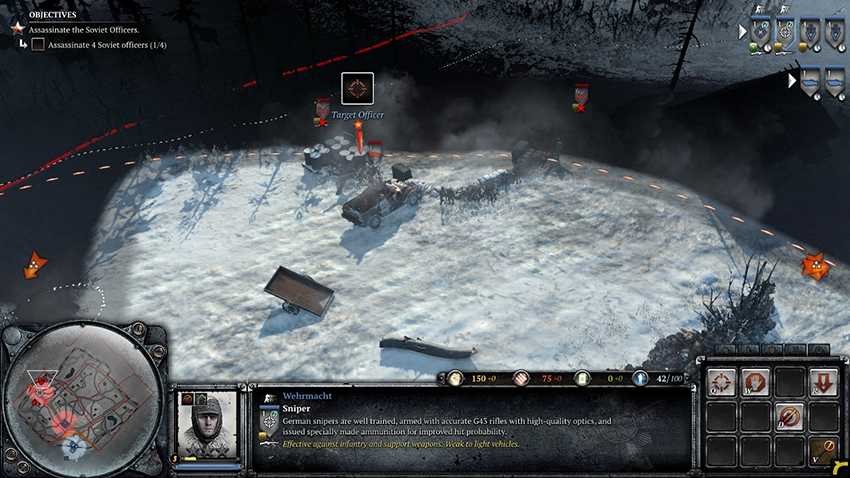
Blitzkrieg
Achievements
Armored and Dangerous: Recrew 10 Soviet vehicles.
Clean Sweep: Clear the entire minefield.
Goldkrieg: Complete the bonus objective.
Walkthrough
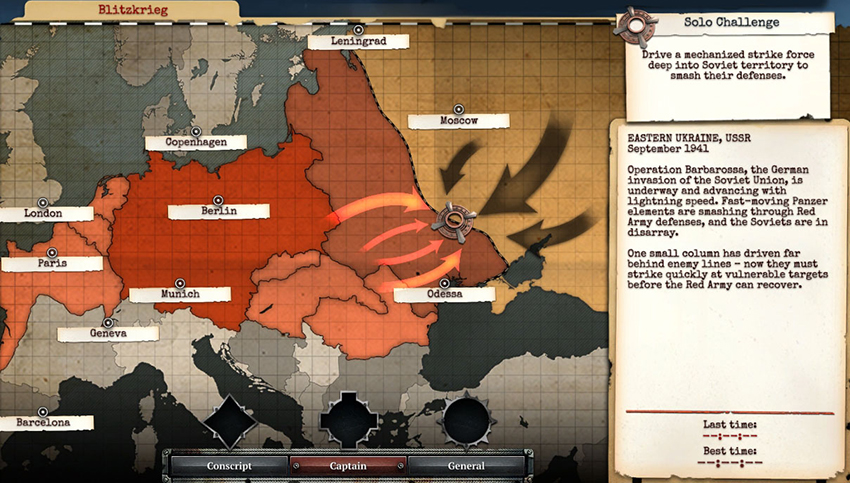
As the name implies, you’ll be relying heavily on your armored units to conduct rapid assaults against defending troops. Each sector is slightly different, and reinforcements come on the map at a few points to attack your sectors. Let’s look at your starting units and which units you’ll want to prioritize capturing during this mission.
Panzer IV: These are by far the most important units you’ll have. They can engage all enemy units and only struggle against AT guns, T-34s, and KV-1s. Use them to spearhead your advances and draw the bulk of enemy fire, then follow up with your other units.
Scout Car: Decent against infantry and good against light vehicles with the upgraded gun, they are vulnerable to all anti-vehicle weapons and you should take care to keep these at long range to pull back for repairs when needed.
Half-track: It’s essential that you keep one of these alive to allow your infantry units to reinforce, which you’ll need to do if you plan to capture enemy team weapons and vehicles. Once you have the munitions, upgrading one of these into a Flammenwerfer is a good idea for quickly clearing enemy infantry. As with the Scout Car, you need to keep these back; use them in a support role for the Panzer IVs.
Panzergrenadiers: While normally a strong, multi-role infantry unit, in this mission you won’t have a steady Manpower income so you’ll be unable to consistently reinforce them between fights. I’d recommend leaving them in Half-tracks for the most part and only jumping them out to attack AT guns. Remember, Half-tracks can capture sectors so long as they are carrying an infantry unit.
Pioneers: Until you capture the Field Repair Facility, these will be vital to keeping your vehicles in top shape and ready to fight. They also have a lower reinforcement cost than your Panzergrenadiers, so you should use them to capture vehicles and AT guns.
Things to Capture: Your Panzer IVs are perfectly able to destroy any Soviet infantry without much concern, even Guards Rifle Infantry with their anti-vehicle weapons. However, you’ll have significant difficulties against Soviet heavy armor. Early on you want to capture two AT guns so that you can repel tanks, and to allow you to seize the Field Repair Facility. At the Field Repair Facility, you’ll want to capture both KV-1s, and any available T-34s and T-70s. The AT guns will allow you to destroy any Soviet armor that happens to be crewed during your attack.
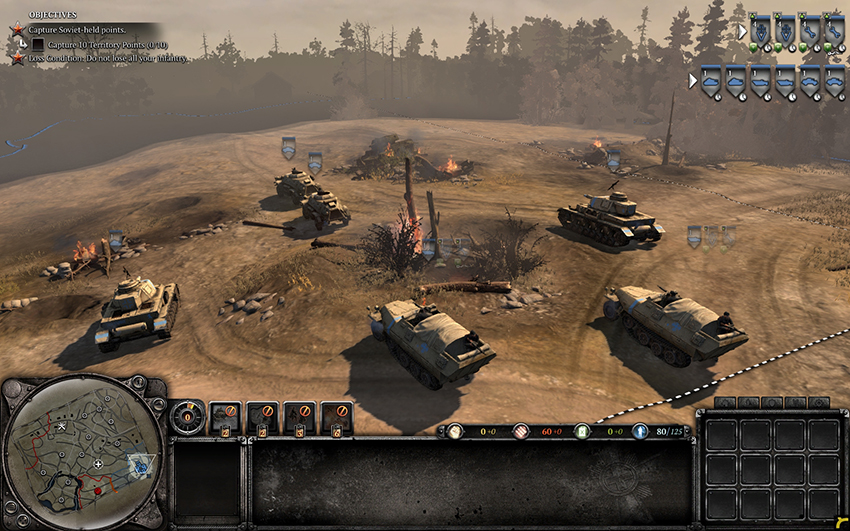
Order of Attack: Munitions Point to the south, Standard Territory Point to the north, and then the nearest center point. There are no tanks defending these positions, so yours will be able to mop up the defending infantry without issue. The next point to attack is the center left point on the hill. Guards Rifle Infantry and AT guns are defending it, which you’ll need to be careful in attacking so as to keep all of your vehicles alive. Use the Panzer IVs against the Guards Rifle Infantry and your Panzergrenadiers against the AT guns. Once you’ve cleared the area, capture both AT guns with your Pioneers.
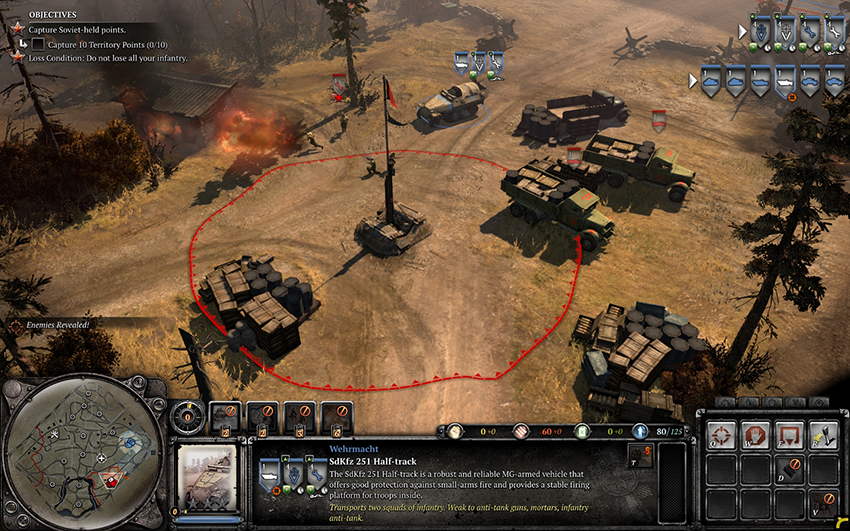
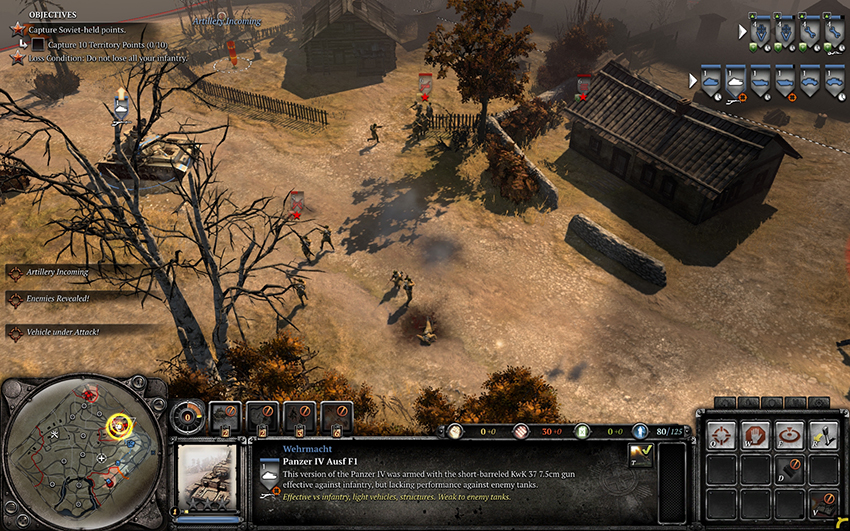
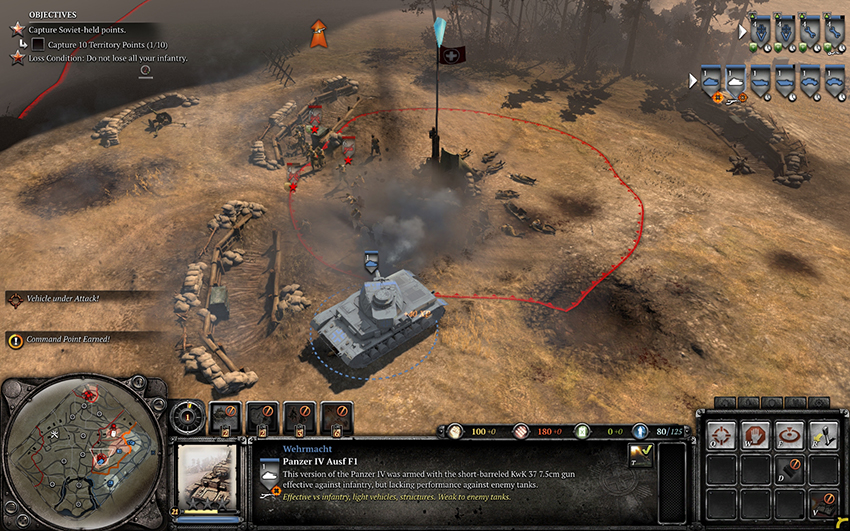
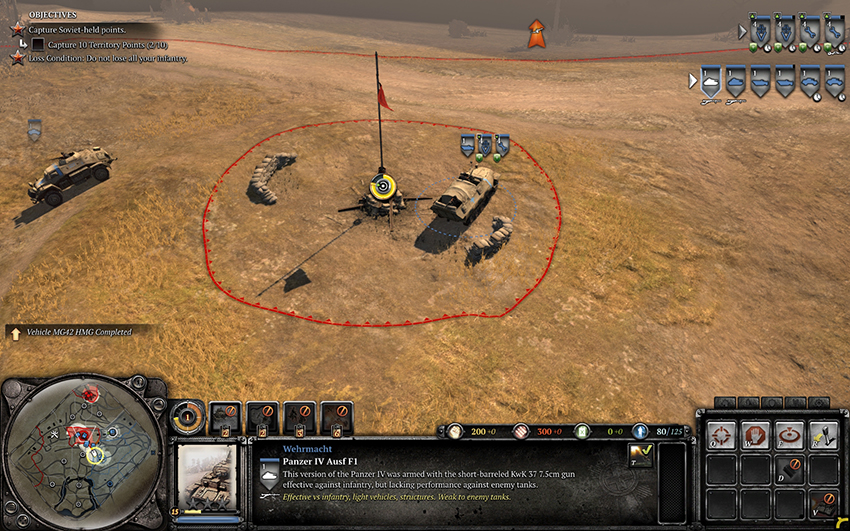
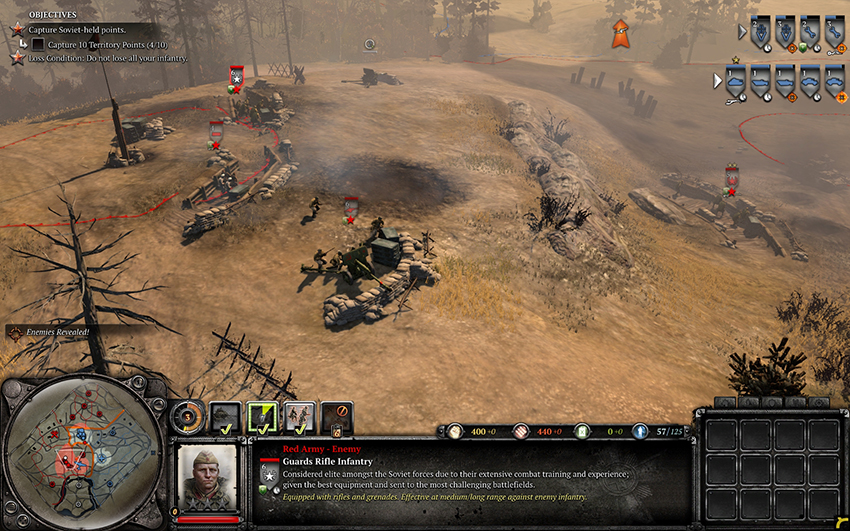
Using this force, push west and attack the Field Repair Facility from the south. Place both Pioneer squads into one Half-track and drive it up to the KV-1 position so that you can ensure the capture of both heavy tanks—they will be critical to countering Soviet armor throughout the rest of this mission. From here, attack all of the southern points, one by one. If your infantry are depleted and you’re out of manpower, leave them behind at the Field Repair Facility in buildings—you don’t really need them for the south. The basic technique is to use all of your tanks as an armor battle group to outnumber any Soviet tanks you encounter. Whenever one of your tanks takes significant damage, withdraw it to the Field Repair Facility to return it to full health. Your Panzer IVs can use smoke launchers to cover their withdrawal if they’re focused. Your KV-1s are more heavily armored and you shouldn’t need to worry much about their safety except when fighting other KV-1s. Once the KV-1s get Level One Veterancy you’ll be able to use them to capture points, meaning your armor battle group is entirely self-sufficient—just remember to withdraw to repair. I’d recommend playing very cautiously with your infantry, and perhaps leaving your light vehicles with them at the Field Repair Facility to ensure their safety—it’s not really worth risking them on the front line by this point in the mission because you’ll lose if they die.
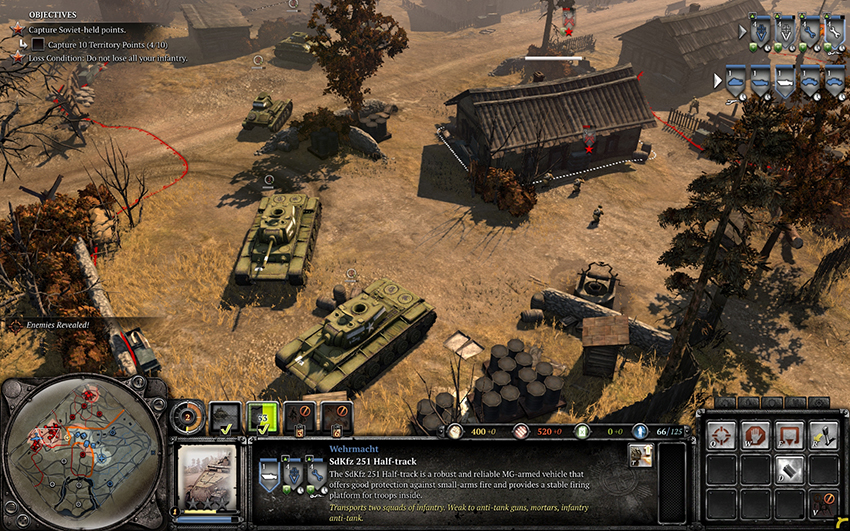
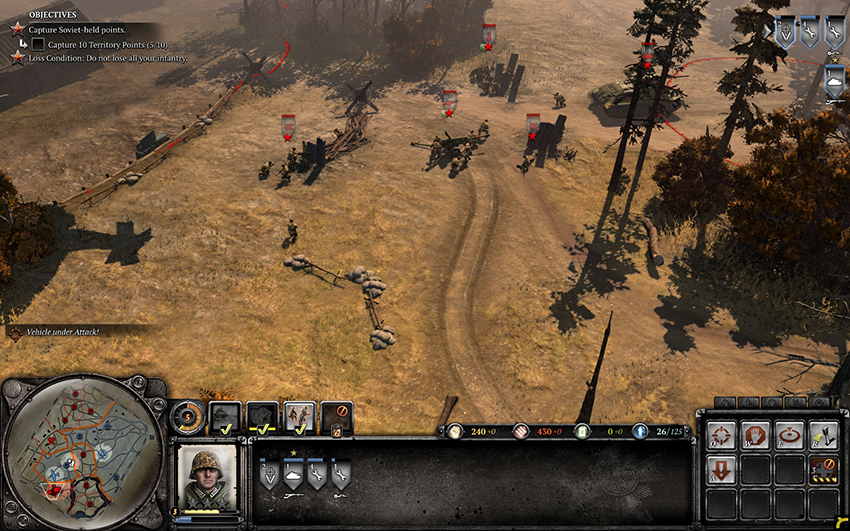
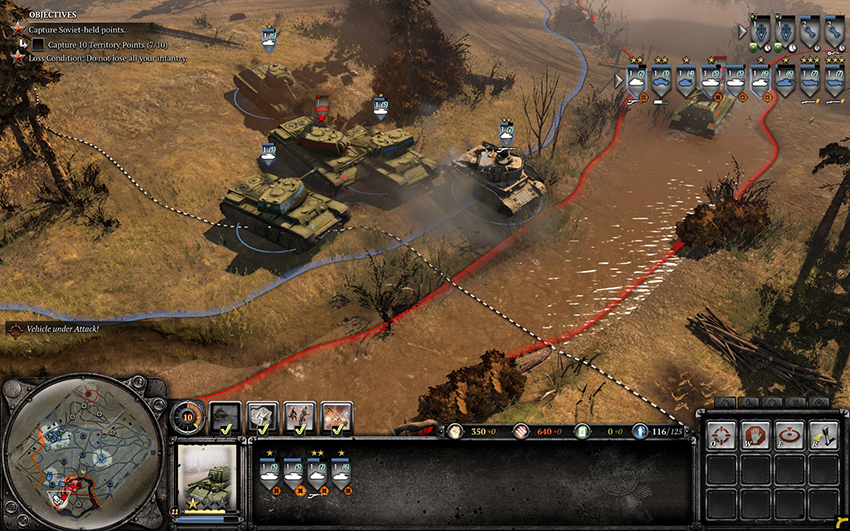
Once you clear out the south and position yourself for an attack on the north, be aware that several Soviet T-34 reinforcements will enter the map (likely from the south)—you’ll want to destroy all of these before attacking the north. In the north, the major threat is the battery of artillery cannons. The easiest solution is acquiring sight (with a Recon Run if needed) and using the Stuka Air Support commander ability—it should take out one or two of them, making your advance a bit safer—repeat if necessary.
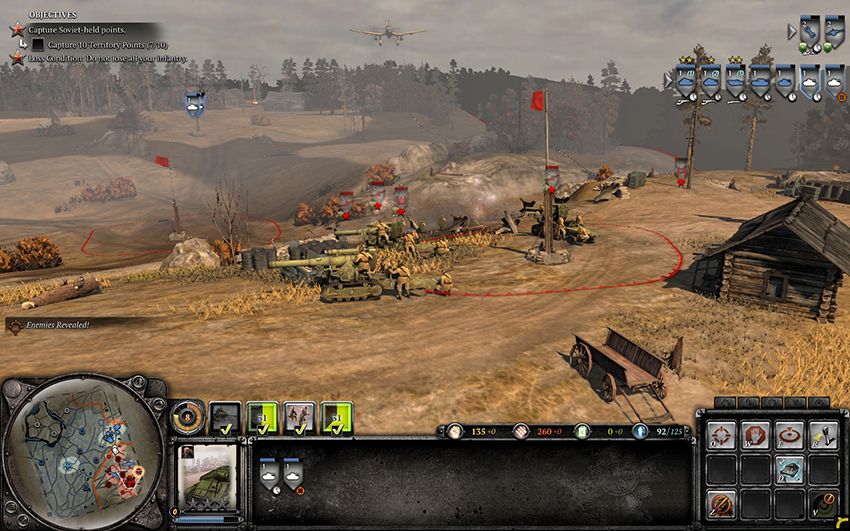
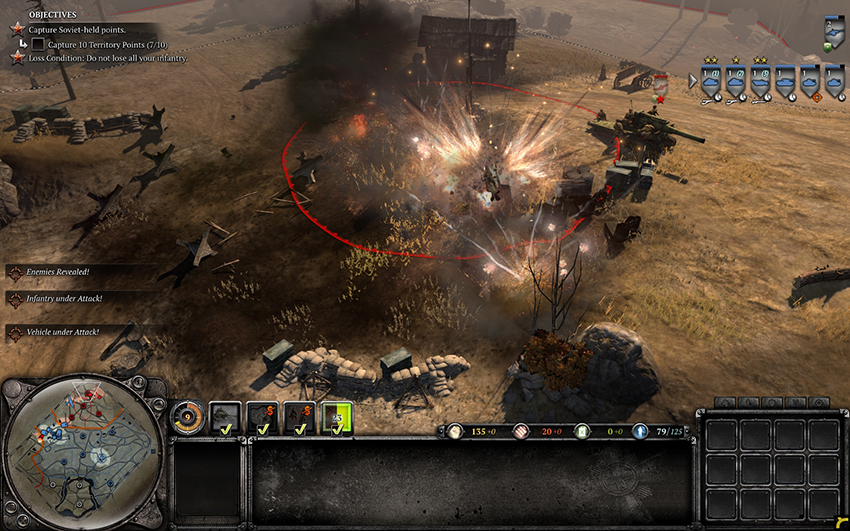
The eastern point in the north area is surrounded by a minefield, so don’t enter it with any of your vehicles—clear the defending infantry and then send one Pioneer squad with the Mine Defusal Package. While Manpower is limited, you’ll have a strong supply of Munitions, so be sure to upgrade both of your Panzer IVs with pintle-mounted machine guns and use the commander abilities when you’re in difficult battles.
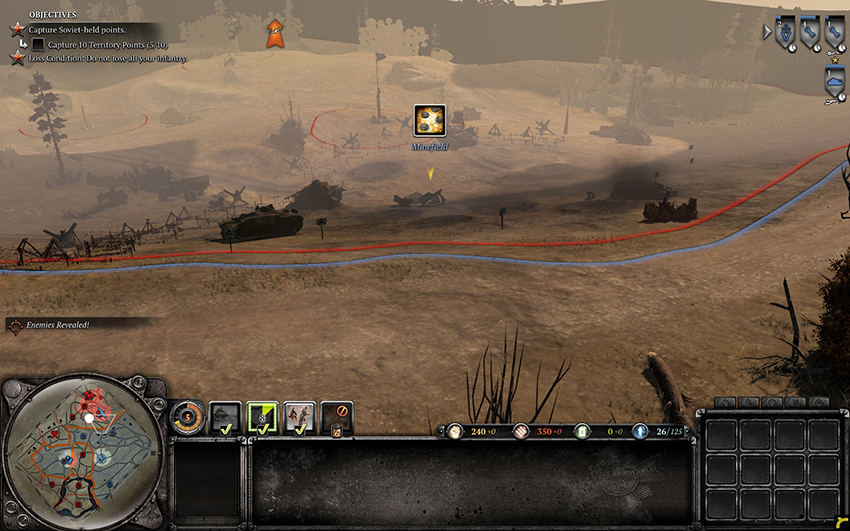
The easiest way to beat this mission is to capture as many Soviet tanks as possible by the Field Repair Facility. To do this you must kill the crews of two to three men before they climb into their tanks. The best unit for this is the Half-track with the Flame Projectors upgrade. Upgrade both of your Half-tracks with Flame Projectors and rush all of your units in simultaneously, prioritizing the KV-1s and then the T-34s. The more of these you capture, the easier the rest of the mission will be.
Reinforcements come on in intervals, and can arrive from several possible directions. Most of them tend to come in around the base in the far left, but they can also arrive from the bottom and the top. The location of arrival isn’t necessarily determined by the location of your attack. Reinforcements arrive in several types of groups that include a mix of Guards Rifle Infantry, T-70s, Shock Troops, Snipers, and T-34s.
AI Battles
The “Advanced Tactics,” “Multiplayer Strategy,” and “Multiplayer Maps” sections of this eGuide provide you with advice relevant to these AI battles. Because your opponents are not human players, they will be more predictable and can be defeated with greater ease the more times you play against them, as they do not vary their tactics or strategies as much as humans do.
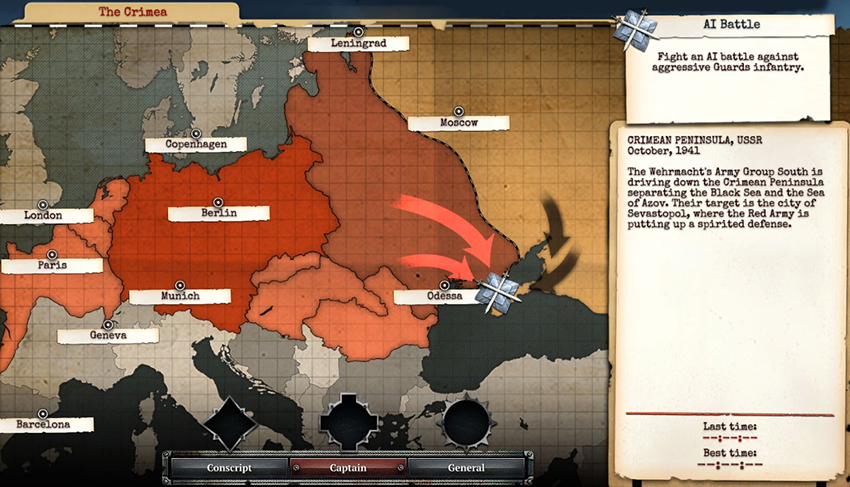
The Crimea
2 vs. 2 on Steppes Summer. The Soviets will use Conscript squads, Scout Cars, Guards Rifle Infantry, Penal Battalions, T-70s, and T-34s.
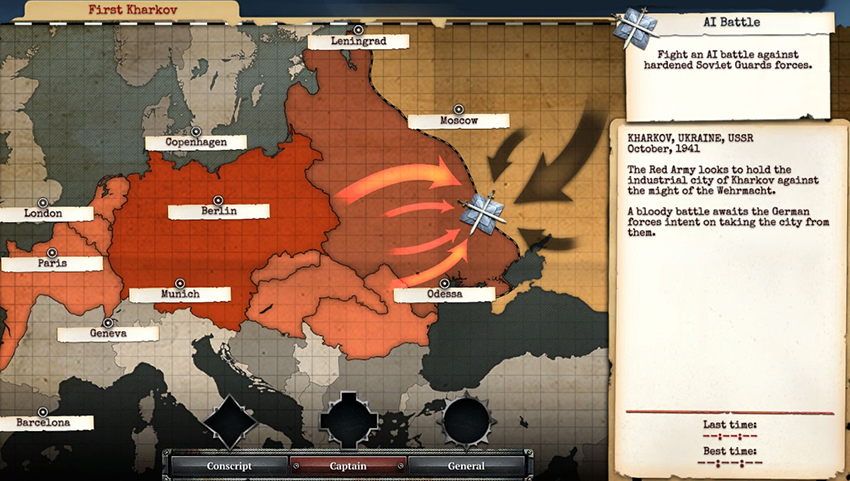
First Kharkov
3 vs. 3 on City 17 Summer. The Soviets will use Conscript squads, Scout Cars, Guards Rifle Infantry, Penal Battalions, T-70s, and T-34s.
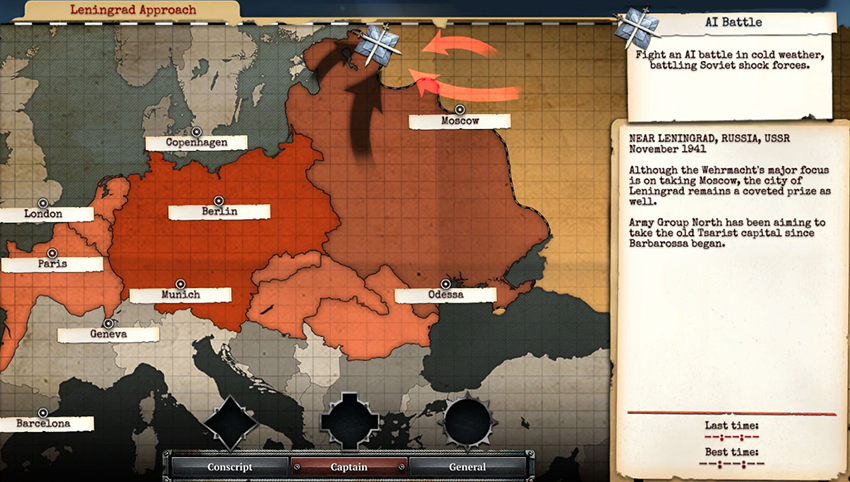
Leningrad Approach
2 vs. 2 on Kholodny Winter. Both Soviet AI players will build a Special Rifle Command, followed by producing Shock Troops.
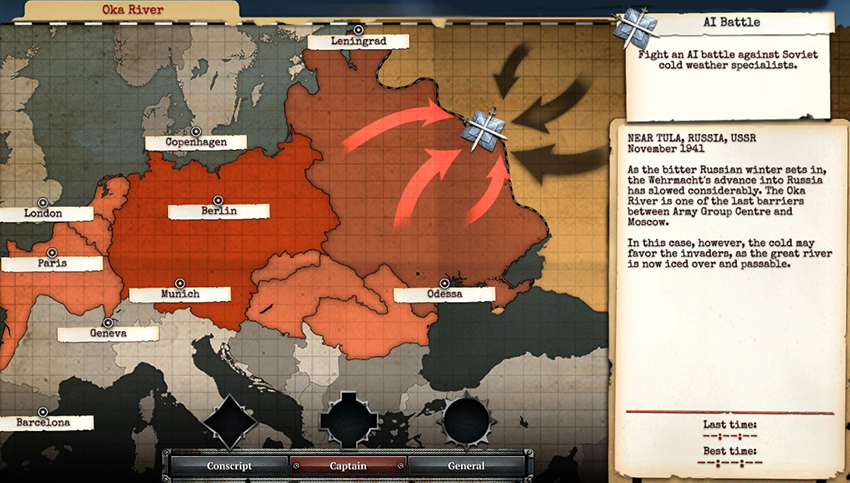
Oka River
2 vs. 2 on Oka River Winter. The Soviet AI players will produce an even mix of Special Rifle Command and Support Weapon Kampaneya units.