
Company of Heroes 2 Guide Multiplayer Maps City 17
City 17 Summer
Stalin’s Five Year Plans led to aggressive industrialization of large parts of the Soviet Union west of the Ural mountains.
Sleepy hamlets became nameless industrial centers almost overnight, filled with refugees from the hinterlands driven from their farms by forced collectivization and famine.
Factories turn into fortresses, roads into kill zones, and key points must be held at all costs.

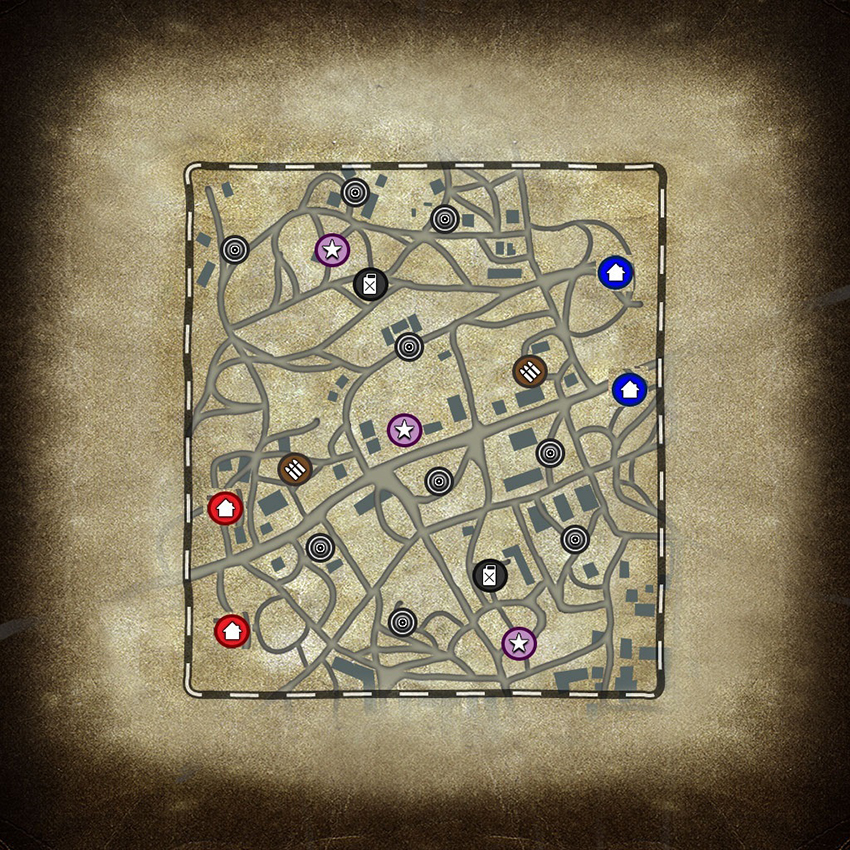
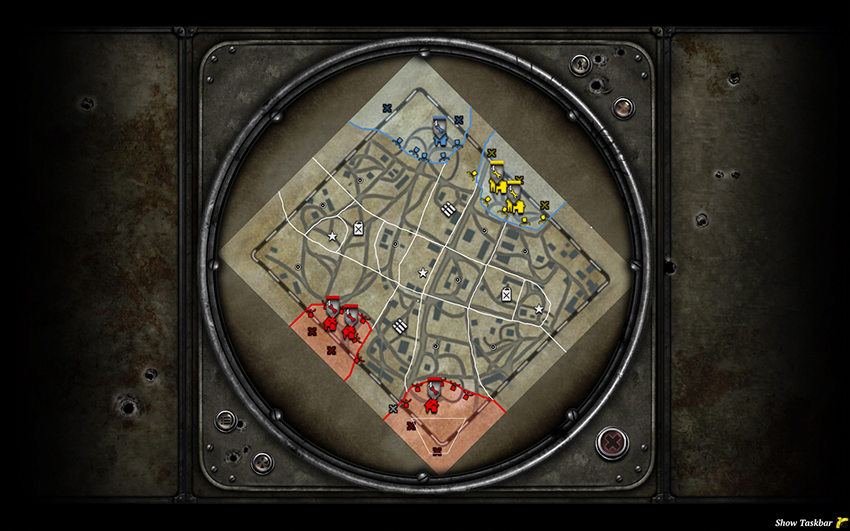
This is an industrial city with a great many buildings that can be garrisoned. Even more so than normal, units with flamethrowers will be critical. The Soviet KV-8 and German Half-track with Flame Projectors will be powerhouses, so long as they don’t hit any mines. It’s also worth considering intentionally destroying specific buildings entirely as early as you can to deny their use to the enemy—artillery barrages and tank cannons are the best tools for this. Penal Battalions may see more use than normal as their flamethrowers and Satchel Charge are very well suited to city warfare.
There are relatively few points to capture on this map considering the number of players, so it’s important to seize territory as quickly as possible to prevent your opponents from setting up defenses. The longer the game lasts, the more difficult it will be to take ground. If you’re pushed out of an area near the beginning, delay your counterattack until you are able to create a unit that will give you an advantage against the defenders—whether that is a fire support unit like a Mortar or Sniper, or an assault unit like Shock Troops or Panzergrenadiers.
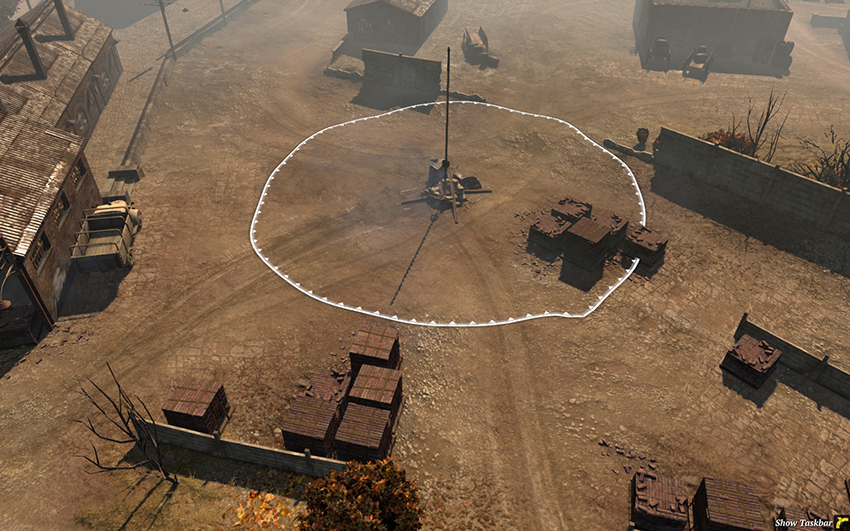
At the southwestern Standard Territory Point, the West should aim to build a Fuel or Munitions Cache quite early because it’s safe if the front line remains around the middle of the map.
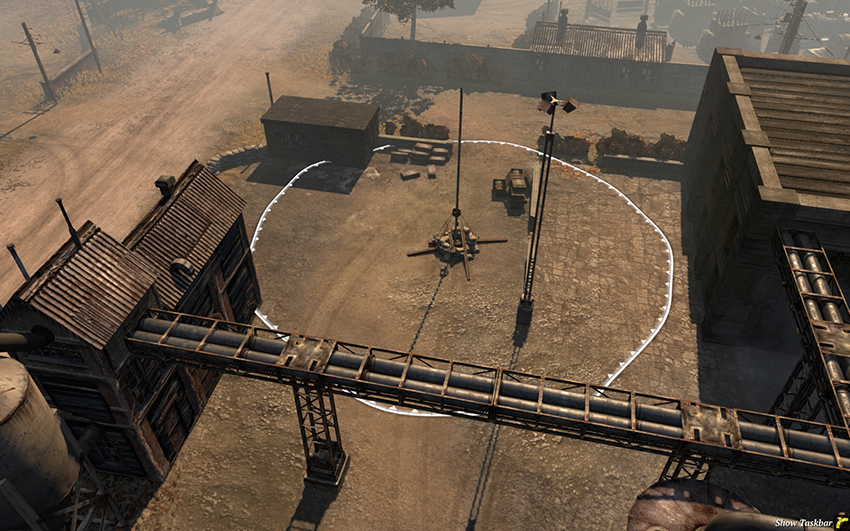
The West ought to have little trouble defending this point, so it’s a good location for a Fuel or Munitions Cache..
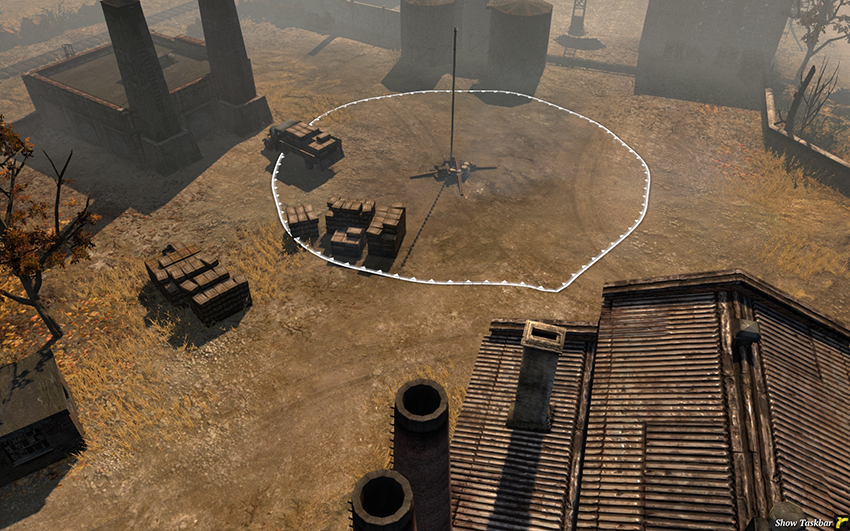
The West’s Munitions Point ought to be captured early and held securely through defensive positions near the center Victory Point.
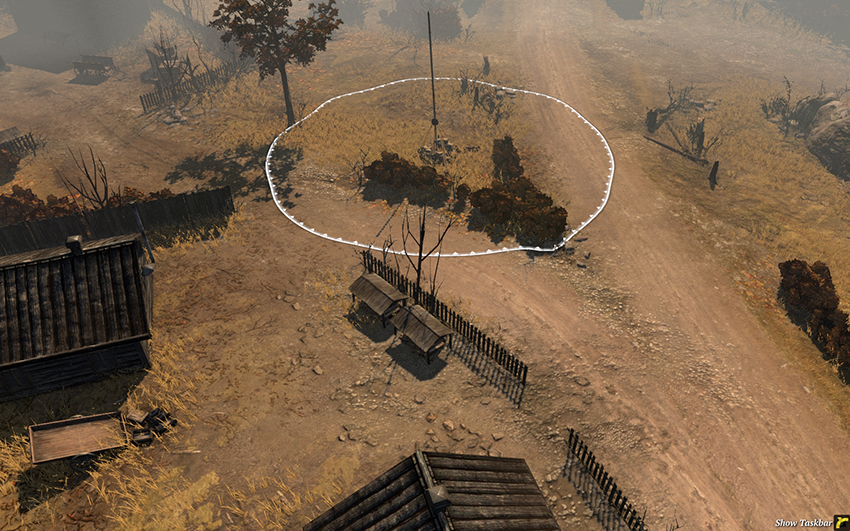
While the West often controls this point, its distance from the bases and proximity to the northern Victory Point mean that whichever side holds the north can most likely take this with ease. It’s best for the West to defend it with mobile infantry and vehicles, as fortified positions are better placed farther to the east. If the East manages to take it, an HMG or anti-tank infantry unit in one of the buildings at the bottom would be strong if supported by other units, especially tanks. The open ground in this area of the map favors vehicles and mobile infantry, so keep that in mind while planning your army composition if you begin in one of the northern base locations for either West or East.
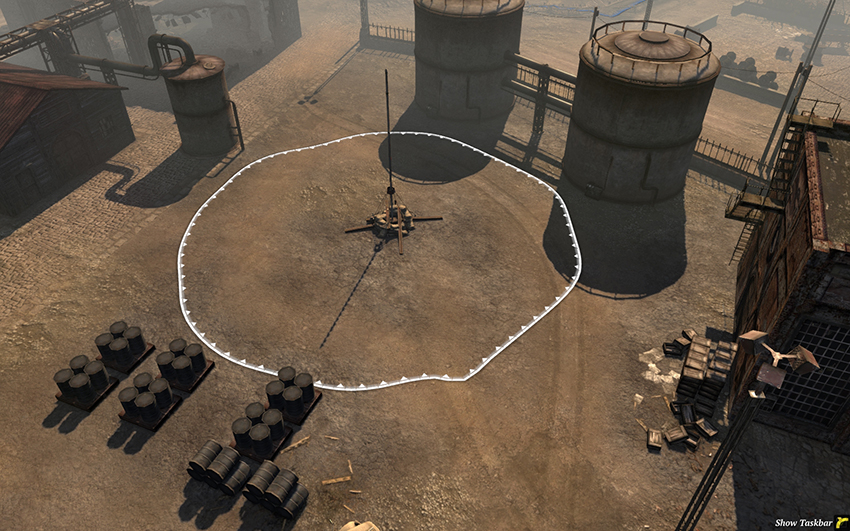
The East shouldn’t have much trouble securing and holding this point. If the West is highly aggressive, the East can position an HMG or anti-tank infantry unit in one of the large buildings to the left or right. The East should also build a Fuel or Munitions Cache here relatively early.
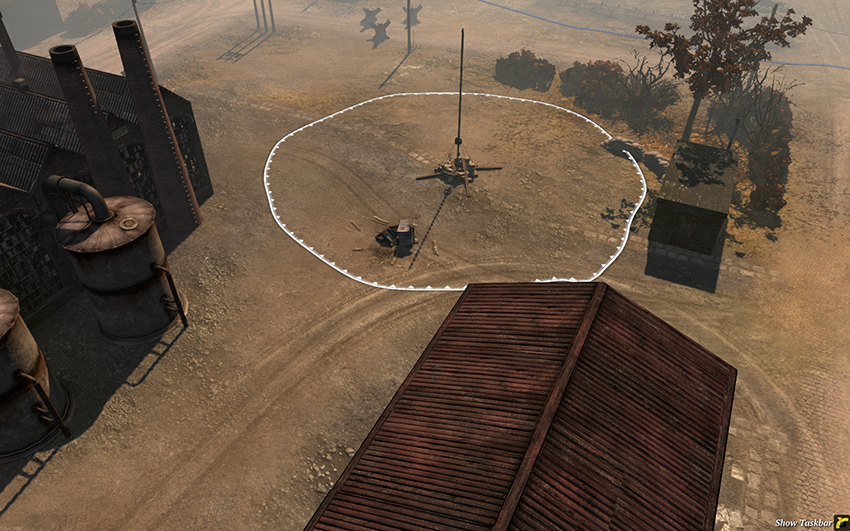
This southeastern point is located near a major flanking route along the south, meaning that it will often be used as a staging area by the East. . As it should be secure behind the front line, or actively defended, this is a good location to build a Fuel or Munitions Cache relatively early.
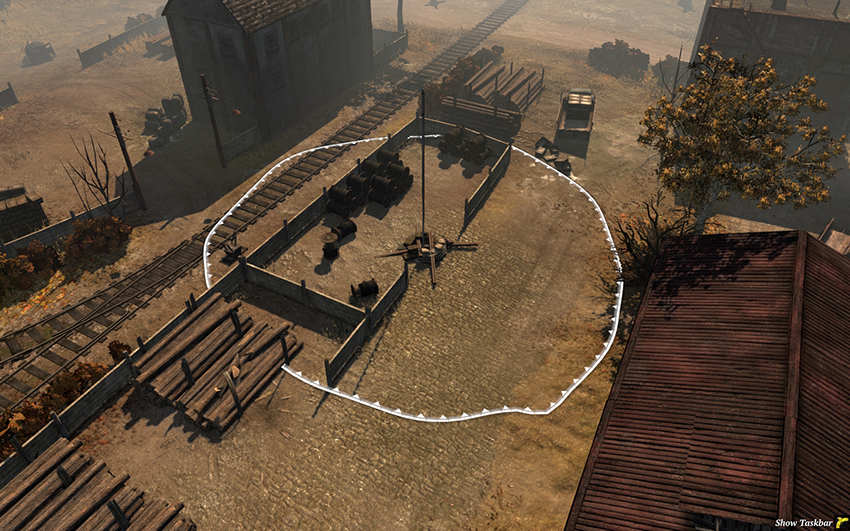
The East’s Munitions Point ought to be captured early and held securely through defensive positions nearer to the center Victory Point. The many obstacles limit vehicle movement, so infantry in the buildings can be strong defensive units if need be.
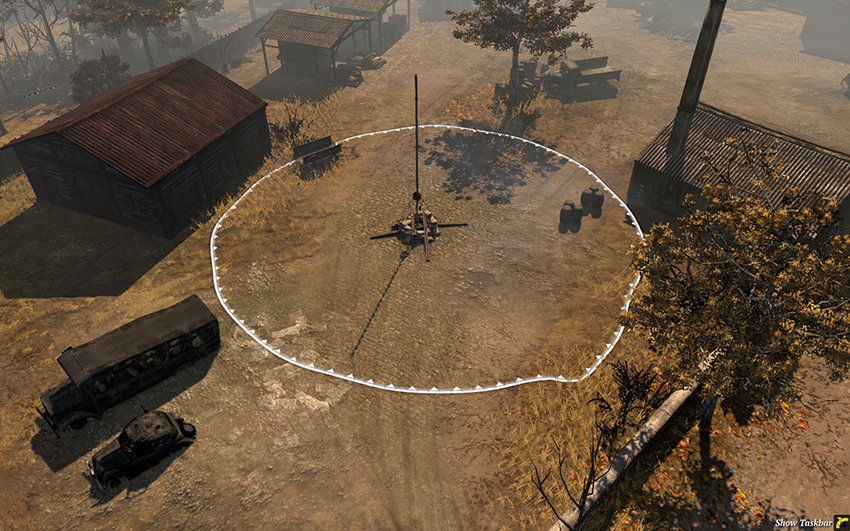
This Standard Territory Point should prove easy for the East to lock down early on by placing an HMG in either of these buildings. It will be a useful staging area for attacks against the northern Victory Point.
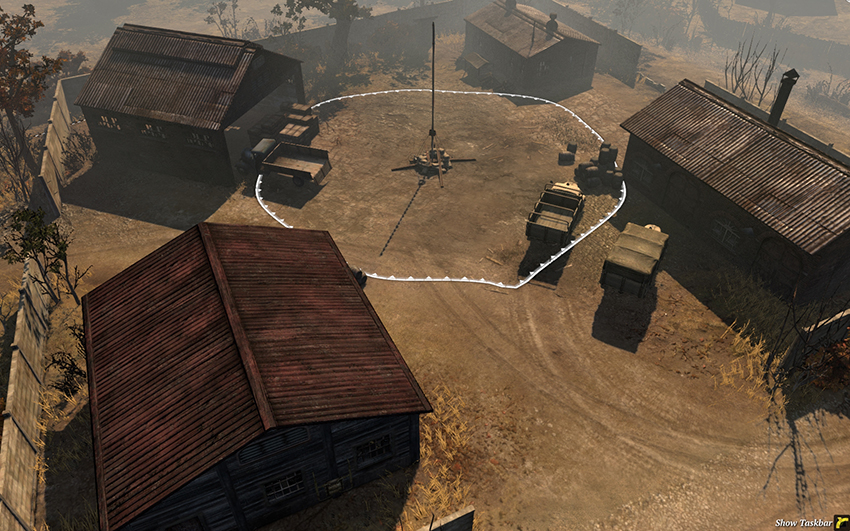
The northern Standard Territory Point is a very strong area to fortify because there are several tough buildings and plenty of walls that block line of sight. Mines in the entrances keep this safe from vehicle flanks, at least until tanks crush the stone walls. A Mortar between one of these buildings and a stone wall will be well protected from infantry attacks and it’ll be in a good position to cover the northern Victory Point and Fuel Point. You can also use this area for vehicle repairs.
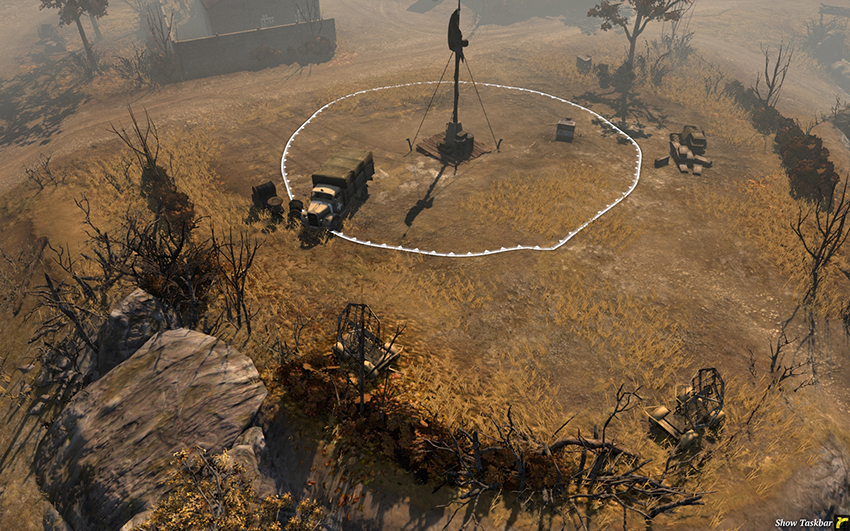
The northern Victory Point is surrounded by ridges and brush that blocks sight on several sides. As there is so much open ground around it, vehicles will dominate except in the compound of buildings just to the north. If you wish to fortify this area, you’ll need to use bunkers and sandbags, as there isn’t much good cover to be found. Mines along the road protect your position against attacking tanks if you’re relying on AT guns yourself. Mortars positioned behind the ridge on the left or the bushes on the right are somewhat protected against infantry attacks. Snipers are a risky option here, as the ground is so open and ripe for light vehicle attacks.
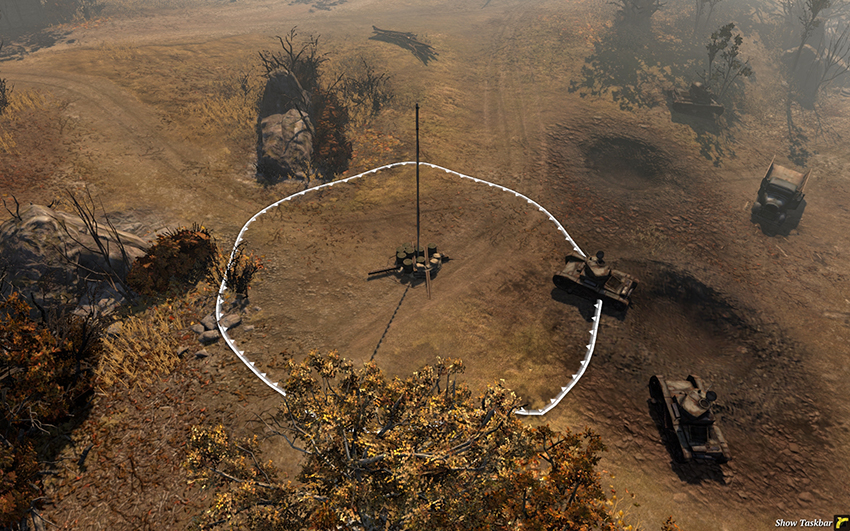
The northern Fuel Point will be a key area for combat because control of the Fuel supply heavily dictates the outcome of fights in the north during the late game, when heavy tanks arrive. If you do wish to use HMGs and AT guns here, position them a bit farther back than normal and scout with your other units to avoid being flanked.
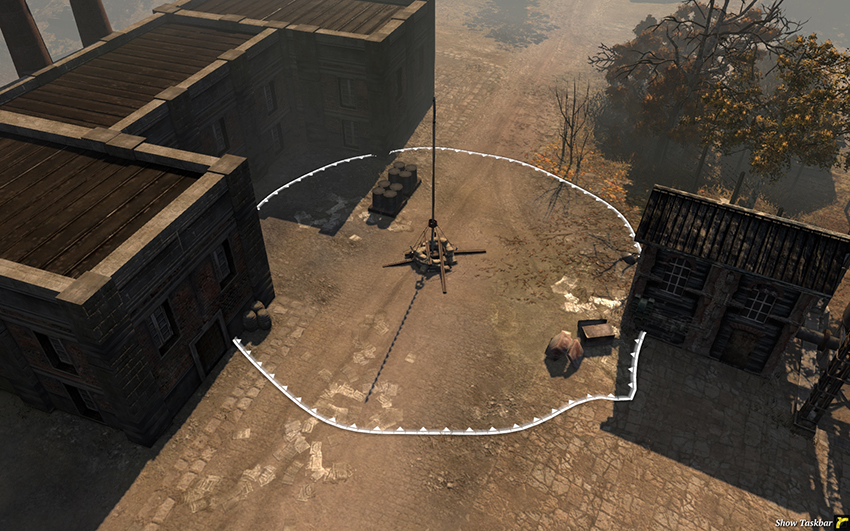
This point holds high strategic value due to its map position and the large buildings on the left. Whichever side controls this area can easily project power into the north and center, especially by flanking enemy positions. The easiest way to clear units from buildings like these is light vehicles with flamethrowers—Penal Battalions or Combat Engineers inside of an M3A1 or M5 as Soviets, or a Half-track with Flame Projectors for Germans.
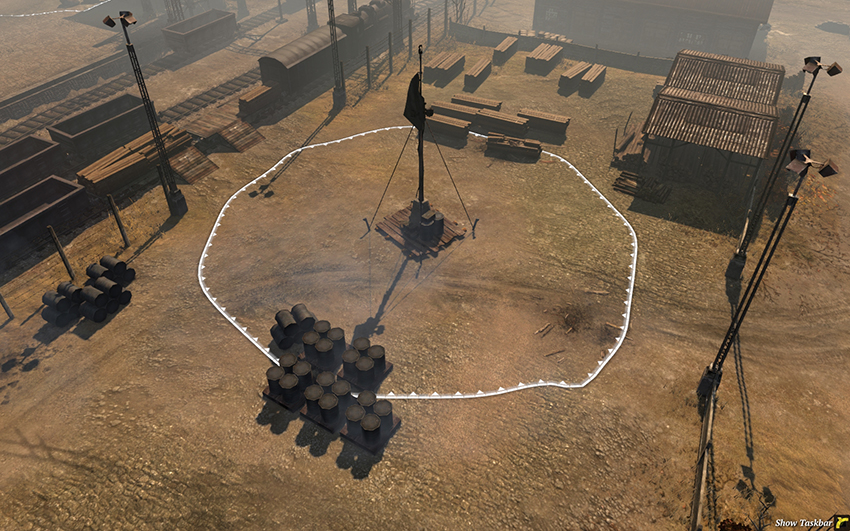
The center Victory Point lacks large buildings, but it does have quite a bit of cover and obstacles, making Snipers highly effective here. Both sides will most commonly station their units near large buildings to the east and west of here while assaulting it when they have sufficient force. Long-range vehicles have good sight lanes between the east and west, so use these to provide fire support.
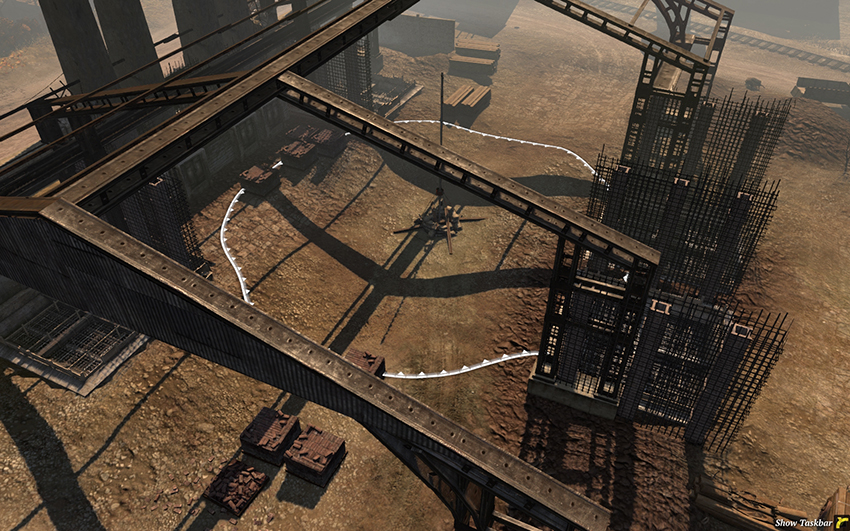
This Standard Territory Point isn’t so significant in itself, but as it’s such a poor position to defend, both sides will likely wish to take it and push farther forward, where buildings can provide better cover. As movement and sight is so restricted in this area, flanking with mobile units will be a strong counter to any HMGs and AT guns that attempt to defend it.
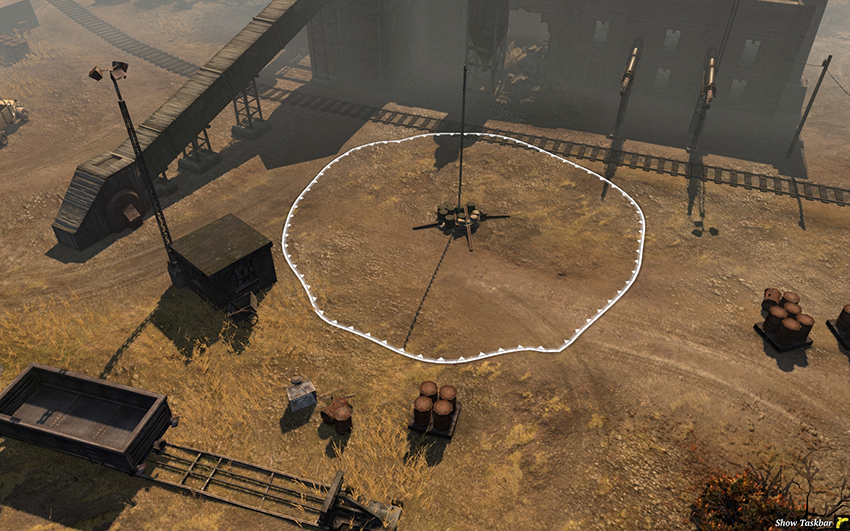
The southern Fuel Point will be highly contested throughout the game, and Snipers are a strong option here, as there are several buildings to garrison along with a good amount of light cover and sight-blocking objects. It’s quite an open area, so mobile vehicles will be strong until heavy tanks arrive.
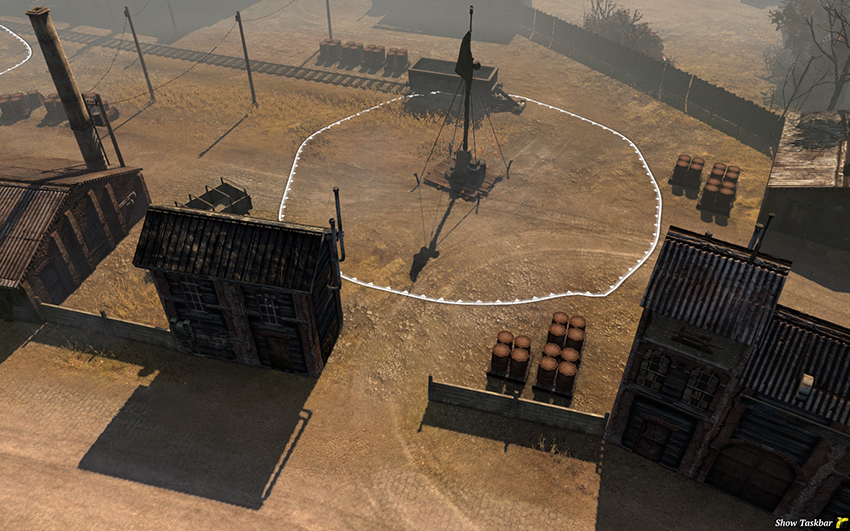
The southern Victory Point can be easily defended by an HMG in one of these buildings, depending on which path you expect your opponents to take in attacking it, though none of the buildings are especially strong—artillery and tanks will be a major threat here. In the early game, rushing this point and placing an HMG in one of the buildings is a good option, but you’ll need to think of a response to early light vehicles, especially those with flamethrowers. As many of the travel paths are restricted by fences, mines will be powerful.
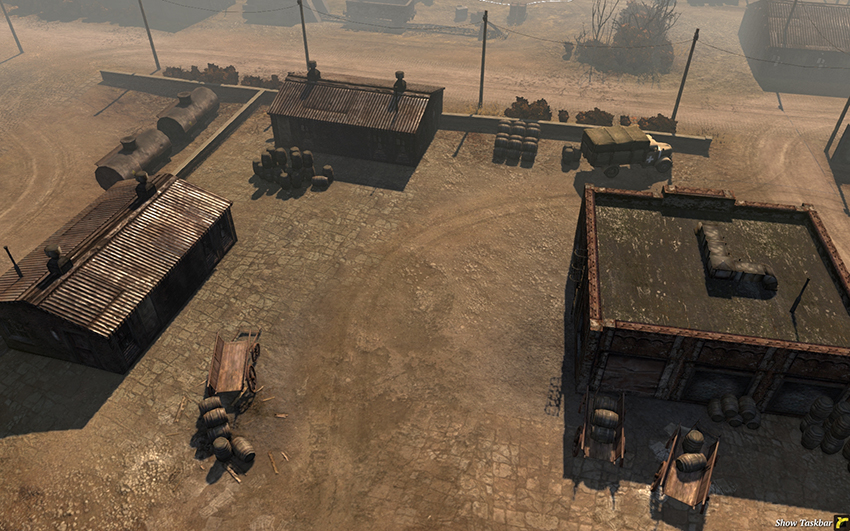
This area functions as a staging ground for the West in attacking the southern Fuel Point and Victory Point. All of these buildings are good choices for HMGs and anti-tank infantry, and it’s a good idea to place a Mortar behind one of them.
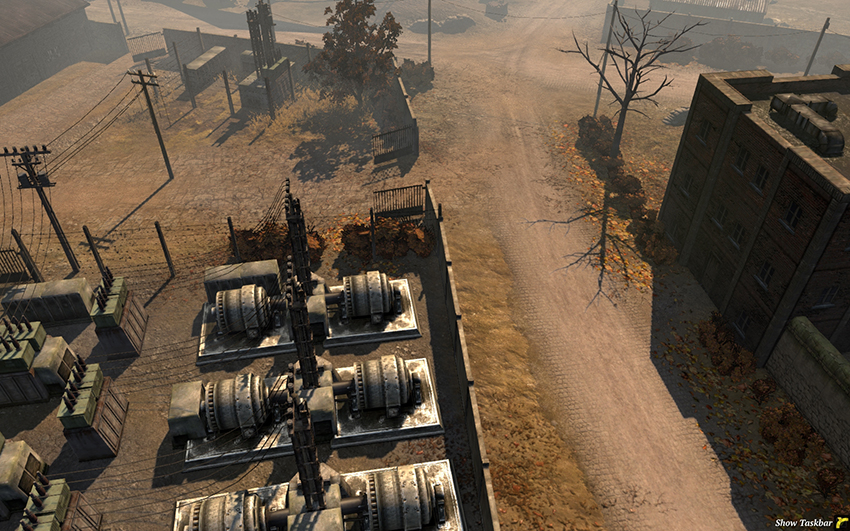
This area probably won’t see much fighting, but the building on the right is a strong one for the West if they need to hold off an attack before it reaches their rear territory points.
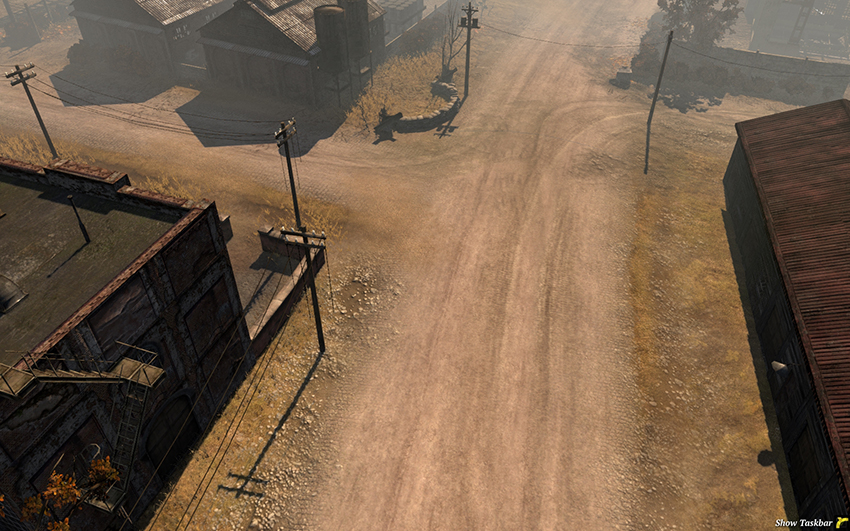
This area is filled with strong buildings and can be used as a staging area by the West in attacking the center Victory Point. Place a Mortar behind the buildings in the top right so that it can cover the center Victory Point. You may want to place mines along the center road near the top to stop enemy vehicles from rushing you.
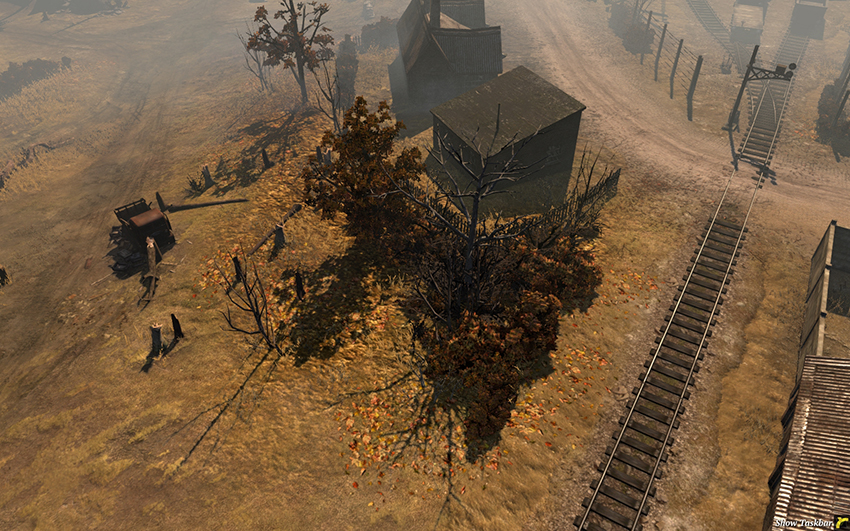
This area just west of the center Victory Point marks the border of the city and the open ground of the north. The buildings at the top can be useful as defensive positions but they’re too far from the center Victory Point to project power over it.
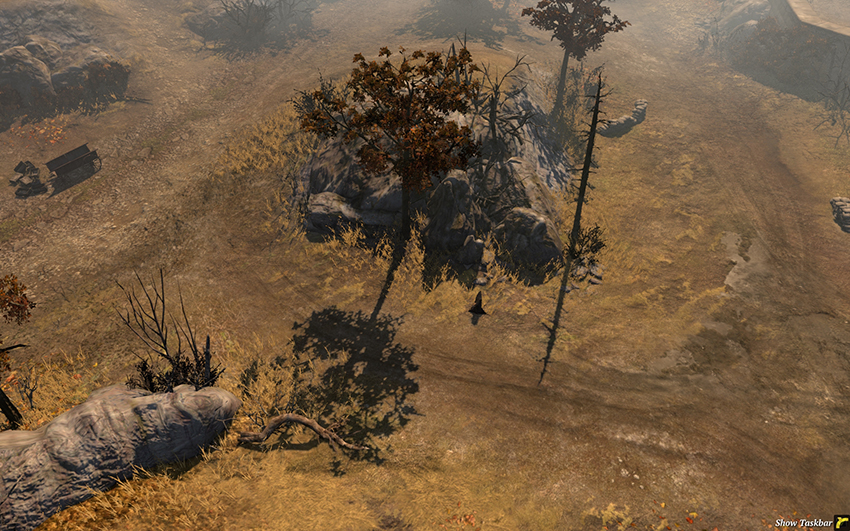
The West’s travel paths to the northern Fuel and Victory Point have plenty of sight blockers, making it easy for flanking forces to surprise defenders. The East should intend to lay mines around this area between the ridges whenever possible.
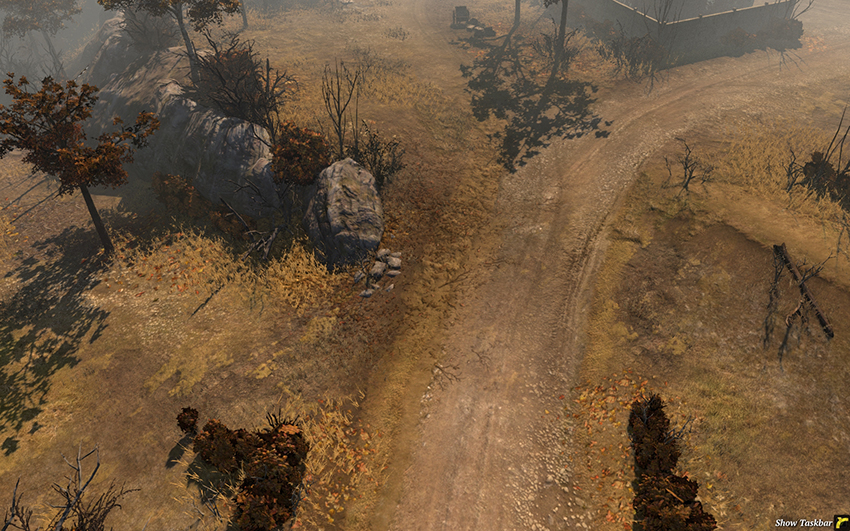
The western approach to the northern compound is mostly open, but the ridge along the left can be used by a Mortar to bombard enemy positions in the compound or at the northern Victory Point. As the ridge blocks off a great deal of movement, this road can turn dangerous if the East is able to fortify the position.
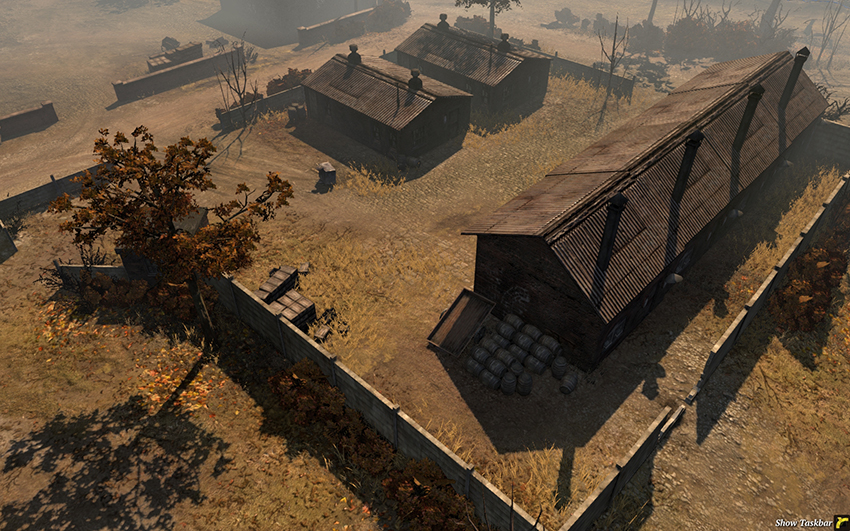
This area won’t be used often, but it can be a useful position for artillery, as both the buildings and stone walls block sight.
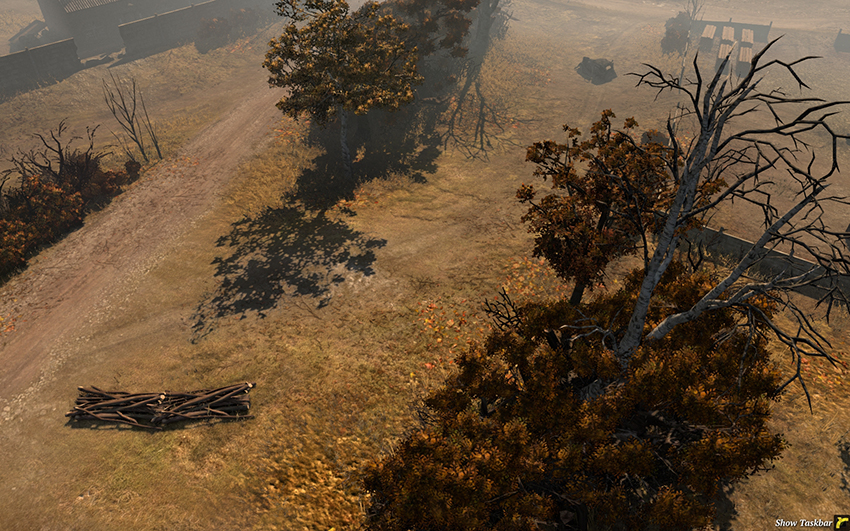
A major travel path for the East, this area is largely open and susceptible to hit-and-run vehicle attacks from the West aimed at destroying reinforcements traveling to the north or center from the eastern base.
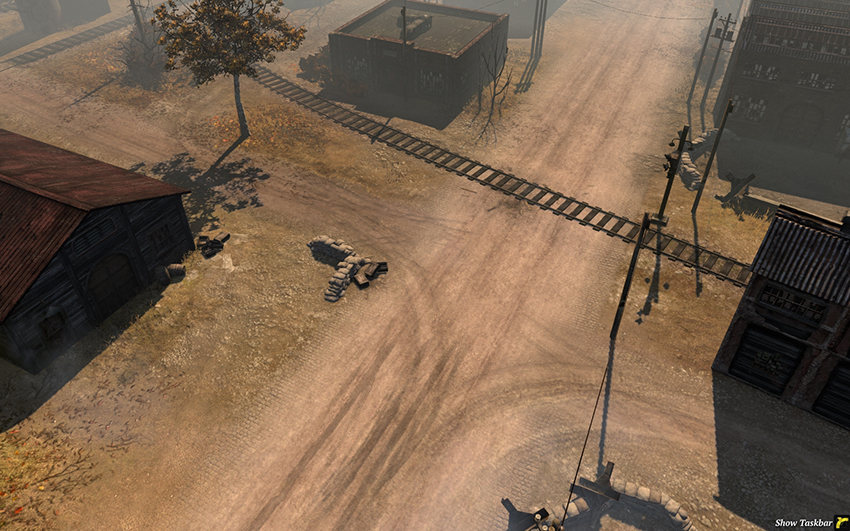
This is both the major route used by the East in attacking the center, and the area that the East should aim to fortify to control the center. The building on the left in particular is a strong position for an HMG, but the other buildings around here can be garrisoned if the West sends units to attack. Place a Mortar behind the building on the left and use the open road for your long-range vehicles, especially StuGs, SU-85s, Elefants, and ISU-152s.
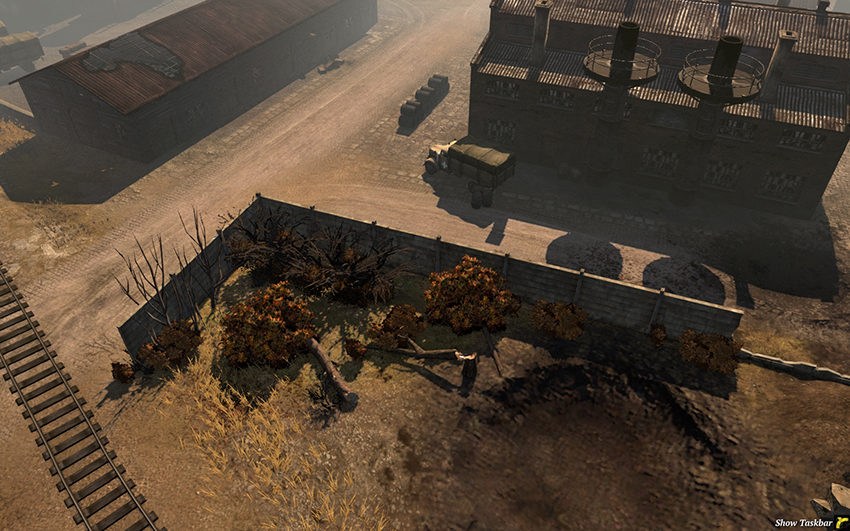
As the East, if you’re having difficulty attacking the south, or if the West is pushing hard, these are strong buildings to use garrison for defending your infantry, and the stone wall can protect a Mortar while it bombards the nearby southern Fuel Point or the Standard Territory Point toward the center. Note that long-range vehicles can use Attack Ground to destroy this stone wall, and tanks can crush it when attacking, so don’t rely on it too much.
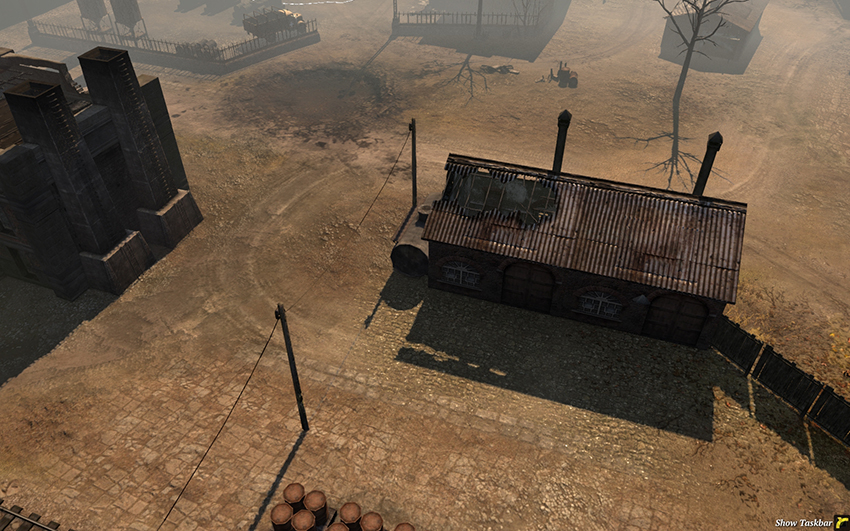
This area is useful for the East in attacking the southern Victory Point and Fuel Point, as well as for defending their rear Standard Territory Point. If the West is able to push up this far, this is a good area for staging attacks farther to the East without overextending. Both sides should watch for flanking attacks around the far south, especially with mobile vehicles.
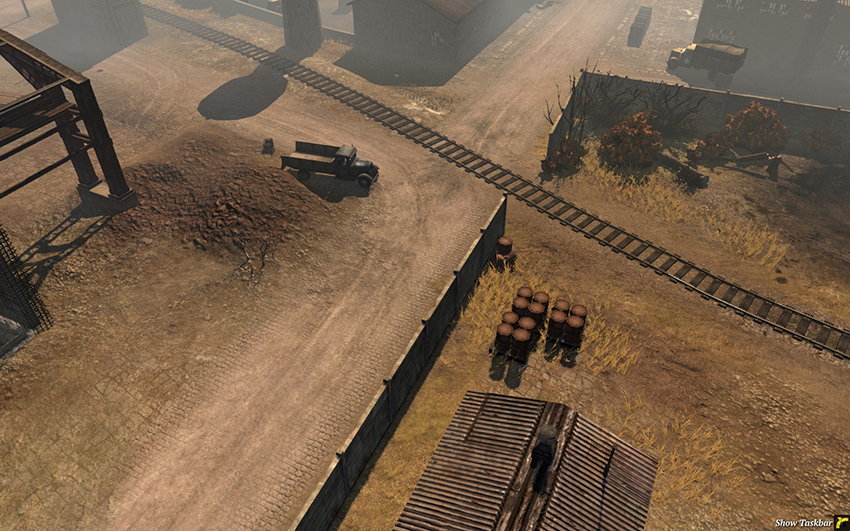
This is a view of an important crossroads between the south and center of the map. There isn’t much reason to set up defenses here, but it is an exceptional place for a few mines.
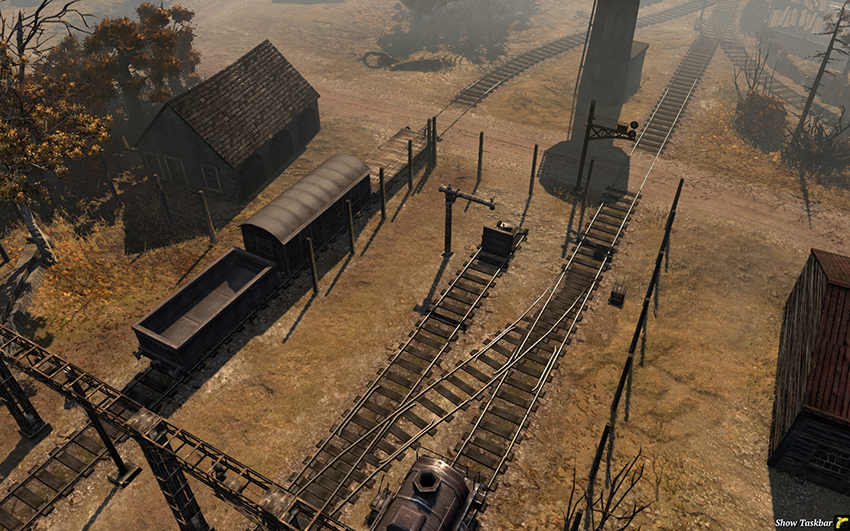
This is another area the East can use for attacking the center. While it lacks useful cover, it’s open enough for vehicles to quickly travel to and from the north for flank attacks. Mines in this area, especially around the train tracks, are a good idea.
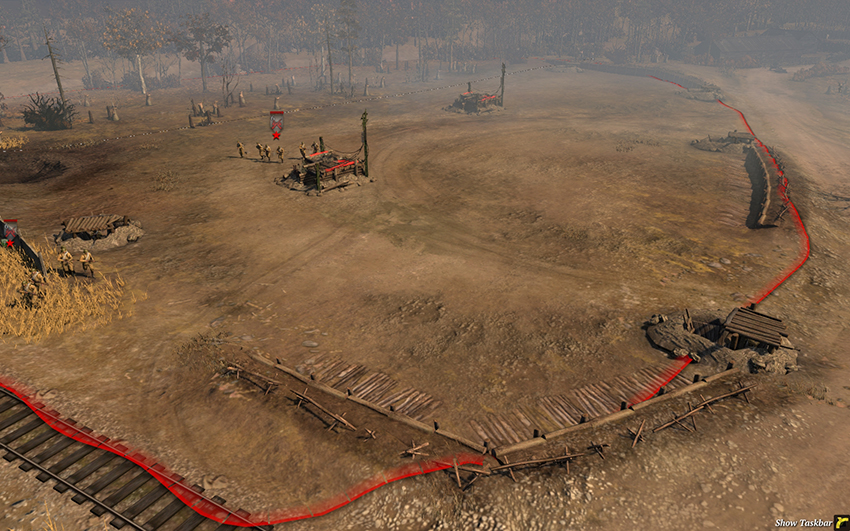
The northern portion of the western base.
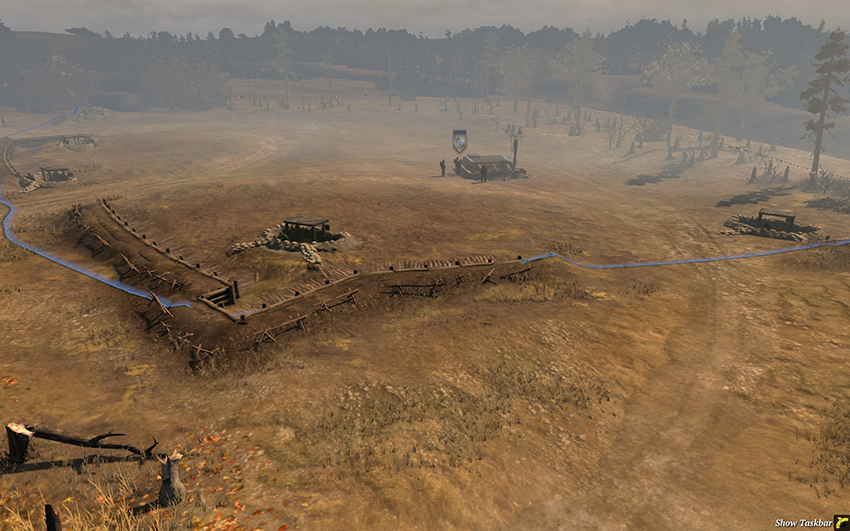
The northern portion of the eastern base.
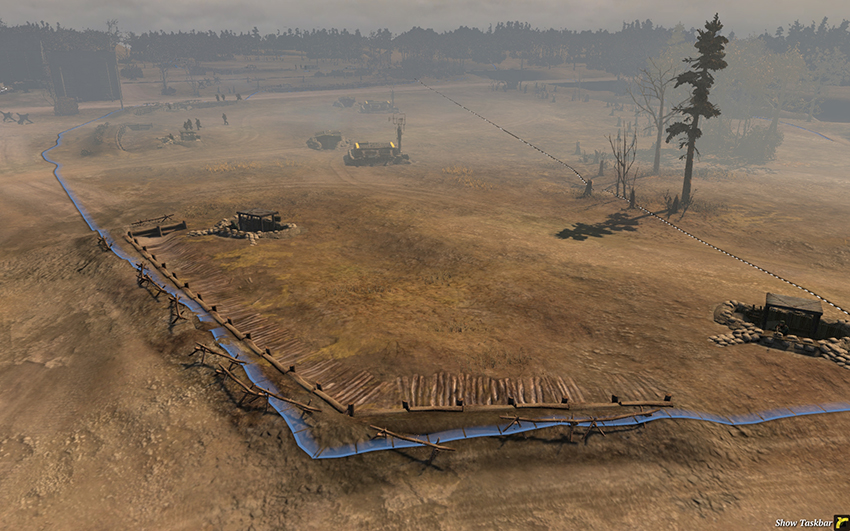
The southern portion of the eastern base.
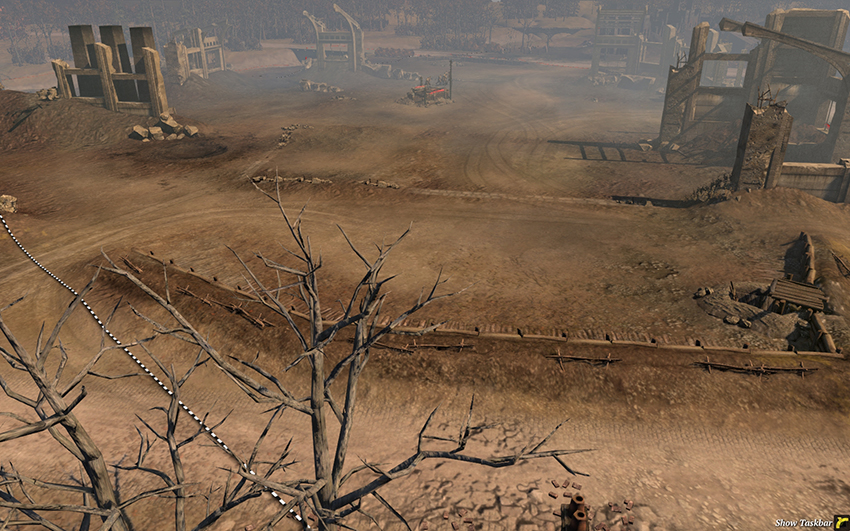
The southern portion of the western base.