Company of Heroes 2 Guide Campaign Walkthrough Mission 3
Mission 3
Achievements
Hardened Armor: Retake the ridge without losing a vehicle on General difficulty.
- As the final part of the mission is not timed, it is possible to produce any units necessary to take out the Germans on the ridge without losing any T-34s, such as AT guns to take out tanks and infantry to take out weapon teams. Keep your T-34s at long range so that they can still fire on the enemy but are able to move out of range if they need to be repaired. Use multiple squads of Engineers to ensure that your T-34s are not destroyed.
Mtsensk Mine Field: Place at least 10 mines before the village defense.
- As soon as you have control of the three Combat Engineer squads, set them to work planting mines at each territory point. Place four mines at one, three at another, and three at the last to get the achievement. Do not purchase any upgrades or use any abilities until you are sure you have enough Munitions to place all 10 mines.
Something Borrowed: Capture at least 3 enemy weapons on the ridge.
- This can be done during the first portion of the mission where you are defending against the German forces using Conscript squads on the ridge. Collect all dropped weapons—flamethrowers and LMG42—to get this achievement. Alternatively, as the final part of the mission is not timed, secure the first two territory points and take each German weapon that is abandoned. Be careful not to destroy all of the German units before you have completed the achievement.

Walkthrough
Falling back to the town of Mtsensk, you are tasked with defending it with every last man. The Germans have armor that is heading toward the town and you are at the severe disadvantage of not having any Soviet armor to support your infantry. It is important that you hold off the German advance here or else they will continue into Moscow itself.
You begin with Conscripts at each of three territories, each under attack by German infantry. The left territory is assaulted from the west; the middle territory is assaulted from the northwest; and the right territory is assaulted from the north. Your Conscripts have superior cover compared to the German infantry and should win most engagements. The enemy begin their assault on your left territory, followed by the right and middle territories. Don’t worry about moving your Conscripts to defend other territories, as each territory should be able to hold on by itself. If any of your squads are in trouble, use the Mobilize Fresh Conscript Squad commander ability to replace them quickly. The German assault comes in waves. Once you defeat the German forces at each territory, you have a short respite before the next wave. Use this to your advantage and reposition or replace any squads while the enemy is not attacking.
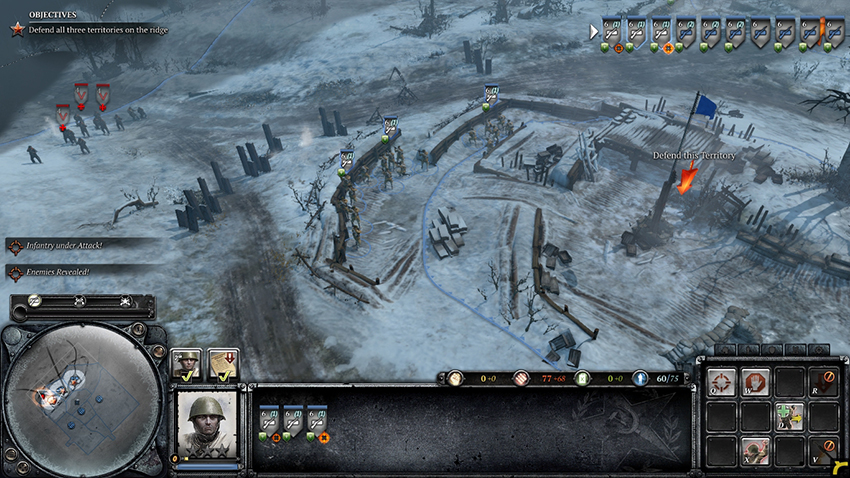
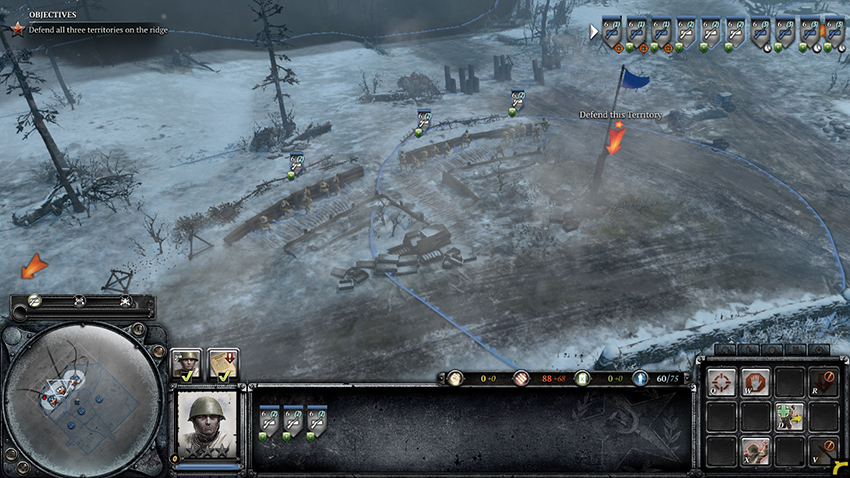
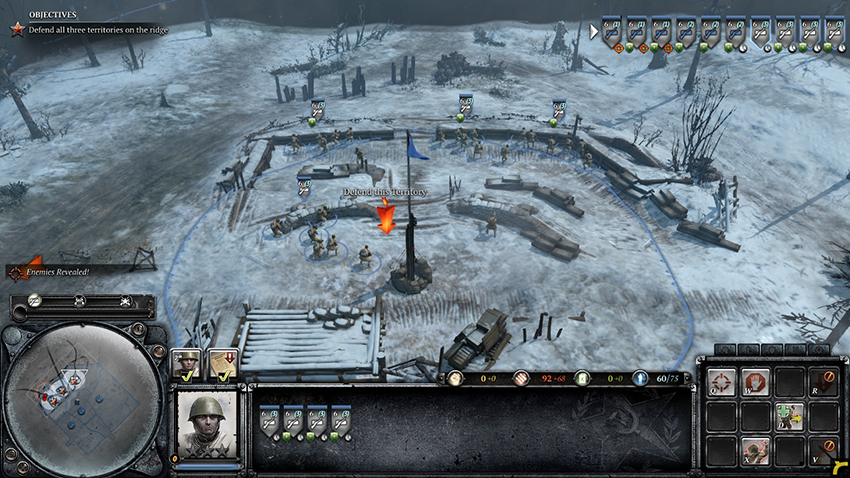
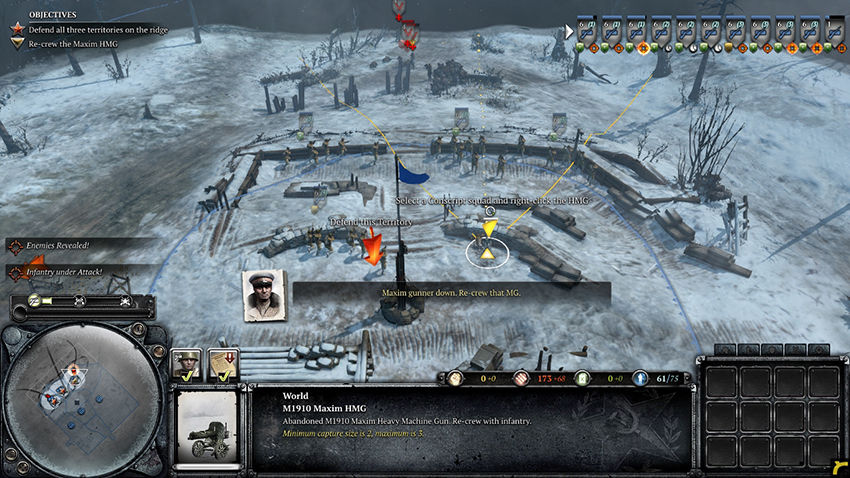
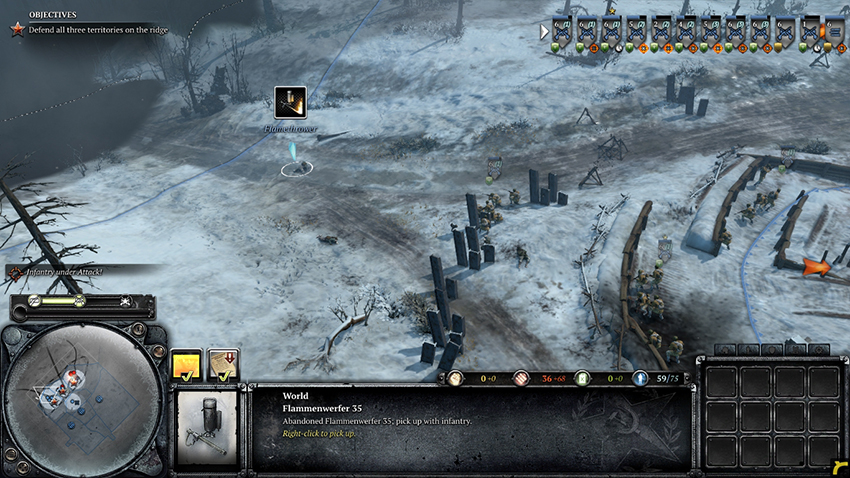
When the enemy begins attacking the right territory, the Soviet HMG team stationed there will be killed. Quickly use a nearby Conscript squad to pick up the HMG, transferring two men from the squad to crew the HMG. Your new weapon will set itself up and be ready to fire. If you would like to reposition the HMG, click on the squad, right-click and hold where you would like it to set up, then move the mouse to determine its firing arc. However, the HMG’s initial position will be fine for firing at the German infantry. After crewing the HMG, look over at your left territory to find a German squad that drops a flamethrower on the ground. This weapon provides your Conscripts with additional short-range firepower and will certainly threaten the German infantry. Pick it up with one of your Conscript squads and then return them to cover.
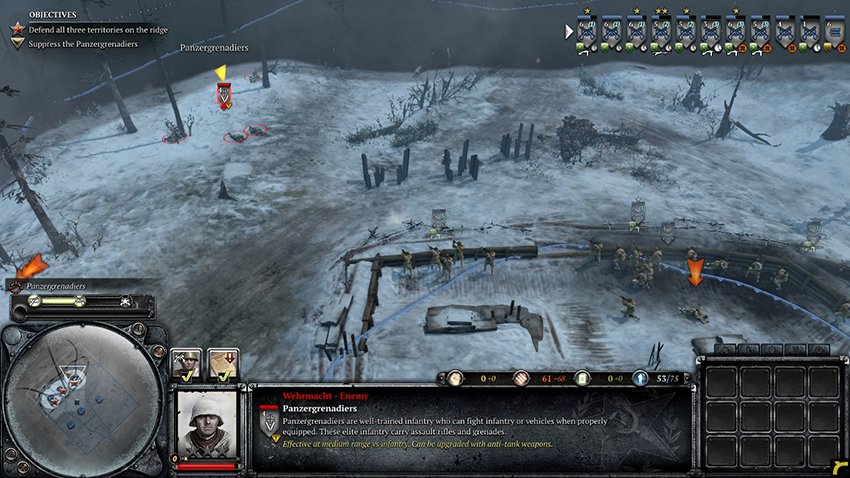
Panzergrenadiers are hardened German infantry that are exceptional at short-range firefights and can throw devastating grenades similar to Shock Troops. Your first sighting of this squad is at the right territory. When it arrives, you may either turn your HMG to suppress the squad before it can move in, or allow your Conscripts to take it out. Be careful of the Panzergrenadiers when they get close. Their guns can heavily wound your infantry and their grenades can blow up entire squads. Once the Panzergrenadiers have been sighted, two additional HMGs are sent to aid your defense, one to the left territory and another to the middle. These automatically position themselves to fire on the incoming Germans, but feel free to reposition them if you feel they will be more effective elsewhere. HMGs are more useful for suppressing enemy infantry and forcing them to the ground than for damaging squads; one covering each territory should be enough.
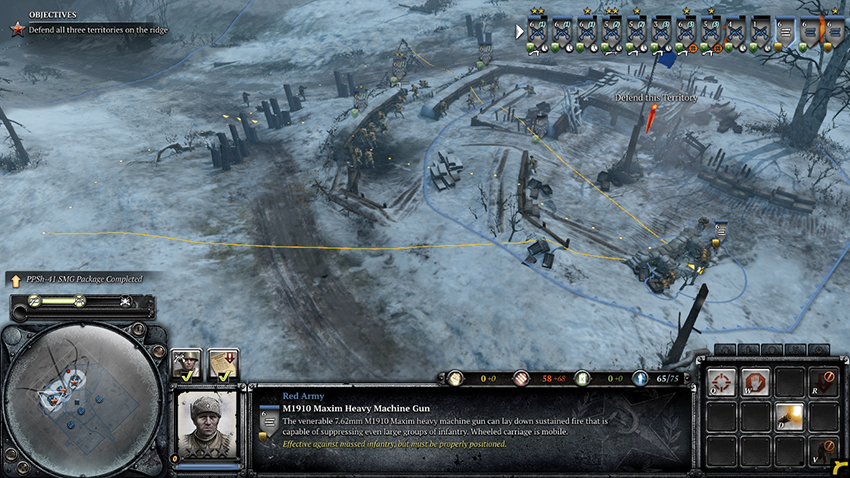
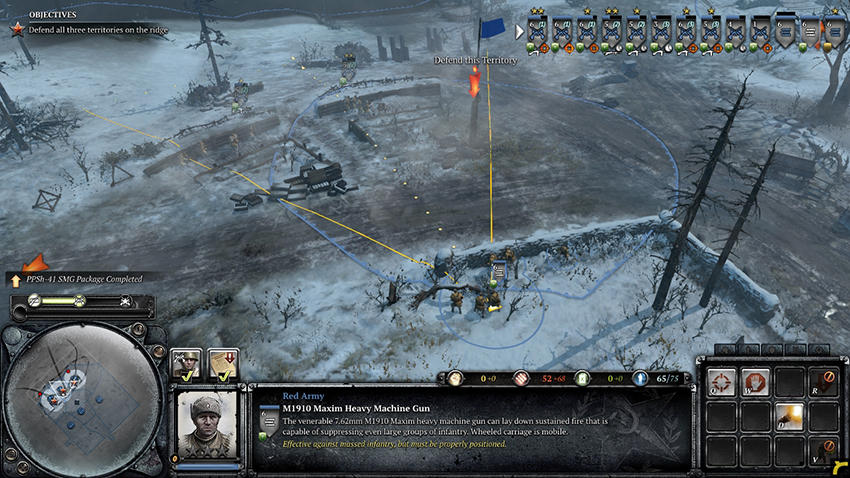
Grenadiers, Ostruppen, and Panzergrenadiers continue to assault each point. Carefully watch each area to decide if any of them need extra help. If you are unable to mobilize additional Conscripts, move a squad or two from your more heavily defended areas to any territory that seems weak. Be sure to pick up any weapons that are dropped by the Germans, especially flamethrowers. These will help fend off the enemy. Hold on as long as possible. Once German tanks arrive, you will not be able to hold the points any longer. Try to keep your units alive until your commanding officer orders you to retreat. Quickly select all of your squads and click Retreat.
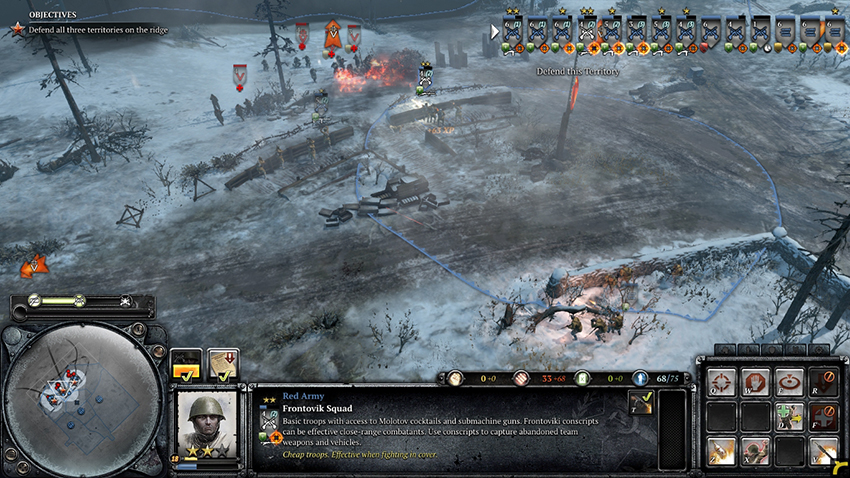
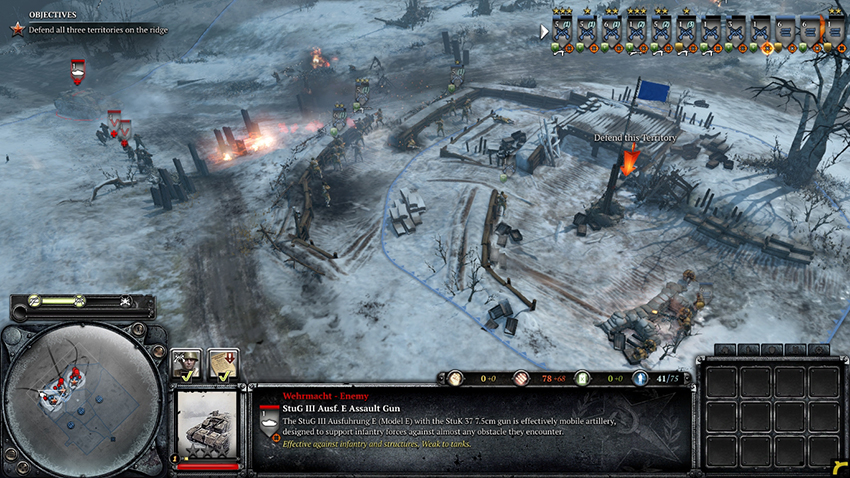
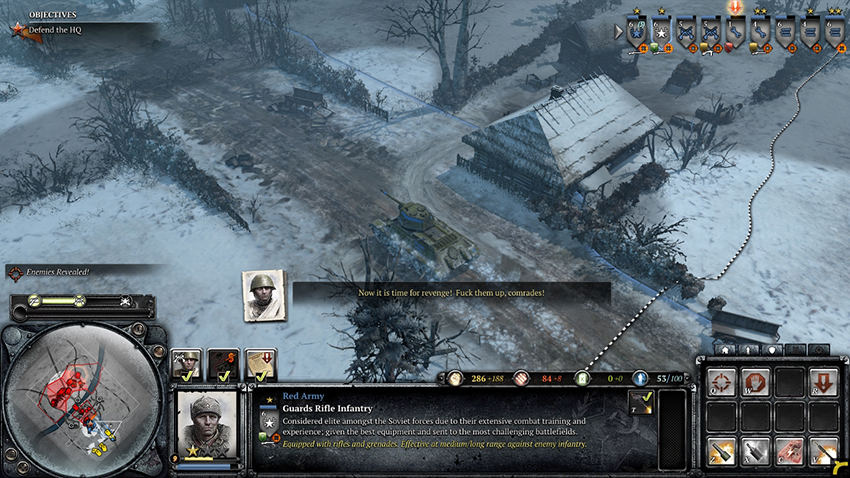
The German tanks have forced you back to defend the town. This section of the mission is the same as before: Defend all three territories from the enemy. This time you are provided with Combat Engineers, HMGs, and Guards Rifle Infantry, a new elite infantry squad that can throw grenades and upgrade to two light machine guns. Your HMGs are already in position at each territory and each of your three Guards Rifle Infantry squads move to their respective territories. One Combat Engineer remains at your new Headquarters while one squad moves to the left territory and another moves to the middle. There are also crewable AT guns at each of the three territories, all of which need to be recrewed to deal with the German tanks. Weapons do not have different stats based on what units are in the crew, so try to use a unit that does not cost as much Manpower to reinforce when crewing an abandoned weapon. Conscripts are best for crewing weapons, but Engineers will work as well. Crew each of the three AT guns and place them near your HMGs, facing in the same direction.
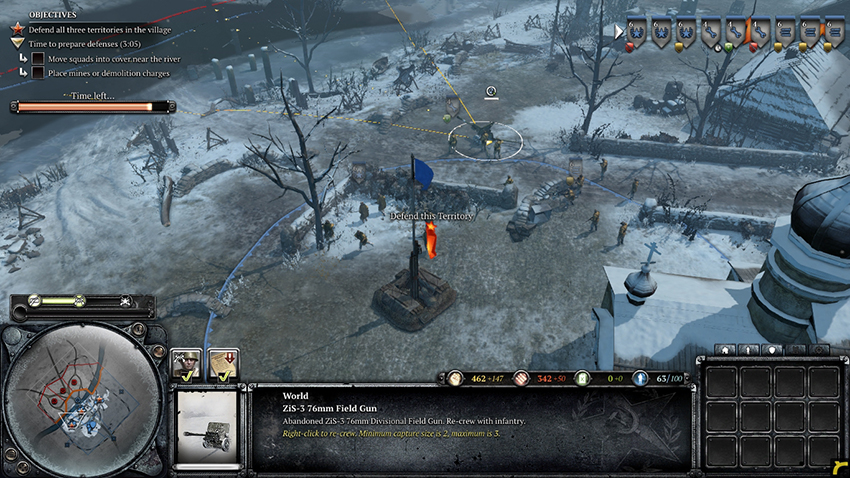
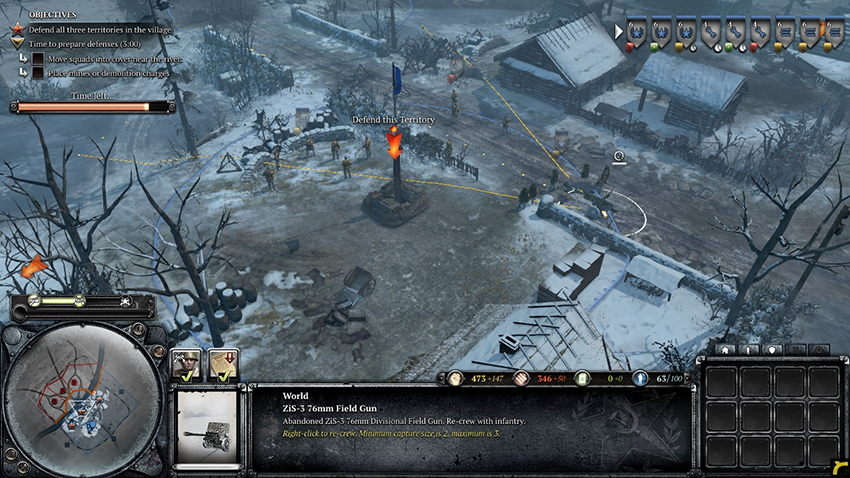
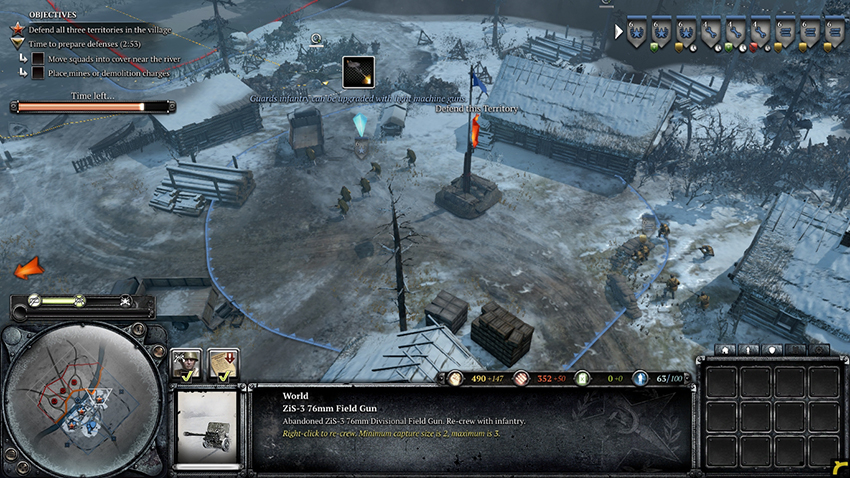
You have been granted access to a Soviet base outfitted with production buildings. New squads can be called in from each of the three structures. Combat Engineers and Conscripts are called in at the Headquarters, Guards Rifle Infantry are called in at the Special Rifle Command, and HMGs are called in at the Support Weapon Kampaneya. When finished producing the designated unit, the squad come on the map and arrives at the building. All of these units cost a certain amount of your Manpower resource. Be sure to produce any additional squads that you believe you may need. Each territory should be fine with a single HMG, while extra Guards Rifle Infantry or Conscripts always come in handy.
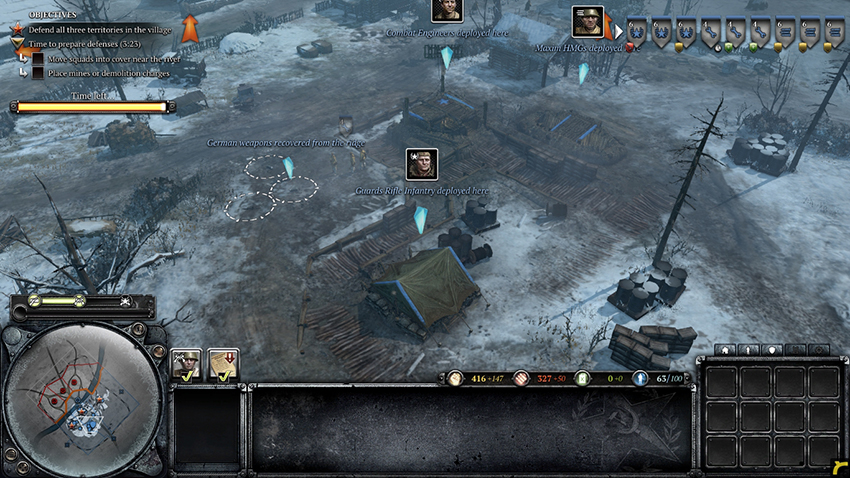
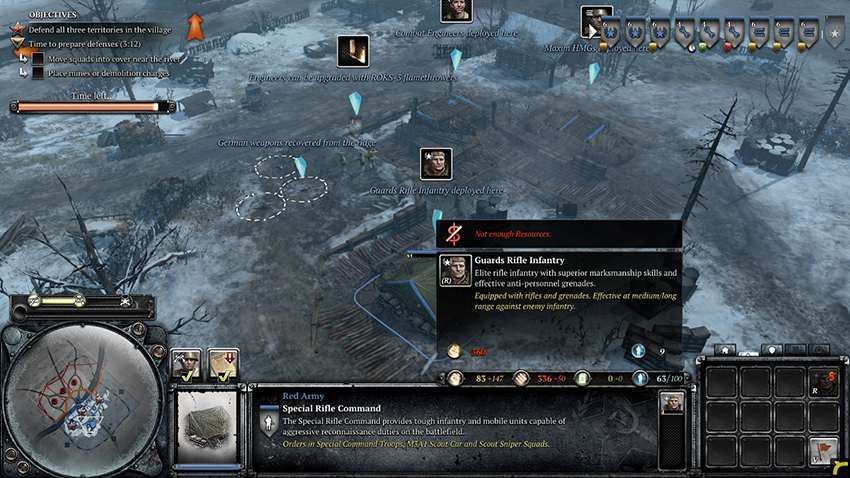
Continue preparing for the German attack by placing your infantry in cover and moving your weapon teams as necessary. Your HMGs can be garrisoned in the nearby buildings where they can shoot out of any windows with the benefit of increased sight and much more protection than normal cover. Consider placing your AT guns in places that are tough to reach with infantry but still in range of any incoming vehicles. Engineers can use your pool of Munitions to place mines along the roads, primed to destroy vehicles. Once your preparation time is up, the Germans send wave after wave of infantry and vehicles to your territories. Reposition HMGs, AT guns, and infantry as necessary to defend all three points.
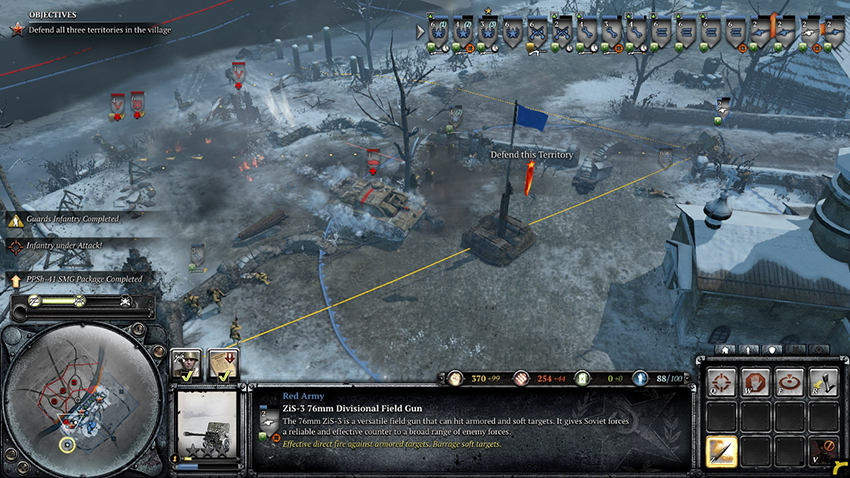
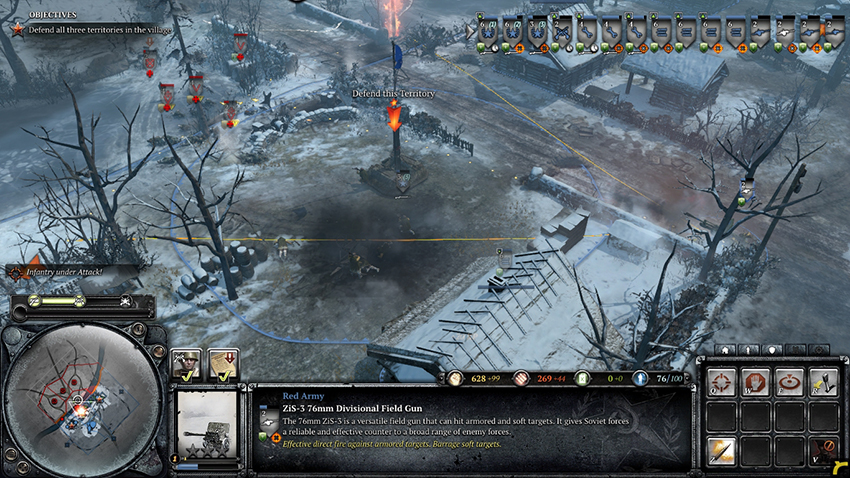
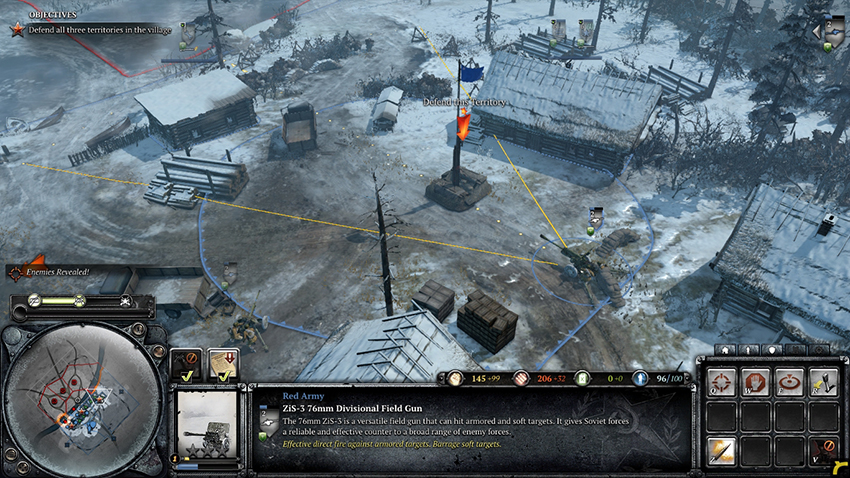
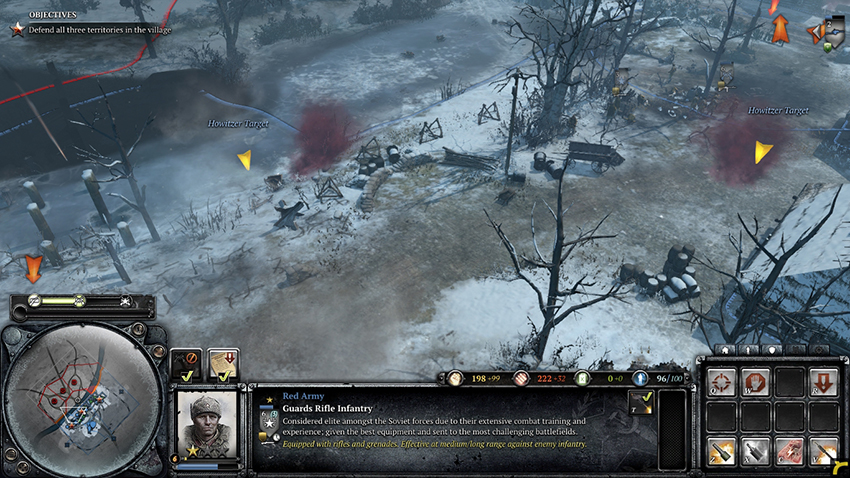
When enemy artillery begins to fire, their targets are shown on the map. Move any of your units out of those locations quickly. Your AT guns are your only way of dealing with the German StuGs so keep these protected and crewed. Because the enemy vehicles move around to attack your forces, you may have to reposition your AT guns to fire on them. Keep watch on any of your squads that you garrison inside buildings, as the German tanks can easily destroy the buildings and crush the squads inside. Eventually the German offensive will overwhelm you, further forcing you back to your Headquarters. Retreat all of your squads at this point and try to keep everything alive.
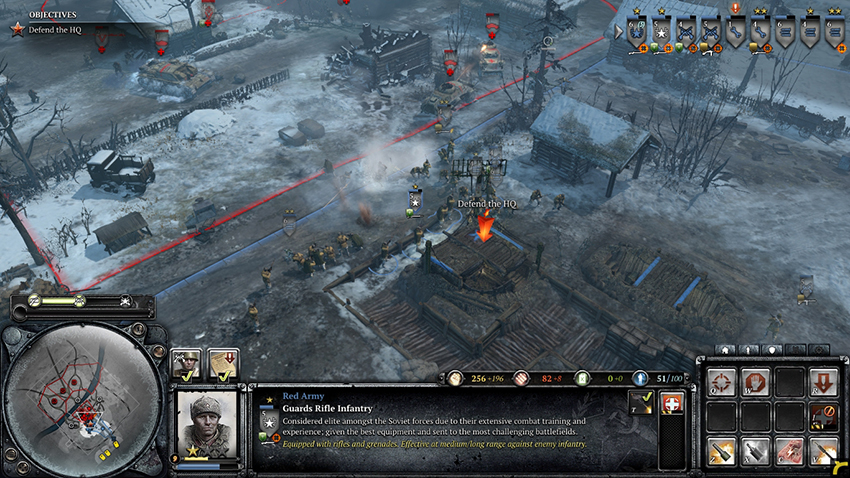
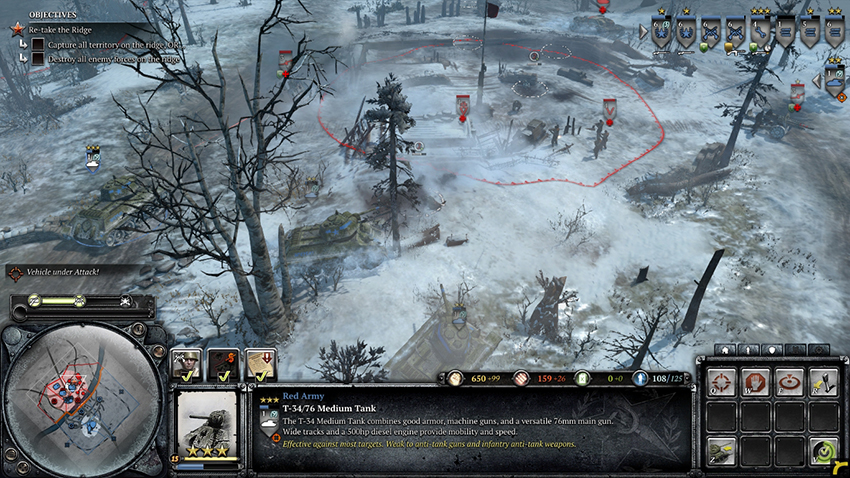
Once the enemy has reached your Headquarters, a group of six T-34/76 tanks will arrive. You can now breathe a sigh of relief—these Soviet tanks have the ability to take out both the German infantry and their vehicle support. Move the tanks to the Headquarters to take out the attacking German forces. Reinforce your infantry squads if possible and prepare to assault the enemy. Now is the time to exact your revenge. Move up your T-34s toward the left river crossing with your surviving Guards Rifle Infantry, Conscripts, HMGs, Engineers, and AT guns. Take your time setting up your forces for the assault, but be careful of the constant barrage of Howitzer rounds. When you are ready, move toward the left territory point on the ridge, using your T-34s and AT guns to take out the enemy armor along with your Guards Rifle Infantry, Conscripts, Engineers, and HMGs to take out the German infantry. Destroy the Howitzers, take the territory, and move on to the middle and right territories. Be careful not to lose your T-34s as they are your most powerful weapons; use Engineers to repair any that have been damaged. Eliminate all of the German forces or capture all of the territory points on the ridge to complete the mission and achieve another Soviet victory.