
Company of Heroes 2 Guide Multiplayer Maps Steppes
Steppes
The temperate steppe is a region of rolling grasslands, small stands of trees, and scattered villages.
From time immemorial, vast armies have clashed on the expansive plains that cover wide swaths of Eastern Europe, turning this region into one of history’s greatest killing grounds.
Armor can move rapidly across the gently rolling terrain, slowed only occasionally by shallow rivers. Players are challenged to hold resource points on this large open map where forces are spread thin.

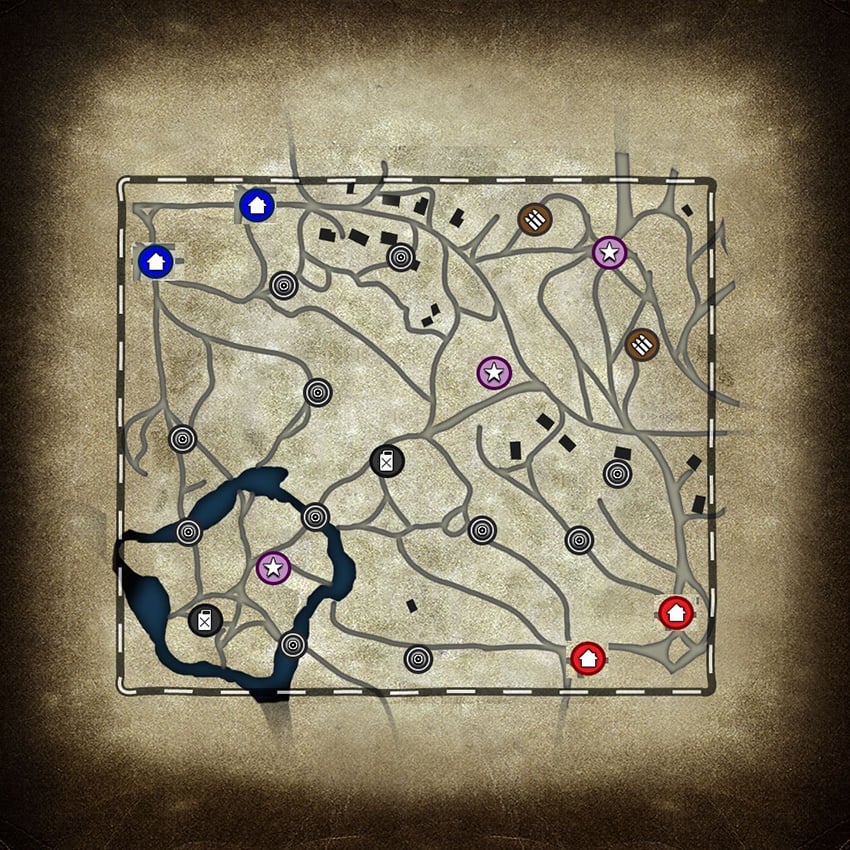
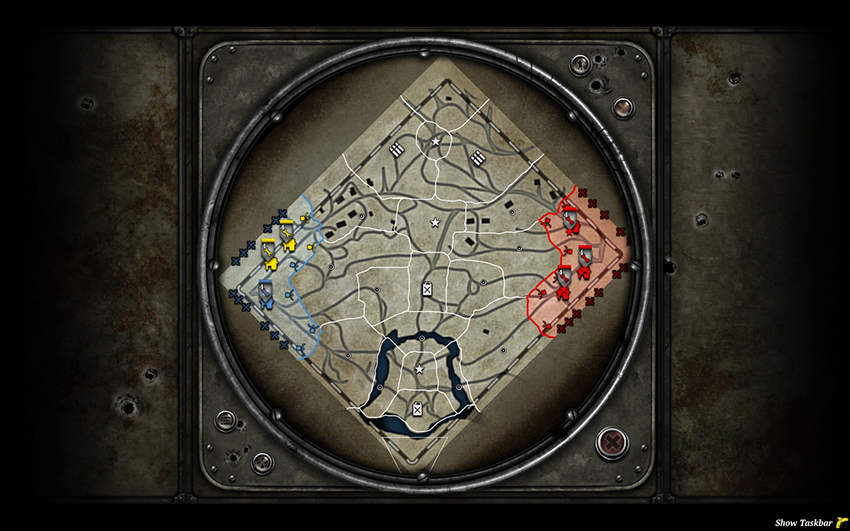
This map provides varied play depending on your starting location. Fighting in the north allows for rapid maneuvering and vehicle play due to the open ground. The center Victory Point and Fuel Point are dominated by artillery and AT guns with occasional armor breakthroughs. The south alternates between assault and fortification as there are many routes into the area but all units must pass slowly through shallow water. Comparing the north and the south, often forces in the north can support the center without much issue, but the south will be relatively independent due to the water and greater distances involved.
The hedgerows that border the center Victory Point on the north and south create a constricted position that’s especially problematic when tanks are involved—HMGs and AT guns excel here and Mortars are often used. The area around the center Fuel Point is too large to fully cover with HMGs and AT guns, so it’s a good area to use for flanking maneuvers to the north or south. Fuel on this map is very important as tanks are the dominant force: you don’t want to let your opponents acquire heavy tanks significantly earlier than you.
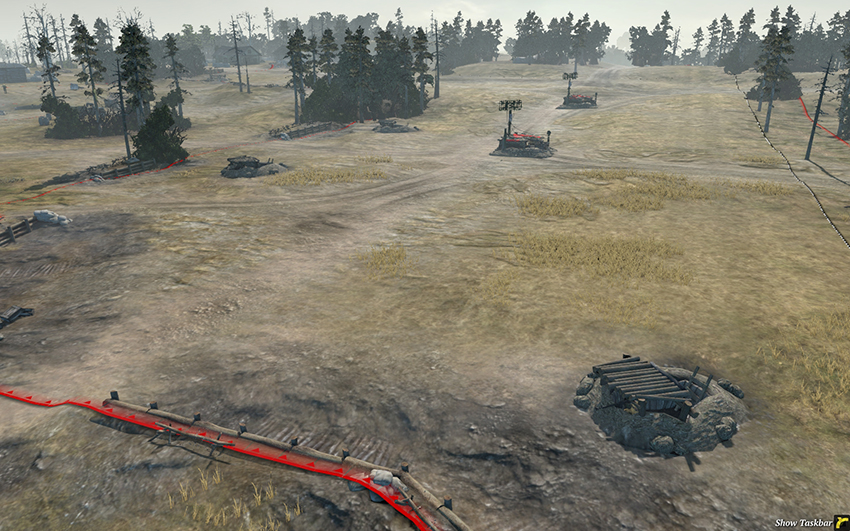
The southern HQ locations of the eastern base.
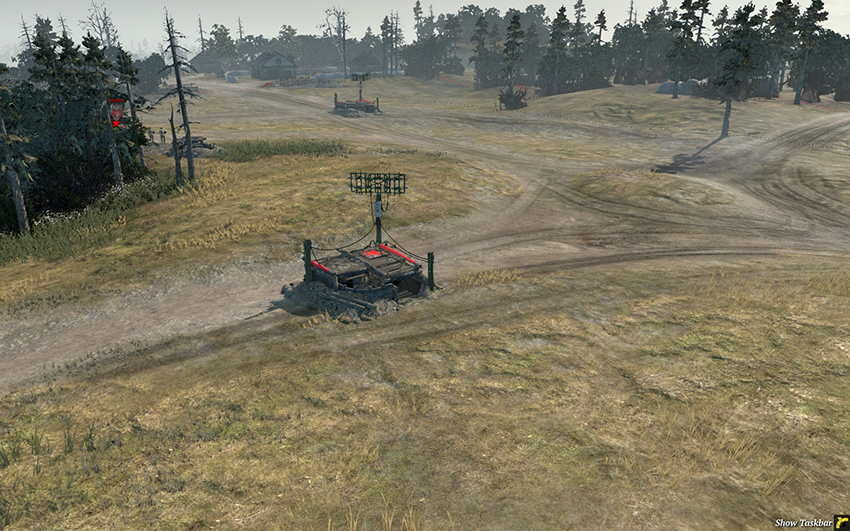
The northern HQ locations of the eastern base.
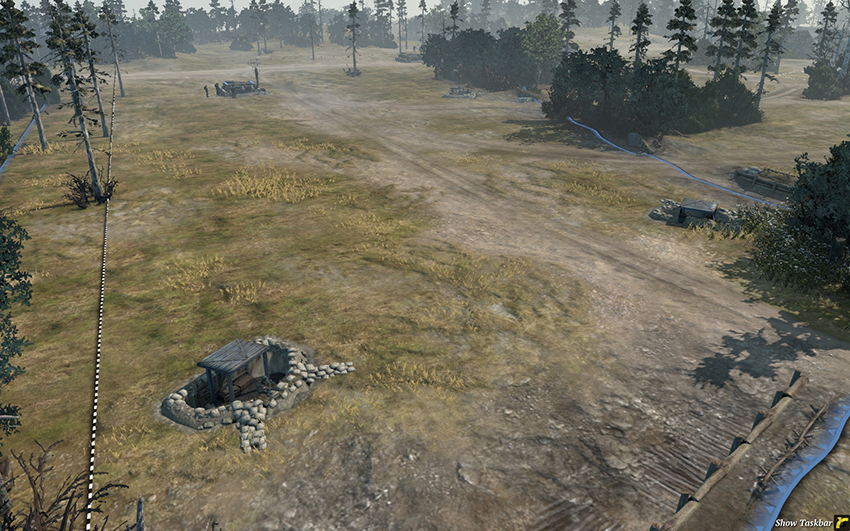
The southern HQ locations of the western base.
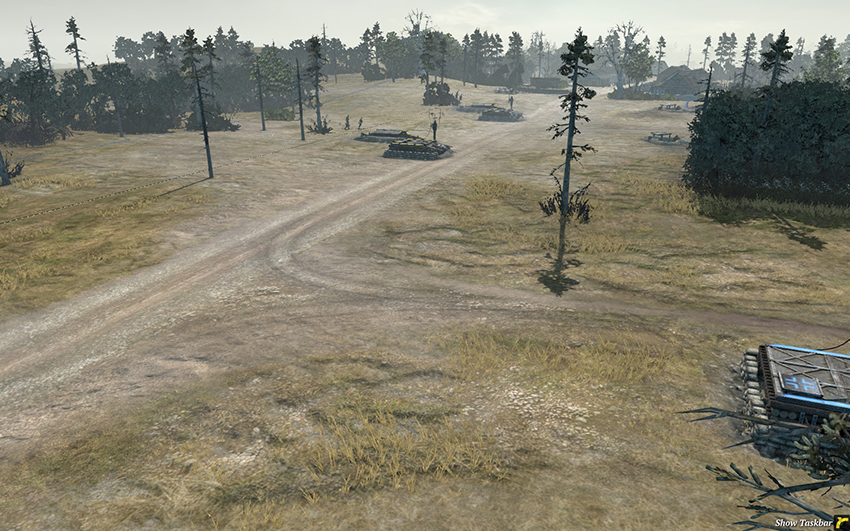
The northern HQ locations of the western base.
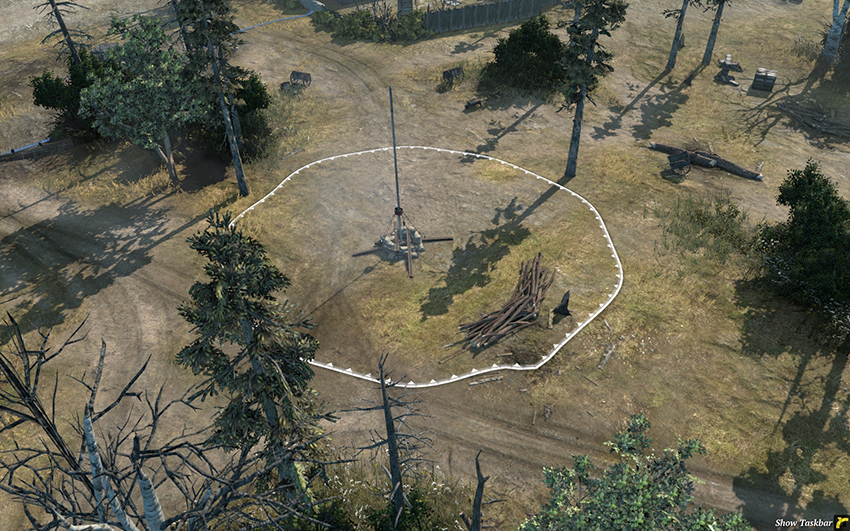
The Standard Territory Point outside of the western base should always be upgraded with a Fuel or Munitions Cache because it’s so easily defended. Little fighting will take place here in an even game.
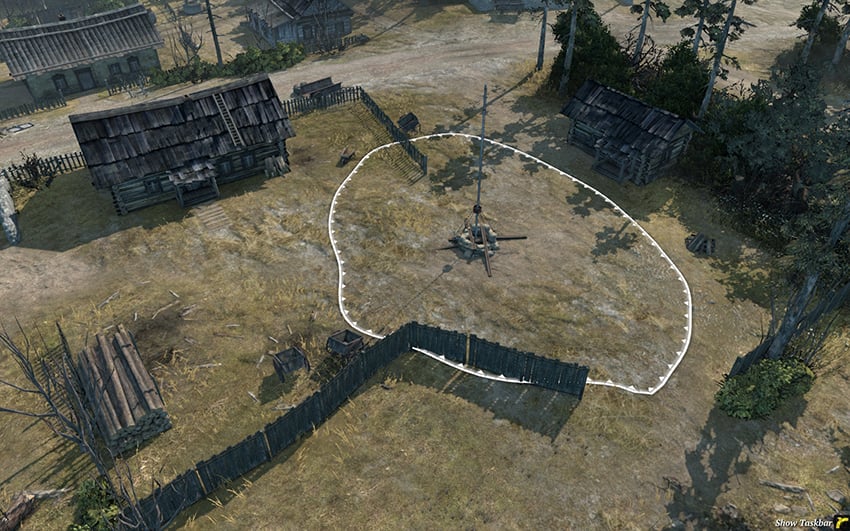
This point is the principal target for an aggressive East in the north. The many buildings and obstacles allow infantry, and especially anti-tank infantry, to be more effective than on open ground, as HMGs will have difficulty covering all of the possible attack routes and AT guns will have severe firing arc issues. If the West heavily fortifies the north, the East ought to counterattack here. For the West, place mines and barbed wire between fences and on the road if you believe the East will attack here. This is also a relatively safe location for Fuel and Munitions Caches as well.
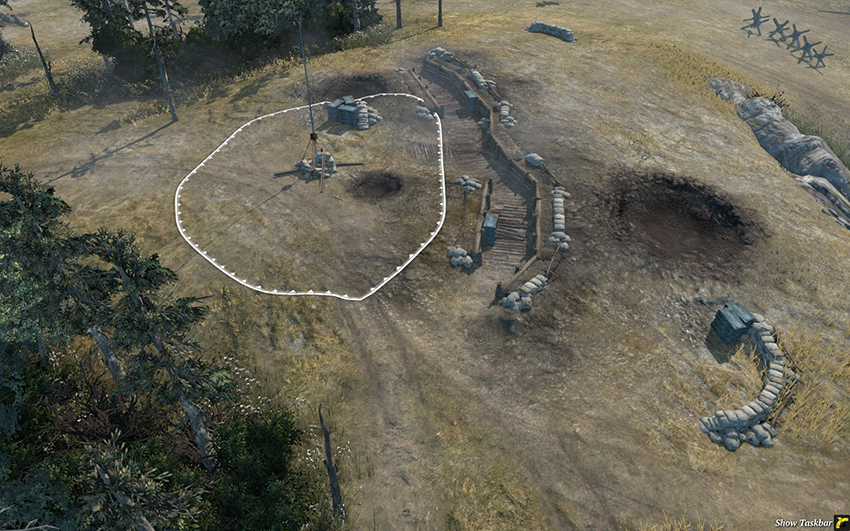
The West typically establishes a defensive position here overlooking the center Fuel Point. The trenches are wonderful for infantry as protection against vehicle crushing. Because the ridge to the right limits the approaches to this point, mines combined with AT guns will be able to fight off early vehicle aggression. I wouldn’t recommend building a Fuel or Munitions Cache here in the early game, as the East will often have nearby forces that can push into this area, and if they have flamethrowers you’ll rapidly lose the Cache. Bunkers and team weapons, especially Mortars, should be emphasized in a defending force.
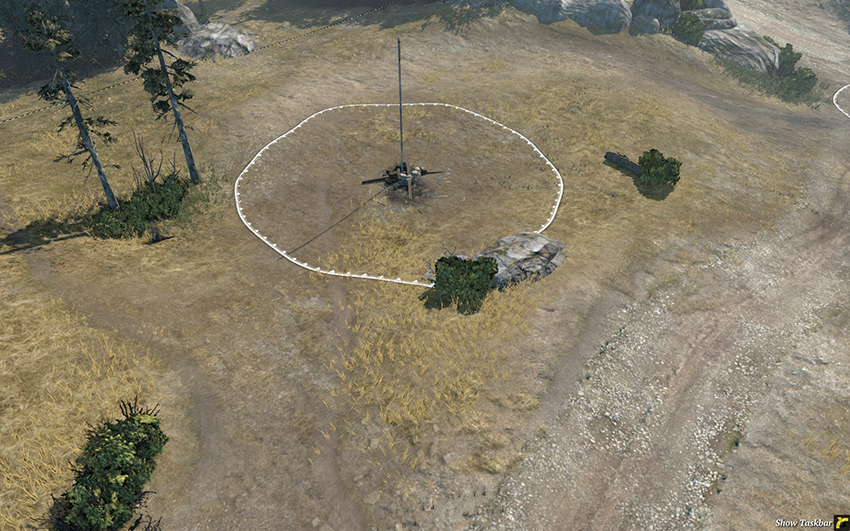
The western Munitions Point is in the open and expansive northern region where mobile infantry and vehicles excel. HMGs and AT guns can be useful additions to forces stationed here, but because flanking is so easy, they cannot be relied upon to repel attacks.
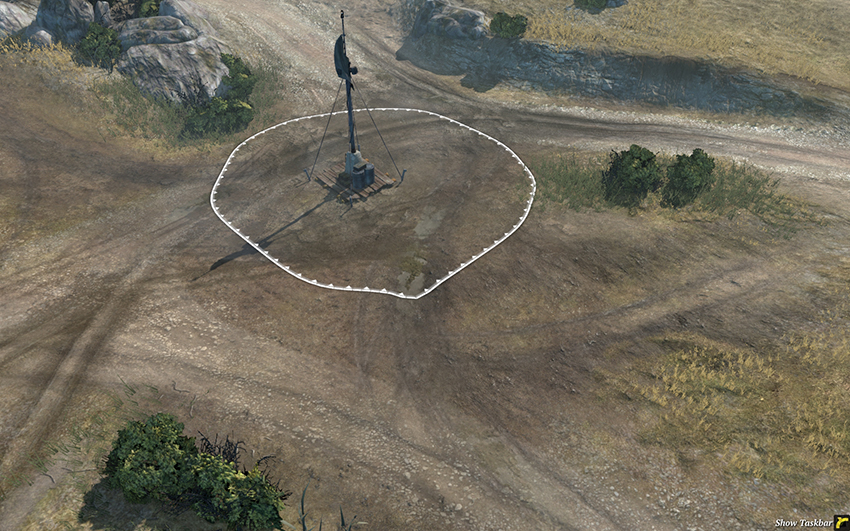
The northern Victory Point is often the site of early infantry skirmishes, but later in the game one side tends to solidify a hold over the entire northern area, meaning that the front line is farther to the west or east of here. Still, the ridges above it can be fortified by a defensive force, especially if artillery is available—the reach from here is quite a bit longer than from either the western or eastern base regions.
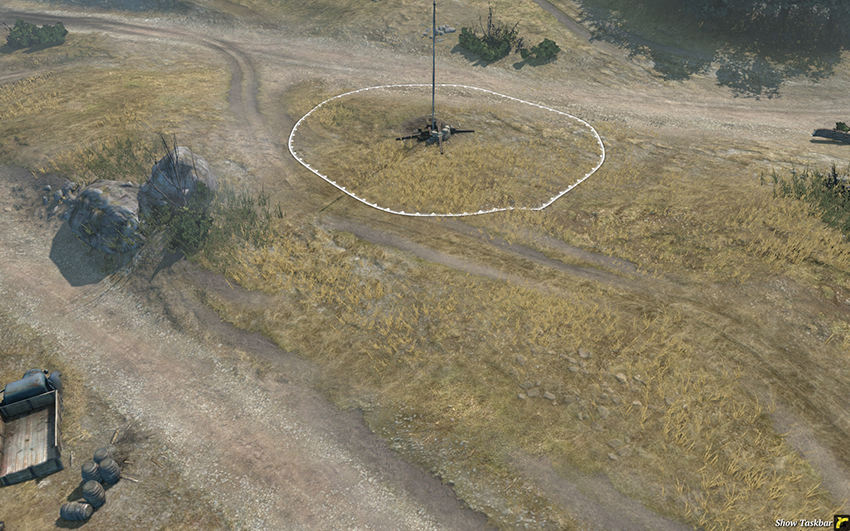
The eastern Munitions Point is often either a major focus of fighting in the north, if the West is highly aggressive, or not contested at all. It is quite susceptible to harassment given the wide-open area stretching in all directions, so the West would do well to send light vehicles carrying infantry here.
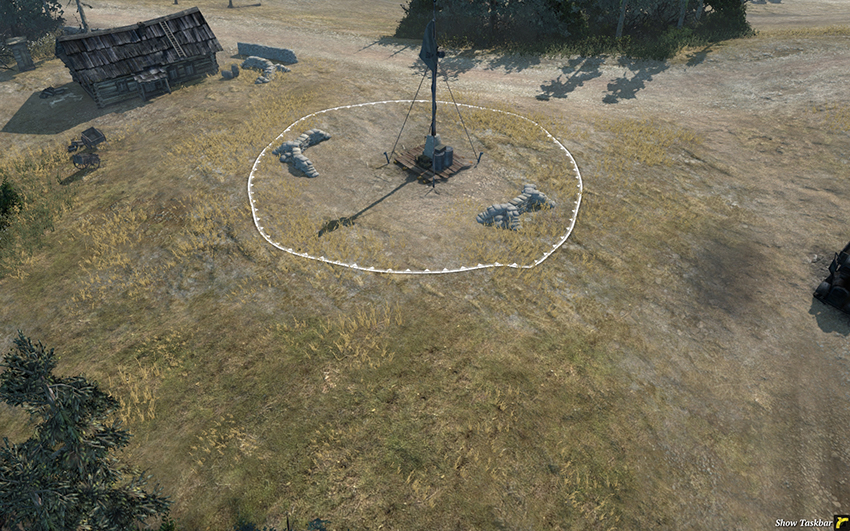
The center Victory Point is bordered along all four sides by tree stands, and by a ridge in the south. This means the access routes are restricted to the corners, which makes covering the area using AT guns and HMGs far easier. Place mines or barbed wire in these gaps to make it even harder to access. The house in the upper left is a strong position for an HMG, but it can be flanked without much issue from the north and south if it isn’t supported.
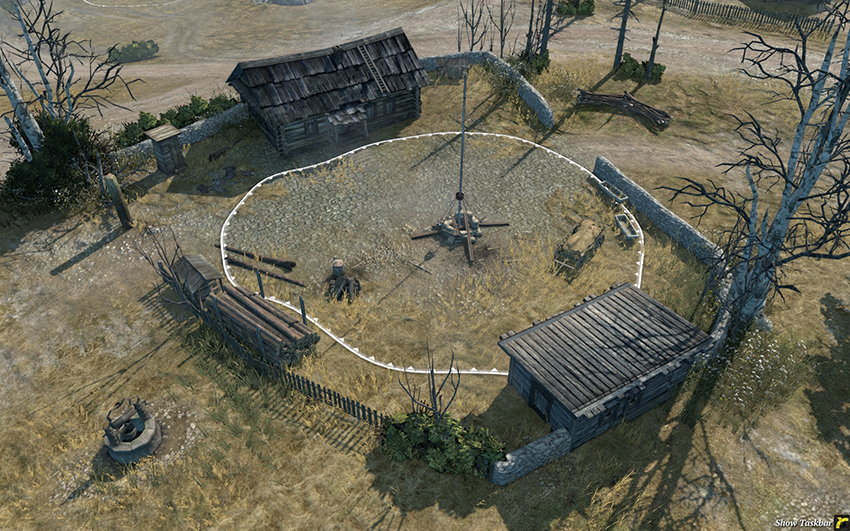
This eastern Standard Territory Point may become a target for an aggressive West, but a defending infantry force will be difficult to displace without significant artillery support. The East ought to build a Fuel or Munitions Cache here relatively early.
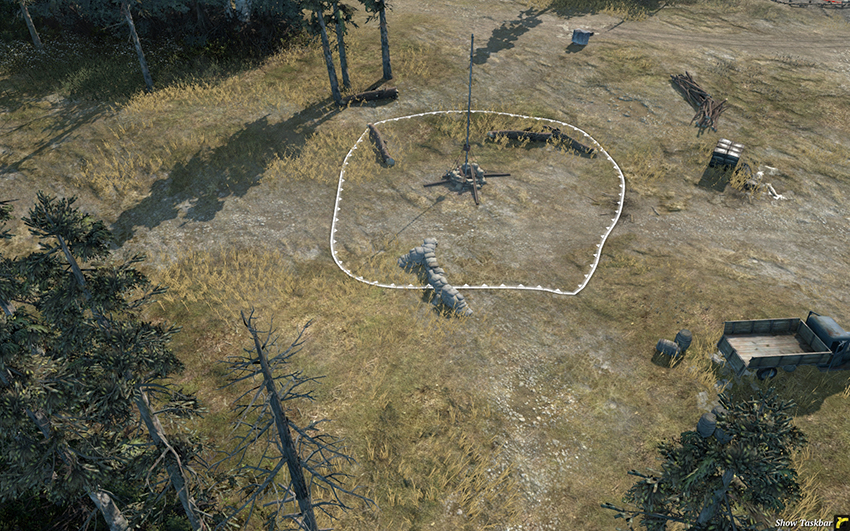
Perhaps the safest eastern point on the map, the East should build a Fuel or Munitions Cache here very early.
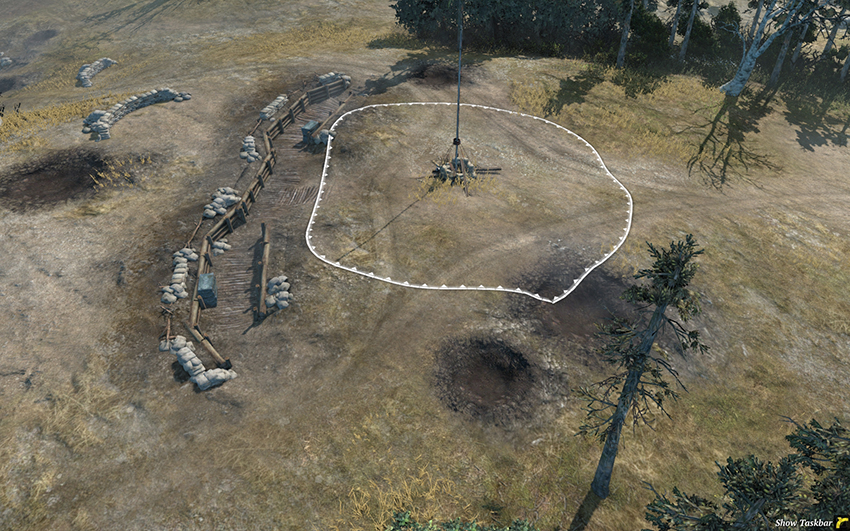
Much the same as its mirror to the west, the East should place long-range weapons like AT guns, Mortars, and artillery here to provide fire support to forces contesting the center Fuel Point.
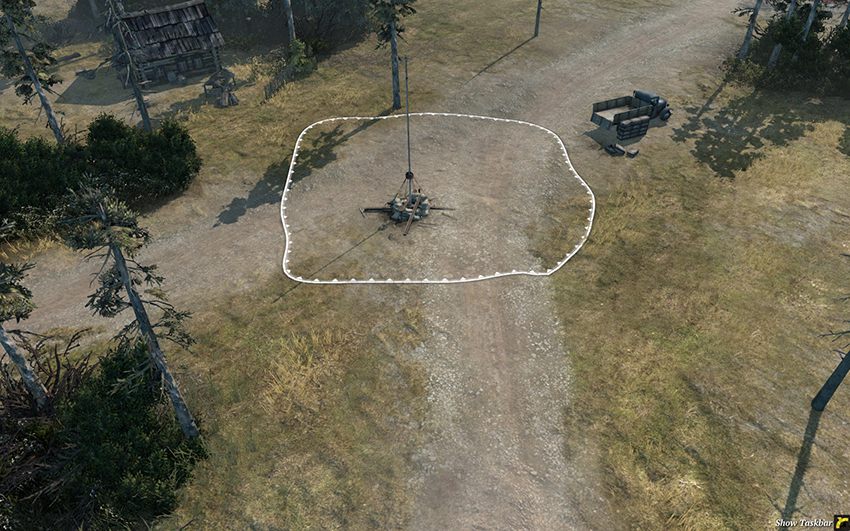
This is another safe eastern point; it’s actually reasonable to bypass this point with your first unit to reach the south more quickly. The East will want to build a Fuel or Munitions Cache here relatively early as well, but don’t neglect supporting your combat forces in the south.
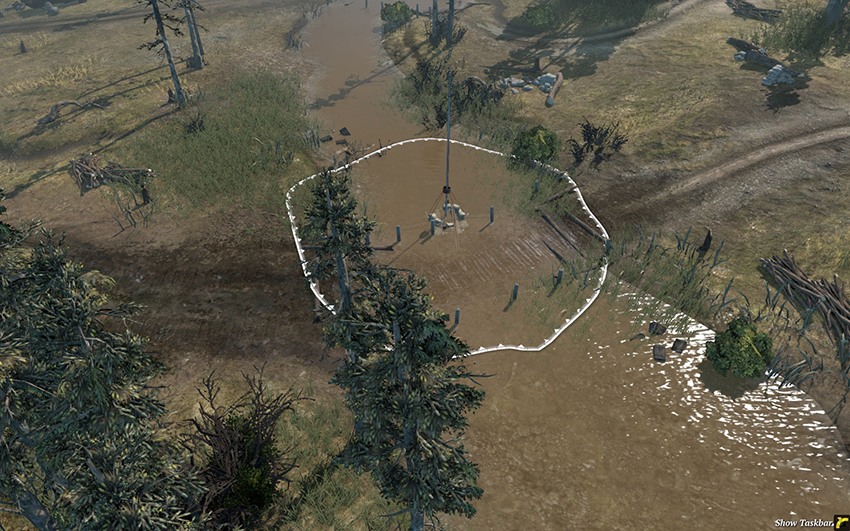
This is not a point you want to fight over, as there’s little cover and the water both slows your units and provides negative cover. If the East is pushed out of the south, it can establish a defensive position on the right bank using an HMG and an AT gun until more forces can be prepared for a larger assault.
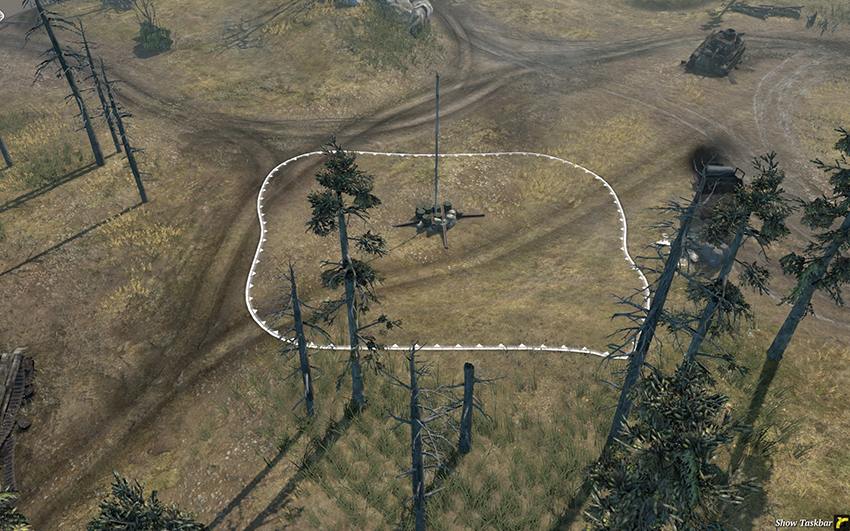
The southern Fuel Point is critical due to the power of vehicles on this map. It’s fairly open, but is surrounded by water to the west and east. If your opponent holds this and you’re having difficult retaking it, consider sending your forces on a flanking route through the water—it’ll take longer but you’ll be able to bypass HMG and AT gun firing arcs.
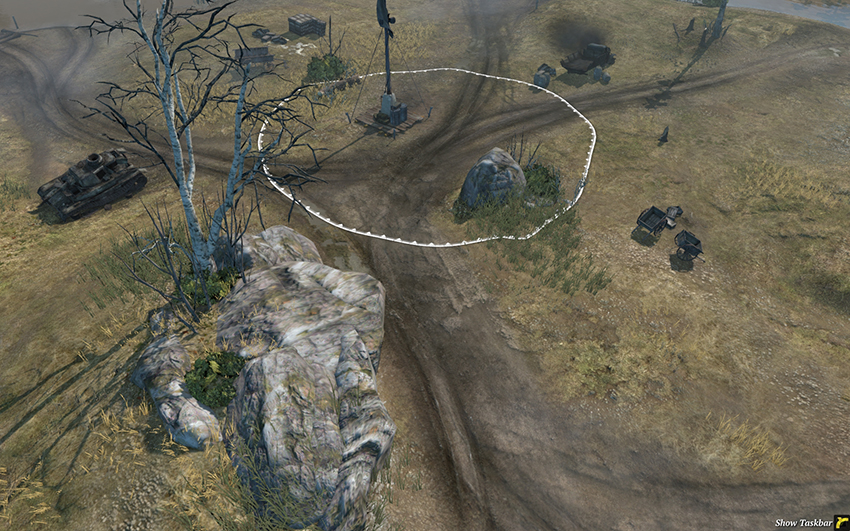
The southern Victory Point will be controlled by whichever side is able to drive the other from the island on which it’s located. The area is completely surrounded by shallow water, which means team weapons and AT guns can wipe out flank attempts so long as you scout properly. Mines are effective all around the dirt roads, and the rocky ridge at the bottom is a good location for a Mortar.
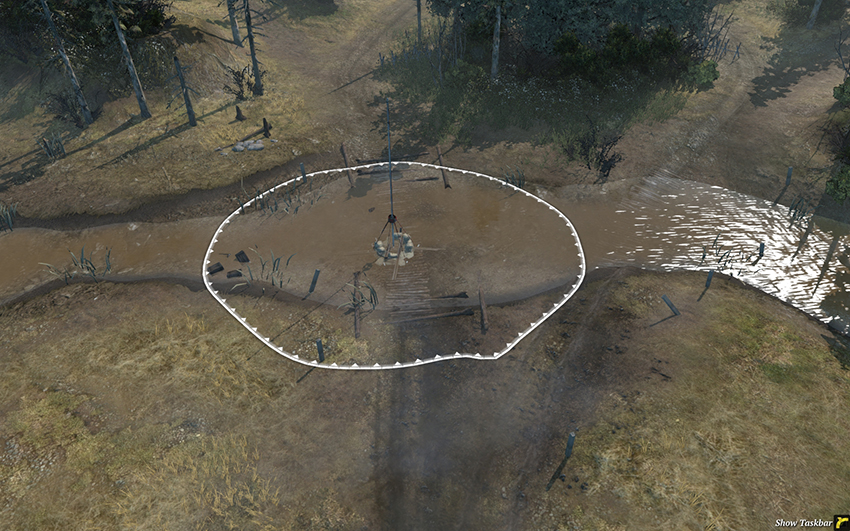
This Standard Territory Point is located on the access route between the center and the south, which is a well traveled area. Be sure to keep an eye on it if you’re defending the south to avoid unexpected flank attacks, and if you’re trying to retake the south, make use of this route with some of your forces—ideally, send units through here to distract your opponent while you send other units in from the west or east.
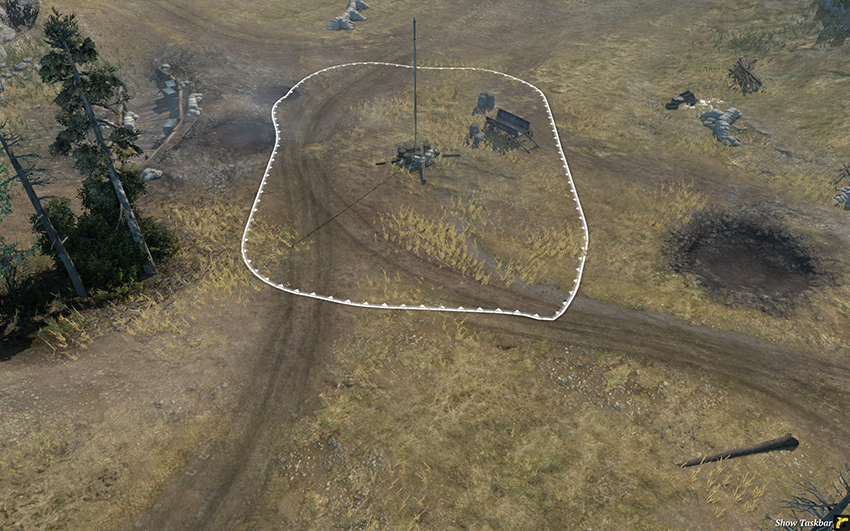
The center Fuel Point is usually the site of massive combined arms battles as each side struggles for better positioning and a higher Fuel income. The Germans can construct bunkers covering this area without actually capturing the point because the sector borders are fairly narrow to the west and east—just behind the trench on the left and just behind the sandbags on the right are possible locations for bunkers, so long as you hold the corresponding Standard Territory Points on the hills. In the early game it’s worth rushing a HMG to this position as soon as is reasonable. You can count on your opponent to try to take this. As the area is so open, be careful in watching for flank attempts, especially from the south, as the tree stands block line of sight. Later in the game this is a prime location for tank battles and it’s especially suited to long-range combat between StuGs, SU-85s, Elefants, and ISU-152s. Snipers are not as effective here as are Mortars due to the limited cover and high likelihood of enemy vehicles charging into the area.
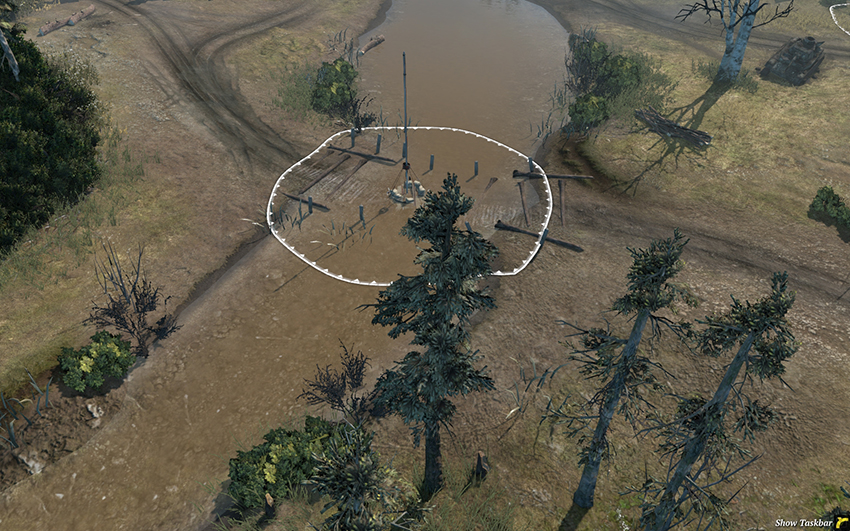
The western entrance to the south is much the same as that in the east. Be careful not to walk your infantry into HMGs covering this approach, and position long-range units on the left bank if you’re coming from the West. As the East, don’t be too eager to push into this area—it’s easier to defend from the south than to bother crossing the river under fire. Snipers work well in the trees at the bottom, as there’s plenty of cover and dangerous units like Scout Cars will be slowed in crossing the river.
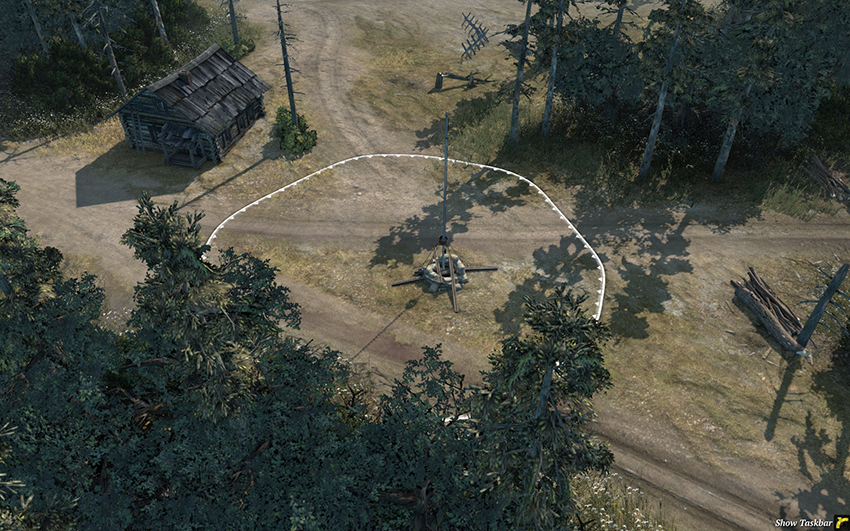
The southwestern Standard Territory Point is quite safe from attack unless the West is having significant issues in the south. It’s a good location for a Fuel or Munitions Cache, though emphasis should be placed on establishing a strong defensive force in the south as soon as possible and later building a Cache here.
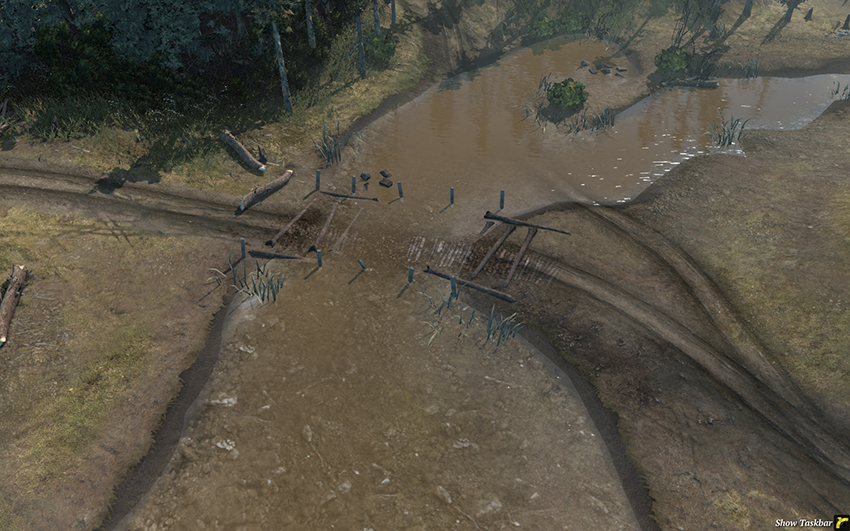
The northwest entrance to the south provides another attack path for the West. Note that you can walk around the northern shore and use the trees for light cover—do not cross the water under fire of enemy units.
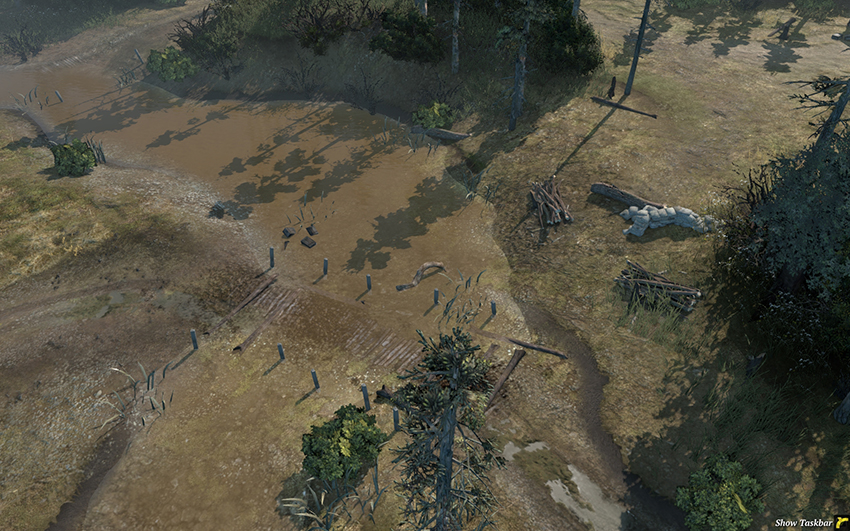
The northeast entrance to the south is a good location for the East to place AT guns, HMGs, and Mortars if the West holds the area around the southern Victory Point.
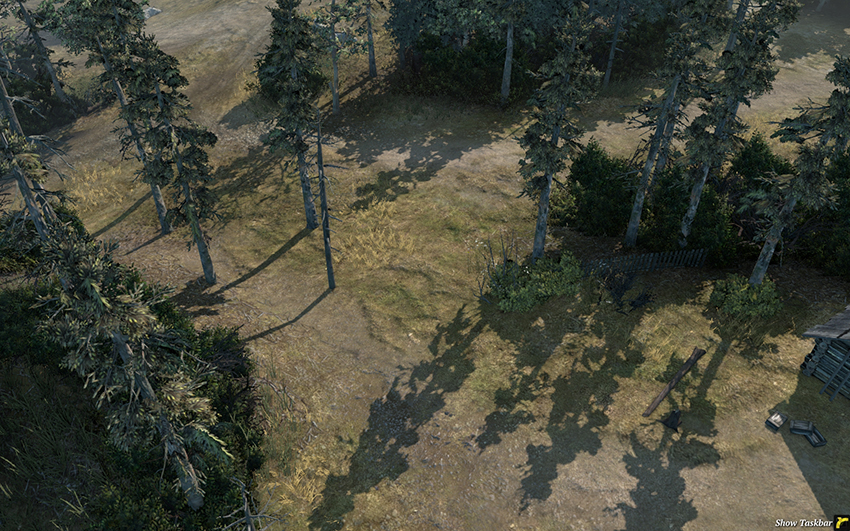
These travel routes through the forest from the east to the south are great for light vehicles and tanks trying to avoiding notice and attack flanks, for example if the West wishes to assault the center from the south.
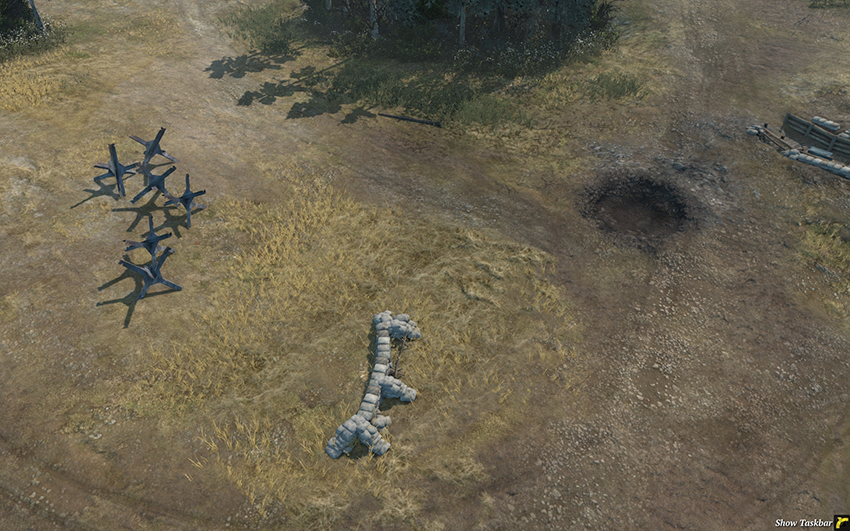
The area north of the center Fuel has very little cover and tends to be used by vehicles intending to flank either the center Victory Point or one of the territory points on the hills.
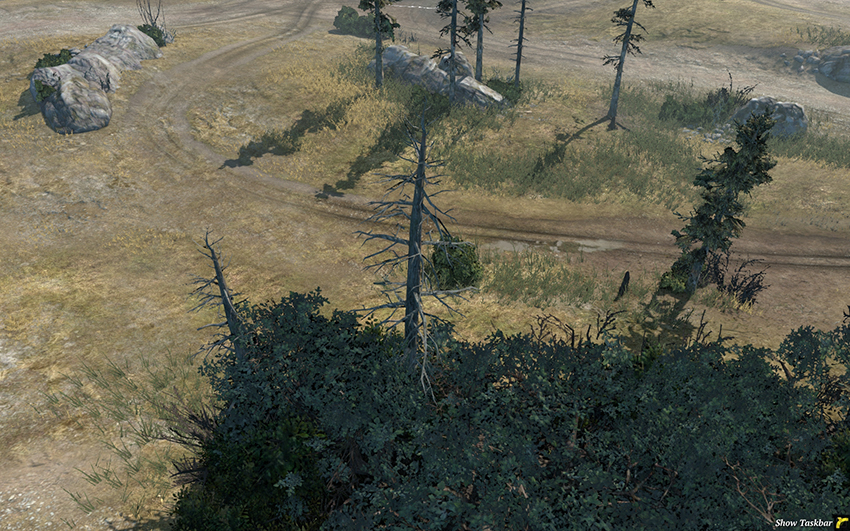
The area between the northern and center Victory Points is far enough from the north to avoid notice, and the tree line at the bottom blocks sight to the center. This means it’s a great path for forces intending to flank defensive positions around either Victory Point, or to harass your opponent’s rear points.
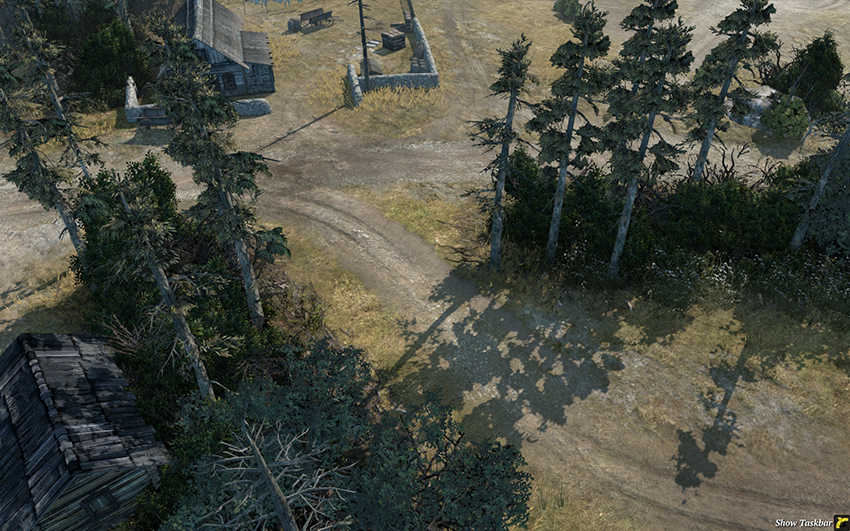
This travel path in the northwest has a great many obstacles that limit both travel and sight, making it well suited as a defensive position for an aggressive East. Mortars behind the tree lines and an HMG in the building are good choices, as are mines and barbed wire in the openings.
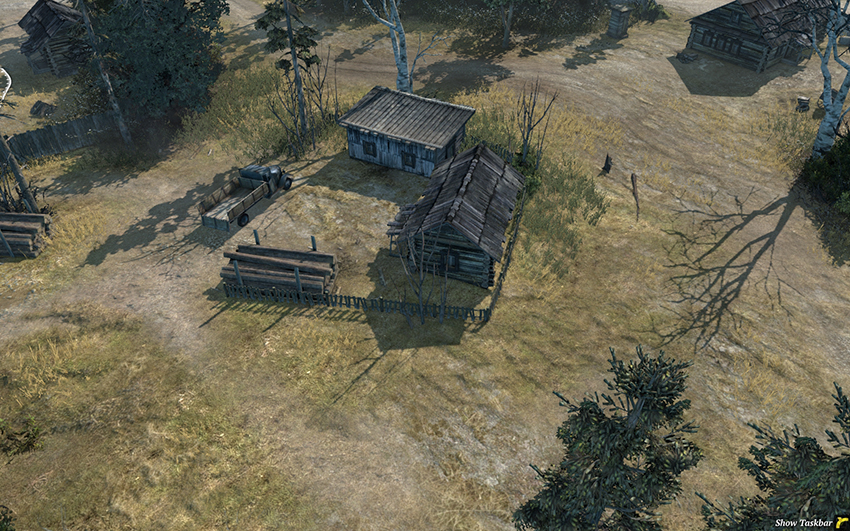
The East can fortify this area if it doesn’t have a strong hold on the center Victory Point. The buildings are not ideal, but they can still protect infantry squads or HMGs, especially against attacking vehicles. It’s a wonderful location for a Mortar due to all of the obstacles providing cover and blocking sight.
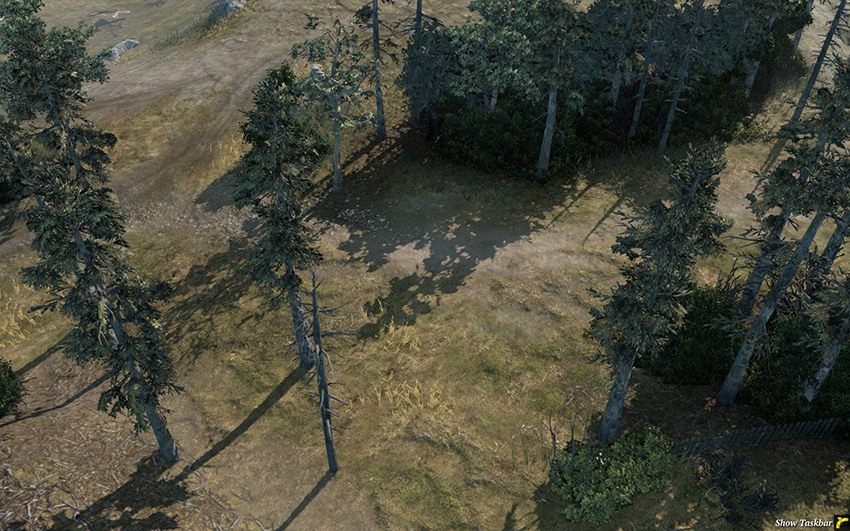
This is another view of the southern flanking routes to the center in the forest. The East would do well to place a few mines here as a preventative measure.
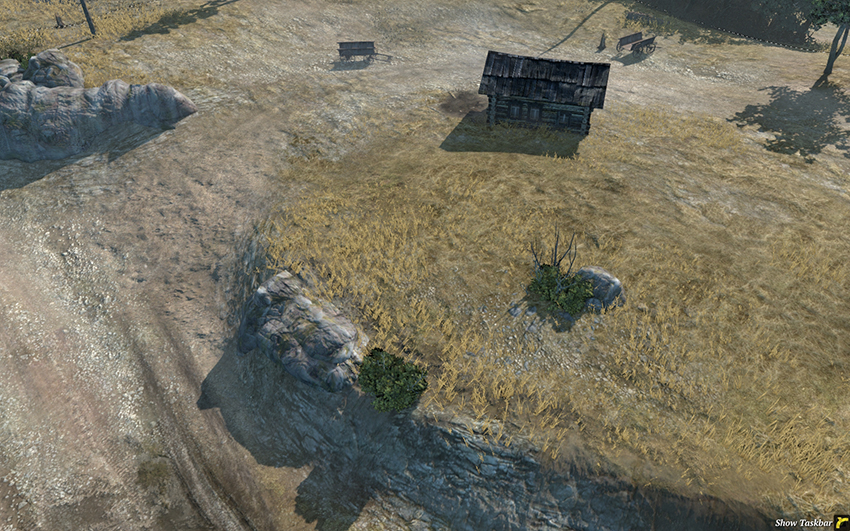
This region of the far north overlooks the northern Victory Point and is a very strong position to fortify if it proves difficult to push your opponents farther toward their base. The ridges restrict movement and if mines are placed in the choke points you won’t need to worry so much about vehicles overrunning your position. As mentioned in the comments on the northern Victory Point, try placing Howitzers and artillery units here to provide fire support over the entire north.
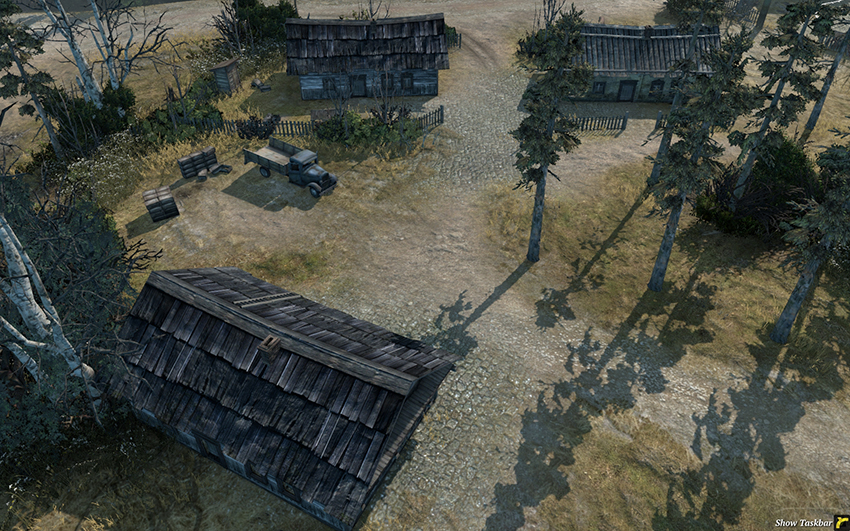
The East should use this area in staging attacks against the center and as a site for artillery and Mortars. It’s very close the center but the trees and fences block sight completely and the buildings are great locations for garrisons, including HMGs.
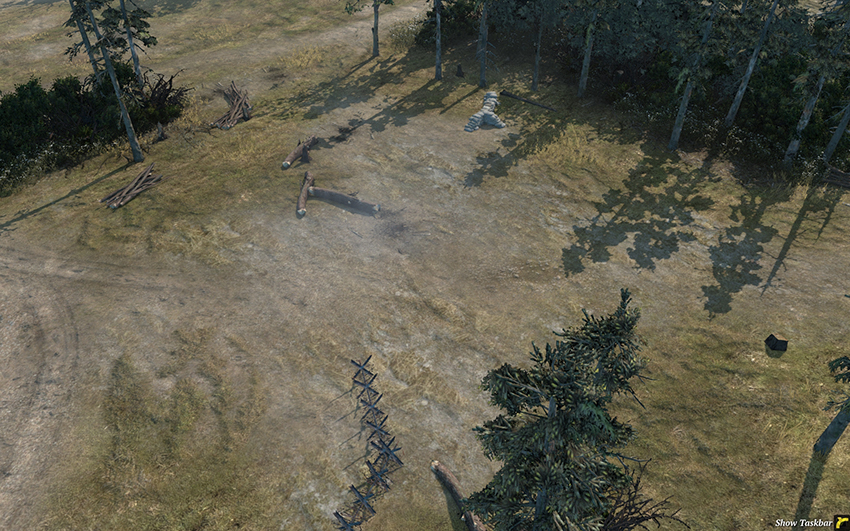
This area outside of the western base won’t typically see fighting, but considering how open it is, expect enemy vehicles to frequent this path if the East is playing aggressively.
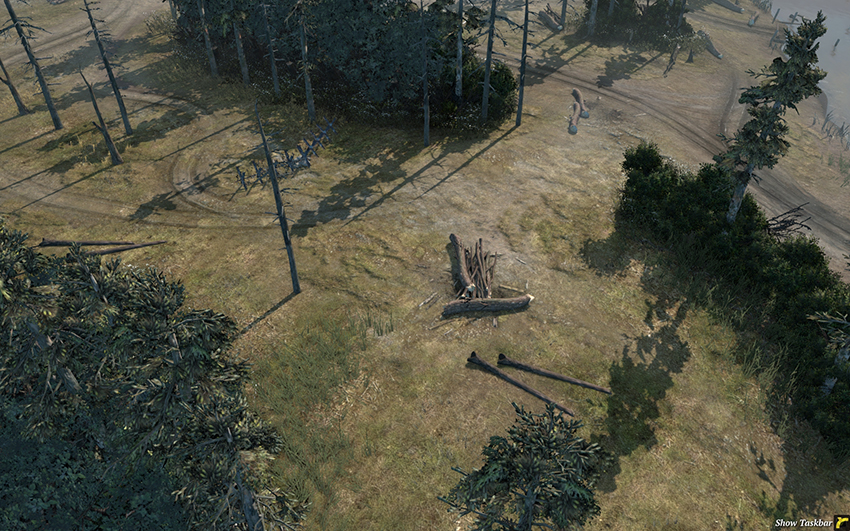
The region on the west bank of the south is a good place for the West to place Mortars, AT guns, and artillery to support a push into the south.
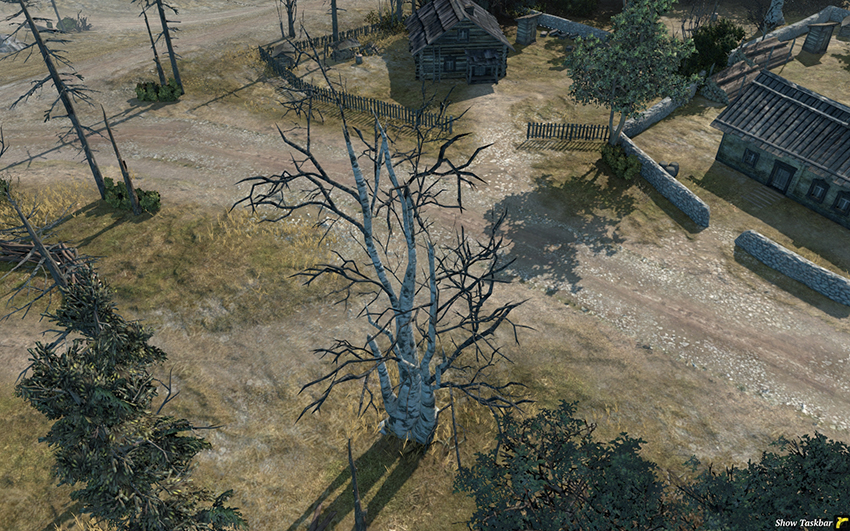
It’s highly unlikely that fighting will take place here, but if the West can place an HMG in either of the buildings along the top, or get a Sniper into position behind the fences at the top, they can prove quite annoying to opponents trying to send units to their front lines.