Company of Heroes 2 Guide Campaign Walkthrough Mission 6
Mission 6
Achievements
Get Out of the Truck!: Destroy all the German Half-tracks.
- All of the Half-tracks are marked on the mission map. Destroy them before saving Isakovich so that you do not have to run around during the German assault. There are four Half-tracks that must be destroyed for this achievement, all of which will drive along the road between the Sniper territories and Isakovich’s location. The achievement will be given if all Half-tracks are destroyed when a Combat Engineer squad reaches Isakovich’s location, so keep a mental note of how many Half-tracks you have destroyed.
Repel and Repair: Complete the mission with at least 50 percent HQ integrity on General difficulty.
- This can be completed following the normal mission walkthrough, although you may need to change your unit composition. Prepare more AT guns, HMGs, and Mortars for the defense if you are not able to complete this normally, and be sure to position them as described in the walkthrough. AT guns and Mortars should be behind your other forces.
Scout vs. Sniper: Kill at least 3 Snipers with an M3A1 Scout Car.
- Do not engage the German Snipers with any units other than your Scout Cars. As you have an endless supply of time and resources, call in any additional Scout Cars to replace those you may lose trying to kill the Sniper without assistance. Use your own Snipers to take out the AT guns guarding each Sniper location so that your Scout Cars will be able to move around freely.

Walkthrough
For this mission, your initial objective is to eliminate all of the German Snipers around the designated territories. Each sector will have two Snipers for a total of six. You are granted control of the same production buildings as in the previous mission, although you cannot build the T-34 or Half-track. Each sector is guarded by infantry and weapon teams, while there are also German Half-tracks in certain areas. Begin by calling in any squads that you feel will help you complete the task. Keep in mind that a mobile force will be more helpful than a defensive force. HMGs are not as useful as infantry squads, although AT guns will be a necessity for dealing with any German vehicles.
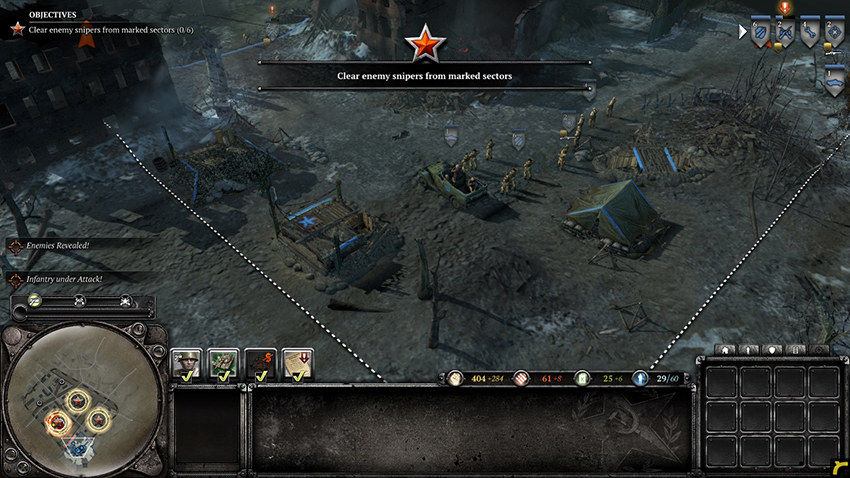
Load one of your squads into the M3A1 Scout Car. Snipers are protected while in the car, allowing them to move around easily and shoot at the enemy without fear of being killed. Combat Engineers with the Flamethrower upgrade are also powerful when loaded in a vehicle, as they can get into range quickly and cannot be taken out by HMGs or German infantry while protected by the Scout Car. Using your Scout Car to scout ahead, move your forces to the territory point northwest of your base. Locate the German Snipers and be sure to keep your unprotected infantry out of sight until you are ready to move in. Use your Scout Car and whatever is loaded inside to take out the Snipers without taking many casualties and use the rest of your squads to take out the remaining enemies. Watch out for the nearby AT gun, although you should have sight of it before it can shoot at your Scout Car. Eliminate the Germans and take the point for additional income.
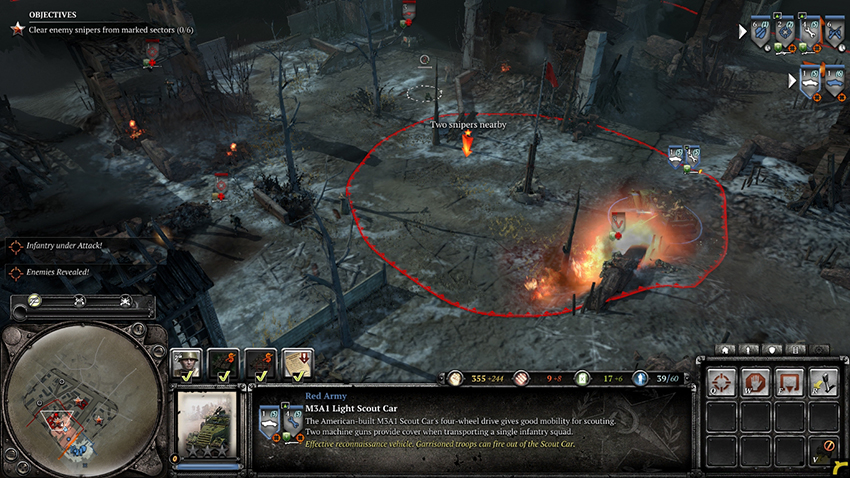
Your commanding officer will give you information about Munitions and Fuel Caches near your location. Capturing these will give you a large amount of Munitions and Fuel, greatly helping you complete the mission. Continue northwest to reach the Fuel Cache. This is not heavily guarded, although it will be easier if you use all of your squads. Eliminate the Germans, collect the Fuel, then capture the point.
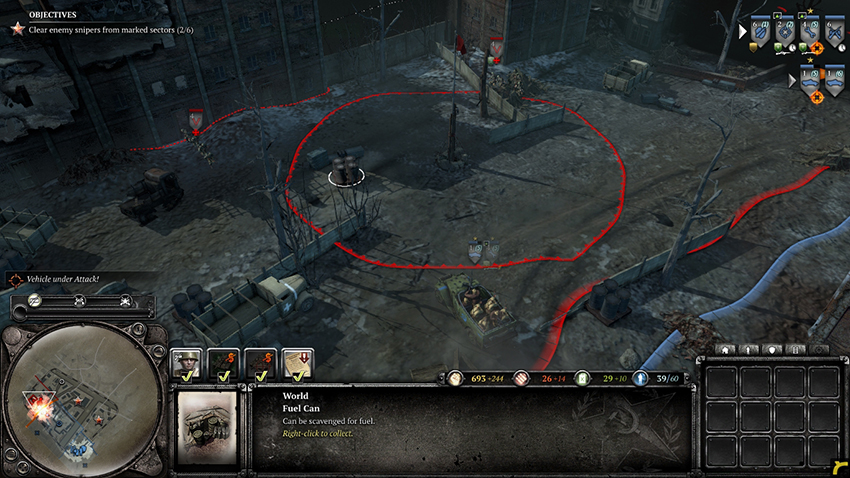
The Munitions cache will be slightly more difficult to take. Move northeast from the Fuel Cache to come across a Panzergrenadier squad with Panzershreks and a German Scout Car. Use your Sniper or Shock Troops to take out the Panzergrenadiers, but be sure not to let them fire on your Scout Car. To deal with the Scout Car, call in an AT gun or use Anti-tank Grenades from your Conscripts. These grenades must be upgraded at the Headquarters before your Conscripts can use them. HMG fire and the main gun of your Scout Car are also quite strong against the German Scout Car, although not quite as effective as anti-vehicle weapons. When one of your squads nears the territory point, a German StuG will drive past and continue off the map. Don’t worry about this tank—it has suffered a “critical,” a vehicle effect that can occur when it takes damage, and its gun has been destroyed so that it cannot shoot. Defeat the remaining Germans, collect the Munitions, then capture the point.
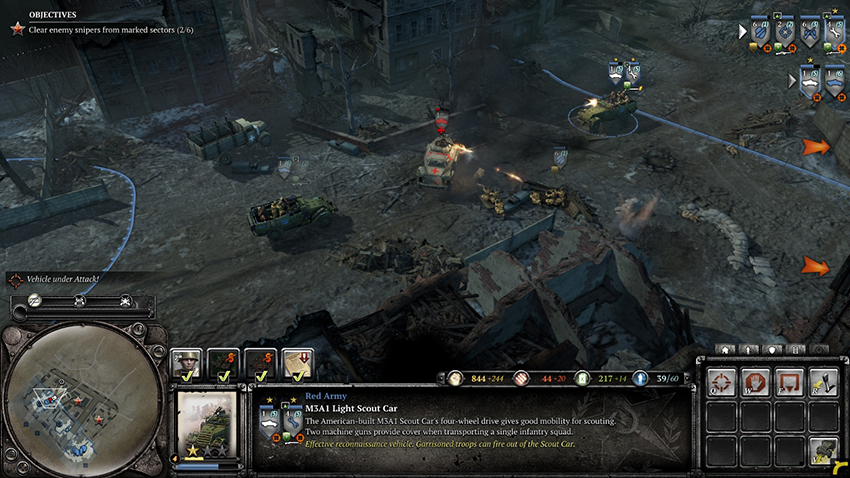
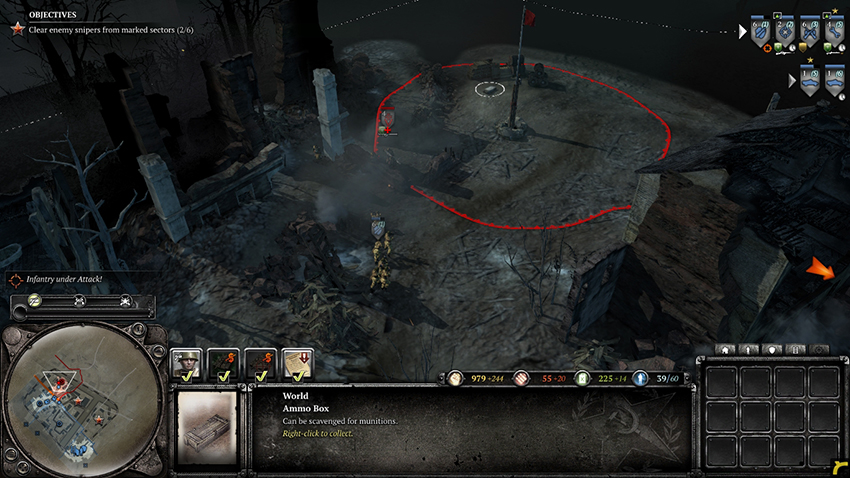
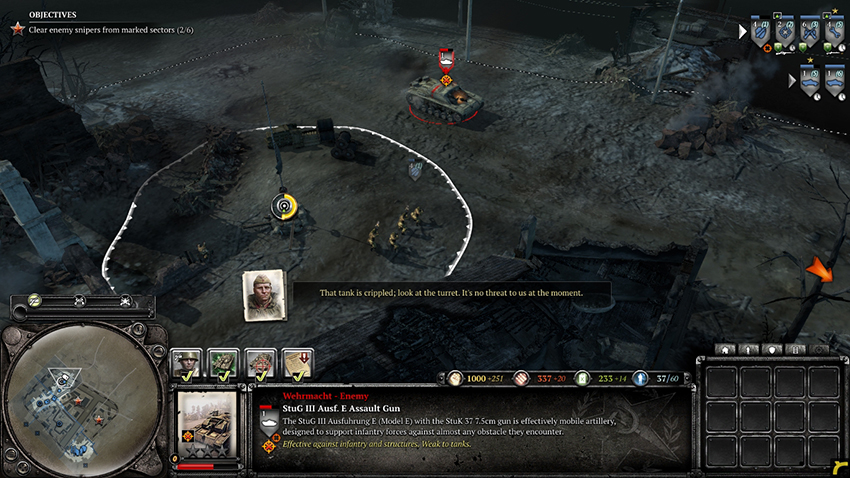
The next two territory points have a similar defensive force as the first. Head southeast of the Munitions cache, once again leading with your Scout Car. Take care of the AT gun and the Snipers, eliminate the remaining forces, and then take the territory point. Watch out while capturing the territory—a Stuka comes in for a bombing strike close to the point. Continue to the southeast to the final territory point. Some of the German infantry have garrisoned inside a building on the north side. These are best taken out by an Engineer squad with a Flamethrower inside a Scout Car, a Mortar, or by keeping your Sniper at long range. Defeat the Germans and capture the point to complete your task.
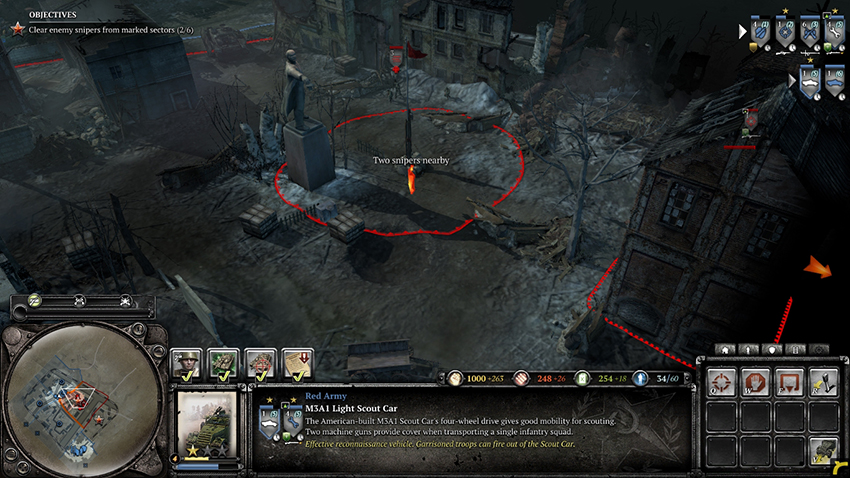
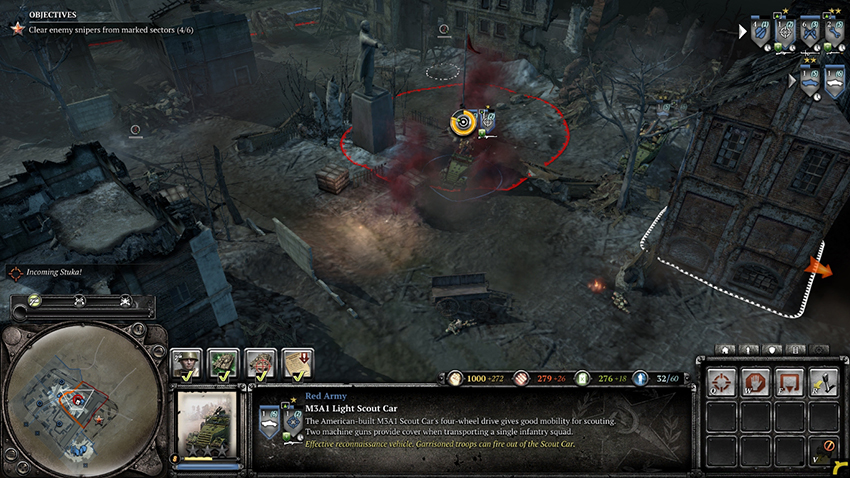
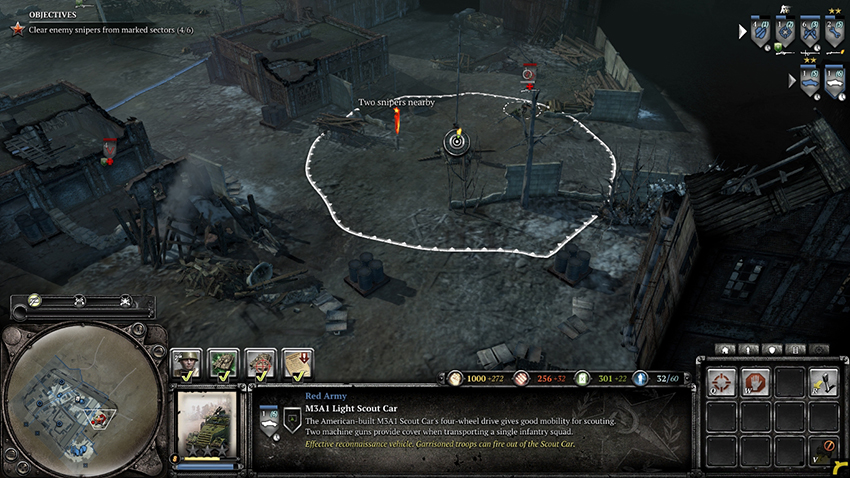
After a short cutscene, you are given an additional Conscript and Engineer squad at your Headquarters. The next part of the mission is assigned—save Isakovich by moving an Engineer squad to the marked location in the northeast section of the map. The road to his location will be defended by Half-tracks, Grenadiers, Panzergrenadiers with Panzershreks, HMGs, and AT guns. Keep your units alive, but be quick in dealing with the enemy, as a timer will start, giving you a short amount of time to reach Isakovich. Change up your previous tactics and lead with your infantry, then follow with your Scout Cars. Take out any anti-vehicle squads the enemy may have, then bring up your Scout Cars to deal with the rest of the infantry. Use AT guns to take out the Half-tracks. Panzergrenadiers may drop their Panzershreks, which can be picked up by your infantry squads—consider using your Conscripts to collect these as your Shock Troops are best with their current weapons. Move an Engineer squad to Isakovich’s location to begin the next part of the mission.
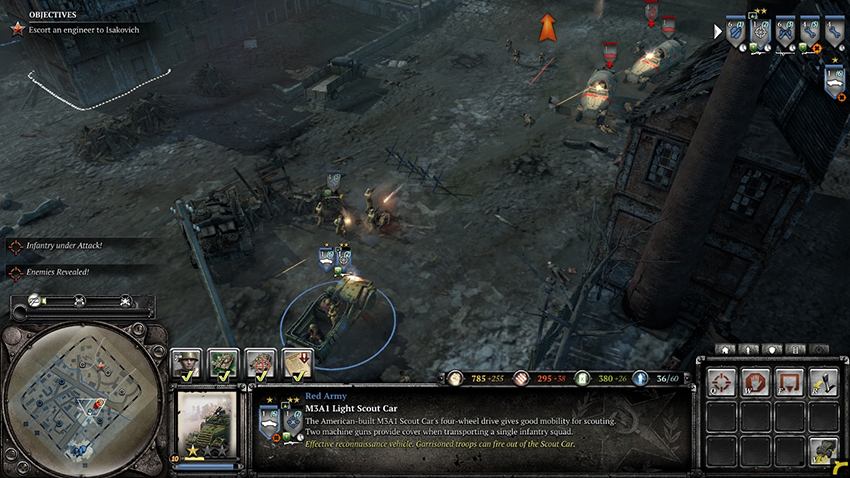
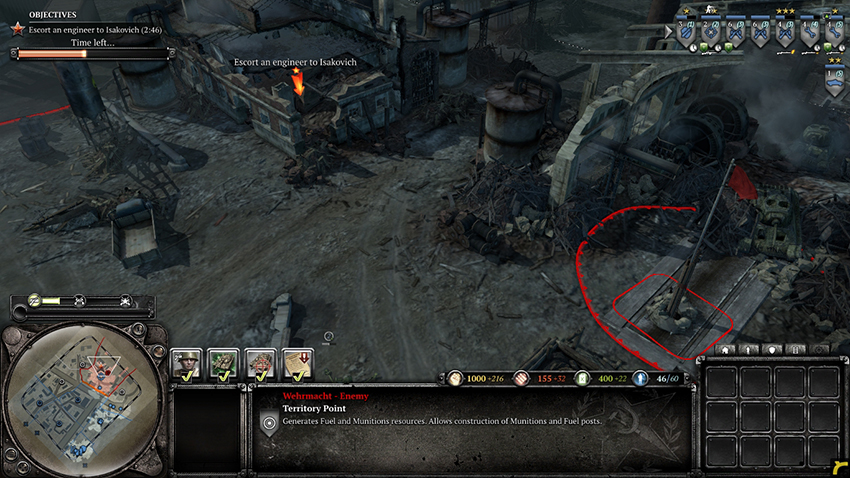
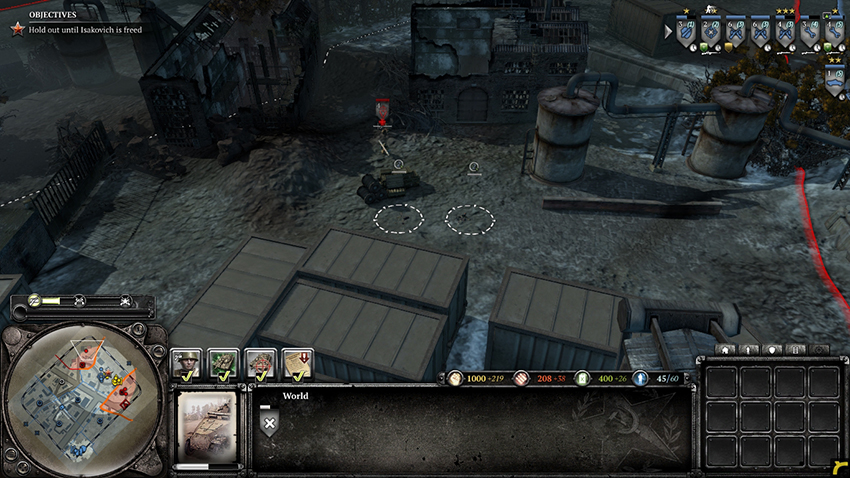
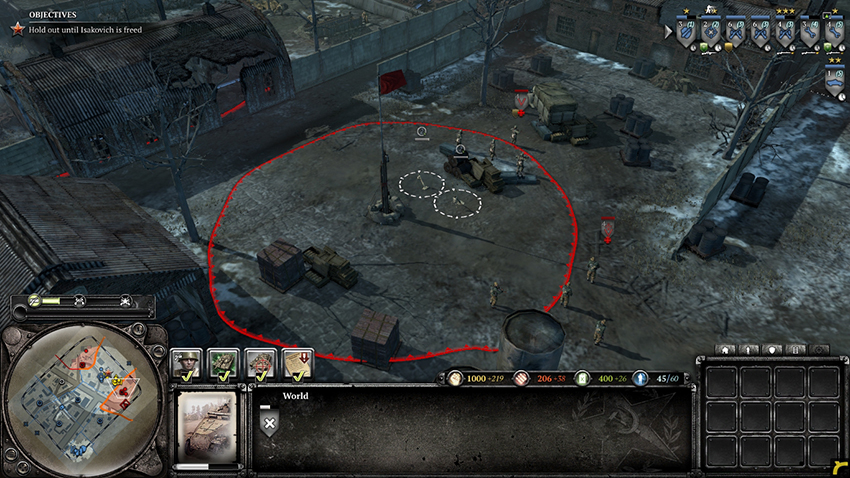
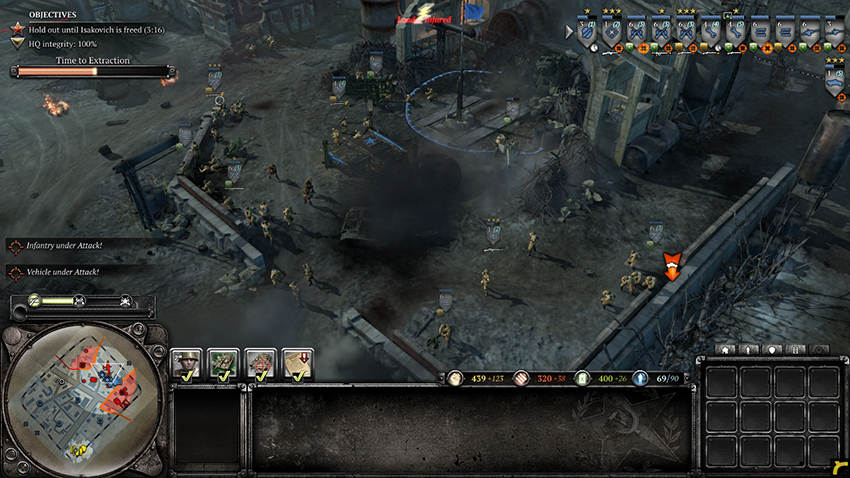
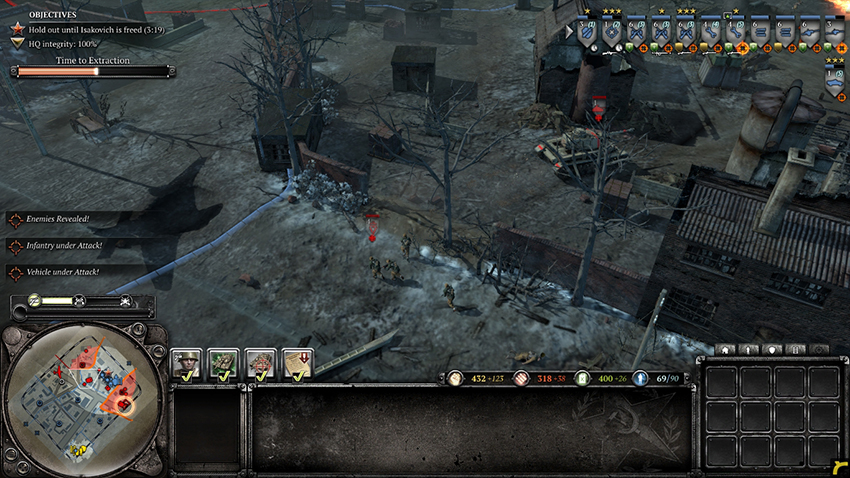
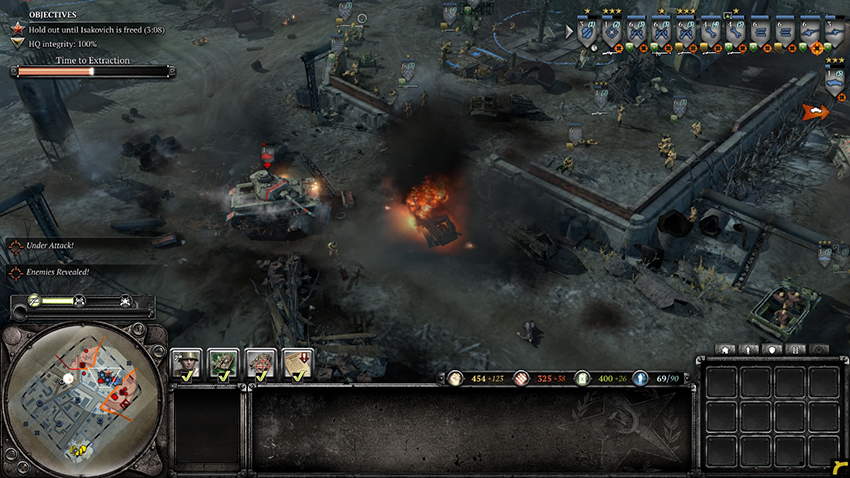
Your final task will be to hold out until Isakovich has been saved. Waves of Germans will assault the position of your new Headquarters, an area that is easily defended. Position your AT guns and HMGs so that they face toward the only entrance to the area, the same one that you moved your units through to reach Isakovich. Get all of your infantry into cover and prepare for the assault. Additionally, a base is created close to your new position, and your population cap is increased. Use these buildings to create more squads to use in the defense, especially defensive teams such as HMGs, Mortars, and AT guns. A relatively even amount of infantry and vehicles will assault your position so be sure to balance your forces as well with an even amount of anti-infantry and anti-vehicle units. When the first German tank enters the field, it knocks down a wall on the western side of the area, opening up another entrance for the German infantry. Reposition one of your HMGs to defend against attacks coming from that direction. The Germans will send more vehicles and infantry as time goes on, but a solid composition of HMGs, AT guns, and Conscripts can hold on long enough to complete the mission. Keep your Headquarters alive and eventually your soldiers will have rescued Isakovich, giving you another victory.