Company of Heroes 2 Guide Campaign Walkthrough Mission 5
Mission 5
Achievements
Help from the North: Secure the Northern bridge in Stalingrad.
- Described within the mission walkthrough.
Some Room to Breathe: Locate and destroy the enemy Howitzers in Stalingrad.
- Described within the mission walkthrough.
The Silent Organs: Complete Mission 5 without firing the Katyusha rockets.
- Instead of using the Katyushas to take out the German tanks and defenses, use AT guns. The StuG that arrives at the second territory point when you are given Katyushas can be taken out by an AT gun—call in a ZiS-3 before moving to that territory point so that you can deal with the StuG as it arrives.

Walkthrough
As a way to keep the Soviet soldiers from retreating, Order 227 was implemented—all retreating Soviet soldiers are shot. Fortunately, this does not function in exactly that fashion while you are in command. Whenever you use the Mobilize Fresh Conscript Squad commander ability, Order 227 will be enacted for a time, and a Soviet commissar is stationed at your Headquarters. Any squad ordered to retreat while Order 227 is active will be killed. The current state of Order 227 can be seen below the Conscript progress bar directly above the minimap. When Order 227 is active, the bottom bar turns red and decreases until the time is up.
You are tasked with taking back Stalingrad and removing the German forces from the city. The initial units you are given are ones you are familiar with, except for a new vehicle: the Soviet Half-track. Unlike the German Half-track, loaded infantry can shoot out of the backside of the Soviet Half-track. Alternatively, the Half-track can be upgraded with anti-air machine guns that provide great fire support against infantry. This is a great support vehicle and should be kept near your infantry squads at all times. You are also granted access to a base with production buildings for Mortars, two types of AT guns, Snipers, Shock Troops, and an M3A1 Scout Car, which is a smaller and weaker version of the Half-track that can load a single unit.
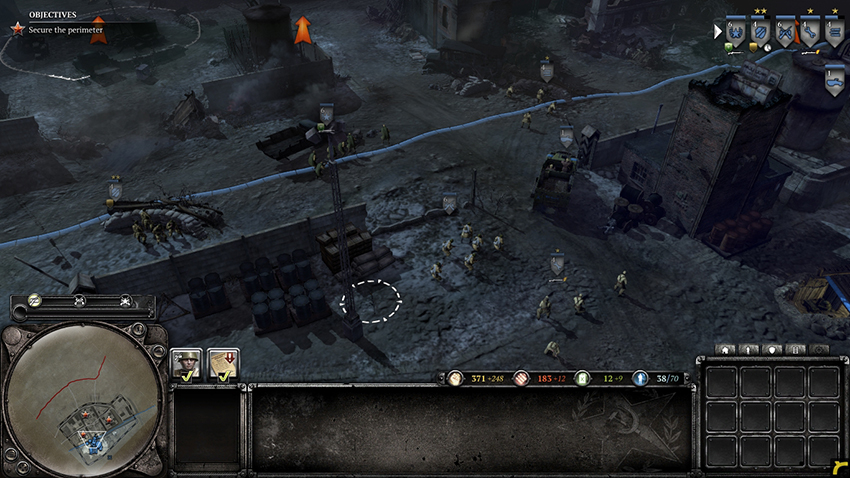
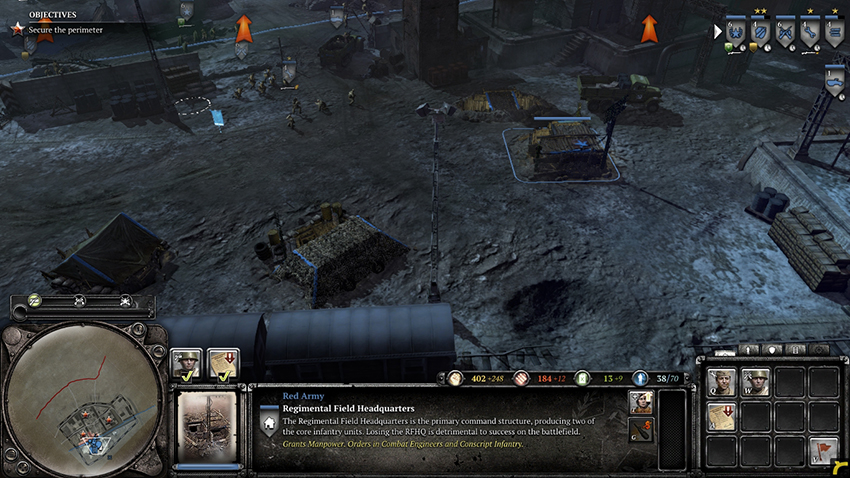
Move your squads to the territory point to the northwest of your base and eliminate any German opposition. Keep your HMG where it is, as it is protecting your right flank from a constant stream of German infantry. Once the territory has been taken, proceed to the territory point north of your position. The enemy will have plenty of defending units between you and this territory. Watch out for Grenadiers and Panzergrenadiers that throw grenades when you get closer, as these can wipe out your squads quickly. Move forward safely or risk being ambushed by Germans hiding behind the city buildings.
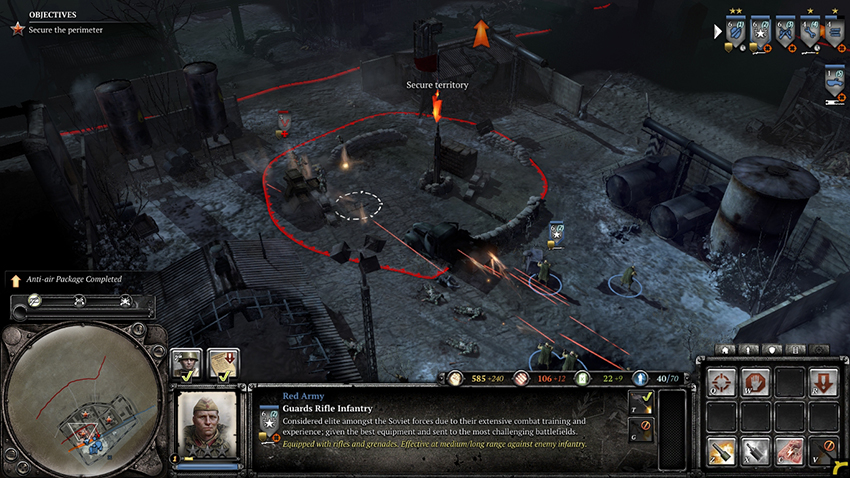
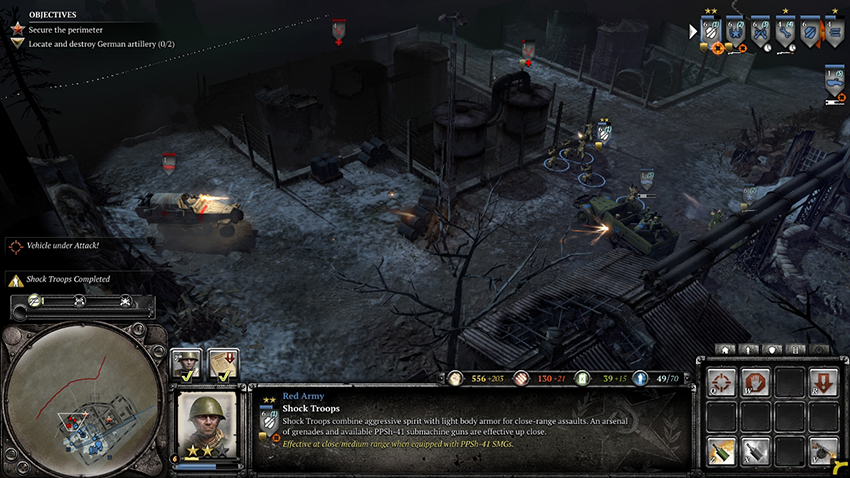
When you take the northern territory point, a German StuG will drive down the road to the left of the point. Get your vehicles out of its line of sight, but don’t worry about your infantry—they can distract the StuG and will likely not take much damage due to its poor accuracy. You will be given two Katyusha Rocket Trucks that show up at the bottom of the map. These can easily deal with the StuG. Select both trucks and target the tank with their 132mm Rocket Barrage ability. The trucks move into position and then start firing artillery. The StuG is destroyed by the rocket barrage and you can begin moving toward the eastern territory point.
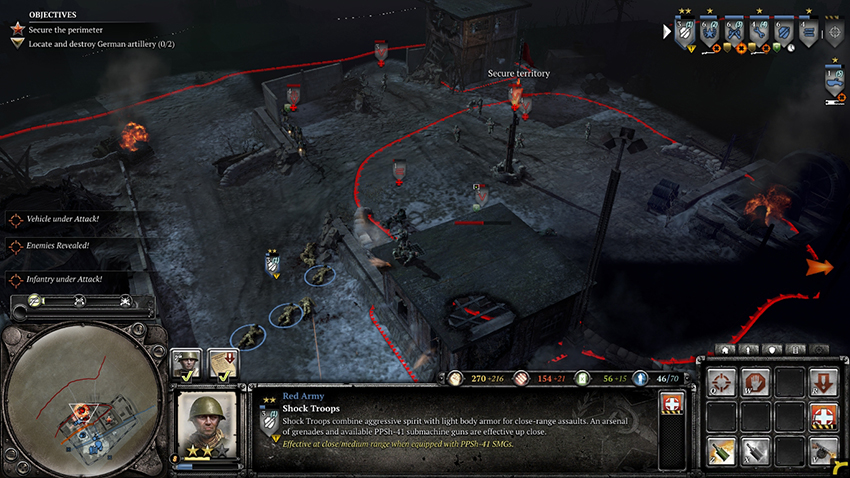
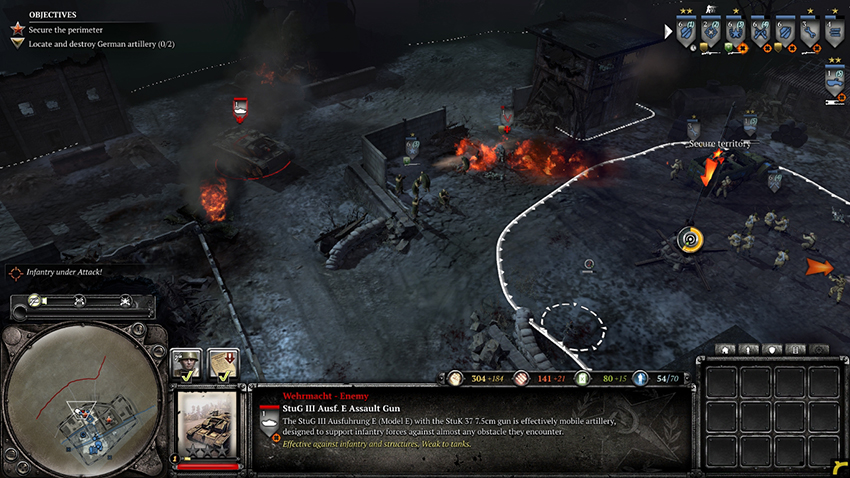
The eastern point is defended by infantry similarly to the northern point. Use your Katyushas to destroy the buildings near the point that the German infantry try to garrison. Move up the rest of your units to take out the remaining infantry, making use of the large amount of rubble for cover. German Howitzers fire artillery barrages on your forces, so be sure to move them out of the areas marked for the artillery barrage. Take out the infantry and secure the point.
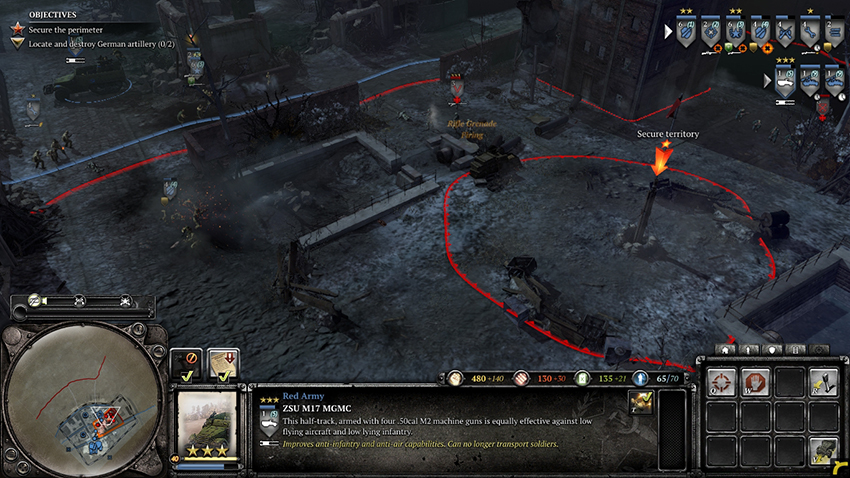
When all of the territory points are taken, you are tasked with taking each of the bridge territories. The closest bridge—designated as the Northern bridge—is being assaulted by allied Soviet troops. If you take it, you will be given additional units. Move your units north out of the eastern territory point to reach the bridge territory. Use your Half-track and Katyushas to take out the German weapon teams, then move in with the rest of your forces. Defeat the German defenses and take the territory point to receive an upgraded Soviet Half-track and two squads of Guards Rifle Infantry.
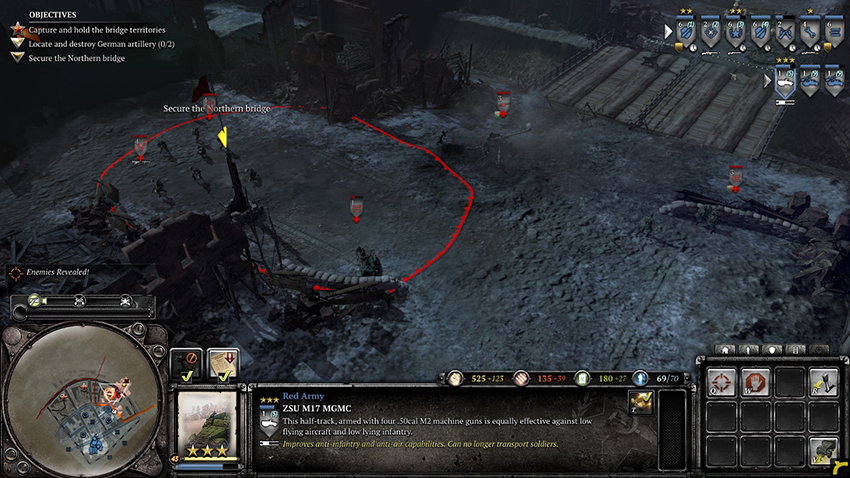
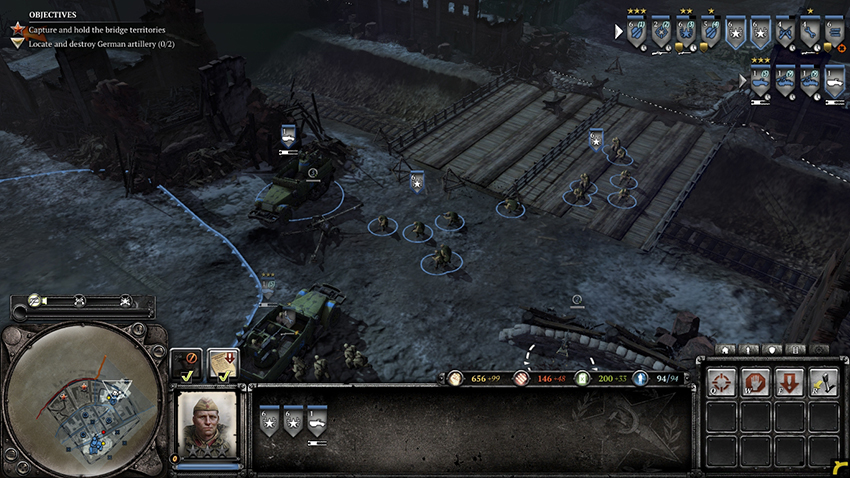
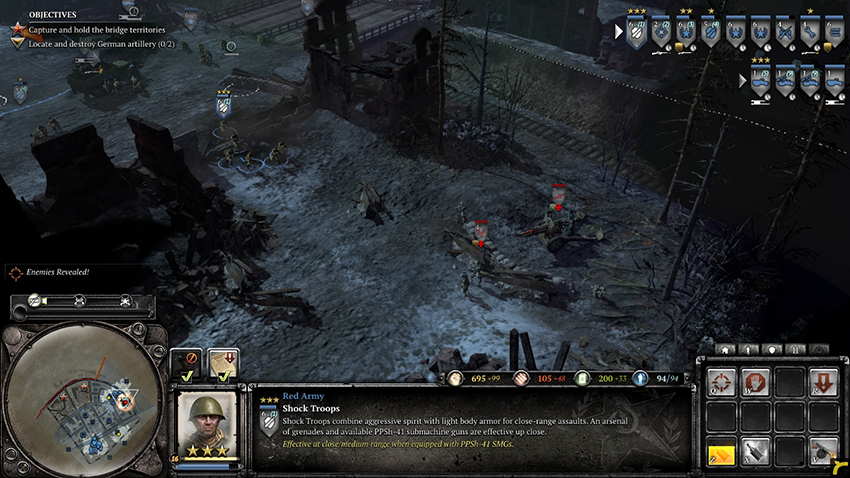
The next territory point is directly to the west of your position. Continue using the same tactics you have used to take the other territories, but be aware of German AT guns, Panzershreks, and vehicles. Your new Guards Rifle Infantry squads can be upgraded with PTRS-41 Anti-tank Rifles that can shred through armored targets and buildings. Be sure to use these to your advantage. The Germans have an HMG inside a bunker close to the territory point that your Half-tracks, Katyushas, or Guards Rifle Infantry with PTRS-41 Rifles can take out. Take the territory point and start moving toward the final territory to the west.
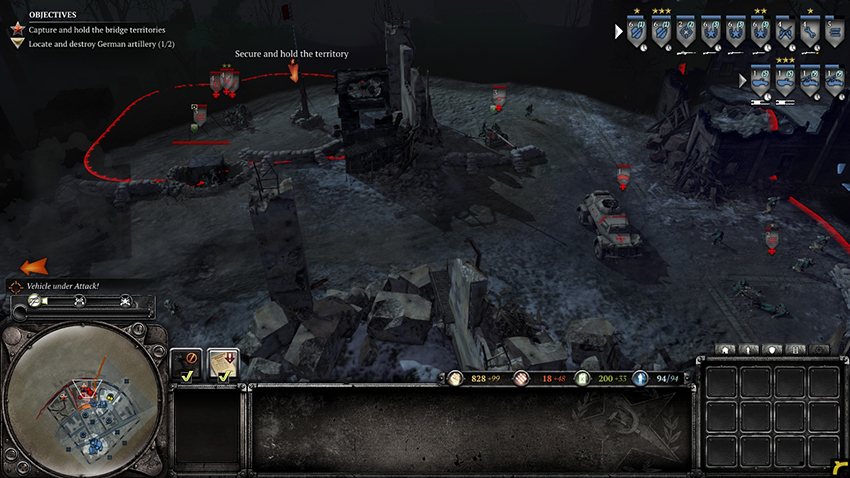
The next territory point is more heavily defended by bunkers and AT guns, although there is a similar composition of units. Use your infantry to scout it out so that your vehicles aren’t destroyed by AT guns. Use your Katyushas, Shock Troops, and Guards Rifle Infantry to take out the AT guns, then finish off the bunkers. Reinforce your infantry squads and repair your vehicles before capturing the territory point.

The Germans are not going to let you have the bridges so easily. Split up your forces to cover both the middle and left territory points. Both areas are attacked by German infantry, vehicles, and weapon teams, so be sure to keep your forces even. You may need to crew any nearby AT guns to deal with tanks, although you will be granted two T-34 tanks and the ability to call in more T-34s from the Tankoviy Battalion Command in your base. It can be difficult to keep your squads alive, so be sure to watch for any squads that are losing men. When the Germans begin to send AT guns and StuGs, use your infantry squads to take out the AT guns with grenades, then use your tanks and AT guns to take out the StuGs. Your T-34s are exceptionally tough but will fall under pressure from AT guns—have at least one Engineer squad around to repair your tanks if they are damaged. The German infantry should not be difficult for your Shock Troops, Guards Rifle Infantry, or Conscripts to deal with, and an upgraded Half-track will make short work of them. Quickly take out any weapon teams you see, specifically HMGs and AT guns, and focus your tanks and AT guns on any German vehicles. The assault will not last long.
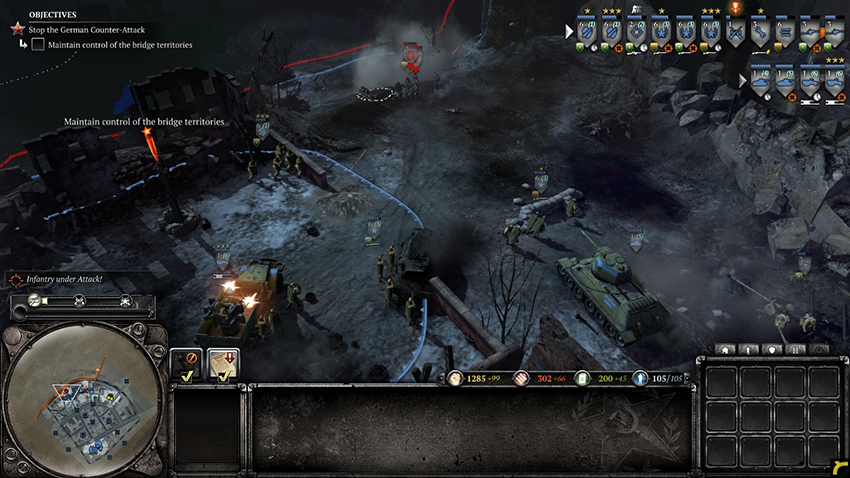
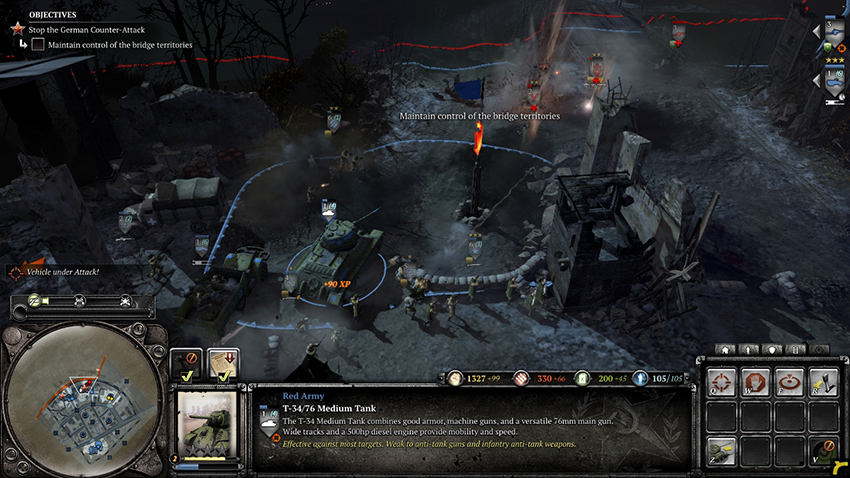
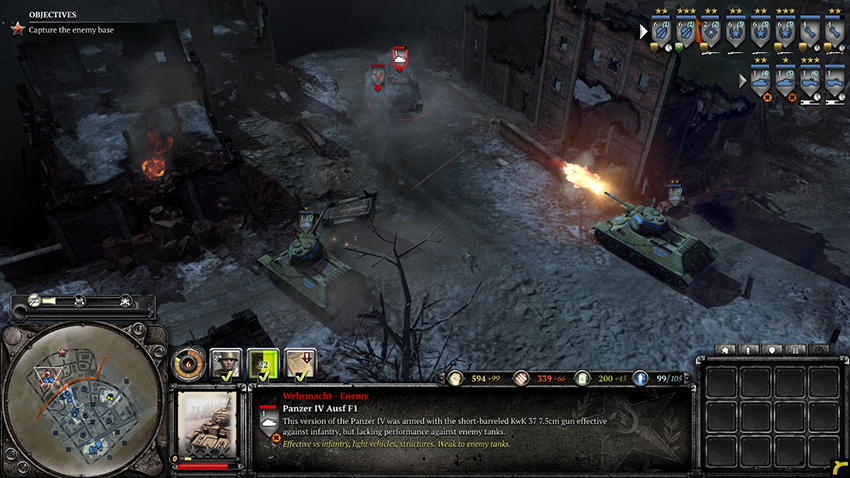
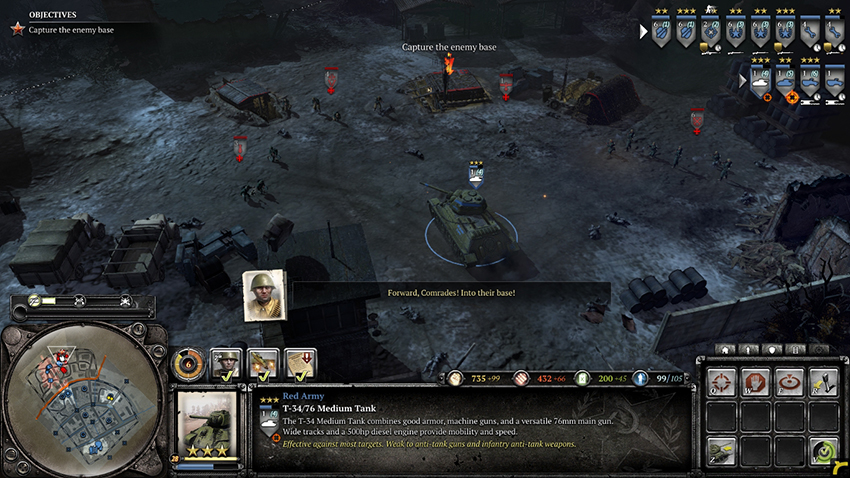
The final objective is to capture the German base on the north side of the map. Combine your forces and set up near the western territory point, then reinforce your infantry squads and repair your vehicles. Begin to move all of your forces along the road toward the northwest. Lead with your infantry until you come upon a Panzer IV tank. Use the combined force of your Guards Rifle Infantry, AT guns, and T-34s to take out the vehicle. Eliminate any German infantry you see, then continue along the road as it circles around to the north and leads to the German base. The German defenses will be light—AT guns, HMGs, and a Panzer IV tank—all of which can be taken out by your forces without much trouble. Eliminate any enemies you see until they retreat, assuring your victory over the German defenders.