Company of Heroes 2 Guide Campaign Walkthrough Mission 14
Mission 14
Achievements
Before the Winter: Achieve victory in 60 minutes or less.
- This achievement is possible as long as you do not waste time by losing units or exploring the map. If you do not get this on your first try, attempt the mission again – it will be easier now that you know what to do.
Boots in the Streets: Complete the mission without building any additional vehicles.
- While making the mission slightly more difficult, it is still possible to complete it without any additional vehicles. Instead of calling in any Soviet tanks, be sure to recrew the abandoned StuG, Brummbar, and Ostwind. Keep your IS-2 safe and repair it as much as possible so that you can take out the tanks throughout the mission without much issue. Use Mortars as your primary source of artillery for taking out AT guns.
Claimed for the Motherland: Recrew the abandoned StuG, Brummbar, and Ostwind.
- The StuG is discussed in the campaign walkthrough as the one that the Pioneers attempt to recrew. The Brummbar is the abandoned Sturmpanzer IV by the first Howitzer. The Ostwind is found before you cross the river to the Reichstag, after you take the territory point past the Opera House. Follow the river south to find a small path that leads to an abandoned Ostwind facing the river.

Walkthrough
After all of the experience you have received through defending against the German advance in Russia and forcing them back to their homeland, the time has come to assault Berlin and finally defeat the Germans. This mission will require that you capture two core buildings within Berlin until you reach and capture the Reichstag itself. Your initial forces consist of Shock Troops, Conscripts, Combat Engineers, and the new IS-2 Heavy Tank, a powerful tank with heavy armor and an armor-penetrating main gun. Your base is outfitted for calling in any units you wish, although you will not have access to the ISU-152 for this mission.
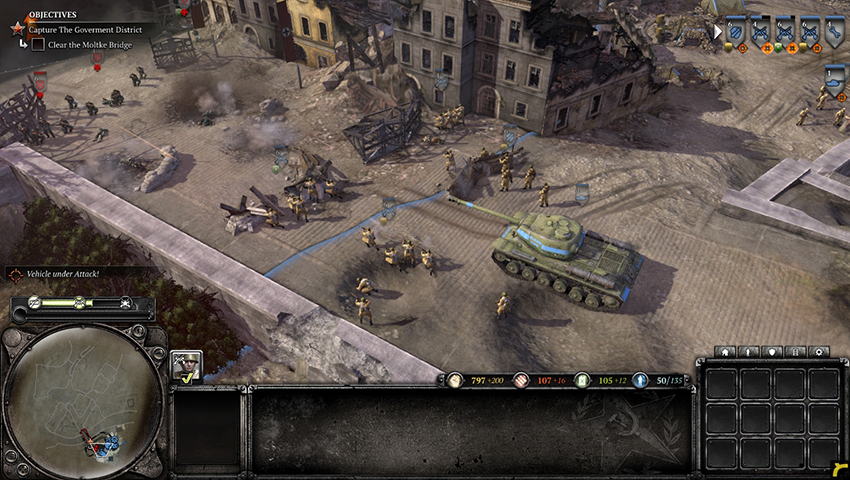
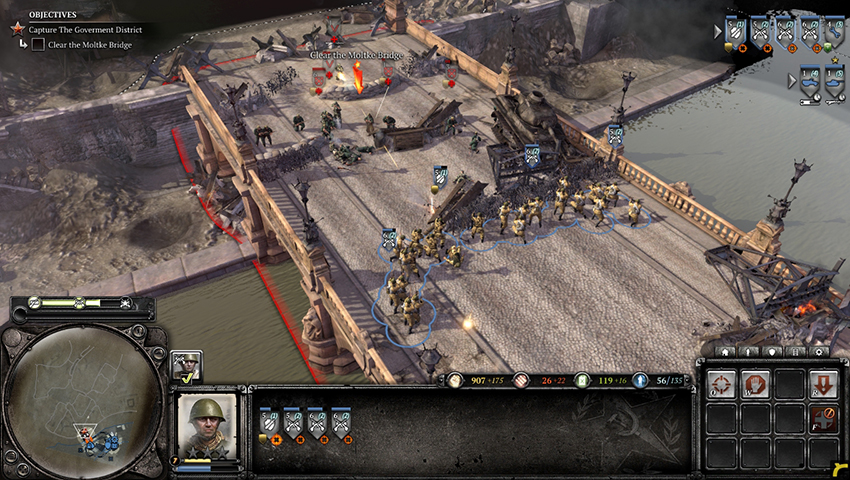
German forces are already fighting with your Soviet infantry. Eliminate them with your IS-2, then right-click the roadblocks barring your advance to destroy them. Continue up the road to the territory point, which is guarded by an AT gun and a few squads of infantry. Use Molotovs or a grenade to take out the AT gun, then use your IS-2 to kill the infantry. Capture the territory point and move your IS-2 up to the bridge so that it can fire at the Germans defending the bridge. Do not move your vehicles or any weapon teams onto the bridge, as the Germans have planted demolition charges below the bridge. Use your infantry squads to move onto it and take out the remaining Germans on the far side of the bridge. Once most of them have been eliminated, they will retreat and begin to detonate the demolition charges—quickly retreat your infantry so that they can escape the blast.
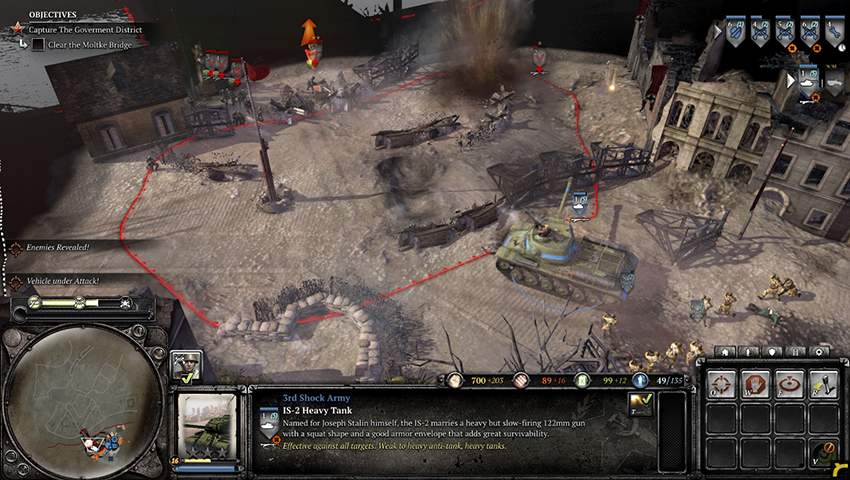
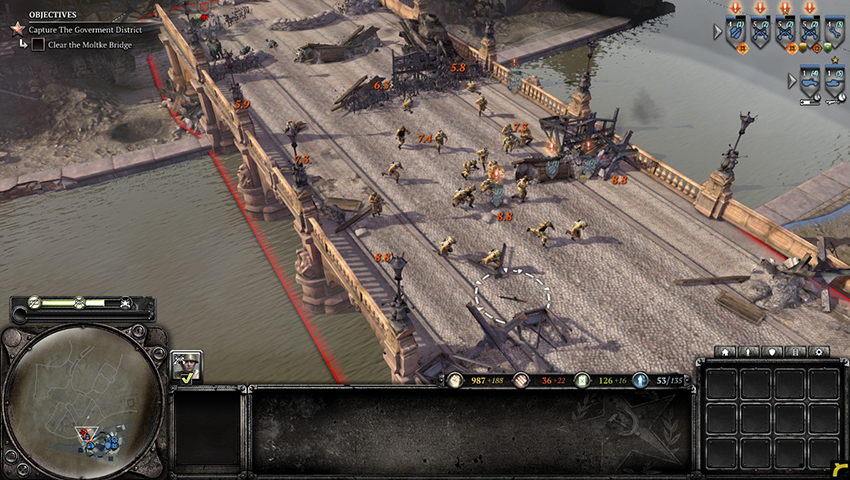
With the demolition charges gone, move your units across the bridge to the next territory point. Guarding the point is an AT gun, an Ostruppen squad with Panzershreks, and other infantry squads. Take out the Ostruppen squad and the AT gun first so that they cannot cause much damage to your vehicles, then kill the rest of the infantry and take the territory point. The Germans drop smoke bombs on the northeastern entrance to the area that the territory point is in. Infantry squads then exit the smoke to attack your units. Units continue to stream from the northeast as smoke bombs are dropped on northwestern entrance, at which point, units come from both directions. Hold out until the Germans stop coming, then repair your vehicles and reinforce any infantry squads that have been wounded.
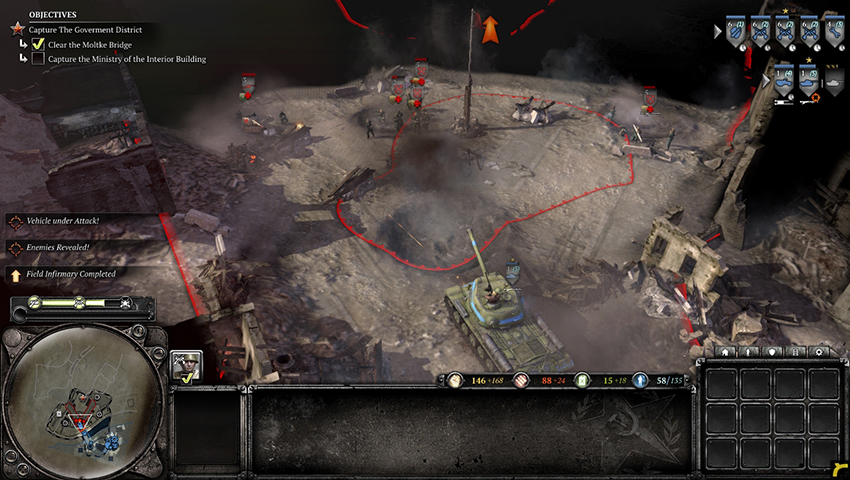
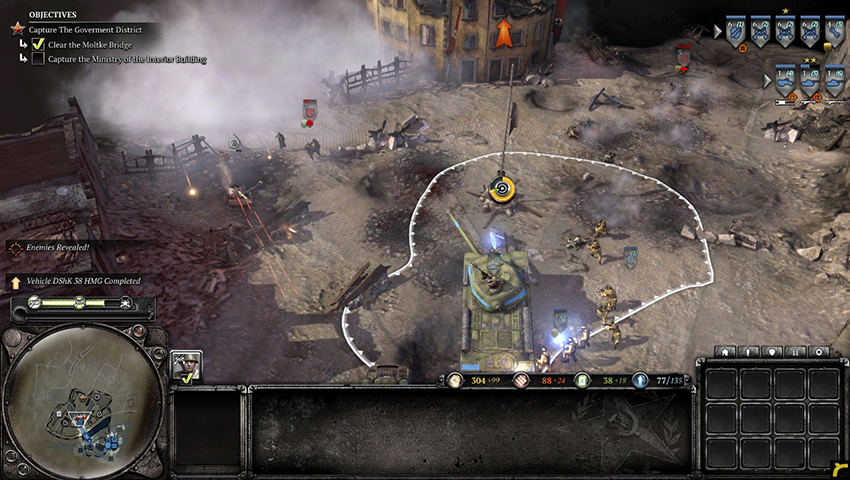
Move along the road northwest of the territory point and take the first left into a small area containing another territory point, keeping your tanks on the main road. Use your infantry to take out the Germans within the area, including a Pioneer squad upgraded with a Flammenwerfer 35 Flamethrower. Take the territory point. A path leading south out of the area is easy to miss, and many German units stream out of it as you try to take the territory point. Defeat those units, then send your infantry down the path to find an abandoned German Sturmpanzer IV and a Howitzer defended by more infantry. Take out the Howitzer to begin the additional objective of taking out all four German Howitzers along the riverbank. Move back to the main road where you left your tanks.
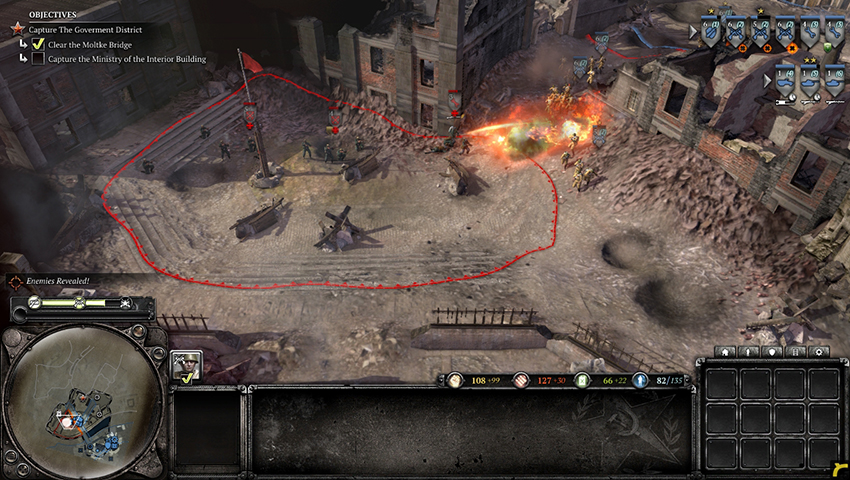
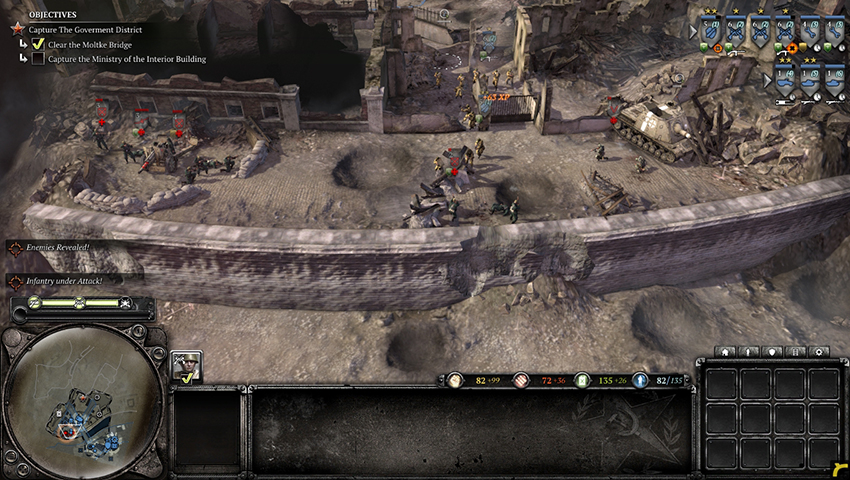
Continue northwest up the road to find stones blocking your vehicles. Order your IS-2 to Attack Ground on the stones to remove them, allowing your vehicles to move past them. An abandoned StuG will be at the end of the road with a squad of three Pioneers running to recrew it—take out the Pioneers before they reach the StuG or blow up the StuG itself, then destroy the roadblocks in your way. The next territory point around the corner is guarded by a Panther and squads of infantry. In a frontal fight it may be hard to cause much damage to the Panther, so try to maneuver a tank to hit its rear armor to destroy it quickly. Take the territory point and continue to the southwest to find a StuG, an HMG, and more infantry defending the second Howitzer. Eliminate them, then return to the territory point along the main road, near the bridge.
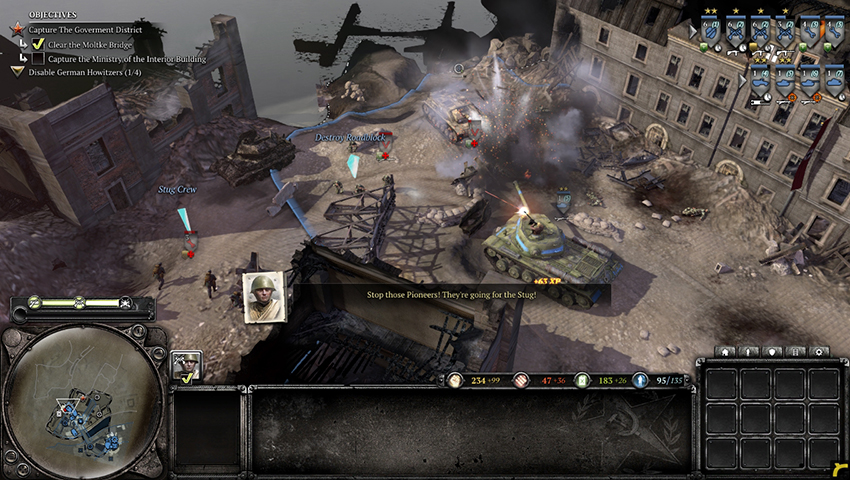
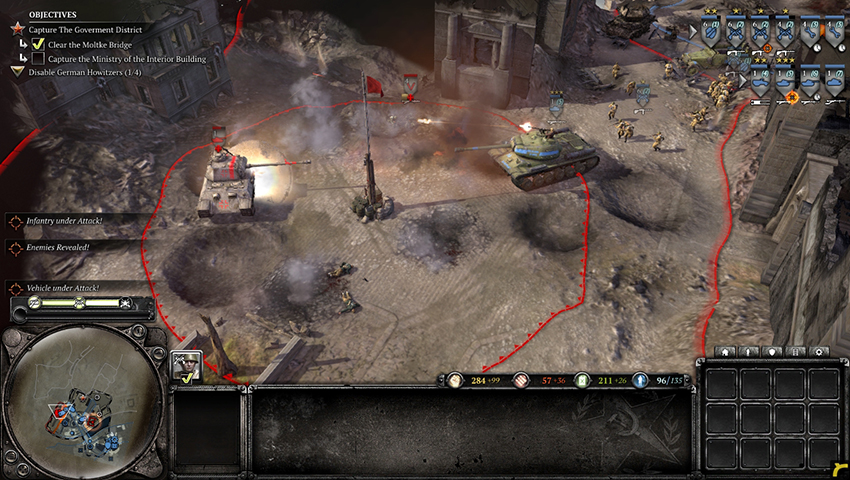
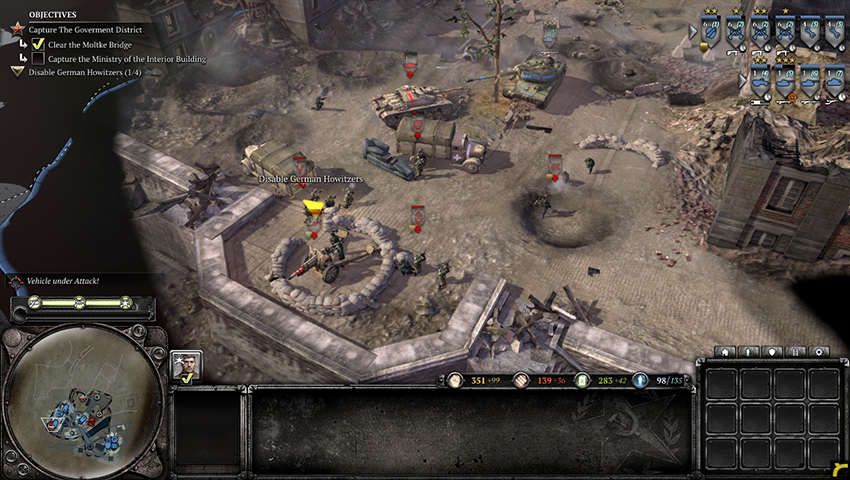
With two Howitzers neutralized, it is time to capture the Ministry of the Interior Building. Just northwest of the territory point is a small path that leads to the Ministry. Initially it seems only large enough for infantry to move through, although tanks are able to knock out enough walls to get through the path. Move a squad of infantry through the path to get sight of the other side, then order one of your tanks to move through it as well—it will open up a path for itself. The area is defended by infantry and a Half-track, none of which have anti-tank weaponry. Your tank can continue into the territory point within the Ministry building itself by knocking out more walls. Once your tank has killed all of the defending Germans, move in an infantry squad to capture the territory point and collect the Panzershreks and Light Machine Guns on the ground, then return your units to the territory point on the main road.
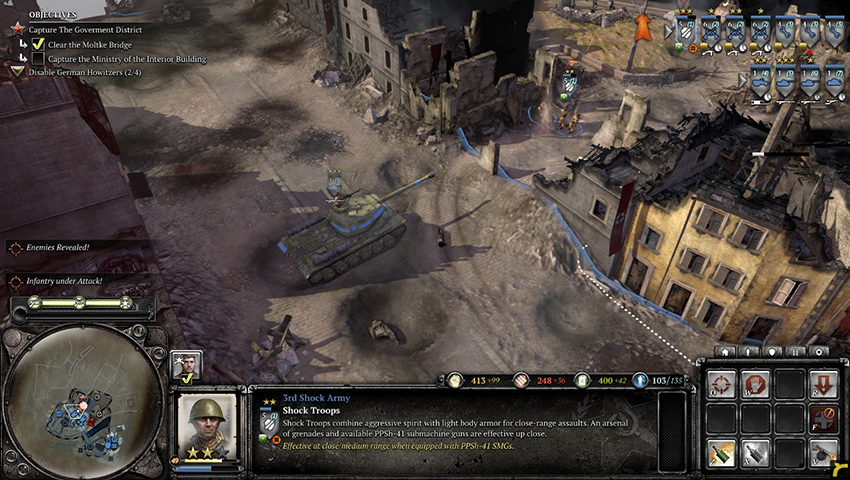
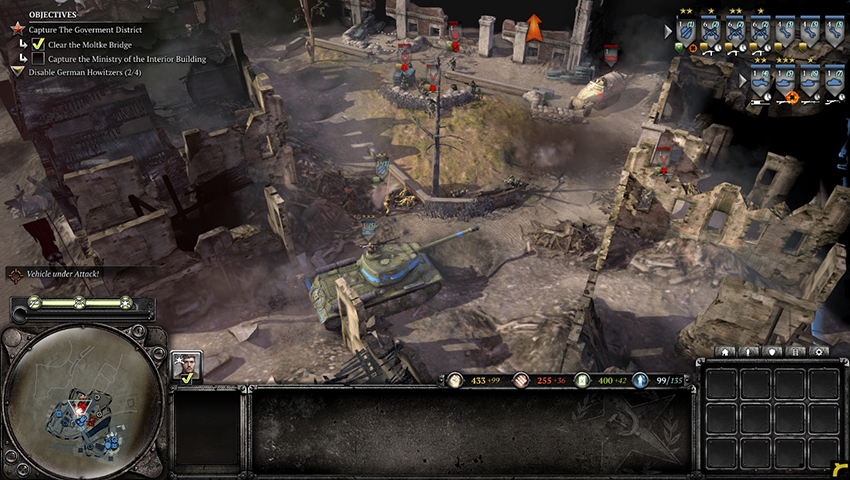
The road leading to the Kroll Opera House is protected by roadblocks and AT guns, including a Pak 43 AT gun. Moving your units up the road to the northwest will cause the Pak 43 to fire and German infantry to run out from a path to the east. To get around the AT guns, keep your tanks near the territory point and send your infantry and any light vehicles you may have through the path on the east side of the road, which leads to the next territory point. Here you find the third Howitzer, guarded by multiple squads of infantry and an HMG. An upgraded Half-track, combined with your infantry squads, can take out the Germans in the area without suffering many casualties. Take the territory point, destroy the Howitzer, then run over the debris on the northern path out of the area with a vehicle and move your units to the following territory point.
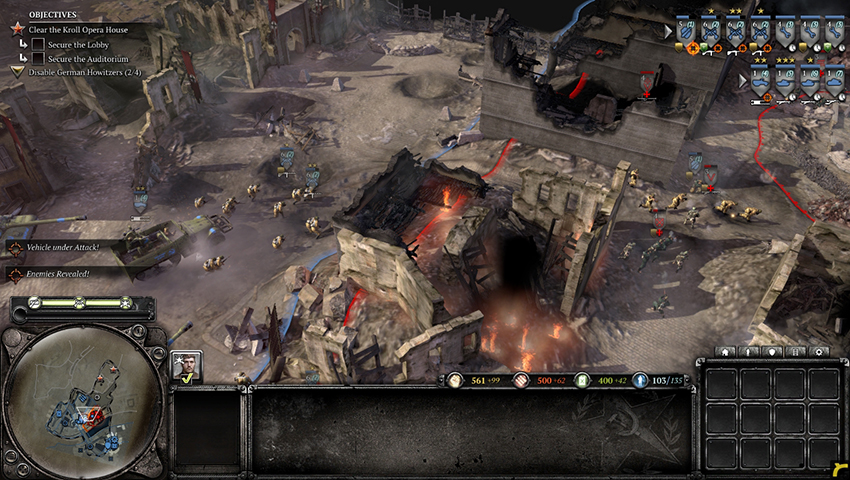
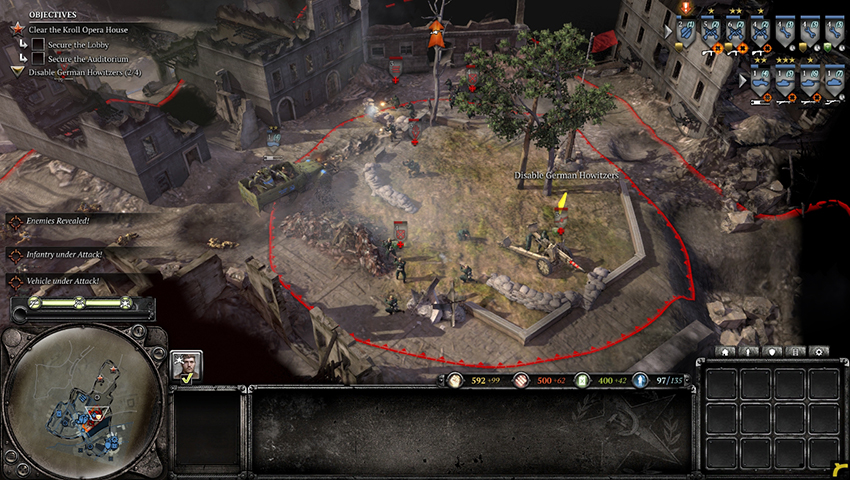
The territory point with the Pak 43 is defended by infantry and light vehicles. Use your infantry and light vehicles to take out the Pak 43 and AT guns, then move your tanks up the road, destroying the roadblocks in their way. Capturing the territory point causes two squads of Engineers to enter the map and build a forward base near the territory point, allowing your infantry to retreat, reinforce, and heal at this forward base instead of running back to your initial base.
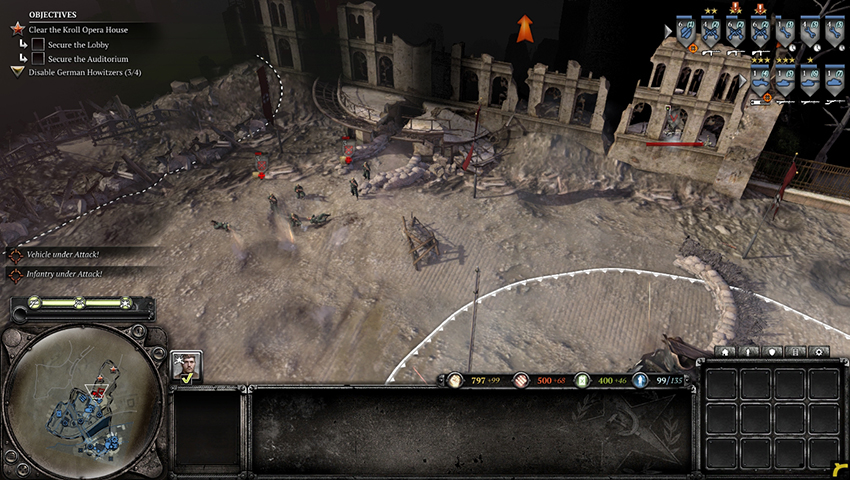
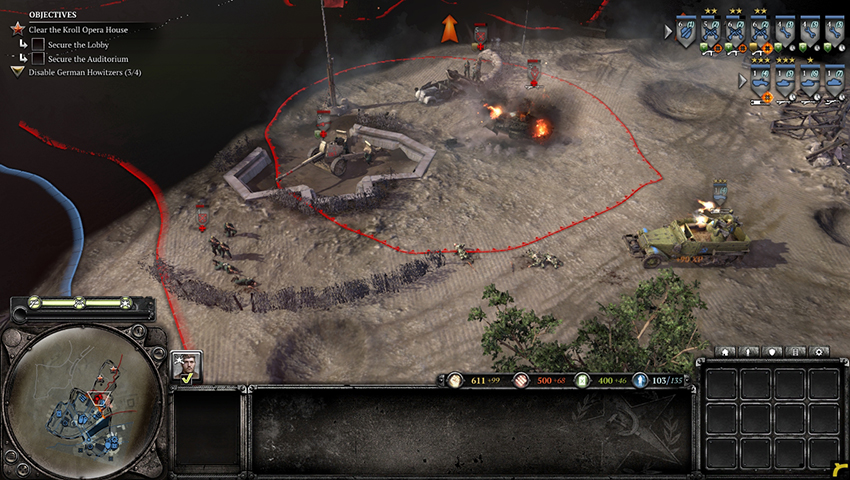
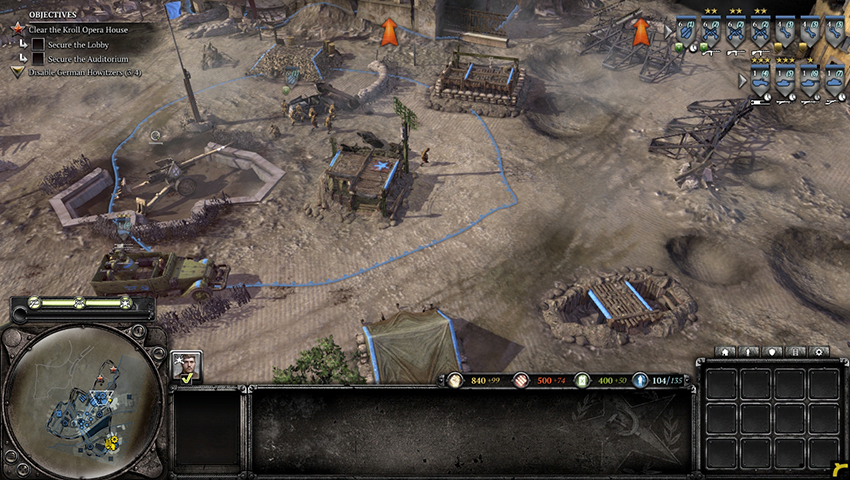
Before continuing into the Kroll Opera House, the final Howitzer is hidden away near the side path you used to flank the Pak 43. Move your infantry and light vehicles to the small side path, southeast of the territory point, then take out the Howitzer and the infantry squads defending it.
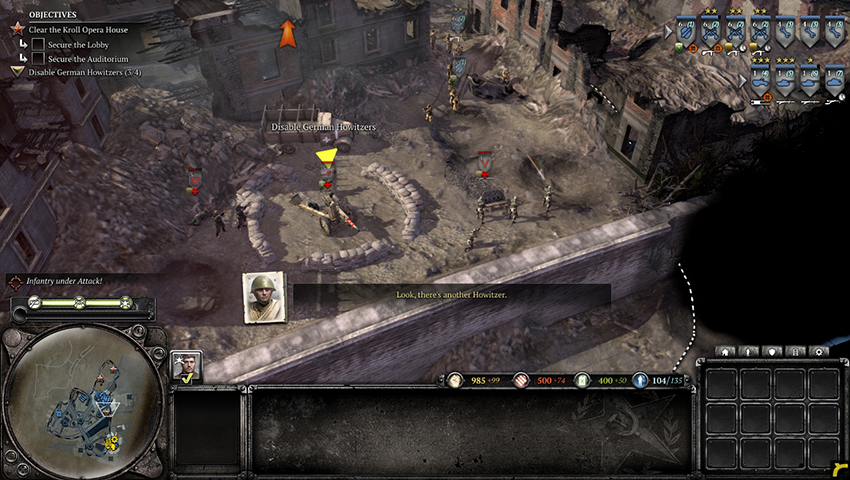
The path northeast of the territory point leads to the Kroll Opera House, although it is defended by a tank in Hull Down mode and multiple squads of German infantry. Move up your tanks and anti-tank weaponry to take out the German tank, then eliminate the infantry and continue forward. The entrance to the Opera House is small and can fit only one tank at a time. Be careful when entering the area with your vehicles, as it is defended by multiple infantry squads and an HMG, along with Panzergrenadiers with Panzershreks. Take out the Germans and capture the territory point marked as the Lobby. To capture the Auditorium, send your infantry toward the marked position and spread them out to avoid suppression from the HMG on the territory point. Quickly throw a grenade or Molotovs at the HMG to take it out quickly, then take out the rest of the infantry and claim the territory point.
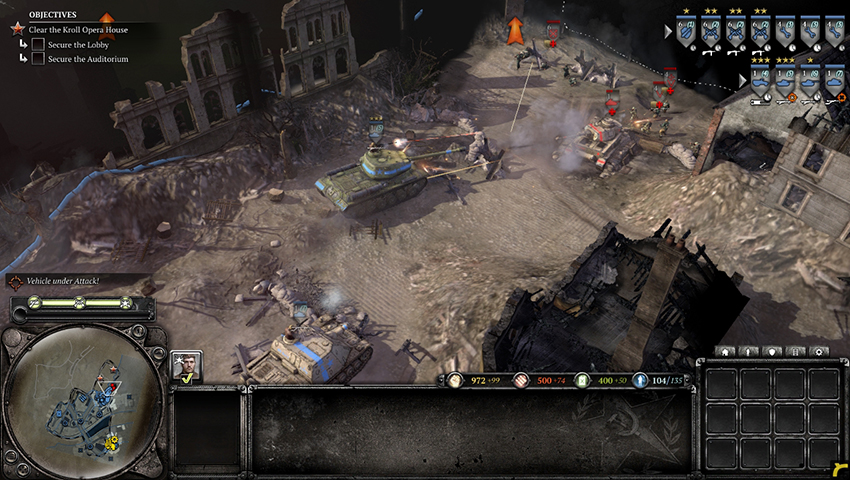
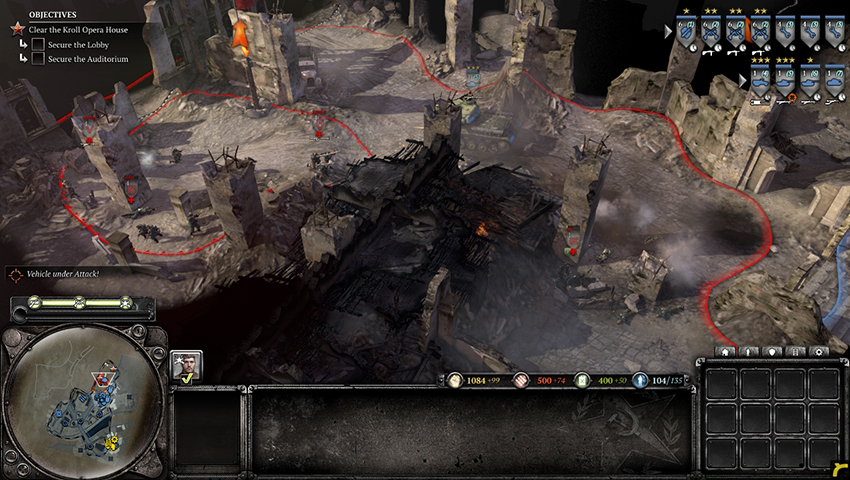
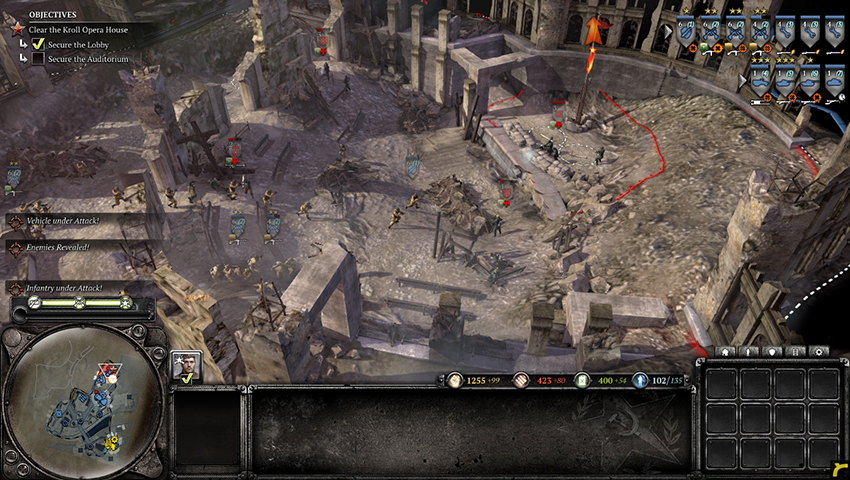
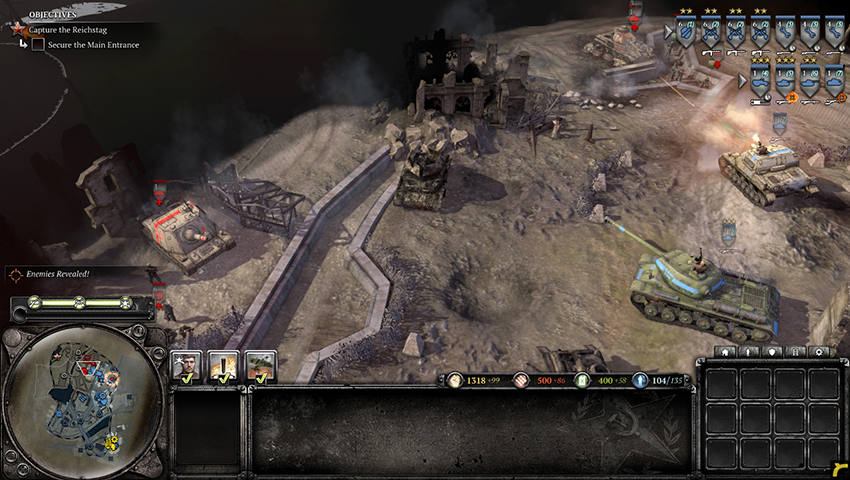
The final objective is to capture the Reichstag itself. Move northwest out of the Opera House toward the following territory point. This area is heavily defended by tanks, infantry, and weapon teams. Lead your forces with the IS-2 and other heavily armored tanks that you may have. To get to the territory point, you will have to move your tanks either north or south around the German trenches. The south path is guarded by a tank in Hull Down mode, a Mortar, and various infantry. The north path is guarded by infantry and two AT guns. Choose a path, eliminate the Germans in your way, then claim the territory point.
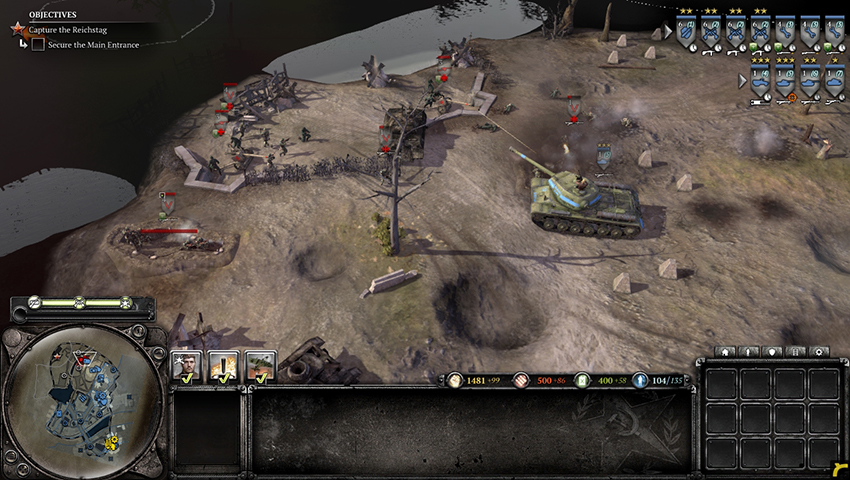
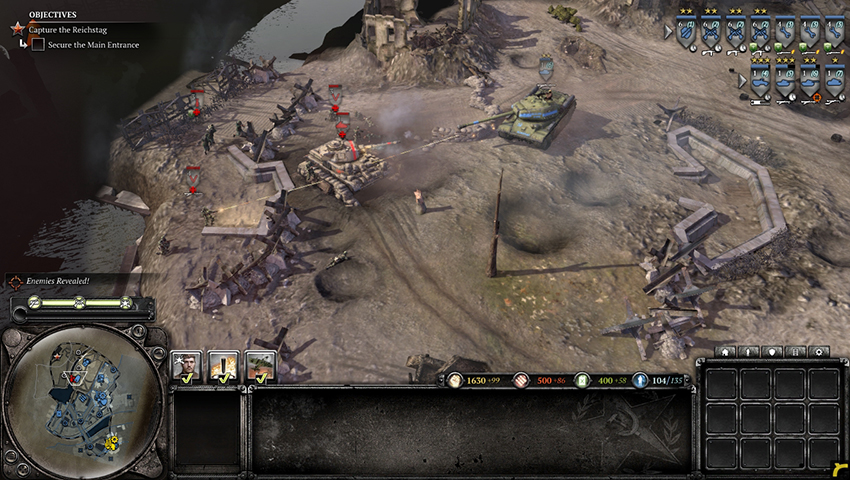
Once again, to reach the Reichstag, you must decide to follow either the northern or southern path across the river. Each path is defended by a Pak 43 AT gun, HMGs, and infantry, including Panzergrenadiers with Panzershreks, although the southern path is protected by a tank in Hull Down mode while the northern path has an additional Pak 40 AT gun. Choose a path and send your units to assault it, engaging the infantry at long range with your vehicles and weapon teams, then using your infantry and artillery to take out the AT guns. Watch out for the anti-infantry mines marked on the ground by skull signs near the Pak 43s. An easy way to deal with the Pak 43 on either side is to get vision of the area, then call down an Incendiary Artillery Barrage on top of it—the fire from the barrage will burn the crew quickly, allowing you to move up your tanks after it is destroyed. If the barrage does not work, use artillery units such as the Mortar or SU-76 to take it out. Secure the territory point across the river before continuing on to the Main Entrance.
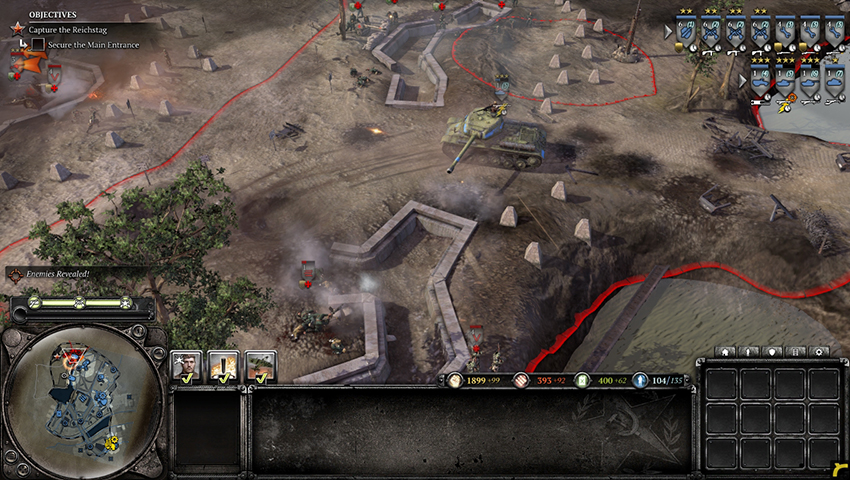
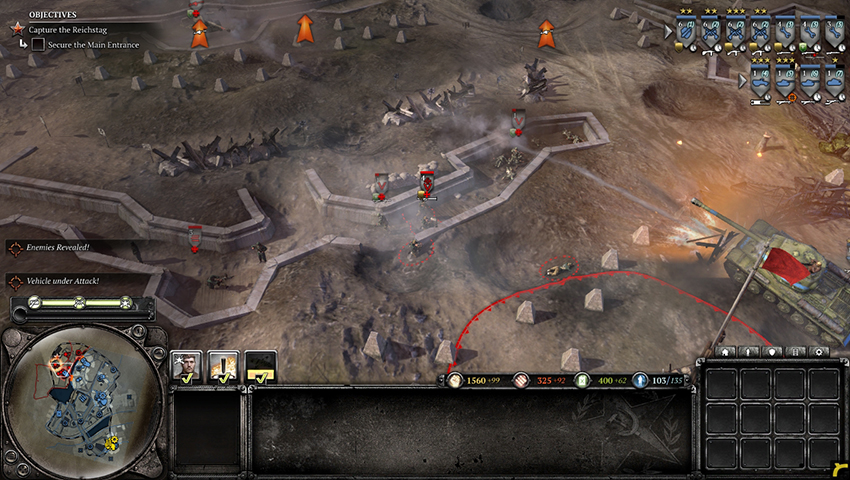
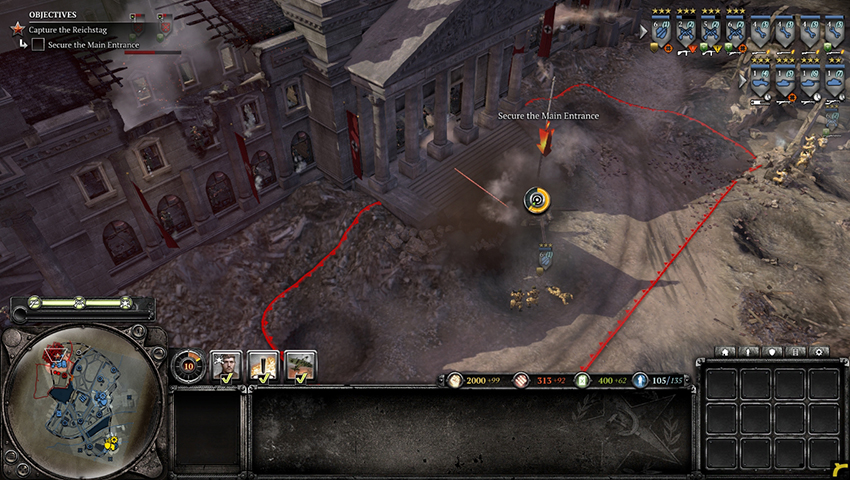
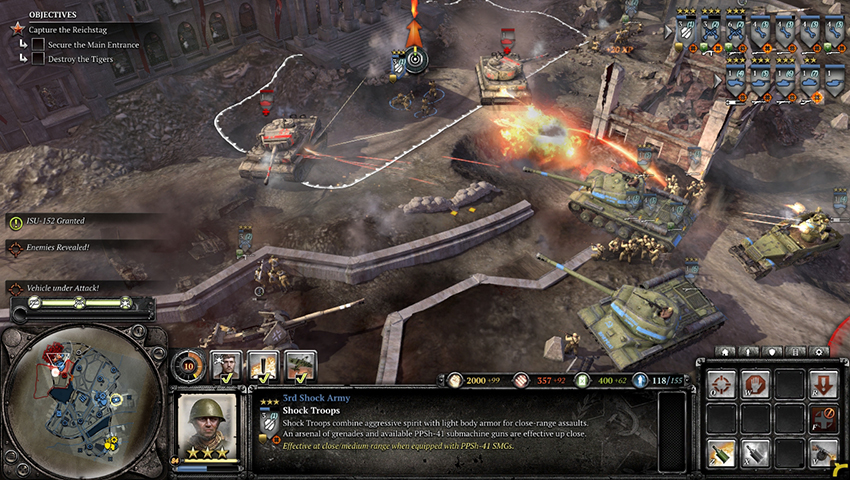
Now that your units have crossed the river, you will have an easier time eliminating the units that were securing the other river crossing. The main target is the second Pak 43. Take it out using the same strategy as for the first one, whether using artillery units or calling down an Incendiary Artillery Barrage. Once the forces on the other side have been defeated, turn your sights to the Main Entrance. The building is garrisoned by a number of German infantry squads, although they are easily taken out by Engineers with Flamethrowers or by dropping down an Incendiary Artillery Barrage on the building. Once you start to capture the Main Entrance territory point, two Tiger tanks come on the map from either side of the Reichstag. Use your tanks and any anti-tank weaponry you may have to take out each Tiger, just as you have done in previous missions. Capture the Main Entrance and eliminate both Tigers to achieve victory over the Germans once and for all.