
Company of Heroes 2 Guide Multiplayer Maps Rzhev
Rzhev Winter
“I was killed near Rzhev,
In a nameless bog,
In fifth company,
On the left flank,
In a cruel air raid.”
The poem by Alexander Tvardovsky describes the human cost of the massive operations in and around “The Rzhev Meat Grinder,” where Soviet forces lost more than 1 million dead and injured.
Both combatant armies will struggle to keep their infantry alive in the bitter cold, where blizzards and ice are treacherous. Control the battlefield and flatten the Rzhev Salient once and for all.

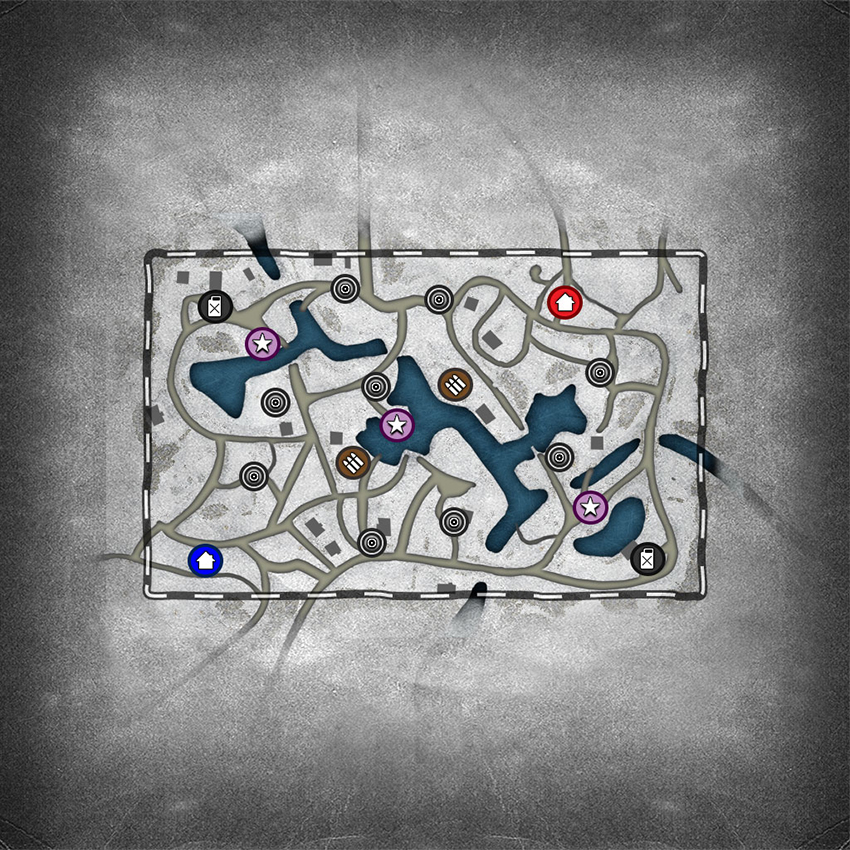
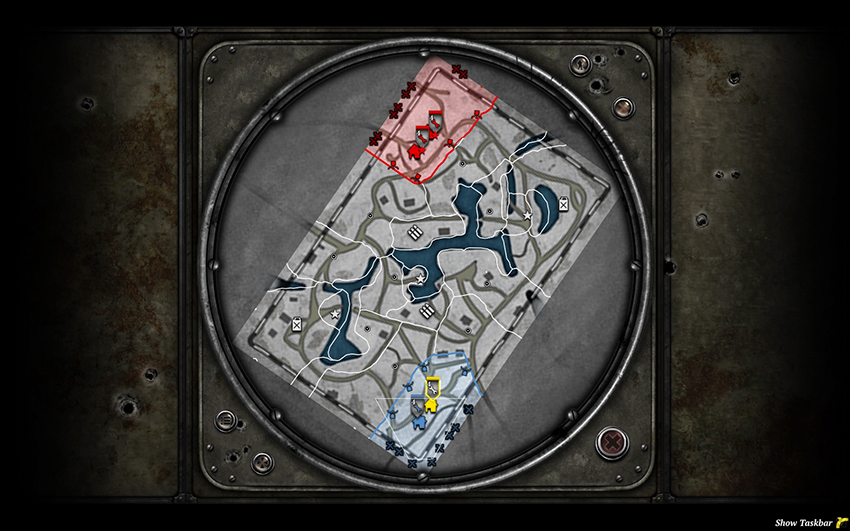
Players who are heavily defending either the Fuel Point or Victory Point in the east risk losing the other. By contrast, the western Fuel Point and Victory Point are so close together, without buildings or other obstacles between them, that defending both is quite easy. Consider that when deciding where your team should allocate forces at the start of a match. For the North, it’s easier to hold and retake the east than the west, so an aggressive team will rush for the west—the opposite applies for the South.
Unlike Rzhev Summer, here artillery and long-range weaponry are limited by vision during blizzards and the flanking opportunities presented by the frozen river. They are still powerful units to use in the center, but more mobile units like T-34s and Panzer IVs can win out if managed properly. Battlefield fortifications are quite handy at the key choke points leading to Victory Points, but the real trick is coordinating artillery strikes with assaults, and fighting off assaults over the frozen river using your artillery. Constantly barraging an opponent can keep the pressure on, but you’ll need to be aggressive about seizing ground and attempting to knock out enemy Katyushas, SU-76s, SU-85s, ISU-152s, Panzerwerfers, and Elefants. Half-tracks are quite useful on this map due to the possibility of infantry freezing and their ability to quickly ferry infantry around flanks. In the early portion of the game, their forward reinforcement ability can prove decisive in allowing one side to successfully hold ground.
For the most part you just need to consider how cold weather and blizzards change any of the dynamics of this map and think about how the different resource layout changes your capping order or where you want to focus your attention. The most significant difference between this map and Rzhev Summer is the location of the center Victory Point, with this map placing it in a far more open and vulnerable location.
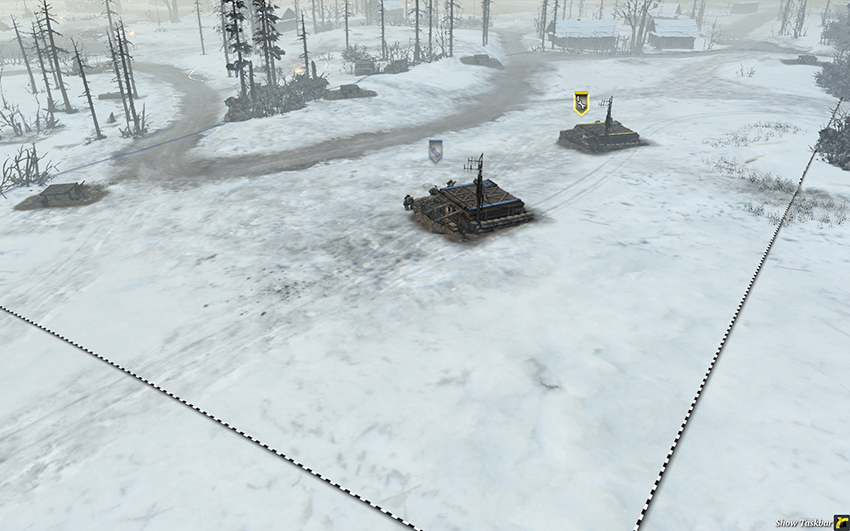
Southern base.
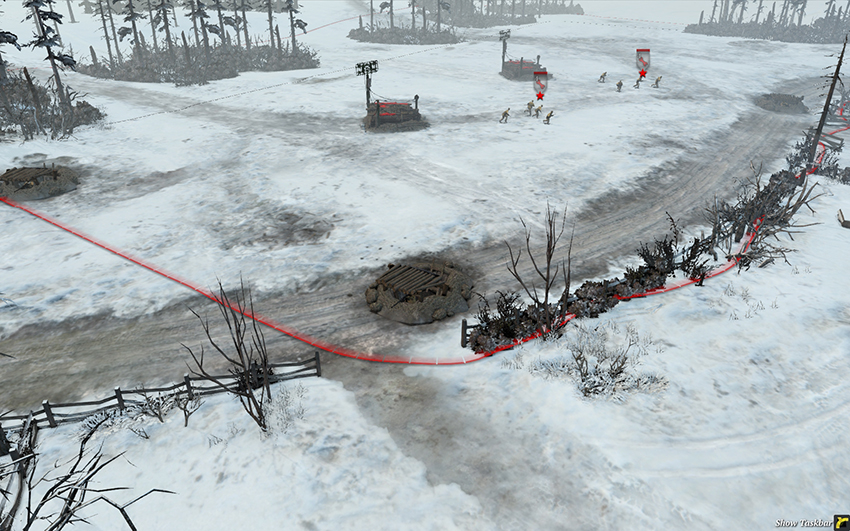
Northern base.
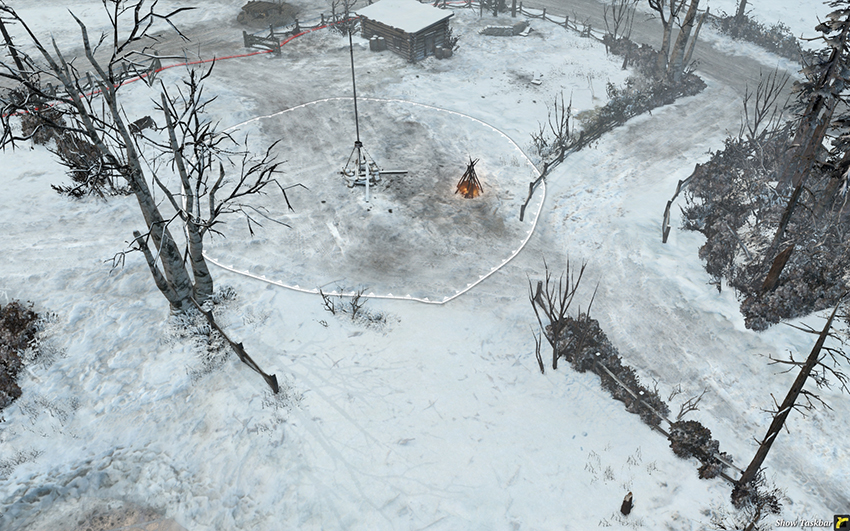
The North will only lose this point if the game is practically lost, meaning it’s a wonderful location for a Fuel or Munitions Cache. There’s no need to defend it because it’s far behind the front lines.
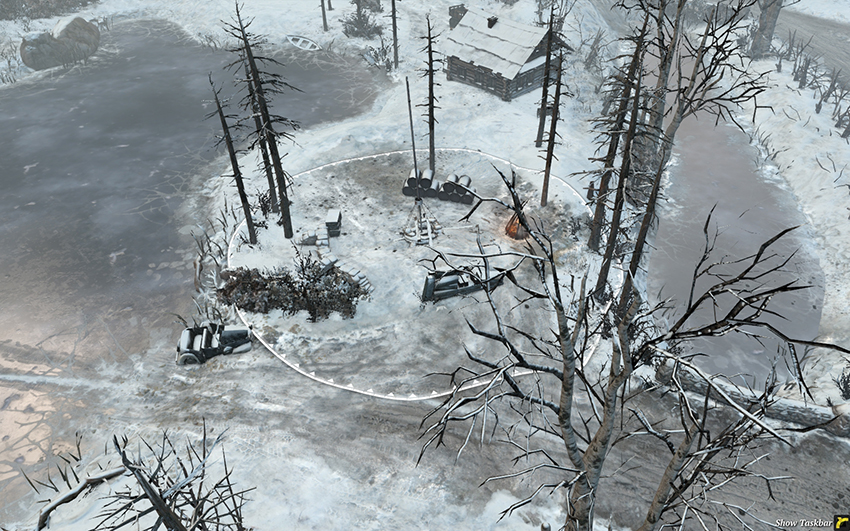
This point may see a fair amount of action depending on how aggressive the South is in the east. Units stationed around here can defend the eastern Victory Point effectively, especially if an HMG is placed in the building at the top, as its reach is quite long. The hedges along the bottom block sight, so place Mortars and artillery around there to fire upon the center Victory Point and any enemy units in that area. You might want to place a mine on the bridge at the right and one on the ice in the bottom left if you suspect your opponents will attack with light vehicles or mobile armor, like T-34s.
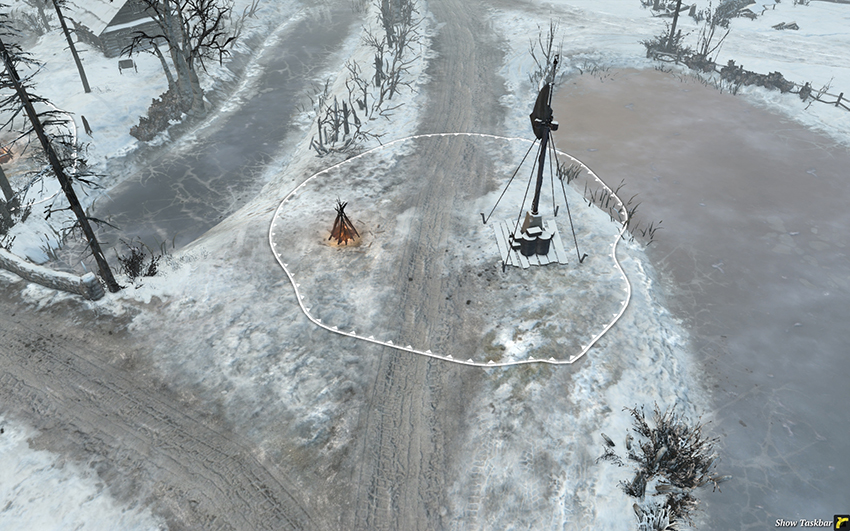
The eastern Victory Point has very restricted access and practically no cover. The North can place units across the water to the left in cover for defense, as this area provides strong firing lanes. If the South happens to take it, attack from the north and the west simultaneously, and consider stationing units along the northern shore of the lake on the right for fire support. Mines along the roads are desirable for both sides, though vehicles can use the ice to bypass them. Vehicles in general excel in this area, as there are plenty of opportunities for flanks and roads to enhance mobility.
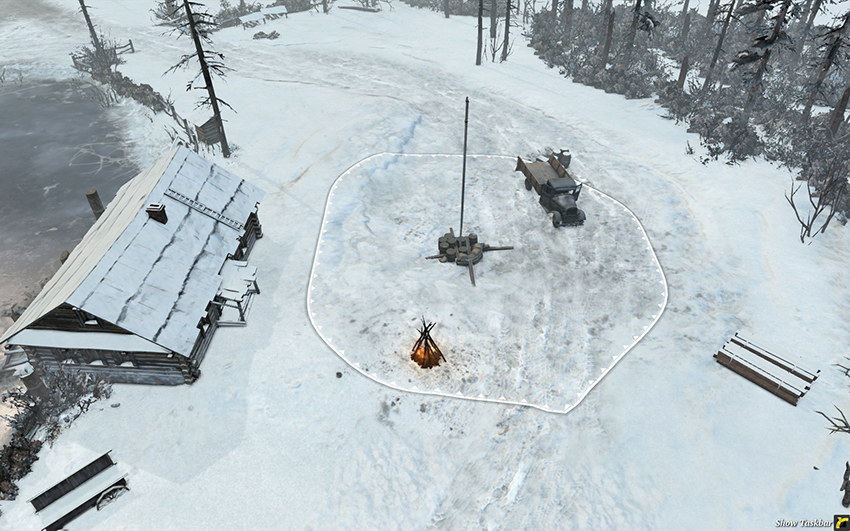
The eastern Fuel Point is separated from the eastern Victory Point by a frozen lake, making it quite possible that the two points won’t be controlled by the same side. The building here dominates the Fuel Point and an HMG in it can also fire across the lake at the Victory Point. As it’s so important, rushing an early Combat Engineer or Pioneer squad here while bypassing near points is a good idea if you wish to take this area. Later in the game, an HMG and AT gun can lock down this area quite solidly, so you must rely on a Mortar or artillery to displace defending units.
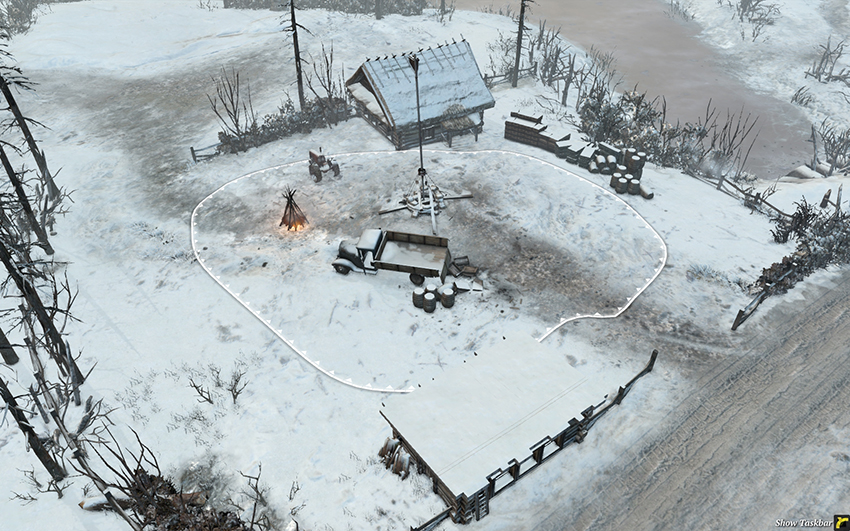
This Standard Territory Point is often used by the South as a staging area for attacks against the east. The house at the top is the ideal garrison location for an HMG because it covers the Standard Territory Point and shuts down enemy movement in this area. Place mines along the road, especially on the bridge. Vehicles are effective in this area because they can use the ice and deep snow paths to flank units, especially during blizzards when sight is limited.
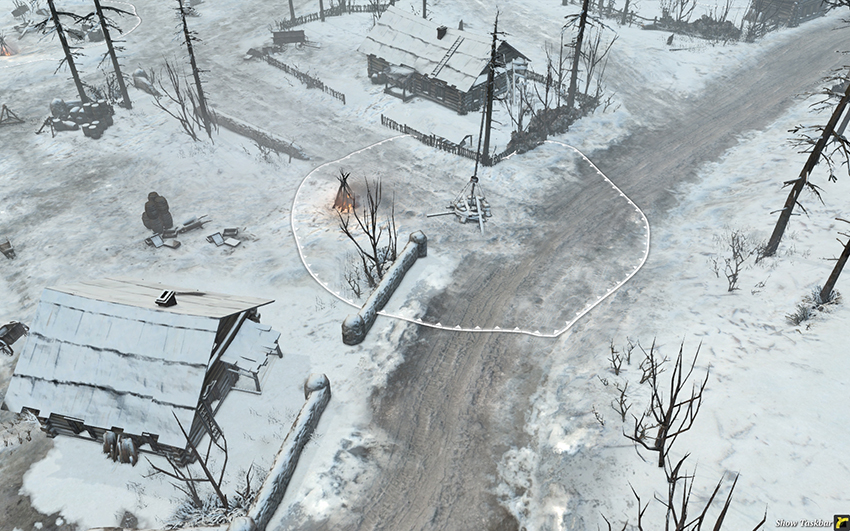
This Standard Territory Point will be securely within the South’s control for the most part. It’s a good location for a Fuel or Munitions Cache early in the game. If the North is pushing aggressively in the east, place an HMG in the house above this point.
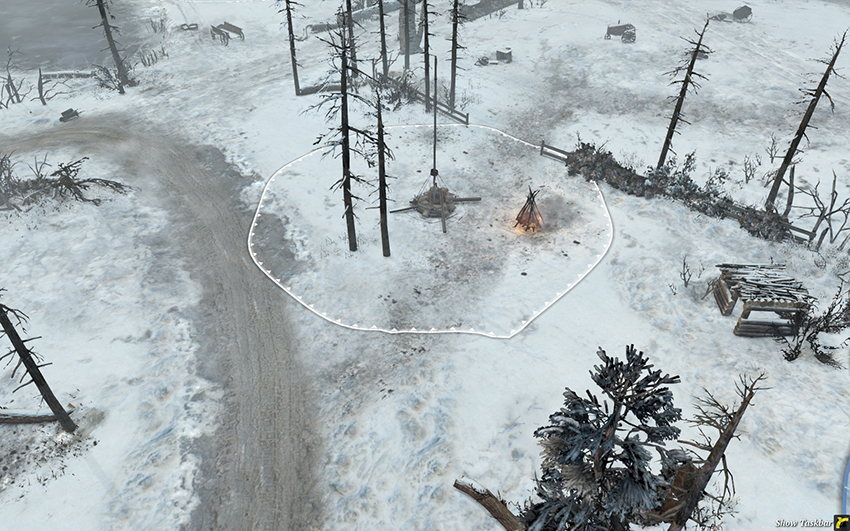
This point will rarely see fighting and it’s a great location for the South to place a Fuel or Munitions Cache. It can be worth placing a mine on the road to the left to avoid harassment and flank attacks from the west if the North holds that area.
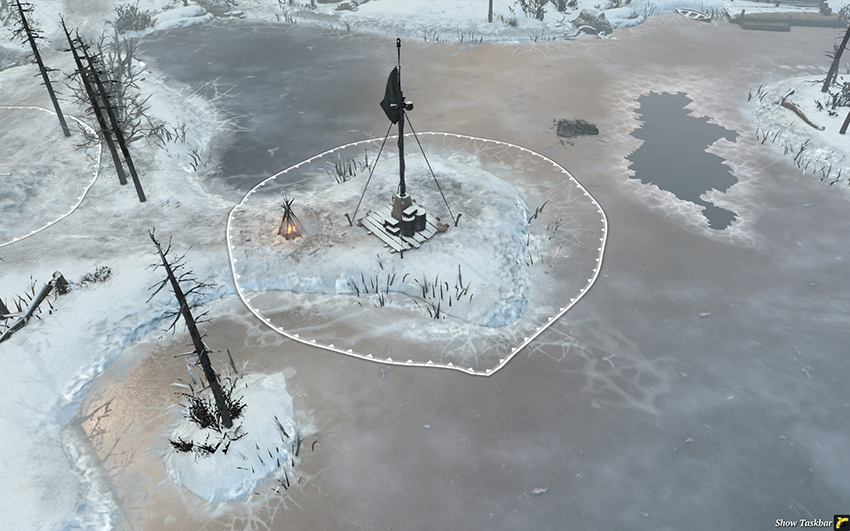
The center Victory Point will be the site of much fighting and especially artillery due to the ice surrounding it. If you control it, you might try placing demolitions charges on the ice with your Pioneers or Combat Engineers, or simply use mines. Alternatively, preemptively destroy the ice to restrict the movement of enemy units by barraging it with artillery or using the Attack Ground with other units like those with flamethrowers.
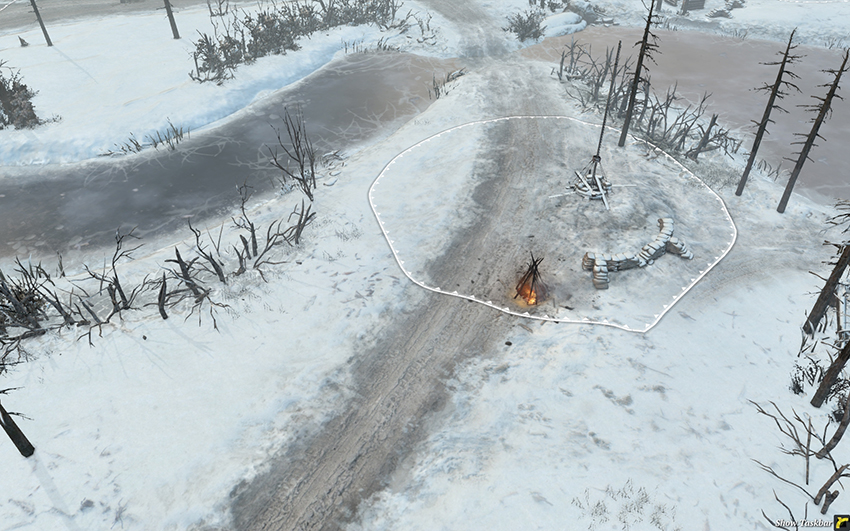
The center Standard Territory Point is a high traffic area that isn’t too difficult to access or flank. For the North, you’ll want to attempt to seize this and set up defenses here as it’s a strong position from which to control the center Victory Point. As with the entire center of this map, long-range units excel, as do artillery and Mortars. Mines anywhere around here on the road are effective in thwarting major attacks. Note that the hedges all around here block sight, so be careful in watching for flanking units using the ice.
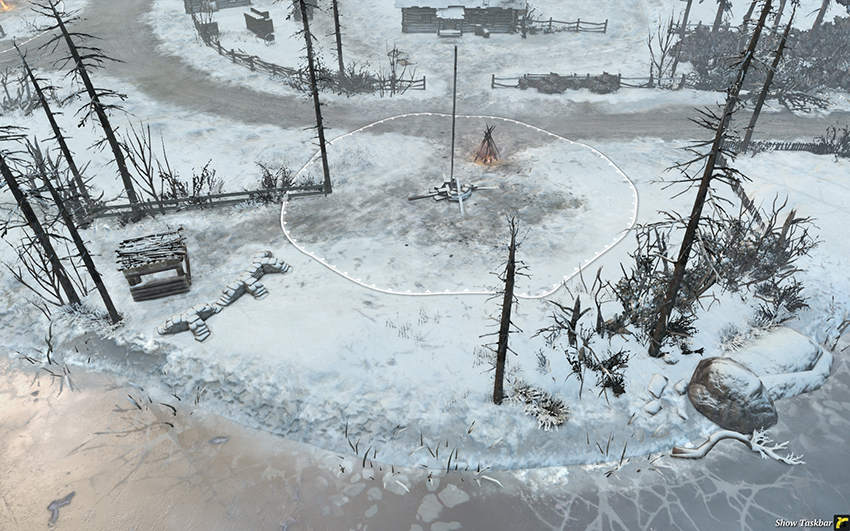
You should never let this point fall into the South’s hands because it’s an important staging area for the North in attacks against the center Victory Point and a good source of Munitions income. The hedges along the bottom block sight so position a Mortar here. The small hut on the left can be used by an HMG, though it’s quite a fragile building—be sure you don’t leave a unit inside if it’s being shelled by artillery or tanks. It is a good option when you need to warm up a unit, though.
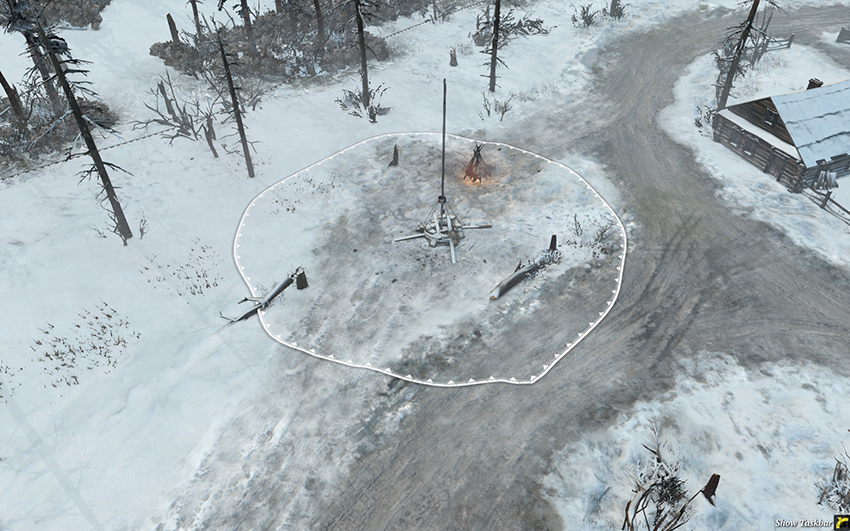
This area will only ever see fighting if the South is very aggressive in the west and center, and the North won’t have much difficulty defending it so long as they place an HMG in the building. It’s a good location for the North to place a Fuel or Munitions Cache.
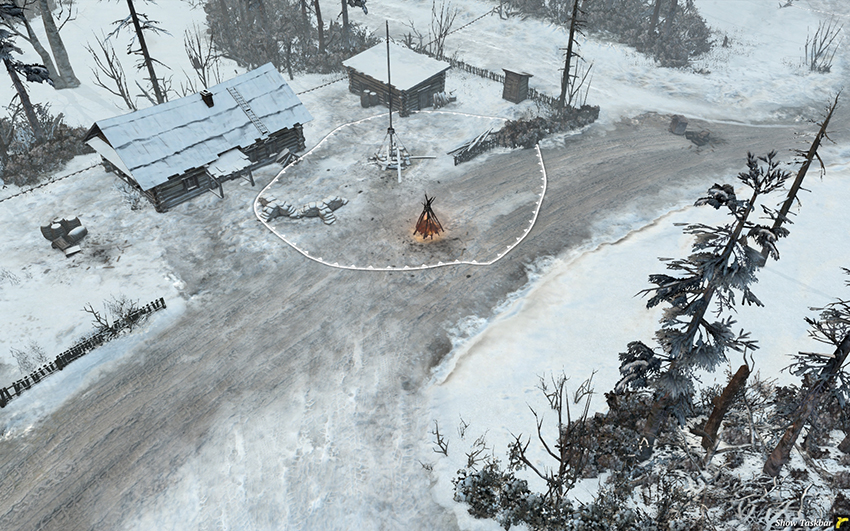
This Standard Territory Point will receive attention from an aggressive South, but in most games it will serve as a staging ground for the North in attacking the western Victory Point if they do not control it. Place an HMG in the larger building and use the tree line at the bottom to protect your infantry and vehicles from long-range enemy vehicle fire. Station your own Mortars and artillery here to provide fire support when attacking the west.
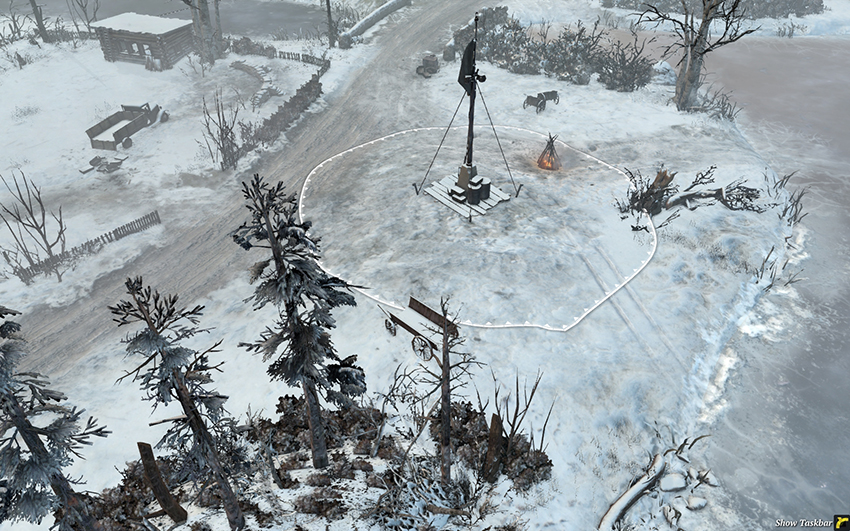
The western Victory Point is quite a deadly area, as the access routes over land are limited, the paths over the ice are risky, and there isn’t much cover to be found. For the North, you can bypass the bridge by crossing the river in the far top left, crushing any obstacles with tanks. Players won’t expect you to use vehicles this close to the map edge, so it’s a great flanking route. Mines on the bridge at the top and around the capture sector itself are desirable. A bunker is a good option for locking down this area for the Germans, though you’ll need to prepare units to take out enemy Mortars and artillery. AT guns and HMGs are ideal for covering the access routes. Be sure to send defending units into the building to the west during blizzards and as defense against enemy artillery.
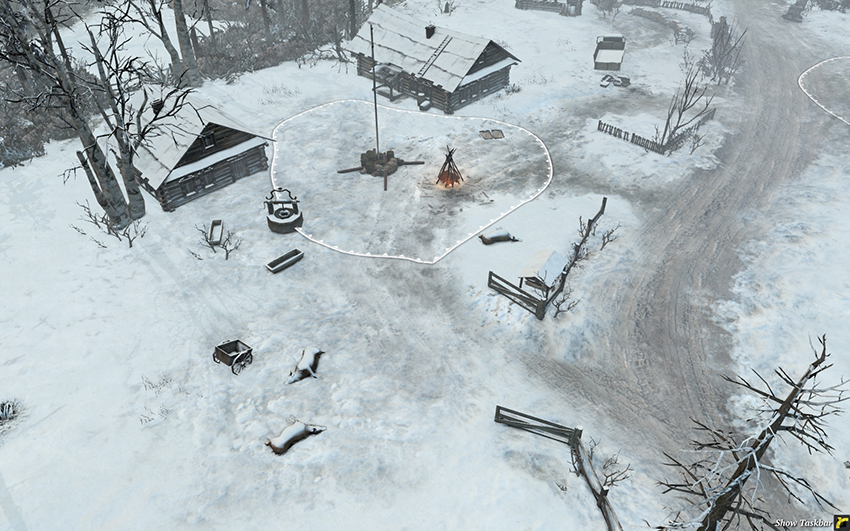
The western Fuel Point is typically controlled by whichever side has overall control of the west. Apart from defending the area near the Victory Point, both buildings here are solid locations for HMGs, especially the one above this point, as it can cover the Victory Point. As the North, you must watch for attempts by the South to attack from the path around the river in the west. Place mines here and be sure to have an AT gun near your HMG that you can reposition as needed. This area is much easier for the South to lock down because the bridge to the north then becomes pretty much the only major access point.
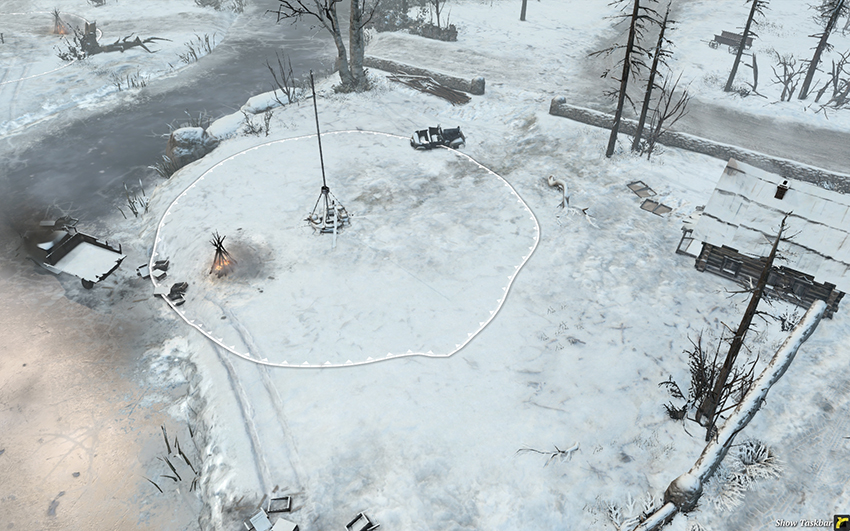
The South ought to station long-range units here to provide fire support over the western Victory Point. So long as these forces remain, it’ll be difficult for the North to threaten this point. The building on the right is a good location for an HMG to protect this area from infantry attacks along the northern road or against units attacking across the ice.
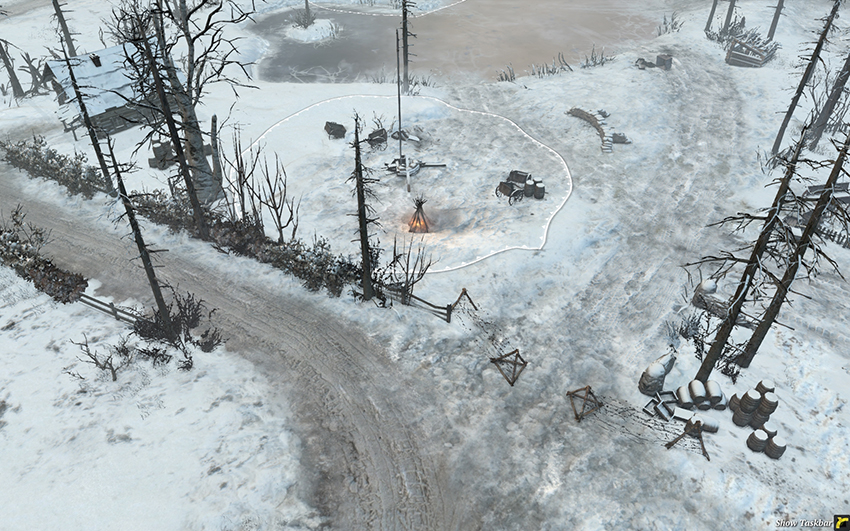
The southern Munitions Point is often a staging area for the South in attacking and defending the center. The frozen lake makes infantry and vehicle movement risky, and artillery units will excel here. If you’re playing as Soviets, use the SU-76 barrage ability to destroy the ice and sink units into the lake. Also, try positioning an Elefant or an ISU-152 on the bank with mines along the roads to the left and right. The building on the left is an excellent position for an HMG, as it can reach quite far into the center and protect any units stationed here from the North’s infantry.
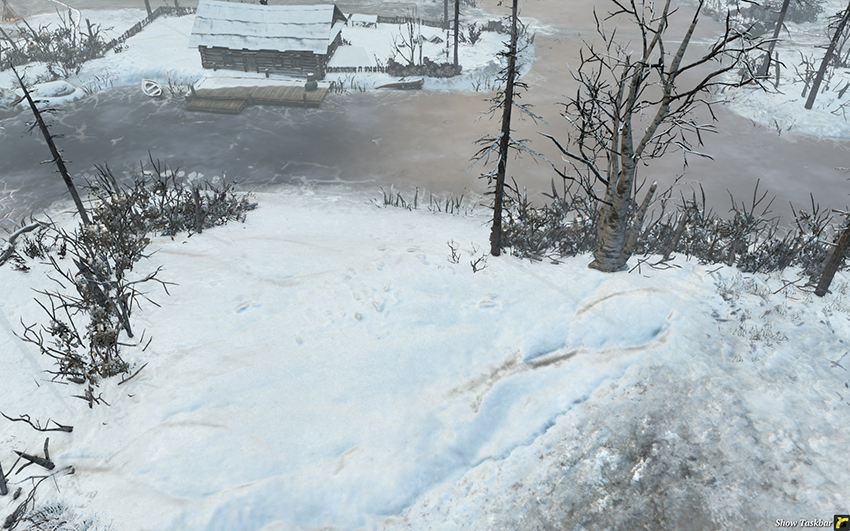
This area doesn’t cover any points, but it is a good flanking route, especially if you need to safely cross the ice. If the South is aggressive in this area, the building is a fantastic location for an HMG while pushing across to the northern bank of the river. The building isn’t quite as useful for the North, as the South won’t want to be attacking through the deep snow in this direction anyway.
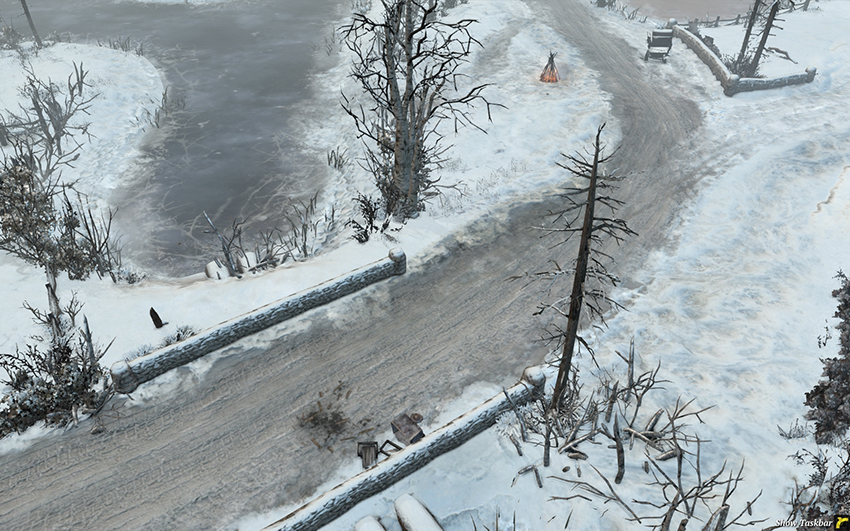
The access route for the South to the east, and for the North in pushing against the South’s eastern territory, long-range vehicles excel here as flanking opportunities are difficult to come by. Scatter mines around here to deter enemy vehicle attacks and blunt infantry assaults.
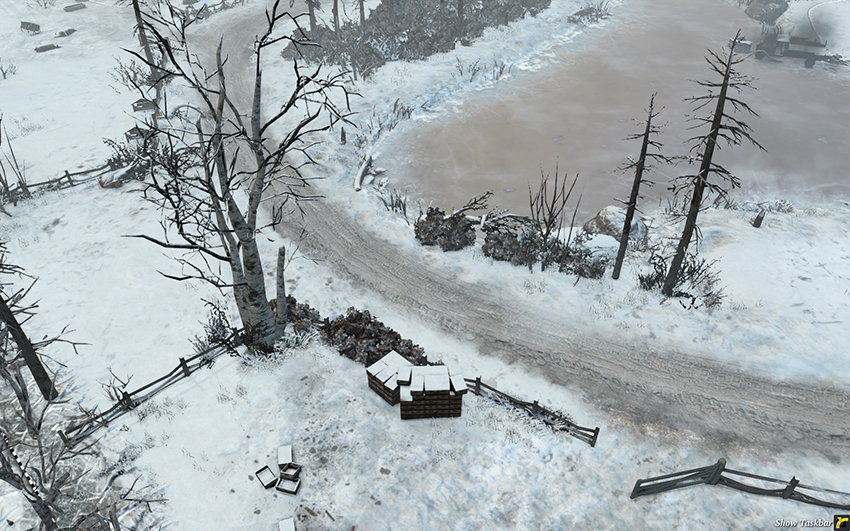
The road in the far west can be used by the South in accessing the western Fuel Point and Victory Point, and by the North if they wish to flank the center. Both sides can place mines here if they need to keep enemy forces from using the road.
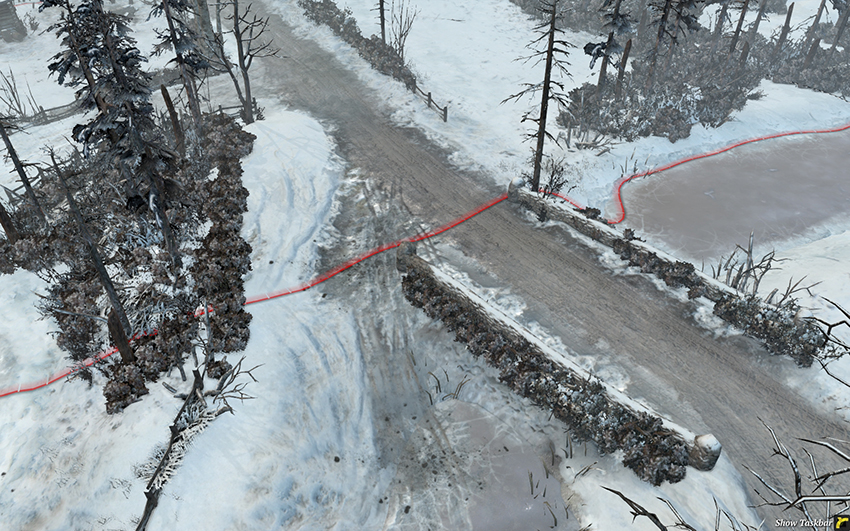
The eastern bridge is an important travel path for the North to access the east. It’s a good spot for the South to place mines if they control the Victory Point.