
Company of Heroes 2 Guide Essentials Introduction to Company of Heroes 2
Soviets and Germans Essentials
The two factions in Company of Heroes 2, Soviets and Germans, feel unique and characterful, even though they both have units for every role and many of these units are quite analogous. For example, Panzergrenadiers, the elite German infantry, resemble the Soviet Shock Troops in that both are assault infantry carrying submachine guns meant to storm enemy positions. But, where Panzergrenadiers are available for production to all German commanders, Shock Troops are limited by the Soviet player’s commander selection. The major difference in infantry between the factions is the Soviets have six men per squad while the Germans have four (and three per team weapon). This reflects the elite nature of the Germans and the numerical advantage of the Soviets. For tanks, the Germans have superior tanks that require far more resources to produce in most cases: the Panzer IV and Panther medium tanks are nearly twice as expensive as the Soviet T-34 medium tank.
Hard Counters and Soft Counters
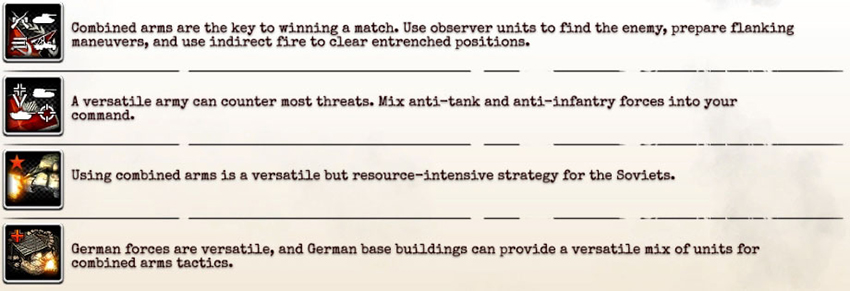
Many RTS games are dominated by soft counters. Meaning, any unit can damage any other unit but some have damage bonuses against units of a specific type.
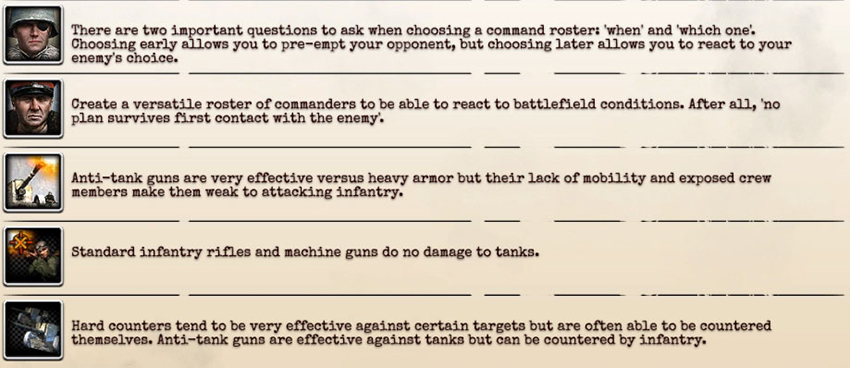
Others games are dominated by hard counters, sometimes called RPS (rock-paper-scissors). Suppose you have Infantry, Tanks, and AT guns. Tanks beat Infantry, Infantry beat AT guns, and AT guns beat Tanks. You can think of it as the looping sequence of Infantry > Tanks > AT guns > Infantry. Each unit is beaten by the unit following it, and as such is “hard countered” by it.
CoH2 doesn’t fit into this framework very well because its system of counters isn’t tied to units so much as it’s tied to battlefield situations. For example, a Heavy Machine Gun Team counters a Conscript Squad if it’s set up in the right direction, but it loses if the Conscripts attack from a flank or catch it while it’s moving. An anti-tank gun deals good damage to vehicles within its cone of fire, but if it’s flanked it can’t do anything. Some units don’t have any hard counters. Heavy tanks like the Tiger and IS-2 can beat any unit and must be dealt with through combined arms—immobilize it with infantry anti-tank grenades, flank it with a tank, and fire at it with an AT gun at long range.
This is why Company of Heroes 2 is far more dependent on tactical analysis than most RTS games. In traditional soft-counter and hard-counter systems, it’s clear what type of unit you should produce to counter a specific enemy unit. Company of Heroes depends far more on how you use particular units and how your opponent uses his. It’s not sufficient for me to say “Build anti-tank guns if your opponent builds tanks.” I’ve included an extensive section of example tactical situations and possible responses to get you to start thinking in this fashion. I also talk a lot about unit roles and creating synergistic groups of units, because the decision of whether to build an AT gun or a tank destroyer to counter an enemy tank largely depends on the composition of the rest of your army and the rest of your opponent’s army, not simply which of the two options is superior against the enemy tank.
Capturing Points and Resources
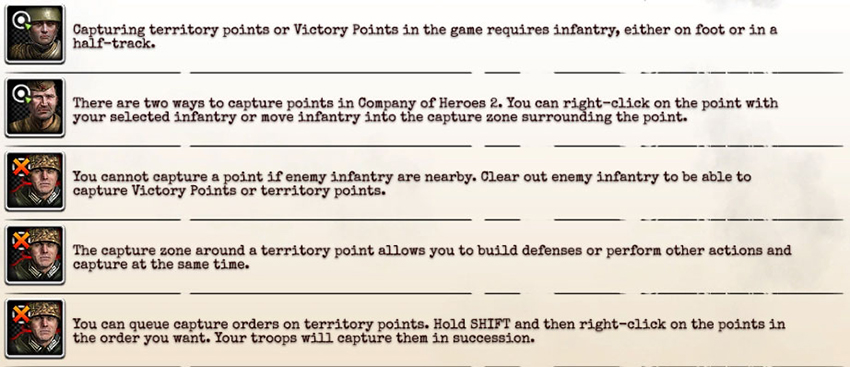
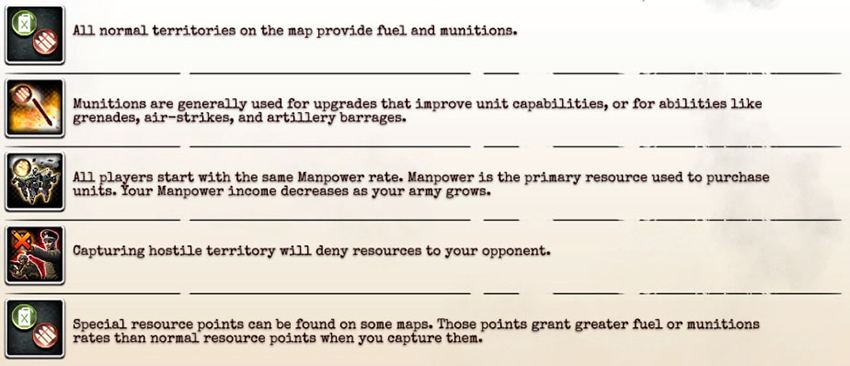
To capture a territory point, an infantry squad must move within the borders of the point until it turns blue, which signifies that you have gained control of the sector. This can also be done with infantry loaded inside vehicles such as the Soviet Scout Car and the German Half-track. Capturing territory points will increase your Munitions and Fuel income based on the number of territory points you control. In order to get the income from each point, it must be connected to your base by controlling otherintervening territory points. A captured territory point lights up an area on the map, known as a sector, with blue. There must be connected blue sectors from the territory point to your base in order to gain income from that point. Enemy-controlled territory points and sectors are colored red, while neutral points and sectors are white. Manpower income is based on population rather than territory points—capturing territory points will have no effect on your Manpower income.
Watch our Resources and Capture tutorial video.
- Manpower: Used for every unit and building, Manpower is the most important resource. Starting Manpower income is +300 per minute, which decreases by 4 for every one population between 25 and 75 population. At 0–25 population, income will be +300; at 75–100 population, income will be +99. Because Manpower income is based off of population rather than controlled territory, it is not always a good idea to produce extra units if they are not necessary, although you should be using your Manpower income to create units as soon as possible if your population is below 25.
- Munitions: These are used for abilities and unit upgrades, represented as your forces having extra weapons, grenades, ammunition, and other war supplies. Munitions income increases based on the number of territory points you have connected to your base, as well as any Munitions Caches you may have on your controlled territory points.
- Fuel: A requirement for every vehicle and building, as well as German Battle Phases, Fuel is gained by controlling territory points and building Fuel Caches. Territory points grant less Fuel than they do Munitions, although Fuel is necessary for producing tanks, making it a substantial Fuel income important.
- Fuel and Munitions Caches: These improve the resource production rate of a sector under your control. See the “Building and Construction” tutorial.
Abilities
Most units have access to one or more abilities that can be activated for a number of uses, including causing damage, healing allies, granting sight of an area, or crippling vehicles, among others. These range from infantry grenades and medipacks to artillery strikes and tank ramming maneuvers. Every unit gains an additional ability when it attains Level One Veterancy. You can hover your mouse cursor over the first veterancy star in a unit’s portrait while it’s selected to learn which ability it gains. The Soviet HQ has two researchable upgrades (Molotovs and AT Grenades) that grant Conscript Squads new abilities. Some Commanders also grant abilities to specific units: For example, the Festung Armor Doctrine’s Hull Down and Panzer Tactician. See the “Abilities” tutorial video for an overview and the Ability Descriptions section for extensive information.
Commanders
Outside of the campaign, you can exert more control in customizing your forces to suit your desired play style. You can select three Commander options to bring with you to battle. During a match, you’ll choose one of these Commanders and steadily gain access to its specialties as you fight and accumulate Command Points which unlock the Commander Abilities. Each Commander excels at a different style of play, so you’ll want to consider how your chosen strategy and Commander will complement each other. See the “Commanders” tutorial video for an overview and the Commander Descriptions section for extensive information.
Cover
Sandbags, walls, and craters are not just for looks in Company of Heroes 2. Fighting from cover, constructing cover, and destroying cover are critical aspects of gameplay. Most cover is directional, meaning it provides a bonus only if the enemy is on the other side, and all terrain can be destroyed to remove cover. Large explosions, like artillery shells, will create craters on the battlefield that provide cover. Friendly vehicles provide cover to adjacent infantry squads. The remains of destroyed vehicles also provide cover. Watch the in-game “Cover and Flanking” tutorial.
- Negative Cover: Roads and rivers. Displays a red shield. Defensive penalty.
- Light Cover: Wooden fences, bushes, and craters. Displays a yellow shield. Minor defensive bonus.
- Heavy Cover: Stone fences, vehicle remains, sandbags, and buildings. Displays a green shield. Major defensive bonus.
Flanking and Range
Flanking is the act of maneuvering your units to attack a weapon team from outside of its firing arc, or shooting at the rear armor of a vehicle. Vehicles have weaker armor (generally half as tough) on their rear and across the rear halves of each side. Flanking vehicles during combat is an effective way to deal far more damage, or to damage a heavily armored tank with a weaker anti-vehicle weapon. Flanking team weapons is important because they have limited firing arcs and must take time to reposition—assaulting a Heavy Machine Gun Team from the front with an infantry squad is suicide, but from the flank it’s quite viable. Flanking is also useful against infantry in cover, due to the directionality: Attack a unit behind sandbags from the side so they don’t receive the heavy cover bonus. See the Advanced Tactics section for more information about flanking.
Units are most accurate when stationary and at close range. Some units have a longer range than their vision radius, like artillery. Others have a minimum range, like Mortars, meaning they cannot engage nearby units. Many units have an ideal engagement range (for example, submachine gun-armed assault infantry should be as close as possible to their target), but each situation demands different tactics. For example, the assault infantry will lose to an LMG-armed Grenadier squad in heavy cover if they charge across a negative cover road.
See the “Range and Combined Arms” tutorial.
Unit Synergies
Some units are versatile enough to engage any enemy unit, but most are specialists. An HMG can pin several infantry squads, but it’s easily dealt with by vehicles. A Mortar can deal immense damage to stationary targets, but its accuracy against moving units is poor and it’s unable to defend itself. An AT gun is a major threat to vehicles that engage it from the front, but if it’s flanked or attacked by infantry then it’s helpless. See the “Range and Combined Arms” tutorial.
Buildings and Defenses
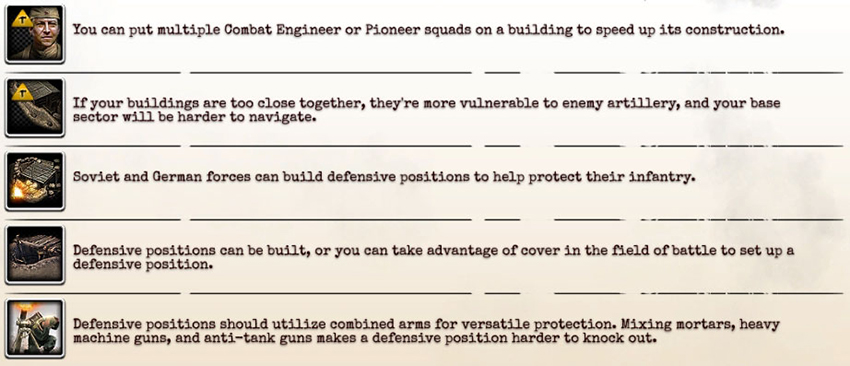
- Production Buildings: Watch the in-game “Building and Construction” tutorial. Production buildings are required to create units.
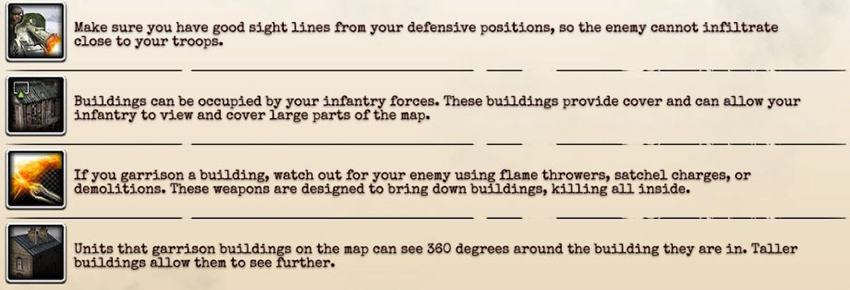
- Garrison Buildings: Many buildings around the battlefield may be garrisoned by infantry, and they range from bunkers to churches. Units in buildings have increased survivability, line of sight, and can fire out through any available windows.
- Field Defenses: These can be created anywhere on open ground and allow your forces to set up a defensive position on the front lines. Grenadiers and Pioneers can build bunkers, providing cover to units garrisoned within and allowing infantry to fire from within, while Conscripts can build sandbag walls that provide heavy cover. Both factions are able to set up barbed wire that blocks infantry movement, as well as set mines to damage infantry and vehicles. On winter maps, certain units can build Campfires to warm up their allies.
Suppression
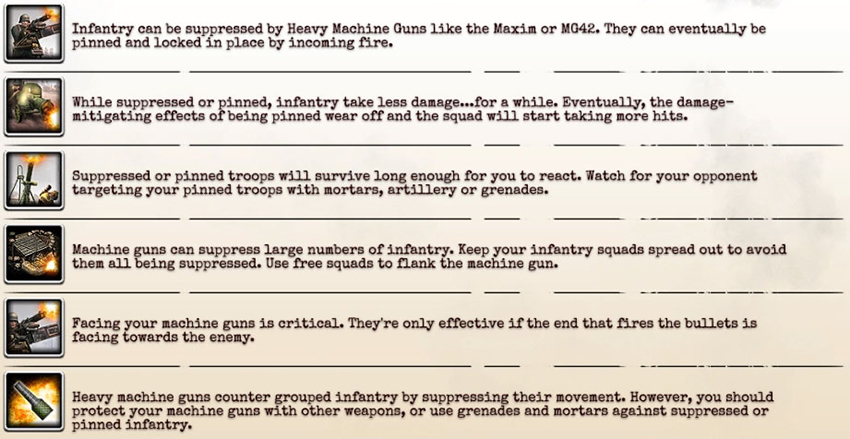
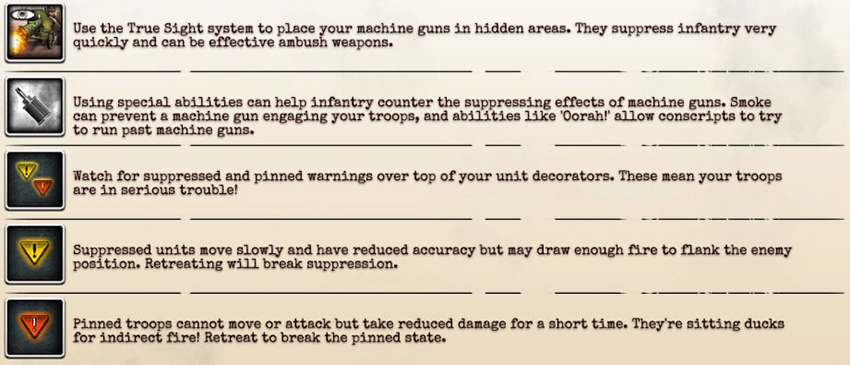
Watch the in-game “Suppression and Retreat” tutorial. Suppression is a condition that forces an infantry squad to move much slower; it’s caused by fire from HMGs, vehicle machine guns, and certain strafing runs. A suppressed unit that remains under fire may be pinned, completely disabling the unit.
- Suppression Effects: Movement speed reduced. Nearby squads have an increased chance of being suppressed.
- Pinned Effects: Cannot move. Cannot attack. Pinned units have increased resistance to whatever caused them to be pinned, although they will begin to take heavy damage from that source after a short time.
Team Weapons
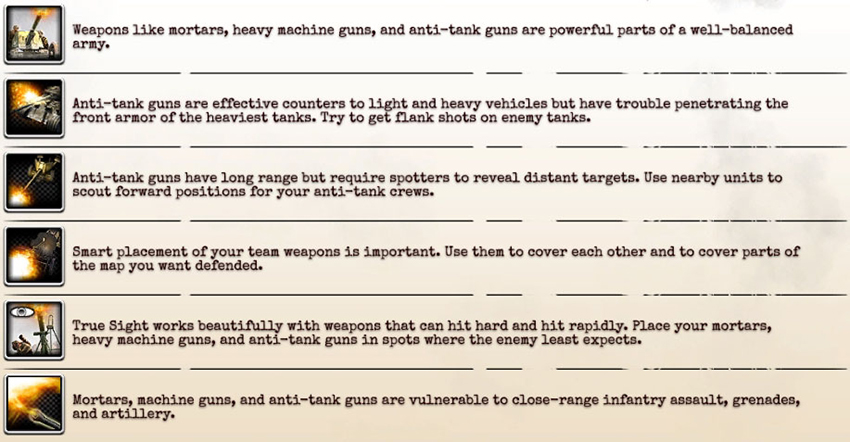
See the in-game “Team Weapons” tutorial to learn the basic functionality of HMGs, Mortars, and AT guns.
Capturing Weapons
Certain weapons used by infantry can be captured or collected by your forces, including weapon upgrades and team weapons. For example, a Grenadier squad with an MG42 LMG has a chance to drop the LMG on death, which can then be collected by other infantry squads. Team weapons are abandoned once the squad using them has been killed. Other infantry squads can then recrew the team weapon, merging part of the capturing squad into a new weapon team.
Unit Preservation
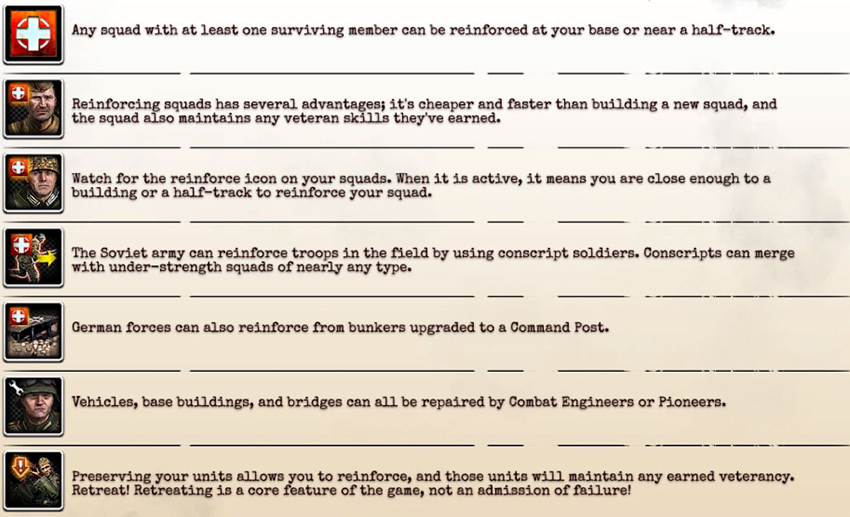
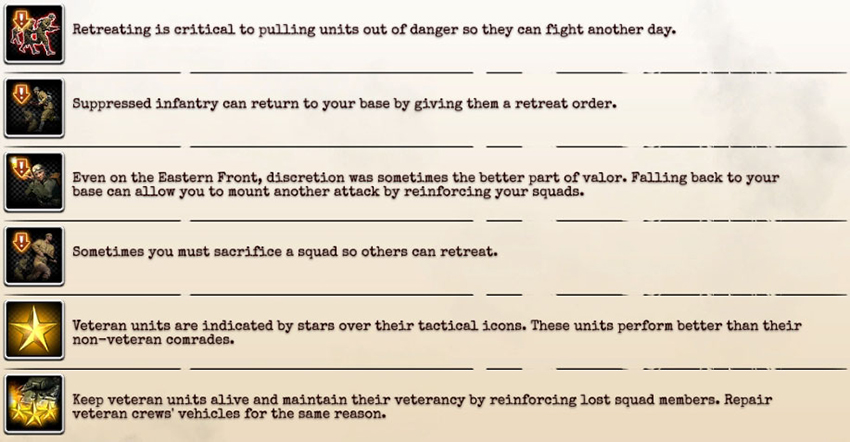
Retreat
See the in-game “Suppression and Retreat” tutorial.