
Xenoblade Chronicles X Guide The Miran Unification Quest
Prologue: Awakening
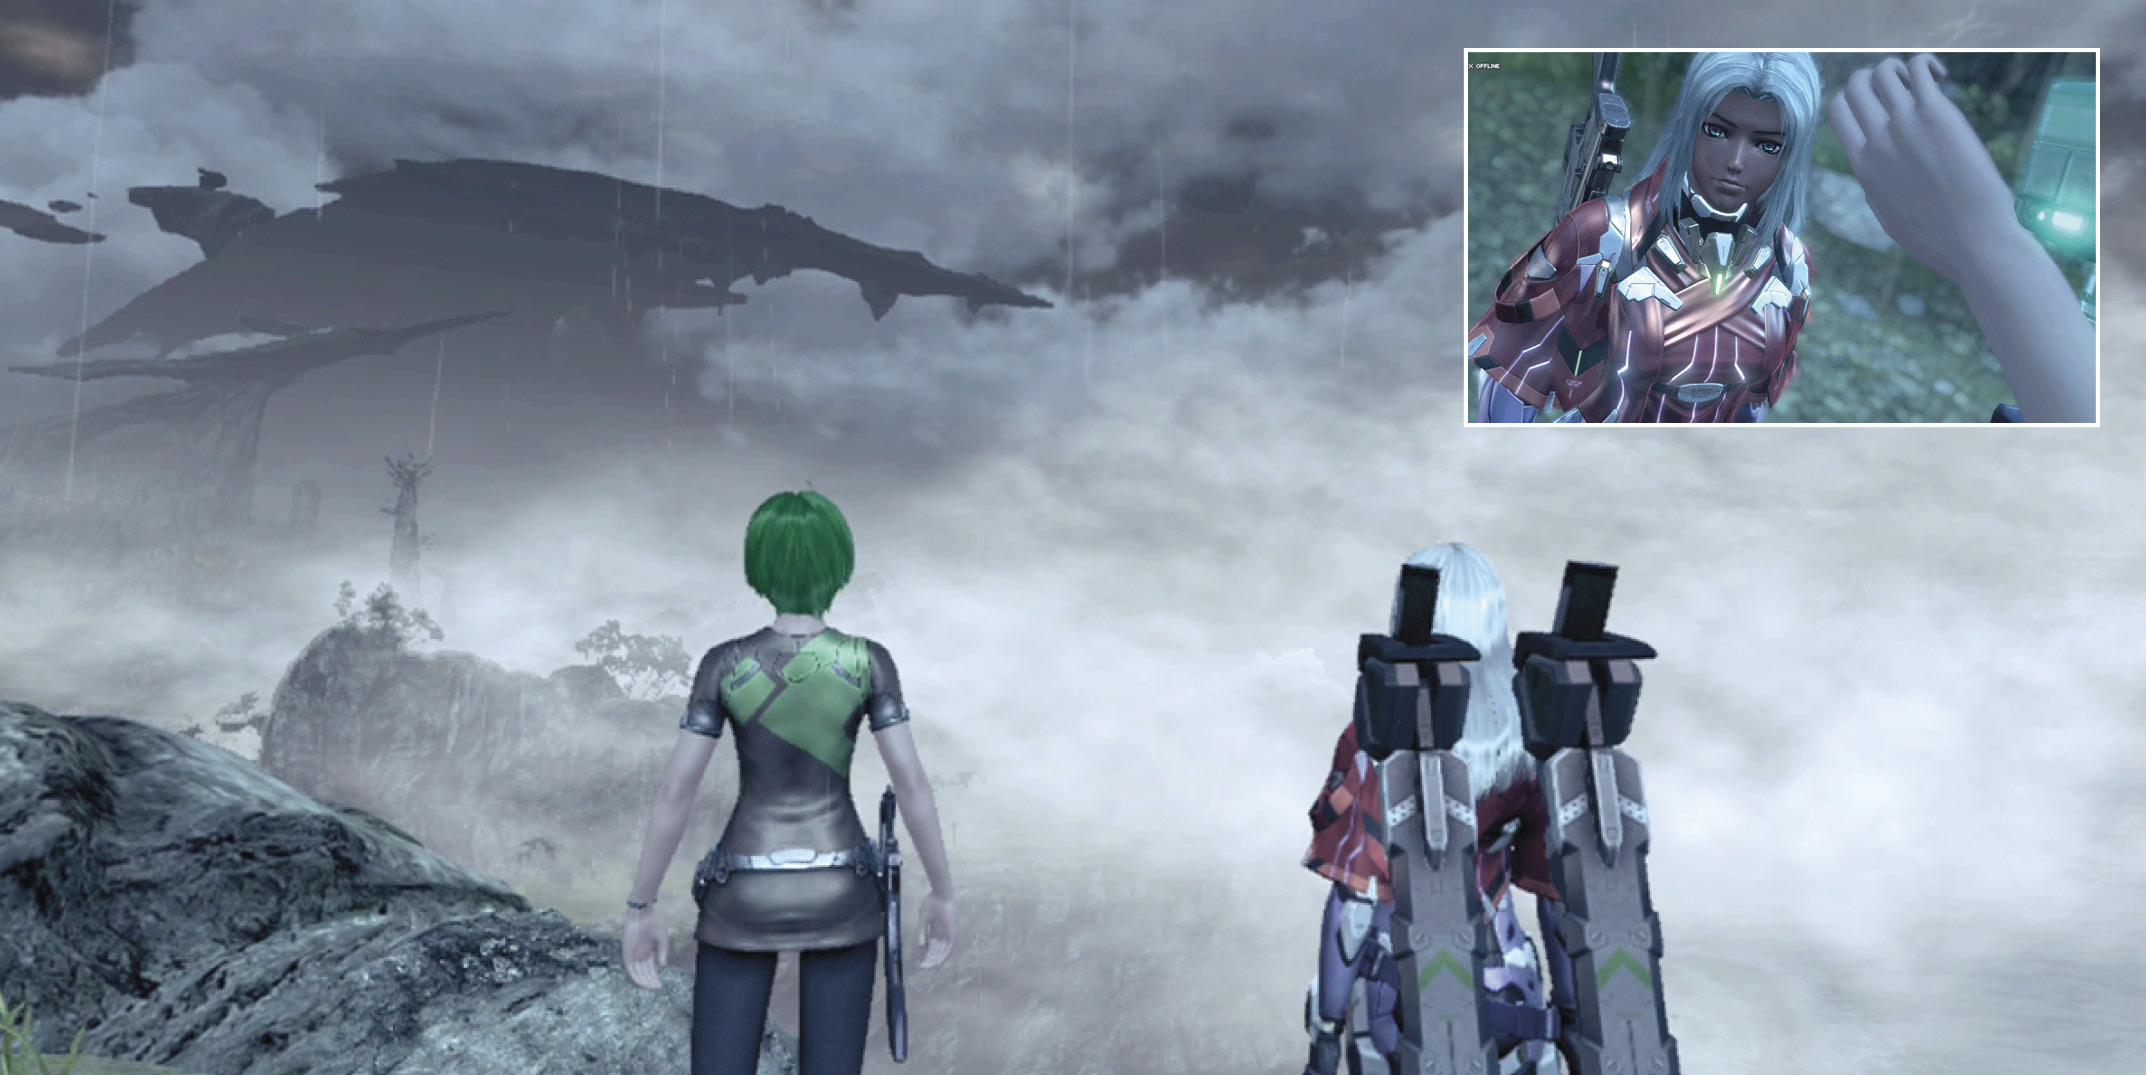
Your adventure begins here and now, after humanity crash-lands on the distant and unknown planet of Mira. Your actions will shape the fate of an entire race…but right now, you have to make it to sanctuary in one piece!
Chapter Prerequisites
To access the Prologue, begin the game at the title screen. Nothing could be easier!
Story Mission Walkthrough

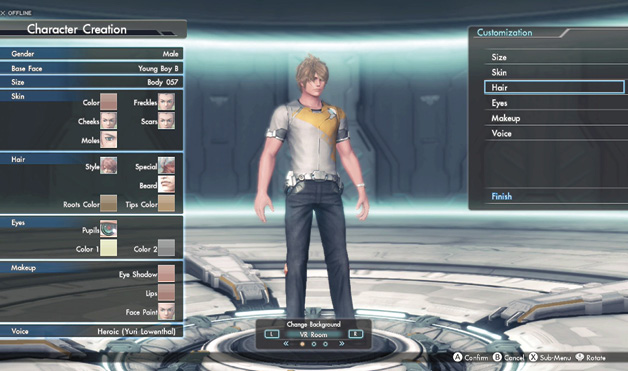
Go ahead and watch the opening cutscene. It’s okay to shed some tears. Once you’re done, create your character, then witness the awakening from stasis.
You find yourself in the company of a woman named Elma. Listen to what she says, because she knows…things. Enter your name when she asks.

Mechanical Advancement: Mini-MapThe Prologue gives you access to the mini-map, which guides you to your next objective, warns you of dangers, and alerts you to helpful items like treasure chests and camps. For now, follow the yellow arrow, but you don’t have to do so in a straight line—veer off the beaten path once in a while! You never know what you might find. For more information on the mini-map and how it can help you on your journey, check out the Exploration section of the Primer. 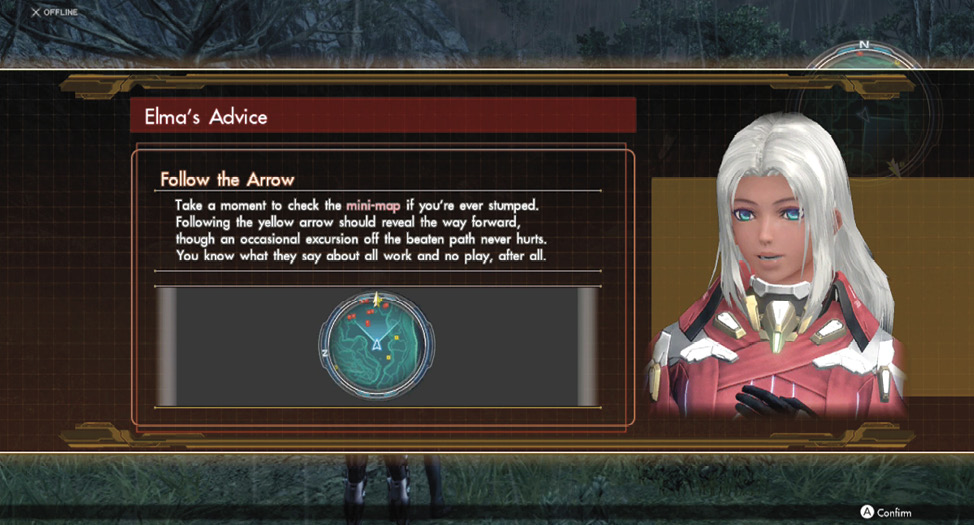
|
Once Elma tosses you a weapon for self-defense, head forward to a cutscene and then your very first battle.
Mechanical Advancement: Basic Combat Ability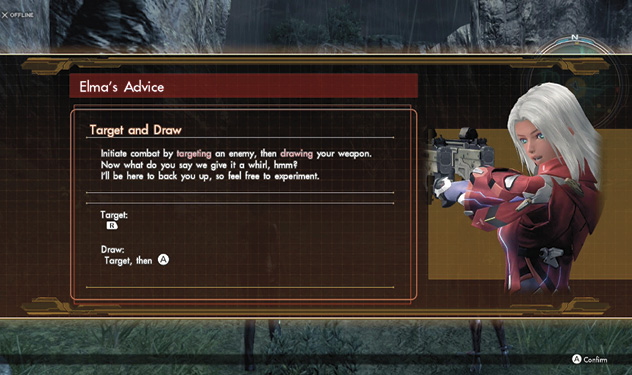
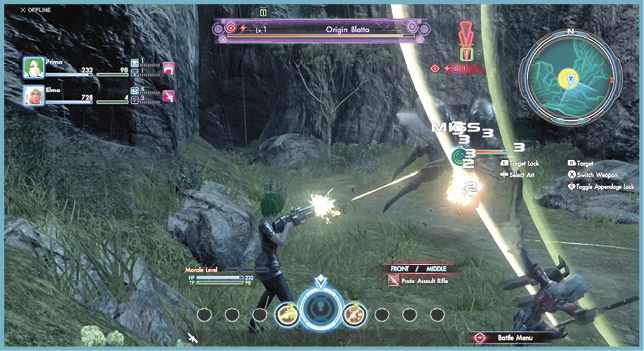
The Prologue will get you used to the basics of the combat system so that you can easily dispatch enemies. Combat will get far more complex—and rewarding—as your adventure on Mira progresses. If you want to know how deep the rabbit hole goes (as well as get an early jump on mechanics such as Soul Voices) check out the Combat Rundown section in our Primer. For now, however, get used to targeting enemies with (R) and drawing on them by pressing (A) once you’ve targeted them. |
Origin Blatta
Lv. 1: Boss
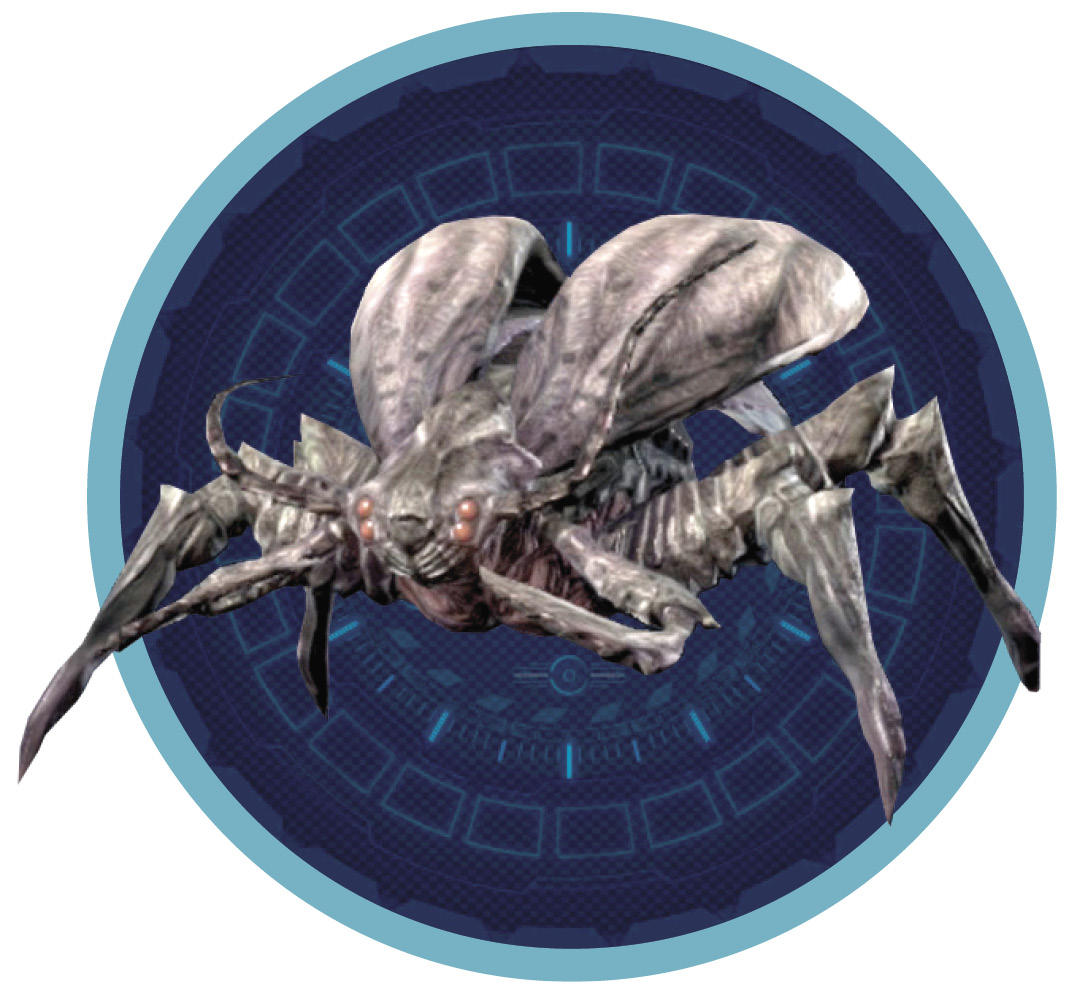
This battle is here as a quick tutorial on how battles work. In general, you want to strafe around the enemy, striking at its sides and back. There’s rarely a good time to charge enemies from the front—at least for now.
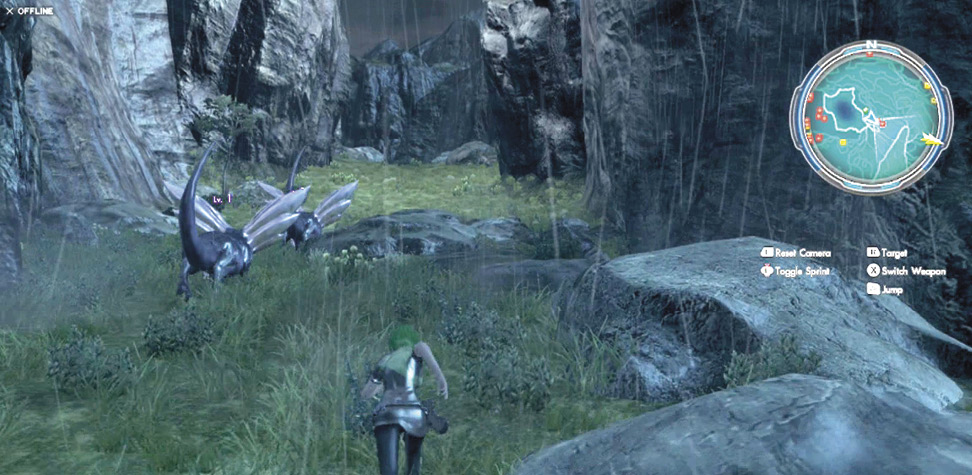
Continue onward, in the general direction of the yellow arrow. If you want to do some light exploring, go for it. Check the yellow boxes on the mini-map if you want to be directed to treasure chests.
Keep following the yellow arrow until you are led to the flashing yellow circle indicating your destination. It is here that Elma will show you the vastness of planet Mira, and you’ll get your first look at New Los Angeles, your home-to-be.
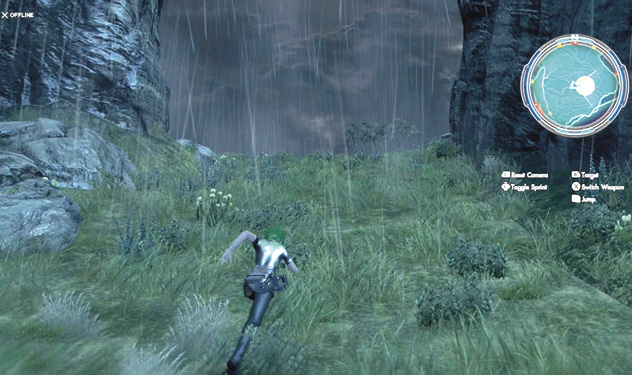
Mechanical Advancement: Sprinting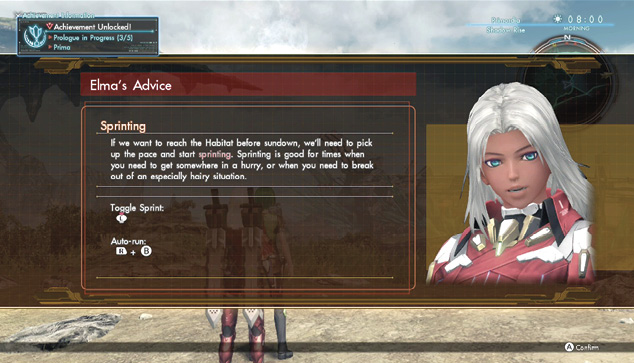
You will be doing a lot of this on your journey through Mira, so it’s best to get used to it now. Click in (the left stick) to toggle sprinting during movement. If you want to automatically sprint (think cruise control), hold (R) and then press (B). |
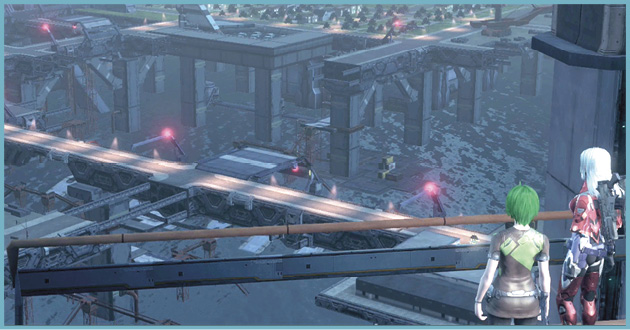
You have a new objective now: getting to New LA. As Elma says, the high road is your best bet for survival, as lower level indigens roam above. If you jump down below (don’t worry, there’s no fall damage), you’ll have a slightly more direct path, but also have to sneak around higher-level indigens. Whatever your choice, follow the yellow arrow once more.
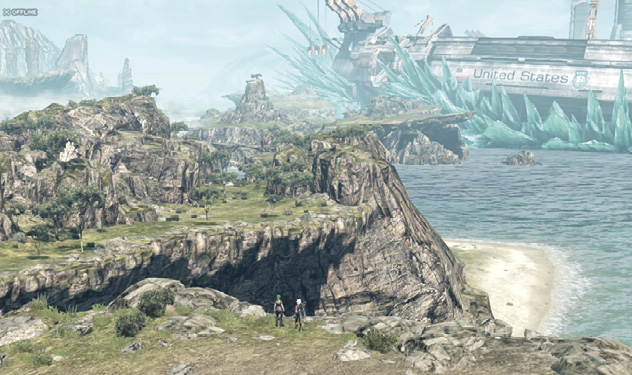
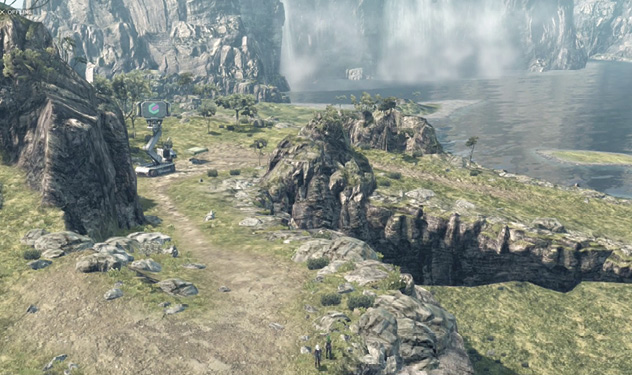
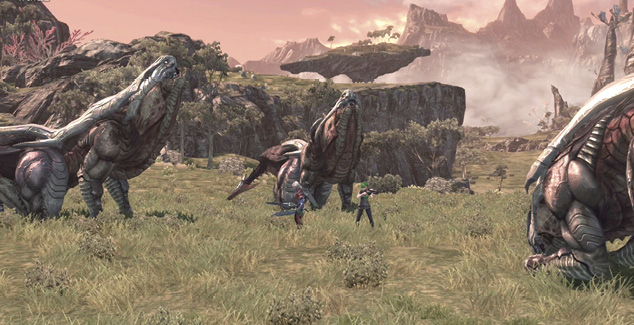
Eventually, you’ll reach the West Gate of New LA. You can’t just walk in, though: Some nasty indigens don’t want you to make it inside alive.
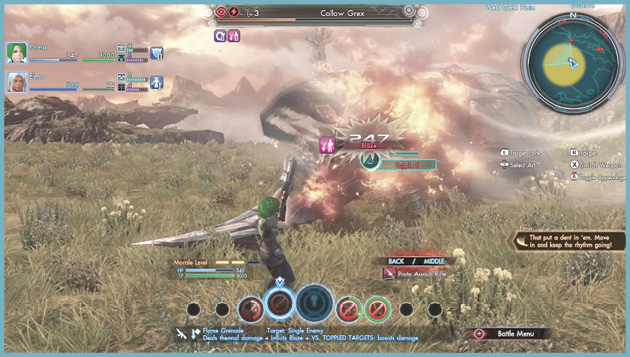
Callow Grex x2
Lv. 3: Enemy

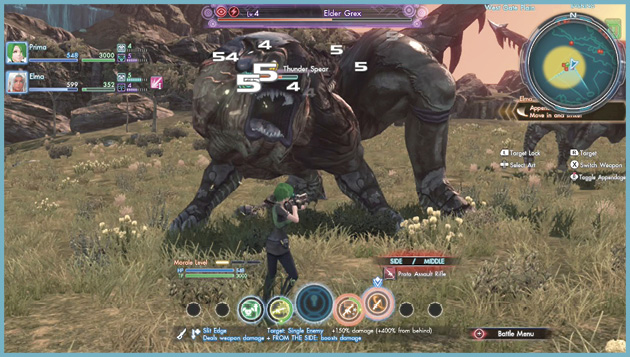
Elder Grex
Lv. 4: Boss
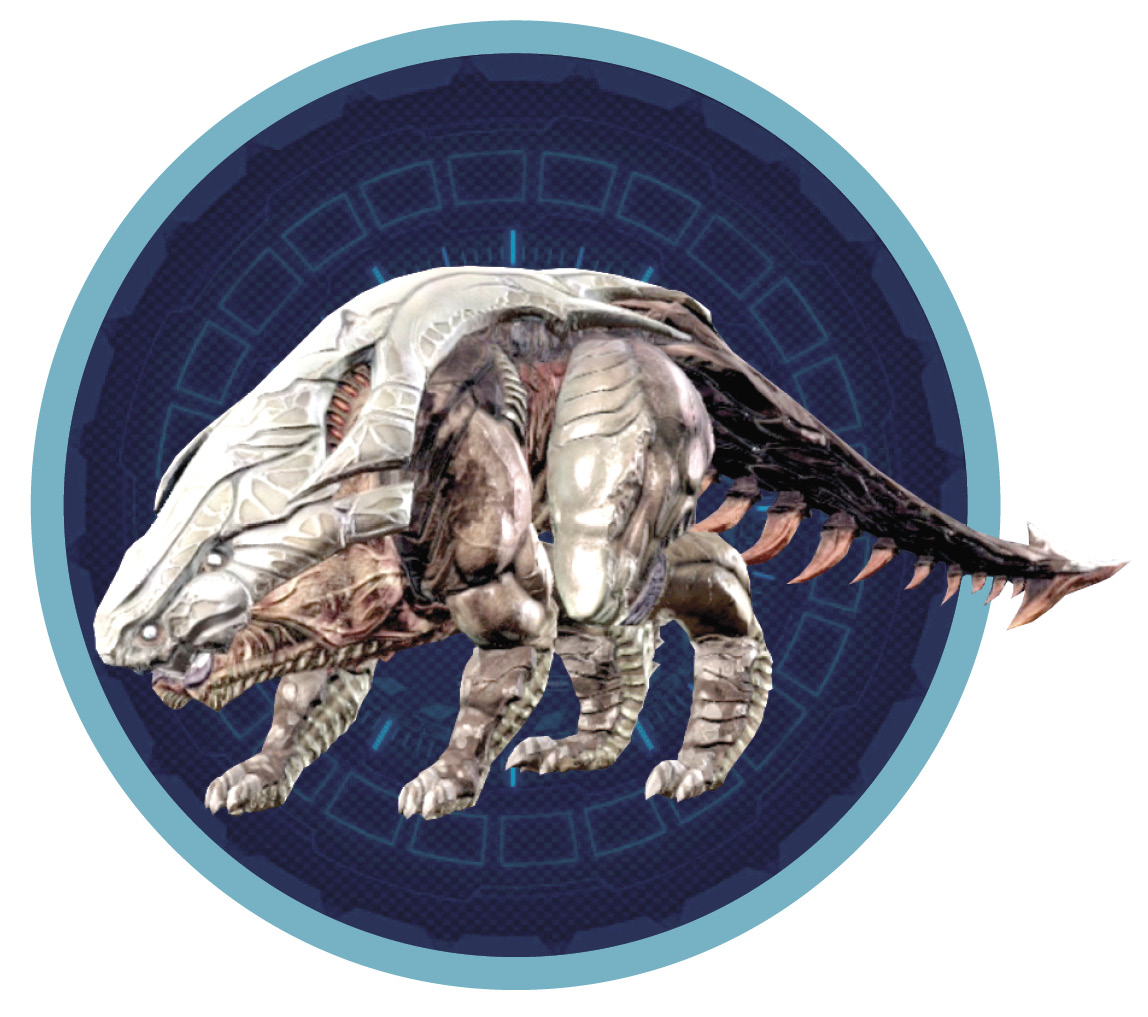
Concentrate your efforts on one callow grex at a time to take them out quickly, then turn your attention to the elder grex. This battle is simple and straightforward, and won’t be tough if you and Elma are at least level 6.
With your path to New LA unimpeded, go to the elevator, head up, and Elma will formally introduce you to Mira’s first—and only—human city.