
Xenoblade Chronicles X Guide A Primer for Prospective Citizens of Mira
Seeing the World
In order to survey planet Mira, you’ll need to explore it—step by step, mountain by mountain.
The Helpful HUD
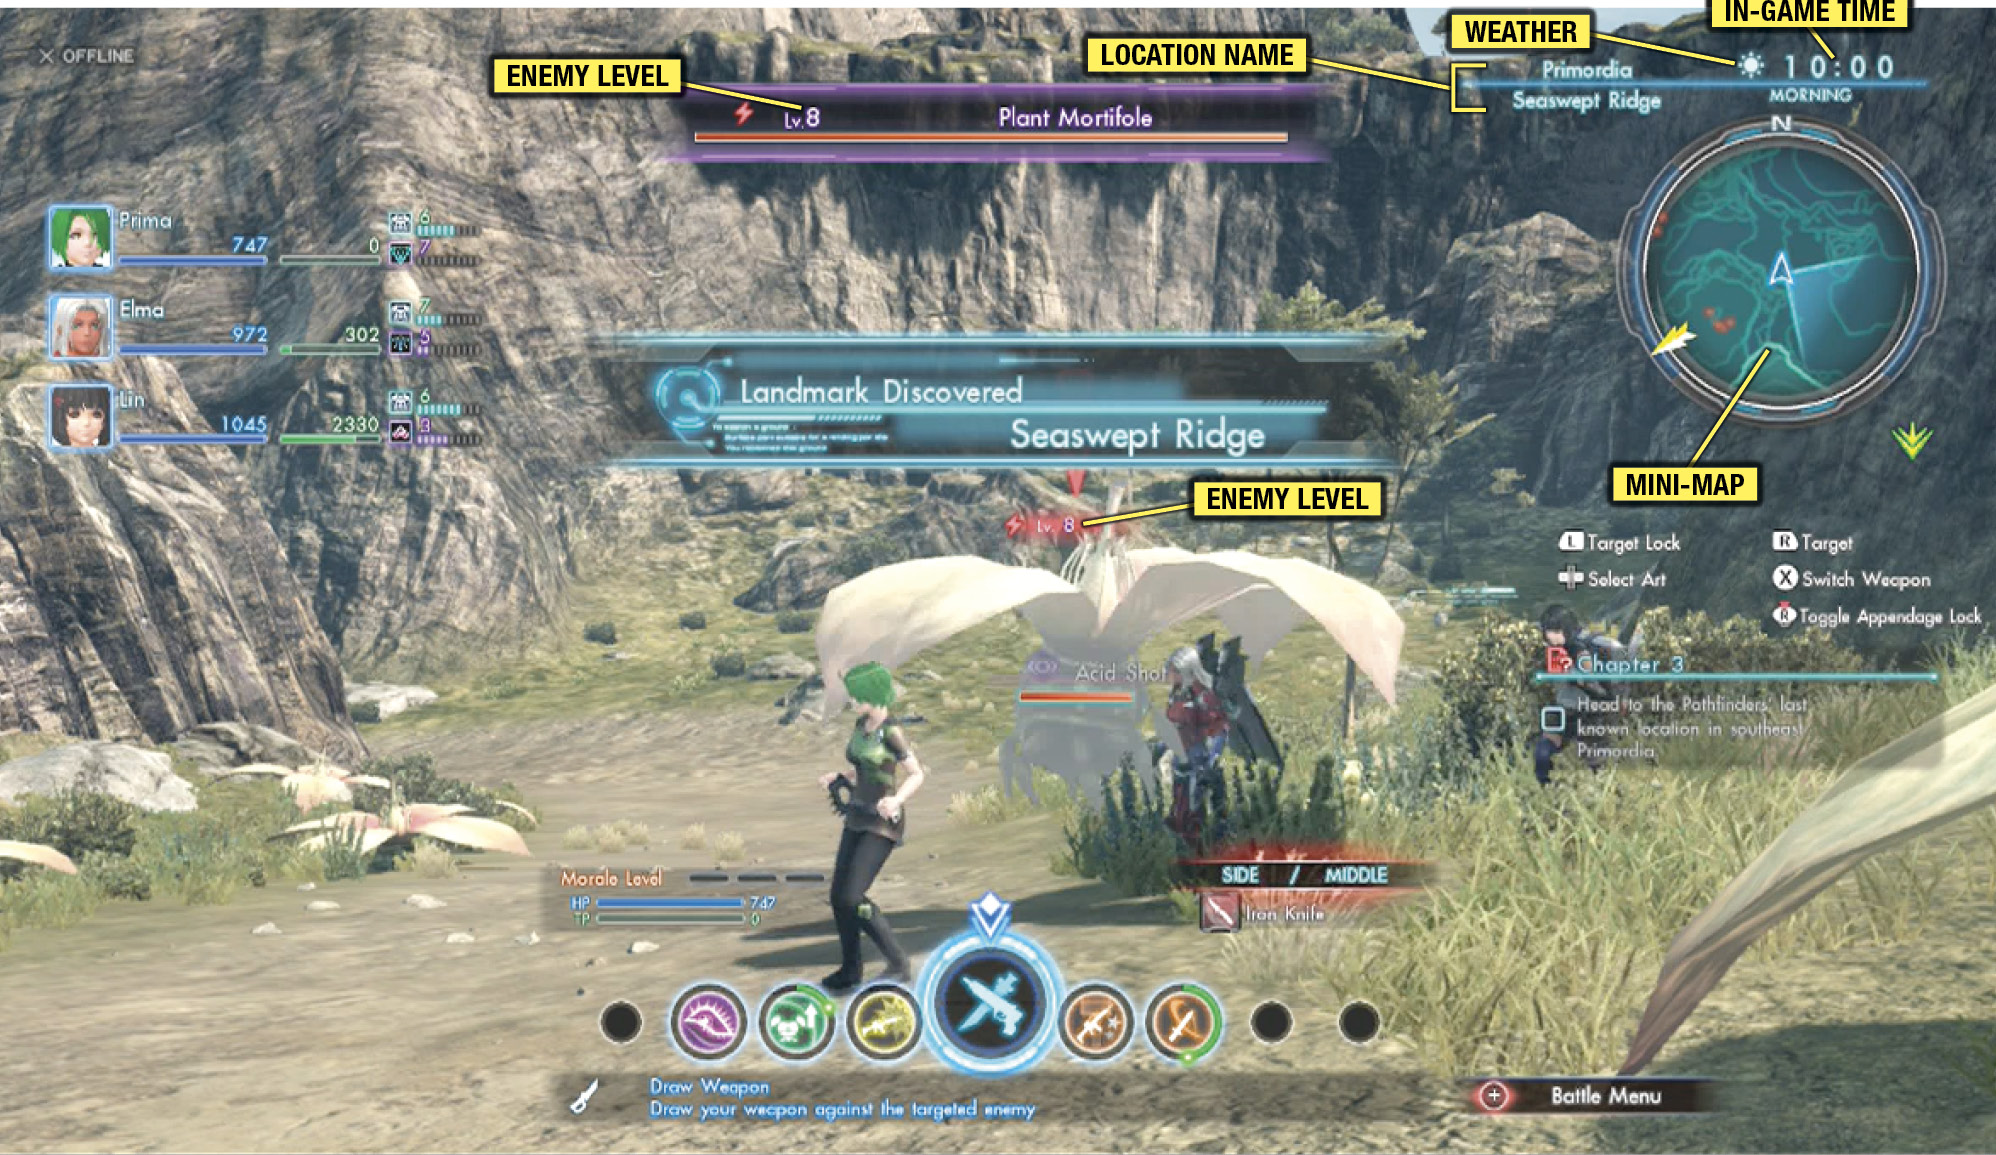
The HUD gives you several pieces of information to help you keep your bearings as you explore Mira.
| Location Name | Where you are. The overall region name is above the line, while the area name is below the line. |
| Weather | Mira is host to all sorts of weather depending on the time of day and the region. Weather also often comes packaged with buffs and debuffs, so it helps to keep an eye on the reading. |
| In-Game Time | Mira has a day-night cycle. Some missions can only be taken at certain times of the day. This also applies to the appearance of certain indigens. |
| Mini-map | Your quickest tool to let you know where you are and where you’re going. |
| Enemy Level | Keep a close eye on this to make sure that the enemy you’re encountering is something that can be handled by your party! |
The mini-map also uses these helpful icons:
 Location and direction
 Current destination
 Enemy
Enemy
 Field access point (such as a treasure box)
 Rest spot
Locations
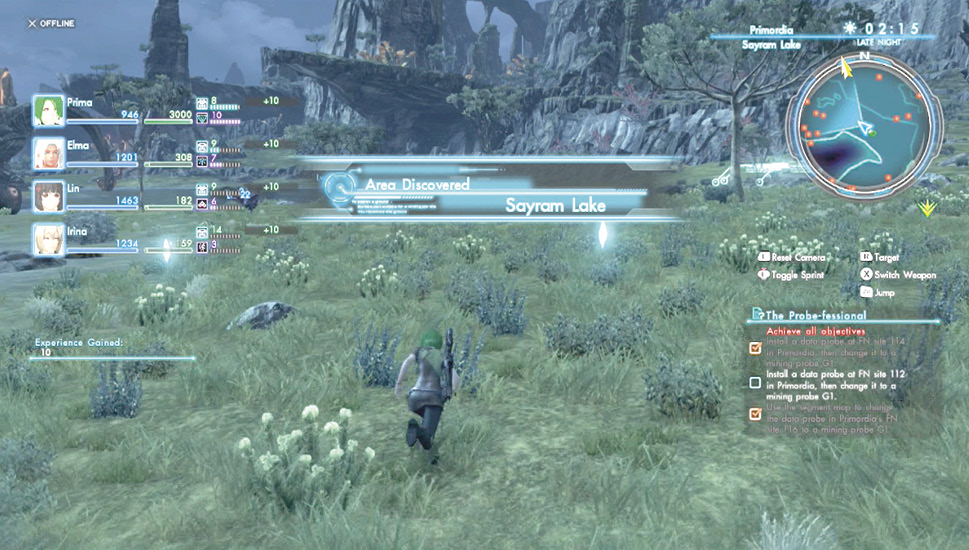
Mira is full of sights and views to take one’s breath away. Keeping them catalogued is also the only way to be able to efficiently perform one’s job as a BLADE. Locations fall under several classifications:
| Region | A vast space, such as one of the continents of Mira, that contains landmarks and areas, both listed and secret. |
| Area | A smaller space within a region. Discovering one can gain you experience points. |
| Landmark | A symbolic location. You can gain experience points and battle points for discovering one. |
| Unexplored Terretories and Scenic Viewpoints | These are hidden—hence the name. As such, you can gain lots of experience for finding one! |
| Base Camp | These are scattered all across Mira, and they allow you to change the time of day at the rest spots located therein. You can gain battle points for discovering one. |
| FrontierNav Site | Plant probes at these locations to survey the planet. You’ll gain experience and battle points for discovering one of these. |
Follow the Follow Ball!
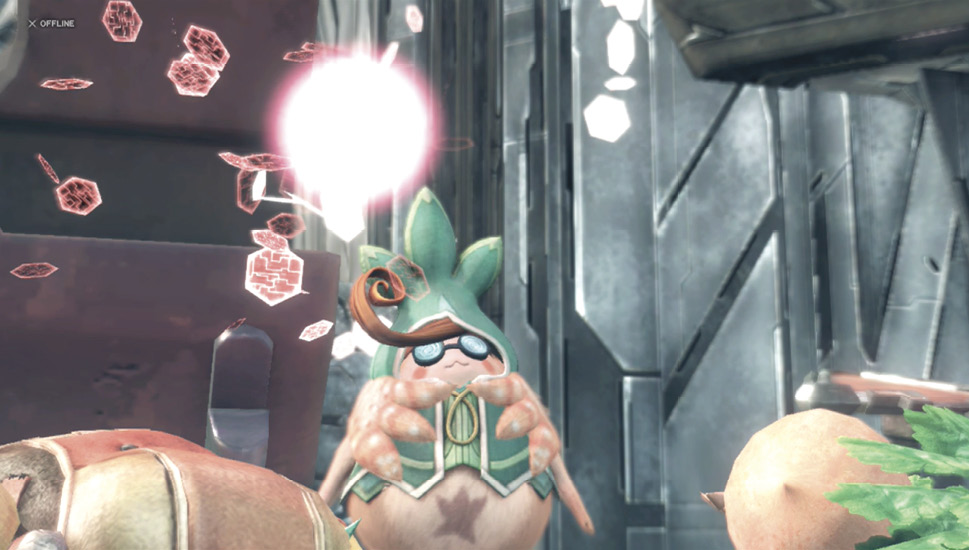
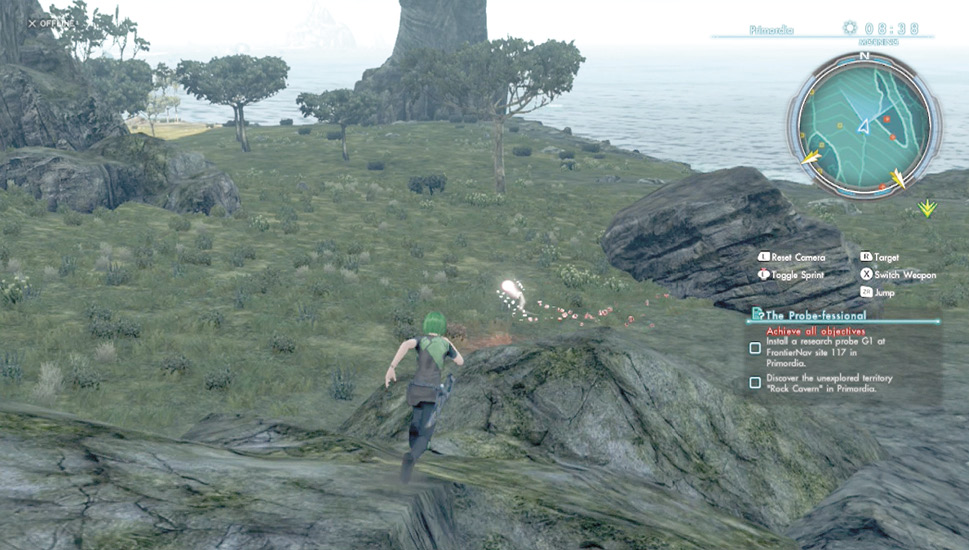
You gain use of the Follow Ball after Chapter 3 of the main story, and there’s no better way to get your bearings! Set a navigation target for a mission, then hold (R) and press (X). The Follow Ball will, 99 percent of the time, zoom off in the best path toward your objective. For the 1 percent of the time when it gets lost, simply activate it again.
Sadly, this means that during missions where navigation targeting is disabled—such as item collection missions—the Follow Ball will be unavailable. However, that’s what the Collectibles section in the Data chapter of this guide is for. Don’t hesitate to use it!
Open Those Treasure Boxes!
Treasure boxes are littered all across Mira, from New LA to Cauldros. They can look like anything, from indigen nests to broken-down vehicles to…piles of dung. If you see one, run up to it and press (A) repeatedly to open it. Note that some treasure boxes require certain field skill levels. See the Welcome to BLADE section of this chapter to learn how to raise your ranking to meet these.
Grab Those Collectibles!
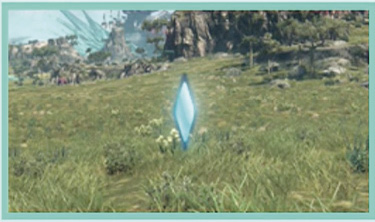
Collectibles show up as small shining baubles sprinkled all across Mira, with the exception of New LA. Collect all of these to fill out your Collectopedia and to complete missions that require them.
Take a Load Off on Rest Spots!
The large gray rooms at base camps and the red benches in New LA allow you to manipulate the in-game time by activating them. You can use this for time-sensitive missions or to fight powerful indigens that only show up at night.
Indigens Are Everywhere!
What Are Indigens?
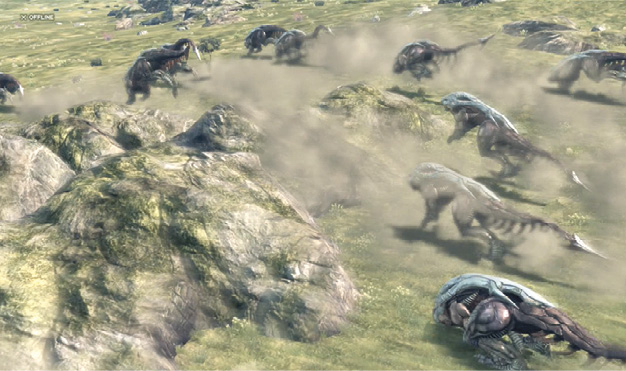
“Indigens” are the creatures “indigenous” to the planet Mira. They are untamed and usually rather dangerous. Some will keep to themselves, but many will attack on sight or if they hear you approach.
Gauging Indigen Strength
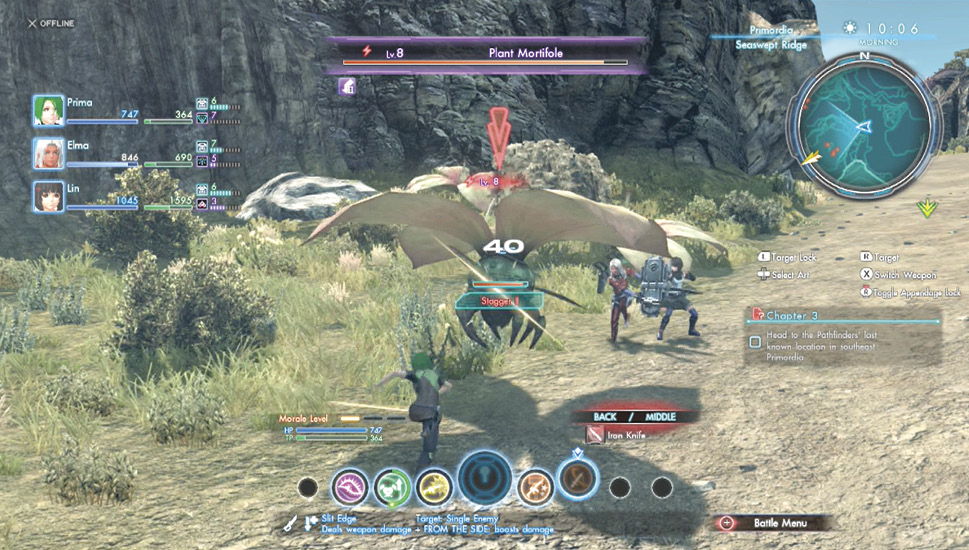
You can see how strong an indigen is by examining the color of its name and level number (accessible by coming into view of an indigen or highlighting one directly). From lowest to highest, the threat level goes gray > purple > blue > green > yellow > orange > red. An easy way to keep this in your head is to think of the colors of the rainbow, but in reverse—plus gray.
Enemy Sizes
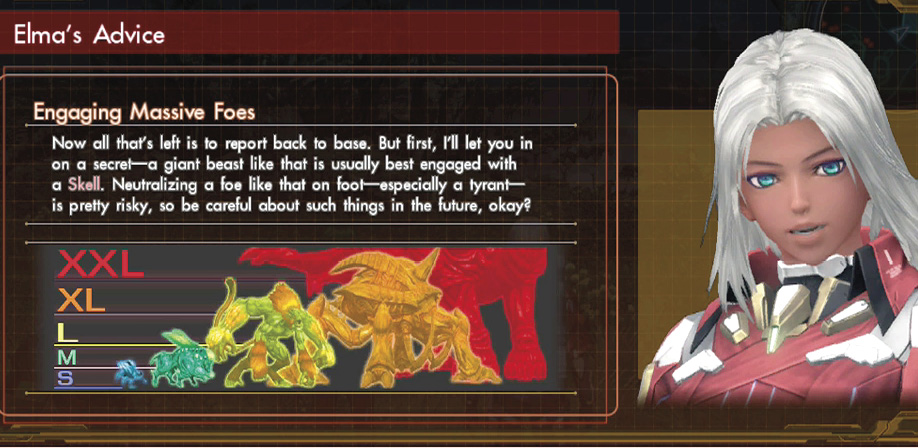
This applies to all enemies, not just indigens. There are five grades of enemy sizes: S > M > L > XL > XXL. The bigger the enemy, the tougher it is to take down, regardless of level parity. You’ll want to take the biggest enemies on in a Skell. Note that there are enemies out there that dwarf even Skells!
How Indigens Detect You
Most indigens detect you and attack based on two factors: sight and sound.
 Visual-type indigens will attack you if you enter their field of vision. Do your best to step around or behind them to progress.
 Auditory-type indigens will attack you if you wander too close to them—especially while sprinting. Give them a wide berth.
The Threat of Tyrants
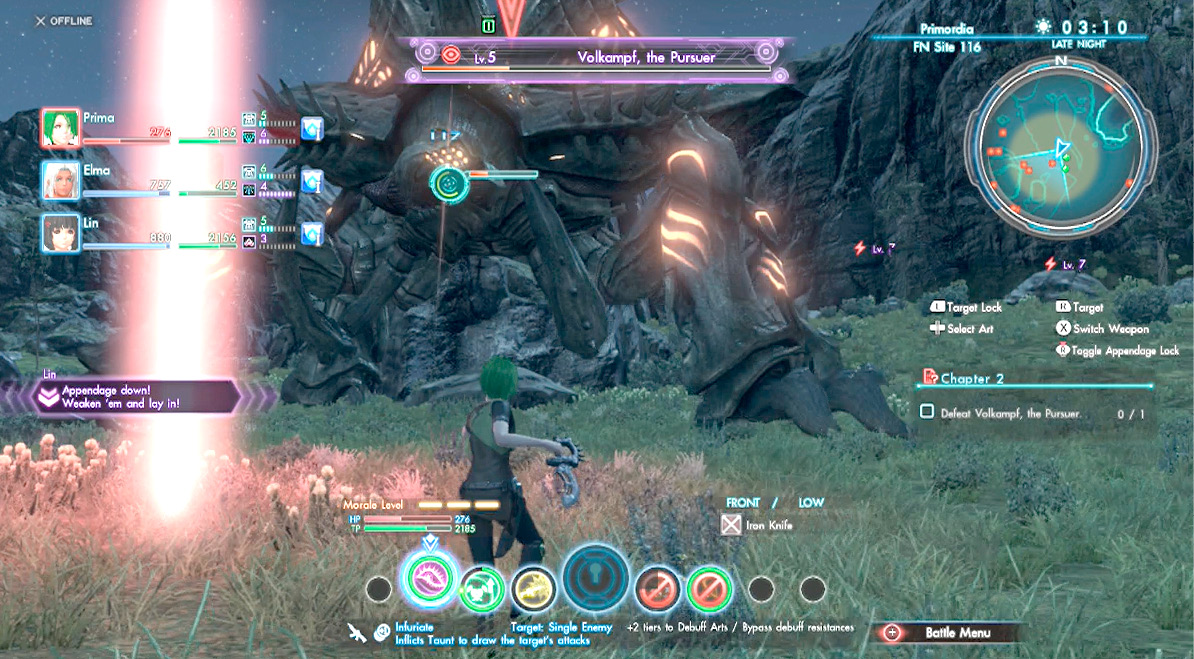
Tyrants are powerful indigens—often super-powered versions of normal indigens. Even if they are your size or level, you should never underestimate them, as they tend to be far more powerful and able to take far more punishment than a standard enemy of the same size and level. Beating a tyrant nets you special rewards, so be brave whenever you think you stand a chance.
|
Indigens won’t be your only enemies on your Miran adventure. You can view a rundown of the enemies you’ve encountered in the Enemy Index menu. For a complete list of indigens and other adversaries, check out our Enemy Index in the Data chapter. Meanwhile, for more information on planet Mira in general, with detailed maps, visit the World of Mira chapter of this guide, as well as the Map Segment Contents section of the Data chapter. Careful—the Data chapter contains massive spoilers! |