
Xenoblade Chronicles X Guide The Miran Unification Quest
Chapter 5: Ma-non Maneuvers
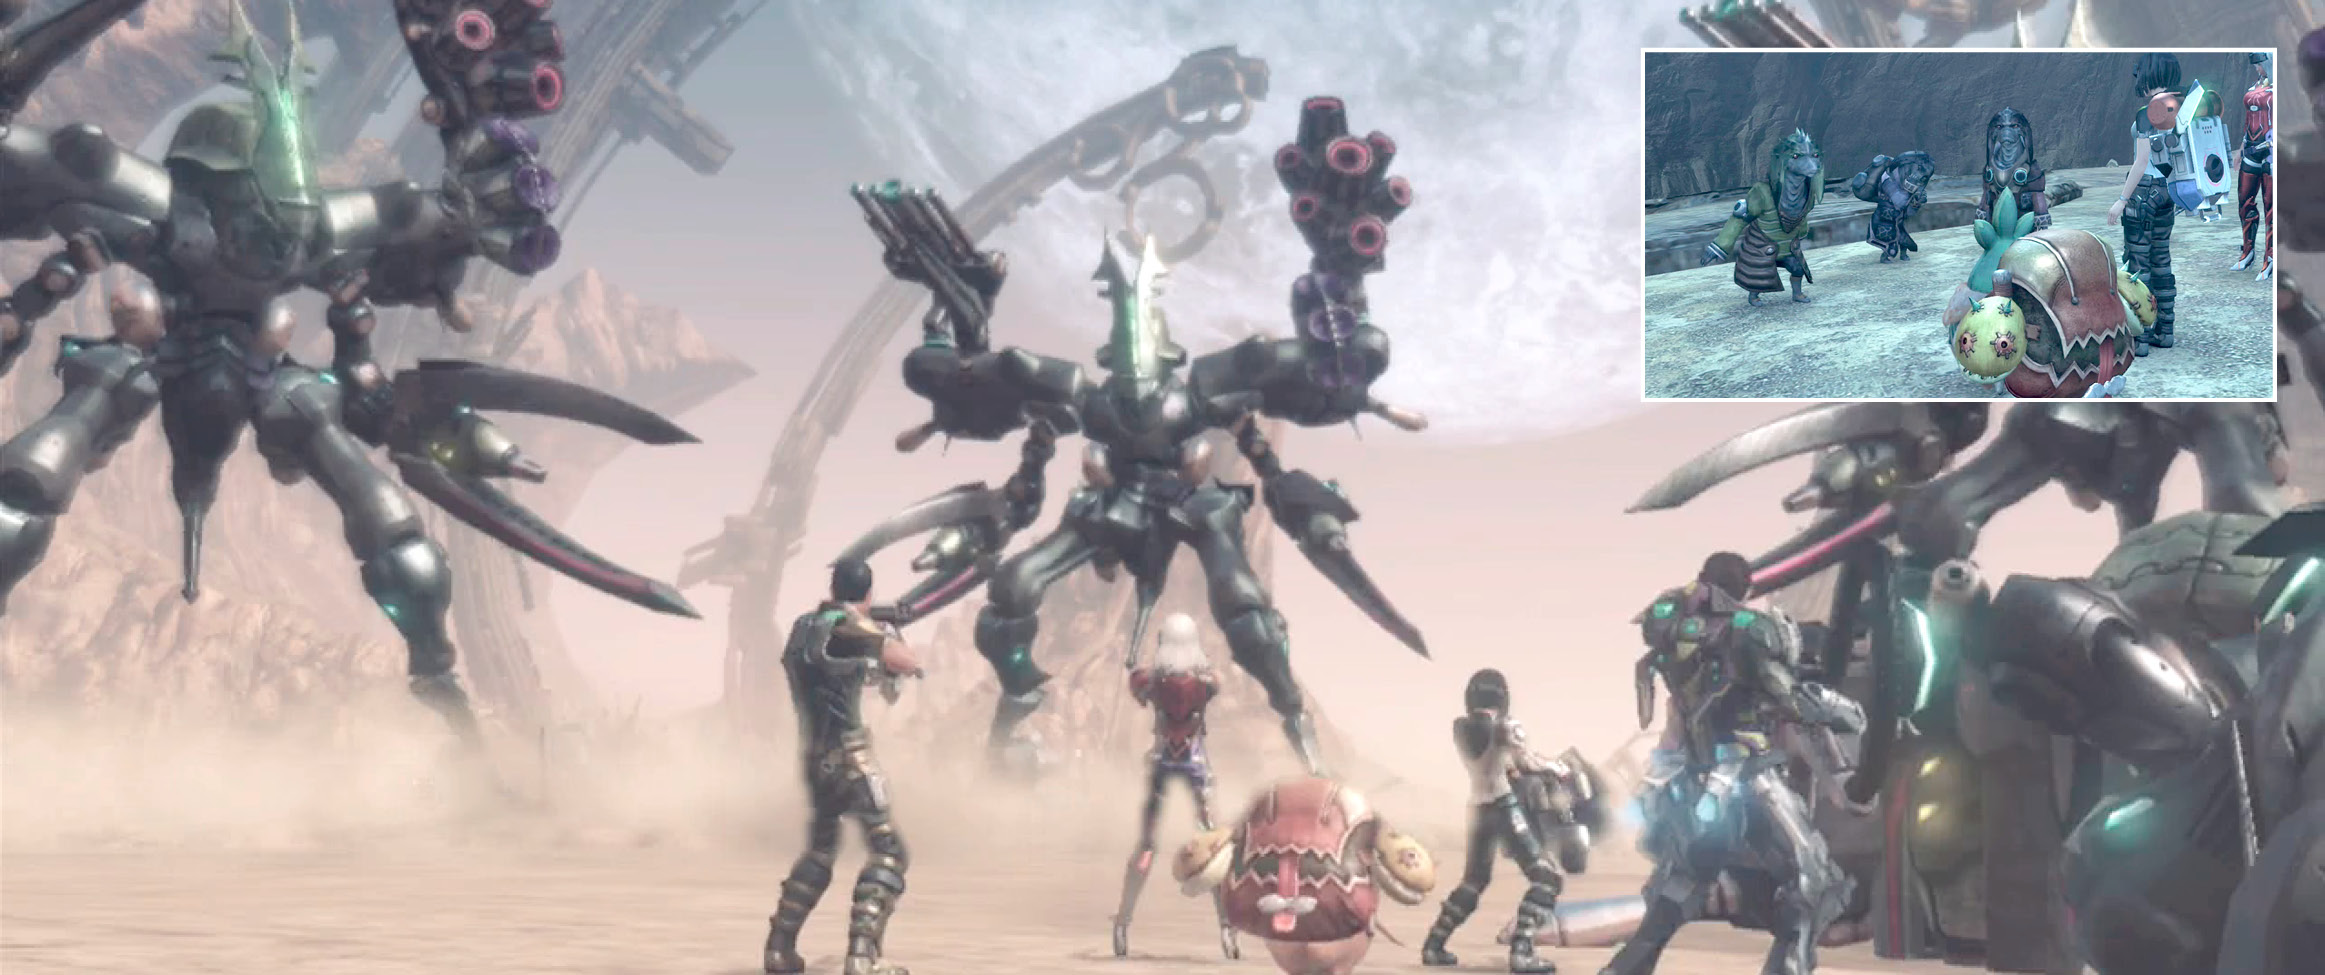
BLADE makes inroads into the desert continent of Oblivia. Sand, sand, more sand, and…friendly technologically advanced intelligent life? It’s more likely than you think!
Chapter Prerequisites
- Install a data probe at Oblivia’s entrance.
- Complete the “Renewed Will” affinity mission.
- Complete Chapter 4.
- Required Members: Elma and Lin.
- Restricted Members: Irina and Gwin.
Main Mission Walkthrough
Go ahead and choose your meal so your briefing can start. A double mission order from the higher-ups leaves Irina and Gwin short-handed—thus, you and the rest of Team Elma are called to pitch in.
The extra mission? A helpless ship is in distress and under Ganglion fire. It’s time to do what you do best: make the enemy of your enemy your friend.
New Story Mission: Chapter 5
Investigate the unidentified xenoform spacecraft spotted in Oblivia and look for any other interesting objects.
Objective 1
Head to Ingress in Oblivia.
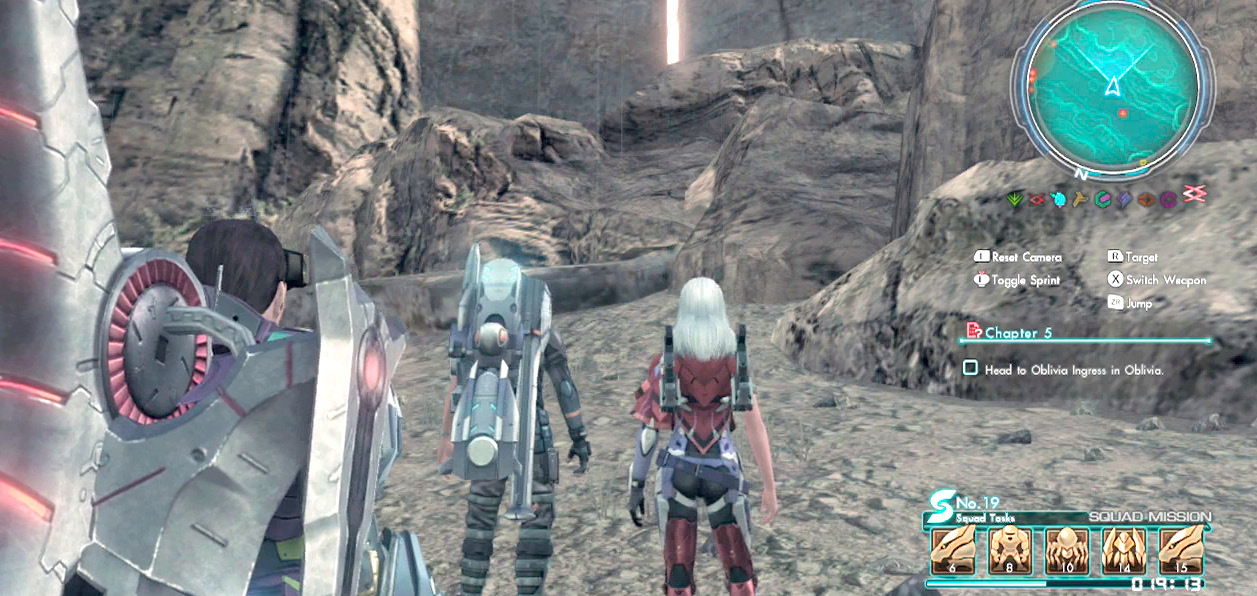
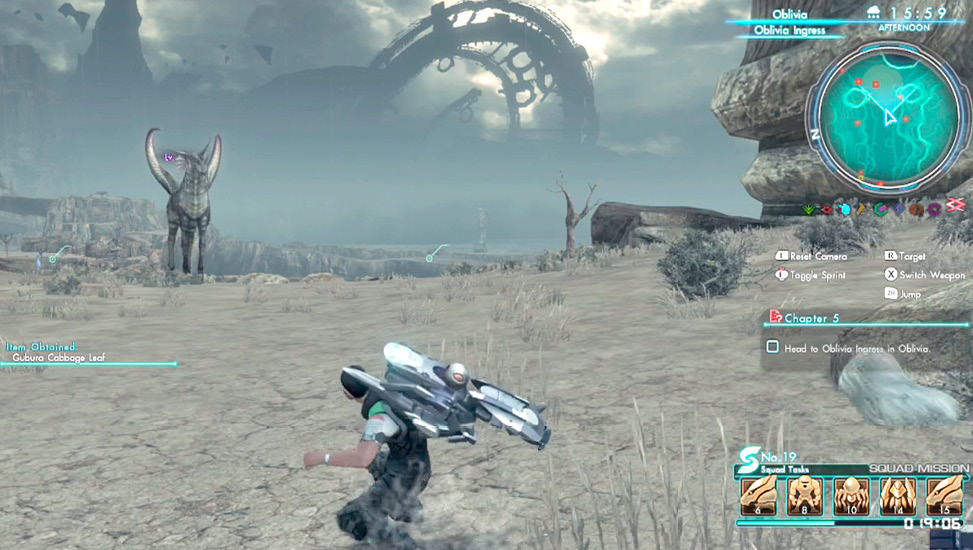
Your destination this time is Oblivia, the desert continent to the east of Primordia’s borders. Gear up, explore eastward, fight some indigens to raise levels if you wish, and then head to the marked point on your mini-map.
You won’t be walking very far—Oblivia is actually very close to the border. Once you make it, a cutscene triggers, introducing you another alien race seemingly in conflict with the Ganglion. Tatsu calls them the “Ma-non.”
Objective 2
Talk to the mysterious xenoforms.
If you’ve been doing your best to only be playing this game’s critical path, then you will be grinding for levels here. There’s no way around it. Get your party up to snuff and push forward until you make it to the ridge where the Ma-non are.
Once you make it to the Ma-non and convince them that you’re not working for the Ganglion, they ask you for assistance in destroying three Ganglion turrets scattered across the western leg of the continent. Doing so frees the Ma-non’s spaceship.
Objective 3
Destroy the first turret.
Objective 4
Destroy the second turret.
Objective 5
Destroy the third turret.
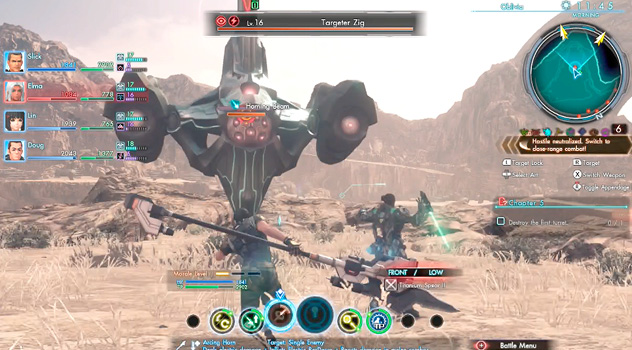
The three “turrets” are actually three enemies called targeter zigs. One can be found near Cliffside Camp, and two can be found at the northern ends of Mesa Fortress. Navigation isn’t a problem with the Follow Ball at your disposal. What is a problem is that both of these are highly fortified Ganglion strongholds[md]Mesa Fortress even more so. Expect troops at least five levels higher than you unless you’ve been taking your time grinding up to this point. You have to make a decision: stealth, or combat?
Stealth maneuvering requires lots of stepping around enemies, as well as making good use of Elma’s Shadowrunner Art, if you have it, to slip past Ganglion troops. This method takes less time, but it also means less fighting and less leveling up.
Meanwhile, if you go in guns blazing, you’ll most assuredly get your party wiped out multiple times on your way to the turrets, and it will take more time to accomplish your objective. However, you will also slowly level up and be better equipped to take on the challenges ahead.
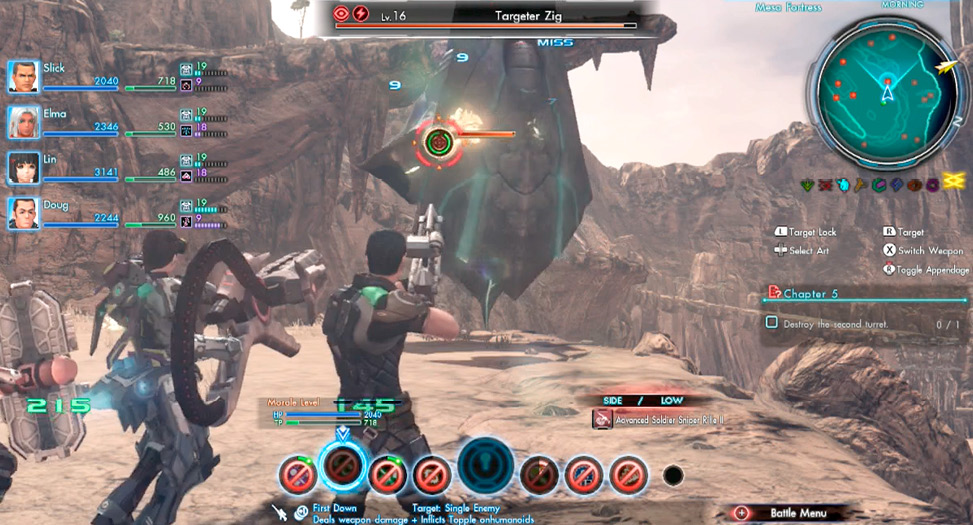
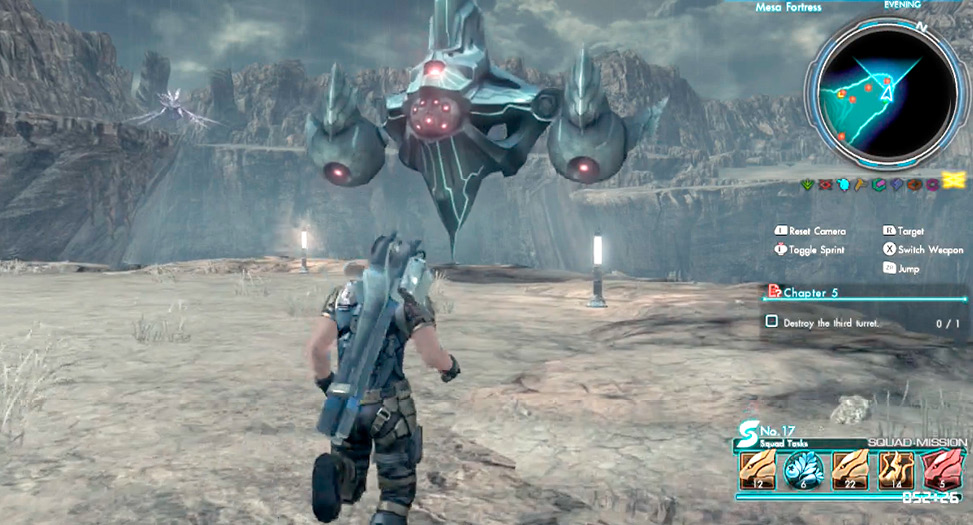
Whichever option you choose, the important thing to remember through all of this is to not give up. The more Ganglion you defeat, the stronger you’ll become, and you’ll eventually be able to break through their lines.
Objective 6
Return to where you encountered the Ma-non and make a report.
Objective 7
Head to Oblivia’s Ruins on the Butte and rescue the Ma-non.
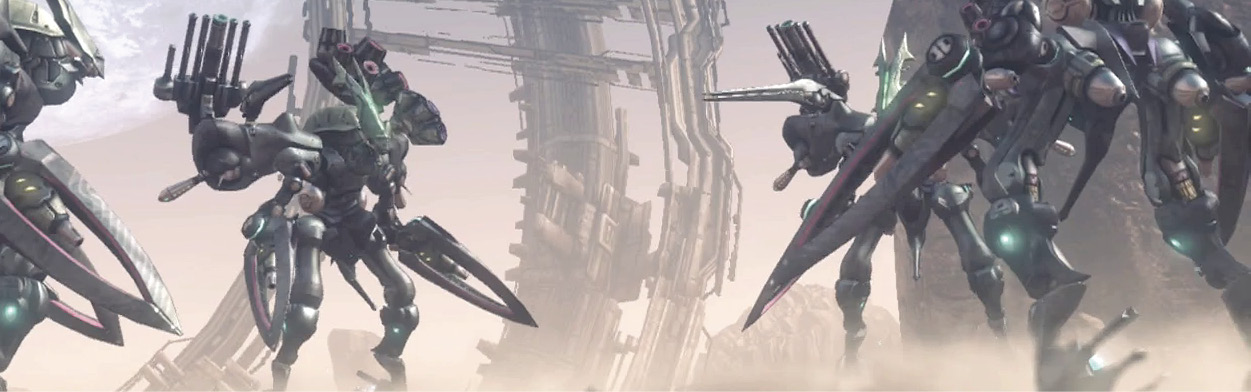
Ganglion Skells are menacing the Ma-non, threatening them while demanding their help. Team Elma decides to punish them for bullying the weak.
Of course, this means that you’ll be fighting Skells while on foot. The good news is that they’ll be around or even below your party’s level, since you’ve had to level up by raiding Ganglion strongholds while going for the turrets. The bad news is that you’re still fighting Skells while on foot. And if you thought the pugiliths were big, you’re in for some perspective.
Worry not, though. It can be done.
Objective 8
Achieve all objectives:
- Defeat the platoon Qmoeva.
- Defeat the platoon Qmoeva.
- Defeat the chief Qmoeva.
Platoon Qmoeva x2
Lv. 18: Enemy
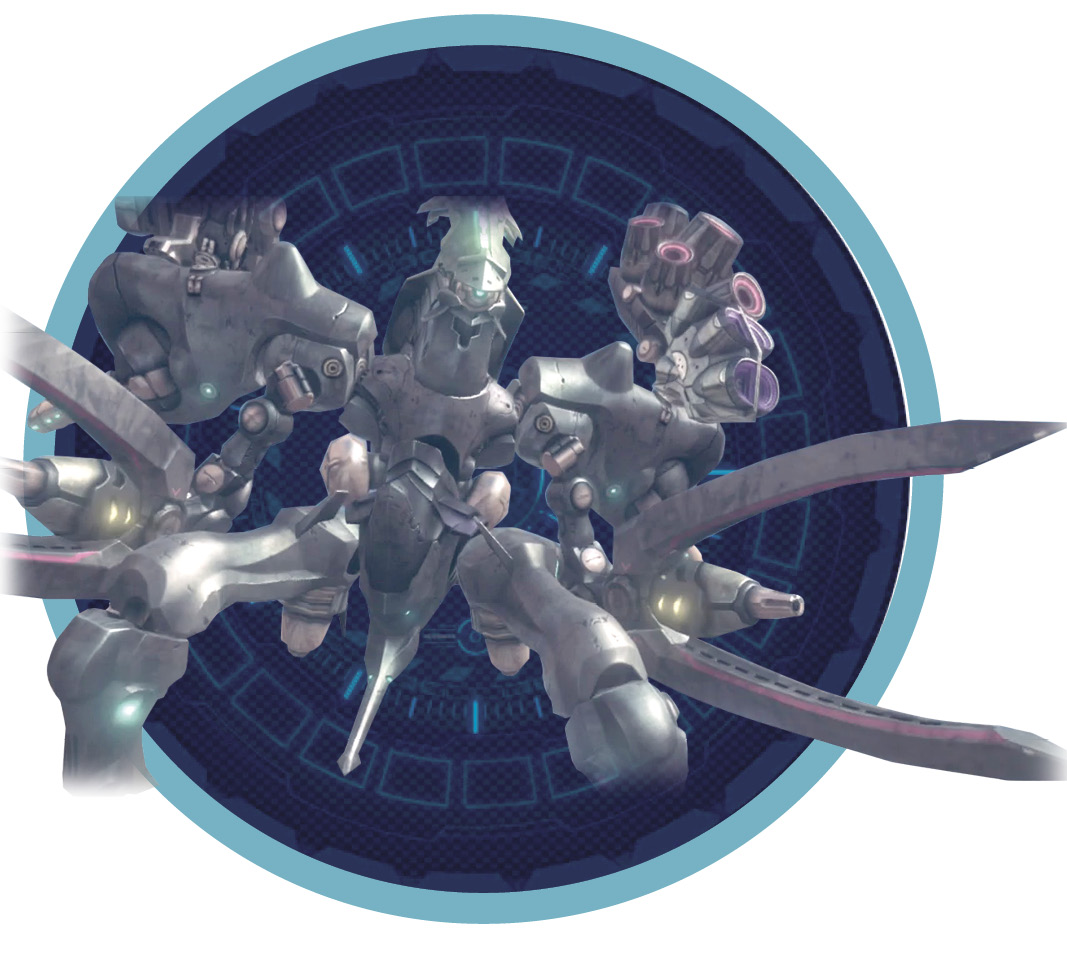
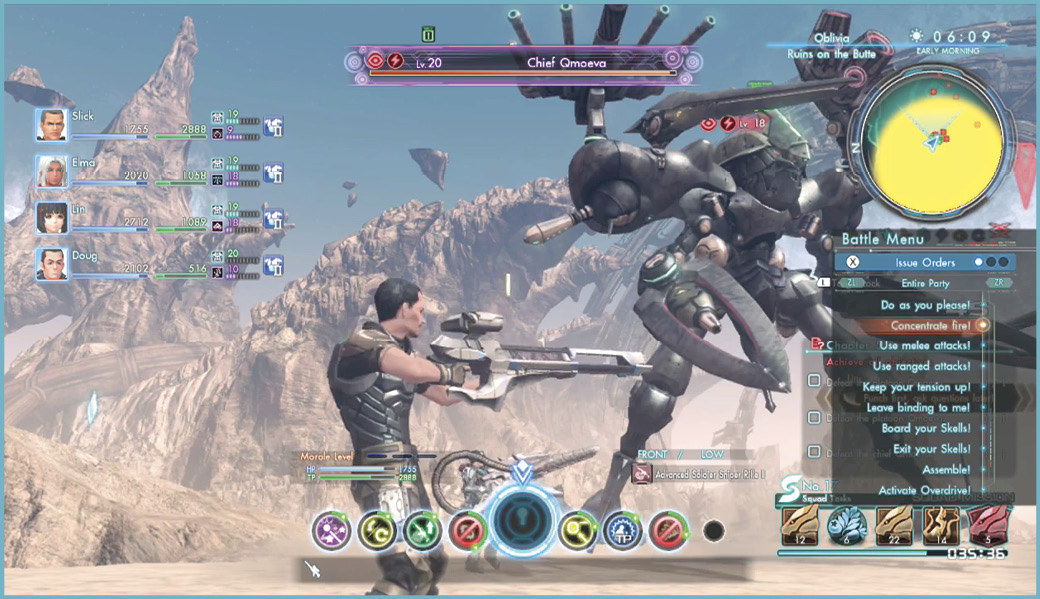
Chief Qmoeva
Lv. 20: Boss
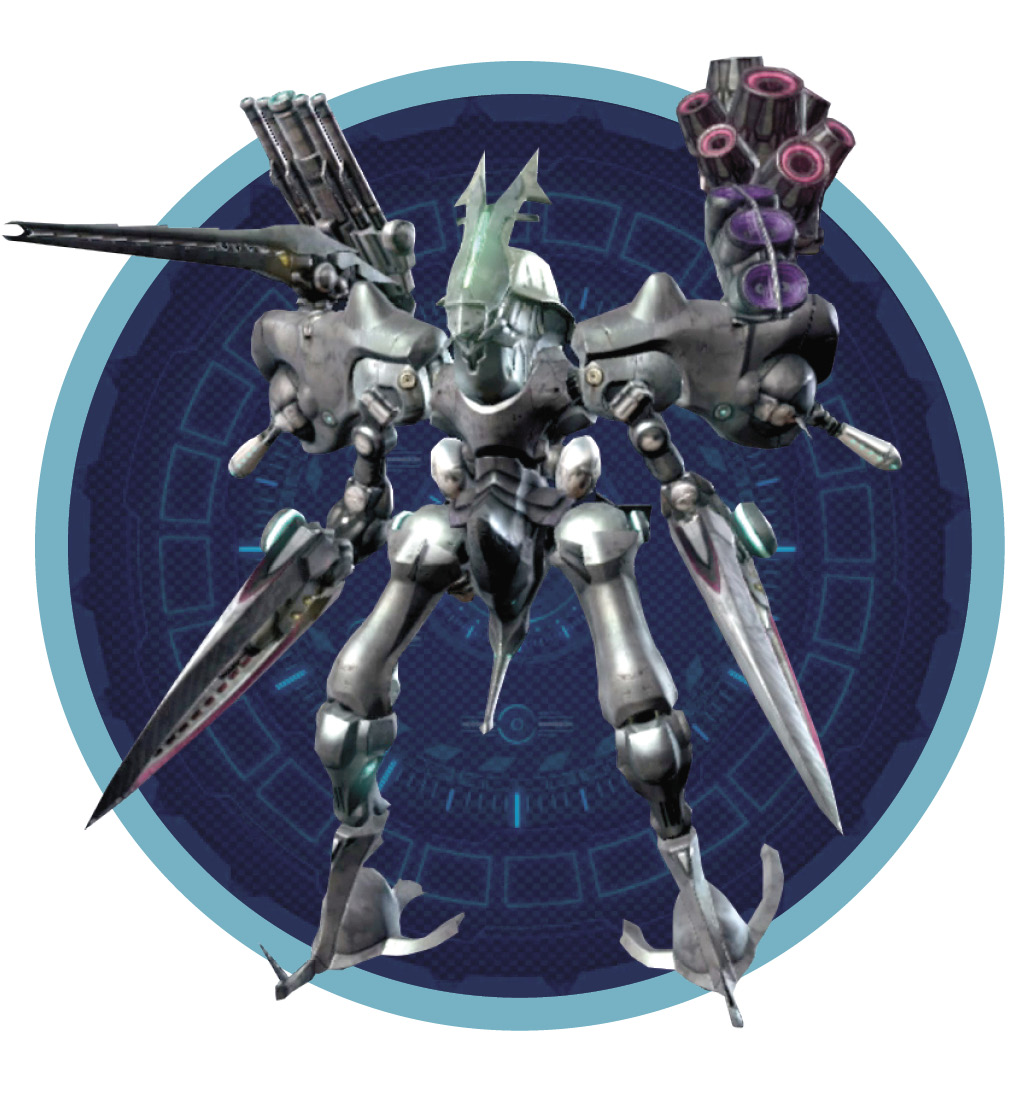
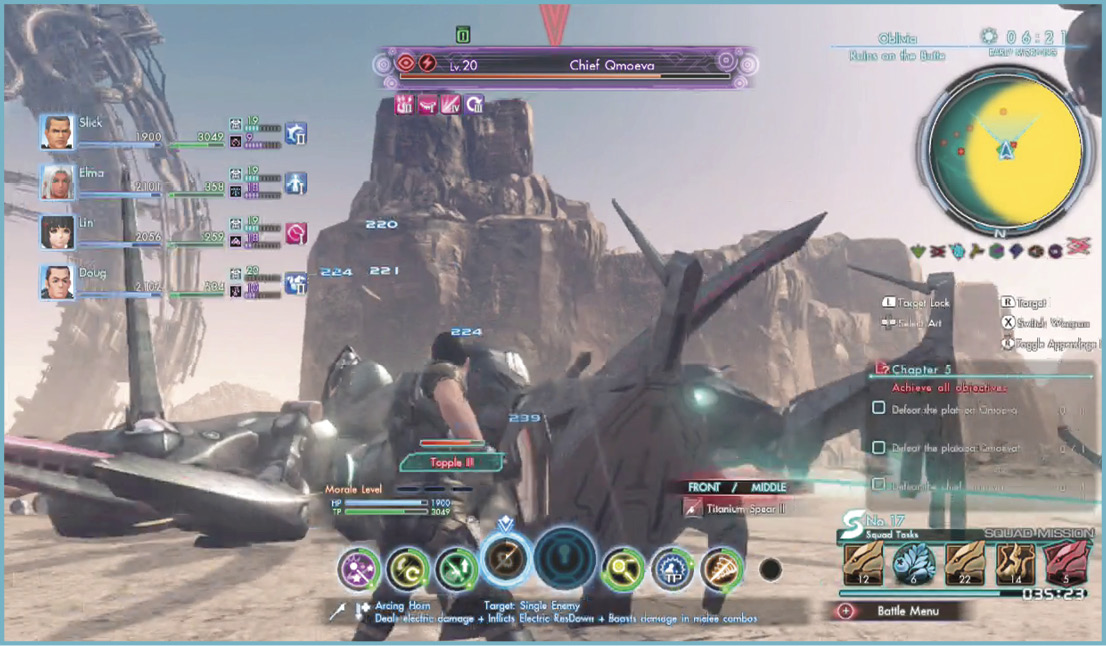
Fight the platoon Qmoevas first, as they are likely laughably below your party’s current level. If you want to make things go even faster, tell your party to concentrate their fire on them.
Even with their lower levels, the Qmoevas can take a while to go down due to their size. If any of your party members have Arts that inflict Topple, the battle will go that much more smoothly. You’re also a lot faster and more maneuverable than they are, meaning you can get in more attacks than they can in the same amount of time. In exchange, they hit hard. Press your advantage, mind your party’s HP levels, and you’ll pull through.
Objective 9
Report to Commander Vandham at the entrance to New LA’s BLADE Tower.
There’s not much to do here but be debriefed. However, since you helped out the Ma-non, they have worked out a friendship treaty with humans, and their ship moves into New LA as a package deal, bringing their technology with it, as well as the Candid & Credible R&D team for the Armory.
Oh, and one more thing you’ll really like.
Mechanical Advancement: OverdriveCompleting Chapter 5 gives you access to one of the absolute coolest mechanics in the game: the Overdrive! With it, your body or your Skell (once you get it) can be pushed to new heights, allowing for more and faster attacks in battle, as well as more powerful ones. For a complete guide to how Overdrive helps in combat, check out the Combat section of the Primer. 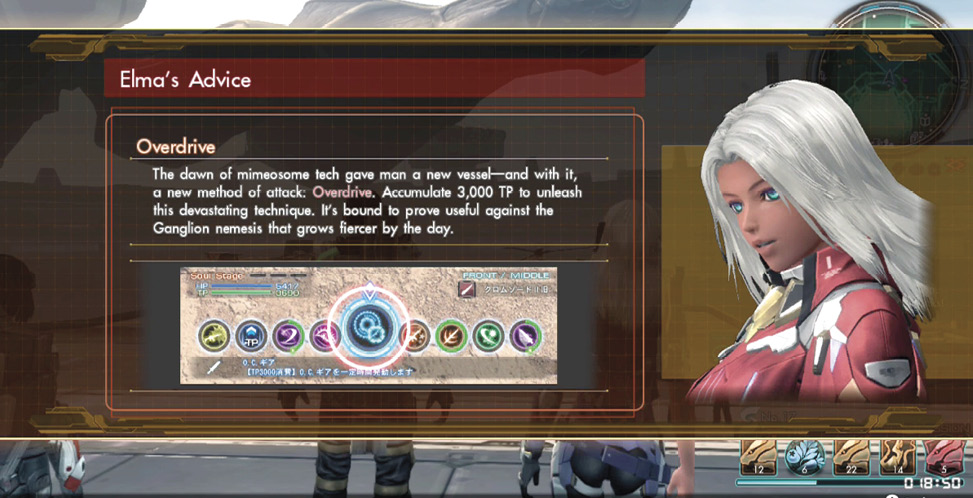 |