
Xenoblade Chronicles X Guide A Primer for Prospective Citizens of Mira
Welcome to Blade
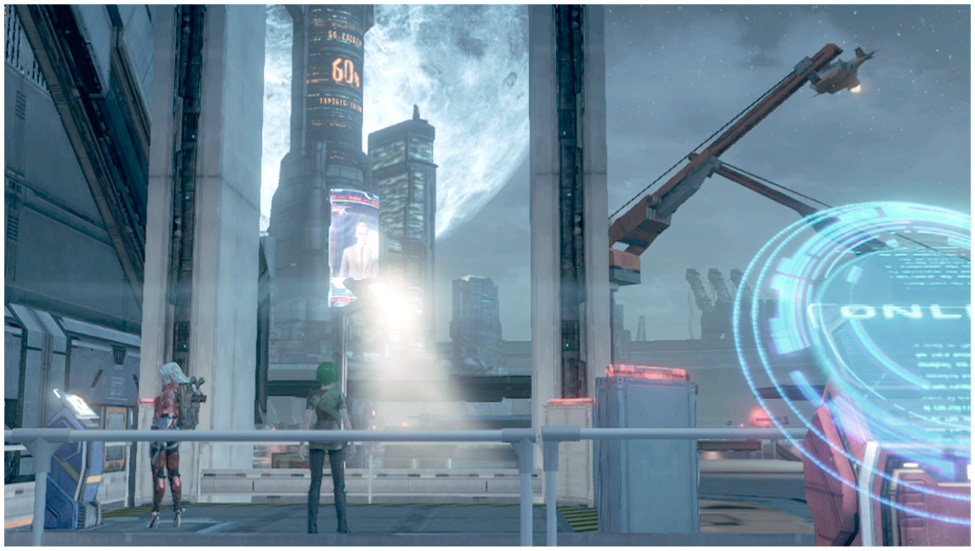
Soon after beginning the game, you join a military organization known as BLADE. BLADE is responsible for exploring Mira and keeping the peace in various ways.
|
BLADE is an acronym, but you’ll have to play the game to find out what it stands for. It’s…actually rather sobering. |
The Levels
By working as a member of BLADE, you earn division points. Your BLADE level increases as you reach certain division point thresholds. You can gain division points faster by performing tasks promoted by your division; for example, the Pathfinders emphasize exploration.
The Divisions
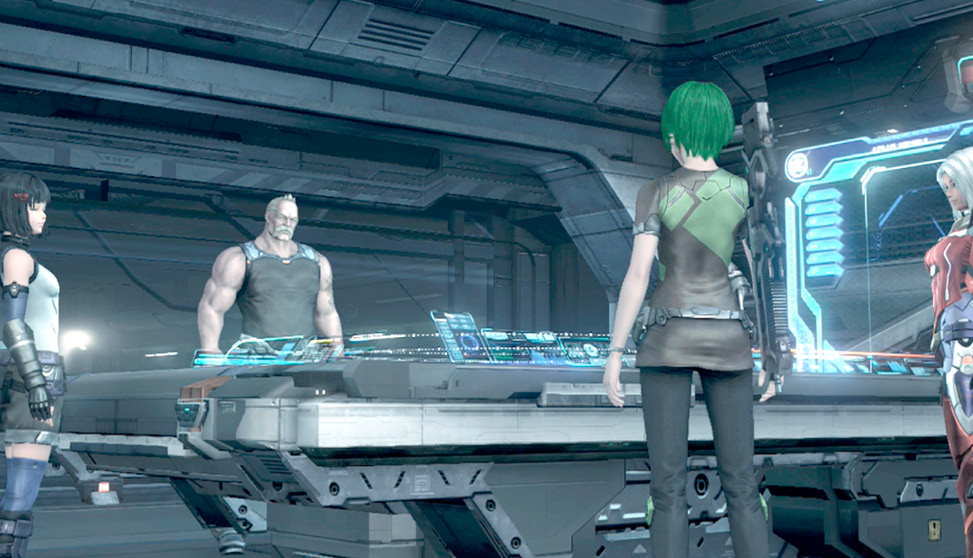
Shortly after joining BLADE, you’re asked to choose one of its eight divisions. Each division has a chief role but is not restricted to that role. Choose what division you want to join according to your preferred play style. Roles that are “promoted” will earn you BLADE division points at a faster rate; for example, you can gain division points more quickly by planting probes as a Pathfinder or by defeating tyrants as a Harrier.
Divisions can also lend different types of support out in the field. Approach a base camp bearing a division’s symbol and ask for their support if you so wish. That division will then provide automatic and passive bonuses that take effect while you are in battle.
If you are playing online, you can change your division at any time via the Network Console in the BLADE Barracks.
The different divisions, their roles, and support types are as follows.
Pathfinders
 This division promotes the installation of data probes and the finding of new locations. Pathfinders provide HP Support help, which recovers HP over time.
Interceptors
 Interceptors promote defeating the indigens and completing missions. The Ranged Master support from your fellow Interceptors increases the damage dealt by ranged weapons.
Harriers
 This division promotes defeating the indigens and tyrants. The Melee Master support increases the damage dealt by melee weapons.
Reclaimers
 Reclaimers promote retrieving treasure boxes and installing data probes. Their Drop Sensor support increases the chance of obtaining items from enemies.
Curators
 This division promotes gathering collectibles and defeating tyrants. Other Curators offer the Critical Master support, which increases the chance of landing a critical hit.
Prospectors
 Prospectors promote collecting resources and discovering new techniques. Their Defense Support decreases the amount of damage you take.
Outfitters
 This division promotes investing miranium in arms manufacturers and gaining R&D points. Outfitters provide R&D Support, which increases the number of R&D points you obtain.
Mediators
 Mediators promote completing missions and building good relationships with other players’ avatars. Their TP Support allows you to accumulate additional TP when attacking with Arts.
Survey the Planet
The World Map and Comm Device
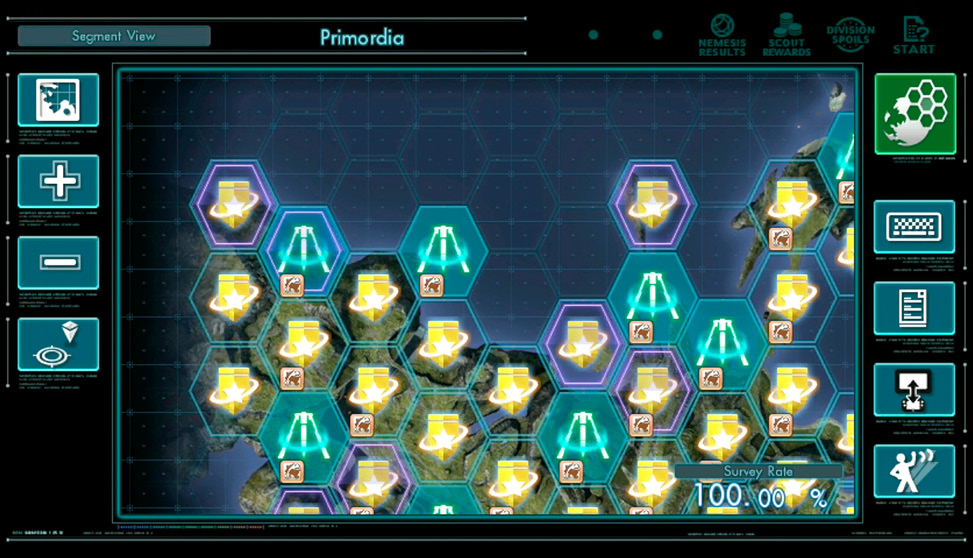
The world map of Mira is displayed on the Wii U GamePad and is divided into hexagonal partitions called segments. By touching and swiping these segments, you can navigate your way around the world, both on the map and in the game proper.
Different world map features will be available over the course of the game, with icons to match.
 Toggle display modes.
 Send a BLADE report (see the Social chapter for details).
 Turn the BLADE report display (which appears on the upper left corner of the screen) on or off.
 Display the game screen on the GamePad.
 Select an emote for your character to perform.
 Display the world/NLA maps.
 Zoom the map in or out.
 Focus the map on your character’s current location.
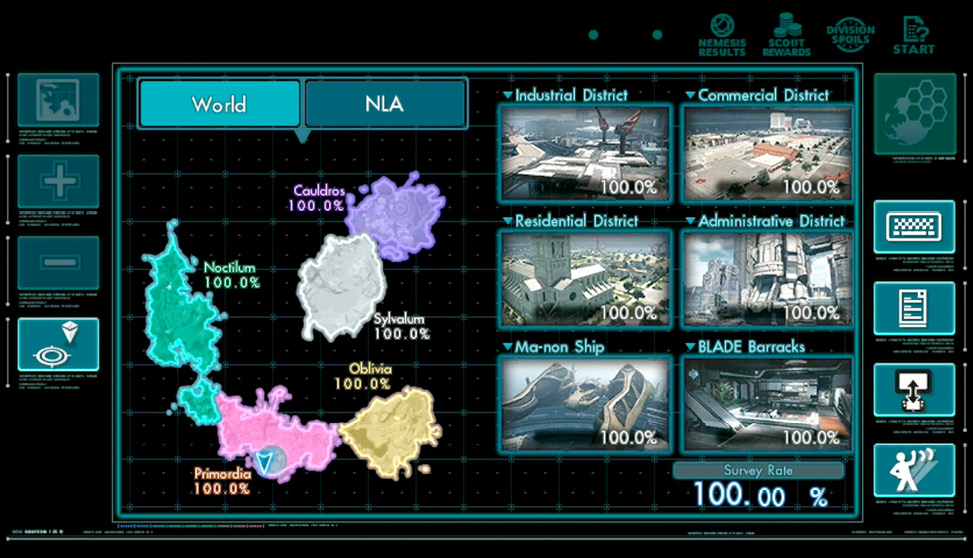
The survey rate is how much of the world you have explored. This will increase upon finishing heart-to-heart events, completing missions, installing data probes, and resolving segment recon objectives.
The comm device is also home to several alert notices.
 A story mission is available.
 There is a scout reward waiting for you. See the Social chapter for more details on this.
 There is a battle reward waiting for you. This applies to Global Nemesis battles. See the Social chapter for more details.
World Map: Segment View
The map screen can be viewed in three distinct ways, each of which provides different sets of information.
Segment view is the default view of the world map and the one with the most functions, such as fast travel.
 Denotes a potential FrontierNav site.
 Denotes a FrontierNav site with a data probe installed.
 Denotes a segment that can reached via fast travel. You can fast-travel by touching any location on the segment map that is specially marked with this icon, then touching the fast travel icon that appears at the bottom left of the map.
 Denotes a segment that has no information available on it yet. Plant probes to uncover these segments’ secrets.
Recon and Resolve
Segment recon consists of the activities that are possible within a certain segment.
 Denotes that there’s new segment recon to do. This icon usually happens upon hearing conversations from others in New LA or out in the field (for example, base camps). Touch the segment to find out its details.
 Denotes segment recon that has been checked (but not yet resolved). Finish the job! If a segment has outstanding activities, they too will be marked with icons.
 Denotes that a specific tyrant is located here.
 Denotes that a treasure box of note is located here.
 Denotes that a normal mission objective is located at the segment.
 Denotes that an affinity mission objective is located at the segment.
 Denotes a fully resolved segment, which counts towards your survey rate. Go for 100 percent in all territories.
World Map: Map View
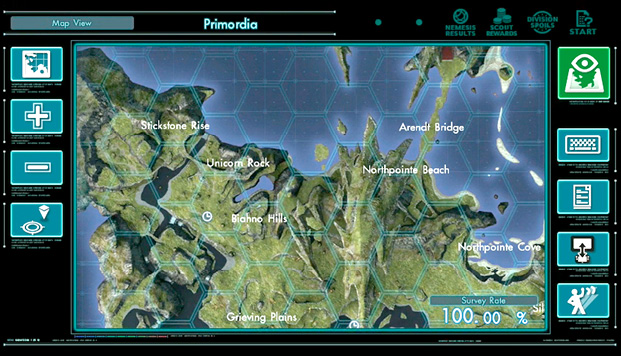
The map view is great for looking for landmarks as well as looking for rest spots where you can manipulate the time of day.
World Map: FrontierNav View
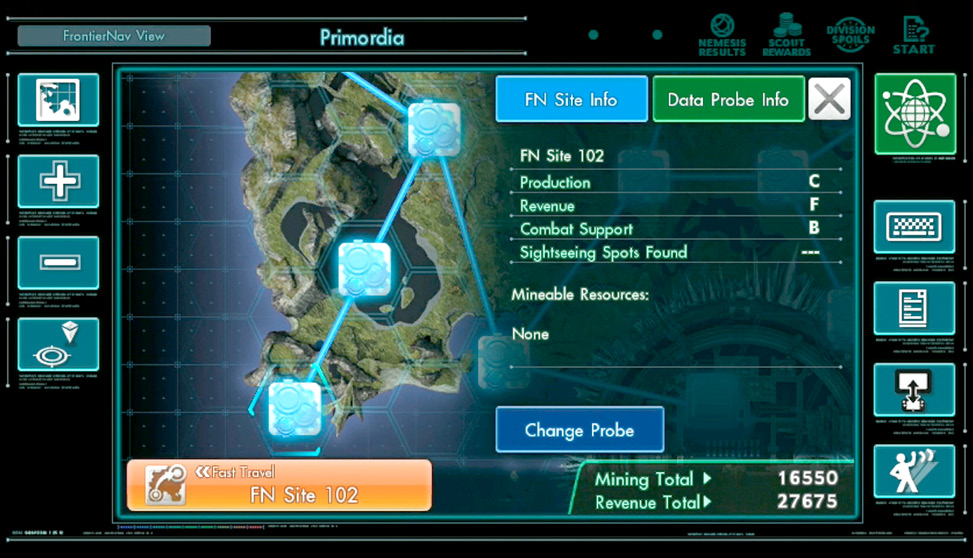
FrontierNav view allows you to view information related to the data probes that you’ve planted.
The number near a data probe indicates its grade, and if it’s circled, then it is part of a link combo.
Mining information is shown at the bottom right. Planting probes allows for the mining of miranium, as well as income from Miran tourism. The latter comes in the form of credits, which you can spend in places like Armory Alley. The two numbers denote how much of each you’ll receive automatically on a regular basis.
Touch any location that has a probe installed to display information about the probe and the FrontierNav site in general.
FN site info is a rundown of the segment’s potential—in other words, its yield when a corresponding type of probe is placed.
| Production | Refers to the amount of miranium that can be mined from the segment. |
| Revenue | How many credits the segment can generate. |
| Combat Support | How effective a battle probe will be in the segment. |
| Sightseeing Spots Found | The number of sightseeing spots discovered. Look for those secret landmarks! |
| Mineable Resources | Some segments have rare resources available to mine. You can see these here. |
Piece by Piece
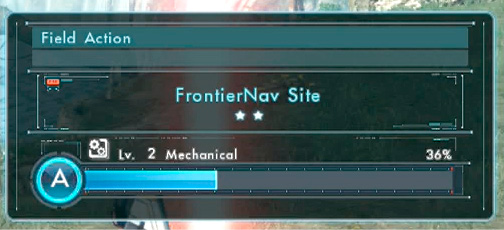
Cataloguing Mira is an essential task for humanity’s survival. It allows you to get all sorts of info, from types of terrain to mineable resources.
One of your overarching objectives in the game is to plant data probes at compatible points called FrontierNav probe sites. You’ll know a site by the distinctive beam of light shooting out of the ground. Approach the beam and press (A) repeatedly to plant the probe.
Once you install a data probe, that segment will be catalogued, as well as others around it, providing precious information and adding to your segment recon rate. Go for 100 percent!
Here are the types of probes you can plant. Note that some of these will not be available until later into the game.
| Basic Probe | The probe that is planted by default at all FrontierNav probe sites. Has no special attributes. |
| Mining Probe | Allows for increased mining of miranium. Up to 10 grades of this probe exist. |
| Research Probe | Allows for increased currency gain. Up to six grades of this probe exist. |
| Battle Probe | Gives the party various beneficial battle-related effects while inside the region where the probe is installed. |
| Booster Probe | Enhances the primary function of connected probes. Up to two grades of this probe exist. |
| Storage Probe | Allows for increased maximum miranium storage. |
| Duplicator Probe | Copies the function of a connected probe. It will not copy other duplicator probes, however. |
| Fuel Recovery Probe | Allows for greater fuel recovery of Skells standing within the region where the probe is installed. |
| Melee Attack Probe | Allows for greater melee attack power of party members or Skells standing within the region where the probe is installed. |
| Ranged Attack Probe | Allows for greater ranged attack power of party members or Skells standing within the region that the probe is installed. |
| EZ Debuff Probe | Allows for easier debuffing of enemies located within the region where the probe is installed. |
| Attribute Resistance Probe | Allows for greater attribute resistances (physical, thermal, etc.) for party members or Skells standing within the region where the probe is installed. |
Changing Probes
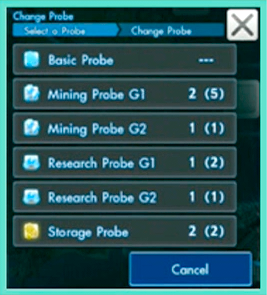
You can change the type of data probe installed at a segment by switching to the FrontierNav view of the segment map on the Wii U GamePad, then pressing Change Probe. From there simply pick from the list. Changing a probe to anything but a basic probe costs credits, so make sure you have them!
Link Combos
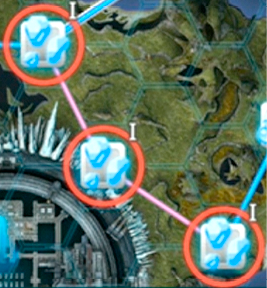
If you link probes of the same type and rank together, you’ll gain chain bonuses. Connect three sites with the same probe for an effect boost of 30 percent, connect five for 50 percent, and connect eight for 80 percent. Chaining can really help when you’re trying to get lots of credits or miranium.
Probing and Its Benefits
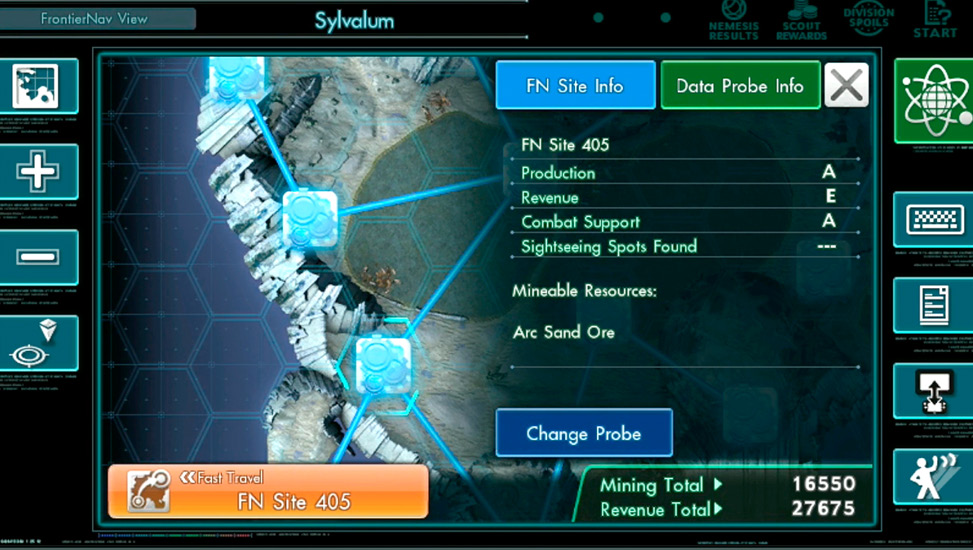
Some FrontierNav sites are mineral veins that contain resources. Installing a probe at one of these sites will gain you credits or resources automatically at timed intervals as you play the game.
There are two main types of resources you can gain. The first is miranium, an ore that is useful for upgrading arms manufacturers and for different missions. Meanwhile, rare resources are named and will show up in your Inventory. Check the Segment Info section of the Data chapter for more details. Please note that leaving the game on for a long period of time will not continue to generate revenue.
Take on Missions
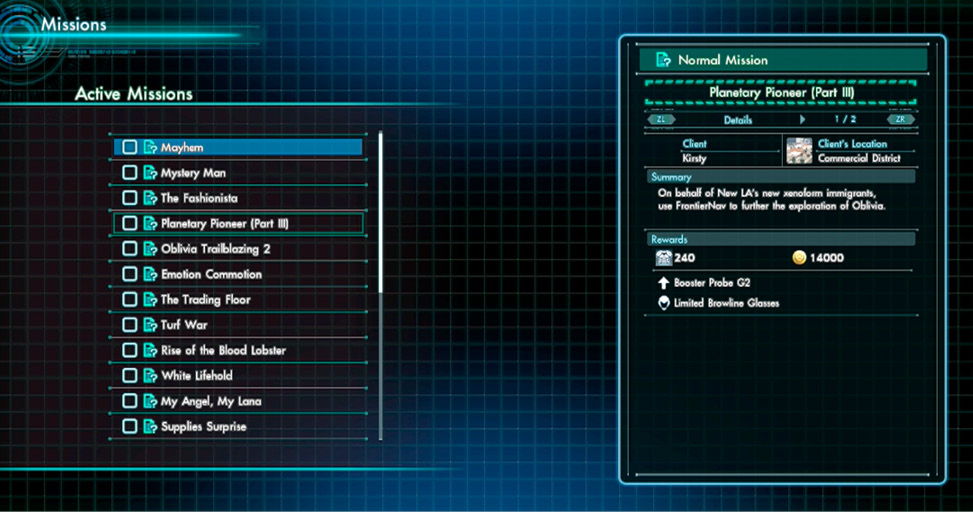
Most of your activities on Mira, outside of basic exploration, take the form of missions. Missions can net you loot and gear, in addition to revealing more about the characters and world. There are four types.
| Story | This is the main story thread of the game. |
| Affinity | These missions go in-depth regarding your party members and will increase the Affinity levels between you and them. They also tend to require having already gained a certain amount of Affinity between you and the party member. Some Affinity missions even yield new party members and Arts! |
| Normal | These are missions that task you to do various things around Mira, be they chores, escorting, gathering, you name it. This is the best way to gain most of the game’s items and buyables, as well as to learn about citizens of Mira who aren’t your party members. |
| Basic | These missions are more of the routine variety, such as bounties, collection, or talking to others. Do these for quick rewards or to unlock missions of higher tiers. You can grab basic missions at Mission Control. You can accept up to 20 missions of this type at once, and they can be canceled at any time. |
You can check on your progress in the Missions menu.
Target Acquired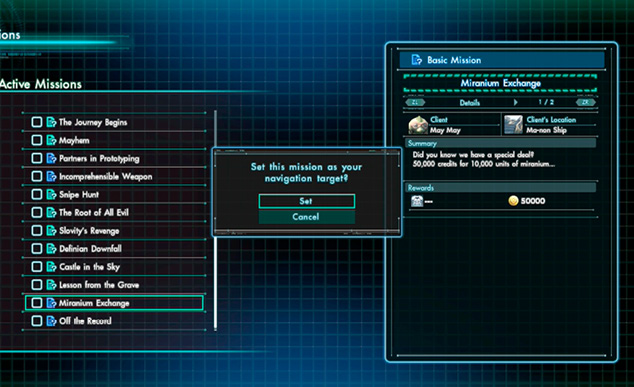
When you take on a mission, you can set it as your navigation target, meaning that (usually) the way to the next objective will be shown on the mini-map. For specifically marked missions, as well as for missions that require collecting items, navigation may be unavailable. Your mission objective is also always shown to the right of the screen once you have a mission targeted. 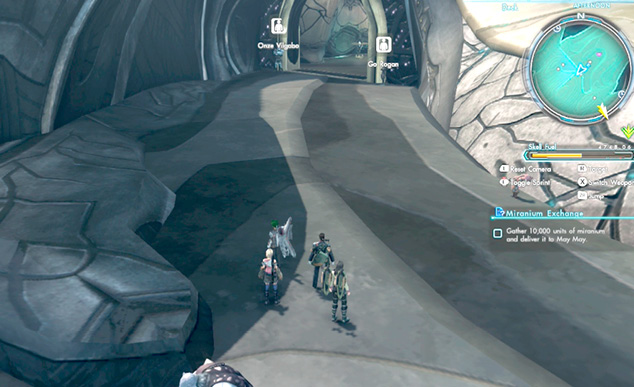
|
Get to Know New Los Angeles
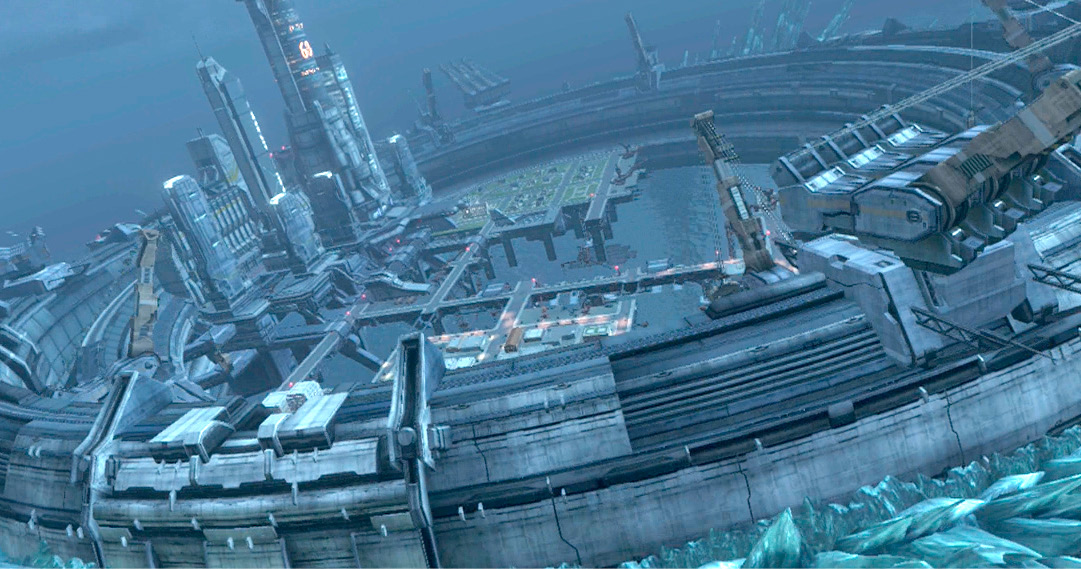
New Los Angeles (a.k.a. New LA or NLA) is Mira’s only city. It houses its new human residents after the crash of the White Whale. Beings of all walks of life live here, and the city grows in population as you progress through the game. Most normal missions involve citizens of NLA.
NLA is broken up into five regions: Administrative District, Commercial District, Industrial District, Residential District, and Ma-non Ship.
Administrative District
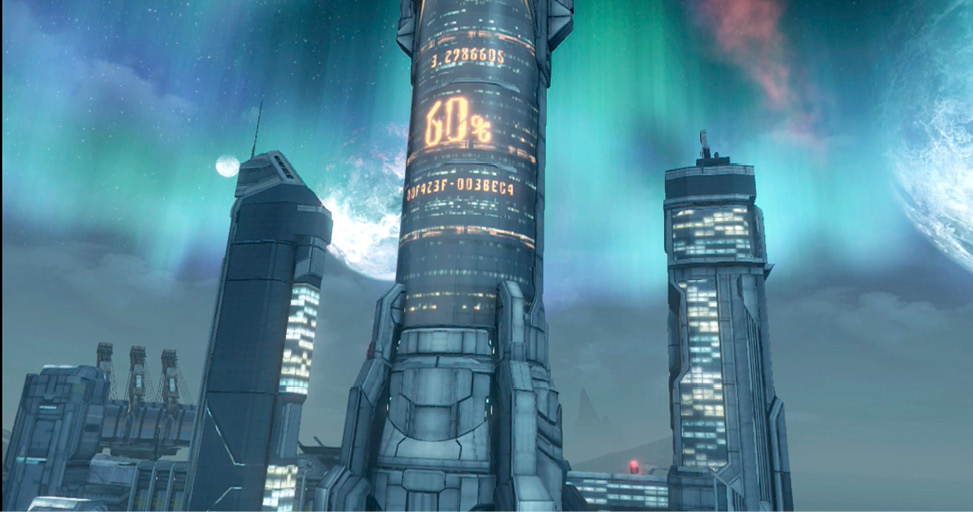
Part of the upper level, the Administrative District houses BLADE Tower and all of the BLADE facilities you’ll be actively using, such as Armory Alley. BLADE operatives of various divisions hang out here as well, including a good chunk of your recruitable party members.
Commercial District
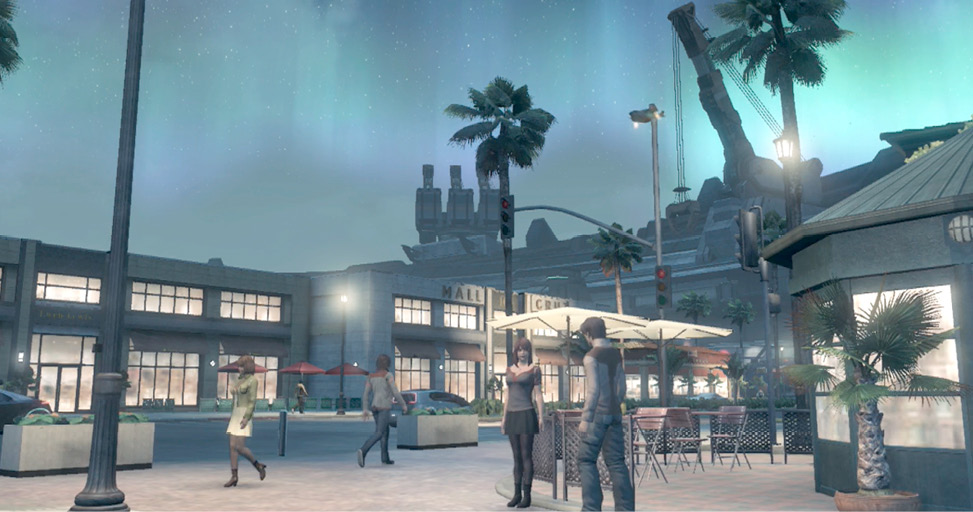
Part of the lower district, the Commercial District offers shops and food galore. This is where the people of New LA go to sell their non-BLADE-related wares. However, these shops aren’t available for you, just for the non-player residents of New LA.
Industrial District
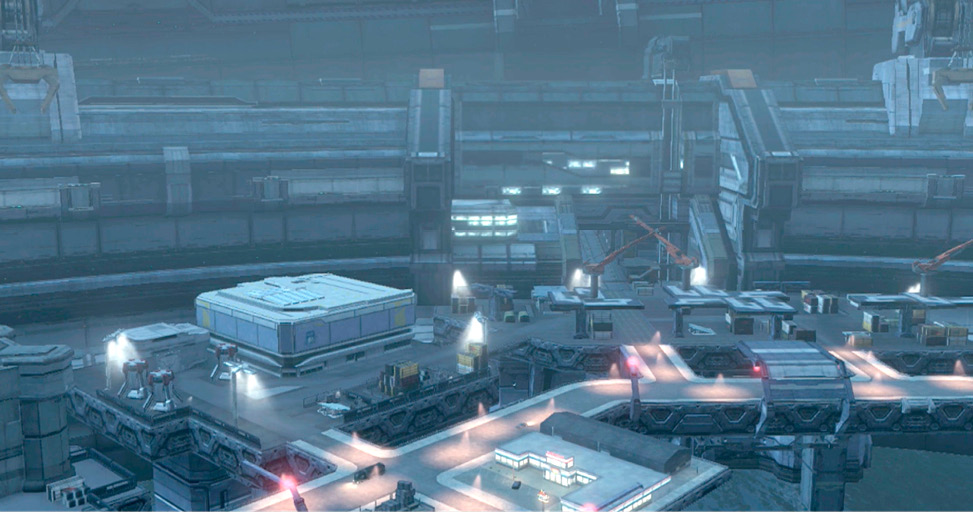
The Industrial District is part of the lower level. It houses the industries of New LA. The massive Outfitters Test Hangar, which you’ll be seeing for many missions, is located here.
Residential District
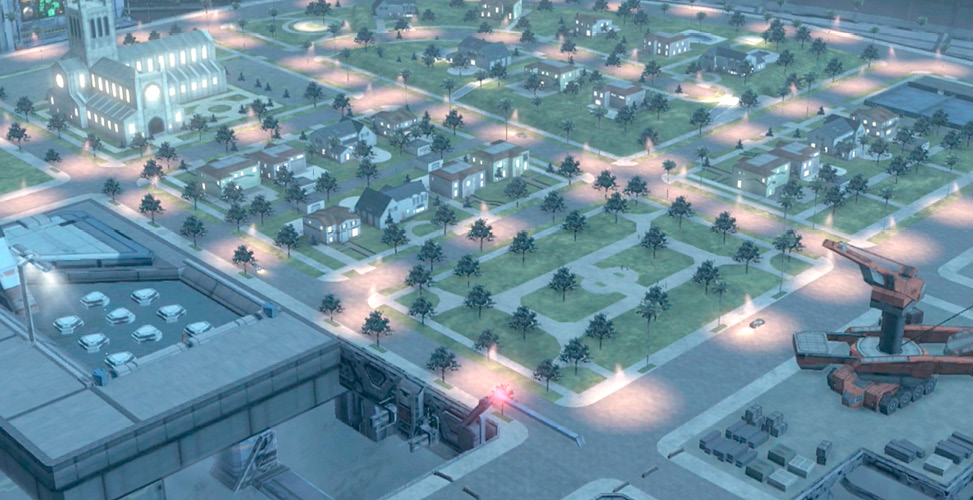
Part of the lower level, the Residential District houses the people of New LA and is home to its most scenic sights.
Ma-non Ship
The Ma-non Ship is part of the upper level. You’ll gain access to it after Chapter 5 of the main story.
Conversing and Eavesdropping
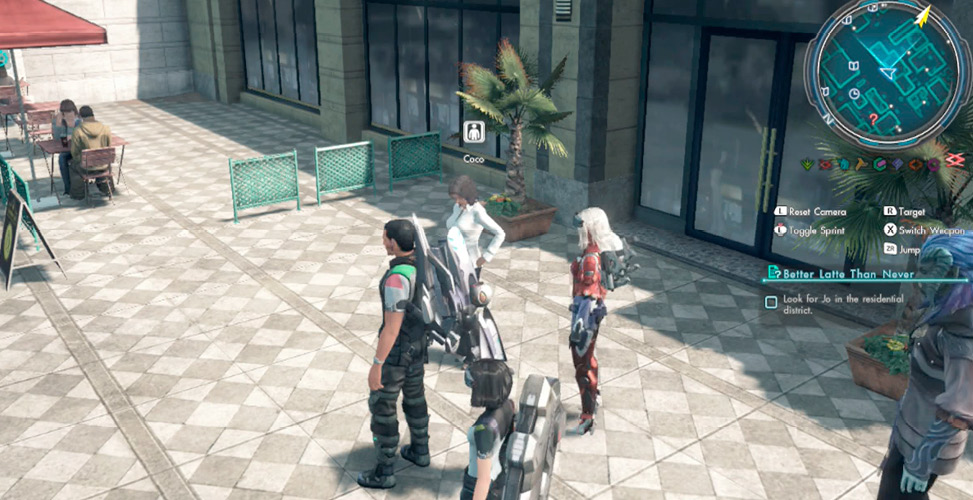
You can walk up to people who have the correct icon above their head and press (A) to initiate a conversation. You can hear what they’re about to say and ask them about their lives.
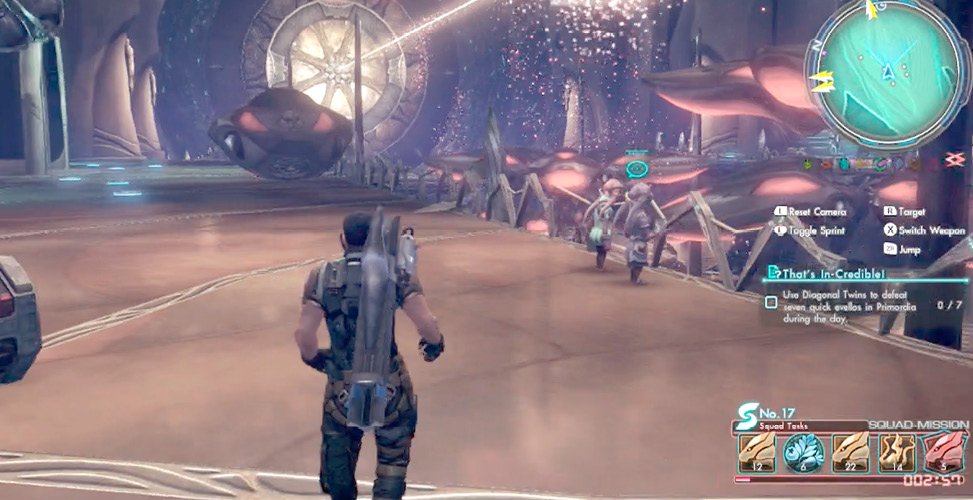
Meanwhile, you can overhear conversations and gossip if you simply run close to people with the blue speech bubble icon above their heads. If you run into someone with a yellow icon, they’ll usually tell you something useful about a mission, treasure, or tyrant. You can check on these in the Info menu.
Making Decisions
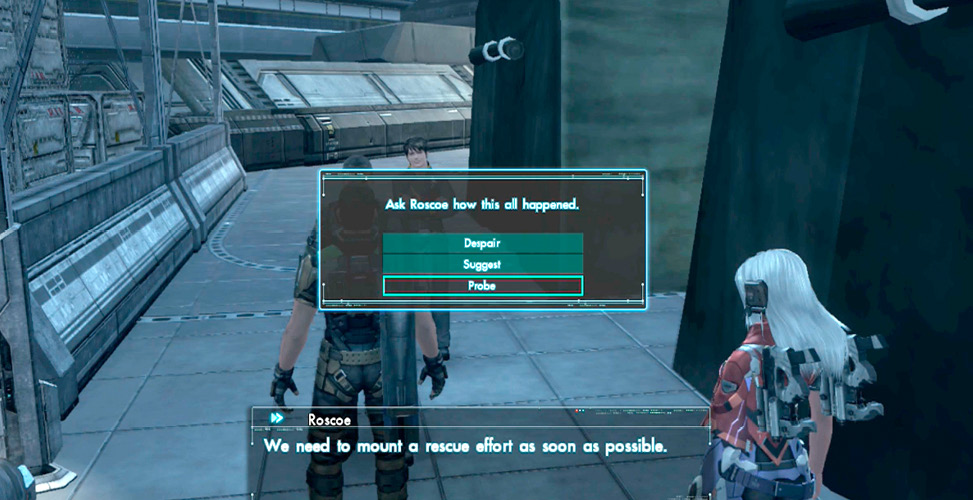
At several points throughout the game, you’re asked to respond to someone’s question or dialogue during a cutscene. Sometimes it’s for cosmetic purposes, but many times you’ll gain Affinity with your party members if the answer you give lines up with their personality. Do you try to please them or stay true to yourself? The choice is entirely yours.
The City Mini-Map
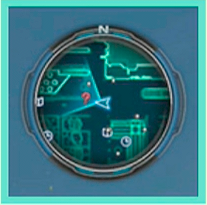
Keep an eye on these icons on your mini-map as you traverse New LA. They allow you to reach destinations and progress in the game more quickly.
 Conversable characters
 Exit
Exit
 Elevator
 Shop
Shop
 Normal mission
 Affinity mission
BLADE Facilities
From its top brass to your standard NLA citizen, BLADE requires the support of humanity and xenoform alike to achieve its goals. In the Administrative District of NLA, you’ll find various facilities to help you in your missions.
BLADE Concourse
The BLADE Concourse is where it all happens—BLADEs gather to converse, pick up missions, and advance in the ranks.
Mission Control and Eleonora
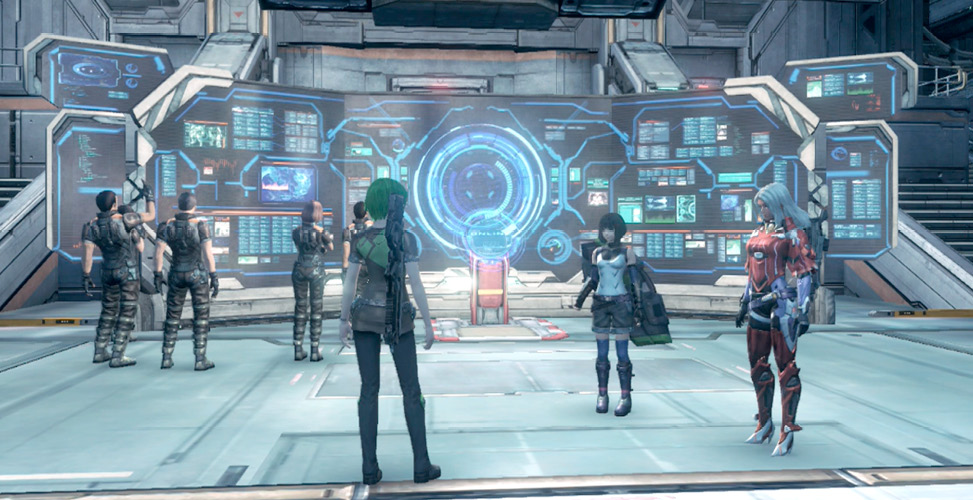
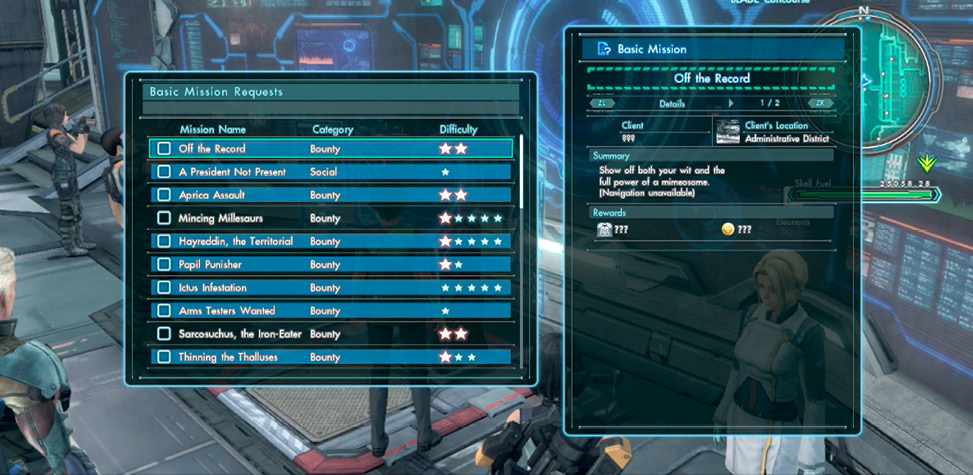
Mission Control is where you can accept basic missions, which are grouped into bounties, where you hunt enemies; gathering missions, where you collect items; and social missions, where you interact with the populace.
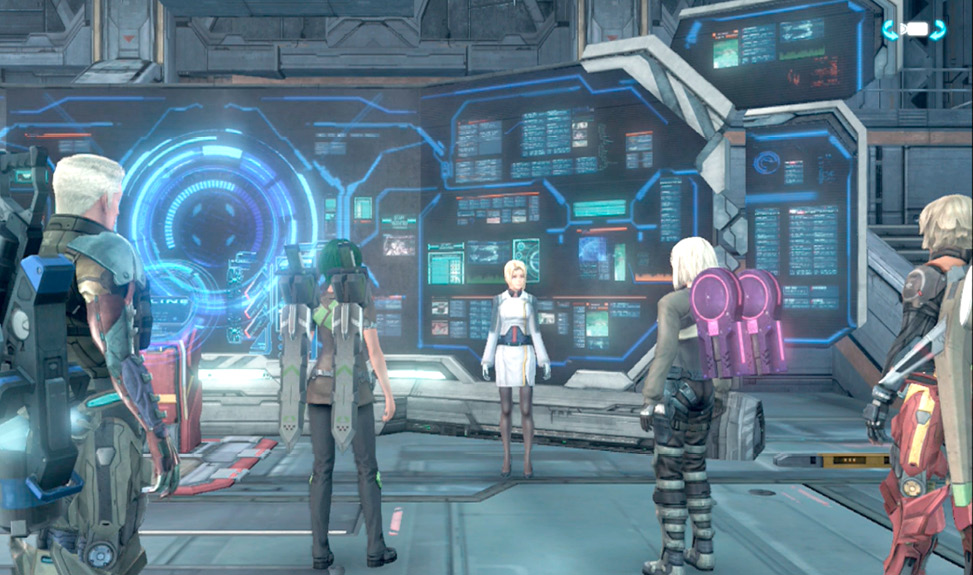
Eleonora, meanwhile, doles out the rewards for when you rise through the ranks of BLADE. Every time you gain a new BLADE level, talk to her; she’ll give you a new level in field proficiency, as well as a new way to decorate the BLADE Barracks.
Blade Scout Console
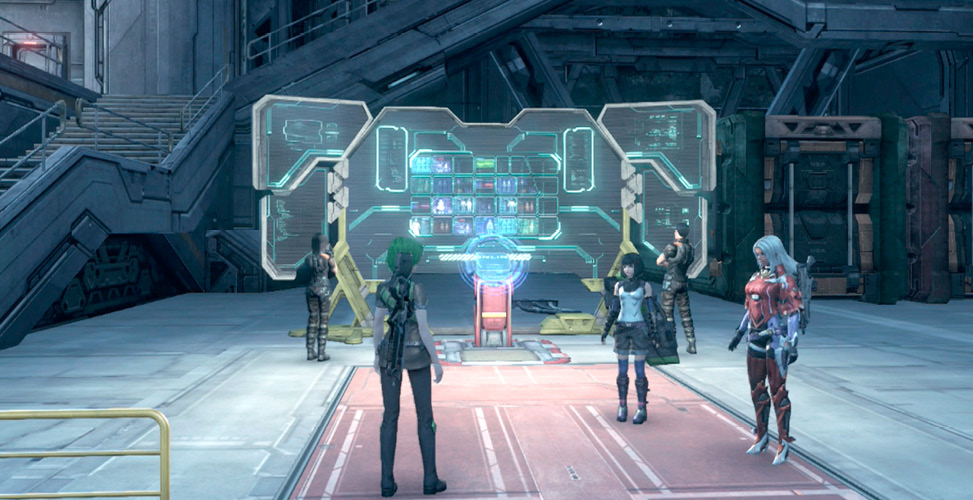
This console lets you scout other players’ avatars for missions. See the Social chapter of this guide for more.
Armory Alley
The cyber-shopping district of NLA, this corridor of the Administrative District sells everything you could possibly need to gear up and explore Mira on its terms.
Shop Terminal
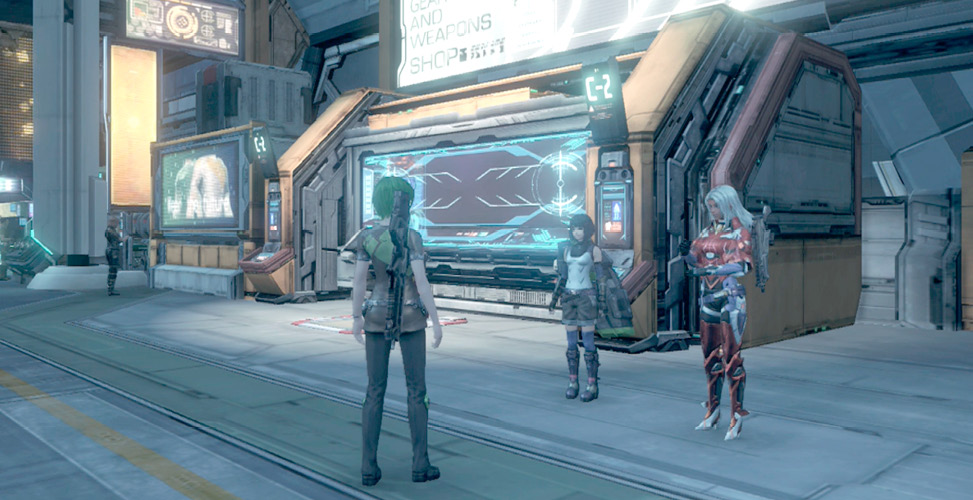
Here you can buy or sell ground gear for your characters, in addition to Skells and Skell gear.
AM Terminal
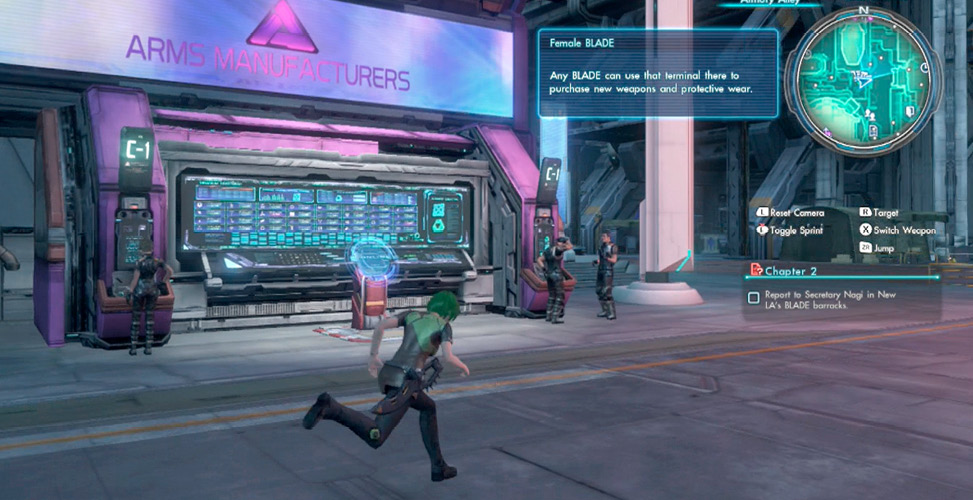
The arms manufacturers terminal has functions that deal with arms manufacturers. Head here for the really special stuff.
| AM Terminal | Invest miranium in New LA’s arms manufacturers. The more miranium you invest, the higher you can raise their R&D level, allowing them to craft more powerful gear for you. |
| Upgrade Battle Traits | Using materials mined or gathered in the field, you can upgrade attributes of ground or Skell gear. |
| Engineer Augments | Using materials mined or gathered in the field, you can create special devices called augments, which can be inserted into ground or Skell gear that contains open augment slots. |
| Develop New Gear | Using materials mined or gathered in the field, you can develop entirely new gear not found in the shop terminal, provided the arms manufacturers are of a high enough level to unlock them. Go for the superweapons! |
L’s Shop
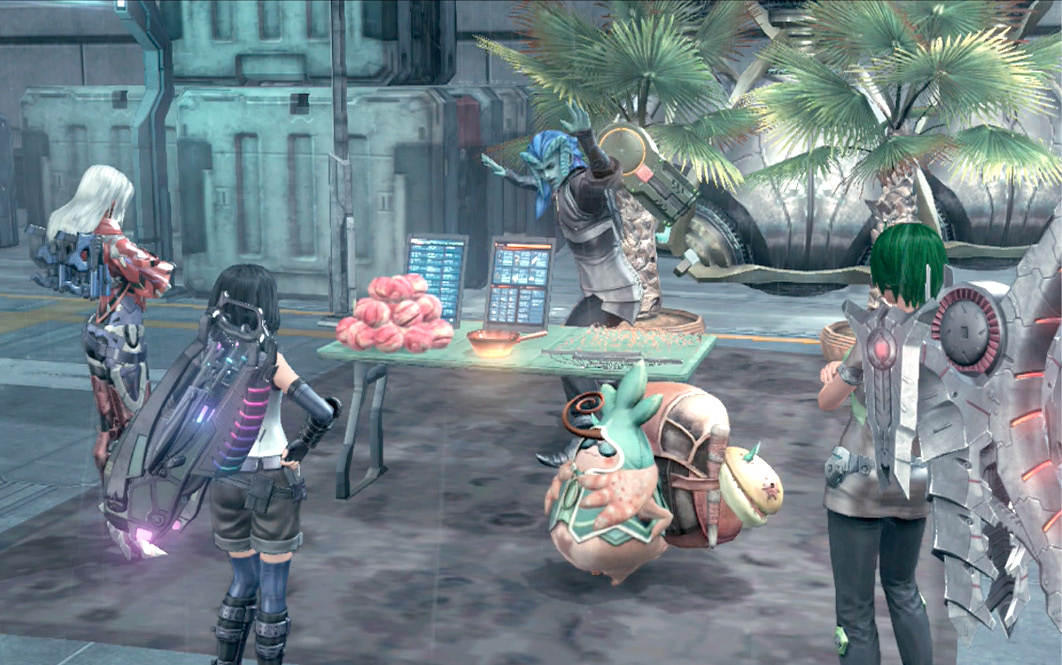
Completing the “Booming Business” normal mission (see the Normal Missions List section in this guide’s Walkthrough chapter) unlocks L’s Shop, where you can create augment slots for weapons and armor for a fee.
BLADE Barracks
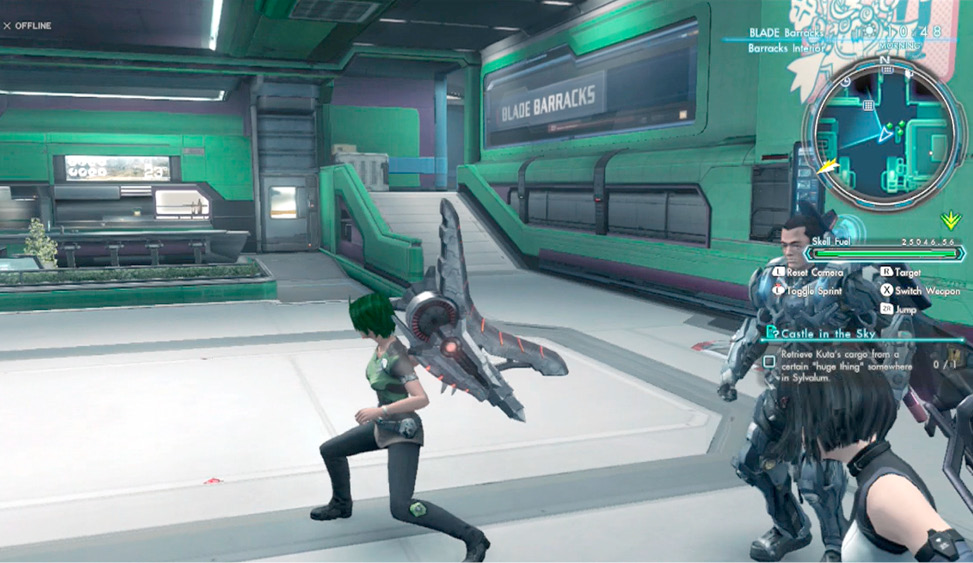
The barracks are your home away from home and your base of operations. Certain facilities are found here as well.
BLADE Barracks Console
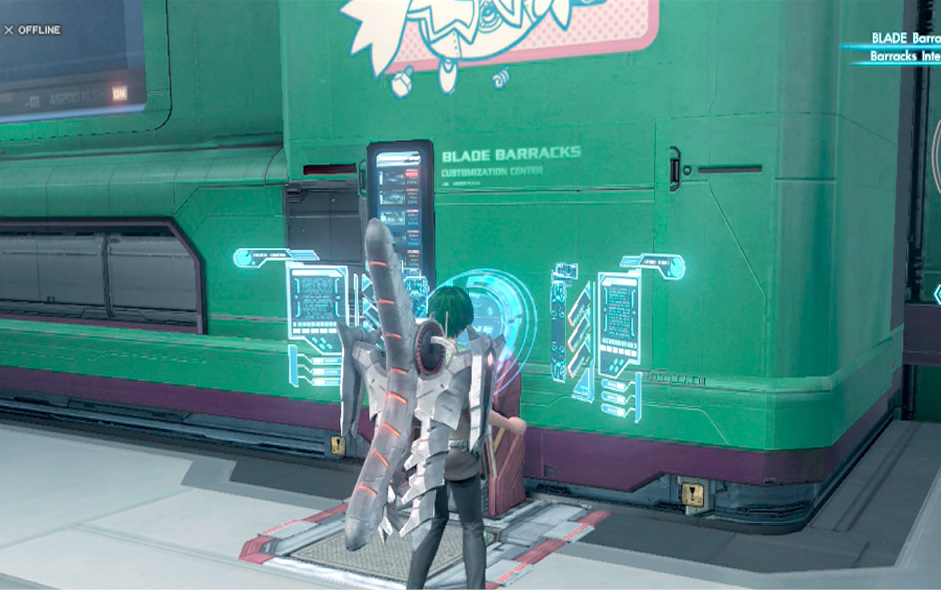
Use this to redecorate the barracks and manage your Skells.
Holofigure Gallery
You can use this to check out the holofigures you’ve received as mission rewards or for defeating tyrants.
BLADE Network Console
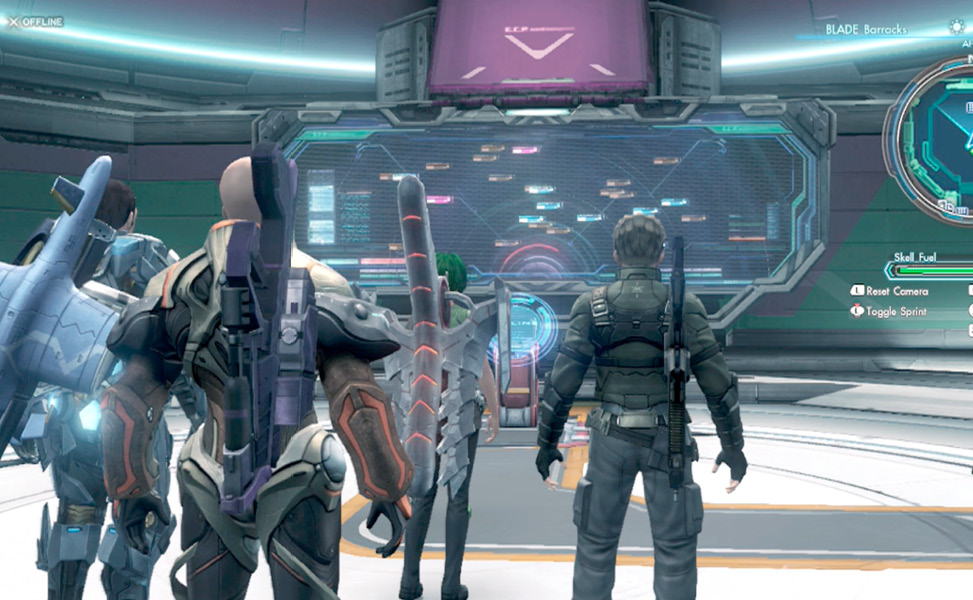
When playing online, you can accept or join online missions here or reap division rewards. Check out the Social chapter of this guide for more info.
Party Members
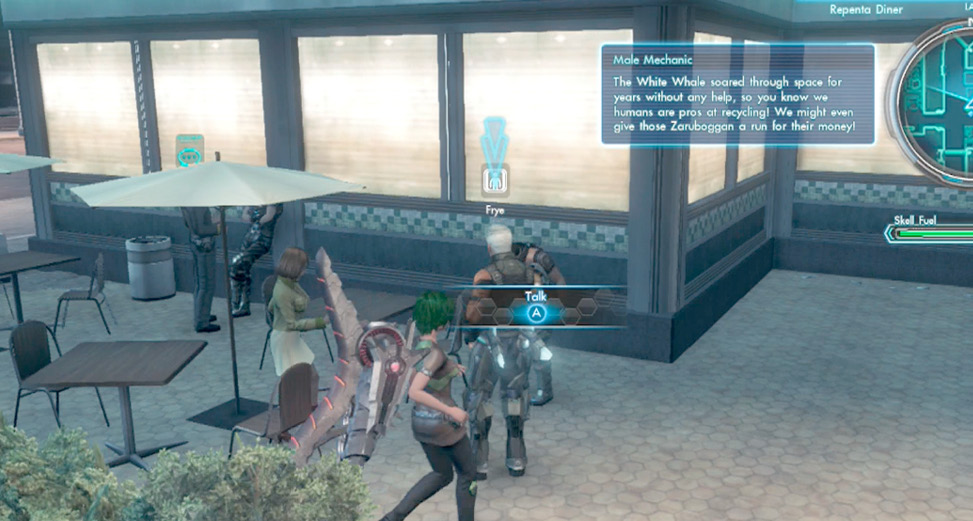
When characters join your party, you’ll find them littered around New LA in their usual hangout spots. You can find information on those spots in the Segment Info section of the Data chapter. Unless that character has temporarily relocated due to an active heart-to-heart event, you can head to these spots and recruit them.