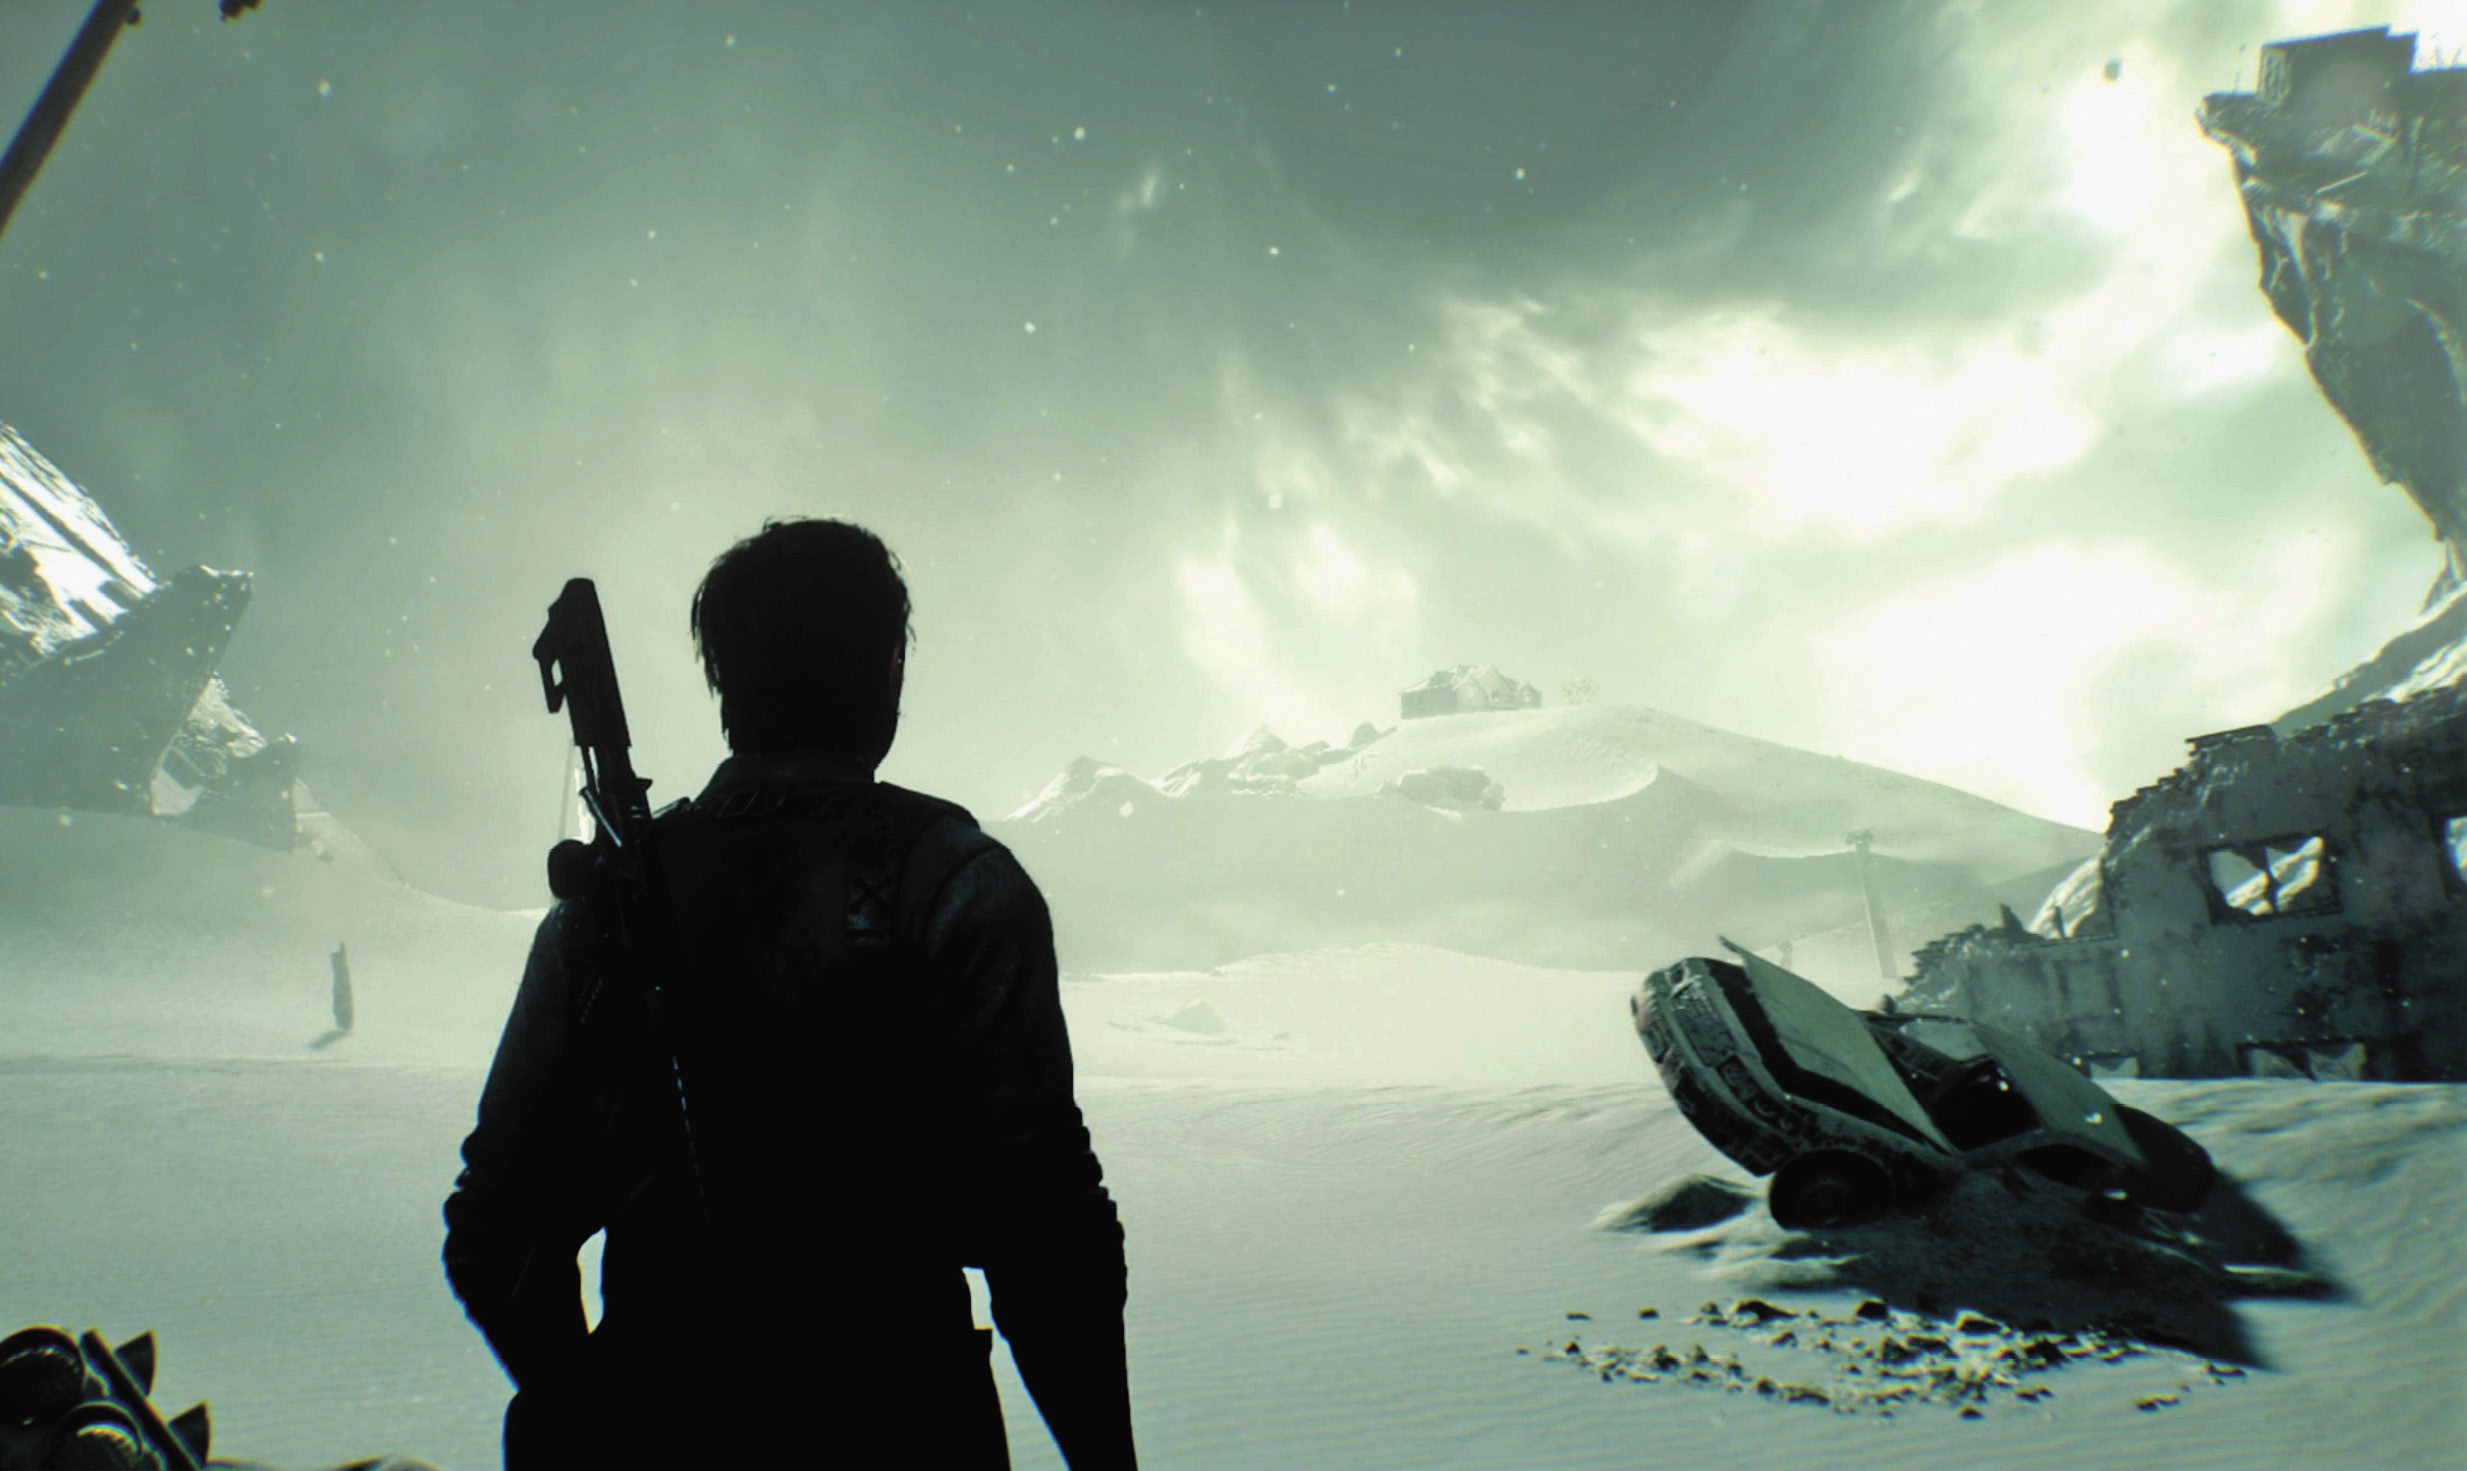
The Evil Within 2 Guide Story Walkthrough
The End of This World
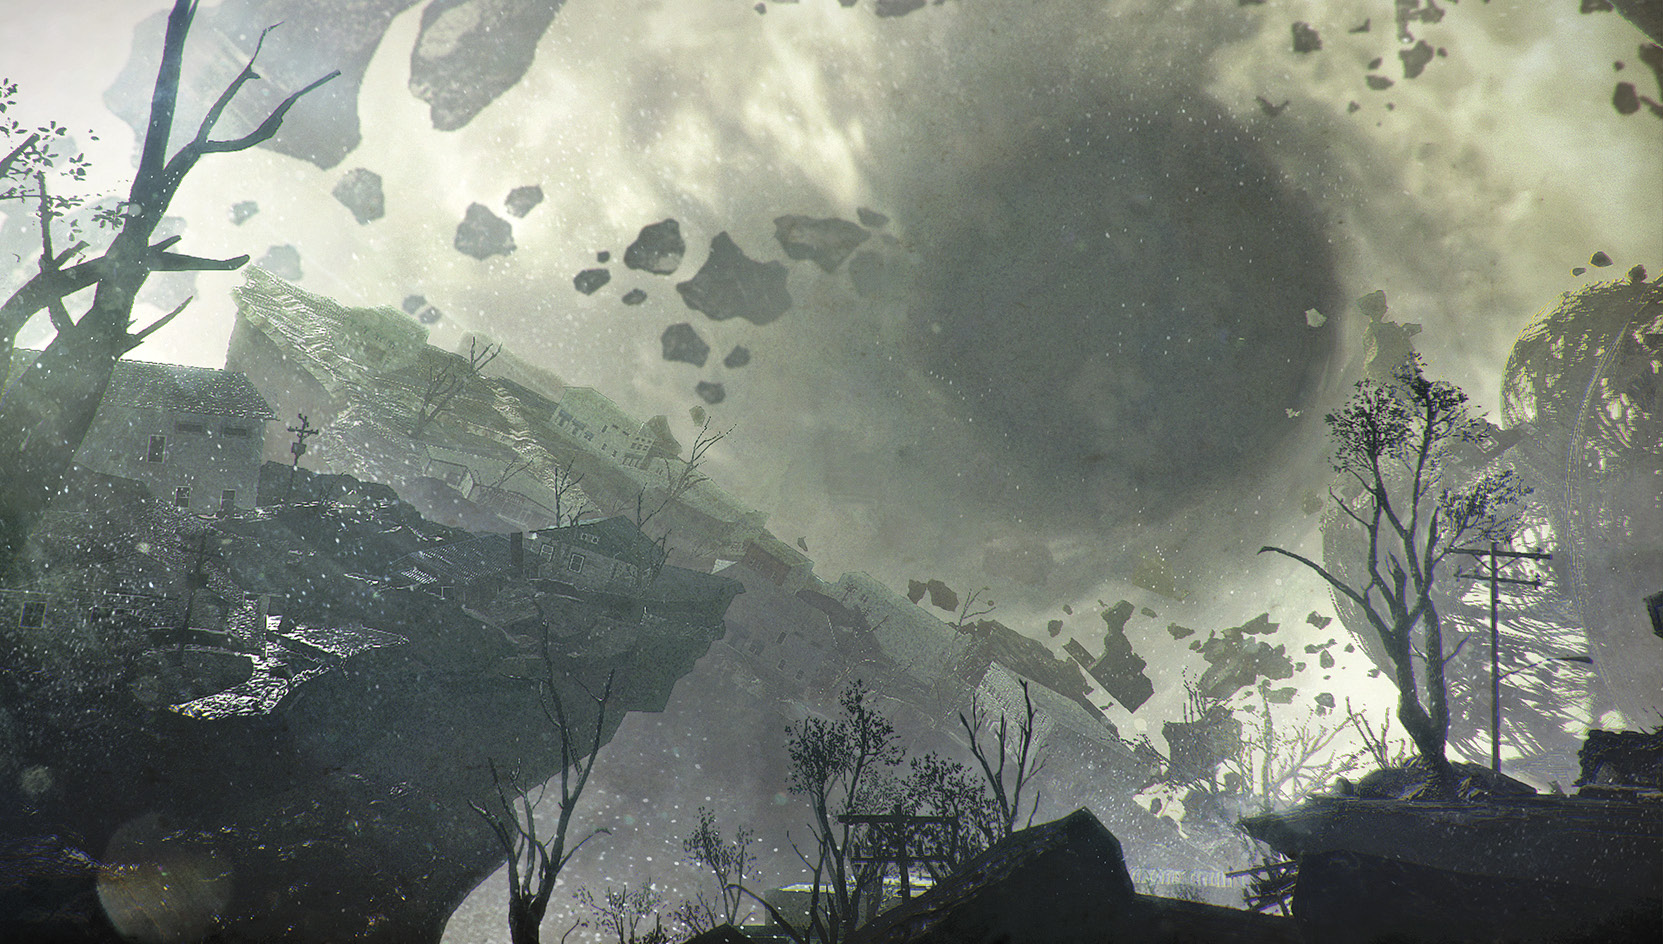
Not only is Theodore’s stronghold a ruined husk; the entire STEM town of Union has been torn apart as well. Myra is down there somewhere. Sebastian wants to convince her to forsake her terrifying new form and join him with Lily as a family again. But it’s a long way down the broken tower…
Overview
Objectives
- Search for Myra
- Follow Myra through the remains of Union
- Defeat the enemies and chase after Myra
Collectibles
- None
Search for Myra
Turn and exit via the tall doors. Veer right and head under the fallen I-beam to follow the only route that leads down. After a few yards a quake loosens the ground and Sebastian falls to a lower slab. Find the only route through the debris to a staircase leading down.
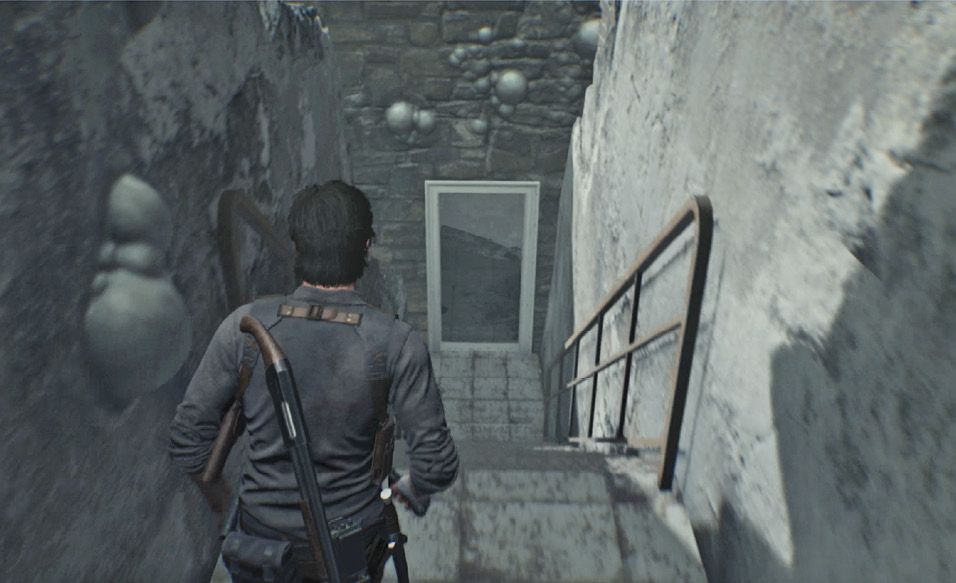
At the bottom, turn right and cross the broken floor to the open door, grabbing pickups as you go. Move through the bubbling white goop and swirling mist to trigger a cutscene: Sebastian catches up with Myra, who is deeply conflicted about how to deal with him as she seeks to protect her daughter.
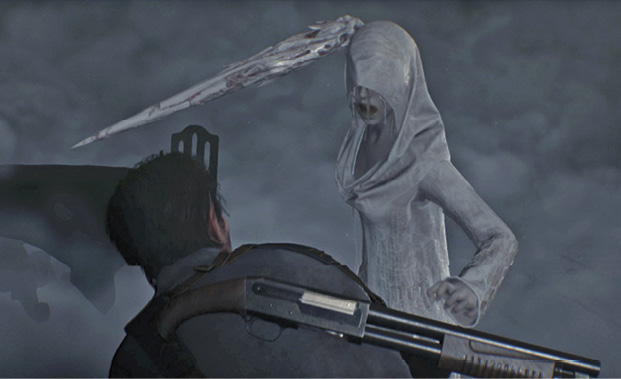
Follow Myra through remains of Union
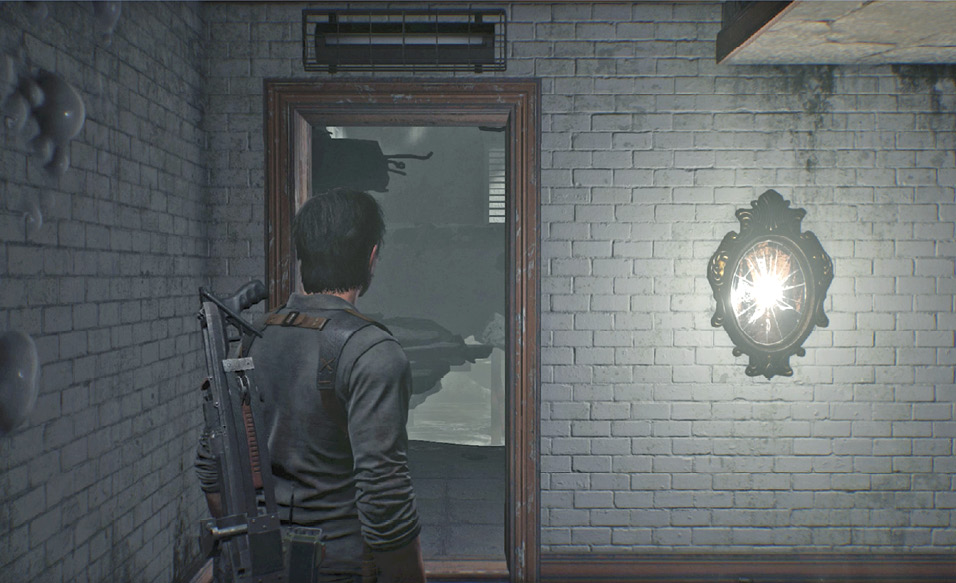
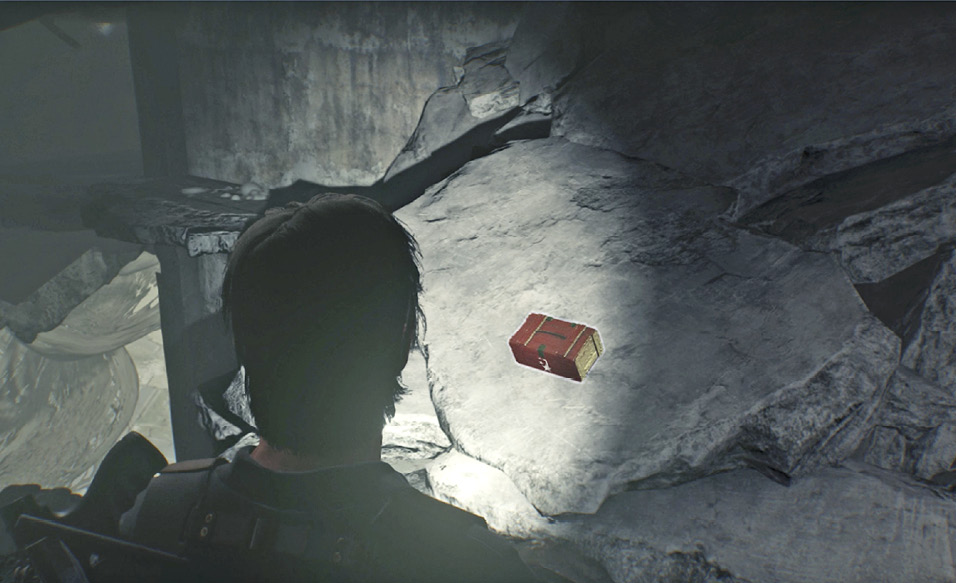
Go through the hole into the next room and head downstairs to find a Mirror! Before you use it, go through the doorway and find a box of High-Grade Weapon Parts, very useful for weapon upgrades. Now use the Mirror—go craft as much ammo as you can, and make sure your guns and skills are as upgraded as possible.
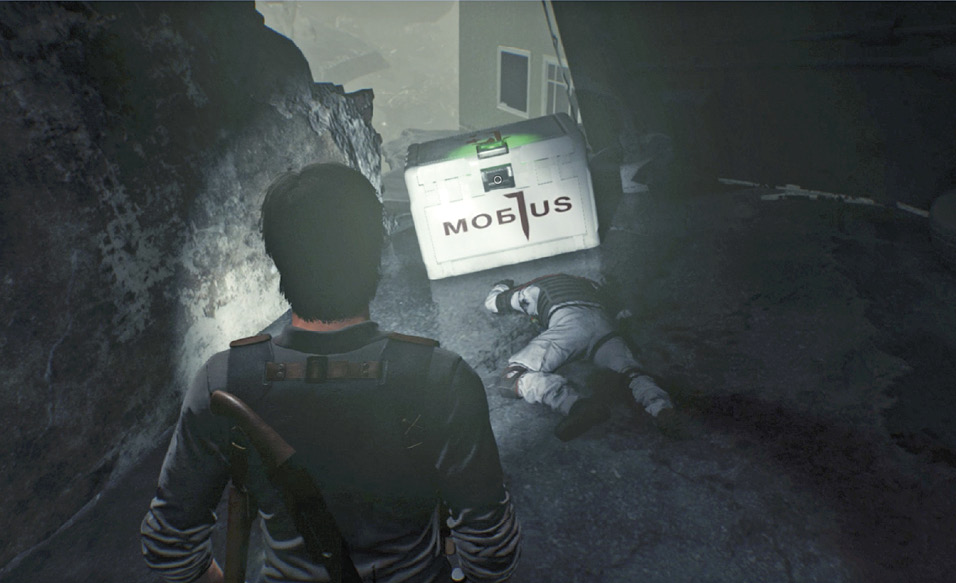
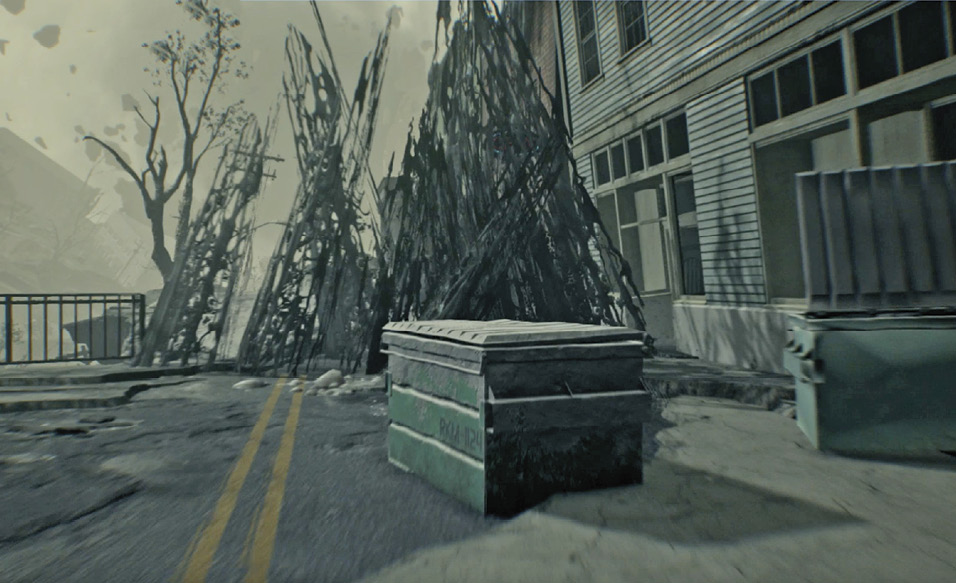
Proceed down the stairs. When you reach the bottom landing, turn left and work your way past the overturned APC to find a Mobius crate that you can loot. Then continue down the slope to the ruined Union street. (After you climb down off the last ledge, you won’t be able to get back up.) Sebastian spots Myra and calls to her. In response, she raises a barrier and summons three strange creatures to stop Sebastian’s pursuit.
Defeat the enemies and chase after Myra
Ruined Union Street: Upper
Sebastian automatically ducks behind a van. These new enemies are Albedos, and they aggressively search for you. The Albedo is much tougher than standard Lost; it takes several headshots to bring one down. When it dies, it shatters into pieces. But they are susceptible to Sneak Kills, so use cover and stealth to take down at least one or two of them, if you can. When you eliminate all three Albedos, Myra’s barrier is disabled and you can proceed down the street.
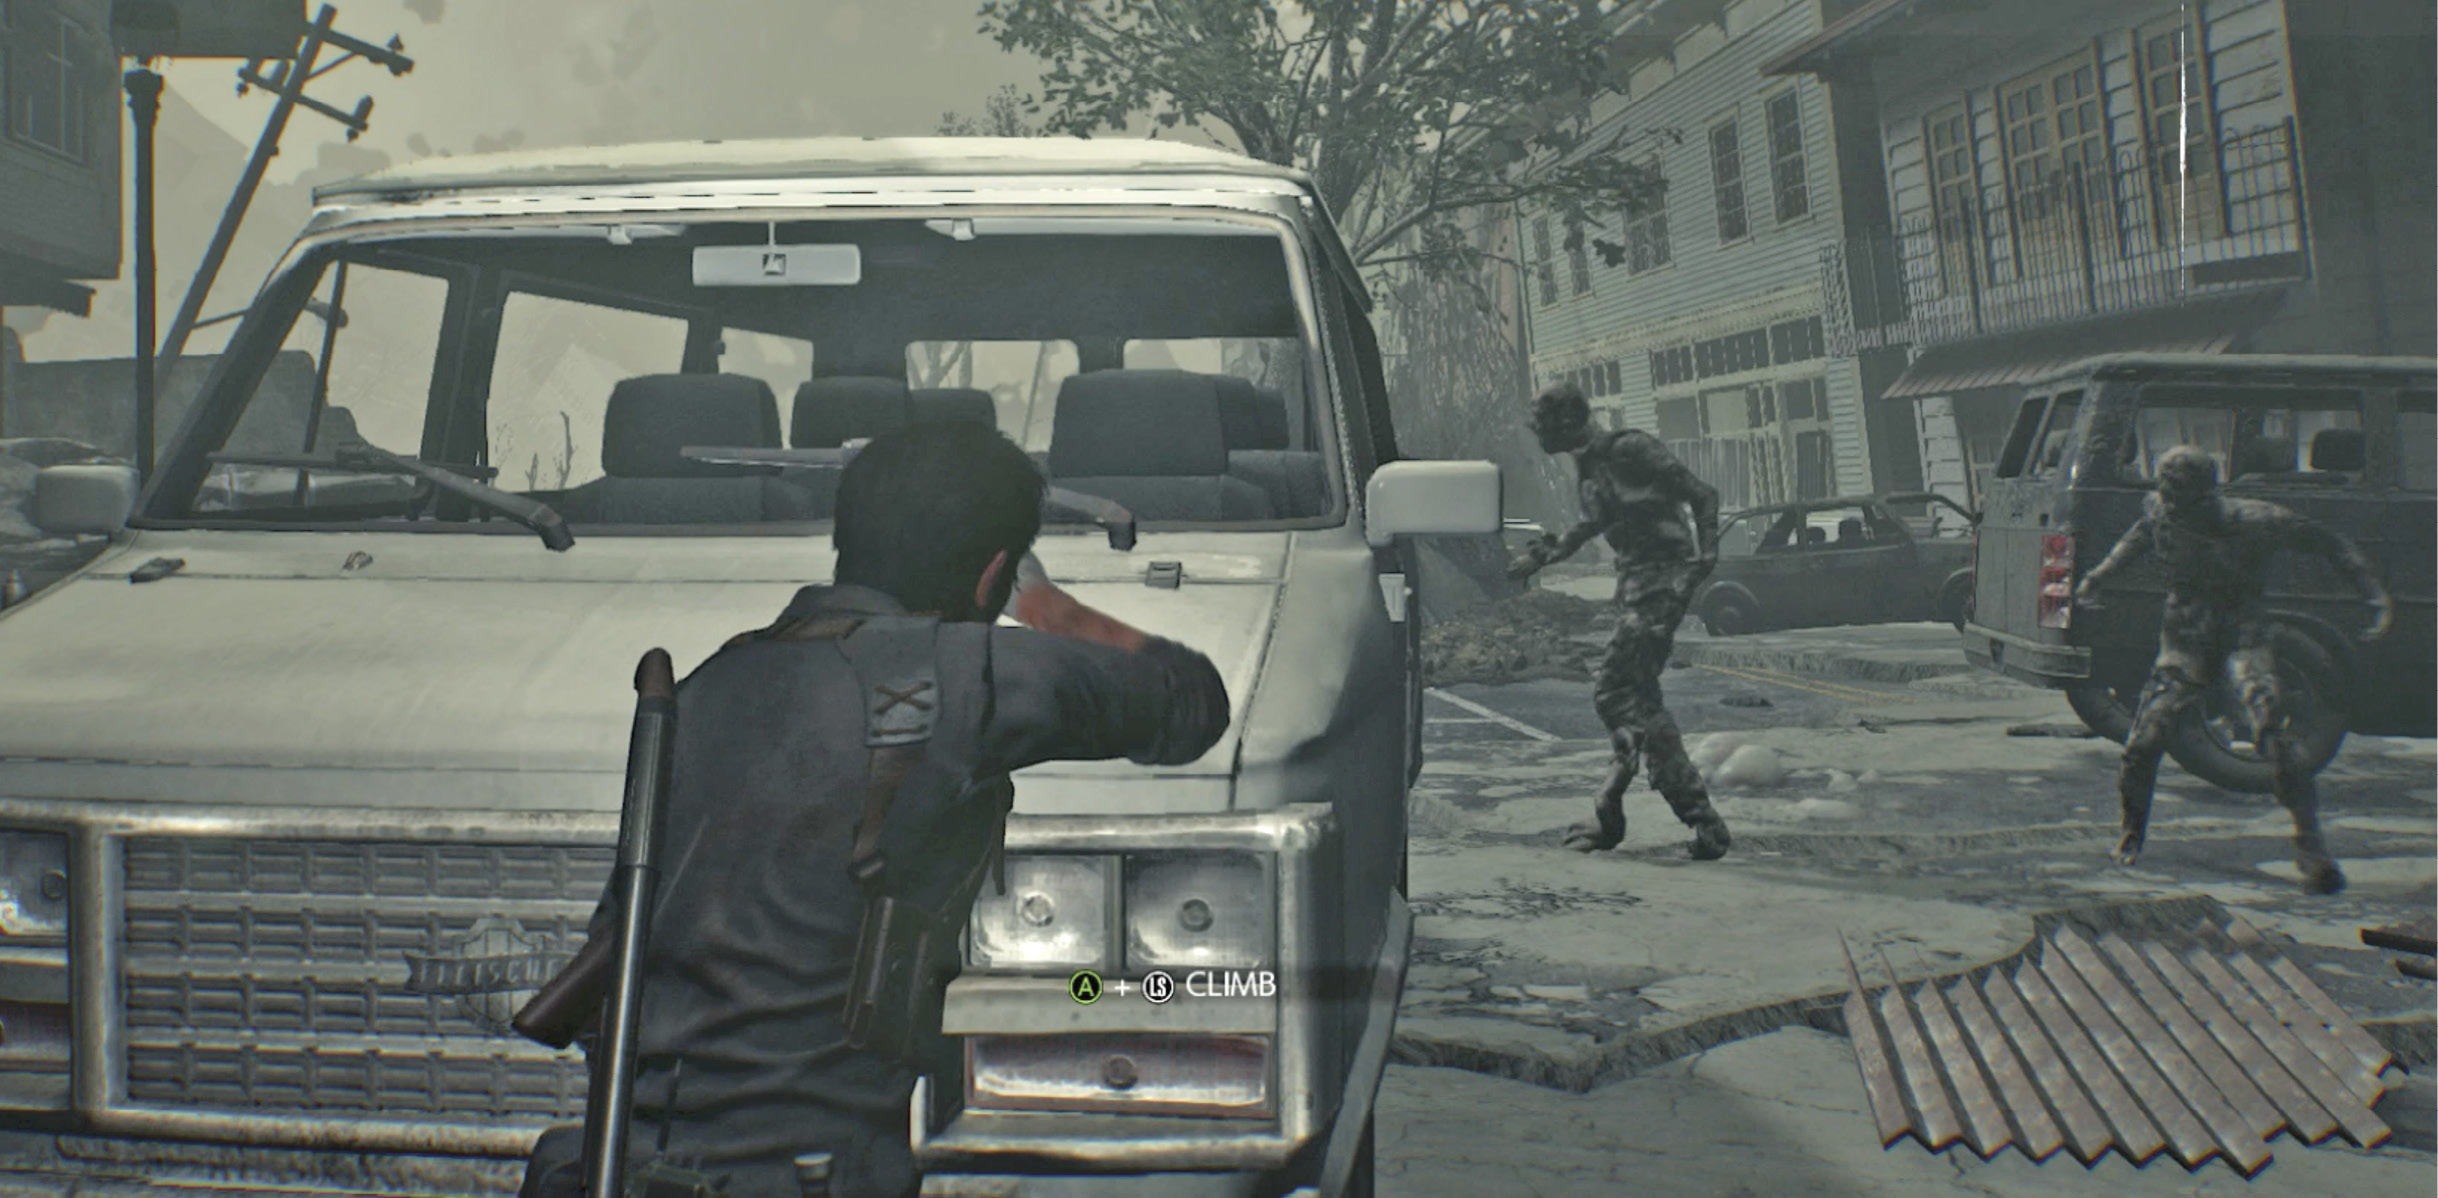
But before you continue the chase, loot the building with the “Agent on Duty” sign out front. You can find a lot of pickup items here, including precious ammo. Then press forward up the street until you spot Myra again. Now the ground breaks apart again, and Sebastian falls to a lower section of Union street… also blocked by Myra’s barriers.
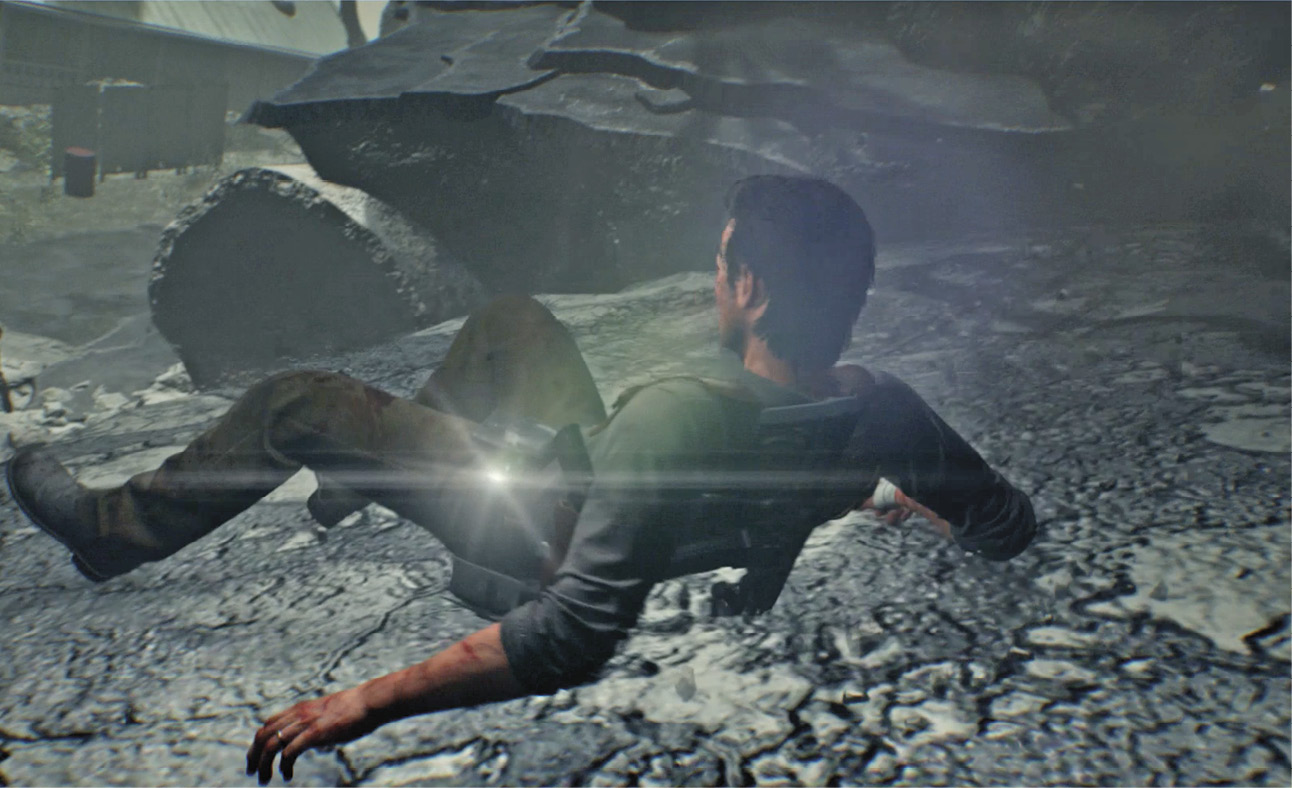
Ruined Union Street: Lower
A bigger squad of Albedos is stationed here. As before, they search vigorously, and then swarm aggressively if they find you. Try to Sneak Kill at least one or two before you end up in open combat. If you must fight, run to the far side of the area to find a pair of oil drums; kick them over and shoot the fuel spill when your pursuers step into it.
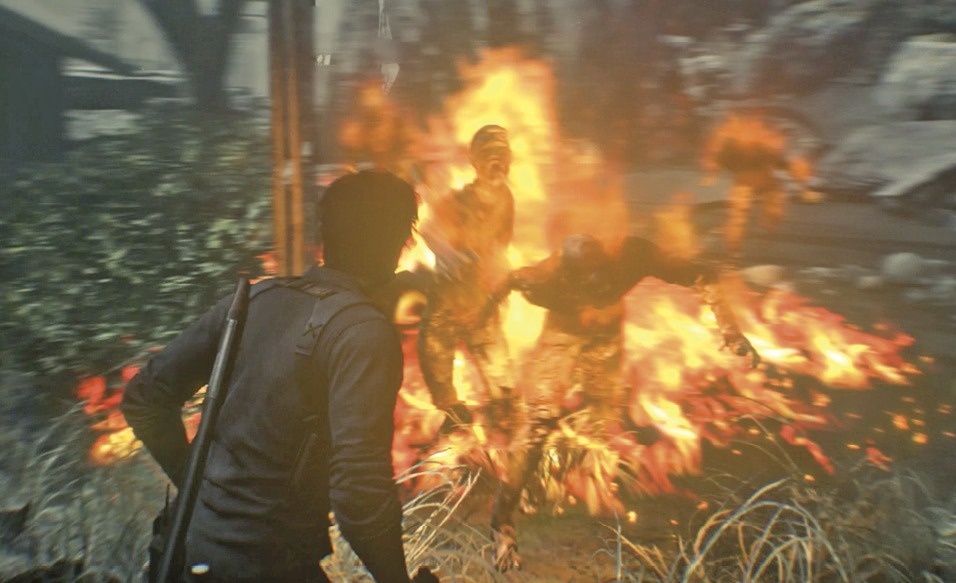
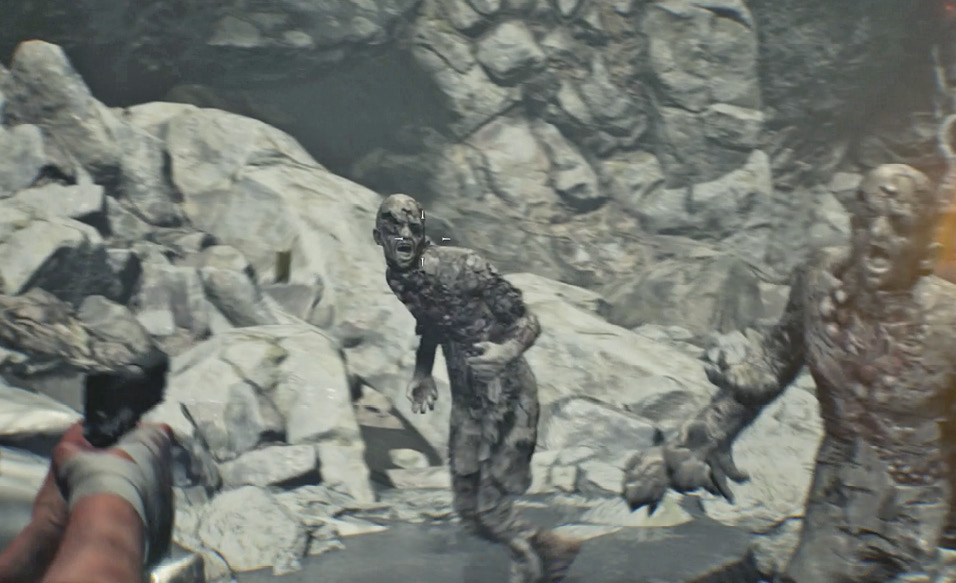
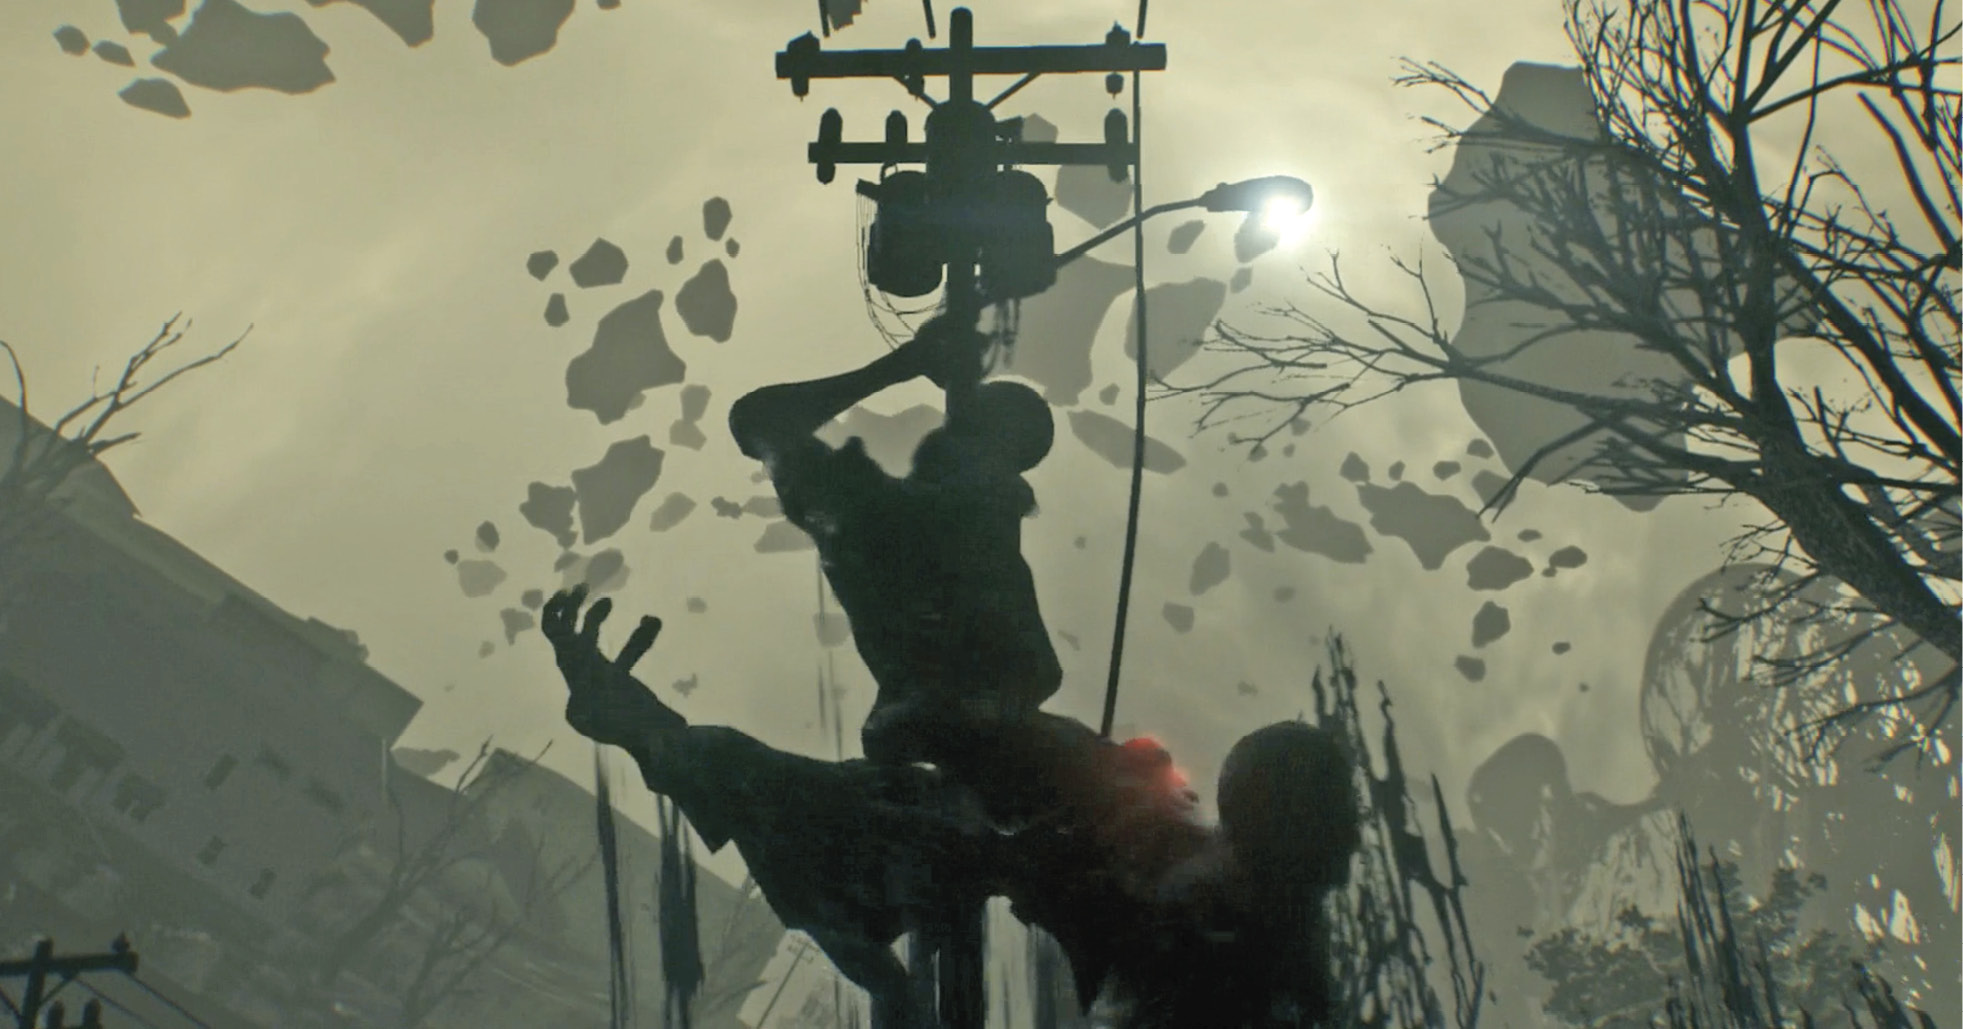
When the last Albedo drops, the barrier breaks and you can continue tracking Myra. Keep following her until you hop down onto an overturned truck, then onto the ground. (You can’t go back now.) When you step forward, a quick cutscene plays: Sebastian spots Myra again, but a powerful new foe climbs up a power pole to cut off your pursuit.
Defeat the Effigy
This is the Effigy, and it’s a nasty boss. The first thing to know is that this creature is like the Watcher in that its weak spot glows red—in this case, the glowing red heart-like organ in its midsection. Headshots inflict extra damage too. So, every shot you take should target those spots.
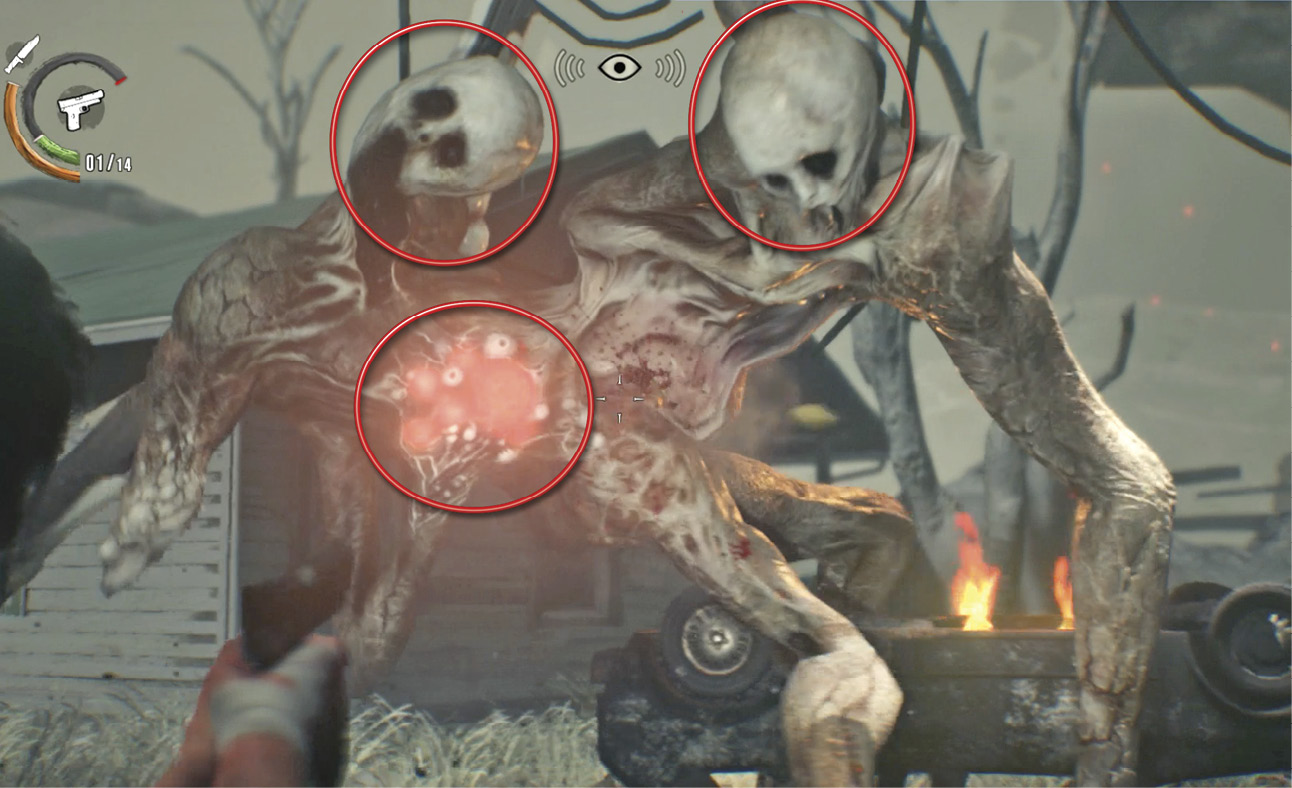
Also note that the Effigy is immune to Shock effects—after all, it’s carrying an electric power pole—so don’t waste your Shock Bolts on this creature. Finally, as our QA experts point out, beware its rhino-like charge and its shocking pole-slam. Both of these attacks hurt quite a bit.
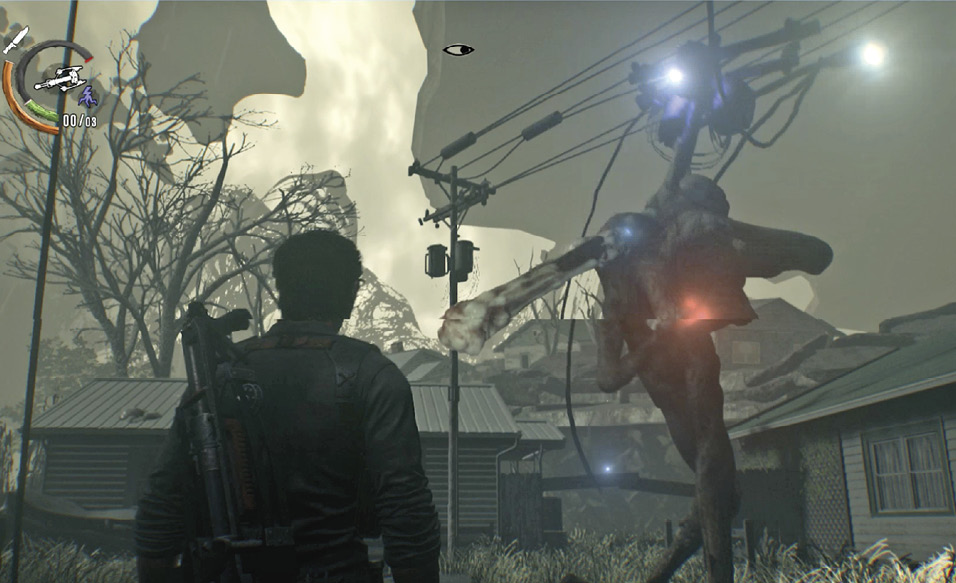
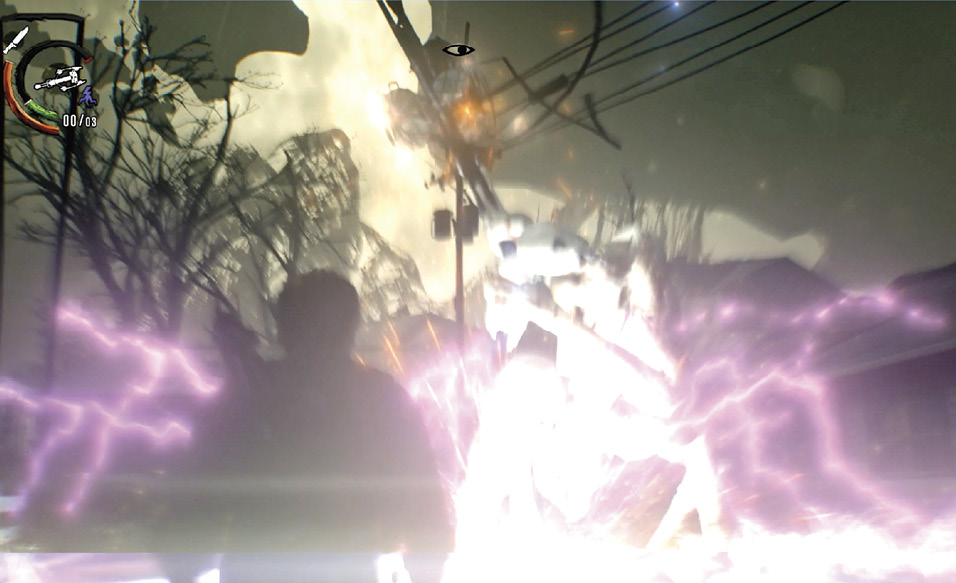
Your best tactic is to sprint as far away as possible in the circumscribed arena, pull out your Sniper Rifle, and snipe away at that disgusting red glowing organ. Again, you can also inflict extra damage with headshots. As our testers point out, the Effigy has two bulbous heads that make lovely targets.
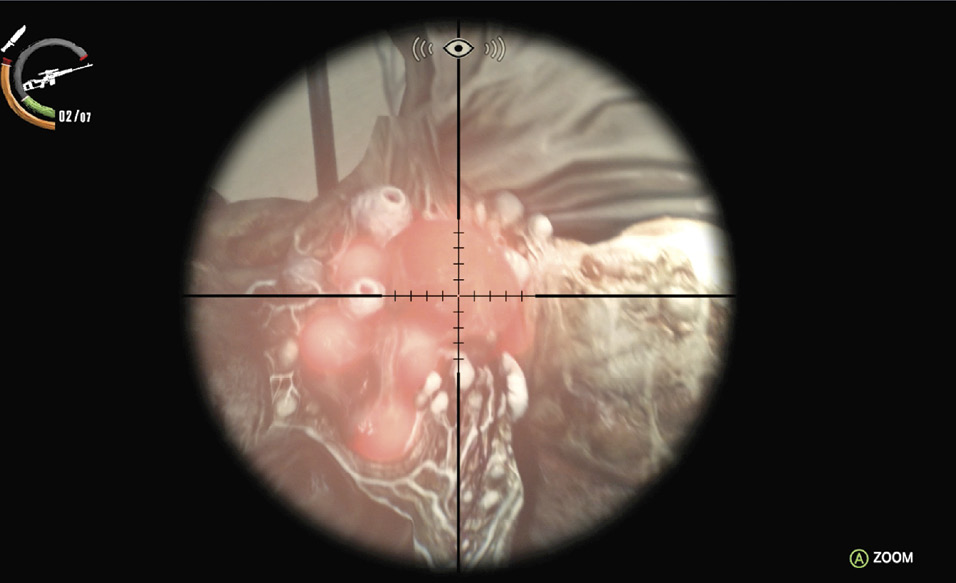
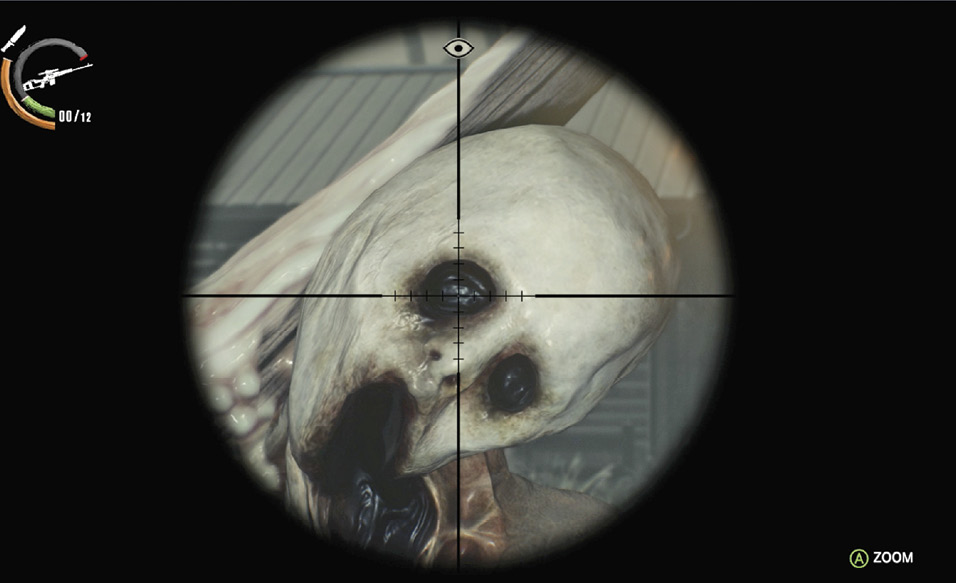
However, you won’t have time to squeeze off more than two or three shots before the Effigy charges across the space at you, so be ready to take off running at a moment’s notice. Keep sprinting back and forth from edge to edge of the arena, setting up to snipe a couple shots, and then sprint again. Keep this up until the Effigy drops dead. Myra’s barriers come down and you can pursue her again. But before you go, scour the area for numerous pickups.
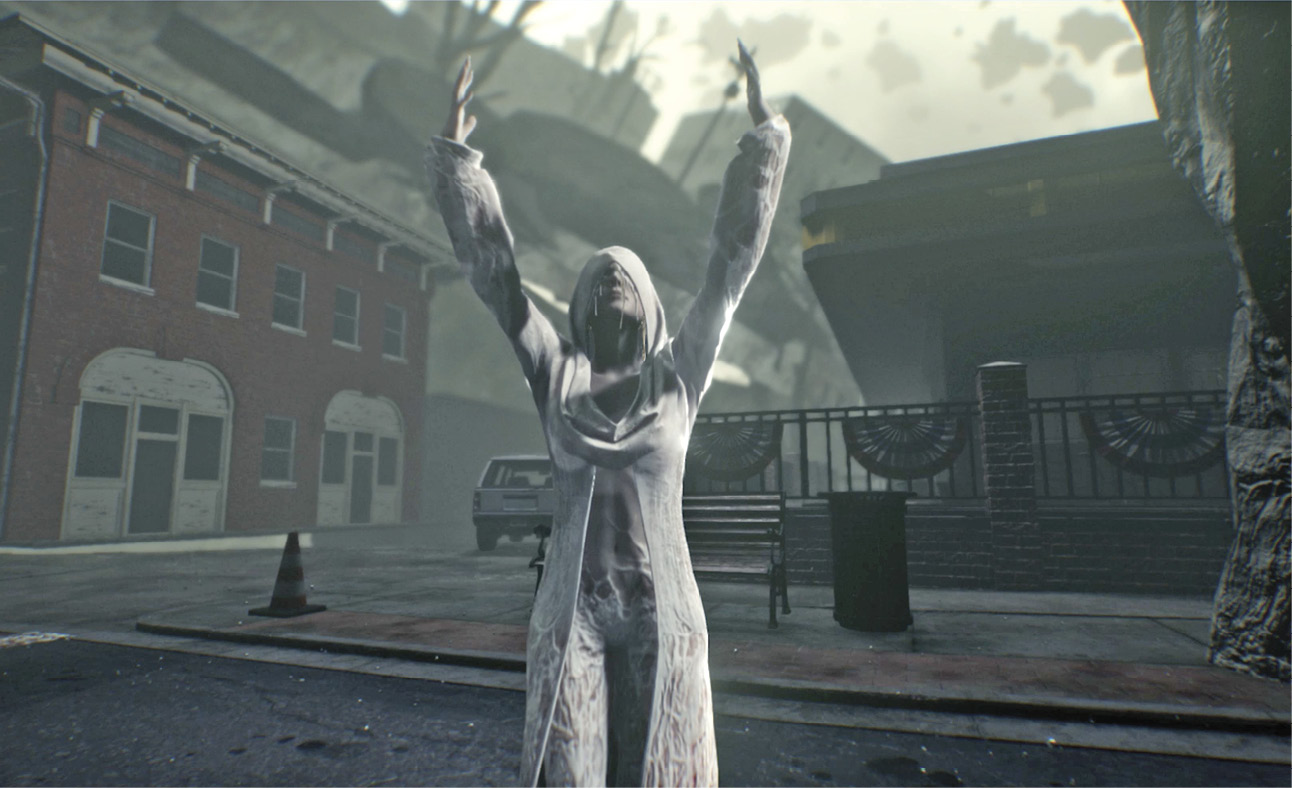
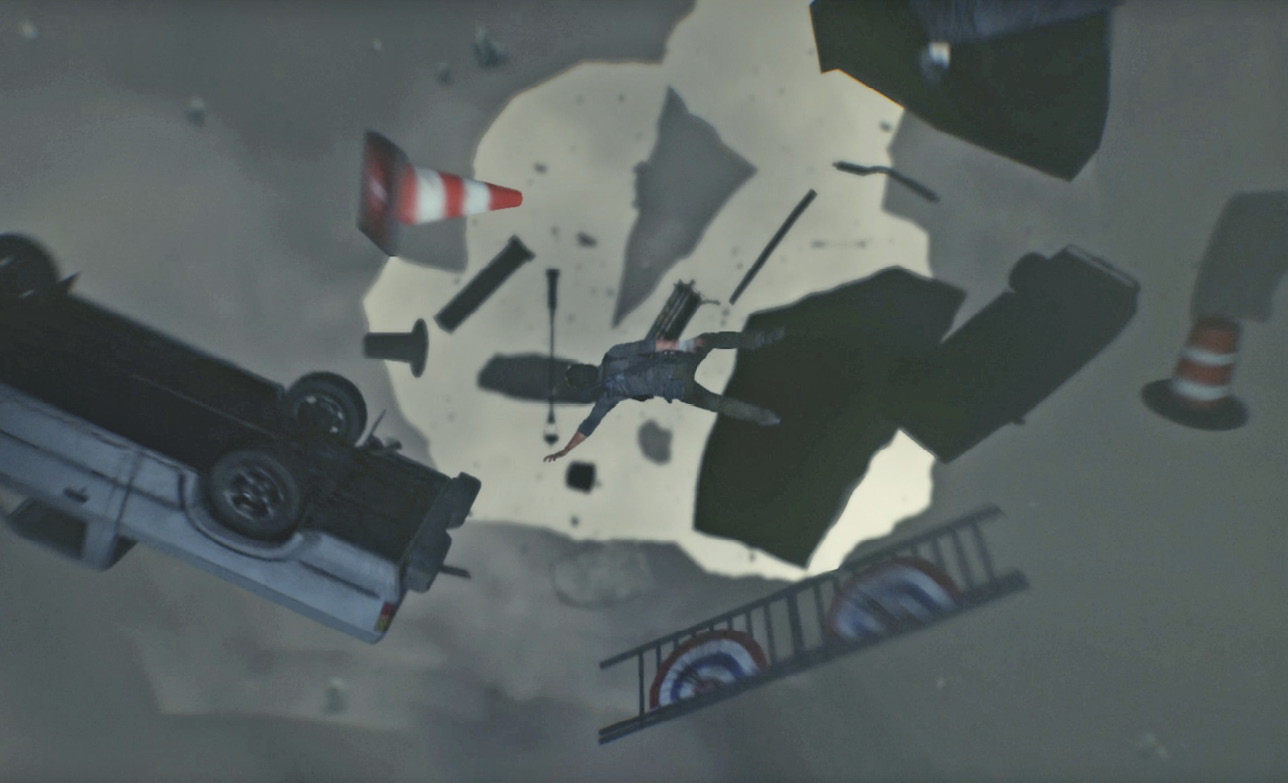
Climbing down to the next level triggers a spectacular cutscene: Sebastian catches up to Myra and tries to reason with her, but she has other plans. One of them happens to be the utter deconstruction of Union… and Sebastian ends up falling onto a frozen snowscape. Up on a promontory above, something looks quite familiar.