
The Evil Within 2 Guide Story Walkthrough
Stronghold
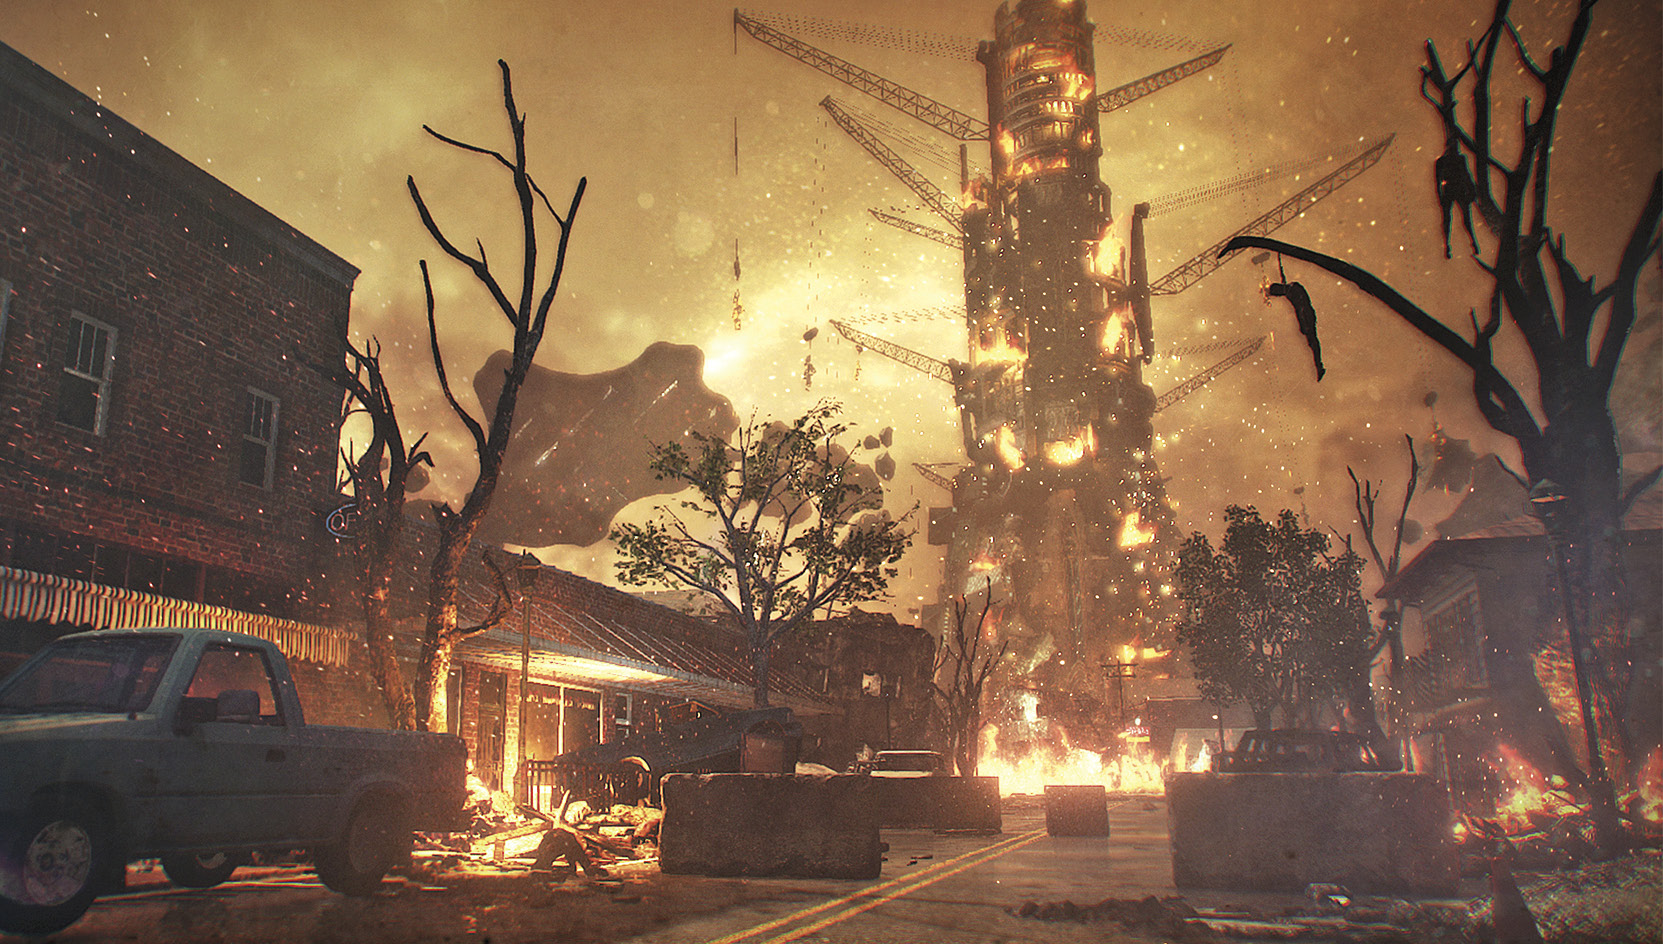
The Sanctuary Hotel is right on the edge of the maelstrom of fire surrounding Theodore’s stronghold. So, it’s a good place for Sebastian to meet up with Yukiko Hoffman and the device she claims can help pierce the firestorm.
Overview
Objectives
- Make your way through the remains of Union to reach the Hotel in the Business District
- Speak to Yukiko to begin the trip to Theodore’s stronghold
- Defend Yukiko as you push toward Theodore’s stronghold Collectibles
- 1 File
Make your way through the remains of Union to reach the Hotel in the Business District
Travel to the Business District
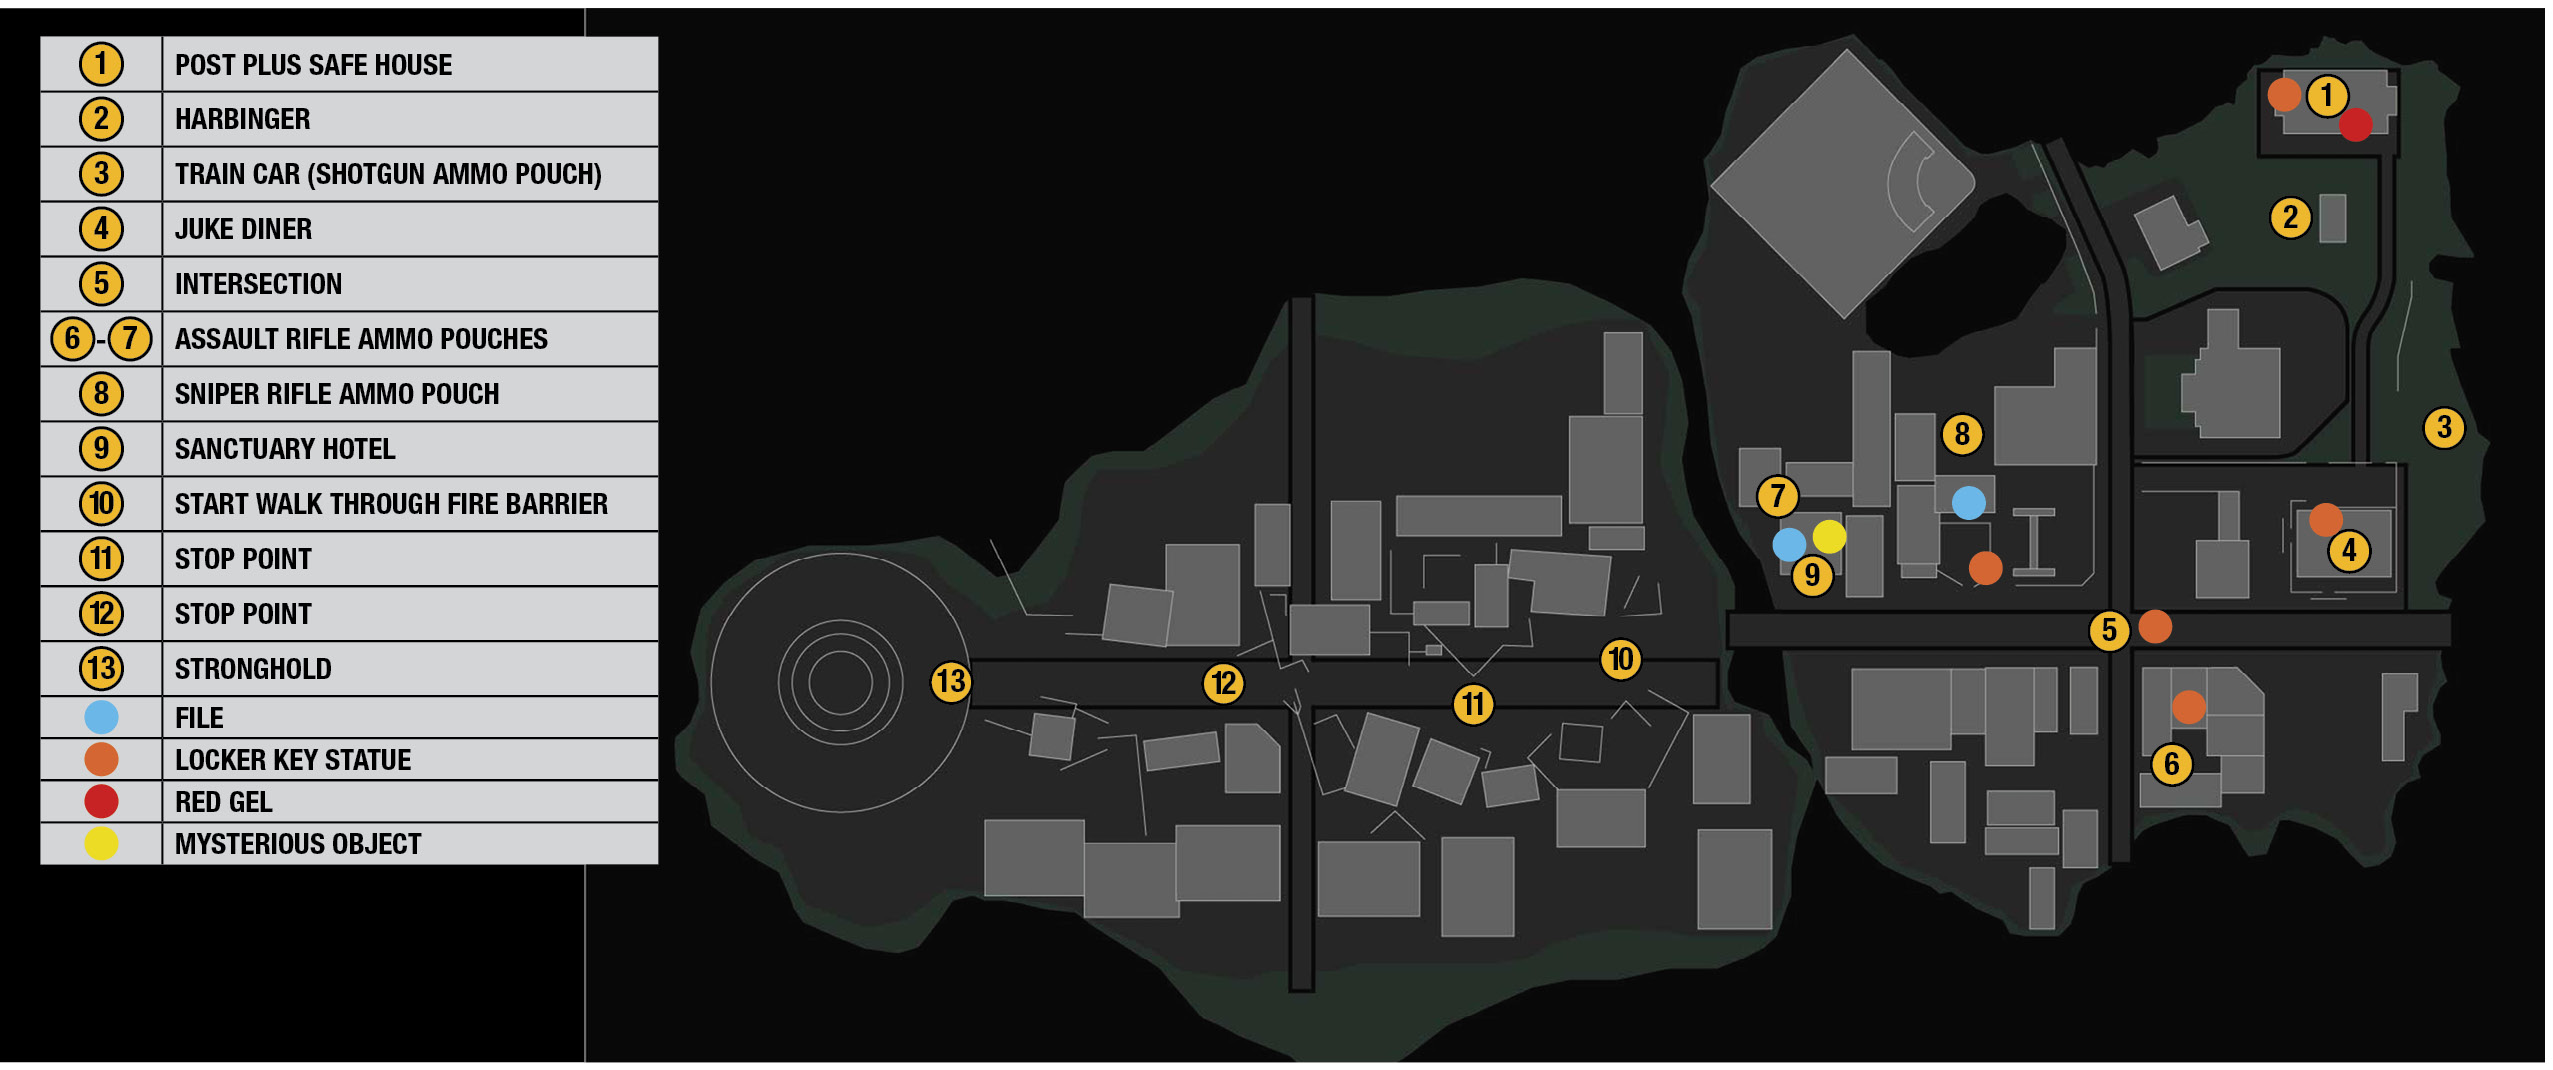
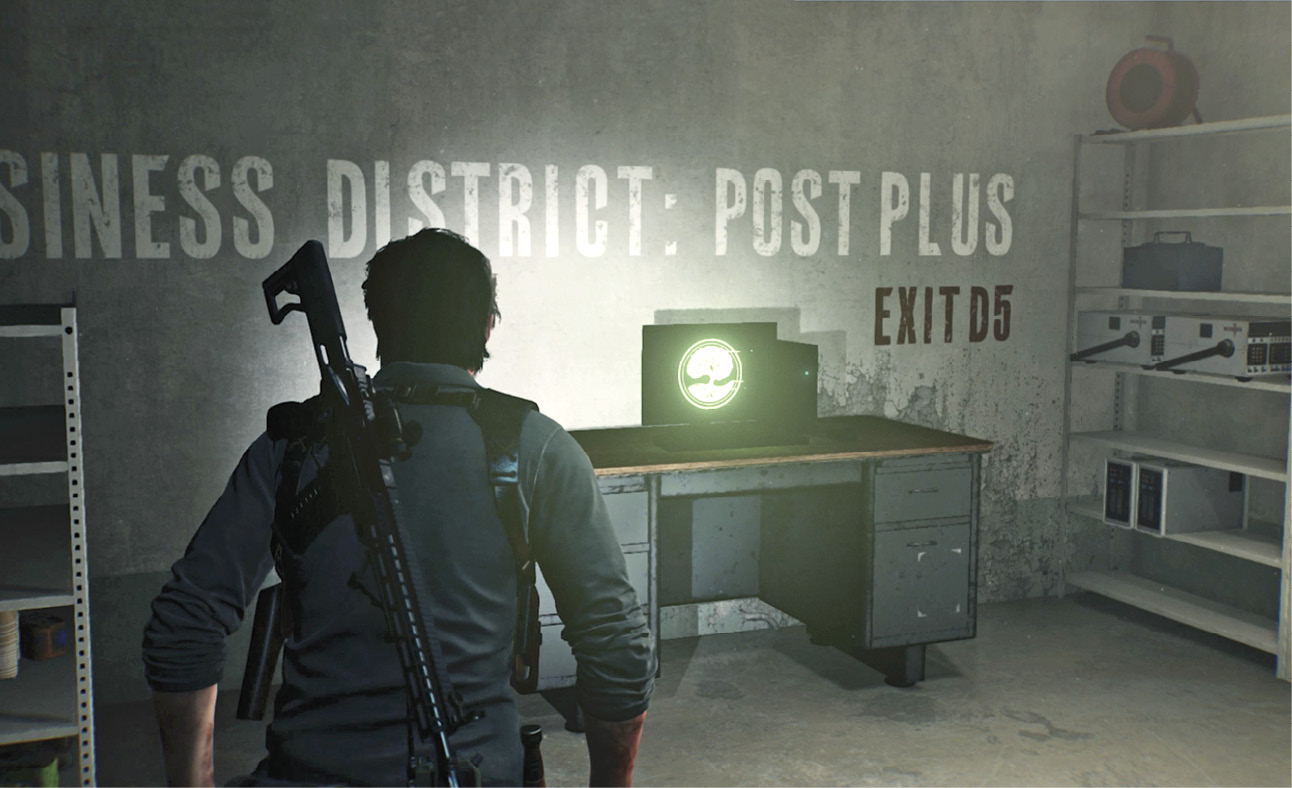
Before you set off for the Business District, be sure to pick up Esmeralda’s awesome Assault Rifle. This weapon inflicts damage fast, but it also expends its ammo at a very rapid clip. We also suggest you fill up your full stock of Sniper Rifle Cartridges; several imposing foes loom ahead in this chapter, and one is best engaged from a distance. Then head through the Exit D5 door and travel back to the Post Plus Safe House  .
.
Defeat (or evade) the Harbinger
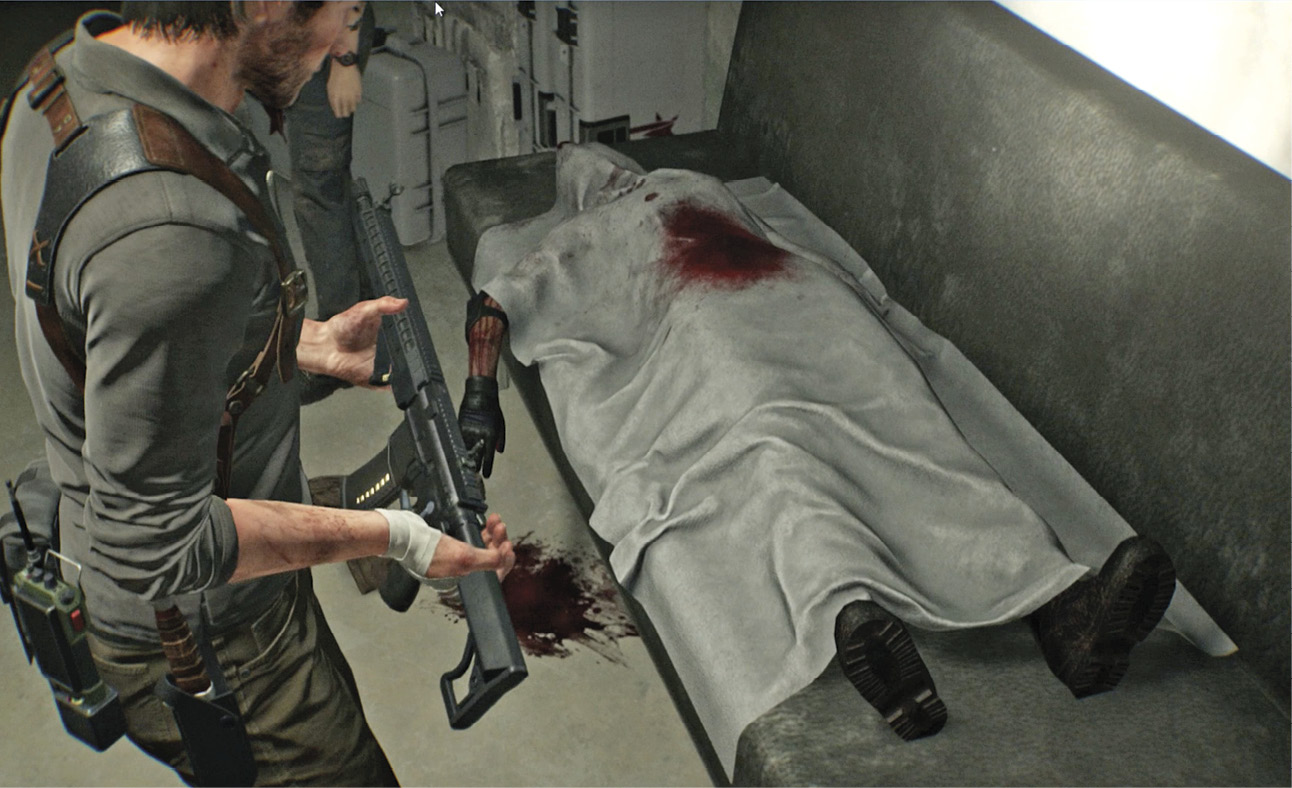
Be sure to scour the Safe House for new pickup items, including a jar of Red Gel in the Mirror Room and a Locker Key statue in the outer vestibule near the corpse that still lies there. Then exit to take a look at how the district has been transformed. Theodore’s stronghold is a towering edifice of fire, and his minions control the town now: Disciples, Gluttons, and a crew of powerful flame-throwing Harbingers. The only upside is they’ve snuffed out most of the Lost.
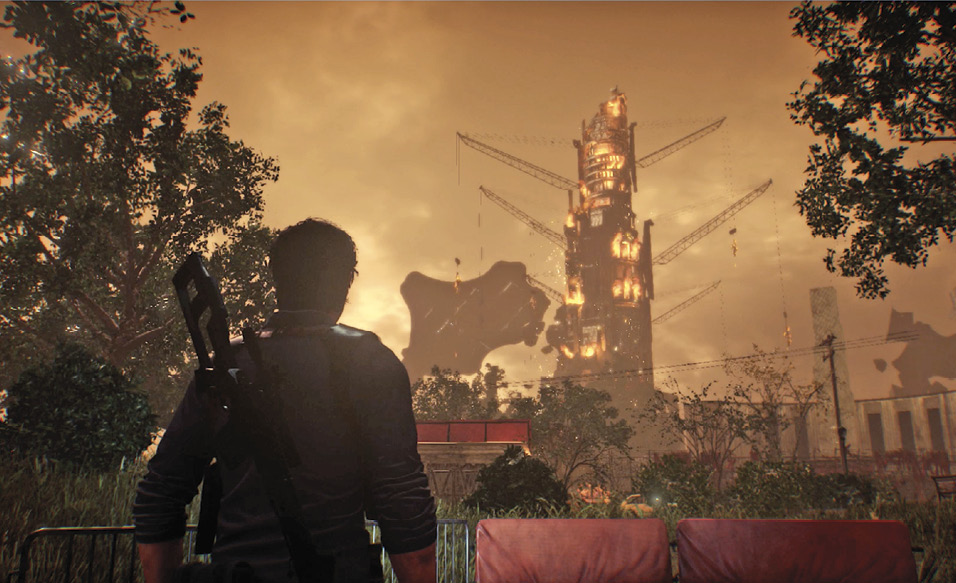
One Harbinger is just across the street, cleansing the Lost from the grass around the Post Plus storage hut  . Let him finish up his work burning monsters before you intervene. You may recall from battling O’Neal that Harbingers can absorb a lot of punishment while dealing deadly flame attacks and/or bludgeoning foes. So, you may want to just sneak past him through the foliage on the left side of the brick building. But where’s the fun in that? Also: Harbingers spill a lot of Green Gel when they expire, so it’s worth the kill. And you can pick up something else he drops that can be very valuable to you later.
Two good options:
- Set up with your Sniper Rifle in the Post Plus parking lot and nail him from afar. Depending on how much you’ve upgraded your rifle, it can take three to five good headshots to finally bring him down. Like we said, he’s tough. (Note: If you don’t have the Sniper Rifle yet, you can find one on the roof of nearby John’s Coffee.)
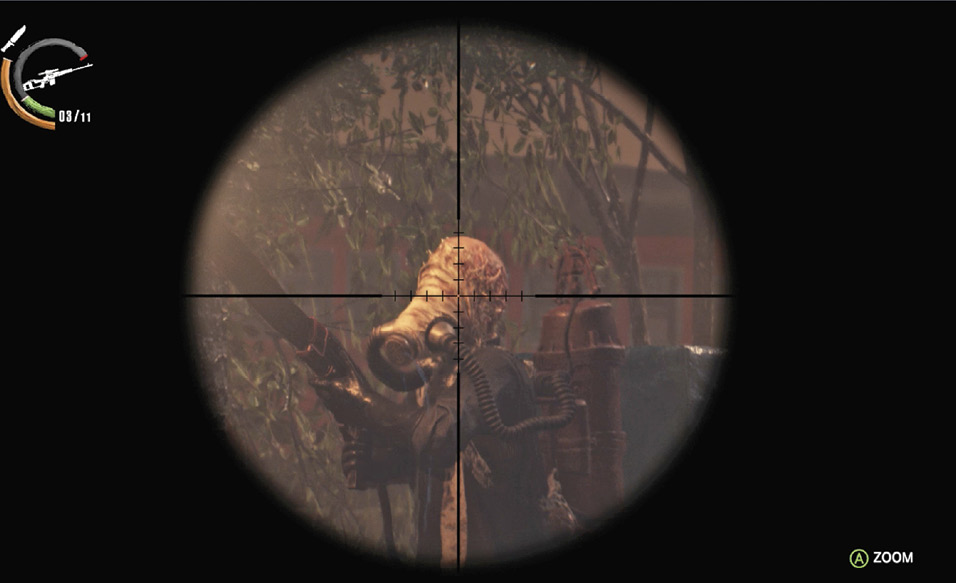
- Or if you want to minimize ammo use—Sniper Rifle Cartridges are expensive—start by slipping in behind the Harbinger to execute a Sneak Kill. This won’t take him down, and in fact, he’ll respond by knocking Sebastian backward. But it does inflict a lot of damage on the Harbinger, enough so that after you sprint away and hide, you can likely drop him with just two Sniper Rifle headshots.
If you take down the Harbinger, be sure to scoop up both his Green Gel and his valuable Flamethrower Fuel Tank. You need two of these tanks before you can combine them with O’Neal’s Broken Flamethrower (assuming you picked that up earlier, as in this walkthrough) to make a working unit.
Traverse the east side of the district
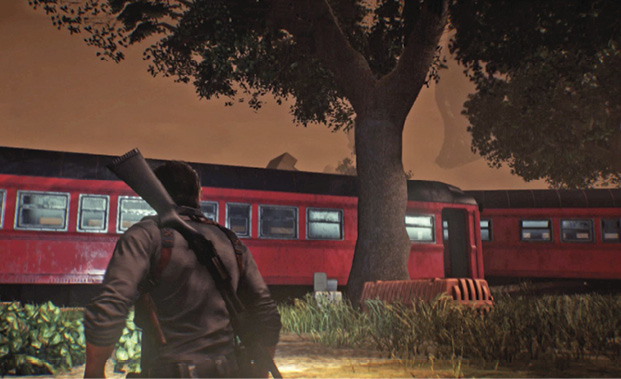
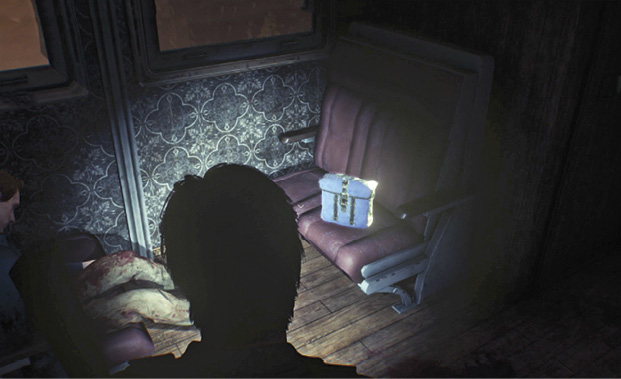
Head along the east side of the ravine behind the brick storage hut to see Disciples around a burning pile of bodies near the two derailed train cars  . Try out Torres’s Assault Rifle on these fiery creatures. Then find the Shotgun Ammo Pouch on a seat inside the first train car.
Now head southwest across the rear parking lot of the Juke Diner  and enter the back door. Inside, a Harbinger is torching the place, so crouch and sneak around the first corner to the left then enter the bathroom to find another Locker Key statue. Unfortunately, it’s up high enough that you can’t reach it with a melee strike, so you’ll have to shoot the statue to get the key to drop. This alerts the Harbinger, so grab the key fast and hustle back out the back door.
If you want, you can stalk the Harbinger around Juke Diner and try to take him down so you can acquire the second fuel tank you need to create a working Flamethrower. (You can open your Arsenal Menu and Field Craft it on the spot!) Again, each Harbinger also spills a considerable amount of Green Gel, so don’t forget to scoop that up. You can also find a crispy Mobius operative behind the diner’s service counter with a good stash of Gunpowder.
Work your way west down Main Street
From the street in front of Juke Diner, turn west toward Theodore’s massive stronghold in the distance. Note that the main street from Devil’s Own Taproom past the intersection  is patrolled by a formidable squad of Disciples and Gluttons. Pick off as many as you can from a distance with Sniper Rifle headshots. Nail the Gluttons first; you always want to engage Gluttons from long range.
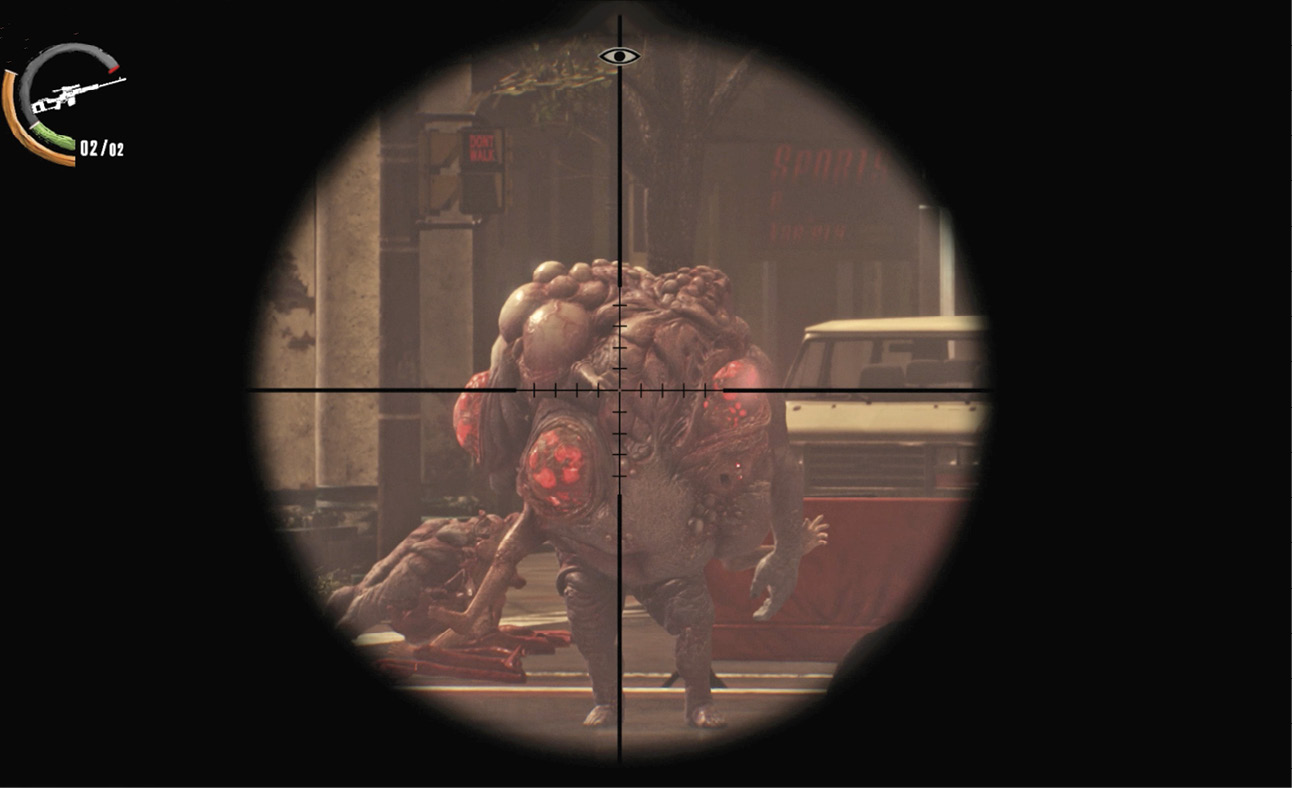
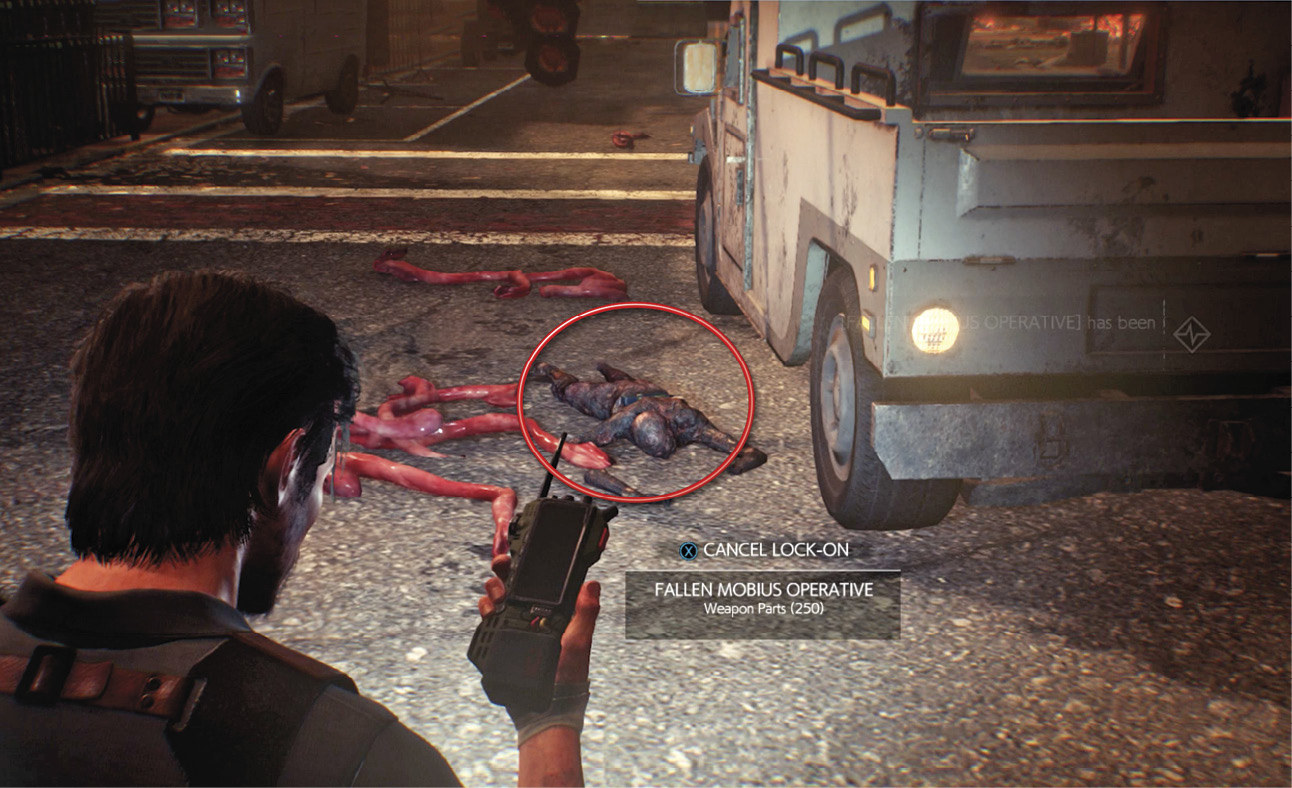
When the intersection is cleared, find the fallen Mobius operative lying on the street next to an APC; loot the body for a whopping 250 Weapon Parts! Then spot the Locker Key statue sitting above the intersection. Finally, head inside the Devil’s Own Taproom and find another statue in the back room.
Now let’s find three ammo pouches stashed nearby. First, exit the Taproom and go left down the next street until you reach an alley on your left. Move past the pile of burning bodies to find a fallen Mobius operative with an Assault Rifle Ammo Pouch  .
.
Next, step back into the street, head back north to the intersection  , and then veer leftward toward the entrance gate to Krimson Plaza
  . Watch out for another Harbinger roaming the area, looking for stuff to burn.
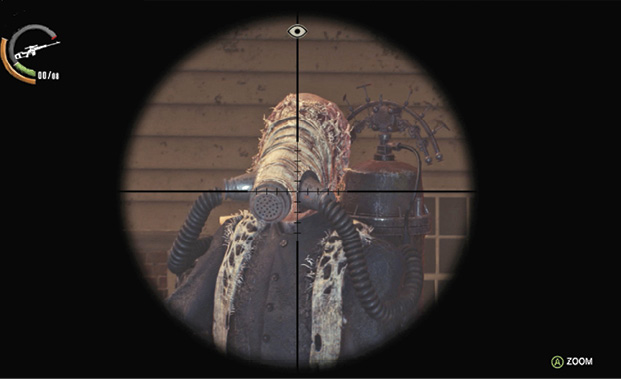
Take out the big-snouted arsonist then find a Locker Key statue behind the shattered wall next to the plaza entrance. Continue through the plaza to the parking lot north of Sykes’s Safe House to find a Sniper Rifle Ammo Pouch  guarded by three Disciples and a Glutton. Is it worth it? Sure, it is.
Return to the main street, turn left, and head toward the Sanctuary Hotel  on your right. Turn right just before the hotel and head down the alley to find another Assault Rifle Ammo Pouch around the corner behind the hotel. Then enter the hotel lobby where Sebastian automatically calls Yukiko Hoffman. Watch the cutscene as Hoffman gives Sebastian a rundown on O’Neal’s odd-looking device.
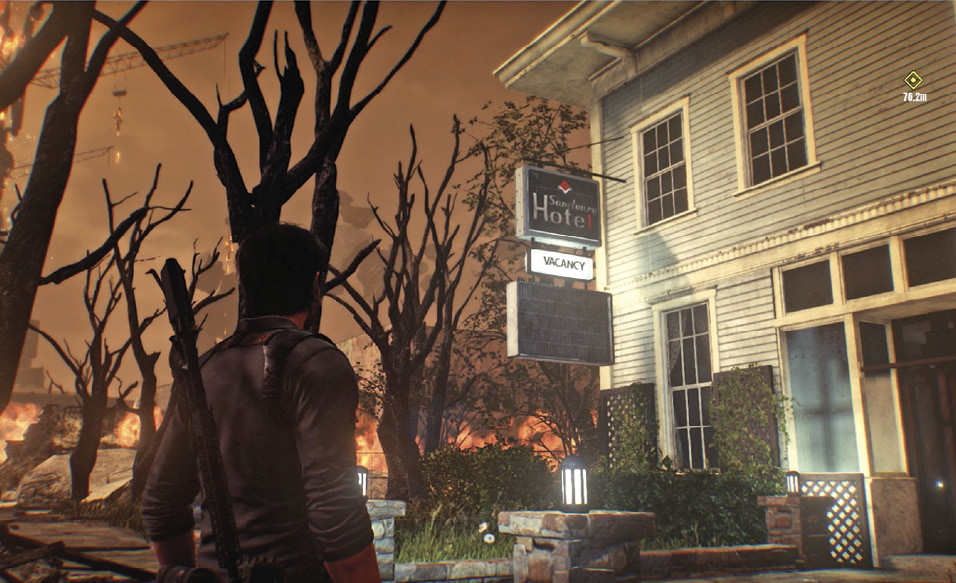
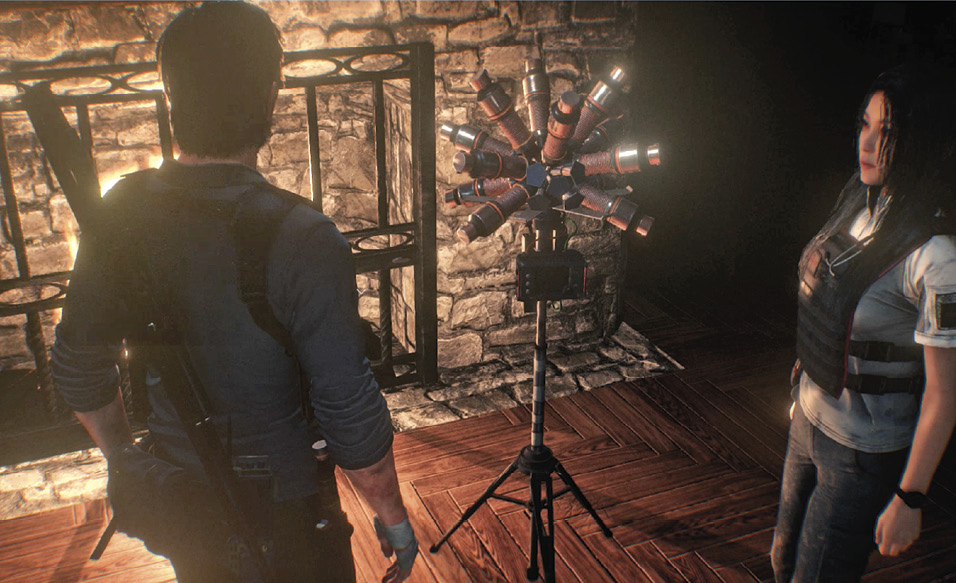
Speak to HOFFMAN to begin the trip to Theodore’s stronghold
Before you talk to Hoffman again to trigger the next phase of the mission, grab all the goodies piled on the coffee table, including a journal stashed in the equipment duffel. Find the Mysterious Mug on the counter behind the reception desk, too. Then use the Mirror to travel to Sebastian’s Room for crafting and upgrades. Save your game and return, then talk to Hoffman and tell her you’re ready to go.
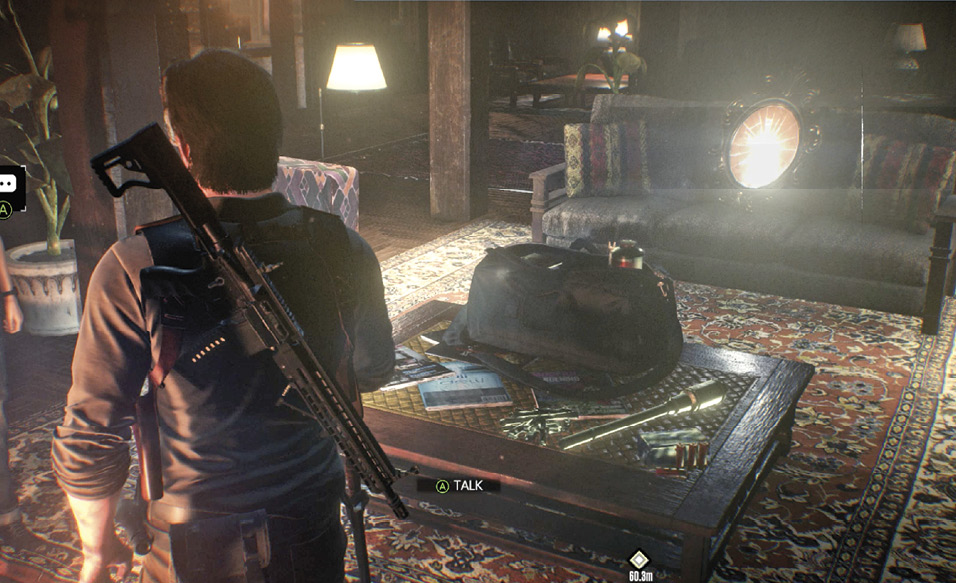
Defend HOFFMAN as you push toward Theodore’s stronghold
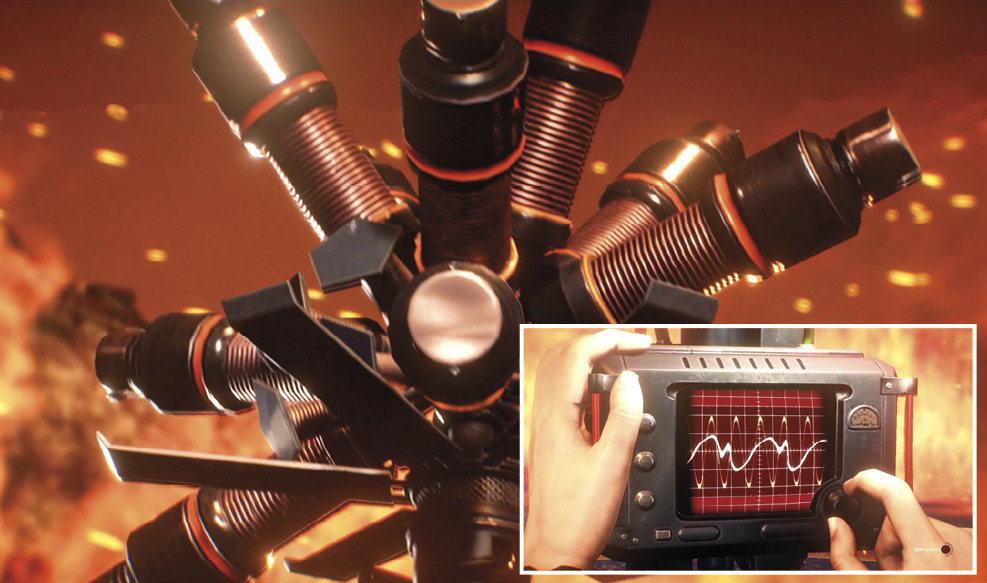
Hoffman activates the device and starts walking through the fire barrier. When control returns  , walk with her and shoot any evil creature that tries to make a run through the fire. Stay inside the dome of protection! Watch out for attackers from both front and rear. At one point
  the Stabilizer malfunctions a bit, so Hoffman has to make some adjustments. Keep defending her as she fixes the device and starts moving again.
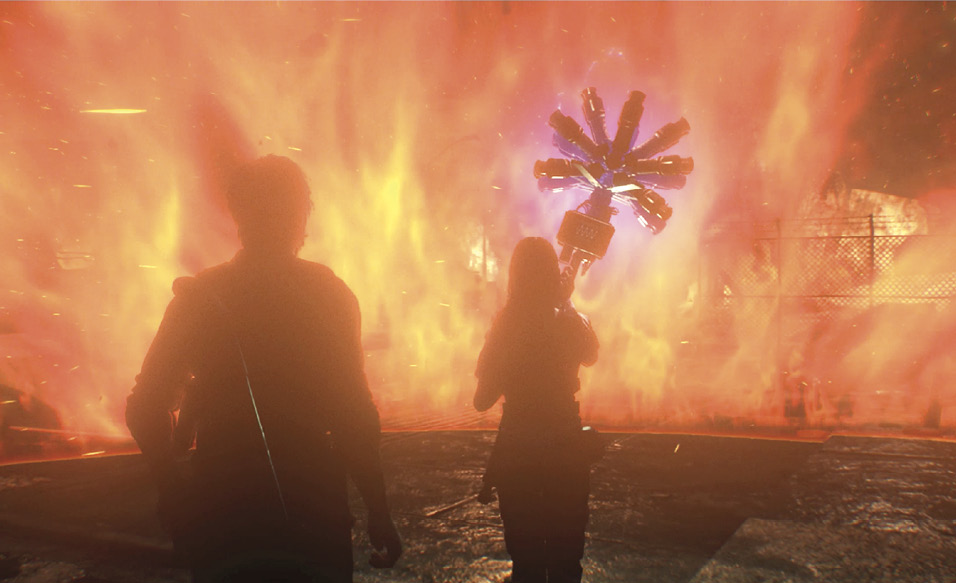
It’s slow going, so stay sharp and try to pick off the Disciples before they burst into your protected dome. Listen for their roars as an early warning of approach. Soon the device needs adjusting once more, so Hoffman has to stop again  . After you fend off a few more waves of attackers, a cutscene is triggered: Watch the dramatic conclusion to the long walk through the firestorm as Sebastian finally reaches the stronghold
  .
.
Side Mission: “The Last Step”
This mission is available only after you complete both of the previous side missions for Julian Sykes, “Out in the Open” and “Getting Back Online.” (We covered both of these where they first become available, back in Chapter 7.) If you did so, Sykes is waiting for you in his Safe House in the Business District.
Overview
Objectives
- Head over to Sykes’s Safe House
- Access the Experimental Wing of The Marrow, clear out any enemies, and get the power back on
- Make sure there are no enemies and call Sykes from the pod room
- Collectibles
- 1 File
- 2 Slides
Head over to Sykes’s Safe House
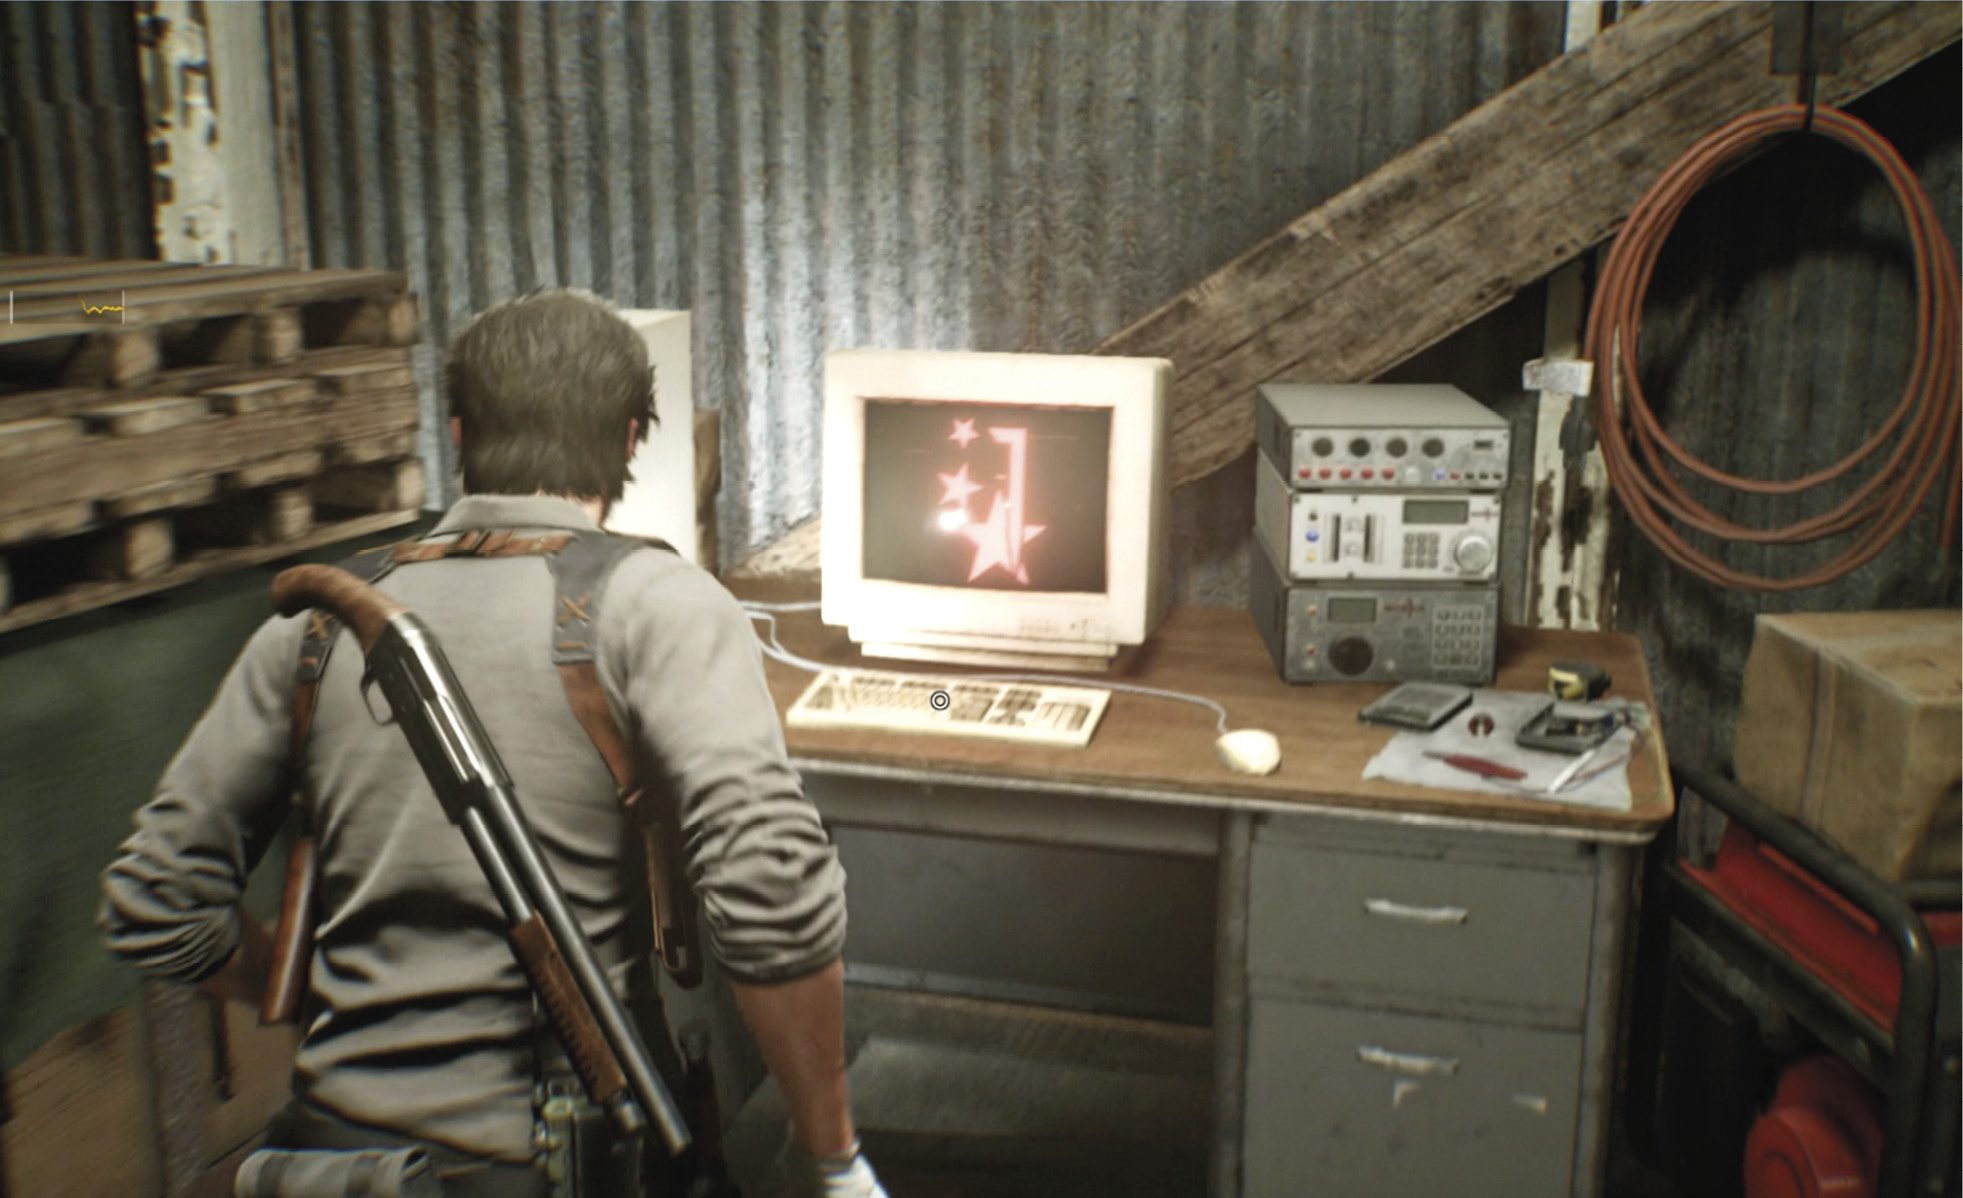
Travel back to the Business District and enter Sykes’ Safe House off of the Krimson Plaza. Talk to Sykes and ask him all questions to get your new objective. He points out a new Mobius travel computer across the room.
Access the Experimental Wing of The Marrow, clear out any enemies, and get the power back on
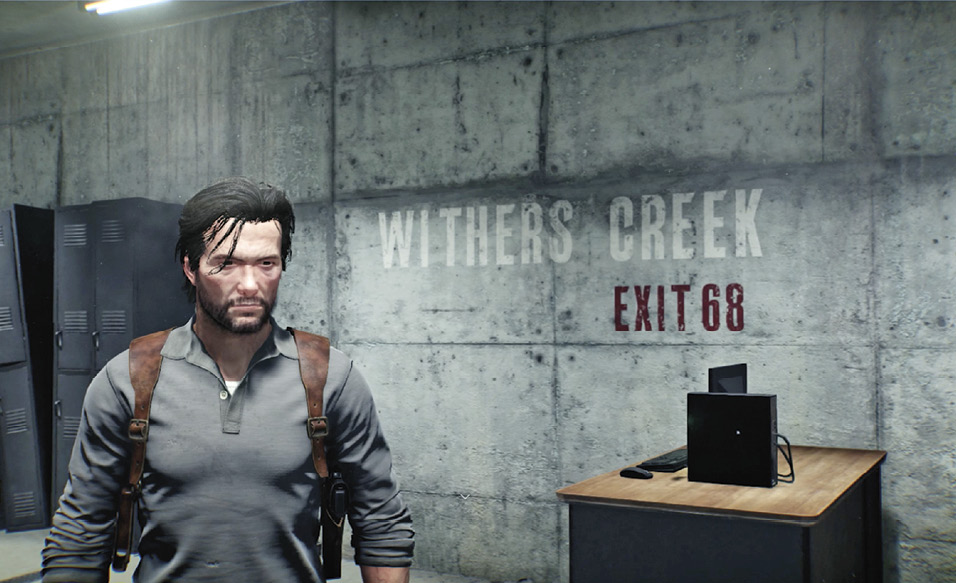
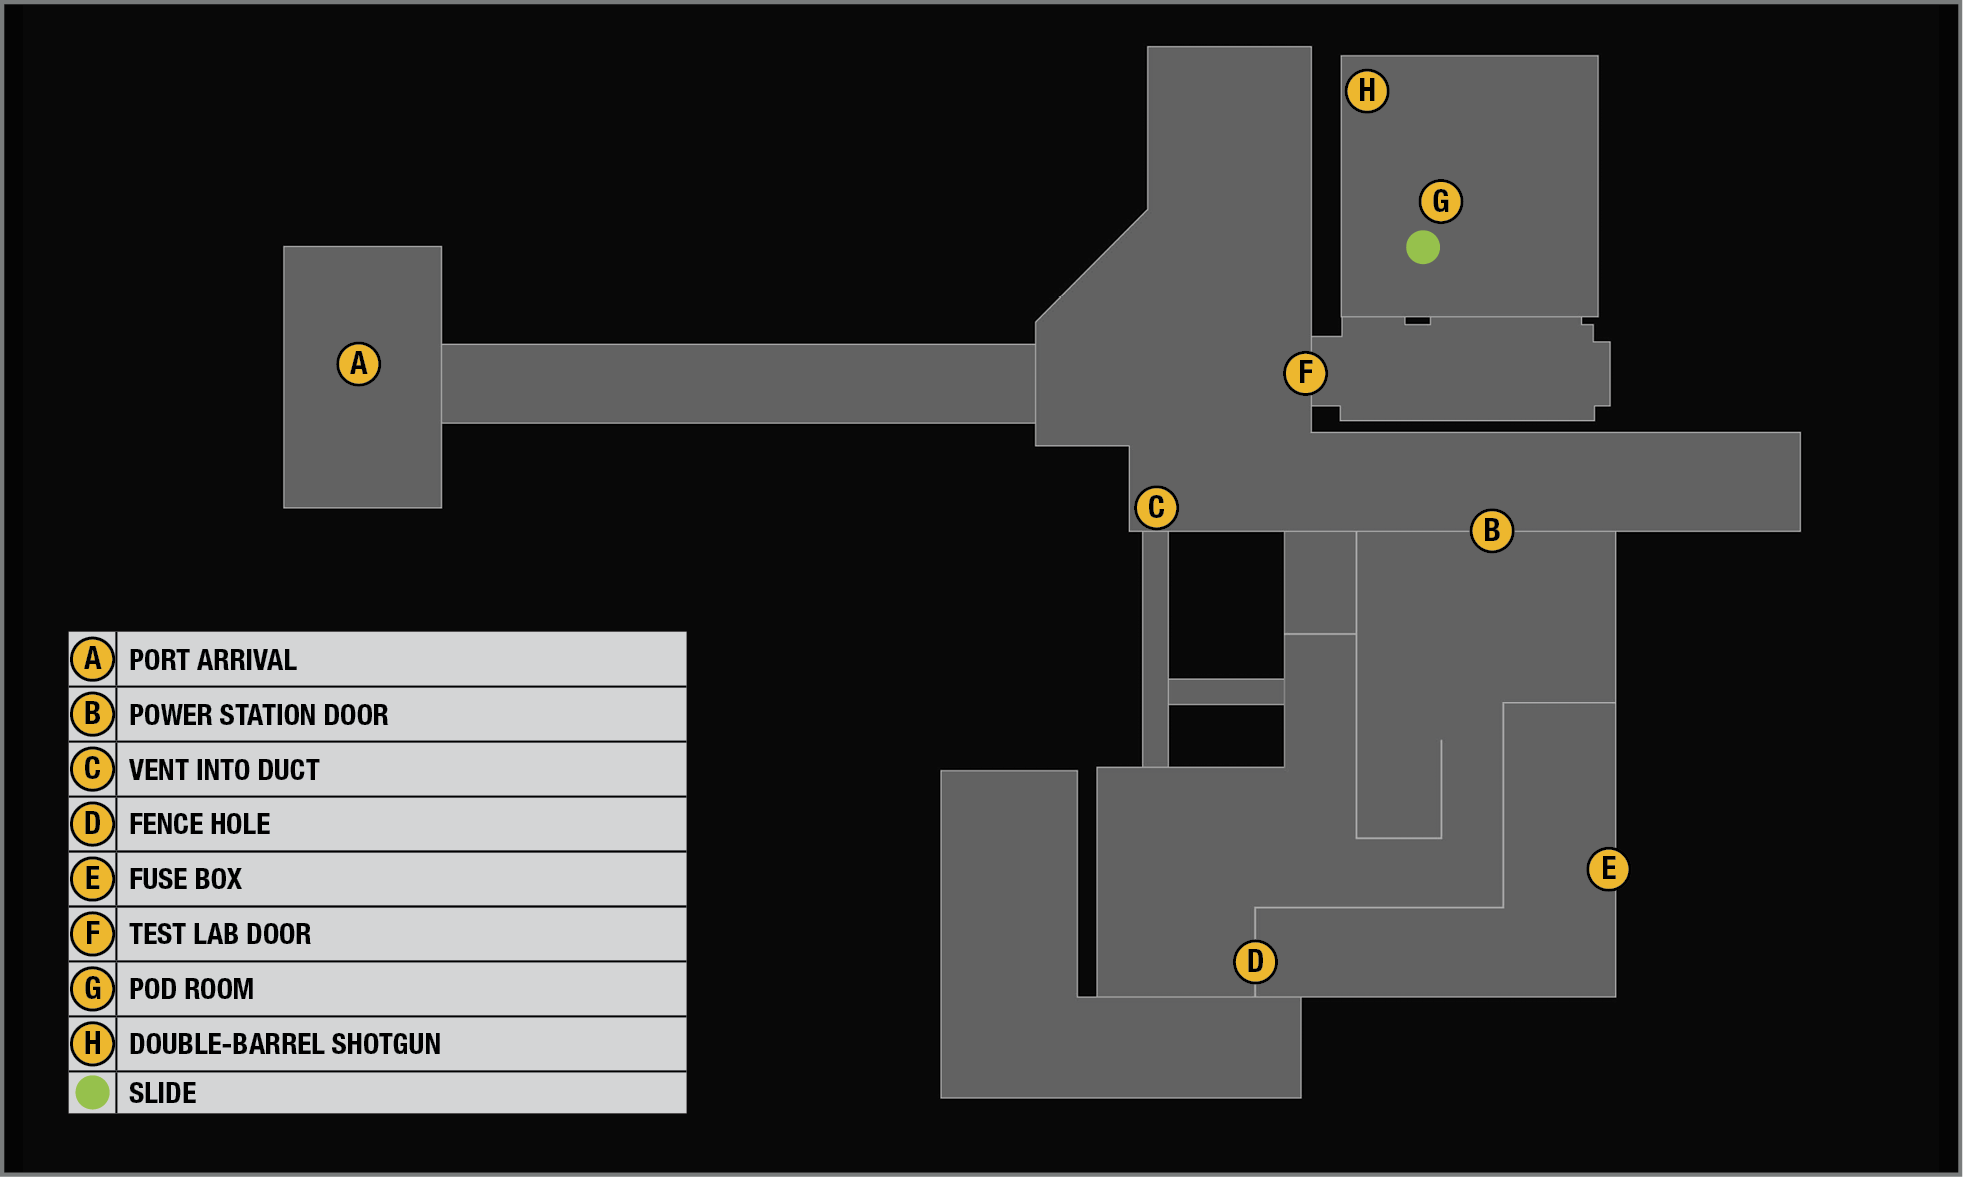
Use the new computer to travel to The Marrow’s Experimental Wing. Loot the arrival room  and exit via the only door. Proceed down the corridor and through a second set of doors to see the Test Lab entry directly ahead; it’s locked because the power is out.
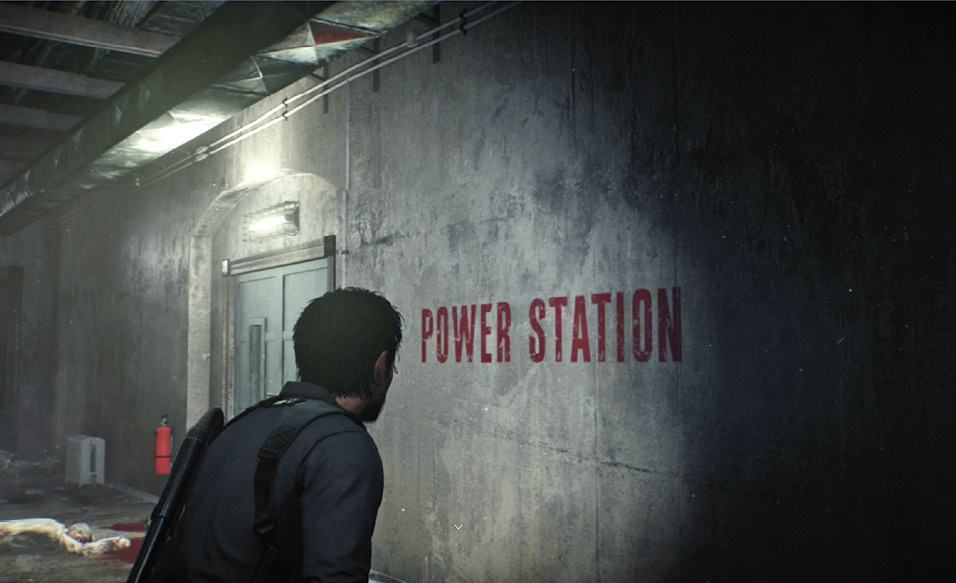
Just around the corner you find the doors marked “Power Station”  ; they’re locked too, so you’ll have to find a different way in. Find the vent opening
  with its grate cover torn off. Crouch and go through the duct to reach the Power Station.
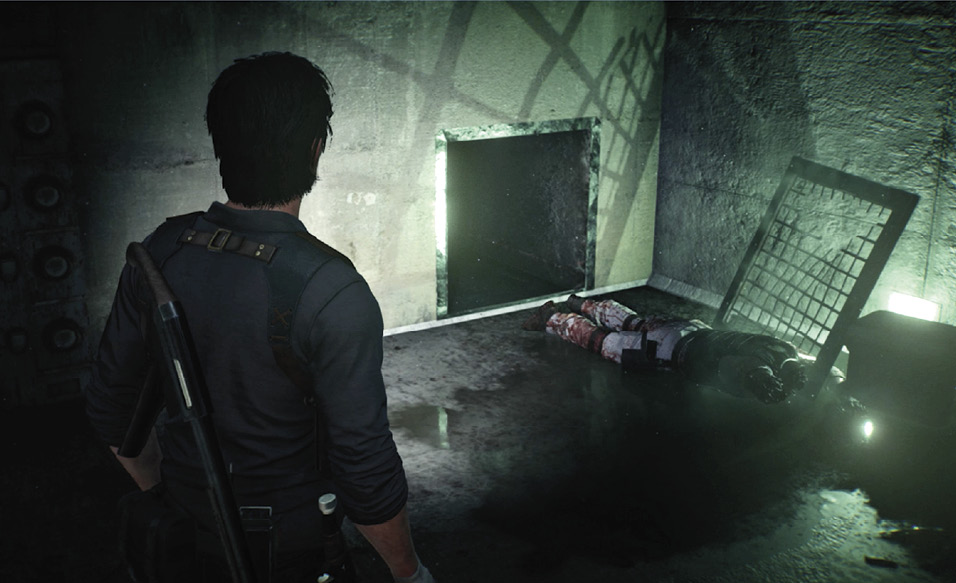
Find the fuse box
Creep across the room and Sneak Kill the Lost hammering at the door with its back to you. Then turn left and crouch through the hole  torn in the fence.
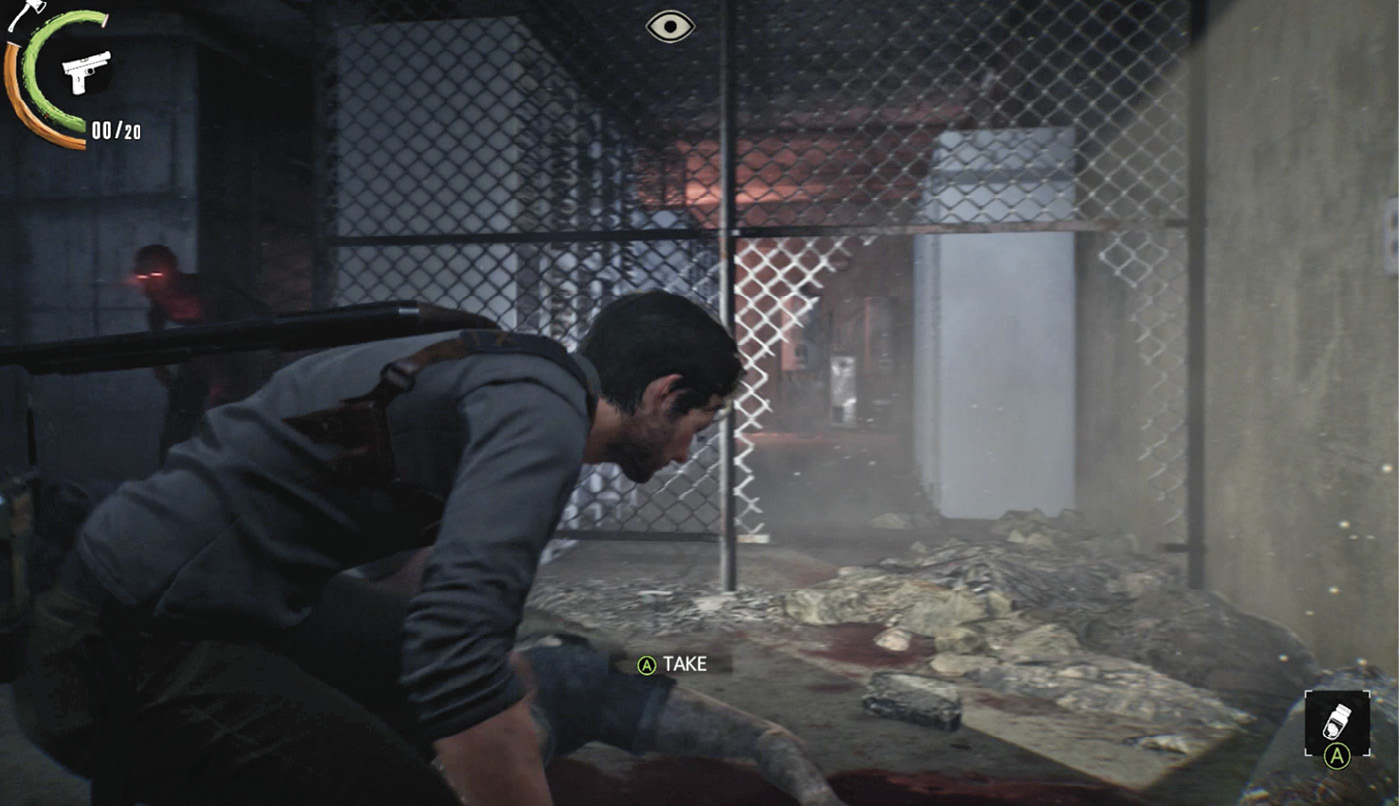
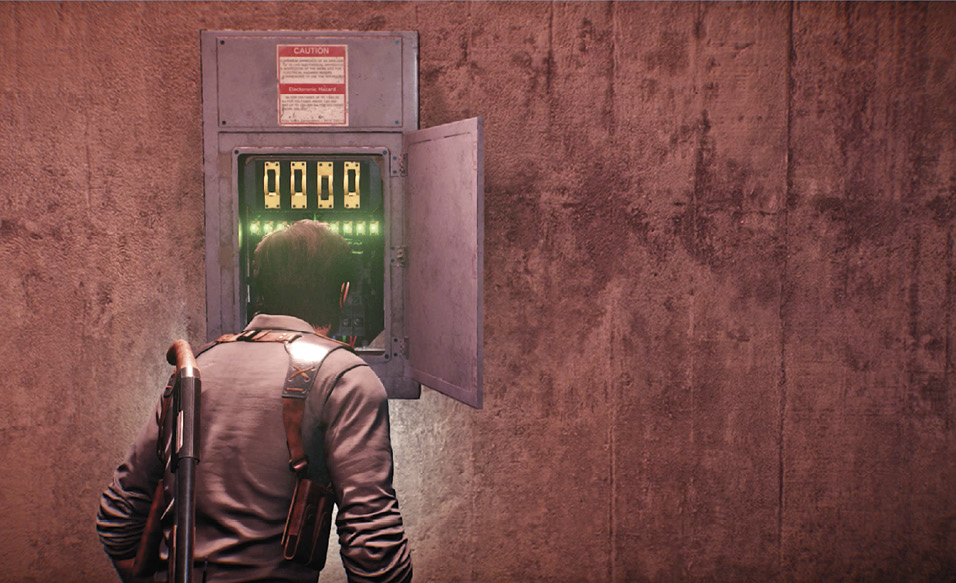
Creep down the passage and spot the fuse box  on the wall up ahead. As you approach it, a pair of Lost will attack from the left. Take them out and then investigate the fuse box to open it. Flip switches (numbered left to right) 1, 2 and 4 to light up exactly ten bulbs. The power comes back on.
Make sure there are no enemies and call Sykes from the pod room
The power restart awakens a few more Lost in the wing, so spend a minute wiping them out for Sykes. If you stay near the fuse box, the first wave pushes through the same gate one at a time, making it easier to pick them off and avoid getting swarmed. When you approach the Power Station exit  , two more Lost burst in. Dispatch them, head around the corner, and enter the Test Lab
  . Sebastian automatically calls Sykes. After a scene break, Sykes has arrived and prepares the pod at the Test Lab workstation. Then he hops into the pod and disappears.
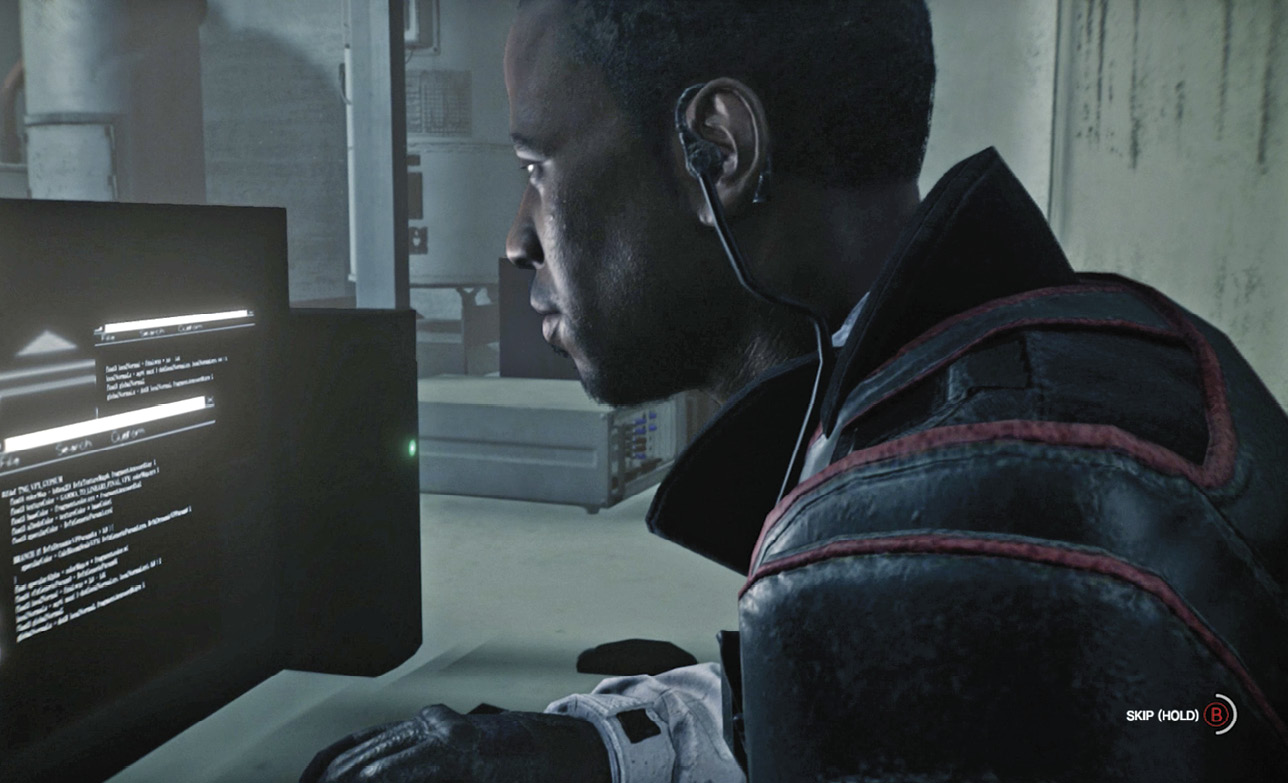
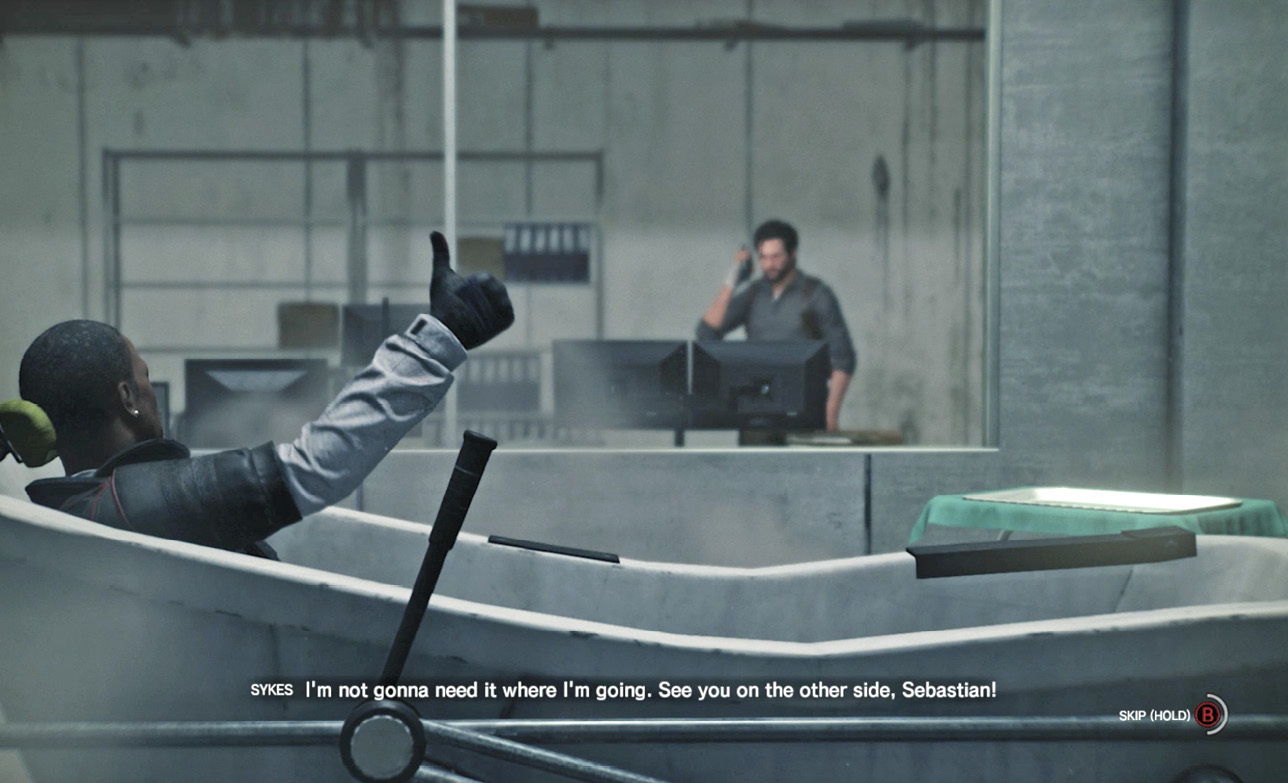
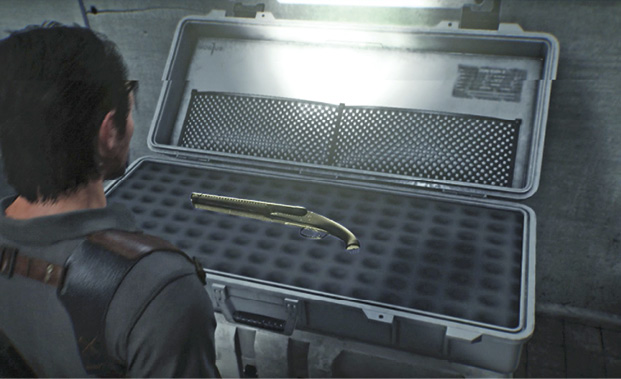
Technically, this completes the side mission. But before you go, enter the pod room  to grab a slide on the tray table; open the Mobius weapon crate
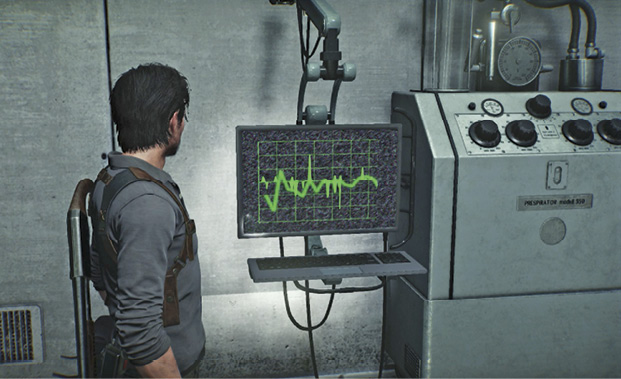
  to find a gleaming Double-Barreled Shotgun; and operate the control monitor to hear a Mobius researcher report on the success ratio of the STEM Pod project.
Return to Sykes’s Safe House
Now go back to the computer in the arrival port (under the sign “Withers Creek, Exit 68”) and return to Sykes’s Safe House. Don’t miss the note he left on his desk for Sebastian. You may wonder why the sign refers to “Withers Creek,” which is not the name of any area in the game. This is because Sykes rigged his computer up to trick the simulation into thinking it was a port computer for a normally-inaccessible area.
Find the final slide
Use the Mirror to travel to Sebastian’s Room and view the slide from the Test Lab. If you’re following this walkthrough, this is the tenth slide you’ve acquired. If you’ve viewed and talked to Kidman about all ten slides, now you can interact with the cat on the floor to find the final collectible slide.