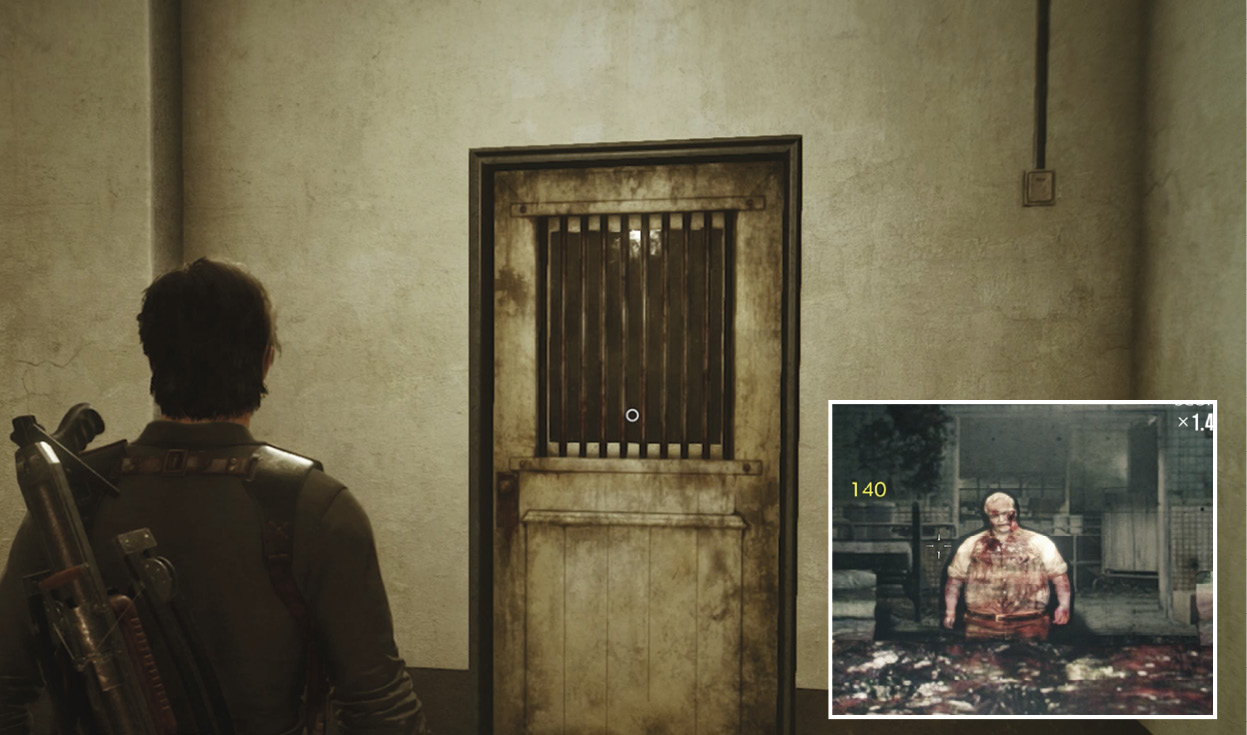
The Evil Within 2 Guide Basics
Sebastian’s Room
After the game’s opening sequence, you arrive in this room, a replica of Sebastian’s office in the Krimson City Police Department. As Kidman explains the first time you arrive here, it’s a construct “separate from the main system… a safe zone formed from your [Sebastian’s] own memories.” It serves as a hub where you return from any other Mirror in the game’s STEM world. The room has several key features.
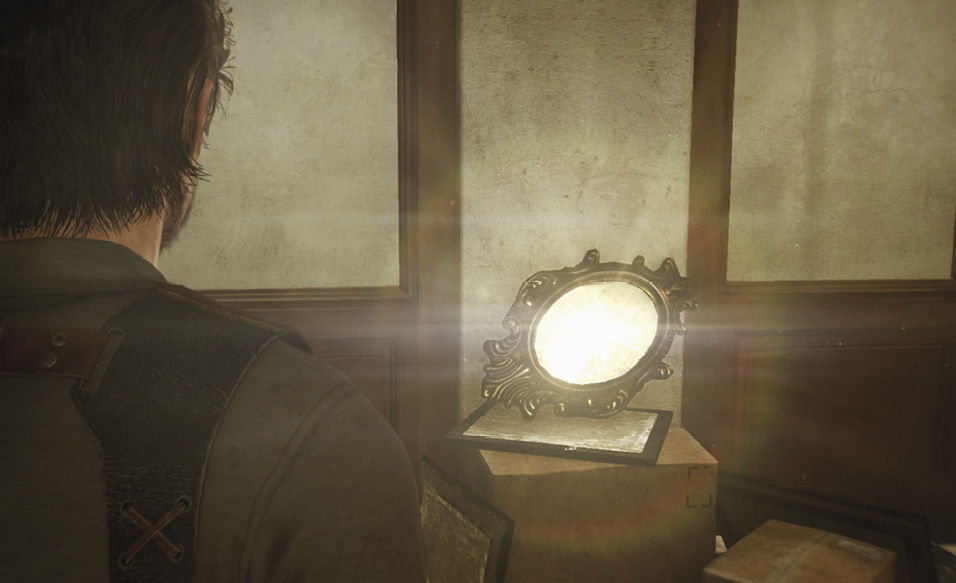
The Mirror
Again, the Mirror in Sebastian’s Room is the arrival point from every other Mirror in the game. Whenever you have a new slide to view, or you’ve collected enough Green/Red Gel for a new round of skill upgrades, just use the nearest Mirror in your current location to return to the Mirror in Sebastian’s Room. When you’re finished with your business in Sebastian’s Room, use the Mirror there to travel directly back to the Mirror you came from.
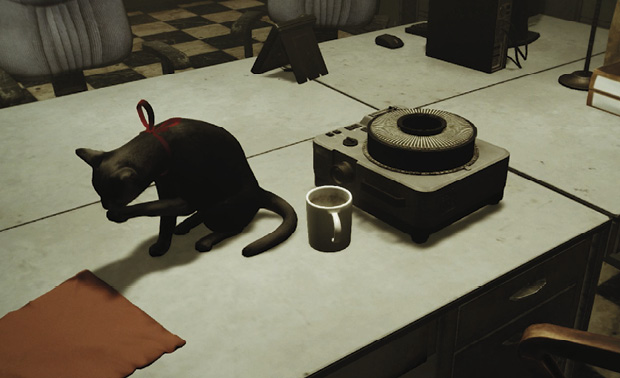
The Slide Projector
The slide projector in Sebastian’s Room provides the only way to view any photographic slides that you collect as you progress. Operate the projector and scroll to the slide you want. Be sure to select “Talk to Kidman” for each slide. If you chat with Kidman about all ten slides available in the game, it triggers an event that reveals one final slide.
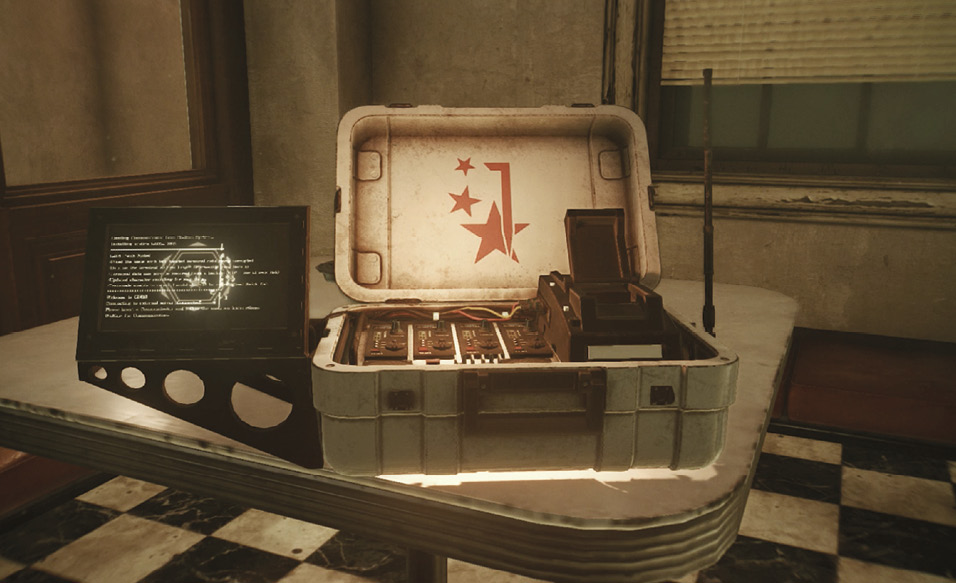
The Save Terminal
This terminal sits in the back room next to the Mirror. When you use it, Sebastian slides his Communicator into a slot. Save your game regularly!
The Workbench
The first time you return to Sebastian’s Room after you reach O’Neal’s Safe House in Union, a new corridor has opened up behind the Mirror area. This leads to a Workbench where you can craft ammo and health items, and upgrade your weapons. (There’s also a Workbench in O’Neal’s Safe House, and several more inside structures in Union’s Residential District.)
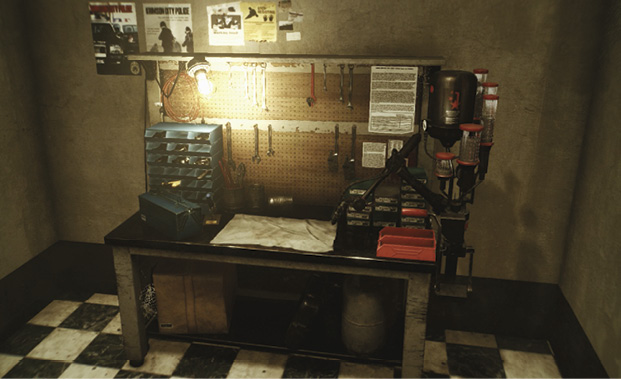
For more on what you can do at a Workbench, see the Crafting & Weapon Upgrades section later in this chapter.
Visiting Nurse Tatiana
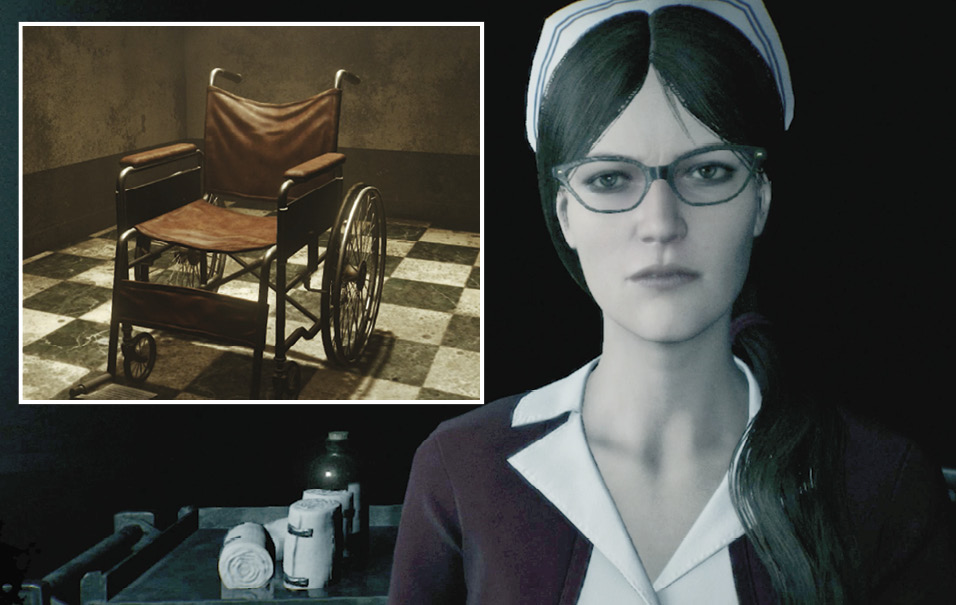
The outer corridor of Sebastian’s Room also leads to a wheelchair at its far end. Sit in the wheelchair to get zapped to a visit with Nurse Tatiana.
The Upgrade Board
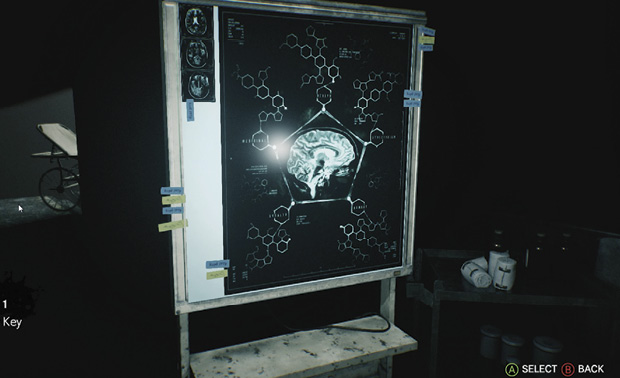
Tatiana’s “office” features an upgrade board where you can spend the Green/Red Gel you’ve accumulated to purchase skill upgrades in the areas of Health, Athleticism, Recovery, Stealth, and Combat. For more on this, see the Upgrading Skills section later in this chapter.
The Lockers
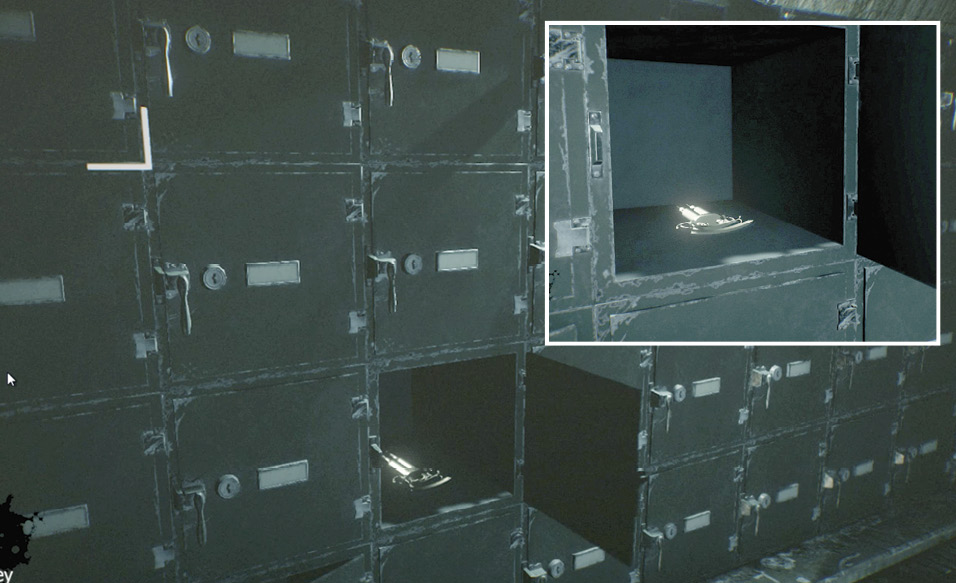
The Nurse also tends a wall of 32 lockers. As you move through Union you can find a total of 30 identical statues (see our screenshot), each of which contains one Locker Key. Break each statue where you find it, and the key falls to the ground for pickup. The two remaining keys can be won at the Shooting Range.
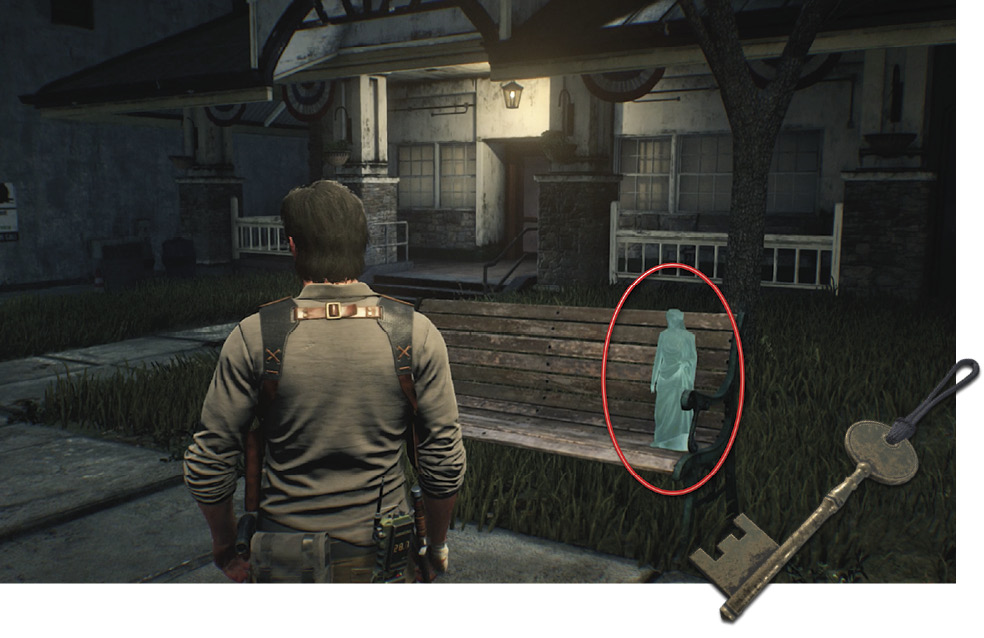
Then when you sit in the wheelchair to visit Tatiana, you can swivel left and select Lockers. Then use your keys to unlock them. Some lockers hold prizes of considerable worth, so keep a sharp eye out for those Locker Key statues!
The Shooting Range
Beginning in Chapter 4, you find a new door in the outer corridor when you travel back to Sebastian’s Room. This is the Shooting Range, managed by none other than Nurse Tatiana. Two modes, Gallery Mode and Chain Attack Mode, allow you to improve your shooting skills while winning prizes like extra Weapon Parts, Gunpowder, Green Gel, a couple locker keys, and other rewards. Try as many challenges as you like; the ammo is all free.