The Evil Within 2 Guide Story Walkthrough
Another Evil
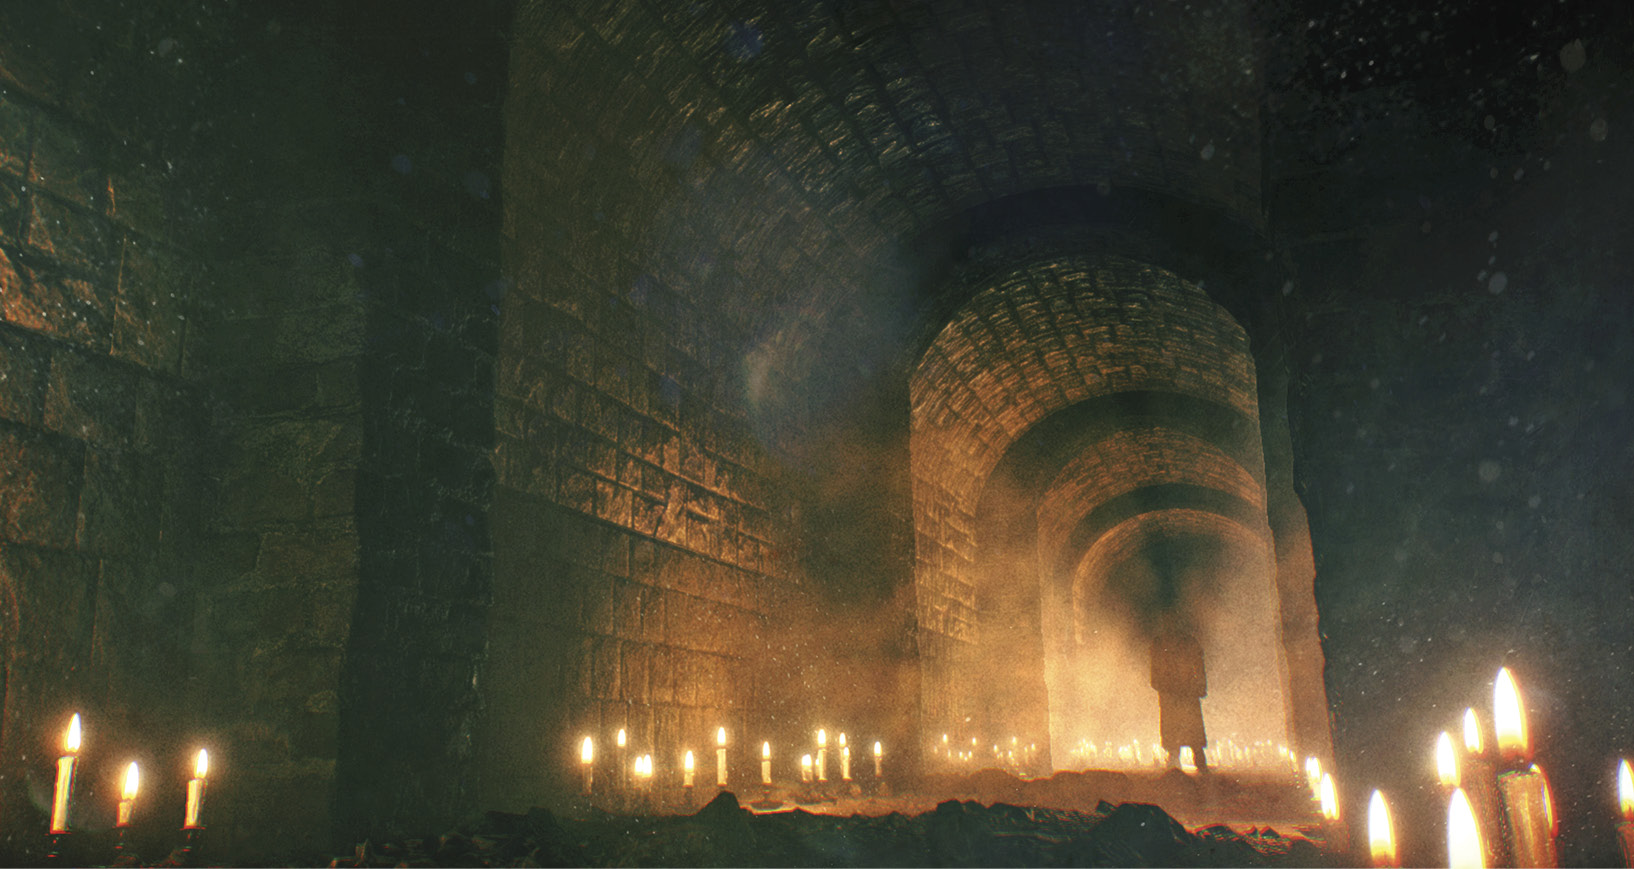
Somebody with an affinity for candlelight has been in Sebastian’s Room. Stefano is dead, and this doesn’t look like a Mobius message. Looks like somebody else is disrupting the STEM environment. If the symbol on the altar looks familiar, yes, you saw it in the church back in the Union Residential Area. You also saw it on the “Extravagant Letter” you found in the hotel.
Overview
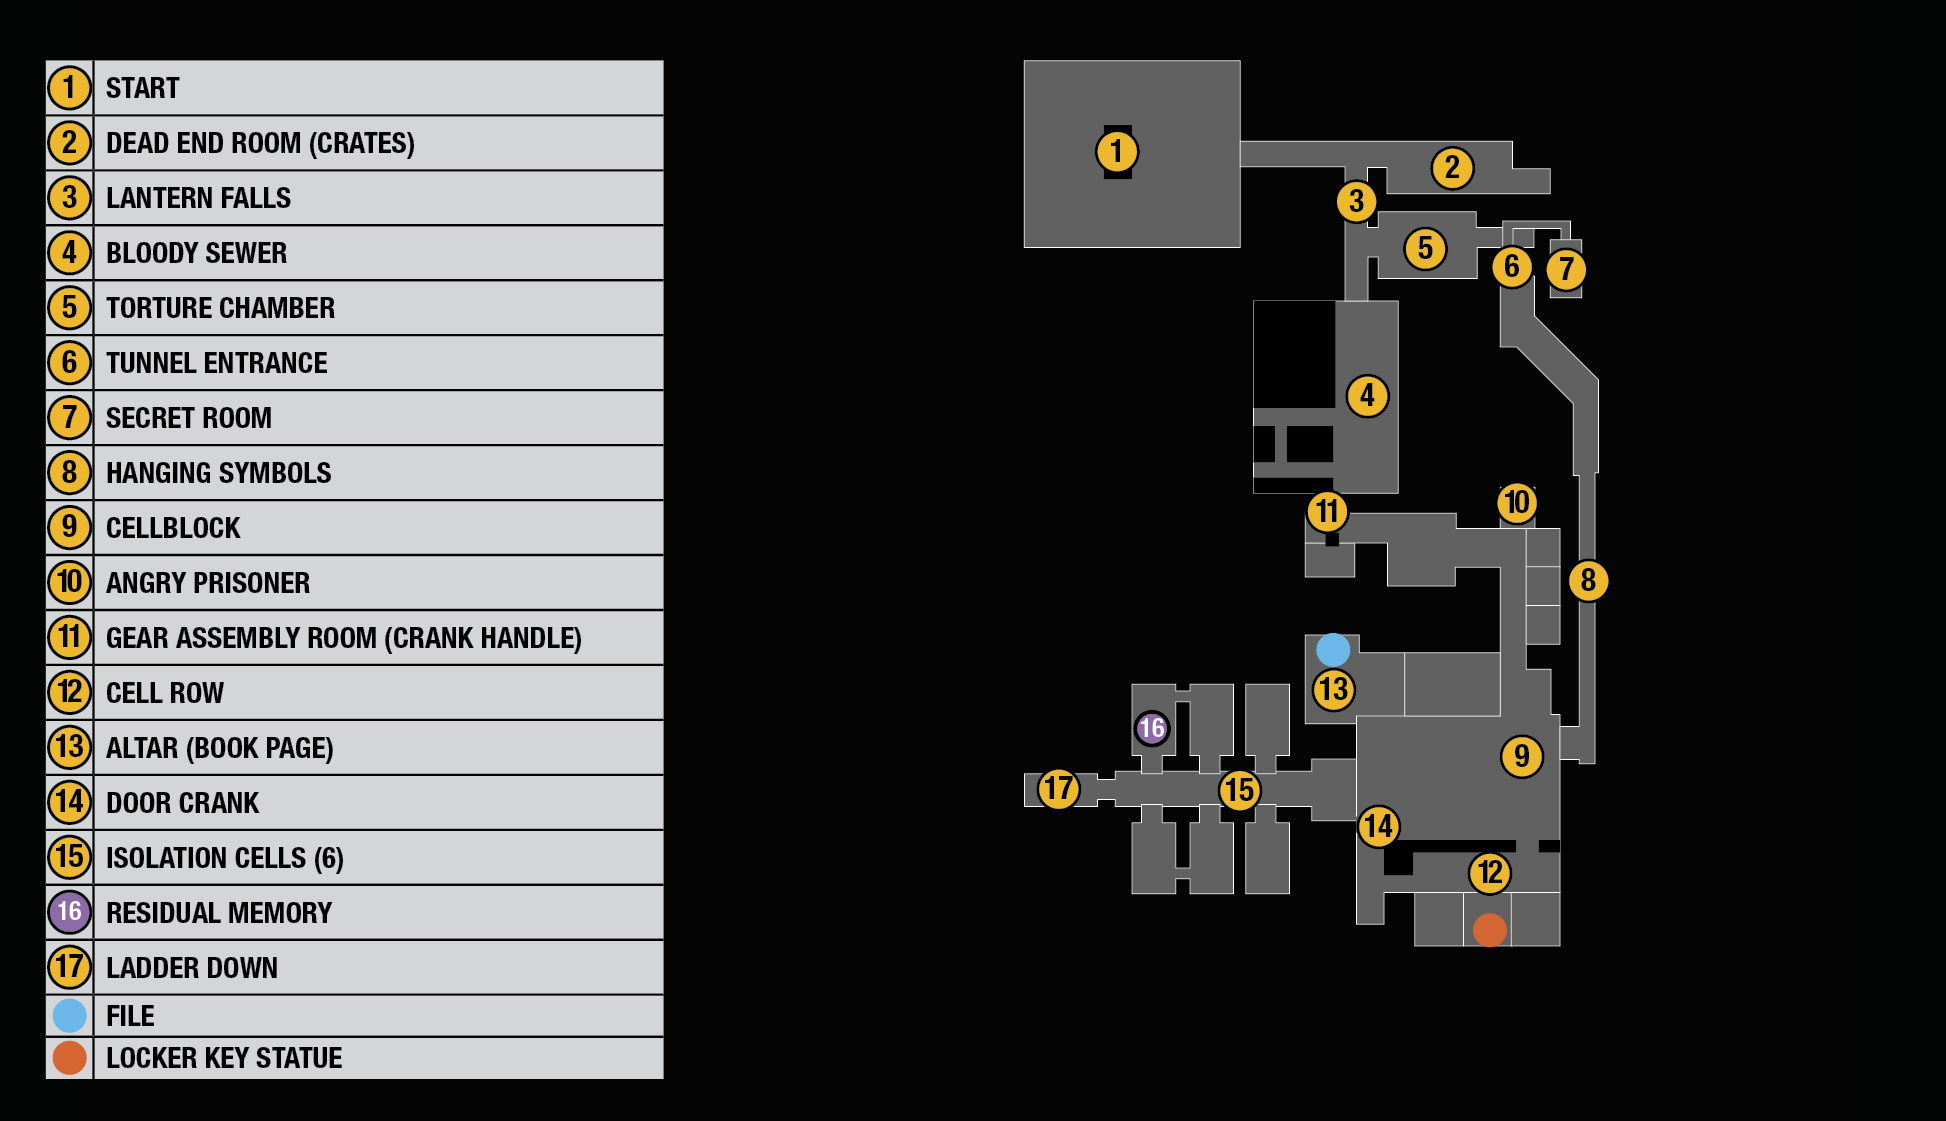
Objectives
- Get your bearings and look for signs of Myra and Lily Collectibles
- 1 File
- 1 Residual Memory
Get your bearings and look for signs of Myra and Lily
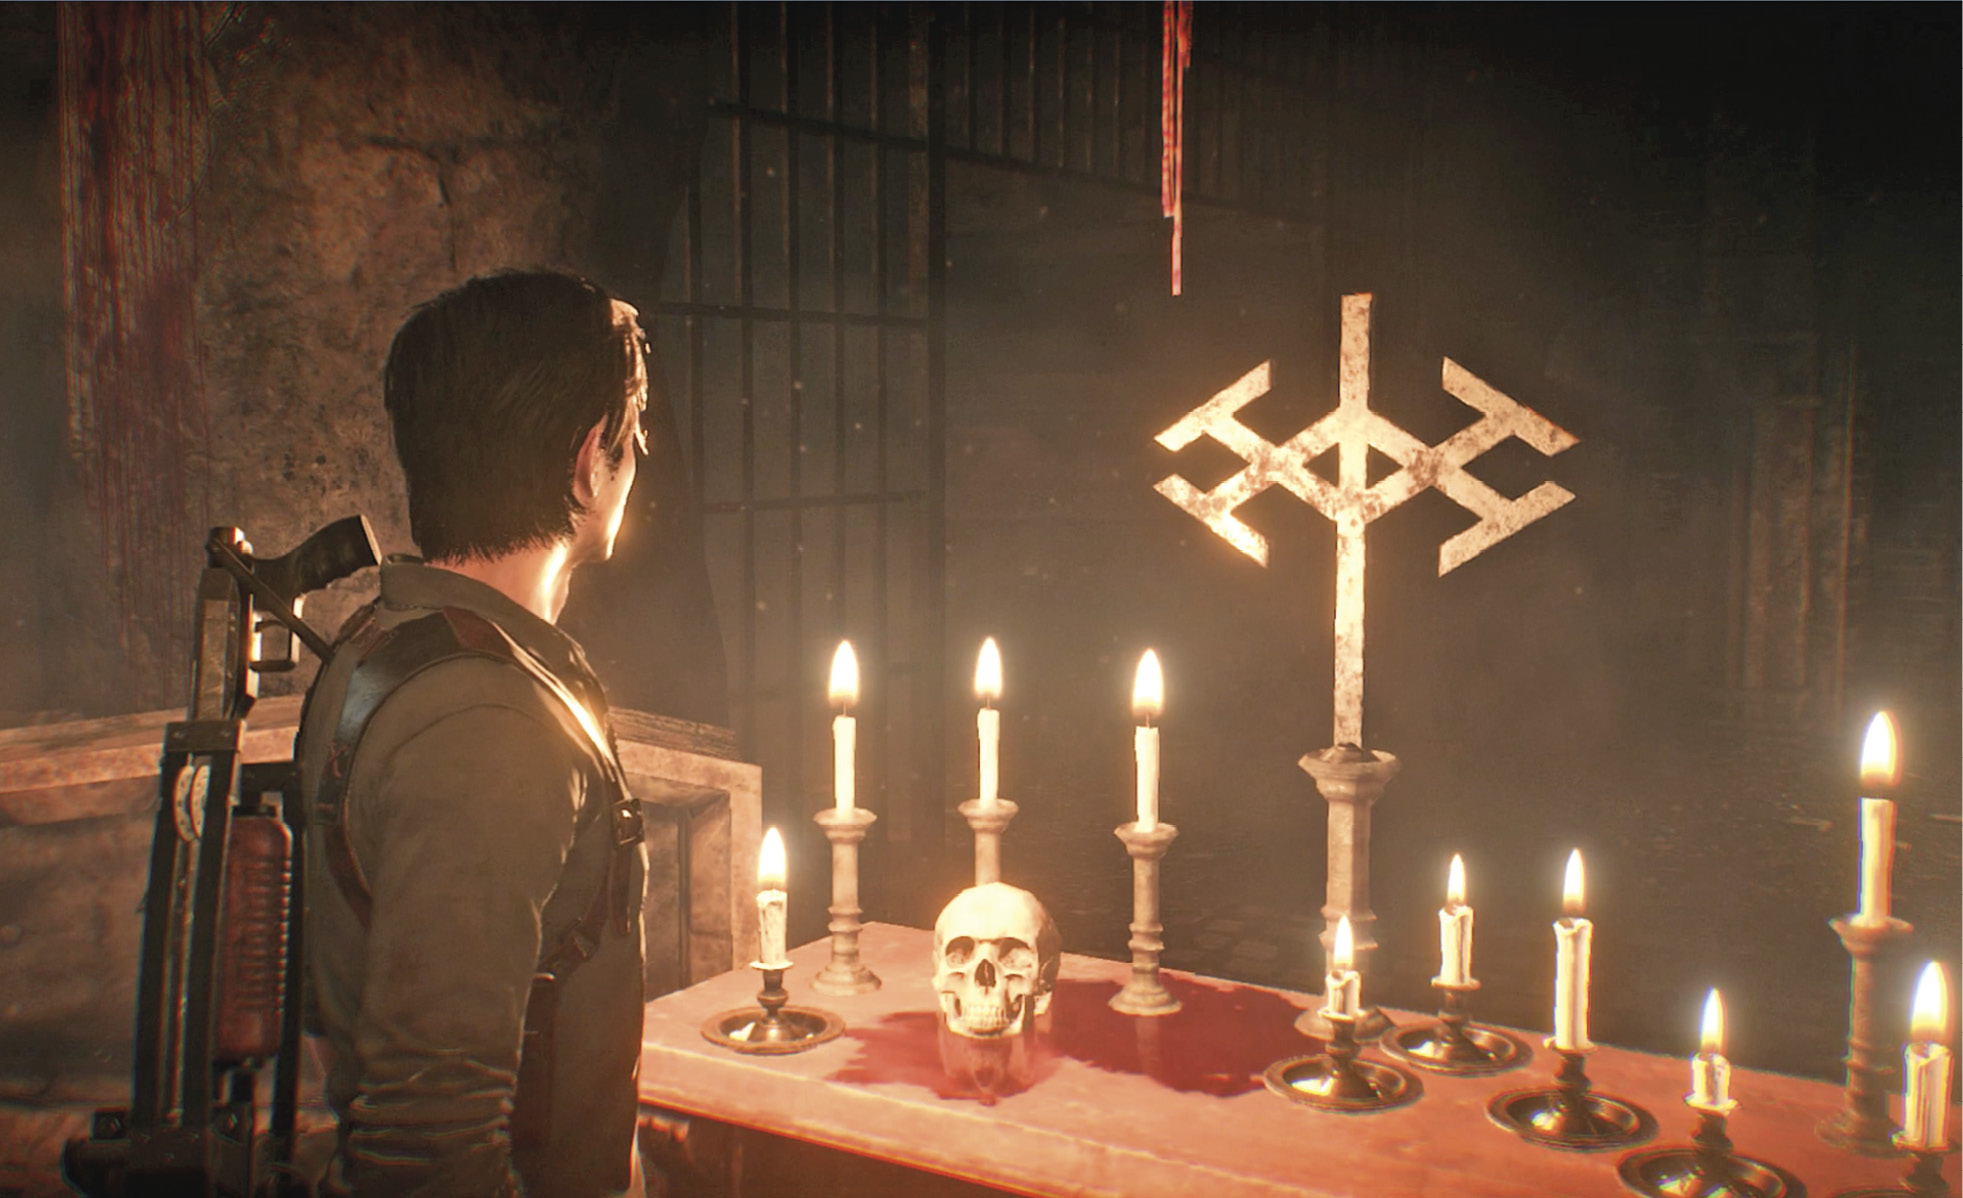
Investigate the altar in Sebastian’s Room. Sebastian picks up the Lily doll and suddenly suffers a vision of flaming beast-men advancing on him. When the vision breaks, you find yourself at another altar—but this one sits in a grim, macabre complex of underground dungeons and catacombs. Investigate the symbol on the altar  . It looks familiar to Sebastian, who’s seen it in the “real world.” It’s the symbol for the Mu Center where so many Union residents came from.
Navigate the catacombs
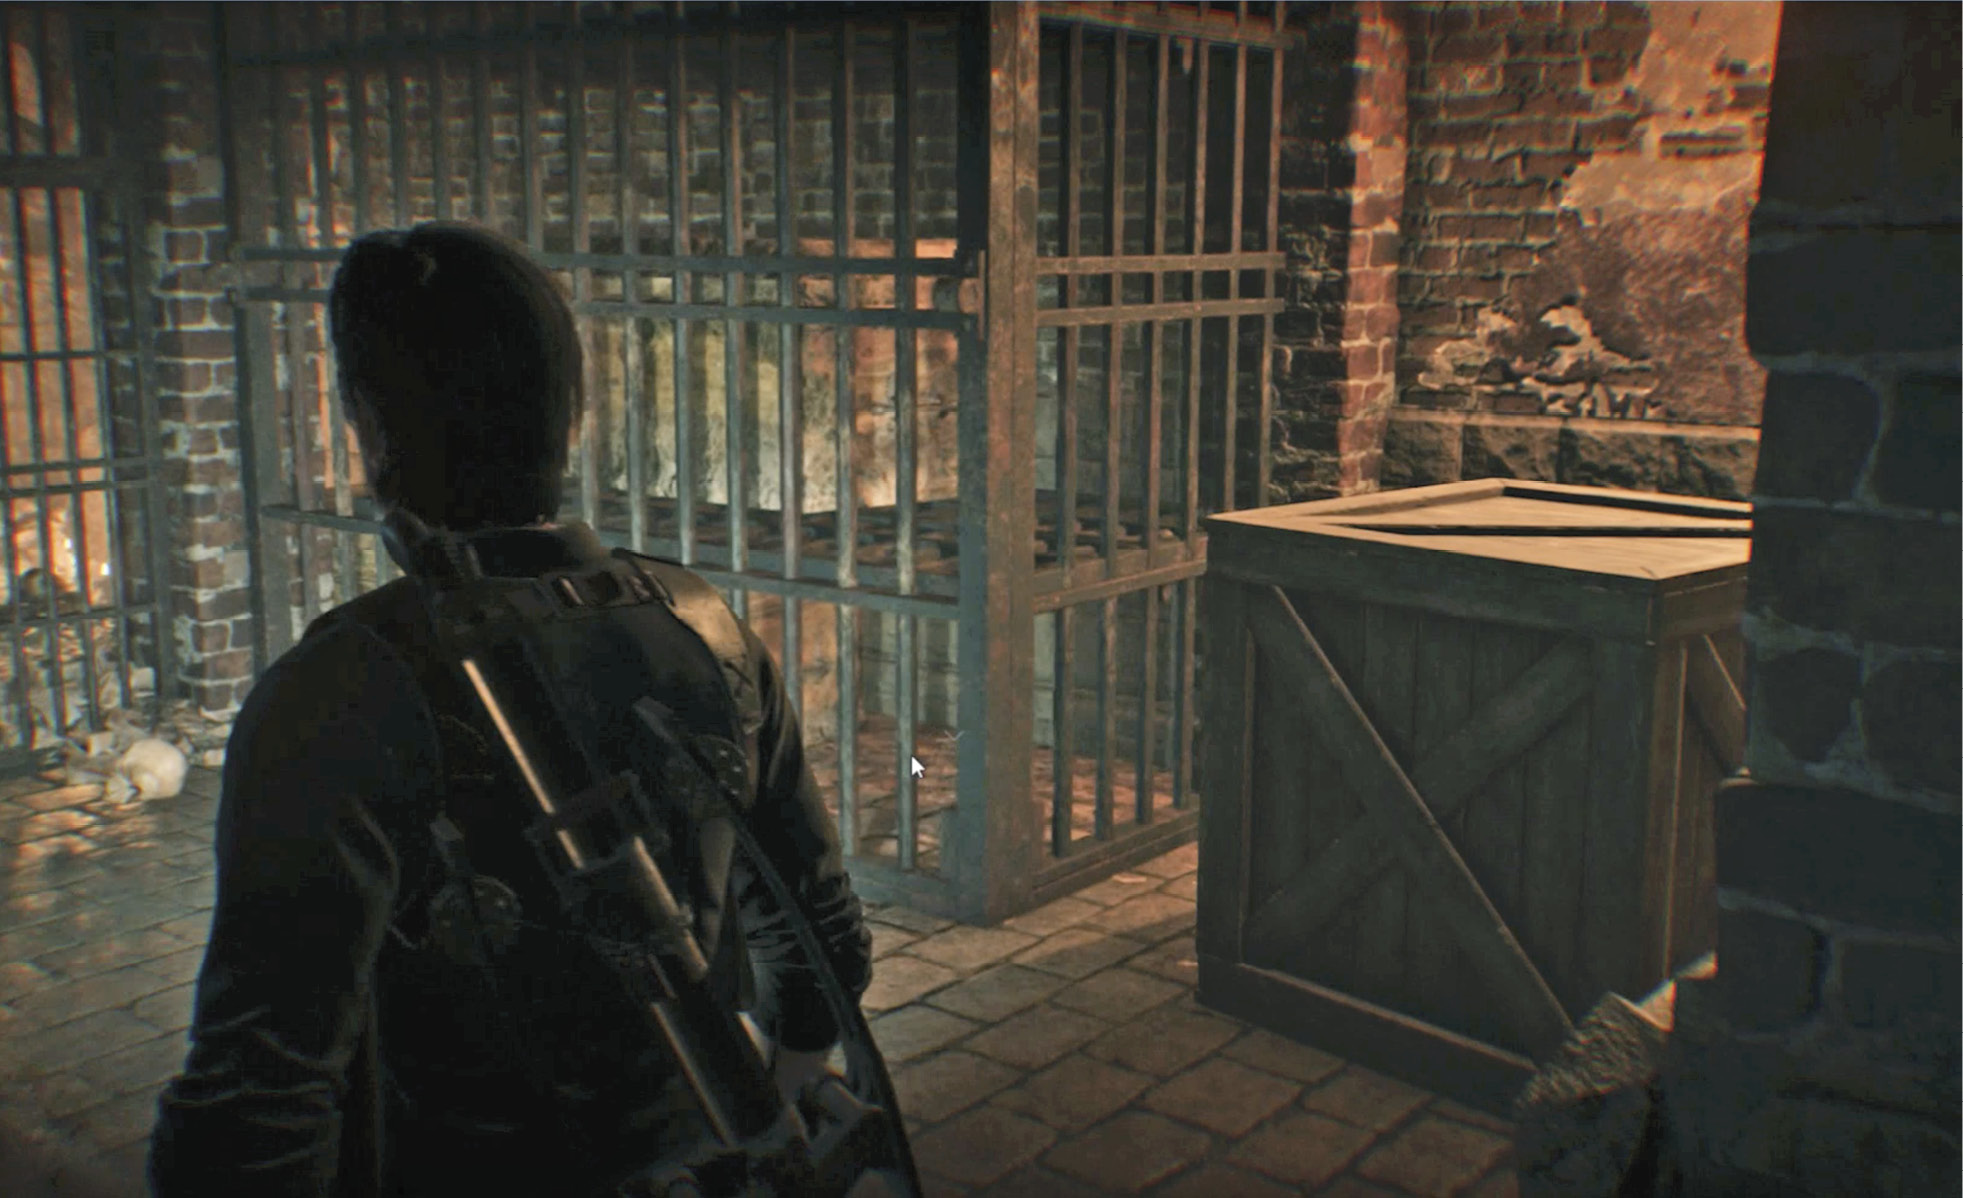
Go through the door directly ahead, the only way out of the room. As you step through the doorway, Sebastian is stunned by another vision and hears a voice calling him “Seeker.” Follow the passage straight ahead into an area with coffins, gravestones, and a few crates  . This is a dead end, but you can find useful pickups here, including some Shotgun Shells. Smash up the crates to find other stuff. The way ahead is blocked by a cave-in, so turn around and take the side passage on the left.
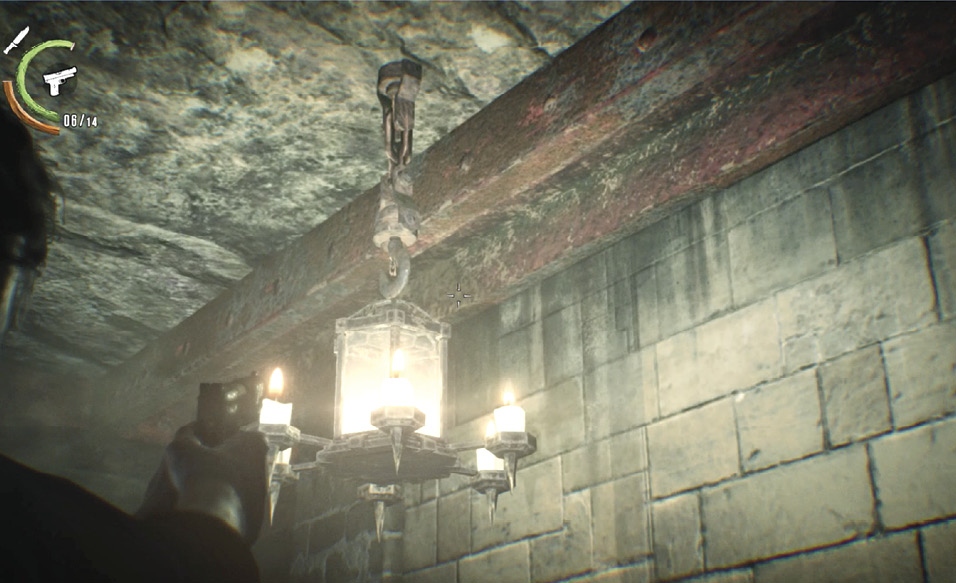
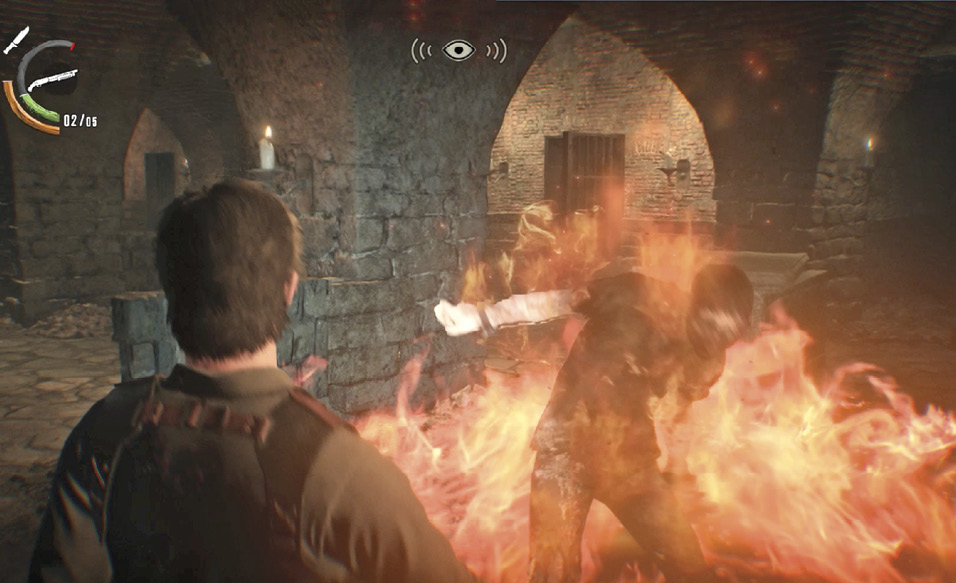
As you descend a short staircase, a hanging lantern falls just ahead of you  and explodes into flames. Remember this incident: a number of these lanterns hang in the passages ahead. When you shoot them, they drop and burst into flames. This can be a very effective weapon against foes as you move through the catacombs.
Go through the door directly ahead; this bloody sewer  is another dead end, but again you can stock up on pickup items. Shoot the sleeping Lost for an easy kill. Crouch and move down the canals to find some Handgun Bullets. Then exit via the door you entered and take the first right into a gruesome chamber
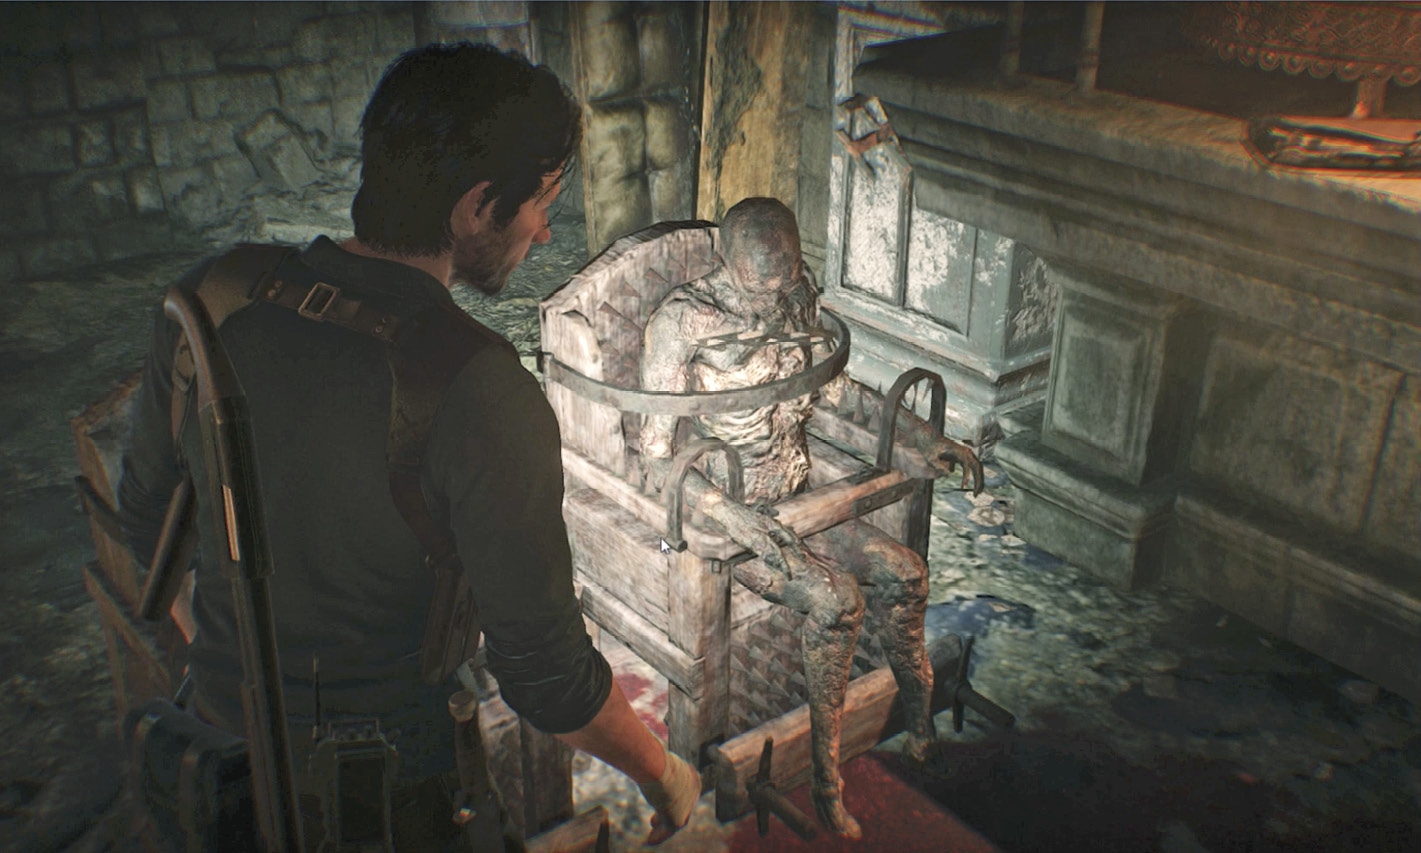
  full of horrifying torture devices. Investigate them and loot the pickups.
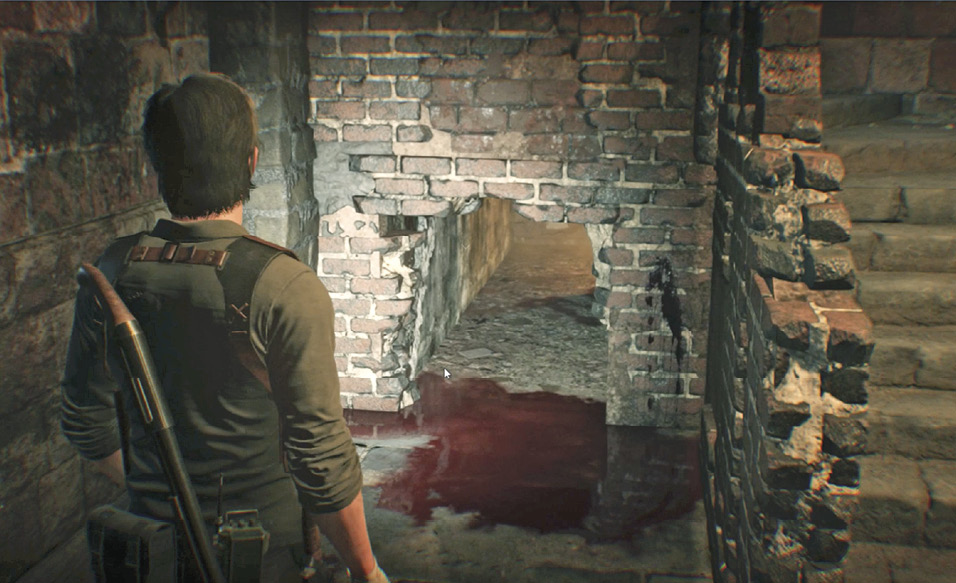
Exit via the staircase that leads down to a hole torn in the wall  . Enter and follow the passage to another dead-end room
  . Be aware that a sleeping Lost just to the left will wake up as you enter, so gun him down. Then grab the Medical Syringe on the table, scoop up Green Gel, and crawl back through the tunnel.
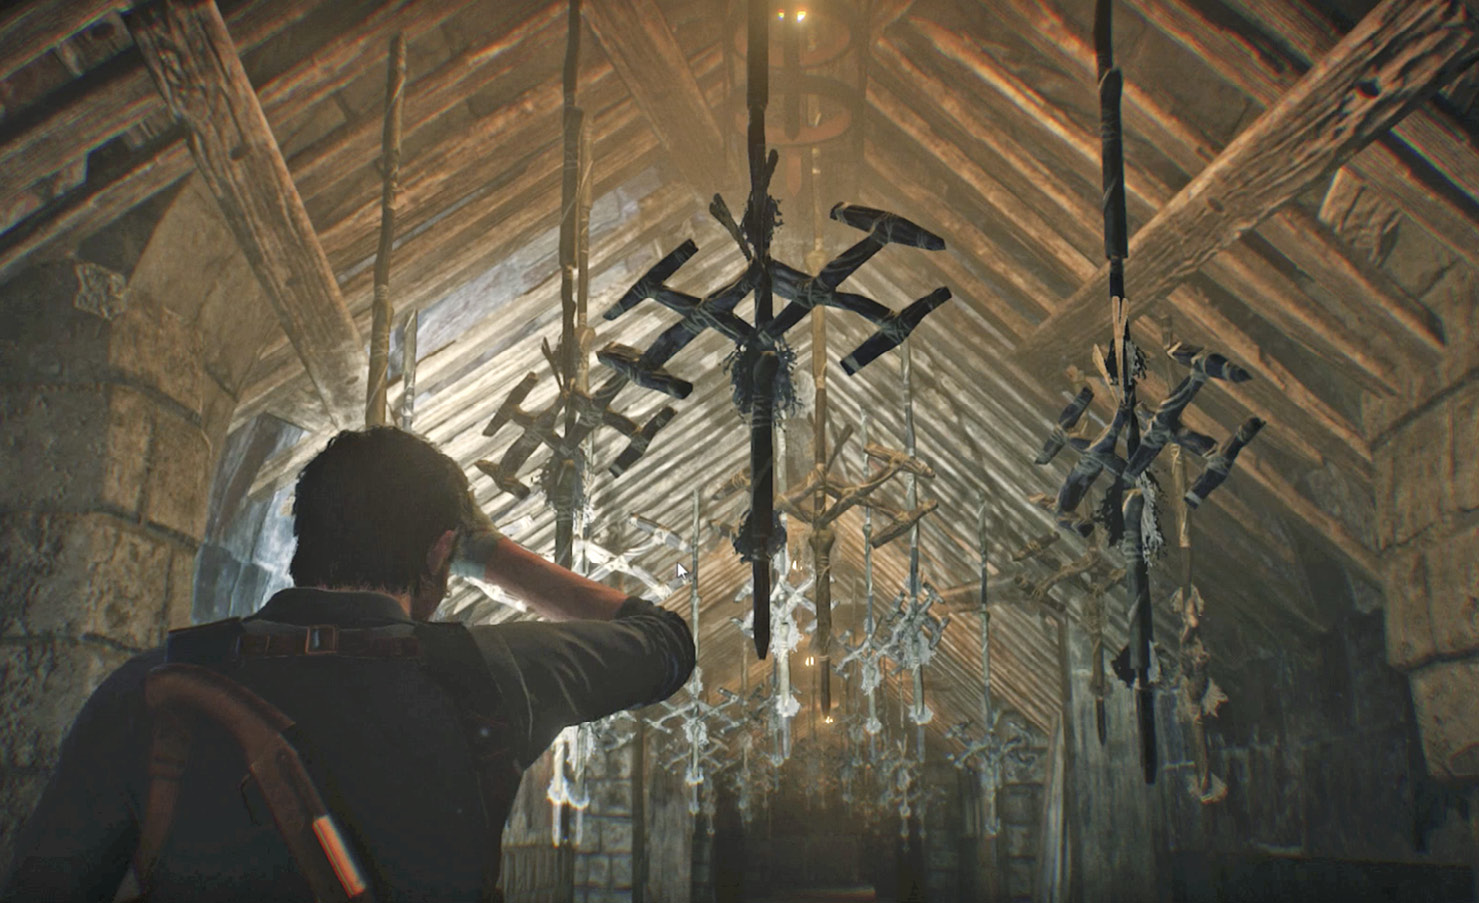
Descend the wide staircase, open the metal gate, and proceed down the long passage  hung with the Mu symbols. It leads to another metal gate. Open it to enter the dungeon cellblock
  .
.
Find a crank for the cellblock exit gate
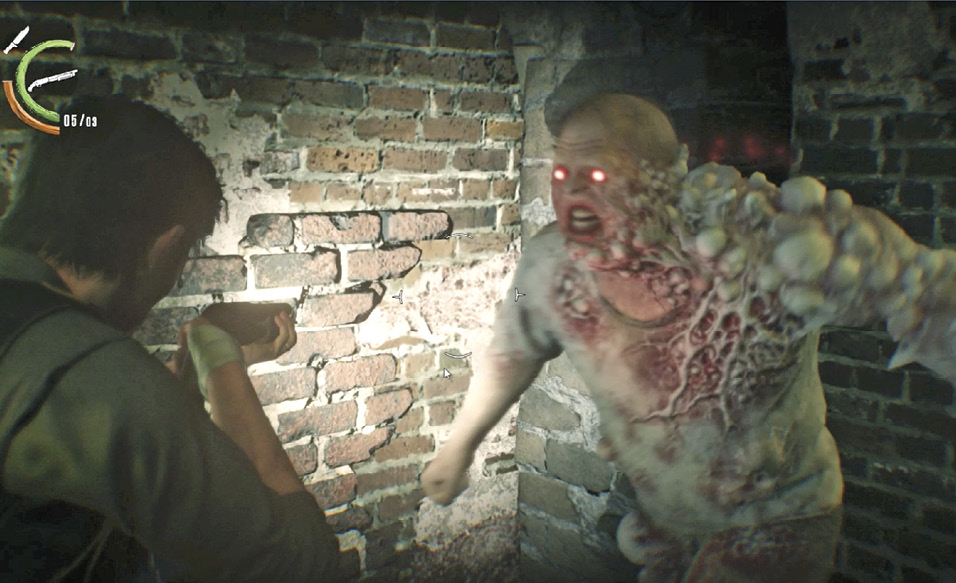
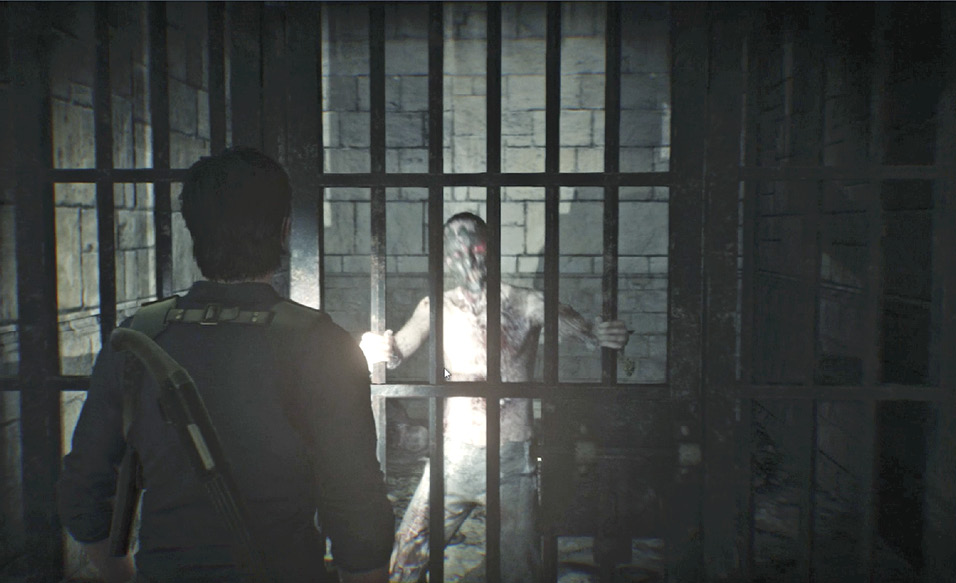
Here you find gibbets hanging from the ceiling, and a number of Lost prisoners in cells. The exit gate at the other end of the cellblock opens via a crank  but it has no handle that you can turn yet. So, from the entrance gate, turn right and move along the corridor of cells. (Note that each cell has a gear mechanism attached to the door.) You see a particularly active and hostile fellow just ahead
  . Turn left at his cell and go to the next door, which leads into a gear assembly room
  .
.
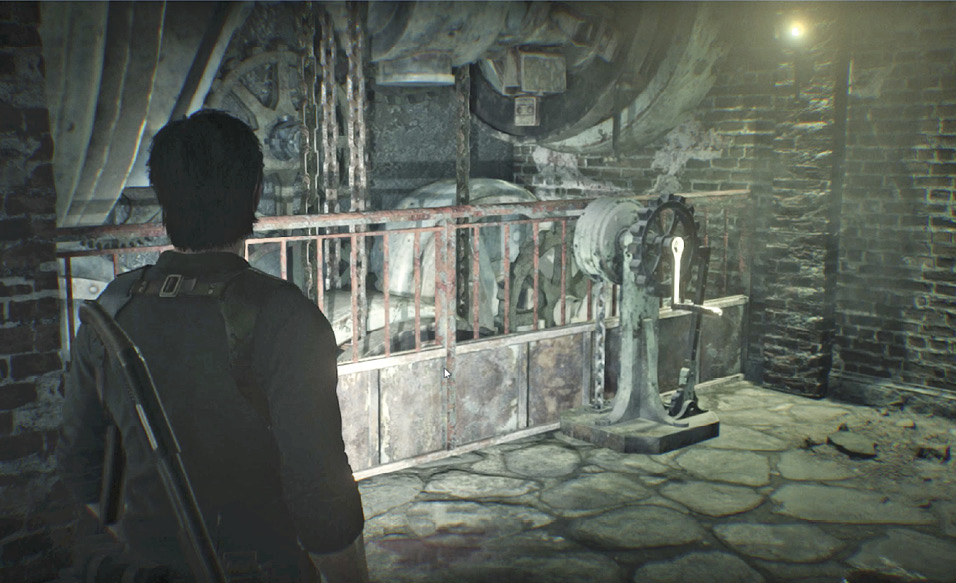
Take the gear handle off the crank. This gives you the tool you need to get past the cellblock. Unfortunately, it also releases the gear mechanism that opens all of the cell doors in the block. This means that your exit from the cellblock will be very unpleasant.
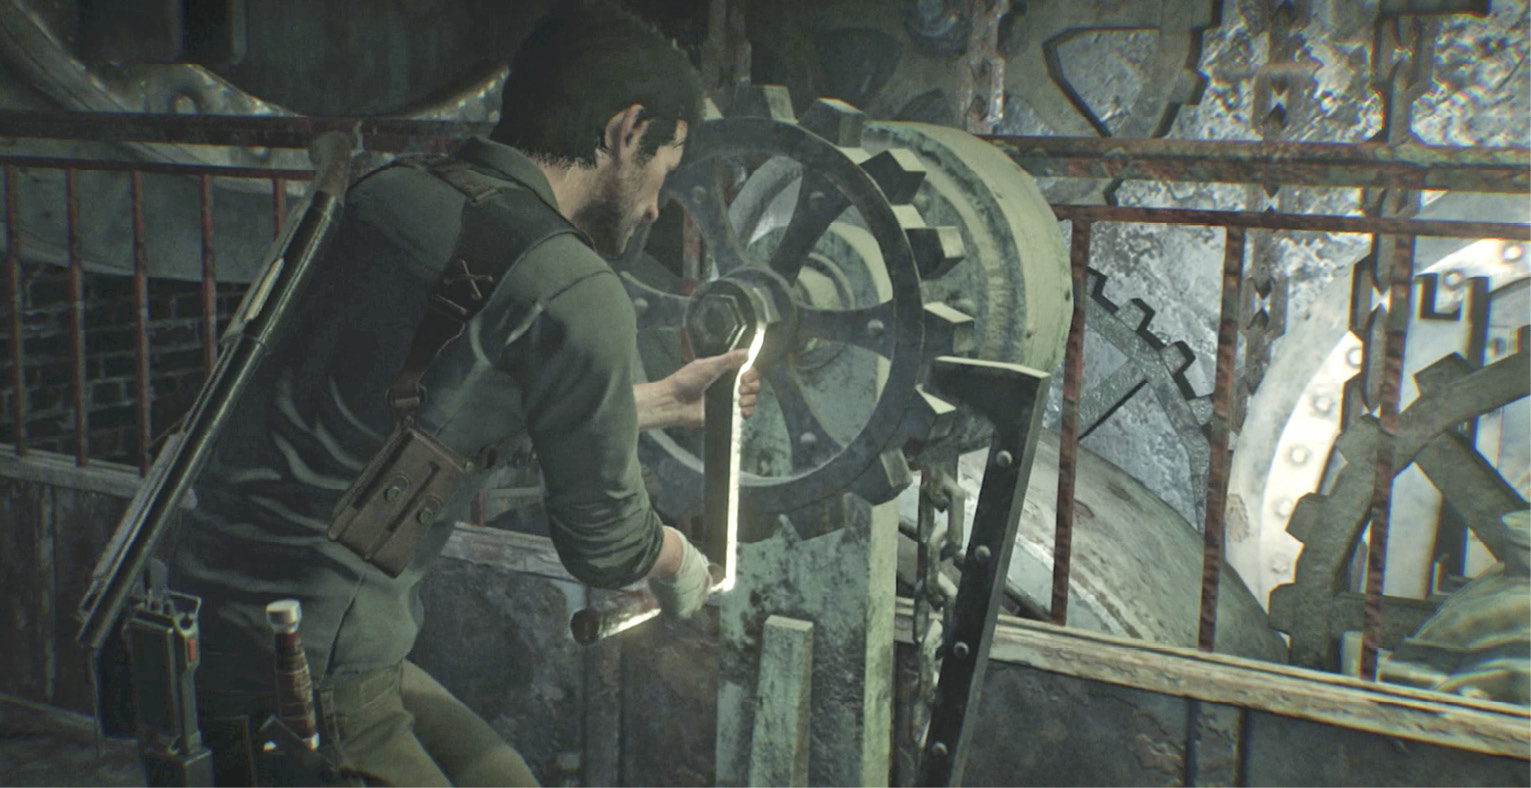
Explore the now-liberated cellblock
That’s right—you just single-handedly engineered a jailbreak by snagging that crank handle. Slip out of the gear assembly room and take cover. Up ahead, a Lost inmate loiters underneath a hanging lamp. Shoot the gas lamp to drop it on the poor fool.
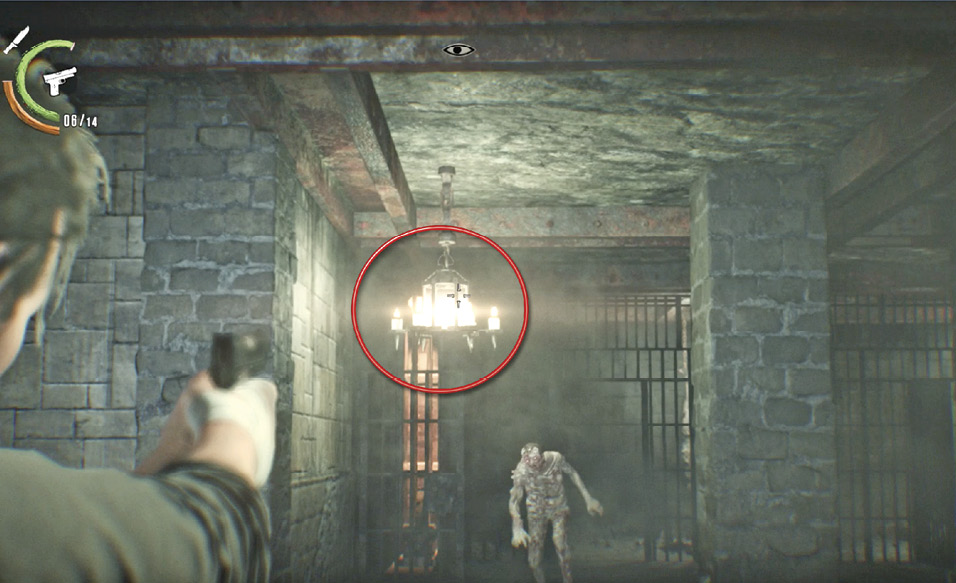
Fight your way past the row of cells back to the central area of the block  , looting empty cells as you go, and shooting ceiling lamps over enemies when you can. Before you head for the exit door crank, check out the row of three cells
  on the other side of the cellblock to find some useful and collectible items. (See our Tip for a Locker Key Statue!) Watch out for the crawler in the first cell! He’ll get you by the ankles and take you down.
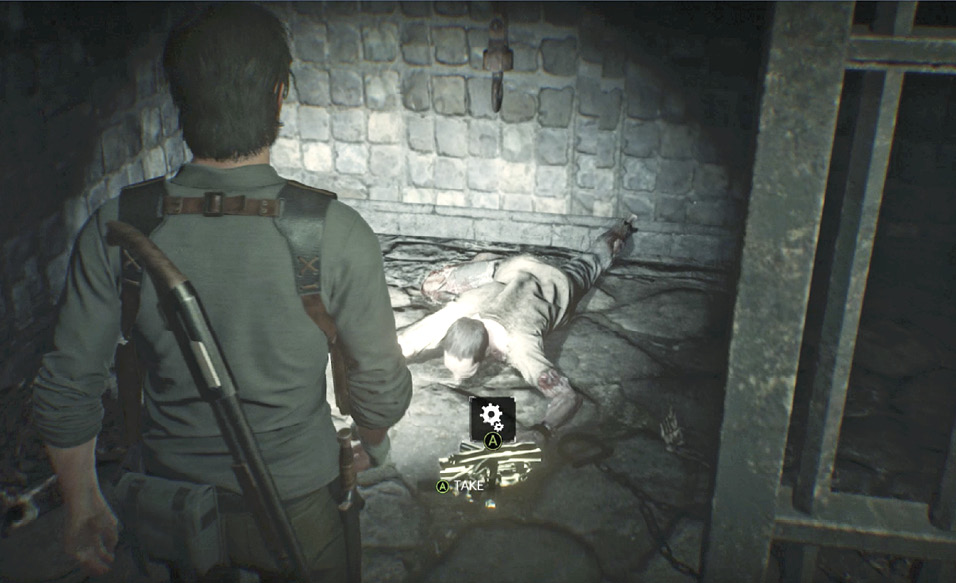
Finally, check out the room off the central chamber with a number of coffins and crypts to find pickup items and a Lost prisoner worshipping fervently at an altar  . Creep up behind for a Sneak Kill then grab the burnt page of a book sitting on the altar.
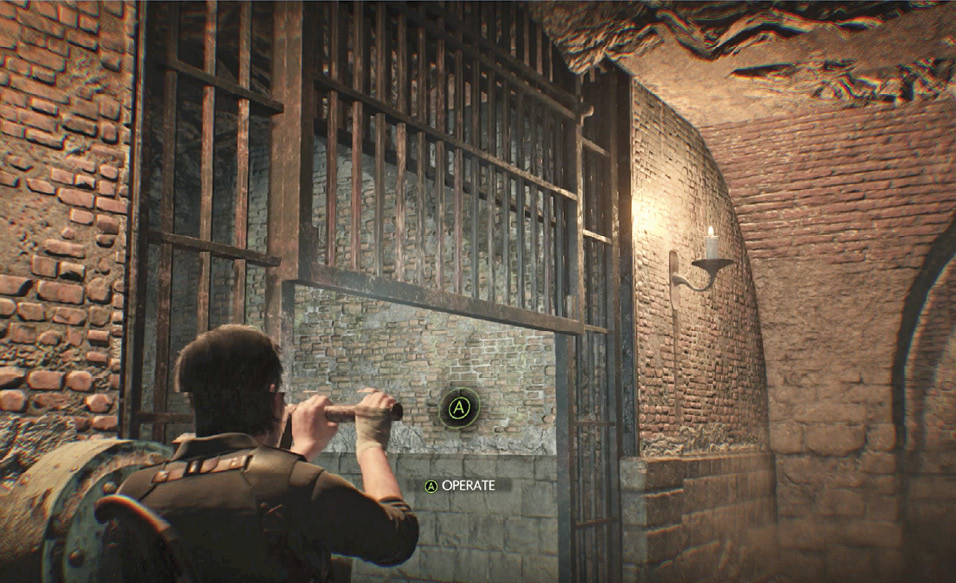
Now head over to investigate the crank mechanism  at the exit gate; Sebastian installs the crank handle. Now operate the crank by tapping the button indicated onscreen to turn the handle and raise the gate.
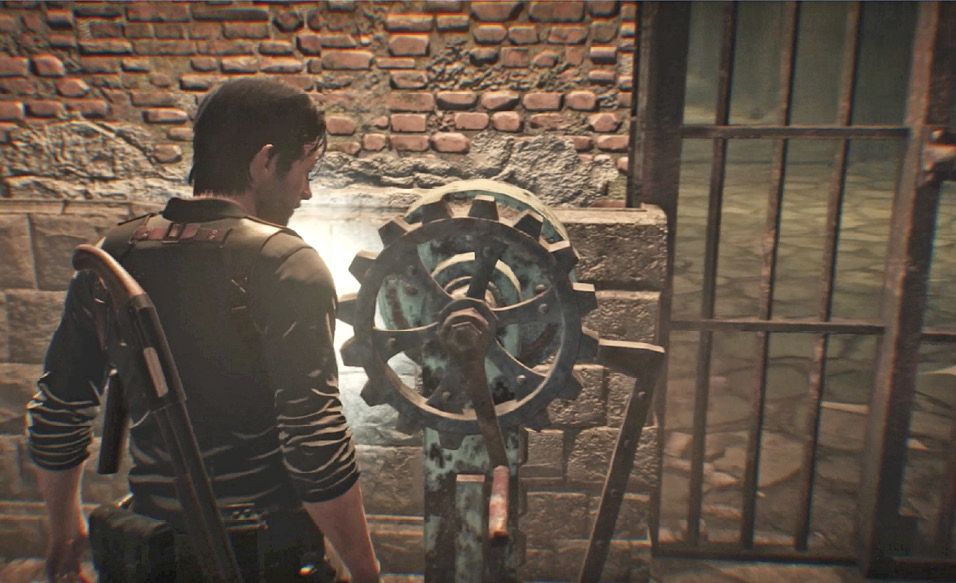
Head through the gate and explore the six cells, three on each side of the corridor  , to find more pickup items and a few sleeping monsters. Enter the second cell on the left and smash the pile of crates to reveal a secret tunnel to the next cell. Enter the second cell on the right to find a tunnel to its next cell
  too. Equip your Communicator and tune in the Residual Memory here.
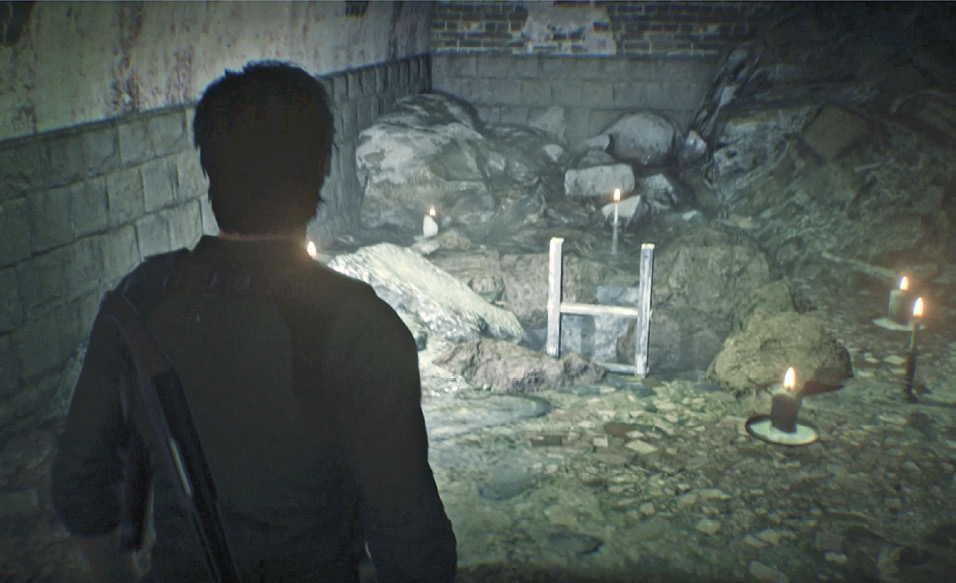
Exit back through the tunnel and out into the corridor. Go through the next door to find a ladder  . Start climbing down; as you descend, the ladder breaks and Sebastian takes a nasty fall. At the bottom, open the door and enter a long, candlelit corridor. Walk toward the dark figure in the distance—soon Sebastian takes another fall, ending up in a room inscribed with his failures.
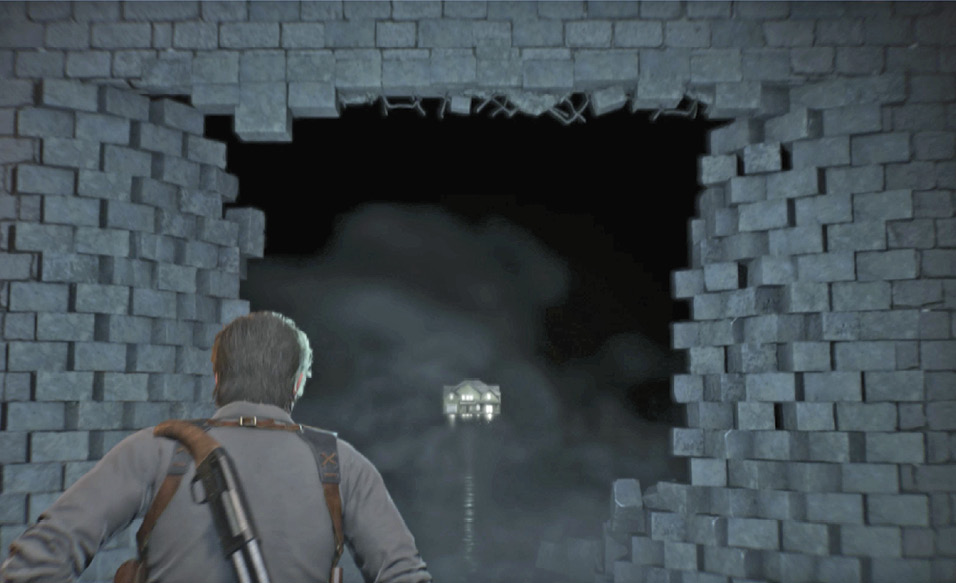
When the wall crumbles, walk through into the void toward the Castellanos house in the distance. This triggers a vision. When it ends, Sebastian faces three powerful Disciples in a chapel-like arena  .
.
Overview
Defeat the Disciples
Disciples use only melee attacks, so keep your distance and try to keep cover between you and them. (See our Disciple Notes on this page for more combat tips.) Look for ammo and health pickups around the room if you need them. When all three Disciples are dispatched, a passage  opens up behind the altar. Go on through!
Solve the floor disk puzzle
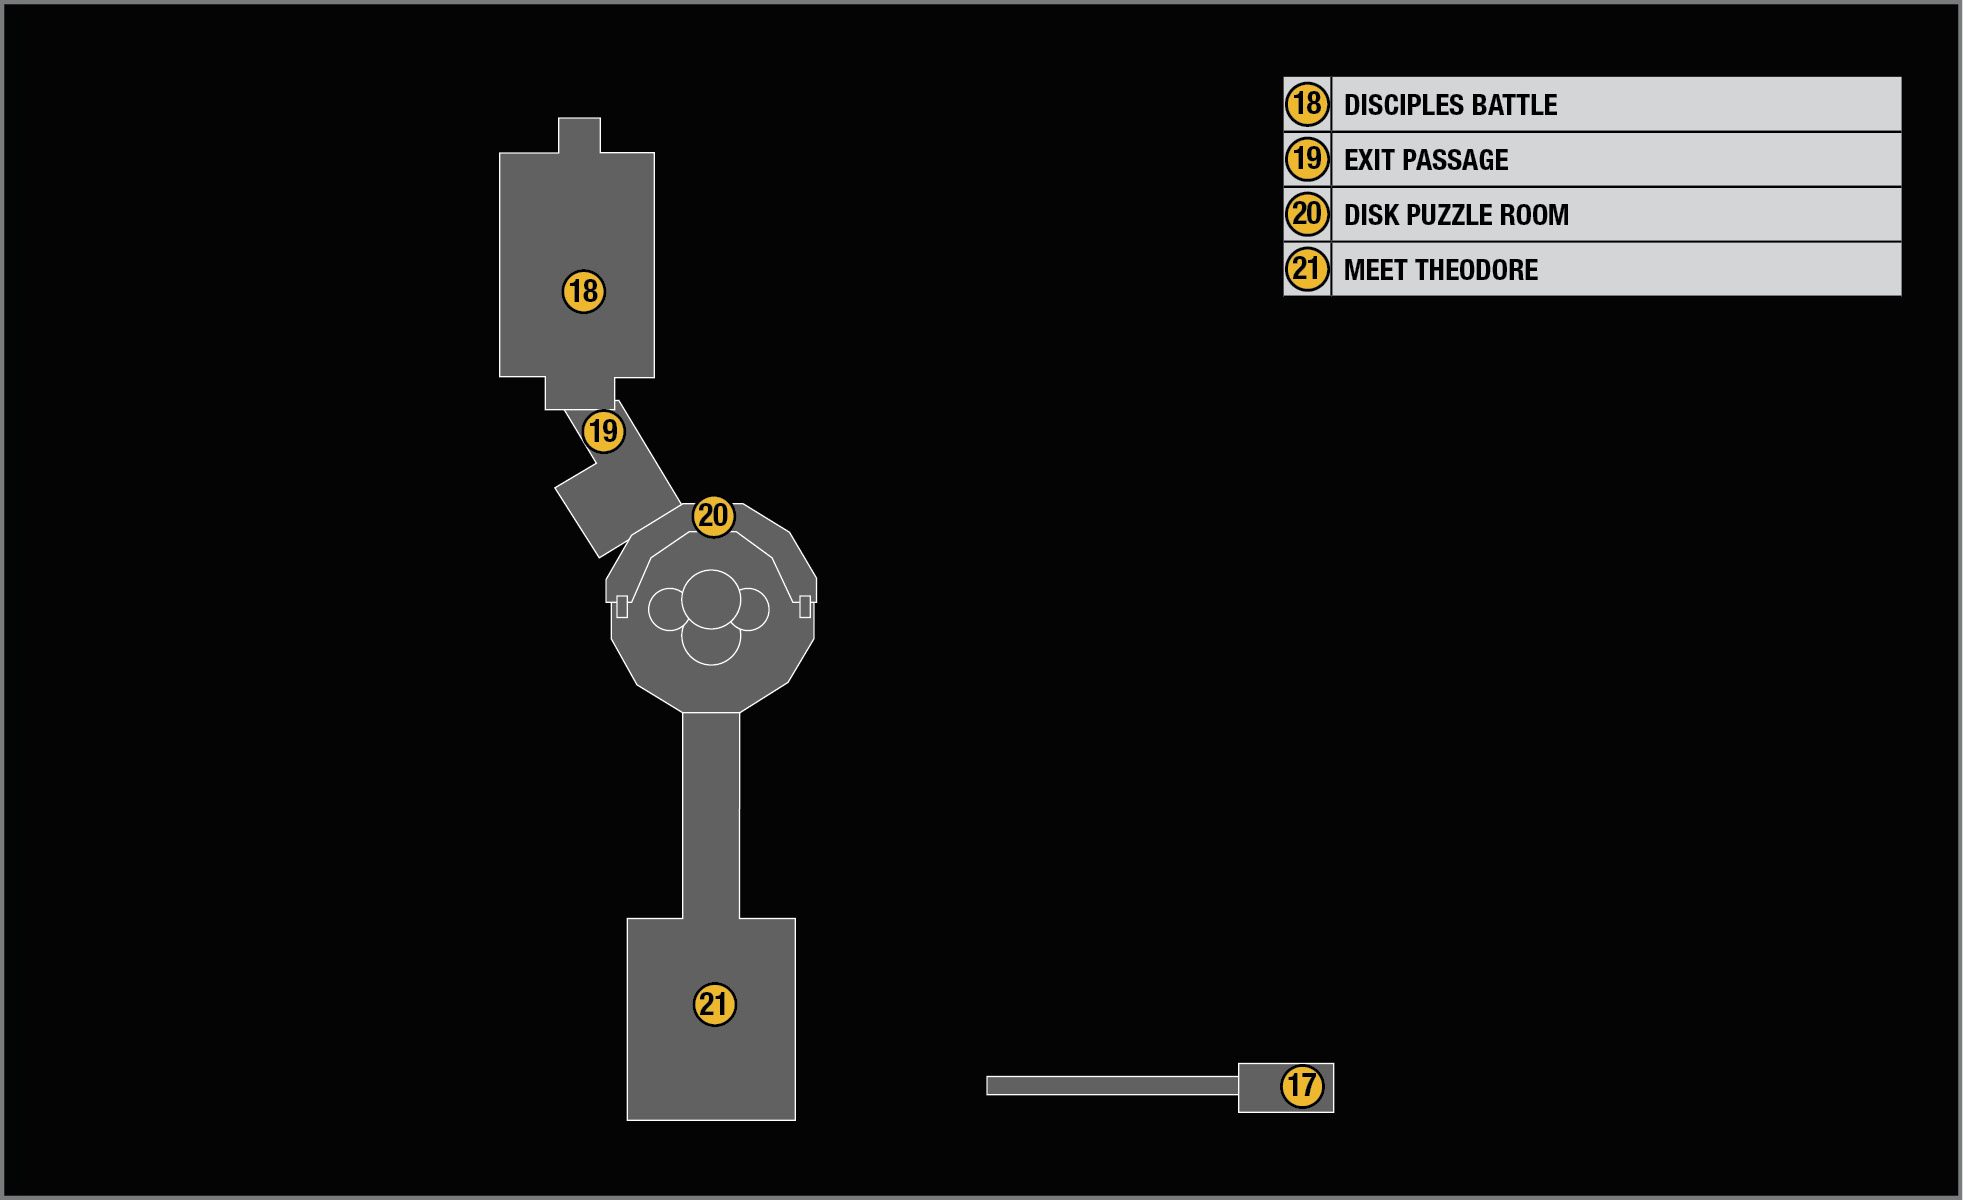
Proceed into a room with overlapping circular disks on the floor. You must align these correctly to open the big exit door. Climb one of the ladders to the balcony  overlooking the puzzle, where you find four control wheels. This puzzle is easier to solve than it may seem at first glance.
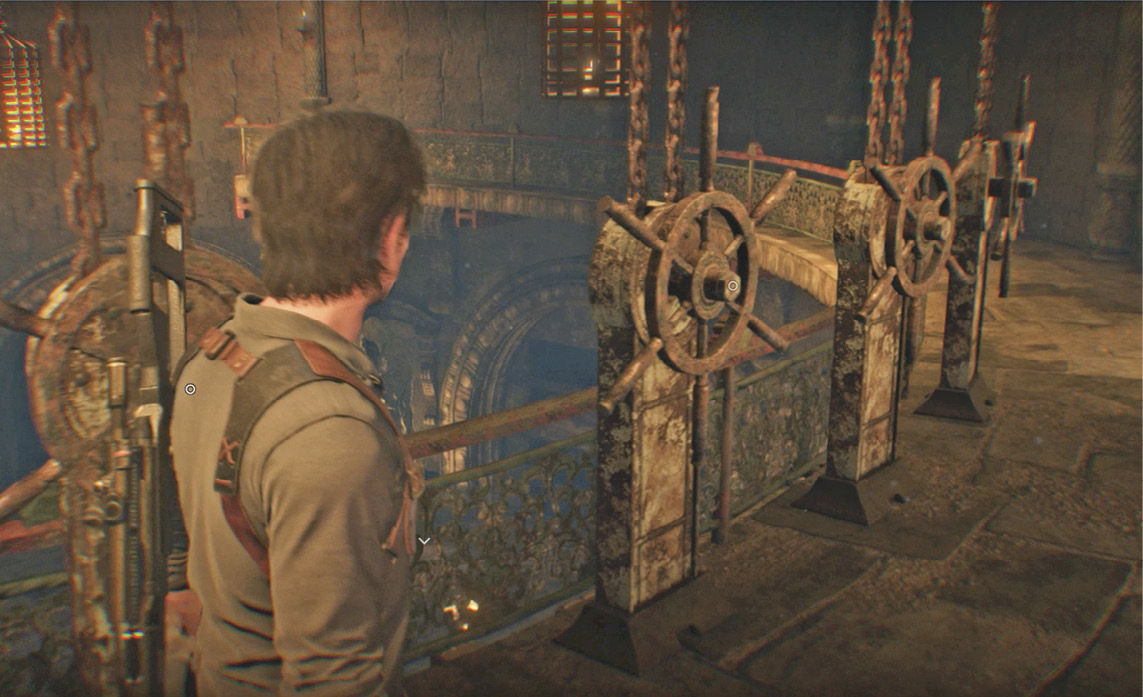
Let’s number the control wheels 1 to 4, from left to right as you face them. Refer to our labeled screenshot of the finished puzzle to see how each disk must be aligned. Take the following steps:
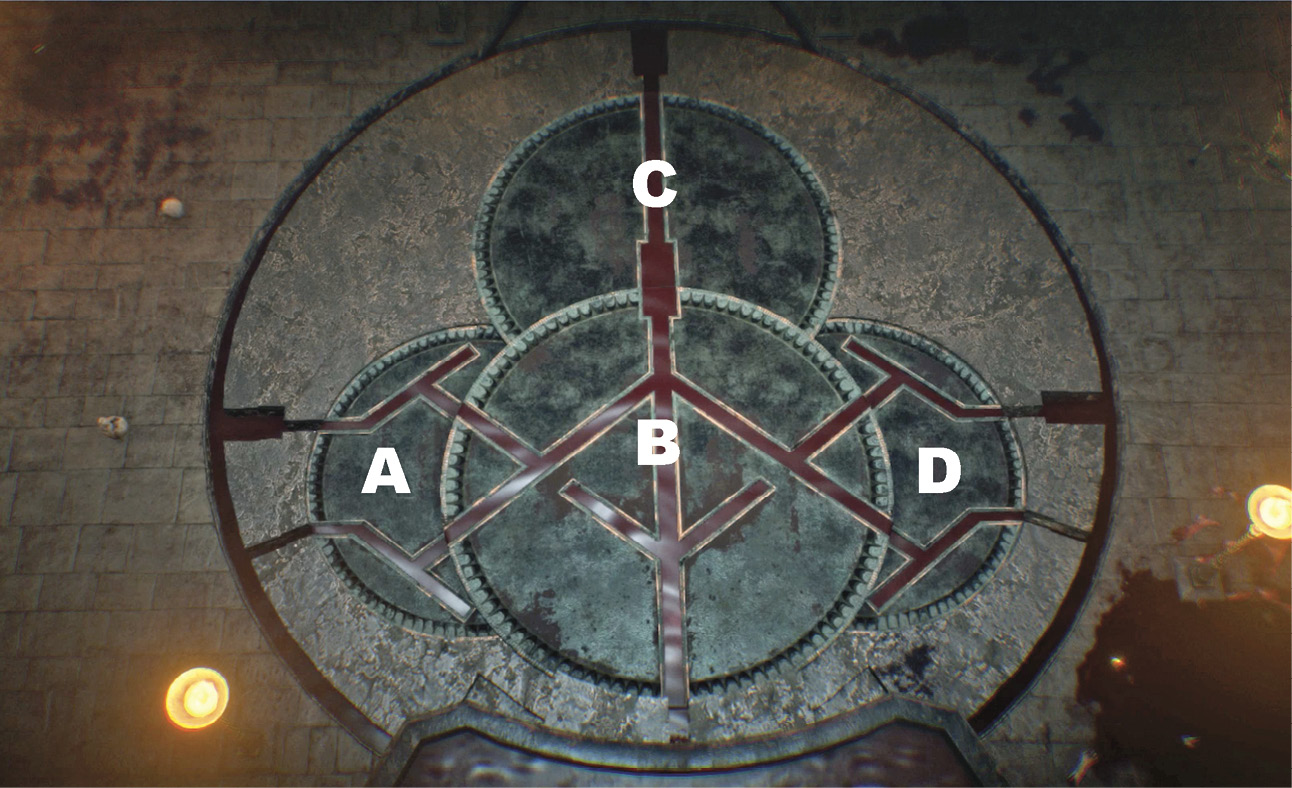
- Step 1: Use control wheel 2 to get disk A aligned. (This wheel moves disk C at the same time as A, but don’t worry about that. Just get A aligned right.)
- Step 2: Use control wheel 3 to get disk B aligned. (This wheel moves disk D at the same time as B, but don’t worry about that. Just get B aligned right.)
- Step 3: Use control wheel 1 to get disk C aligned.
- Step 4: Use control wheel 4 to get disk D aligned.
Go through the newly opened gate and follow the passage all the way to the big open chamber  . Hop down to the chamber floor to trigger a long cutscene: Sebastian meets Father Theodore. When the scene ends, Sebastian wakes up in an entirely different location and the next chapter begins.